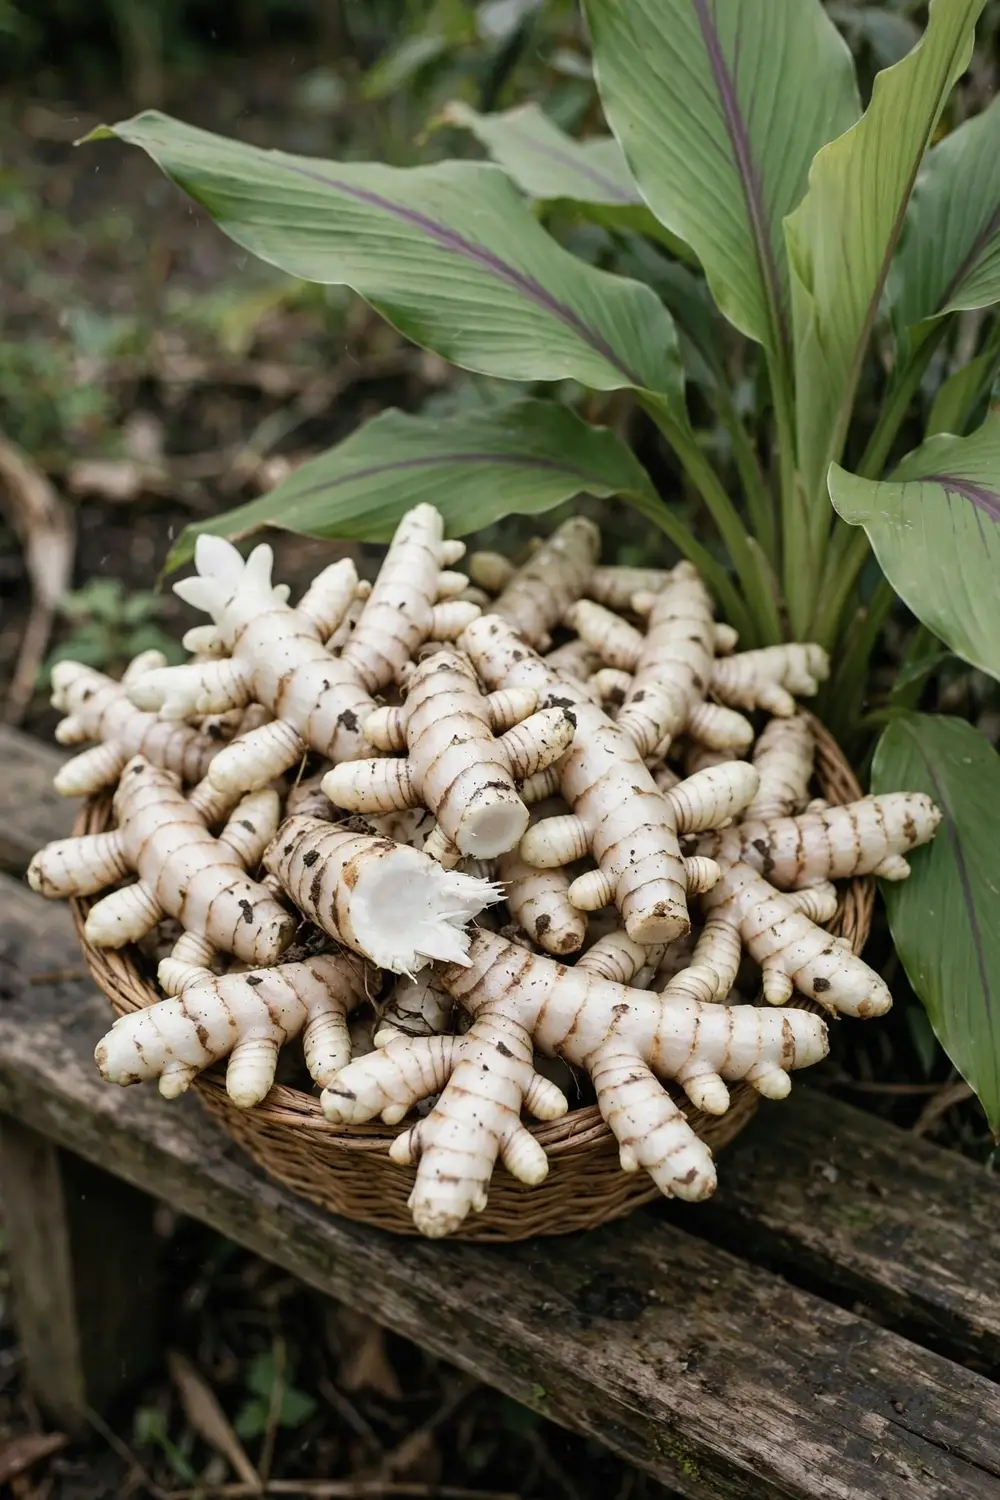

White turmeric is a tropical rhizome you plant in April and dig up 7 to 10 months later. That is the whole promise of Curcuma zedoaria, and it is worth stating plainly, because the name invites confusion that costs gardeners a season.
Before you buy a single rhizome, know this: white turmeric is not yellow turmeric with the color left out. It is a different species with different chemistry, and even the plant trade mixes up its name. If you have grown regular turmeric from our turmeric growing guide, much of the technique transfers, but the calendar, the spacing, and the finish line all have their own numbers.
The name trap is the reason this article exists in its current form. Two popular health sites list “Amba Haldi” as a name for Curcuma zedoaria, and our own original production notes made the same error. Botanically, amba haldi is mango ginger, Curcuma amada, a different species our program will cover separately. What follows is the honest, source-backed way to grow the real white turmeric.
1. Face the Climate Truth First: This Is a Tropical Rhizome
Curcuma zedoaria is a tropical herb that wants a hot, humid growing season and sulks through cold. The plant is native to South Asia and Southeast Asia, and its leaf shoots can reach about 1 meter tall in a good season, according to the species profile. I have learned that treating zedoary like a temperate perennial is the fastest way to waste a spring: everything about this plant is tuned to monsoon rhythm.
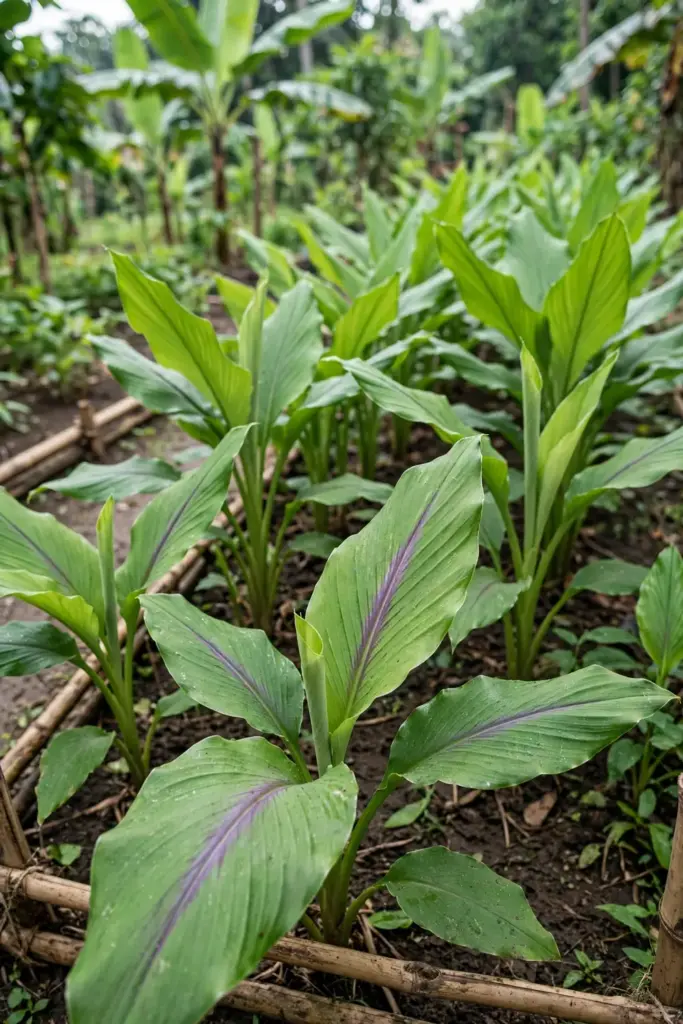
If you live where frost arrives, you are not growing this in the ground. You are growing it in a container that moves indoors, or you are treating it as a warm-season annual and starting over each year. The Kerala Agricultural University’s medicinal plants station describes Curcuma species as tropical herbs suited to both irrigated and rainfed conditions, with rich, well-drained loam as the ideal soil. That “tropical herbs” label is the whole zoning answer. Zones 9b and warmer can keep rhizomes in the ground year-round; everyone else plans a pot.
The temperature detail matters at planting time. Growth is strongest when days sit well above 20 degrees Celsius and nights stay warm, and the plant goes dormant when the dry, cool season arrives. Dormancy is not death. It is the plant’s own harvest signal, and you will read more about it in the harvest section.
2. White Turmeric vs Regular Turmeric: The Curzerenone vs Curcumin Table
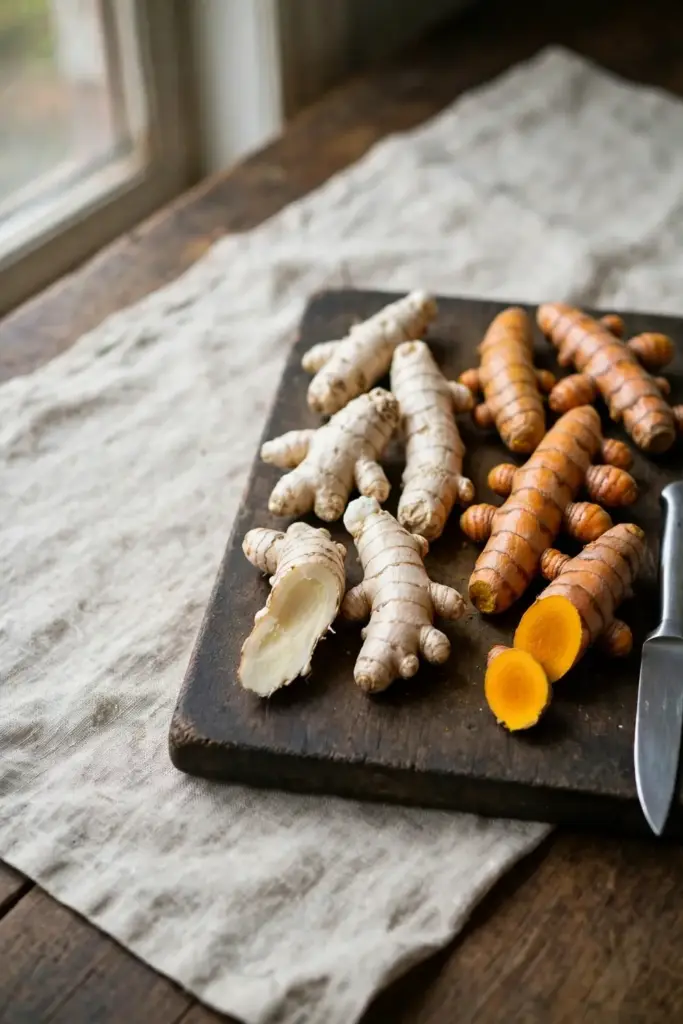
The single most useful thing you can learn about white turmeric is how it differs from the yellow turmeric in your spice jar. They share a genus, a family, and a rhizome habit. They do not share chemistry, flavor, or use.
| Trait | White Turmeric (C. zedoaria) | Regular Turmeric (C. longa) |
|---|---|---|
| Signature compound | Curzerenone and related sesquiterpenes | Curcumin |
| Flesh color | White to pale yellow inside | Deep yellow to orange |
| Flavor | Camphor-like, mango-fragrant, bitter aftertaste | Earthy, warm, mildly bitter |
| Staining | Does not stain skin or cloth | Stains everything it touches |
| Primary home use | Fresh eating, pickling, medicinal preparations | Daily cooking, curry color |
| Key quality marker | GC-MS curzerenone at 5 percent or higher in purchased powder | Curcumin percentage on the label |
The curzerenone marker comes from Ayurvedic sourcing guidance that flags GC-MS testing for curzerenone at 5 percent or higher as the sign of genuine, potent zedoary powder. The KAU botanical profile lists curzerenone and its relatives among the rhizome’s characterized sesquiterpenes, which is why the compound, not curcumin, is the identity test for this species.
Do not buy “white turmeric” powder and expect it to behave like turmeric in cooking. It will not color your curry, and its bitter, camphorous bite will surprise you. Grow it for what it is, and buy it for what it is, and the plant repays the honesty.
3. Rhizomes Beat Seed: The Only Planting Material That Makes Sense
White turmeric is propagated from rhizomes, not from seed. The KAU package of practices is explicit: the plant is propagated by whole or split mother rhizomes, and you select well-developed, healthy, disease-free pieces. There is no home-garden seed lane worth your time.
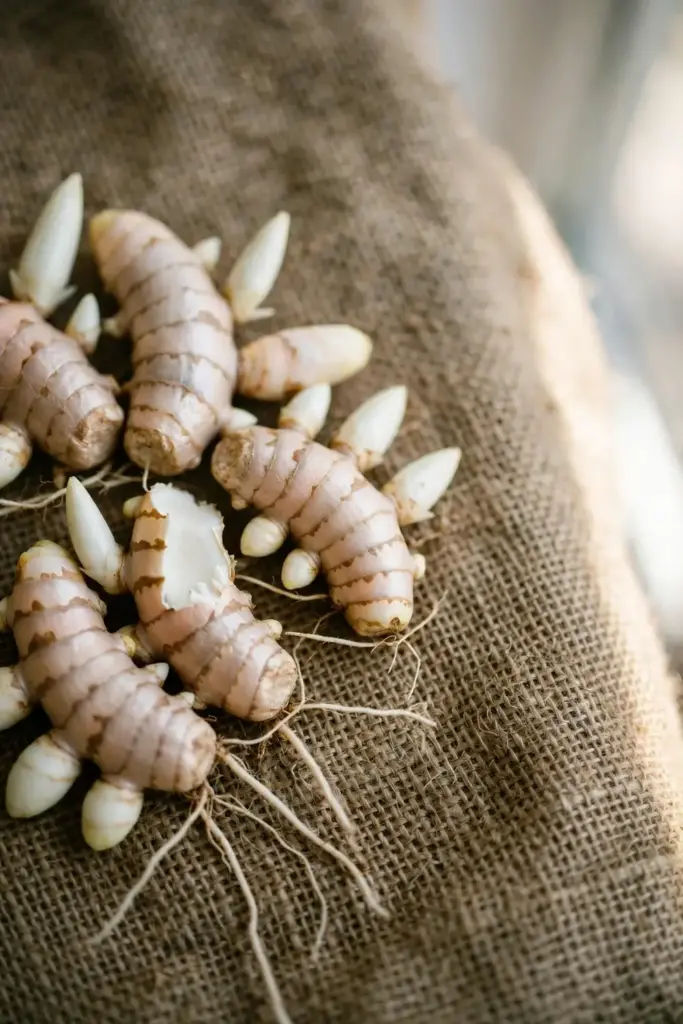
Choose mother rhizomes over thin finger pieces when you can. A mother rhizome is the thick central piece of the previous harvest, and it carries more stored energy, which means stronger early shoots. If you only have finger rhizomes, pick firm ones with at least one visible bud, and reject anything soft, shriveled, or moldy.
Before planting, the KAU guidance treats rhizomes with a copper oxychloride fungicide and stores them in a cool, dry place or in earthen pits plastered with mud and cow dung. Home growers can simplify: inspect every piece, discard the doubtful ones, and keep your stock dry and ventilated until planting day. One rotten rhizome in the bed can sour the soil around its neighbors.
4. Plant in April: The Pre-Monsoon Window
Timing is the decision that moves the yield needle most. The KAU agrotechnology, published by the university’s Aromatic and Medicinal Plants Research Station, fixes the calendar: prepare the land to a fine tilth during February and March, and plant during April with the receipt of pre-monsoon showers.
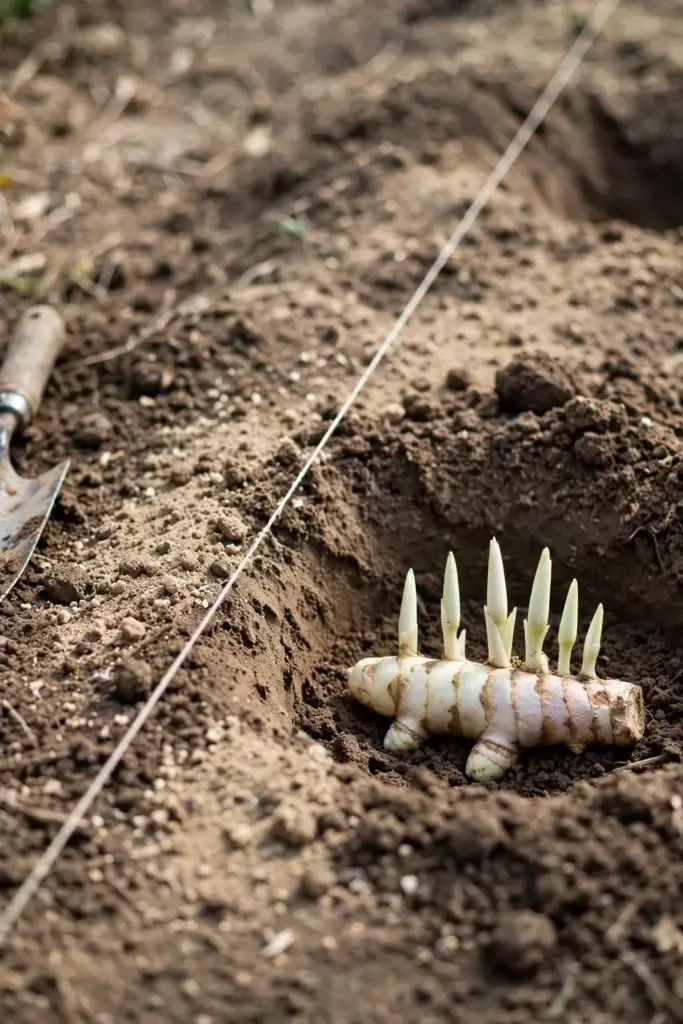
Here is the planting sequence, step by step.
| Step | Action | Timing |
|---|---|---|
| 1 | Prepare land to a fine tilth | February to March |
| 2 | Form beds 3 by 1.2 meters, 40 cm between beds | Early April |
| 3 | Take small pits in rows, 25 to 40 cm apart | At planting |
| 4 | Lay rhizomes flat, buds facing up | April, with pre-monsoon showers |
| 5 | Cover with soil or dry powdered cattle manure | Immediately |
| 6 | Mulch the beds | Immediately, then again 50 days later |
The 25 to 40 cm spacing is the number to memorize. Closer than 25 cm and the rhizome clumps crowd each other; wider than 40 cm and you waste bed space without gaining yield, which is why the university’s zedoaria agrotechnology fixes the row spacing at 25 to 40 cm. In a home bed, mark your rows with string and measure once. The measuring takes two minutes and pays for itself all season.
Plant the rhizomes flat with the buds pointing up, and cover them with soil or dry powdered cattle manure. The manure cover is doing double duty: it feeds the young shoot and keeps the soil surface from crusting. If your April brings no showers, water the bed in by hand. Rhizomes that sit in dry soil wait patiently, but rhizomes that sit in waterlogged soil rot, so “moist at planting” is the target, not “soaked.” Gardeners learning how to grow white turmeric from India planting stock should treat that moisture line as the first skill to master.
Outside the tropics, translate the calendar instead of copying it. April means “when the soil is reliably warm and the frost risk is past.” If that is May where you live, plant in May. The plant cares about warmth and moisture, not the name of the month.
5. Growing in Containers: Honest Rules for Cold Climates
You can grow white turmeric in a container, and for cold-climate gardeners it is the only sensible method. Be honest about the trade: a potted plant will produce a smaller rhizome clump than a bed-grown one, because the 25 to 40 cm row spacing the KAU package prescribes does not compress well into a pot.
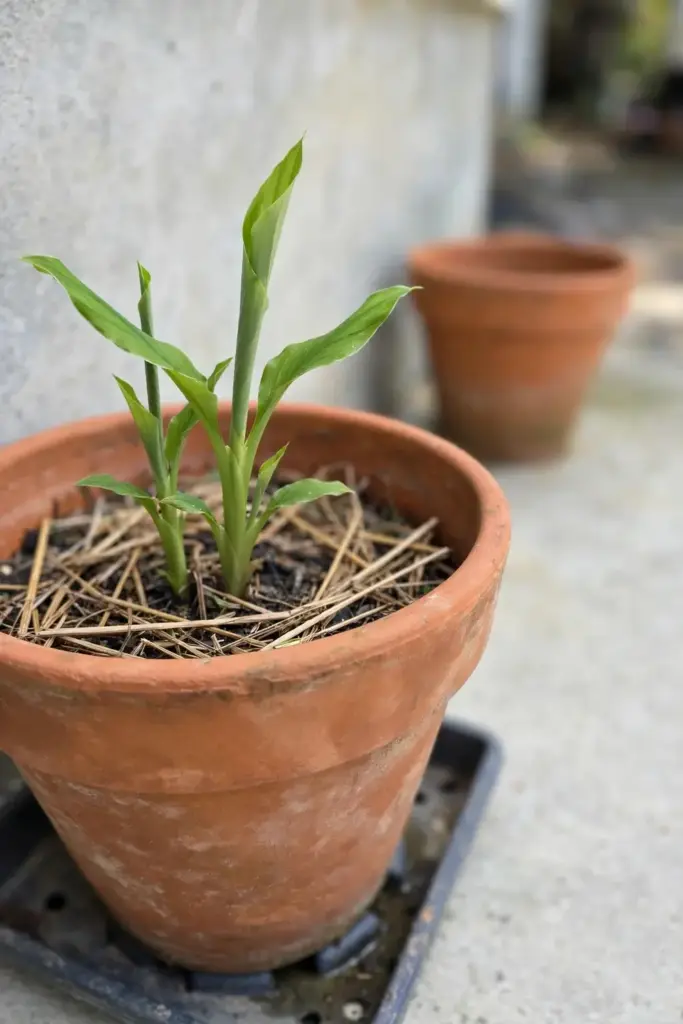
Use the widest pot you can move. One rhizome per wide container gives the clump room to expand the way the field spacing allows, and wide beats deep for this crop since the rhizomes spread sideways near the surface. A pot that is at least 30 cm across per rhizome is a reasonable minimum, scaled directly from the field spacing the KAU recommends.
Fill the container with rich, loose potting mix and the same feeding logic you would use in a bed, which our indoor herb growing guide covers for container herbs generally. Drainage holes are non-negotiable. A saucer that holds the pot in standing water for days will rot the rhizome exactly the way a waterlogged bed does.
Move the pot outdoors when nights stay reliably warm, and bring it back inside before the first cold snap. When the leaves yellow and collapse, let the plant go dormant in the pot: stop watering, store the pot cool and dry, and wake it up the next warm season. For cold-climate growers figuring out how to grow white turmeric from India rhizomes indoors, that dormancy cycle is the plant’s natural rhythm, not a failure.
6. Build the Soil: Rich Loam That Drains Fast
The KAU description of the ideal soil is short and worth quoting in spirit: rich loamy soils with good drainage. Everything in the soil section follows from those six words.
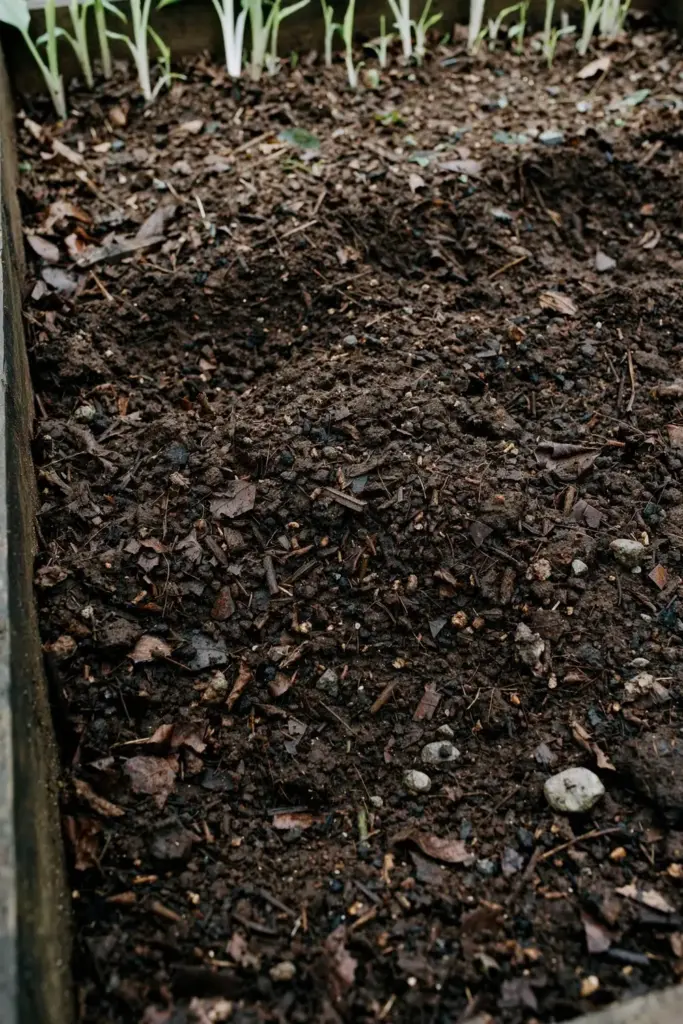
Start with loam, not sand and not clay. If your native soil is heavy clay, plant in raised beds or containers rather than fighting the drainage. Rhizomes are storage organs, and storage organs rot first when water stands. Work in generous compost before planting; the KAU package applies cattle manure or compost as a basal dose at 20 to 40 tonnes per hectare, which at garden scale means a thick, well-mixed layer through the top 20 cm of the bed.
Keep the pH in the mildly acidic to neutral range. The crop tolerates a reasonable band, so a soil test followed by a light lime application on very acidic soil is enough. For the broader soil-building picture, our soil health guide walks through the compost-first approach this crop rewards.
Avoid fresh, hot manure at planting time. The dry powdered cattle manure the KAU specifies as a covering material is aged and mild. Fresh manure burns young shoots and invites the very rot you are trying to prevent.
7. Water Like the Monsoon: Deep, Then Back Off
White turmeric wants the monsoon pattern: generous water during active growth, then a dry-down as dormancy approaches. In practice, that means keeping the bed evenly moist from planting through the peak leafy months, and never letting water stand.
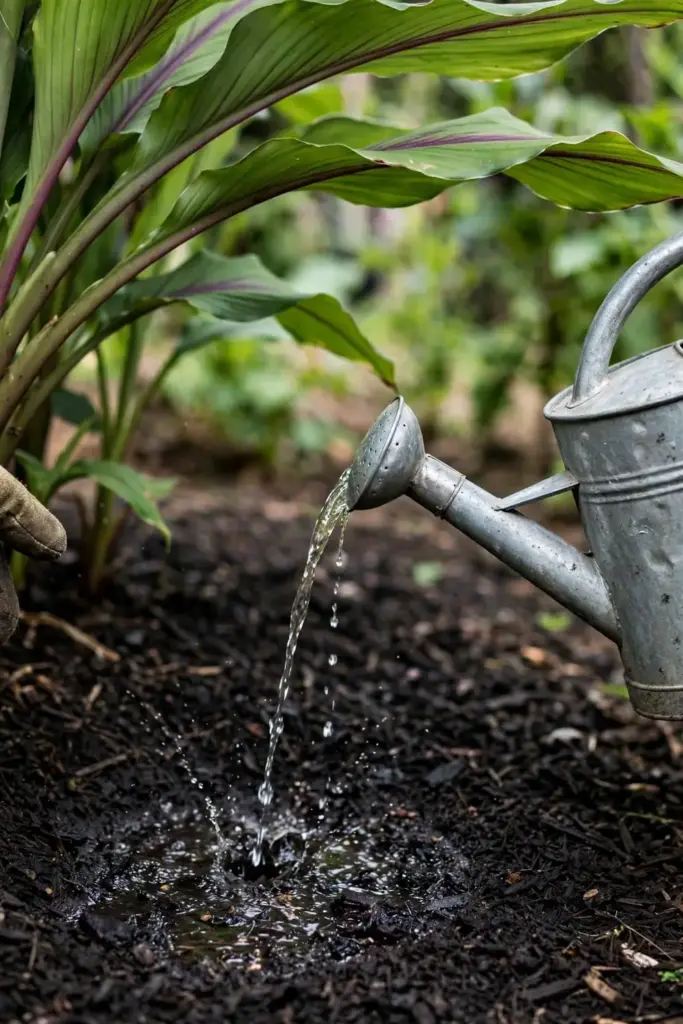
Water deeply enough to wet the root zone, then let the top few centimeters dry before watering again. In a rainy monsoon climate the sky does this for you; in a drier garden you do it with a hose or drip line. Mulch is your ally here, and the KAU schedule mulches immediately after planting and again 50 days later, which is exactly the rhythm that keeps soil moisture even.
The danger period is the end of the season. When the leaves start yellowing, the plant is shutting down and its water needs collapse. Continuing to water a dormant rhizome is the most common way home growers rot their harvest. Back off the water as the foliage fades, and let the bed dry down.
8. Feed for Rhizomes: Compost First, NPK Second
The crop is a moderate feeder, and the KAU manuring schedule is the backbone: a heavy basal dose of cattle manure or compost at 20 to 40 tonnes per hectare, with NPK fertilizer application described as beneficial and yield-increasing.
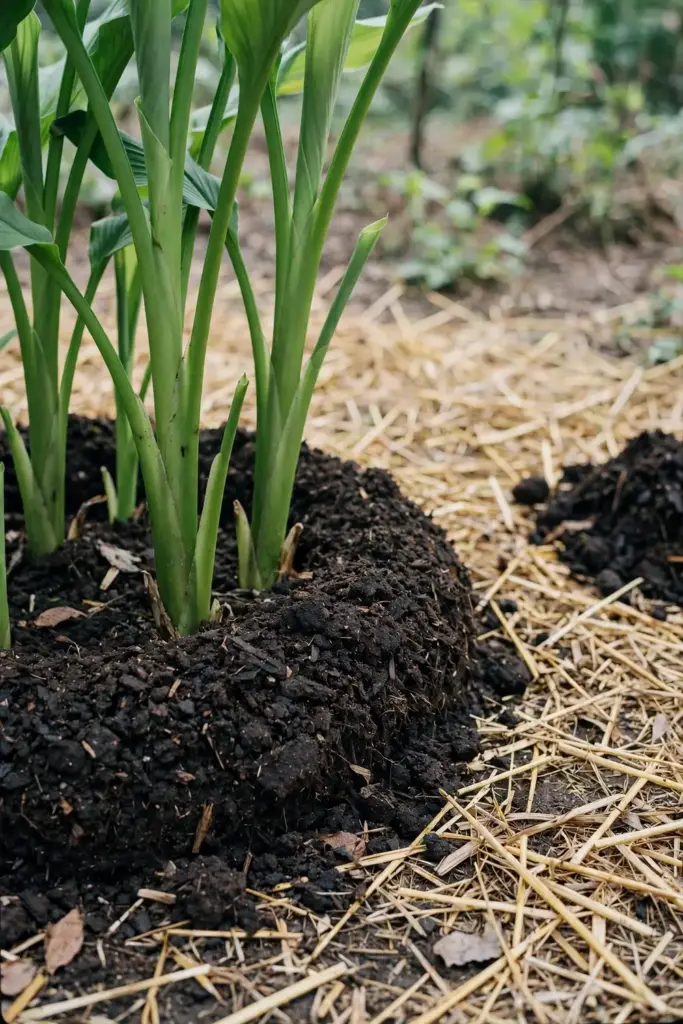
Translate that to a home bed. Dig compost deeply into the bed at preparation, then side-dress with more compost or a balanced organic fertilizer during the leafy growth months. The plant is building a big leaf canopy first and filling rhizomes later, so early feeding supports the canopy and mid-season feeding supports the swell.
Skip the temptation to push nitrogen hard late in the season. Excess late nitrogen grows leaves at the expense of rhizome filling and delays the dormancy signal. When the days shorten and growth slows, stop feeding and let the plant finish.
9. Mulch Twice: The 50-Day Rule
Mulching gets its own section because the KAU package specifies it twice: mulch immediately after planting, and mulch again 50 days after the first mulching. That is not decoration. It is moisture management and weed suppression in a crop that hates both drought stress and root disturbance from weeding.
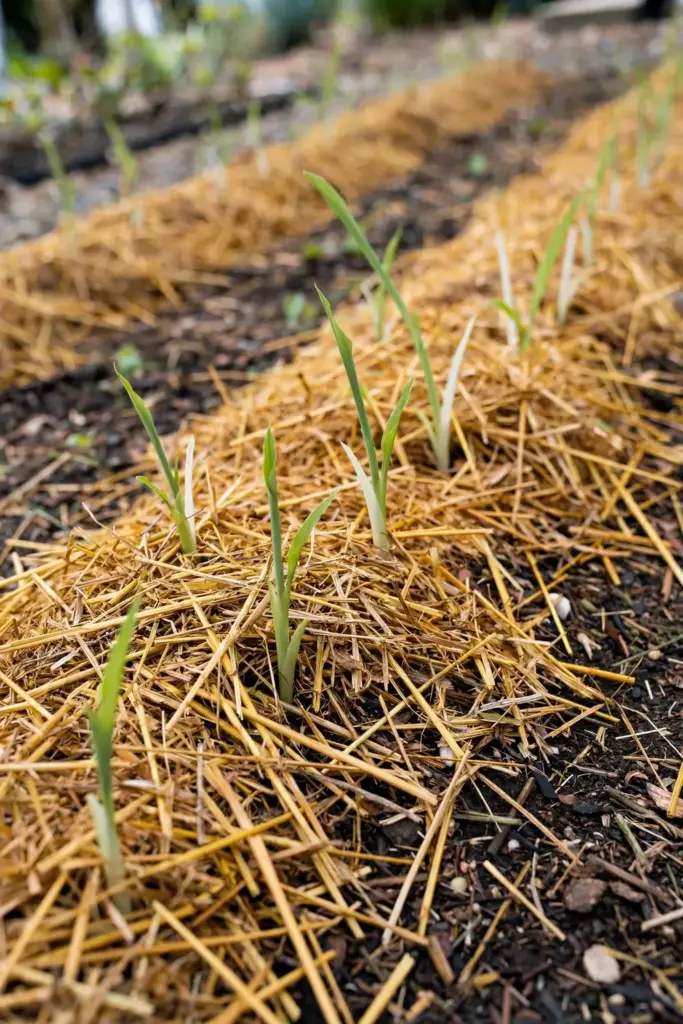
Use straw, dried leaves, or shredded bark. Lay the first mulch right after the rhizomes are covered, keeping it a few centimeters away from the emerging shoot tips so they push through cleanly. The second mulching at day 50 refreshes the layer just as the canopy is closing and the rhizomes are starting to swell.
Do not mulch with fresh grass clippings in a thick mat. They pack down, go slimy, and hold water against the rhizome necks. If grass is what you have, let it dry a day first and apply it thinly.
10. Pests and Diseases: Fewer Than You Fear
Here is some good news from the KAU plant protection notes: no major incidence of pest or disease is noticed in this crop. Expect minor issues rather than a spray calendar. The two the KAU names are leaf blotch and leaf spot, controlled by spraying Bordeaux mixture or 0.2 percent mancozeb, and shoot borers, controlled with 0.05 percent dimethoate or 0.025 percent quinalphos, per the plant protection notes. Home growers should read those as the commercial backstop, not the first move. Your first moves are spacing for airflow, the 25 to 40 cm rows you already measured, and removing affected leaves promptly.
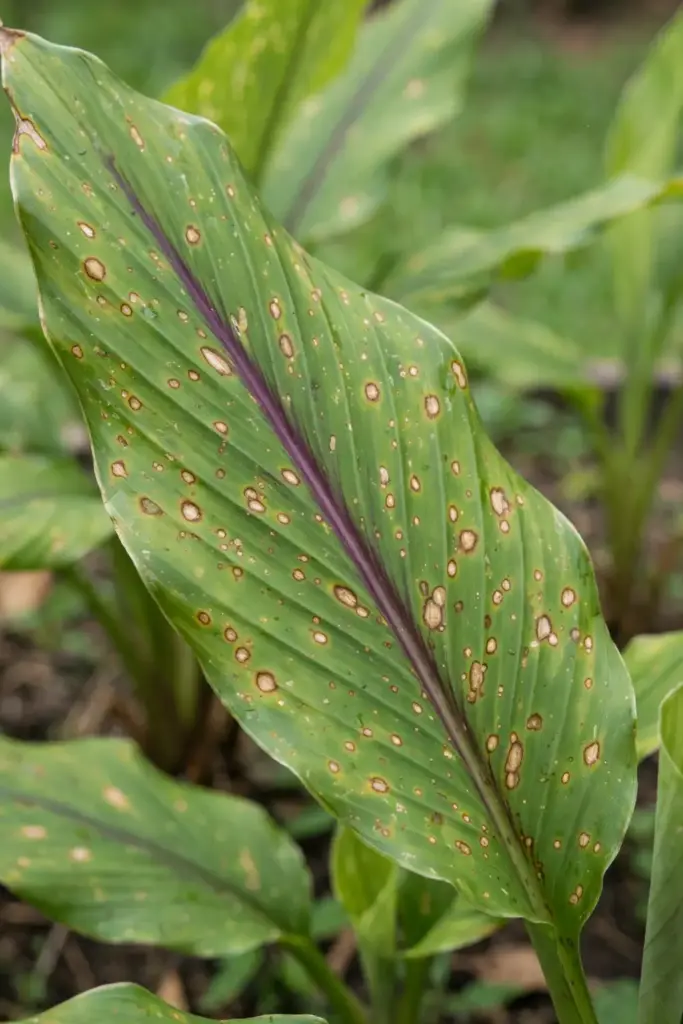
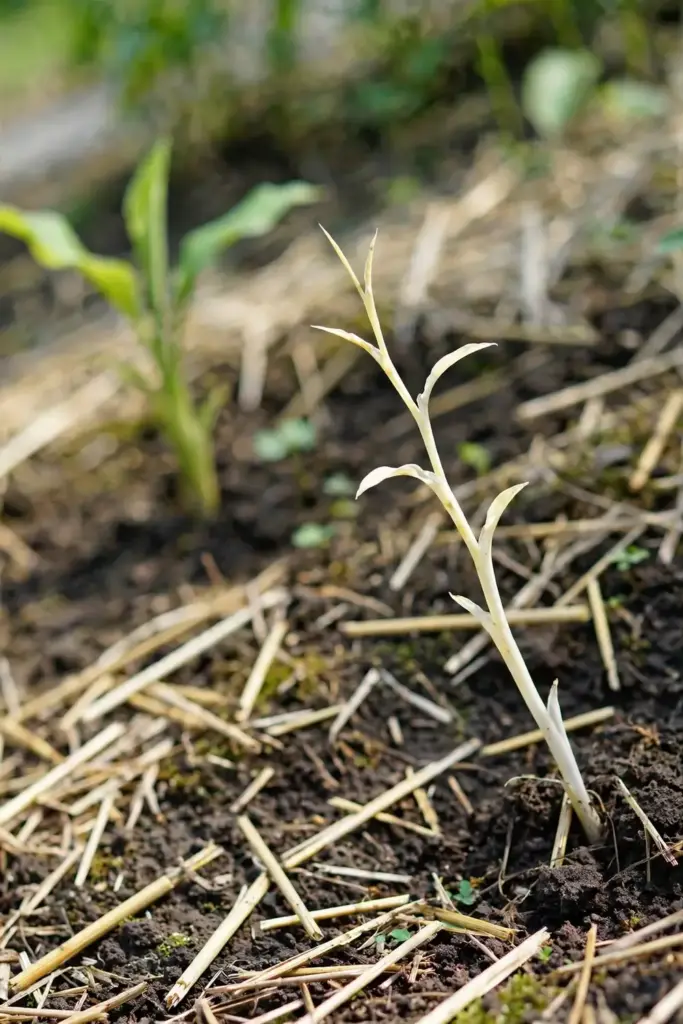
Watch for the shoot borer’s signature: a dead, dried central shoot, the “dead heart,” in an otherwise healthy clump. Pull the affected shoot, check for the larva inside, and destroy it. Catching one dead heart early beats any spray program.
Slugs and snails may chew young shoots in wet climates. A ring of coarse mulch-free soil around emerging shoots, or simple evening patrols, handles them without chemicals.
11. Dormancy: Read the Yellowing Leaves
About seven to ten months after planting, the leaves yellow and collapse. New growers panic. Experienced growers reach for the fork.
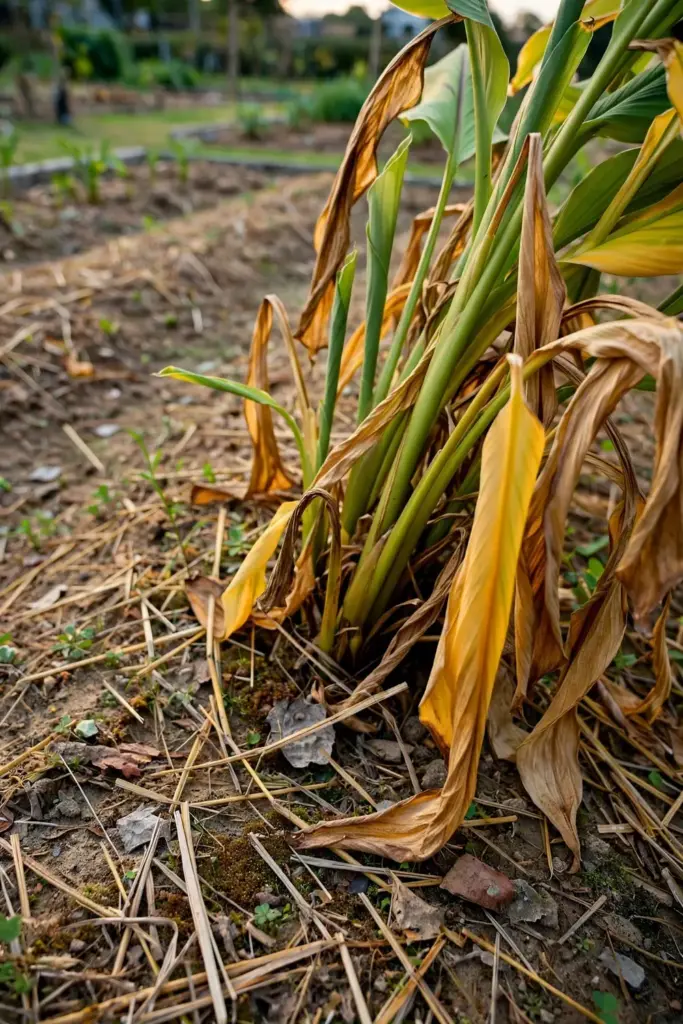
Yellowing foliage is the plant’s own harvest signal. Ayurvedic sourcing guidance notes that traditional harvest happens eight to ten months after planting, when leaves yellow, because that timing maximizes essential oil content, in the quality and sourcing guide. The KAU harvest window runs January to March for an April planting, which is the same seven to ten month arc.
Do not cut green leaves to “hurry” the plant. The rhizome is still filling while the foliage is green, and early defoliation costs you weight and oil content. Wait for the natural yellow, then wait a little longer until most of the top has collapsed. Patience here is measurable in the harvest basket.
12. Harvest at Seven to Ten Months: Lift, Clean, Cure
Harvest generally happens about seven to ten months after planting, in the January to March window for April-planted beds, per the KAU agrotechnology. Lift the whole clump with a fork, working from the side so you do not spear the rhizomes.
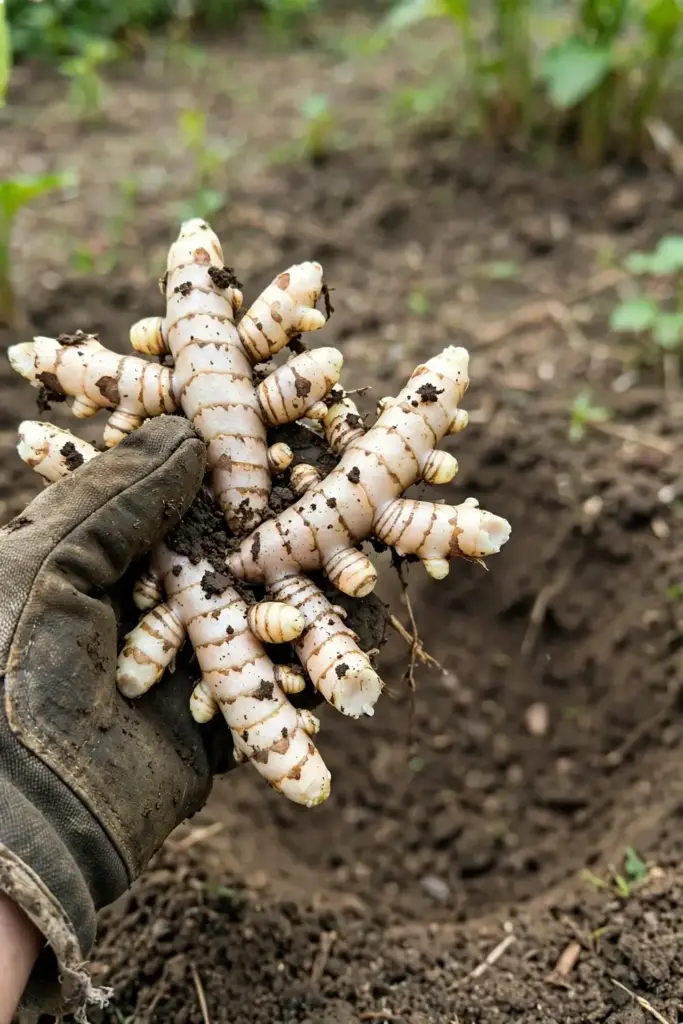
Shake off the loose soil, then clean the rhizomes of mud and adhering material. Separate out the best fingers for next season’s planting stock before you do anything else; the KAU notes that good fingers, separated and cleaned, are the ones used for curing and for replanting. Your planting stock is your most valuable harvest product.
Cure the eating and storing rhizomes by drying them in shade for a day before storage, the same shade-drying the KAU recommends before storage or transport. Shade, not sun: direct sun cooks the volatile oils you grew the plant for. Store cured rhizomes cool, dry, and ventilated, and check the stock monthly for soft spots.
13. The Amba Haldi Mix-Up: A Name That Is Not This Plant
This section exists because the error is everywhere. It was in our own original production notes, and it is still live on two popular health websites that list “Amba Haldi” among the common names of Curcuma zedoaria: the HealthBenefitsTimes white turmeric page carries it in the common-names list, and HealthShots repeats it in its white turmeric explainer.
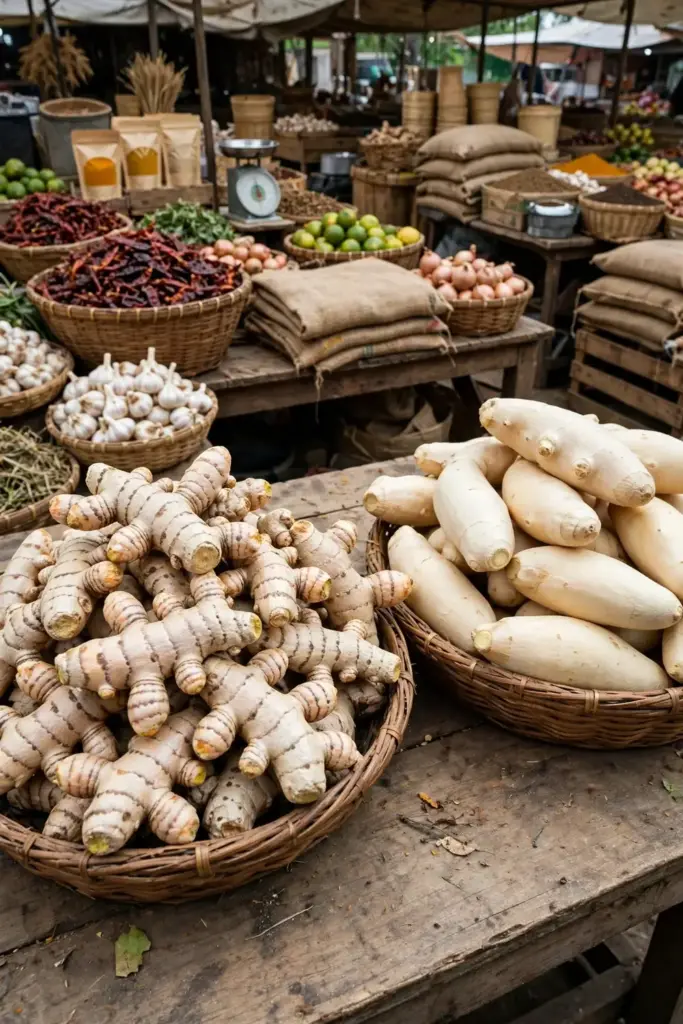
Botanically, they are wrong. Amba haldi is Curcuma amada, mango ginger, a different species with a pronounced raw-mango fragrance. Curcuma zedoaria is zedoary, white turmeric, kachur. The confusion is understandable, since both are pale-fleshed Curcuma species and both smell faintly of mango, and the trade uses the names loosely. Understandable is still not correct.
Why does it matter for a grower? Because if you buy “amba haldi” rhizomes expecting zedoary, you may plant the wrong species and harvest the wrong chemistry. Buy from sellers who use the Latin name Curcuma zedoaria on the label, and treat any listing that uses the two names interchangeably as a warning sign. Our program will cover true mango ginger, Curcuma amada, as its own article; until then, keep the names fenced.
14. Processing and Uses: Fresh, Dried, and Pickled
White turmeric is eaten fresh, pickled, dried, or powdered, and each form has its own handling. Fresh rhizomes go into salads, chutneys, and pickles, where the camphor-mango bite is the point. The KAU notes the rhizome’s traditional use in chutneys and medicinal preparations, which matches how homesteads actually use the crop: a little fresh, regularly, rather than in bulk.
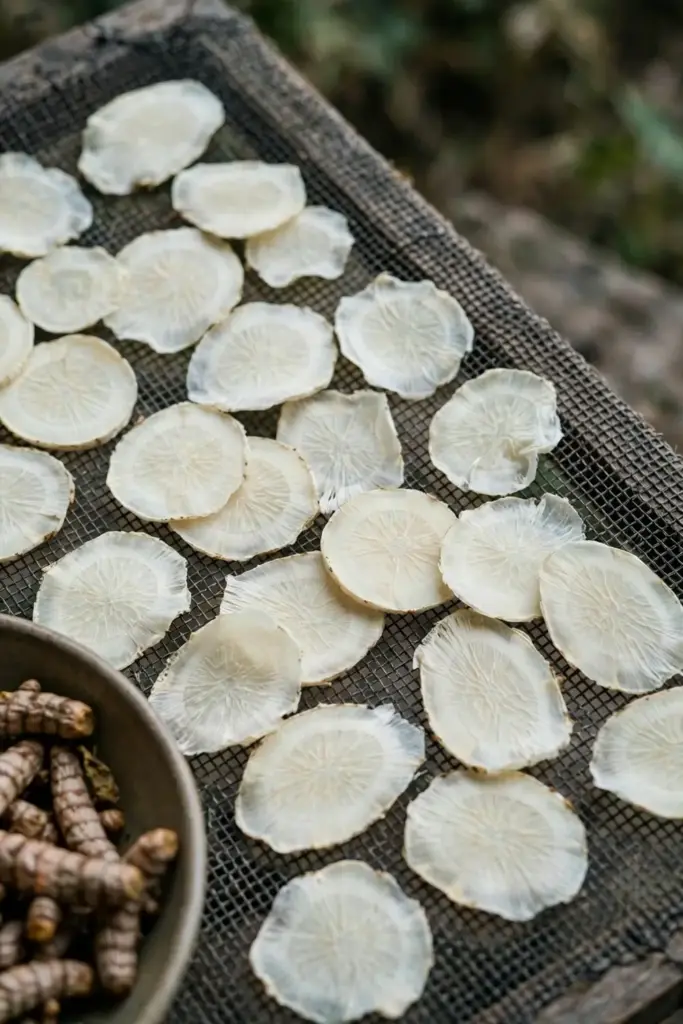
To dry rhizomes for powder, slice them thin and dry in shade with good airflow until they snap. Thick slices case-harden, staying moist inside while the outside looks done, and then mold in storage. Once fully dry, grind in small batches and store the powder airtight, away from light.
The essential oil of zedoary has a long history in perfumery and soap, but oil distillation is not a home project. Grow the rhizome, enjoy the fresh and dried forms, and leave the steam distillation to the professionals.
15. Buying Rhizomes and Powder: The Adulteration Problem
Adulteration is common in the white turmeric trade, and the sourcing guidance is blunt about it. When you buy zedoary products, look for organic certification, GC-MS testing reports verifying curzerenone at 5 percent or higher, opaque packaging that protects the oils from light, and single-ingredient labels with no fillers, per the sourcing and quality guide. Adulteration with regular turmeric or related Curcuma species is the specific risk the guide names.
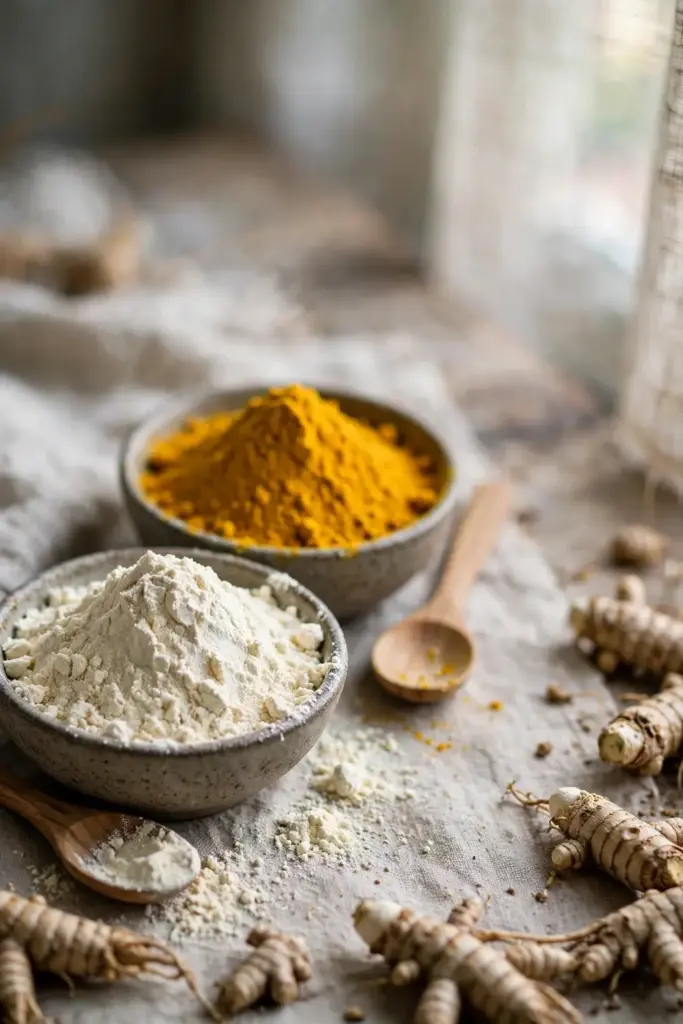
For planting stock, the same skepticism applies. Buy rhizomes from sellers who label the Latin name, Curcuma zedoaria, not just “white turmeric” and never “amba haldi.” Ask when the rhizomes were harvested; old, shriveled stock germinates poorly. If a seller cannot name the species, find a seller who can.
Price is a weak signal here. Expensive powder in pretty packaging can still be cut with fillers, and cheap rhizomes from a knowledgeable grower can be excellent. The GC-MS report is the signal. No report, no premium price.
16. Safety: Pregnancy, Bleeding Risk, and the Clinician Rule
White turmeric is a food plant with a medicinal reputation, and the safety framing needs to be conservative. Ayurvedic safety guidance contraindicates zedoary in pregnancy due to emmenagogue action, flags a potential miscarriage risk, and advises caution with anticoagulants because large doses may inhibit platelet aggregation, alongside a gallstone caution since the bitter compounds can stimulate bile flow. That is the safety section of the sourcing guide, and it is the strictest credible framing available.
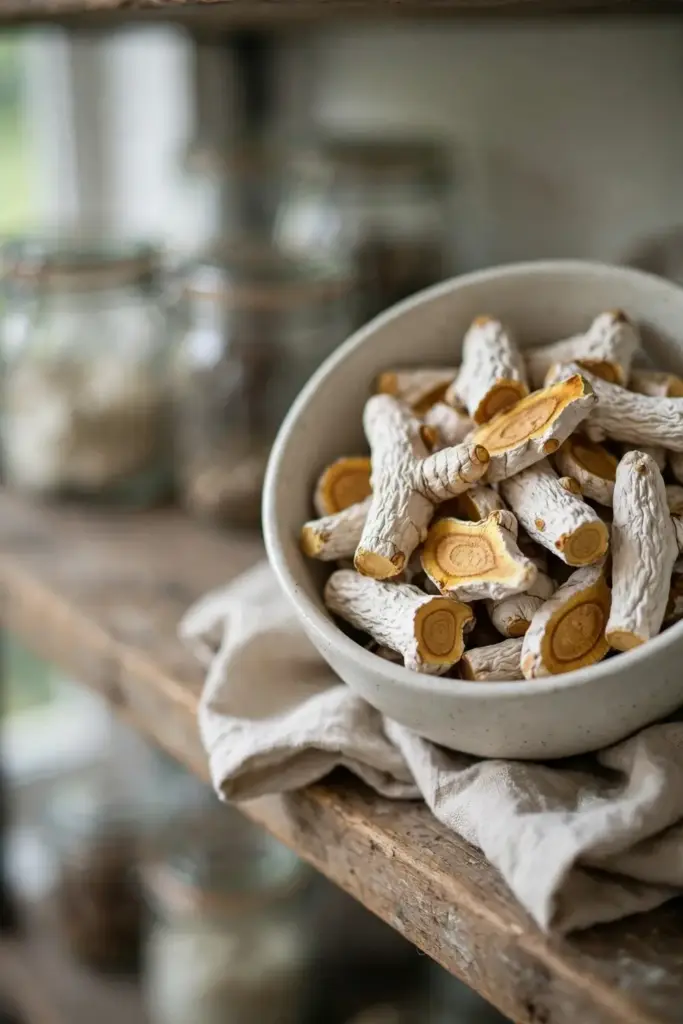
The practical rule is simple. Culinary amounts of fresh rhizome in food are the traditional context. Concentrated powders, capsules, and medicinal doses are a different category, and they belong in a conversation with a clinician or qualified Ayurvedic practitioner, especially if you are pregnant, nursing, taking blood thinners, or managing gallstones.
Do not dose by internet anecdote. There is no agreed human dosage for zedoary preparations, and the traditional texts describe uses, not prescriptions. Grow the plant, enjoy it as food, and treat the medicinal lane with the respect it deserves.
17. Mistakes That Cost Gardeners the Harvest
Planting too deep is the classic error. Rhizomes planted deeper than a few centimeters struggle to emerge, and in wet soil they rot before they sprout. Flat, buds up, lightly covered: that is the whole technique.
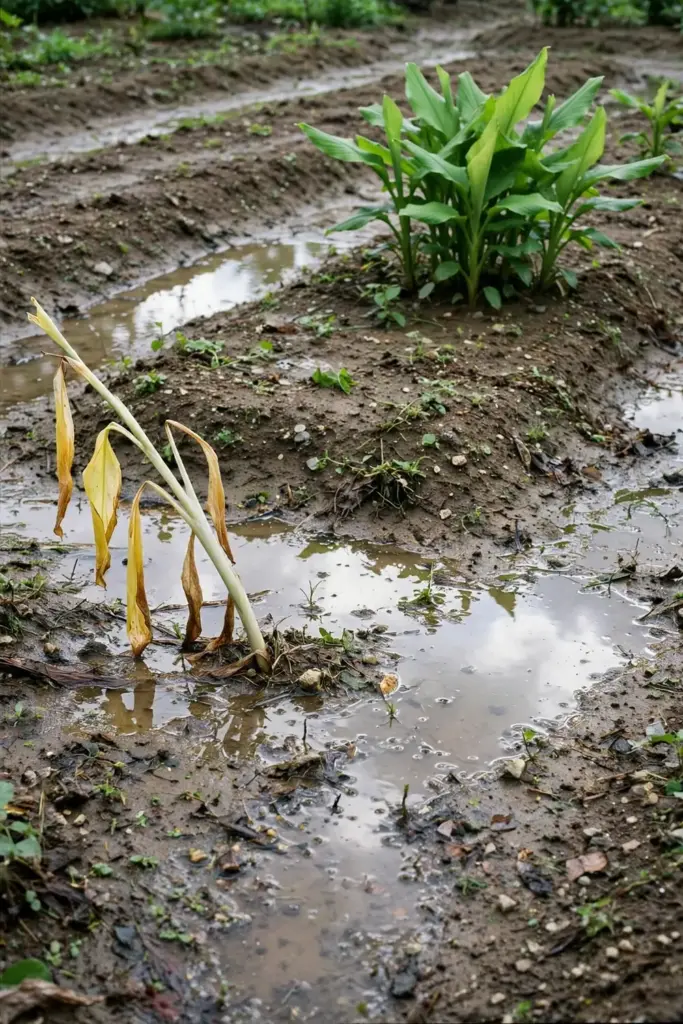
Watering through dormancy is the second classic. When the leaves yellow, the plant is done drinking. Keep the hose away and let the bed dry down, or you will lift mush instead of rhizomes.
Buying the wrong species is the third, and this article has already spent a full section on it. If the label says amba haldi and nothing else, you are probably holding mango ginger. If the label says Curcuma zedoaria, you are holding white turmeric. The Latin name is the only name that cannot be fudged.
Skipping the mulch is the fourth. The double mulching in the KAU package exists because bare soil in a tropical bed dries, crusts, and weeds over. Mulch is cheap insurance on every one of those fronts.
Harvesting early is the fifth. Green tops mean the rhizome is still filling. Wait for the yellow. The oil content you are growing for peaks at natural maturity, not before it.
18. Troubleshooting: Quick Answers to Common Problems
Shoots emerge weak and pale. The usual cause is old or small planting stock. Next season, save the fattest mother rhizomes for replanting instead of eating them, and store them cool and dry, never in a sealed plastic bag.
Leaves develop spots or blotches. Remove the worst leaves, improve airflow by thinning any overcrowded clumps, and avoid wetting the foliage when you water. The KAU backstop is Bordeaux mixture or mancozeb spray, but sanitation and spacing solve most home-garden cases.
A shoot dies at the center while the rest looks fine. That is the dead-heart signature of the shoot borer. Pull the dead shoot, destroy it with the larva inside, and check neighboring shoots. One borer does not mean an infestation.
Rhizomes rot in the ground. Drainage failed. Lift what is salvageable, let the bed dry, and replant next season in a raised bed or containers. Never replant into the same soggy spot without fixing the drainage first.
The plant grows leaves but the rhizome clump stays small. Usually a spacing or feeding issue: crowded clumps compete, and starved plants cannot fill rhizomes. Give the 25 to 40 cm spacing honestly next season, and feed on the KAU schedule.
No flowers appear. White turmeric flowers before or with the leaves in some seasons and not at all in others, and flowering is not required for a rhizome harvest. Do not chase blooms; chase rhizome weight.
19. Frequently Asked Questions
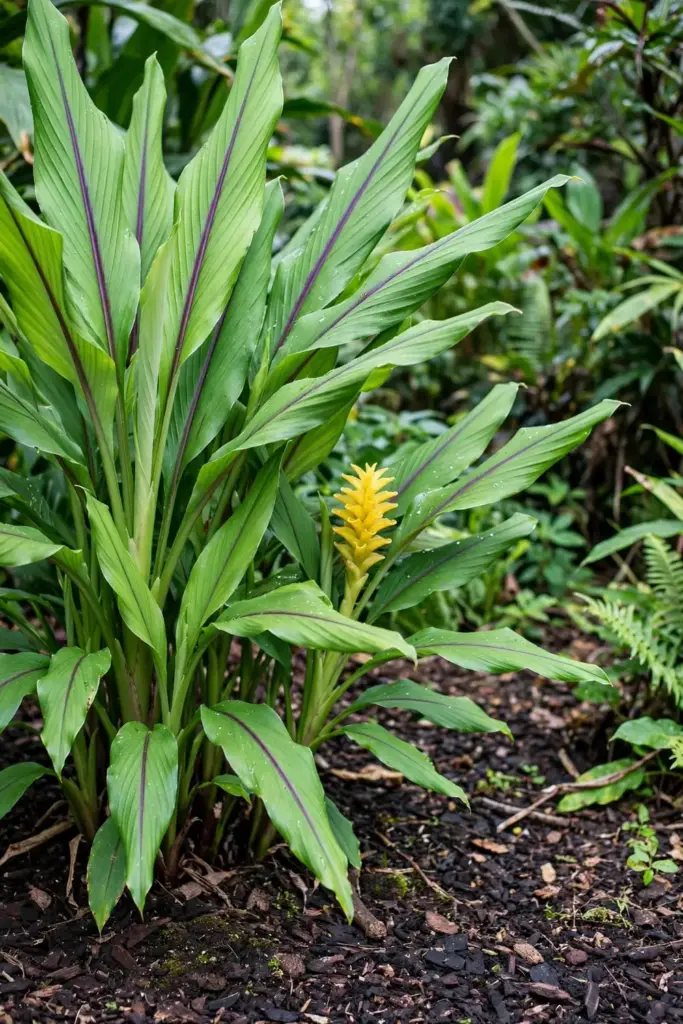
No. White turmeric is Curcuma zedoaria; amba haldi is Curcuma amada, or mango ginger, a different species. The names get mixed in the trade because both are pale-fleshed Curcuma species with a mango-like scent, but the Latin names do not lie. Buy planting stock labeled Curcuma zedoaria.
Seven to ten months from an April planting to harvest, with the harvest window falling in January to March. The leaves yellowing and collapsing is the signal that the rhizomes are mature. Traditional sourcing guidance places the oil-rich harvest at eight to ten months, when the foliage has yellowed.
Yes, and in cold climates it is the only method that works. Use the widest pot you can move, one rhizome per container, with rich, fast-draining mix. Move it outdoors for the warm season and indoors before frost. Expect a smaller harvest than a bed-grown plant, and let the pot go dry and dormant over winter.
Twenty-five to 40 cm between plants in rows, on beds 3 by 1.2 meters with 40 cm between beds, per the KAU package of practices. Plant rhizomes flat with buds facing up and cover lightly with soil or dry powdered cattle manure. Measure the spacing once; it pays all season.
Treat it as contraindicated. Ayurvedic safety guidance flags zedoary as contraindicated in pregnancy due to emmenagogue action, with a potential miscarriage risk, and advises caution with anticoagulants and gallstones. Culinary amounts in food are the traditional context; concentrated forms belong in a clinician conversation.
Bitterness is the signature, not a defect. The camphor-like, bitter bite comes from the sesquiterpene oils including curzerenone, which are also the compounds that mark genuine zedoary. If your powder tastes like mild yellow turmeric, it may be adulterated with Curcuma longa. Bitterness is the authenticity test your tongue can run.
20. The Honest Finish: A Rhizome Worth the Wait
White turmeric asks for one warm season, an April planting, honest spacing, and the patience to wait for yellow leaves. In return it gives you a rhizome unlike anything else in the ginger family: camphor-bright, faintly mango, bitter in the way that tells you it is real.
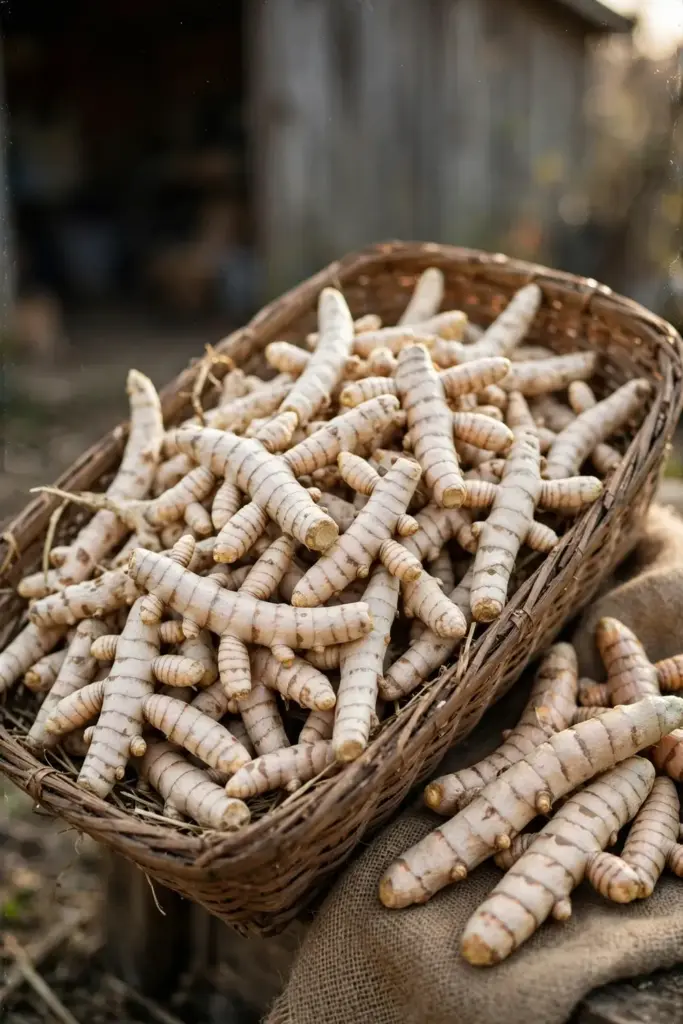
Start with correctly labeled Curcuma zedoaria rhizomes, plant them flat and buds-up in April, mulch twice, and let the plant tell you when it is done. The growers who fail with this crop almost always fail on identity, timing, or drainage. Get those three right and the harvest takes care of itself.
If you want to learn how to grow white turmeric from India as a yearly rhythm rather than a one-time experiment, save your best mother rhizomes at harvest, store them cool and dry, and plant them when the pre-monsoon warmth returns. The second year is easier than the first, because the teacher is your own garden.