Are you tired of buying pre-ground turmeric that lacks the vibrant flavor and aroma of fresh? Do you long for the satisfaction of harvesting your own homegrown spices? I understand that feeling. I’ve been there myself, yearning for that direct connection to the food I use. You’re not alone. Many gardeners, like you and me, are discovering the joys of growing their own herbs, and turmeric is an especially rewarding one. That’s why I’ve put together this comprehensive guide. In this article, I’ll show you how to grow turmeric herbs successfully, from planting the rhizomes to harvesting the vibrant roots. This is your ultimate guide to growing turmeric at home, whether you’re a seasoned gardener or just starting out. We will cover everything from cultivating turmeric in containers to turmeric herb gardening in your backyard, ensuring you have the knowledge for a bountiful harvest.
Understanding Turmeric
Turmeric (Curcuma longa) is more than just a spice in your kitchen cabinet; it’s a fascinating plant with a rich history. It belongs to the ginger family (Zingiberaceae), a group of rhizomatous herbaceous perennials. This means it’s a plant with an underground stem (the rhizome) that lives for more than two years and sends up new shoots each growing season. Originating in Southeast Asia, specifically India, turmeric has been cultivated for centuries, not only for its culinary uses but also for its traditional medicinal properties and as a natural dye.
For generations, turmeric has been a staple in Indian cuisine and Ayurvedic medicine. In cooking, it provides a warm, earthy flavor and a vibrant golden-yellow color to curries, stews, and other dishes. Medicinally, it’s renowned for its potential anti-inflammatory and antioxidant properties, largely attributed to its active compound, curcumin.
I remember the first time I saw fresh turmeric root. It was at a local farmers market, and I was struck by its vibrant orange color. It was so different from the dull yellow powder I was used to seeing in stores. That experience sparked my interest in growing my own, and I’ve never looked back.
There’s a world of difference between fresh turmeric root and the pre-ground powder you find in supermarkets. Fresh turmeric boasts a more complex flavor profile, with subtle notes of citrus and ginger. It’s also significantly more potent in terms of curcumin content. When you grow your own, you have complete control over the growing process, ensuring that your turmeric is free from any unwanted additives or pesticides. This is especially important if you plan to use it for medicinal purposes.
Growing your own turmeric herbs gives you access to the freshest possible spice. It allows you to explore different varieties and experience the full spectrum of flavors and benefits that this amazing plant has to offer. Plus, there’s nothing quite like the satisfaction of harvesting something you’ve grown yourself.
Here’s a quick comparison to highlight the difference:
Fresh Turmeric vs. Turmeric Powder
| Feature | Fresh Turmeric | Turmeric Powder |
| Flavor | Complex, with notes of citrus and ginger | Earthy, slightly bitter |
| Curcumin Content | Higher | Lower (can vary depending on processing and storage) |
| Freshness | Maximum | Reduced |
| Control | Complete control over growing practices | No control |
| Availability | Seasonal, may require searching | Widely available |
Benefits of Growing Your Own Turmeric Herbs:
- Freshness: Enjoy the most vibrant flavor and aroma.
- Control: Ensure organic growing practices and avoid unwanted additives.
- Cost Savings: Potentially save money compared to buying fresh turmeric regularly.
- Satisfaction: Experience the joy of growing your own food.
- Access to Leaves: Use the turmeric leaves in cooking as well (in some cuisines).
I hope this overview has given you a solid understanding of what turmeric is and why growing your own is so rewarding.
Getting Started: Planting Turmeric
Now that you understand the wonders of turmeric, let’s get our hands dirty (metaphorically, of course, unless you’re already out in the garden!). This section is all about the practical steps of planting turmeric, setting you up for a successful harvest.
How to Plant Turmeric Rhizomes:
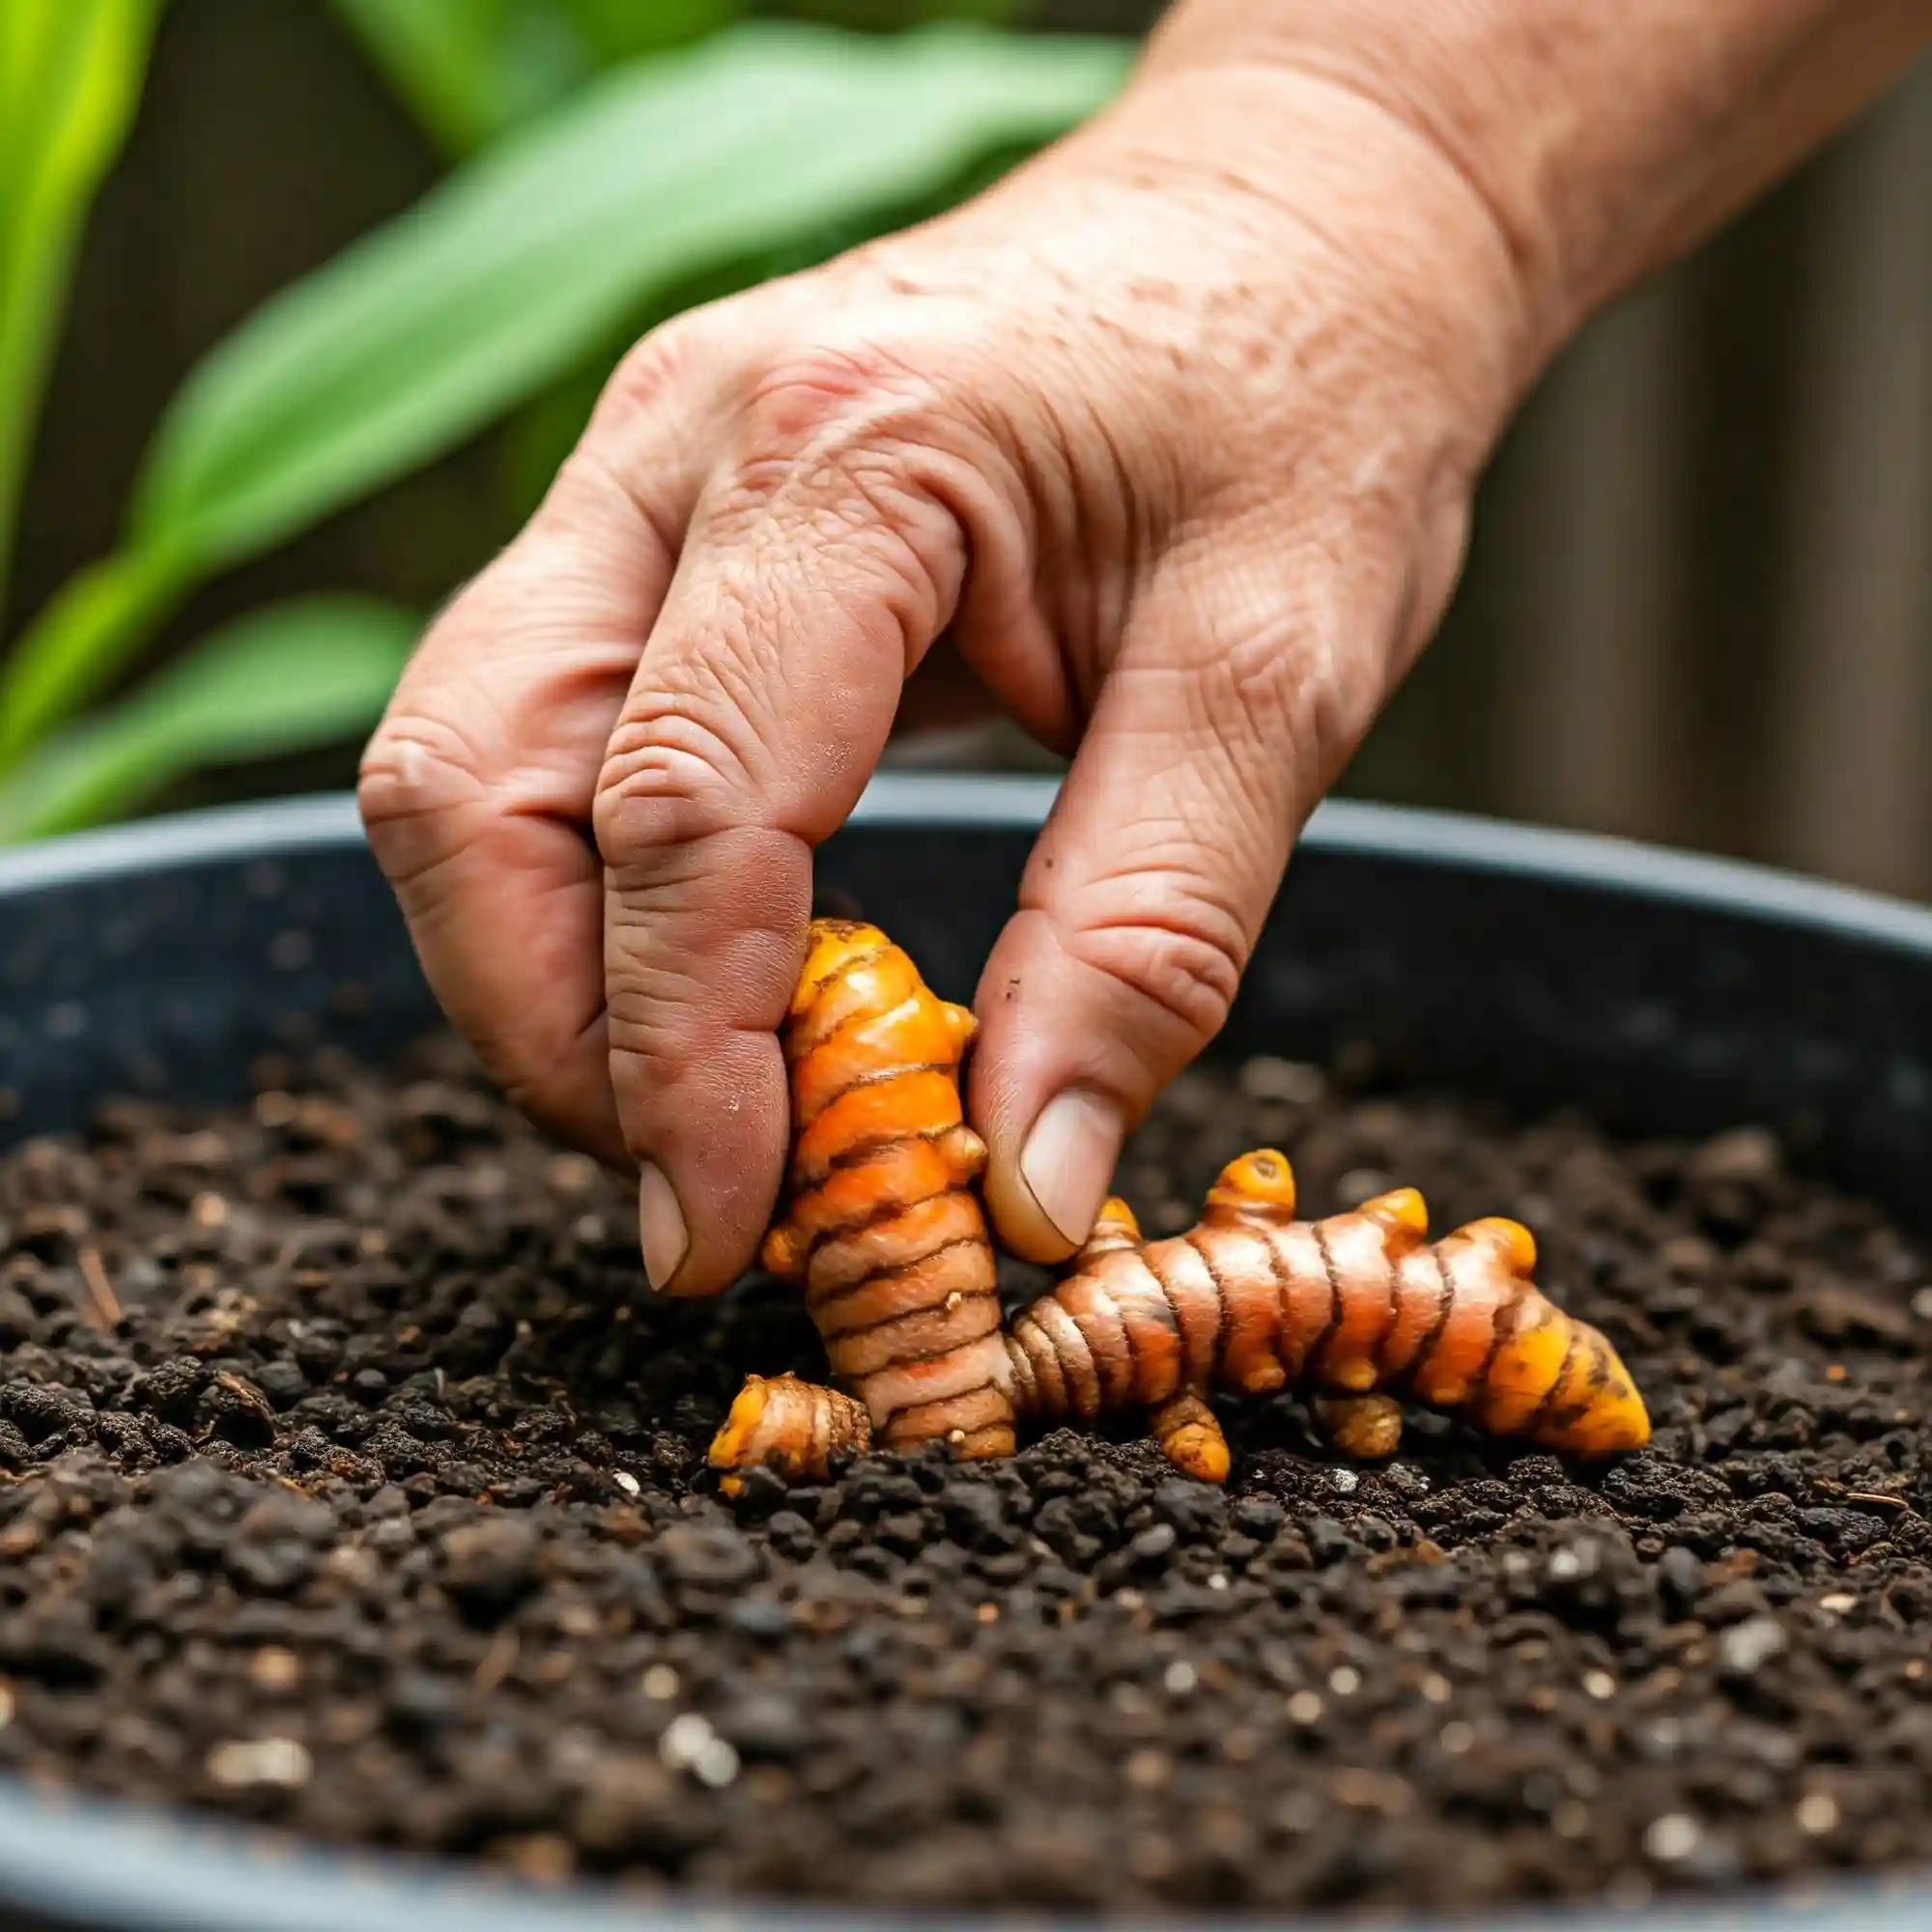
The key to growing turmeric lies in the rhizomes. These are the underground stems from which new plants sprout. Think of them as the “seed” of the turmeric plant. Here’s how to get started:
- Sourcing Rhizomes: You have a few options for acquiring turmeric rhizomes. Local nurseries are a great place to start, as they often carry healthy, locally adapted varieties. Online suppliers are another convenient option, offering a wider selection. You can even try using rhizomes from the grocery store, but make sure they are certified organic to avoid any chemical treatments that might inhibit growth. I’ve personally had success with all three methods, but I find that sourcing from local nurseries often yields the strongest plants.
- Choosing Healthy Rhizomes: When selecting rhizomes, look for ones that are firm, plump, and free from any signs of rot or disease. They should have visible buds or “eyes”—these are the points from which new shoots will emerge. The more “eyes” a rhizome has, the more plants it can potentially produce.
- Preparing the Rhizomes: If your rhizomes are large, you can cut them into smaller pieces, each containing at least one or two buds. This will allow you to grow multiple plants from a single rhizome. After cutting, it’s important to let the cut ends callus over for a few days. This helps prevent fungal infections. I usually leave them in a dry, well-ventilated place for about 3-4 days.
Best Time to Plant Turmeric:
Timing is crucial when planting turmeric. It thrives in warm climates and requires a long growing season.
- Timing Based on Climate: The ideal time to plant turmeric is in the spring, after the last frost has passed and the soil has warmed up. This ensures that the young plants won’t be damaged by cold temperatures. If you live in a colder climate, you can start your turmeric indoors in pots a few weeks before the last frost and then transplant them outdoors once the weather warms up.
- Growing Zones: Turmeric thrives in USDA plant hardiness zones 8-11. However, with proper care and protection, you can grow it in cooler zones as well, especially in containers that can be moved indoors during the winter.
Preparing the Growing Medium:
Turmeric needs the right soil to flourish.
- Soil Requirements: Turmeric prefers well-draining, fertile soil that is rich in organic matter. A slightly acidic pH (between 6.0 and 6.8) is ideal. I’ve found that a mix of equal parts compost, potting soil, and perlite works well for container growing.
- Amending the Soil: If you’re planting directly in the ground, amend the soil with plenty of compost or other organic matter to improve drainage and fertility. This will provide the turmeric plants with the nutrients they need to grow strong and healthy.
- Growing in Pots vs. In the Ground: Turmeric can be successfully grown in both pots and in the ground. Container growing is a good option if you live in a cooler climate or have limited garden space. It also allows you to move the plants to a more protected location if needed. When growing in pots, choose containers that are at least 12 inches deep and wide to accommodate the growing rhizomes.
This detailed guide on planting turmeric should give you the confidence to start your own turmeric growing journey. Remember, choosing healthy rhizomes, planting at the right time, and preparing the soil properly are the first steps to a successful harvest.
Turmeric Growing Conditions
Now that your turmeric rhizomes are planted, creating the right growing conditions is essential for healthy growth and a bountiful harvest. Turmeric, like many of us, has specific preferences when it comes to its environment. Let’s explore the key factors: sunlight, watering, temperature, humidity, and fertilizing.
Sunlight:
Turmeric thrives in plenty of light, mimicking its native tropical environment.
- Optimal Sunlight Requirements: Ideally, turmeric needs about 6-8 hours of sunlight per day. In hotter climates, providing some afternoon shade can prevent the leaves from scorching. I’ve noticed that in my own garden, turmeric planted in a spot that receives morning sun and afternoon shade tends to perform exceptionally well.
- Growing Turmeric Herbs Indoors with Artificial Grow Lights: If you’re growing turmeric indoors, you’ll need to supplement natural light with artificial grow lights. Fluorescent or LED grow lights work well. Position the lights about 6-12 inches above the plants and provide them with 12-16 hours of light per day. This will ensure that your turmeric receives the energy it needs to grow.
Watering:
Finding the right balance with watering is crucial.
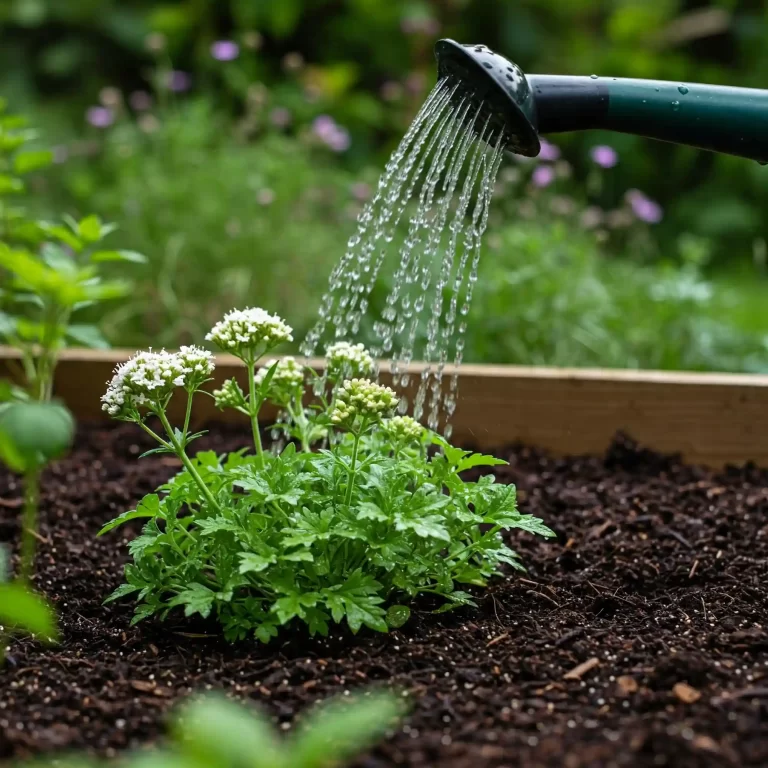
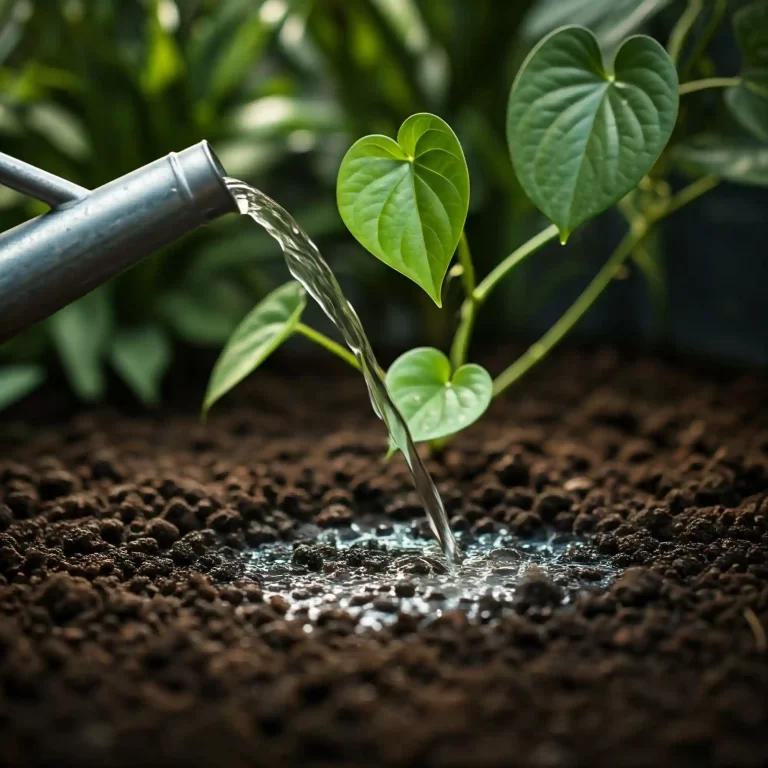
- Watering Frequency: Turmeric needs consistent moisture, but it’s important to avoid overwatering, which can lead to root rot. Water the plants deeply when the top inch of soil feels dry to the touch. I usually check the soil moisture every few days and adjust my watering schedule accordingly.
- Importance of Good Drainage: Good drainage is essential to prevent root rot. Make sure your pots have drainage holes and that the soil is well-draining. If you’re planting in the ground, amend heavy clay soil with compost or other organic matter to improve drainage.
- How Often to Water Turmeric in Different Climates: In hotter, drier climates, you’ll need to water more frequently than in cooler, more humid climates. Pay attention to the weather and adjust your watering schedule accordingly.
Temperature and Humidity:
Turmeric is a tropical plant and prefers warm temperatures and high humidity.
- Ideal Temperature Range: The ideal temperature range for turmeric growth is between 68°F and 86°F (20°C and 30°C). Temperatures below 50°F (10°C) can damage the plants.
- How to Grow Turmeric Herbs in Containers in a Cold Climate: If you live in a colder climate, growing turmeric in containers is the best option. This allows you to bring the plants indoors during the winter months.
- Maintaining Humidity, Especially for Indoor Growing: Indoor environments can be dry, especially during the winter. To increase humidity, you can mist the plants regularly, place a tray of water near the plants, or use a humidifier.
Fertilizing:
Providing your turmeric plants with the right nutrients will encourage healthy growth and a good harvest.
- Type of Fertilizer to Use: Turmeric benefits from regular fertilization. I recommend using an organic fertilizer, such as compost tea or fish emulsion. These provide the plants with essential nutrients without the risk of chemical burn.
- Fertilizing Schedule: Fertilize your turmeric plants every 2-3 weeks during the growing season. You can reduce the frequency during the winter months when the plants are not actively growing.
- How to Grow Turmeric Herbs Without Any Chemical Fertilizers or Pesticides: Growing turmeric organically is a great way to ensure you’re getting the purest possible spice. Use organic fertilizers, such as compost and well-rotted manure, and focus on preventive measures for pest and disease control.
By providing your turmeric plants with the right growing conditions, you’ll be well on your way to a successful harvest. Remember, consistency is key. Pay attention to your plants’ needs and adjust your care accordingly.
Caring for Your Turmeric Plants
Once your turmeric plants are established, a little ongoing care will ensure they thrive. This section covers essential maintenance practices: mulching, weeding, and pest and disease control.
Mulching:
Mulching offers several benefits for turmeric plants.
- Benefits of Mulching: Mulch helps retain soil moisture, suppress weeds, and regulate soil temperature. It also adds organic matter to the soil as it decomposes, further enriching the growing medium. I’ve found that mulching is especially beneficial in hot climates, where it helps prevent the soil from drying out too quickly.
- Types of Mulch to Use: Suitable mulches for turmeric include organic materials like straw, shredded leaves, wood chips, or compost. Avoid using fresh grass clippings, as they can mat down and prevent air circulation.
Weeding:
Keeping weeds at bay is essential for healthy turmeric growth.
- Importance of Regular Weeding: Weeds compete with your turmeric plants for water, nutrients, and sunlight. Regular weeding will ensure that your turmeric plants have the resources they need to thrive. I recommend hand-weeding regularly, especially when the plants are young.
Pest and Disease Control:
While turmeric is relatively pest and disease-resistant, a few issues can arise.
- Common Turmeric Pests and Diseases: Common pests that can affect turmeric include nematodes and aphids. Diseases like root rot and leaf spot can also occur, especially in overly wet conditions.
- Organic Pest and Disease Control Methods: I prefer to use organic methods for pest and disease control whenever possible. For aphids, a strong spray of water or insecticidal soap can be effective. For root rot, ensure good drainage and avoid overwatering. Neem oil can be used to control a variety of pests and diseases.
- How to Grow Turmeric Herbs and Prevent Common Diseases: Prevention is always the best approach. Start with healthy rhizomes, provide good drainage, ensure adequate air circulation, and avoid overhead watering. This will go a long way in preventing most common turmeric diseases.
By following these care tips, you’ll create a healthy environment for your turmeric plants to flourish, setting the stage for a successful and abundant harvest.
Harvesting and Curing Turmeric
The moment you’ve been waiting for! After months of nurturing your turmeric plants, it’s time to reap the rewards of your labor. This section will guide you through the process of harvesting and curing turmeric, ensuring you get the most out of your homegrown spice.
When to Harvest Turmeric:
Knowing when to harvest is crucial for optimal flavor and quality.
- Signs of Maturity: The best time to harvest turmeric is when the leaves and stems begin to turn yellow and dry out. This usually occurs about 8-10 months after planting. I’ve found that waiting until this stage ensures that the rhizomes have reached their full size and potency.
- How to Grow Turmeric Herbs for Both Leaves and Rhizomes Harvest: While the rhizomes are the primary focus, you can also harvest the leaves for culinary use. Young, tender leaves can be used in salads, soups, and other dishes. If you plan to harvest both leaves and rhizomes, start harvesting the leaves a few months after planting, but be careful not to take too many, as this can weaken the plant.
How to Harvest Turmeric Rhizomes:
Harvesting turmeric is a relatively simple process.
- Digging Up the Rhizomes Carefully: Use a garden fork or shovel to carefully loosen the soil around the plants. Then, gently lift the rhizomes out of the ground. Be careful not to damage the rhizomes during this process. I usually start by digging a circle around the plant and then carefully working my way inwards.
The Curing Process:
Curing is an essential step in preparing turmeric for storage and use.
- Cleaning the Rhizomes: After harvesting, wash the rhizomes thoroughly to remove any dirt or debris. I use a soft brush to gently scrub them clean.
- Boiling or Steaming the Rhizomes: Traditionally, turmeric rhizomes are boiled or steamed for about an hour. This helps to reduce bitterness and improve the color and texture of the dried spice.
- Drying the Rhizomes: After boiling or steaming, the rhizomes need to be dried. This can be done by sun-drying them for several days or using a dehydrator. I prefer using a dehydrator, as it provides more consistent drying and reduces the risk of mold growth.
- How to Cure Turmeric Roots: The curing process is the same whether you’re using rhizomes or smaller roots. The key is to ensure they are thoroughly dried before storing them.
Storing Turmeric:
Proper storage will help maintain the quality of your turmeric.
- Proper Storage Methods for Cured Turmeric: Once the rhizomes are completely dry, you can store them in an airtight container in a cool, dark place. They can also be ground into powder using a spice grinder or food processor. I usually store some of the rhizomes whole and grind the rest into powder as needed.
By following these steps, you can successfully harvest and cure your turmeric, ensuring you have a supply of fresh, homegrown spice to enjoy throughout the year.
Storing Your Turmeric Harvest
Once you’ve harvested and cured your turmeric, proper storage is key to preserving its flavor, aroma, and beneficial properties. Here’s how to store your turmeric harvest effectively:
Whole Rhizomes:
- Cool, Dark Place: Store the dried rhizomes in an airtight container in a cool, dark place, such as a pantry or cupboard. This will protect them from light and moisture, which can degrade their quality.
- Ideal Temperature: The ideal storage temperature for turmeric rhizomes is between 60-70°F (15-21°C). Avoid storing them in areas that are subject to temperature fluctuations, such as near a stove or oven.
- Check Regularly: Check the rhizomes periodically for any signs of mold or spoilage. If you find any damaged rhizomes, discard them to prevent the rest from being affected.
Ground Turmeric:
- Airtight Container: If you’ve ground your turmeric into powder, store it in an airtight container to prevent it from losing its flavor and aroma.
- Cool, Dark Place: Store the container in a cool, dark place, away from heat and light.
- Use Within a Year: Ground turmeric has a shorter shelf life than whole rhizomes. For best flavor, use it within a year.
Additional Tips:
- Label Your Containers: Label your containers with the date of harvest to keep track of how long your turmeric has been stored.
- Store Away from Strong Odors: Store your turmeric away from strong-smelling foods, as it can absorb odors.
- Consider Vacuum Sealing: For long-term storage, consider vacuum sealing your turmeric rhizomes or powder. This will help to prevent oxidation and maintain their quality for longer.
By following these storage tips, you can enjoy the fruits of your labor for months to come, adding the vibrant flavor and health benefits of homegrown turmeric to your culinary creations.
Frequently Asked Questions about Growing Turmeric
Growing turmeric can be a rewarding experience, but it’s natural to have questions along the way. I’ve compiled a list of frequently asked questions to help you navigate the process and ensure your turmeric thrives.
Q: How to grow turmeric herbs in pots indoors during winter?
A: Growing turmeric indoors during winter is a great way to extend your growing season. Choose a pot that is at least 12 inches deep and wide, and fill it with well-draining potting mix. Plant your turmeric rhizomes about 2 inches deep and water them thoroughly. Place the pot in a sunny window or under grow lights, and keep the soil consistently moist but not soggy. Maintain a temperature between 70-90°F (21-32°C) and provide humidity by misting the leaves regularly or placing a tray of water near the pot.
Q: How to grow organic turmeric herbs from rhizomes at home?
A: Growing organic turmeric starts with sourcing organic rhizomes from a reputable supplier. Plant them in well-draining soil that has been amended with compost and other organic matter. Use organic fertilizers, such as compost tea or fish emulsion, to feed your plants. For pest and disease control, rely on natural methods like hand-picking pests, using neem oil, and ensuring good air circulation.
Q: How to grow turmeric herbs in containers in a cold climate?
A: In cold climates, growing turmeric in containers is the best approach. This allows you to bring the plants indoors during the winter months. Choose a pot that is large enough to accommodate the growing rhizomes, and fill it with well-draining potting mix. Plant your rhizomes in the spring and move the containers outdoors once the weather warms up. Before the first frost, bring the containers back indoors and place them in a sunny location.
Q: What is the best way to grow turmeric herbs organically?
A: The best way to grow turmeric organically is to focus on creating a healthy soil ecosystem. Amend your soil with compost and other organic matter to improve its fertility and drainage. Use organic fertilizers and natural pest control methods. Avoid using synthetic chemicals, which can harm beneficial soil microorganisms and the environment.
Q: How to grow turmeric herbs successfully for culinary use?
A: To grow turmeric for culinary use, start with fresh, healthy rhizomes. Plant them in well-draining soil and provide them with plenty of sunlight and water. Harvest the rhizomes when the leaves and stems begin to dry out. Cure the rhizomes by boiling or steaming them and then drying them thoroughly. This will enhance their flavor and aroma.
Q: How to grow turmeric herbs from store-bought rhizomes easily?
A: Growing turmeric from store-bought rhizomes is a simple process. Choose rhizomes that are firm and plump, with visible buds or “eyes.” Cut the rhizomes into smaller pieces, if necessary, and let the cut ends callus over for a few days. Plant the rhizomes in well-draining soil and water them thoroughly. Place the pot in a warm, sunny location and wait for the magic to happen.
Q: How to grow turmeric herbs and prevent common diseases?
A: To prevent common turmeric diseases, start with healthy rhizomes and plant them in well-draining soil. Avoid overwatering and ensure good air circulation around the plants. Use organic fungicides, such as neem oil, if necessary.
Q: How to grow turmeric herbs in raised garden beds for beginners?
A: Growing turmeric in raised garden beds is a great option for beginners. Raised beds offer improved drainage and soil control. Fill your raised bed with a mix of compost, potting soil, and other organic matter. Plant your turmeric rhizomes in the spring and water them regularly.
Q: How to grow turmeric herbs indoors with artificial grow lights?
A: Growing turmeric indoors with grow lights requires providing the right amount of light and maintaining a warm, humid environment. Use fluorescent or LED grow lights and position them about 6-12 inches above the plants. Provide 12-16 hours of light per day and maintain a temperature between 70-90°F (21-32°C).
Q: How to grow turmeric herbs in well-draining soil for best results?
A: Well-draining soil is essential for growing turmeric. To improve drainage, amend your soil with compost, perlite, or other organic matter. Avoid using heavy clay soils, which can retain too much moisture.
Q: How to grow turmeric herbs in zone 9 for maximum yield?
A: Zone 9 provides ideal conditions for growing turmeric. Plant your rhizomes in the spring and provide them with plenty of sunlight and water. Fertilize regularly and harvest the rhizomes in the fall.
Q: Step by step guide on how to grow turmeric herbs at home?
A: Here’s a quick step-by-step guide:
- Source healthy turmeric rhizomes.
- Prepare well-draining soil.
- Plant the rhizomes about 2 inches deep.
- Water thoroughly and place in a sunny location.
- Fertilize regularly and harvest in the fall.
Q: How to grow turmeric herbs without any chemical fertilizers or pesticides?
A: Growing turmeric without chemicals involves using organic methods for fertilization and pest control. Use compost, well-rotted manure, and other organic matter to fertilize your plants. For pest control, rely on natural methods like hand-picking pests, using neem oil, and ensuring good air circulation.
Q: How to grow turmeric herbs for both leaves and rhizomes harvest?
A: To harvest both leaves and rhizomes, start harvesting the leaves a few months after planting. Be careful not to take too many leaves, as this can weaken the plant. Harvest the rhizomes in the fall, when the leaves and stems begin to dry out.
Q: What are the best conditions to grow turmeric herbs outdoors?
A: The best conditions for growing turmeric outdoors include plenty of sunlight, warm temperatures, high humidity, and well-draining soil. Choose a location that receives at least 6-8 hours of sunlight per day and is protected from strong winds.
I hope these FAQs have answered your questions about growing turmeric. If you have any further questions, feel free to reach out, and I’ll be happy to assist you.
Conclusion: A Golden Harvest Awaits
Growing turmeric herbs is a rewarding endeavor that brings a touch of the exotic to your garden and kitchen. By following the steps outlined in this guide, you can successfully cultivate your own turmeric, from planting the rhizomes to harvesting and curing the vibrant roots.
Remember, turmeric thrives in warm conditions, well-draining soil, and plenty of sunlight. With a little patience and care, you’ll be rewarded with a bountiful harvest of fresh, flavorful turmeric that you can use in your culinary creations and for its potential health benefits. So, embrace the journey of growing turmeric, and enjoy the golden harvest that awaits you.
