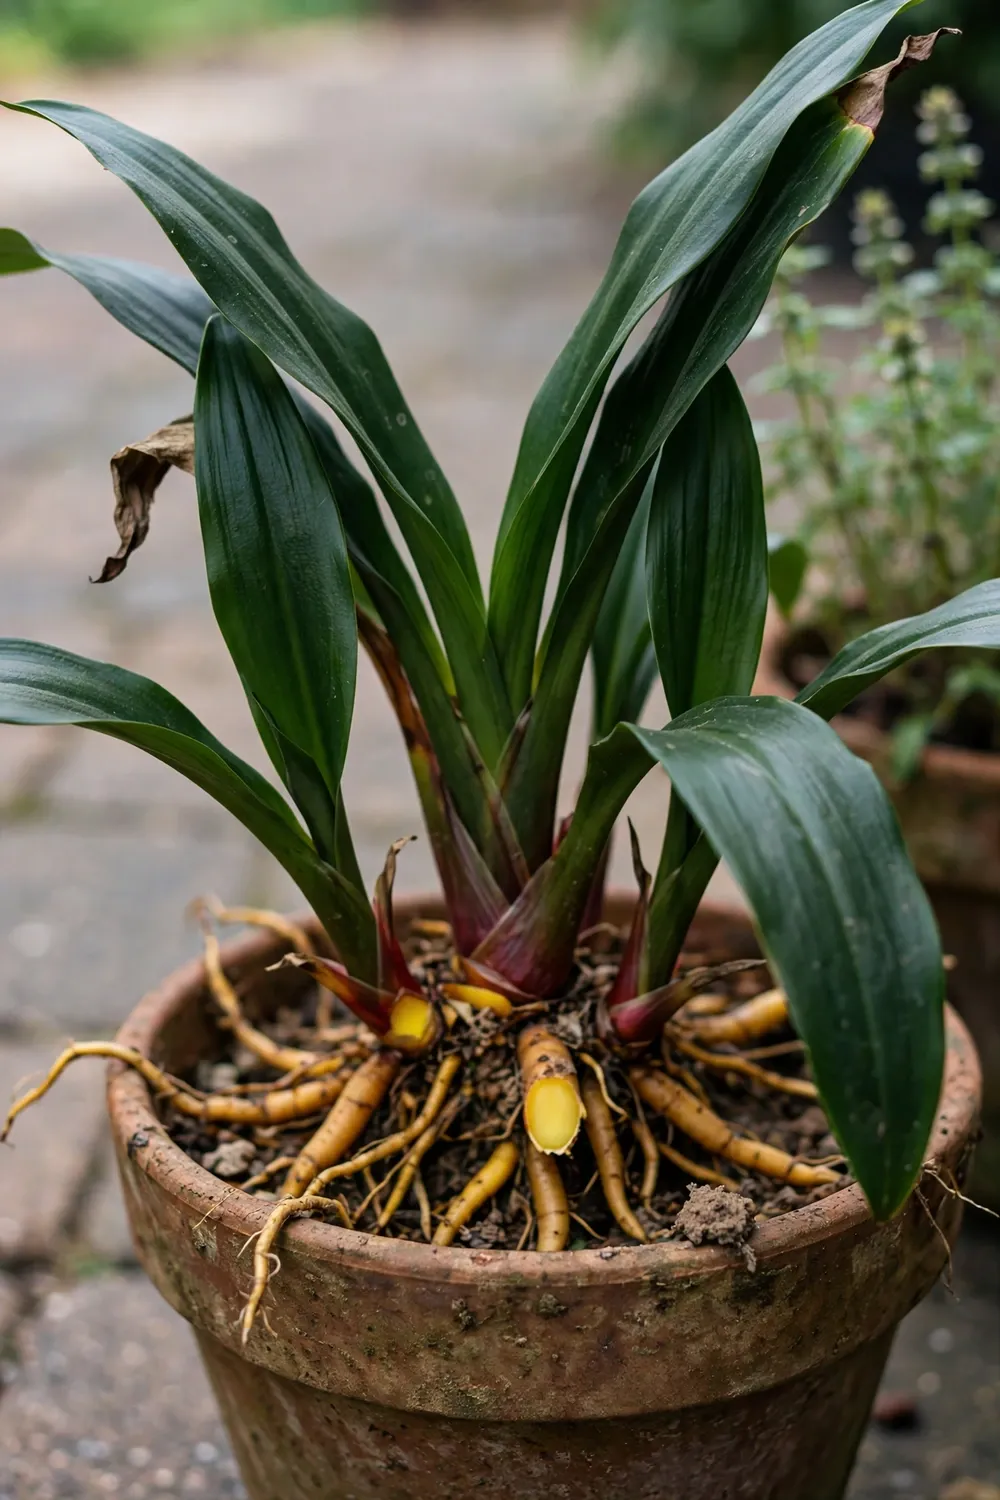

Plant one fingerroot rhizome piece 5 to 8 cm deep in a 10-litre pot of humus-rich mix after the last frost, and pull the whole plant 4 to 5 months later for a harvest of finger-shaped roots. That is how to grow fingerroot (Boesenbergia rotunda), the temu kunci of Indonesian kitchens and the krachai of Thai curries, in a temperate climate. The plant stays compact at 30 to 80 cm tall, so one pot on a bright patio covers a household through the curry season.
I have learned to judge a new fingerroot pot by its second flush of leaves, not its first, because a rhizome cutting needs about a month to produce 4 to 5 leaves. Fingerroot is not ginger, galangal, or kencur, though nursery labels mix up the names. Culinary ginger is Zingiber officinale, grown for its branched rhizome, and it gets its own guide to growing culinary ginger at home. Fingerroot belongs to the genus Boesenbergia, and its crop is a cluster of finger-like tuberous roots hanging from a small central rhizome.
The 16 steps below follow one pot through a full season: confirming the species, choosing the site and pot, planting after frost, watering and feeding, moving indoors before cold weather, harvesting at 4 to 5 months, and storing rhizomes for the next spring.
Fingerroot at a Glance
| Fact | Detail |
|---|---|
| Botanical name | Boesenbergia rotunda (L.) Mansf. |
| Family | Zingiberaceae (ginger family) |
| Other names | Temu kunci (Indonesian), krachai (Thai), Chinese keys, fingerroot |
| Plant height | 30 to 80 cm |
| Hardiness | Perennial in zone 10b and warmer; dig-and-replant annual elsewhere |
| Light | Partial to full shade; bright indirect light indoors |
| Soil | Rich, moist, humus-heavy, well draining; pH 5.5 to 6.5 |
| Container | Minimum 10 litres |
| Planting depth | 5 to 8 cm |
| Days to harvest | Whole plants pulled 4 to 5 months after planting |
1. Check the Tag: Buy Boesenbergia Rotunda, Not a Lookalike
Buy the plant on its botanical name. Boesenbergia rotunda is the accepted name, and Kew’s Plants of the World Online lists Boesenbergia pandurata and Kaempferia pandurata among its synonyms, so older labels may carry either name. A tag that says only “lesser galangal” or “Chinese ginger” proves nothing, because both names get applied to several different plants in trade. Check for the full binomial before you pay.
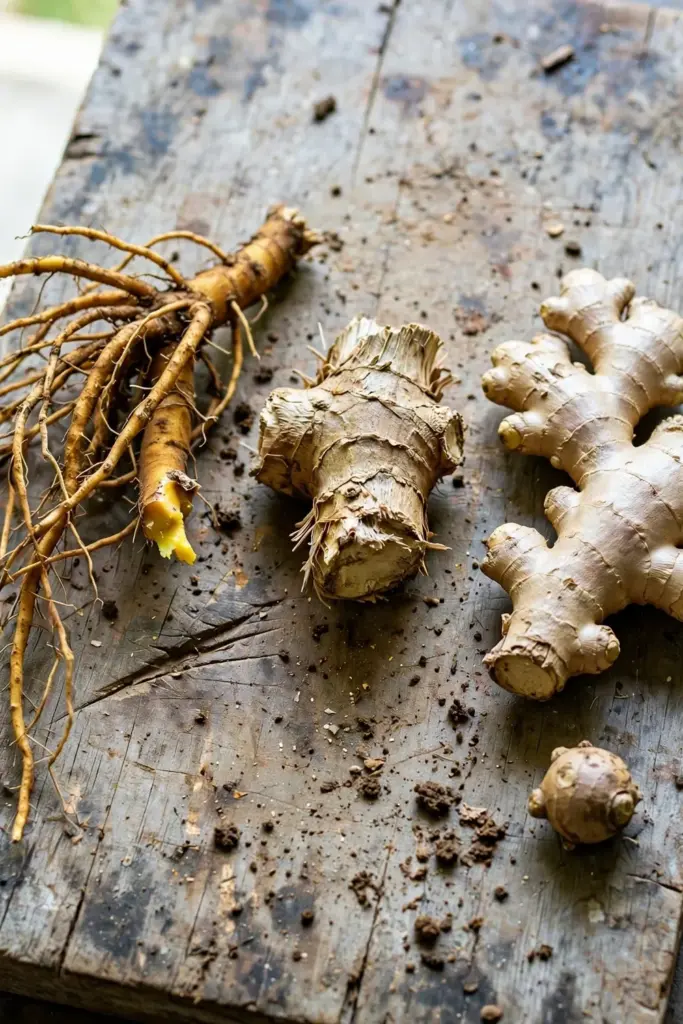
The confusion has a simple cause. Four ginger-family plants share the word galangal in common usage, and sellers swap the names freely. Fingerroot is one of the four. The table below separates them by the one feature you can check at the market stall: the shape of the underground part. Fingerroot dimensions come from the PROSEA description).
| Plant | Botanical Name | Underground Part | Kitchen Role |
|---|---|---|---|
| Fingerroot | Boesenbergia rotunda | Small central rhizome with finger-like tuberous roots 5 to 30 cm long | Thai, Malay, and Indonesian fish curries, soups, and sambals |
| True ginger | Zingiber officinale | Branched, knobby rhizome | Universal seasoning, fresh and dried |
| Greater galangal | Alpinia galanga | Large branched rhizome with tough flesh | Tom yum, curry pastes, and soups |
| Lesser galangal | Alpinia officinarum | Slender reddish-brown rhizome | Braises and spice blends |
| Kencur (sand ginger) | Kaempferia galanga | Small round rhizome, low flat leaves | Javanese sambal, pecel, and jamu |
Flavor follows the same split. Fingerroot tastes peppery and ginger-like with a camphor edge, a profile its essential oil supports: 1,8-cineole makes up 18 to 41 percent of the oil, with camphor at about 13 percent, per the PROSEA species account). Greater galangal leans citrus and pine. Kencur leans camphor and pepper. True ginger brings warm pungency. None of the four substitutes for another one to one in a curry paste, so buy the right rhizome at the start.
The plant itself stays compact at 30 to 80 cm tall, with 3 to 5 erect leaves, per the PROSEA description).
Two marketing names deserve a flat correction. Sellers sometimes call fingerroot “Thai ginseng” or the “king of Thai herbs.” Fingerroot is not ginseng, it belongs to no ginseng family, and the titles are sales language, not botany. What the plant offers is a distinct rhizome flavor and a compact, shade-tolerant habit that suits a pot.
2. Pick a Warm, Bright Spot With Afternoon Shade
Give fingerroot warmth, bright light, and shelter from harsh midday sun. The plant grows best in a hot, humid tropical climate and suits partial to full shade, since it evolved as a forest understory plant. A patio that gets morning sun and afternoon shade, or a spot under light tree cover, matches that origin. Full direct sun through the hottest hours scorches leaves and stalls growth.
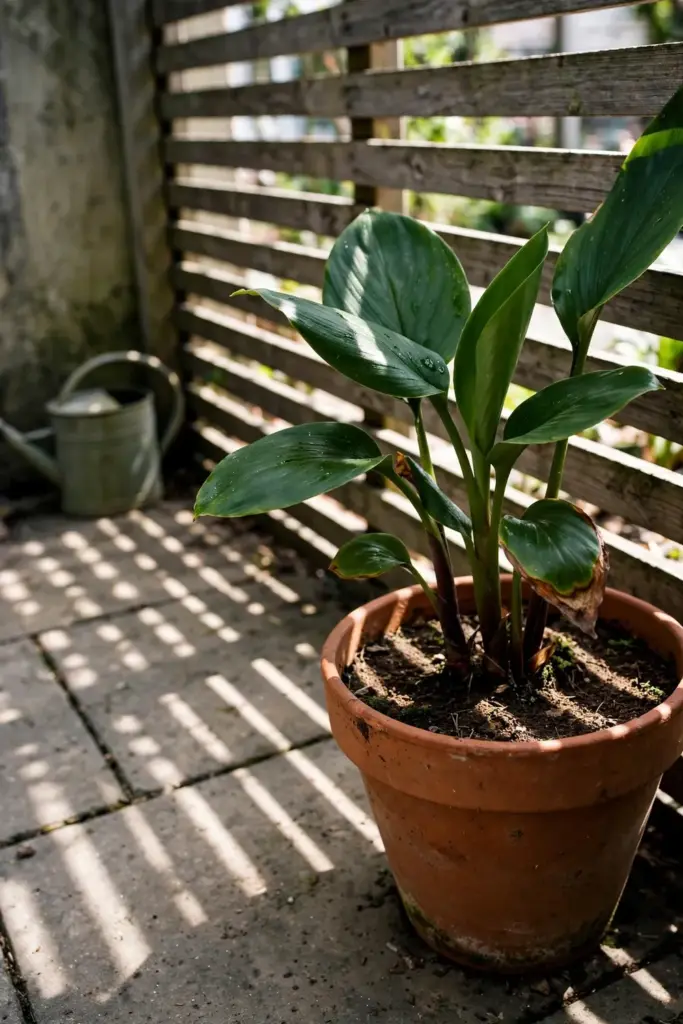
Temperature sets the calendar. Fingerroot grows best between 20 and 30°C, and temperatures below 15°C can cause leaf drop and eventual death of the plant, according to the Botanikks species profile. Outdoors it stays perennial only in zone 10b and warmer. Everywhere colder, treat it as a dig-and-replant annual: one warm season in a pot, then lift and store before frost. That single rule decides almost every other choice, from pot size to harvest timing.
Wind matters more than most growers expect. A sheltered corner near a wall or fence holds warmth overnight and keeps the broad leaves from shredding. Balcony growers get the same effect from a windbreak of neighboring pots. Skip rooftops and exposed ridges unless you can shield the plant on all sides.
3. Choose a 10-Litre Pot or a Rich Garden Bed
Start with a pot unless you garden in zone 10b or warmer. A container moves indoors before cold nights, and it keeps the harvest simple: tip the pot out at harvest instead of digging through a bed. Choose a pot of at least 10 litres, or a pot at least 200 percent larger than the rhizome you are planting, whichever is bigger, following the container growing guide from Growplants.org. The crop is underground growth, so a cramped pot caps the harvest directly.
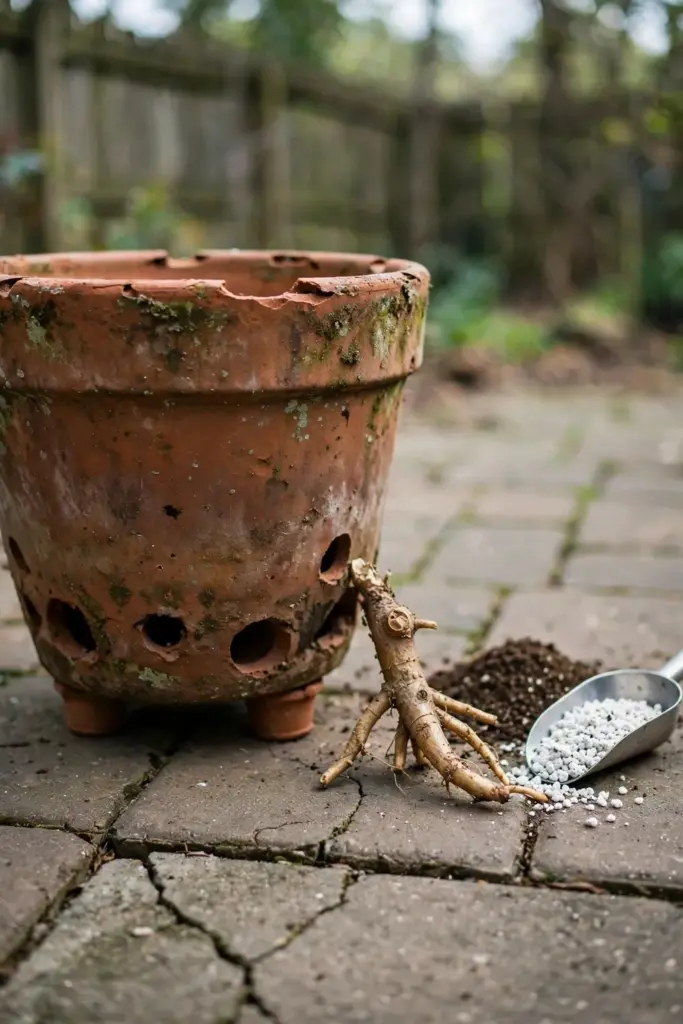
Drainage decides whether the rhizome survives the season. The pot needs large drainage holes and a free-draining mix, because waterlogged, airless compost rots rhizomes. Raise the pot on feet so water leaves freely after rain. A saucer that stays full defeats the holes, so empty it after watering.
Garden beds suit frost-free climates only. In zone 10b and warmer, plant in rich ground at a spacing of 30 to 40 cm between plants and 30 to 60 cm between rows, following the PROSEA field spacing). In cooler zones a bed still works for summer if you commit to lifting the whole clump before the first frost. Most temperate growers do better with the pot, because the lift becomes a five-minute job instead of a dig.
4. Mix a Loose, Humus-Rich Soil at pH 5.5 to 6.5
Build a mix that holds moisture without staying soggy. Fingerroot wants soil that is rich, moist, humus-heavy, and well draining, and it grows fastest in well-drained loams rich in organic matter. A workable home mix is peat or coir, perlite, and composted organic matter in roughly equal parts, with the perlite doing the aeration work. Heavy garden soil straight from the bag compacts in a pot and suffocates the rhizome.
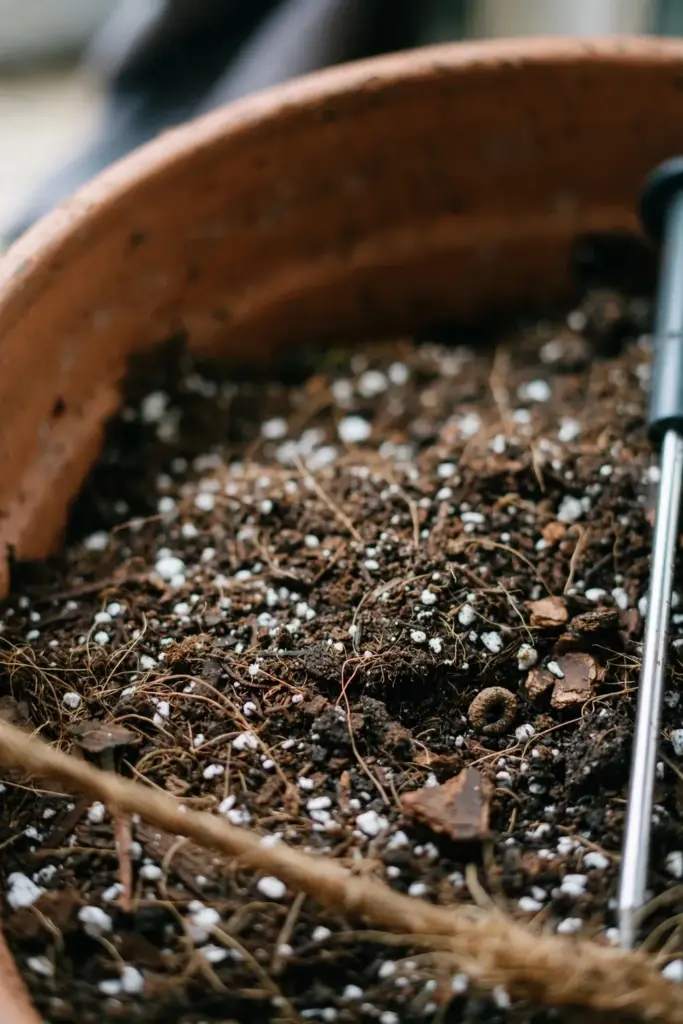
Soil pH should sit slightly acidic, around 5.5 to 6.5, for optimal growth, per the Botanikks species profile. A simple probe test before planting tells you where the mix stands. If the reading comes back above 6.5, extra composted bark or coir pulls it down gently. If it reads below 5.5, a small dose of garden lime lifts it. Testing beats guessing, because the plant gives no early warning when pH drifts.
Soil health carries across the whole garden, and the same habits that keep a fingerroot pot productive keep beds productive too. The guide to building soil health covers compost, organic matter, and drainage in the depth a single pot mix section cannot. Rich soil is not a one-season input. It is the base the rhizome feeds from for its whole short life.
5. Plant Rhizome Pieces 5 to 8 cm Deep in Spring
Plant in spring, once the soil is warm and the last frost has passed. Fingerroot is frost-tender, so a late cold snap can kill a freshly planted piece before it sprouts. Soil temperature matters more than the calendar date. Wait until nights stay reliably above 15°C. In a cold spring, start the pot indoors under bright light, then move it outside once nights warm.
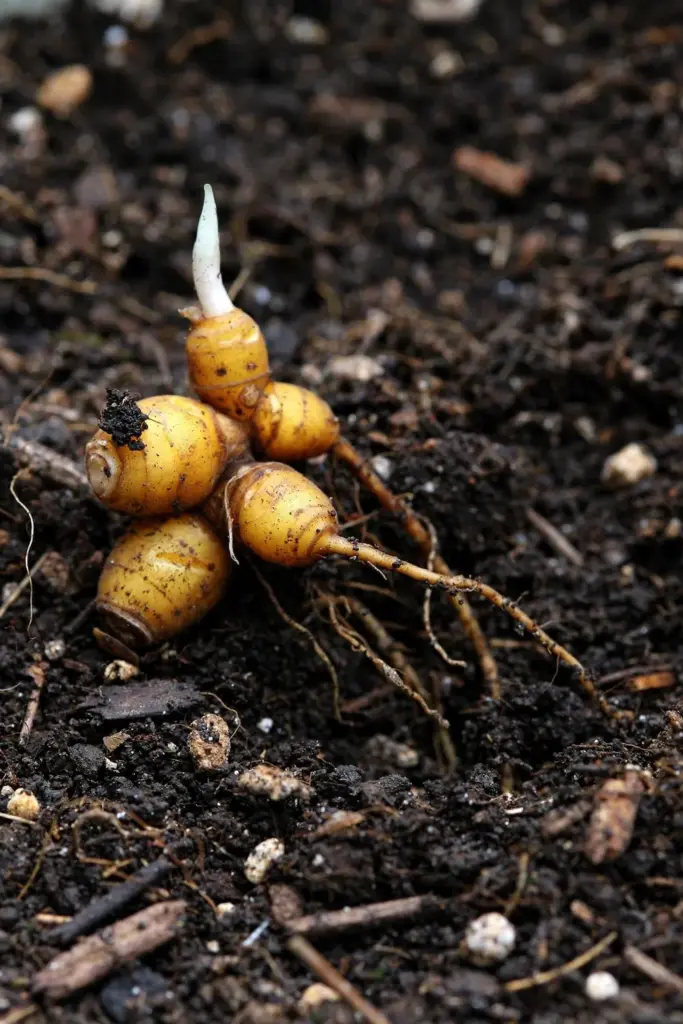
Buy rhizome pieces or a small plant, not seed. Propagation of fingerroot is by cuttings from the old rhizome, situated immediately under the leafy shoot, and the PROSEA account records the fruit as unknown, so seed is not a practical route for home growers. Each rhizome piece needs at least one visible eye, the growing point that sends up the first shoot. A piece without an eye is a piece that never sprouts, no matter how long you wait.
Set each piece 5 to 8 cm deep in the mix, eye up, and cover it lightly. Planting depth comes from the Botanikks cultivation notes, and shallow planting matches the plant’s habit: the rhizome sits near the surface in the wild. Firm the mix gently around the piece, water once to settle it, and mulch the surface to hold warmth and moisture. Expect the first leaves within weeks: a rhizome cutting planted in the open produces 4 to 5 leaves in about 1 month after planting, per the PROSEA growth notes). Under shade the same cutting produces only 2 leaves, which is a useful early sign that the pot wants more light.
6. Water for Even Moisture, Never a Waterlogged Pot
Keep the mix evenly moist through the growing season. Fingerroot wants a moderate to high water supply and steady moisture, and it grows fastest when the soil never dries hard. Check the top 2 to 3 cm of mix with a finger before watering. Water when that layer feels dry, and water until it runs from the drainage holes. Then stop. A second watering on already wet mix pushes the rhizome toward rot.
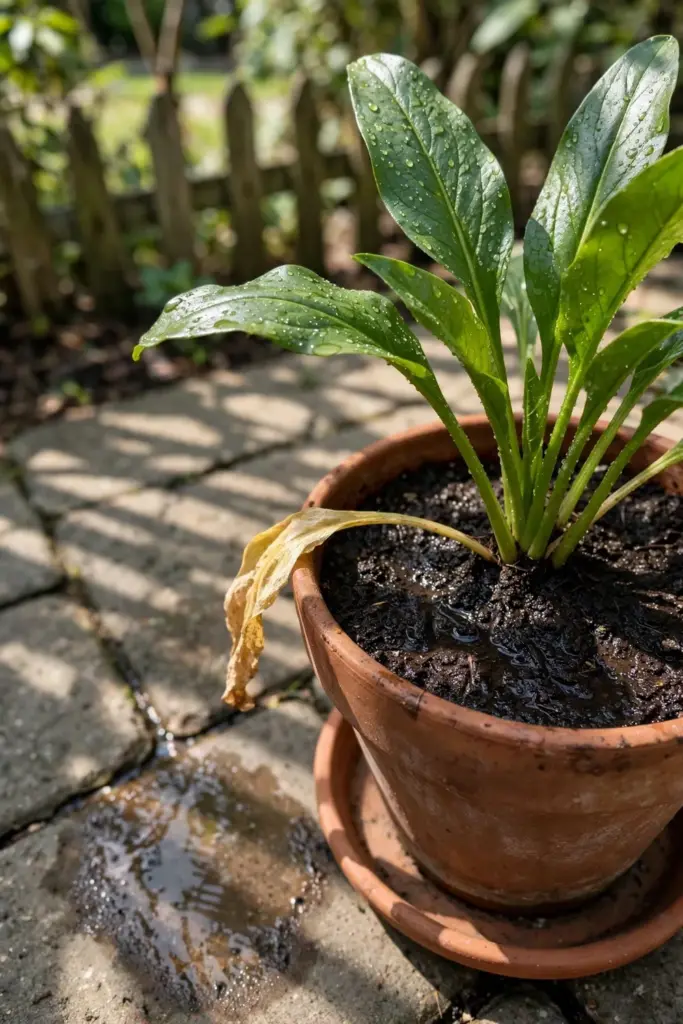
Rot is the main watering failure, and it announces itself late. A rhizome sitting in waterlogged soil softens from the base up, and by the time the leaves yellow the damage is usually done. Prevention is the whole cure: drainage holes, a perlite-lightened mix, and a saucer emptied after every watering. If the mix smells sour or stays wet for days after rain, repot into fresh mix and cut away any soft tissue with a clean knife.
Season changes the schedule. In peak summer heat a 10-litre pot can need water daily, and a mulch layer stretches that interval. When growth slows in autumn, cut back sharply. A dormant or cold plant uses little water, and wet cold mix is the fastest route to a rotted rhizome. Match the watering can to the plant in front of you, not to the calendar.
7. Feed at 2 Weeks and 4 Weeks After Planting
Feed early, because the plant builds its whole crop in one short season. The PROSEA husbandry notes) recommend applying NPK fertilizer 2 weeks and 4 weeks after planting, at a field rate totaling 100 kg nitrogen, 25 kg phosphorus, and 50 kg potassium per hectare. Home growers translate that PROSEA schedule), not the tonnage: feed a balanced fertilizer at the label rate twice, once 2 weeks after planting and again 4 weeks after planting. The timing matters more than the brand.
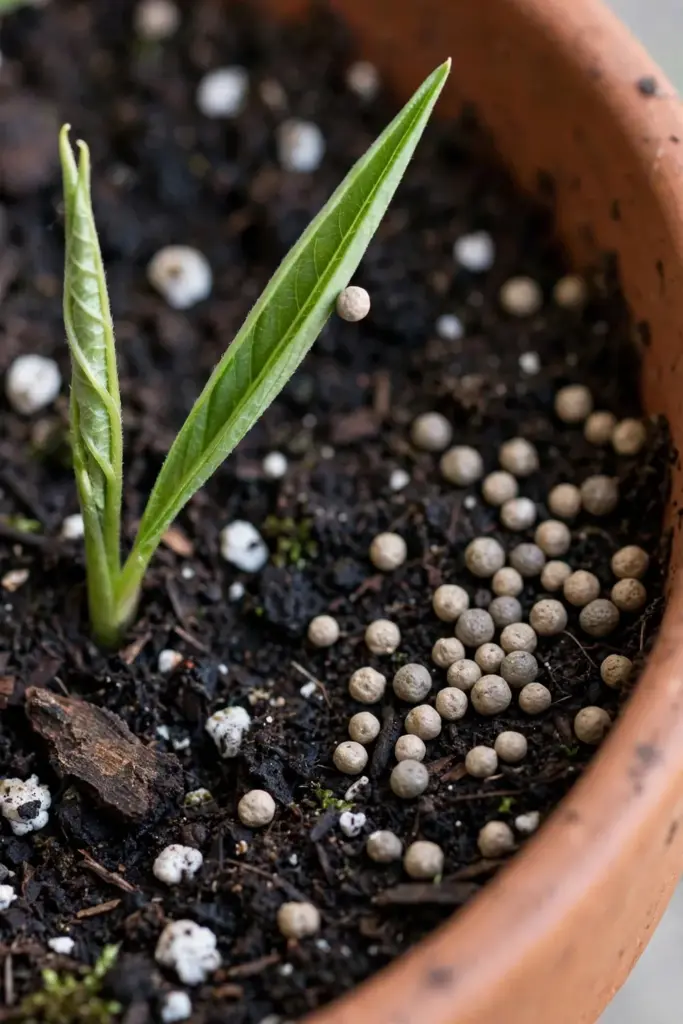
Organic matter does the quiet work between feeds. Compost worked into the mix at planting releases nutrients slowly across the season and feeds the soil life that keeps the mix open. A liquid seaweed or compost tea feed once a month through summer fits the same rhythm without pushing soft, weak growth. Overfeeding grows leaves at the expense of rhizomes, so resist the urge to double the dose.
Watch the leaves for the feed signal. Deep green, upright leaves mean the schedule is working. Pale or yellowing older leaves in mid-season usually mean the pot has run short, and the next scheduled feed corrects it. Yellowing that starts after a cold night is cold damage, not hunger, and extra fertilizer will not fix it.
8. Mulch the Surface to Hold Moisture and Warmth
Spread a mulch layer over the pot surface after planting. Mulch buffers soil temperature, slows evaporation, and keeps moisture even, which is exactly what a shallow rhizome needs. Fine bark, straw, or composted leaves all work. Keep the mulch a finger-width away from the shoot base so the crown stays dry. Mulch piled against the shoot traps moisture where rot starts.
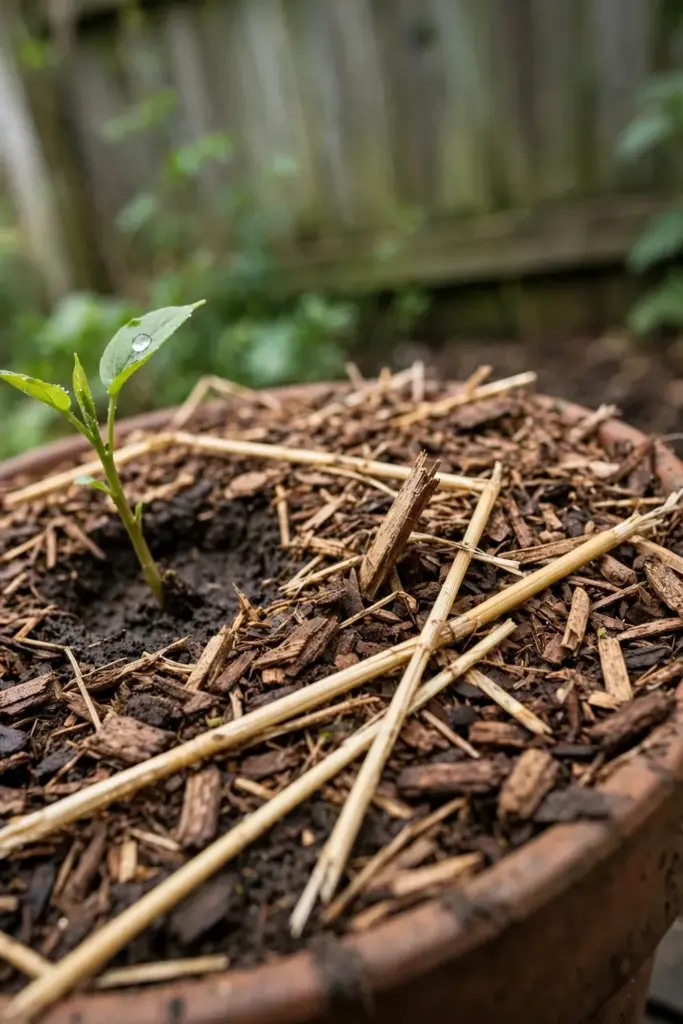
Mulch also buys time in a mild autumn. A mulched pot holds warmth a little longer into cool nights, and it protects young rhizomes at any time of year by steadying the soil around them. In a bed, the same layer suppresses weeds until the canopy closes. Weeding matters early: PROSEA notes weeding is necessary until the plants are well established, because young fingerroot competes poorly against fast weeds.
Refresh the mulch when it thins. A layer that has rotted down to a skin no longer insulates or holds moisture. Top it up in midsummer and again when the pot moves indoors, where dry indoor air pulls moisture from the surface fast.
9. Move the Pot Indoors Before Nights Drop Below 15°C
Bring the pot inside before nights approach 15°C, the danger line in the Botanikks species profile. That threshold is the plant’s danger line, and a single cold night can start leaf drop that the plant never recovers from in a short season. Watch the forecast from early autumn onward. When night temperatures trend toward the mid-teens, move the pot to its winter spot. Do not wait for the first frost warning, because frost kills fingerroot outright.
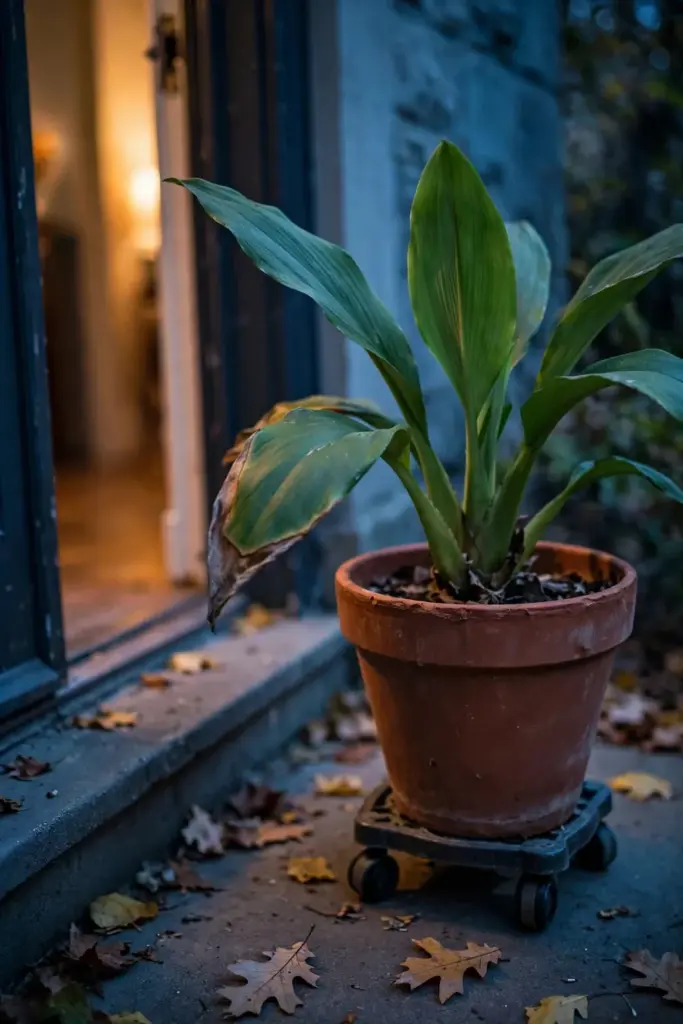
Choose the brightest indoor spot you have. A south or east-facing windowsill with bright indirect light suits the plant, and a few hours of gentle morning sun helps. Growplants.org rates fingerroot a real houseplant with enough light, so a bright room is a genuine option rather than a holding cell. Keep the pot away from radiators and cold drafts alike: dry hot air crisps leaf edges, and a cold windowpane at night chills the rhizome.
Cut water back the day the pot moves in. Indoor growth slows, evaporation drops, and the wet-cold combination that rots rhizomes gets worse indoors. Water only when the top few centimeters dry out. Hold all feeding until spring, since a plant that is barely growing cannot use the nutrients.
10. Grow Fingerroot as a Houseplant Through Winter
Treat winter indoors as a holding season, not a harvest season. The plant may keep some leaves through winter in a bright room, or it may drop them and rest. Both outcomes are normal. Keep the mix barely moist, give the brightest light available, and leave the rhizome alone. A rhizome that rests through winter wakes in spring with its energy intact.
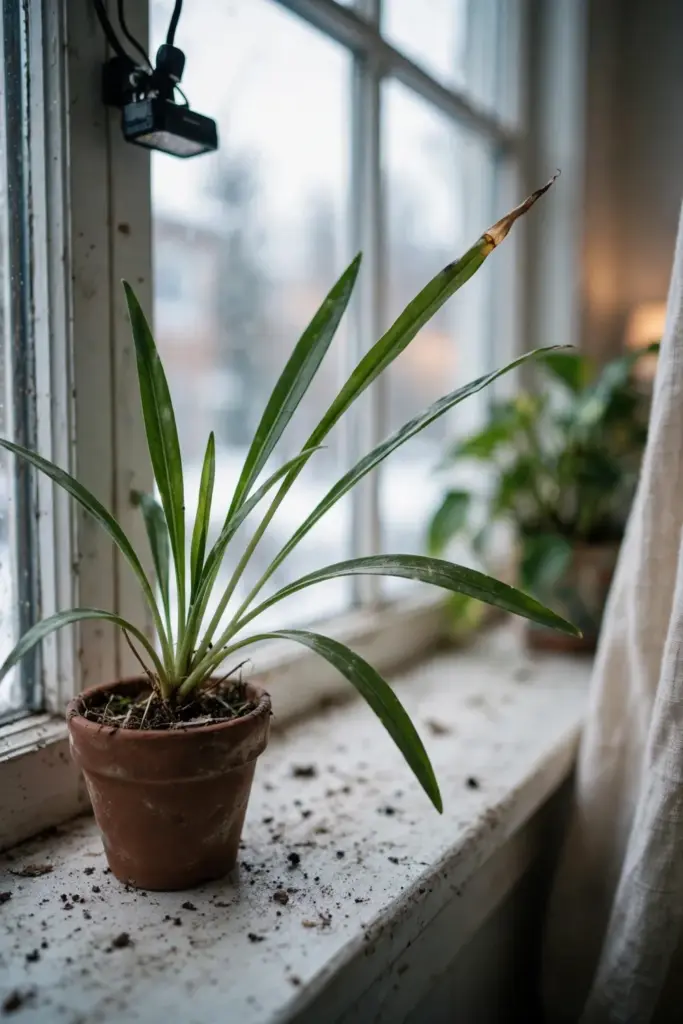
Supplemental light helps in dark climates. A simple LED grow light on a timer through the darkest hours keeps a wintering pot from stretching pale and weak. Hang it close enough to light the leaves without heating them. The goal is maintenance, not growth: short, sturdy leaves that survive until spring beat tall, floppy ones that collapse.
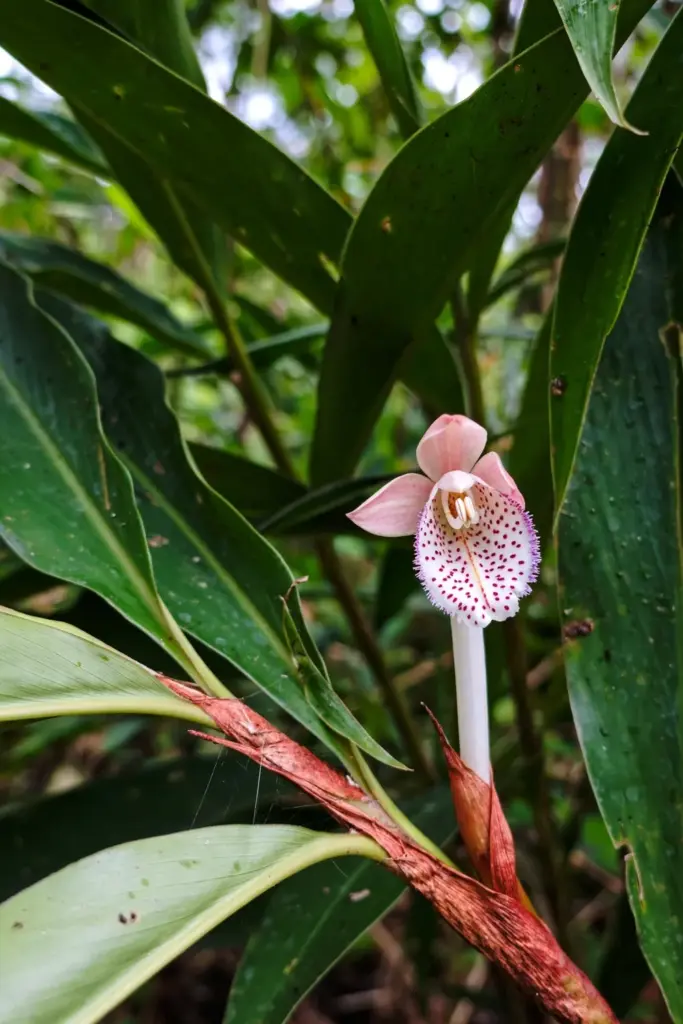
Expect flowers as a bonus, never as the goal. Fingerroot flowers in August in India and in June in Cambodia, per PROSEA, and indoor plants may throw a small spike of white and pink flowers hidden among the leaf sheaths. The bloom is pretty, and the labellum carries pink shading with red-violet dots. Enjoy it, then return to the real plan: a rested rhizome that divides and re-plants in spring.
11. Divide the Clump Each Spring for Fresh Plants
Divide in spring, when you repot and the new season starts. Lift the whole clump from the pot, shake off the old mix, and look at the rhizome mass. Each division needs a piece of rhizome with at least one eye and a few finger roots attached. Cut with a clean sharp knife, and let the cut surfaces dry for an hour before replanting. That short drying step seals the wound against rot.
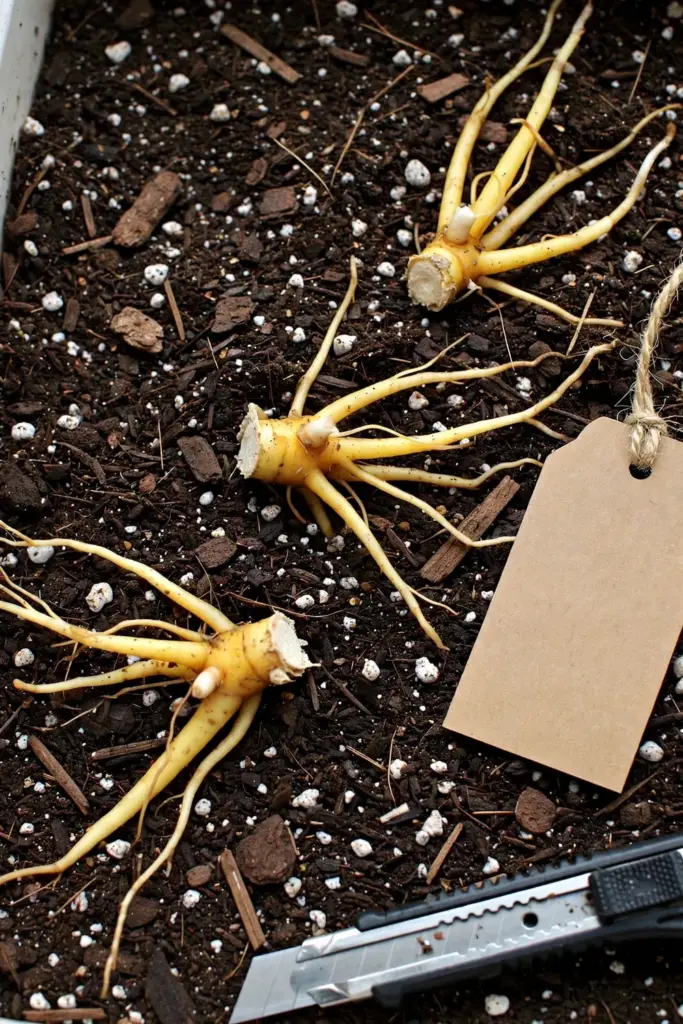
Refresh the soil at the same time. Growplants.org advises changing container soil yearly at minimum, because old mix slumps, compacts, and loses air movement. The yearly refresh and the division are one job: new mix, new pot or clean old pot, one division per 10-litre pot. A divided plant grows faster than an old crowded clump, because each piece gets fresh mix and full root room.
Label every division. Fingerroot, ginger, galangal, and kencur rhizomes look alike in a tray, and a mislabeled pot wastes a season. A simple tag with the botanical name and the planting date prevents the mix-up. Keep one spare division as insurance against a failed pot, and give the rest away. A single healthy clump produces more divisions each spring than most households need.
12. Harvest Whole Plants 4 to 5 Months After Planting
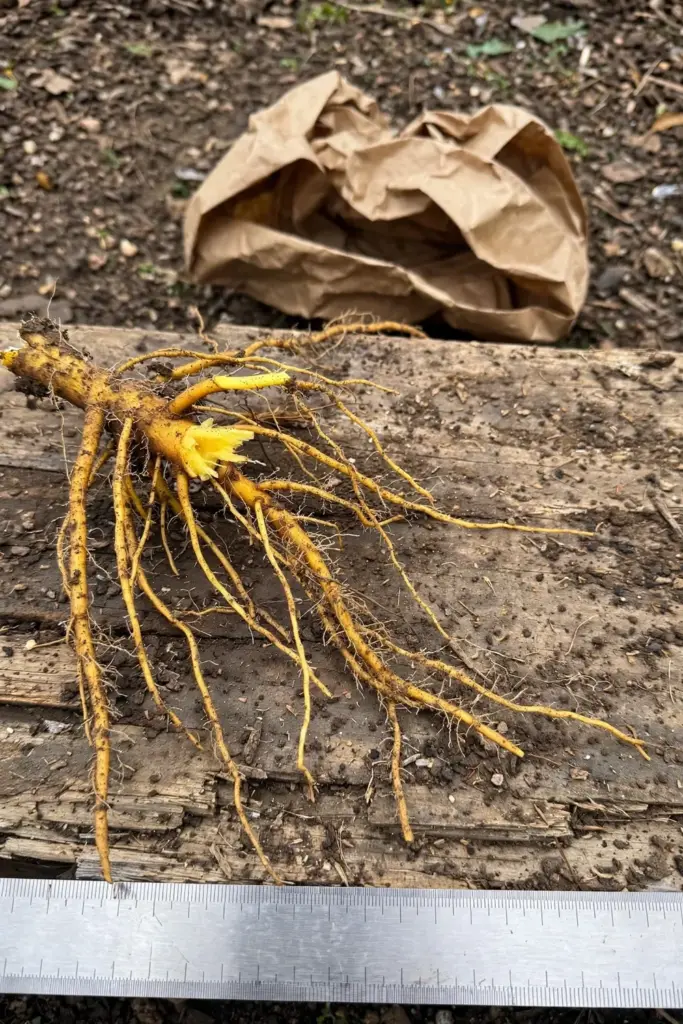
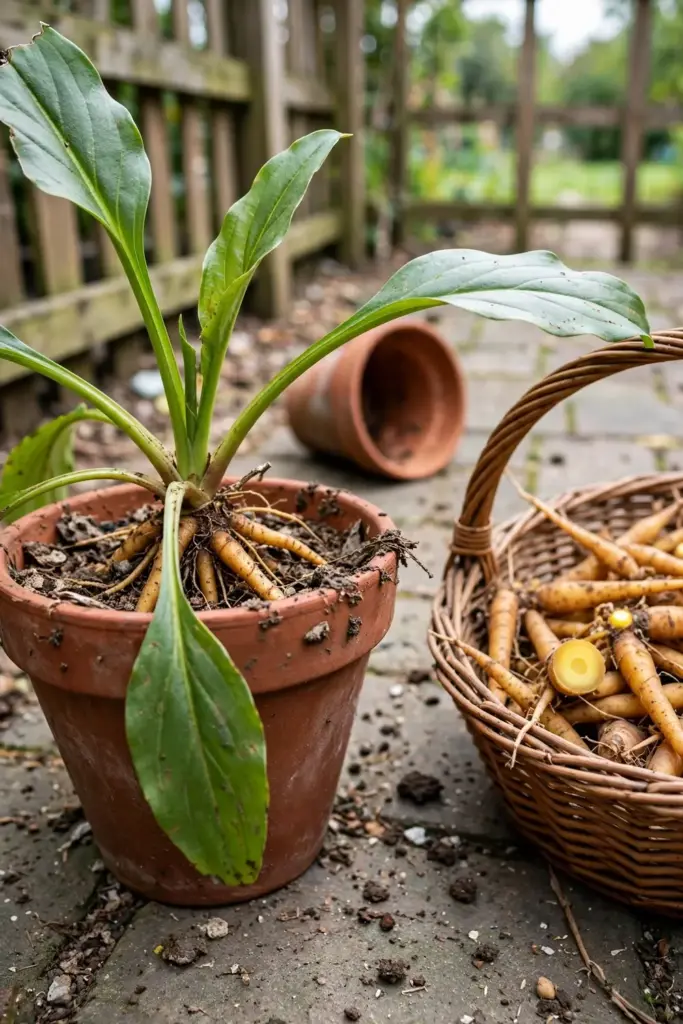
Harvest the whole plant 4 to 5 months after planting for the main spice crop. Whole plants are pulled up at 4 to 5 months after planting for use as cooking spice and traditional medicine, per the PROSEA harvesting notes). Tip the pot on its side, slide the root mass out, and shake off the mix. The harvest is the central rhizome plus its hanging fingers: tuberous roots 5 to 30 cm long and 0.5 to 2 cm thick, yellow-brown outside and bright yellow inside, per the PROSEA description).
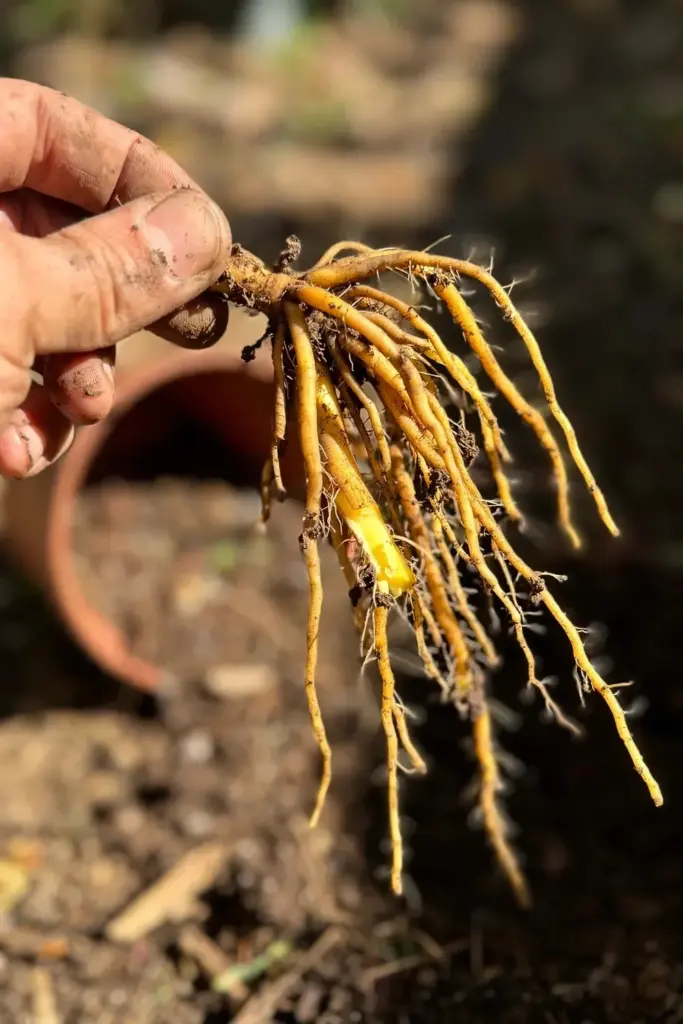
Timing decides quality. If you do not harvest within 5 months after planting, the rhizomes become woody and their quality as a spice decreases, per the PROSEA harvesting notes). A week early beats a month late. Check one plant first if you grow several: pull it, snap a finger root, and taste a thin slice. Crisp, fragrant, peppery flesh means the batch is ready. Woody, fibrous flesh means you waited too long.
Save the mother rhizome before the kitchen gets the rest. The PROSEA harvesting notes) record that after harvest the mother rhizomes are kept apart for propagation, and that single habit is what makes fingerroot a perennial crop for a home grower. Set aside the firmest central pieces with eyes, store them cool and dry until spring, and cook with the finger roots. Young shoots can be cut earlier, from 1 to 2 months after planting, as a vegetable, per the PROSEA harvesting notes), so a second pot can supply greens while the main pot finishes its rhizomes.
13. Store Lifted Rhizomes Cool and Dry Until Spring
Store lifted rhizomes cool, dry, and frost-free until spring planting. Clean off loose soil, but do not wash the pieces you plan to replant, because a wet surface invites mold in storage. Spread them in a single layer in a paper bag or a tray of dry coir, and keep the bag in a cool room that never drops near freezing. Check the pieces once a month and discard any that turn soft or moldy before the rot spreads.
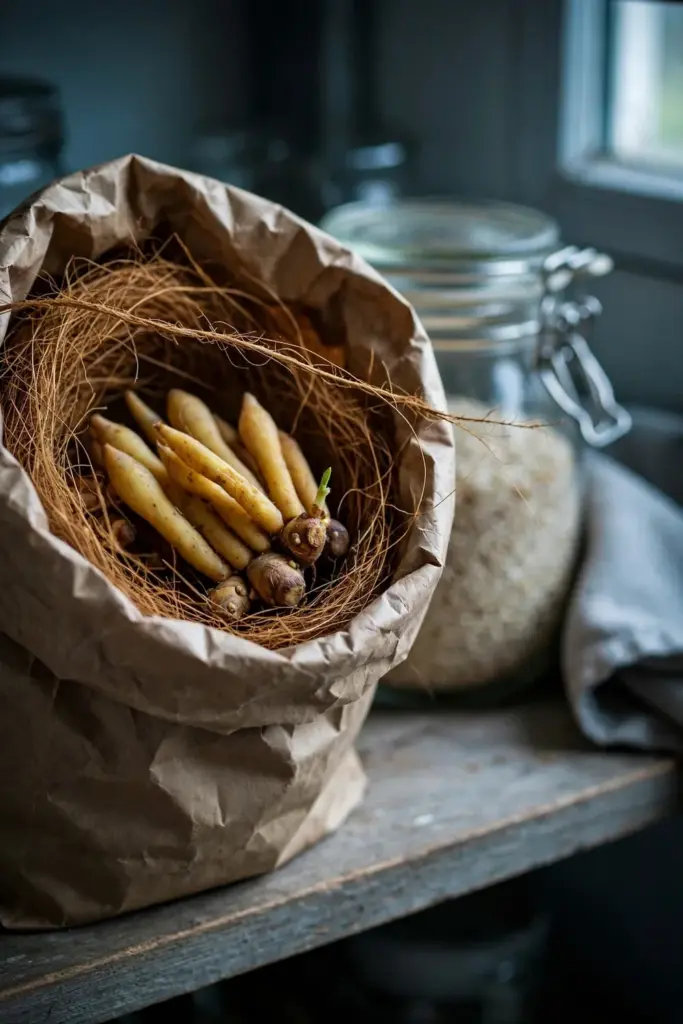
Keep storage pieces separate from eating pieces. The mother rhizomes set aside for propagation stay in their own labeled bag, away from the kitchen box. A mix-up at planting time costs a season, since a cooked rhizome never sprouts. Label with the variety name and the harvest date, so spring planting starts with known stock.
Plan the spring restart before winter ends. Pot the stored pieces when nights stay reliably above 15°C, using the planting depth and mix from the earlier sections. A stored rhizome that sprouts in the bag is telling you spring arrived early: pot it up and give it bright light rather than leaving it to exhaust itself in the dark. No published home-storage temperature study exists for fingerroot, so “cool, dry, and frost-free” is the honest guidance, and your monthly check is the real quality control.
14. Cook With Fingerroot in Curries, Soups, and Sambals
Cook fingerroot where its peppery camphor note earns its place. In Indonesia, Malaysia, Indo-China, and India, fingerroot is cultivated for its rhizomes and roots, which are consumed as an aromatic spicy flavoring for food and pickles, per the PROSEA uses account). Thai cooks pound krachai into fish curries and soups, where it cuts richness and lifts the broth. Indonesian cooks grind temu kunci into sambals and Javanese dishes. The rhizomes and roots are commonly used in cooking throughout Java and most of Indonesia.
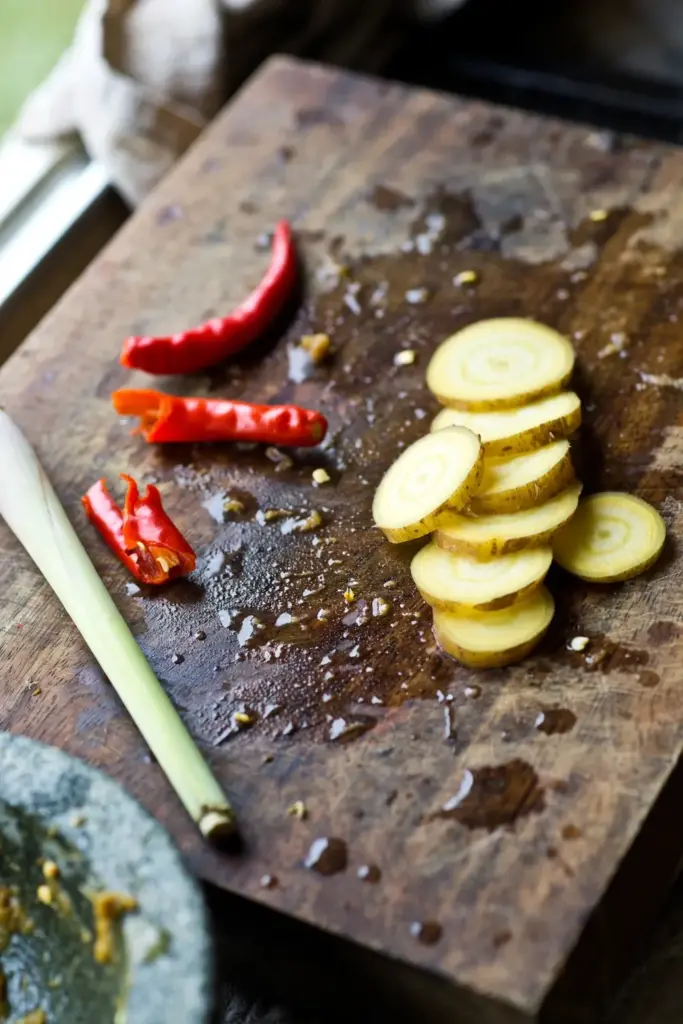
Prep is simple. Scrub or peel the finger roots, slice them thin across the grain, and pound them into paste with the other aromatics. Young rhizomes and roots can be eaten raw with rice, and young shoots substitute for the rhizomes in a pinch, per the PROSEA uses account). In the Caruban district of East Java, cooks use the leaves together with teak leaves as a wrapper for fermented soybean cake, tempeh, which is a reminder that the whole plant has kitchen value.
Grow the companions alongside it. Turmeric shares the same pot routine and harvest window, and the guide to growing turmeric for beginners covers its longer season. Lemongrass pairs with fingerroot in Thai and Indonesian broths, and the lemongrass growing guide covers its sun and water needs. A pot of each gives a curry paste garden in three containers.
One honest limit belongs here. Fingerroot also carries a long record of traditional medicine use: the PROSEA uses account) lists it as an ingredient in post-partum tonic mixtures, and as a stomachic and carminative remedy for coughs, indigestion, sprue, and colic. Those are reported traditional uses, not recommendations. Treat fingerroot as a food crop. Anyone considering it as medicine should consult a qualified health professional rather than dosing from a gardening article.
15. Fix 5 Common Fingerroot Problems
Fix the cause, not the symptom. Most fingerroot failures trace to cold, water, or timing, and each has a direct correction.
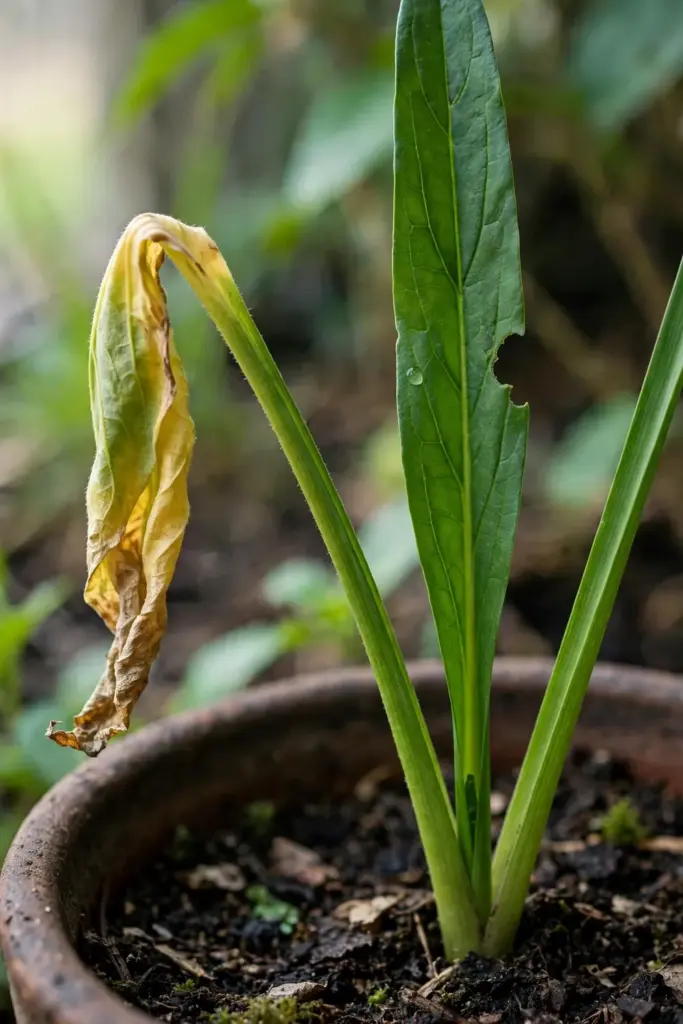
Leaves yellow and drop. Cold is the usual cause. Nights below 15°C trigger leaf drop, and a plant that drops leaves early never fills its rhizomes. Move the pot to warmth and bright light, and hold water until new growth resumes. Leaves lost to cold do not recover. The rhizome below may still be sound.
Rhizome turns soft and smells sour. Waterlogged mix rotted the rhizome. Unpot the plant, cut away all soft tissue with a clean knife, let the cuts dry for an hour, and repot into fresh free-draining mix. Empty the saucer after every watering from then on.
No growth weeks after planting. Cold soil is the usual cause, or a piece without an eye. Warm the pot to steady temperatures above 20°C and wait two more weeks. If nothing sprouts, lift the piece and check for an eye. A piece with no eye never sprouts, and replanting a fresh piece beats waiting on a dead one.
Leaves show chewed edges. Fingerroot has no serious diseases or pests, per the PROSEA pest notes), though larvae of Kerana and Udaspes moths occasionally feed on the leaves. Pick the caterpillars off by hand and check leaf undersides for a week. The plant outgrows light damage fast in warm weather.
Rhizomes taste woody and fibrous. The harvest came too late. Rhizomes left past 5 months turn woody and lose quality as a spice. Harvest the rest of the batch now, and mark next season’s planting date so the 4 to 5 month window is visible on the calendar.
16. Keep Fingerroot Coming Back Year After Year
Run the same annual loop and the crop sustains itself. That loop is how to grow fingerroot without buying new rhizomes every spring. Plant in spring after frost, grow warm and moist through summer, harvest at 4 to 5 months, lift and store before cold nights, divide and replant in spring. Each year the mother rhizomes you save become next year’s planting stock, so a single purchase can supply the kitchen indefinitely. In zone 10b and warmer the loop shortens: the plant stays perennial in the ground or the pot, and you divide the clump every spring instead of lifting and storing.
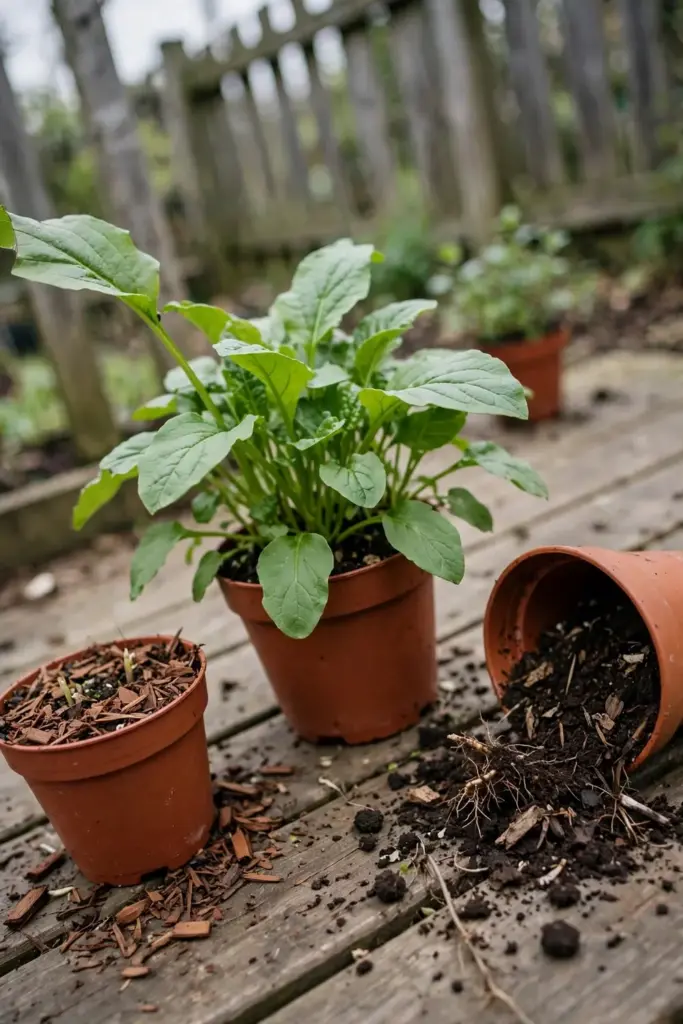
Keep buying from sellers who name the species. No germplasm collections or breeding programs are known to exist for fingerroot, per the PROSEA genetic resources notes), so the trade depends on smallholders saving their own rhizomes. A seller who lists Boesenbergia rotunda on the tag is selling the right plant. A seller who lists only “lesser galangal” or “Chinese ginger” may not be.
Scale up only after one full season. A second pot doubles the harvest and gives insurance against a failed clump. A third pot supplies shoots for the table while the main pots finish rhizomes. Past that, the limiting factor is not pots but kitchen use: a household eats through a modest fingerroot harvest faster than most growers expect, and fresh rhizomes beat stored ones every time.
Frequently Asked Questions About How to Grow Fingerroot
Yes, with enough light. Fingerroot grows as a houseplant in bright indirect light, and a south or east-facing window suits it. Give the pot a 10-litre container, humus-rich mix, and steady moisture. Expect slower growth than outdoors, and treat flowers as a bonus. Move it outside for summer if nights stay above 15°C.
No. Fingerroot is Boesenbergia rotunda, while true ginger is Zingiber officinale. Fingerroot grows a small central rhizome with finger-like tuberous roots, while ginger grows a branched knobby rhizome. The flavors differ too: fingerroot is peppery with a camphor edge, while ginger is warm and pungent. Check the botanical name before buying.
Whole plants are ready 4 to 5 months after planting. Young shoots can be cut as a vegetable from 1 to 2 months after planting. Do not wait past 5 months, because the rhizomes turn woody and lose quality as a spice. A rhizome cutting produces 4 to 5 leaves in about 1 month after planting, per the PROSEA growth notes), which marks the early growth pace.
Yes, if the piece is fresh, firm, and carries at least one eye. Choose pieces with visible growing points, plant them 5 to 8 cm deep in spring, per the Botanikks cultivation notes, and keep the mix evenly moist. Dried, shriveled, or eye-free pieces rarely sprout. A nursery plant or a rhizome from a reputable seller gives a more reliable start than a supermarket piece.
Zone 10b and warmer can grow fingerroot outdoors year-round as a perennial, per the Growplants.org growing guide. In colder zones, grow it in a container and move it indoors before nights drop below 15°C, or lift and store the rhizomes before frost. The plant is frost-tender, so one freezing night can kill an unprotected clump.
Keep Your Temu Kunci Pot Producing for Years
Learning how to grow fingerroot comes down to four numbers: 15°C as the cold floor, 10 litres as the minimum pot, 5 to 8 cm as the planting depth, and 4 to 5 months to harvest. Hold those, and a tropical forest plant becomes a reliable pot crop on a temperate patio. Start with one labeled rhizome piece in spring, keep it warm and evenly moist, and pull the whole plant when the fingers fill out.
Your second year is always better than your first. The saved mother rhizomes already carry eyes, the pot routine is familiar, and the harvest lands on schedule. Divide each spring, refresh the mix yearly, and a single original purchase can supply your curries, soups, and sambals for years.