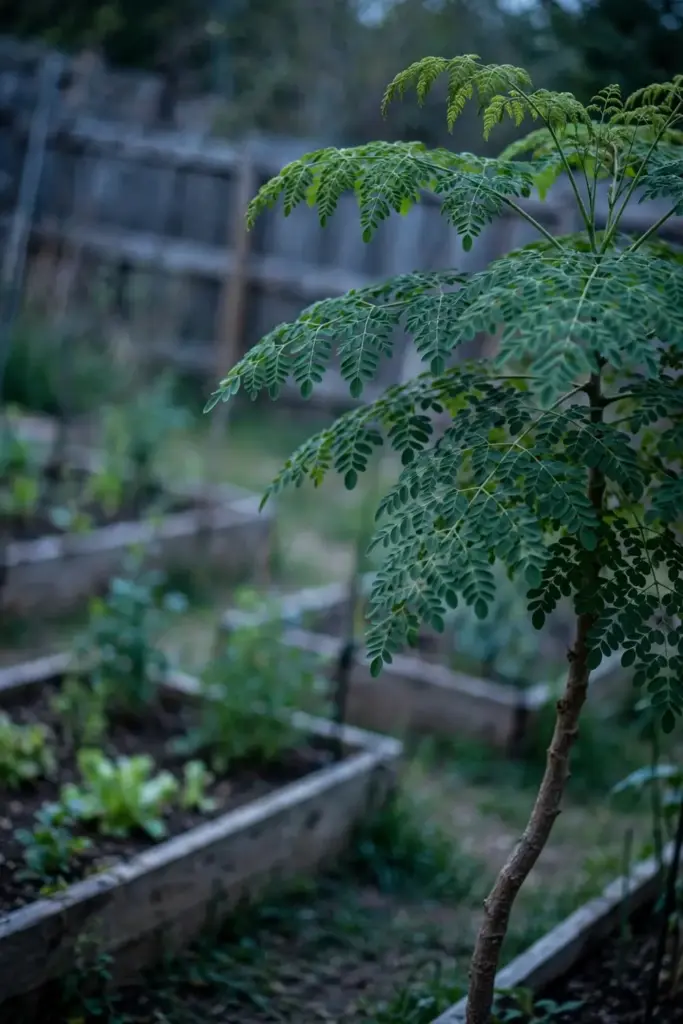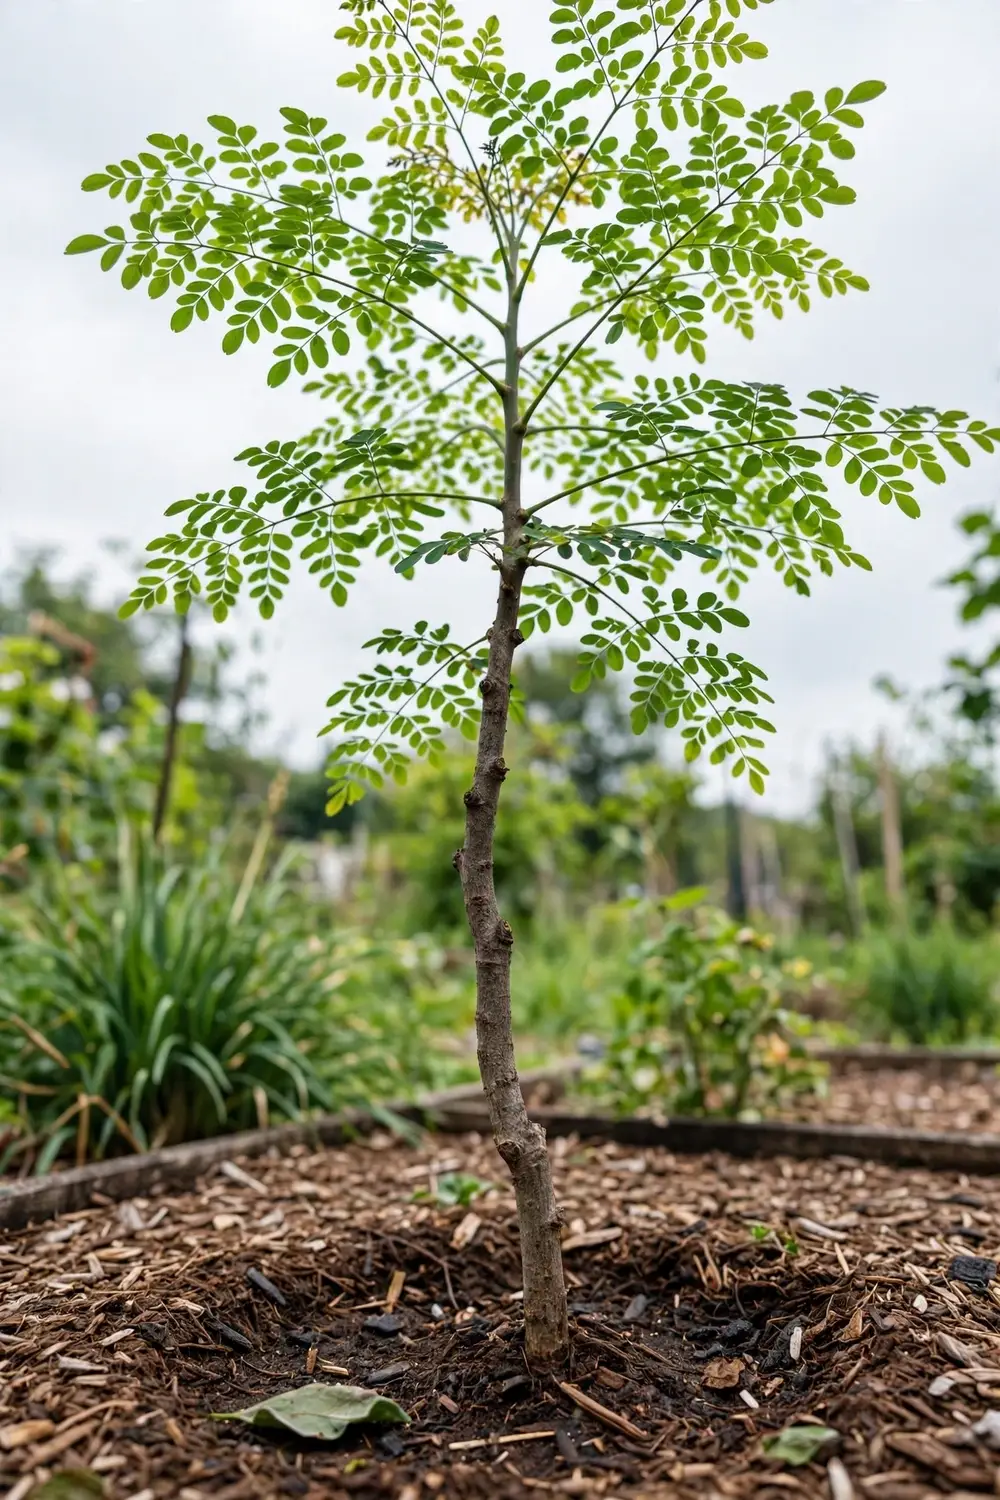

Moringa grows 3 to 5 meters in a single year when you leave it alone. That speed is the whole story of growing it from India: plant a tree that races for the sun, then learn to slow it down with the shears. For readers in tropical and subtropical zones, moringa is a forgiving perennial that asks for little. For everyone colder than zone 9, it becomes a container project with a winter plan. This guide shows both paths.
If you are growing for leaves, you can start picking within 2 to 3 months. Pods take 8 to 12 months. Flowers and a serious pod crop arrive later, roughly in year two. From a cutting you get there faster, often within 6 months, but you trade away the taproot that makes seed-grown trees so resilient. Every choice below follows that trade.
The keyword this article answers is how to grow moringa from India, and the honest answer is that the origin matters less than the climate. Moringa oleifera is the species the world grows, and the same seed behaves the same whether it flies from India or the Philippines.
1. Will Moringa Grow Where You Live? Zones and Cold Truth
Start here before you buy seeds. Moringa is a tropical tree that wants heat, full sun, and no frost. In the United States it grows well outdoors in hardiness zones 9 and 10, with zone 8 possible under the right conditions, according to the Moringa Farms growing guide. University of California researchers place it in zones 9b and warmer, and note that it is cold sensitive, which is why colder climates grow it in containers or as an annual.
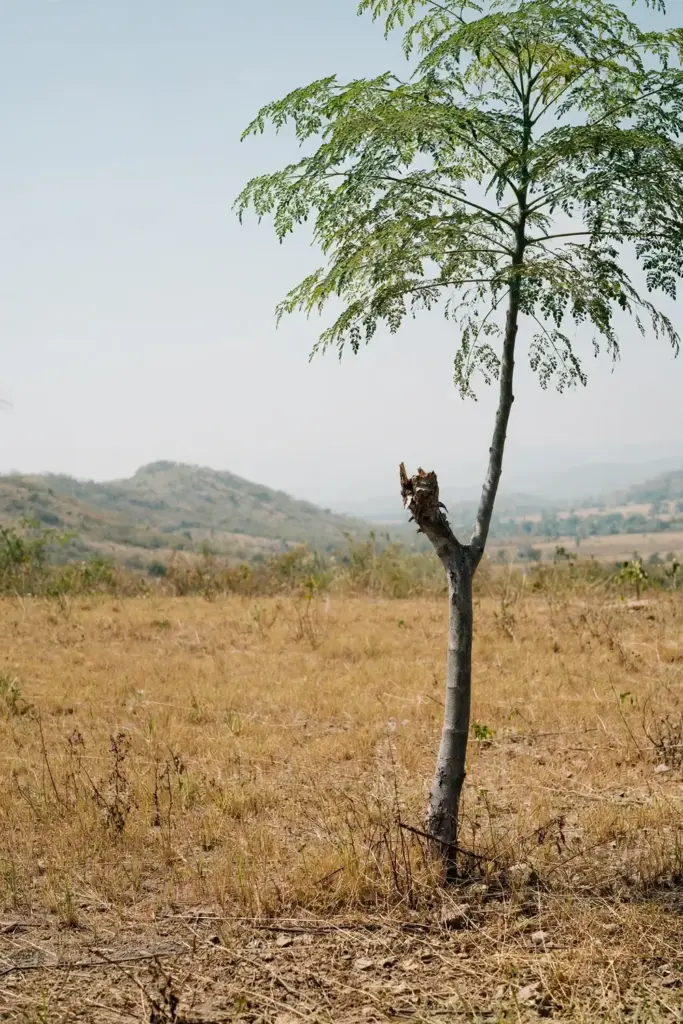
Here is what cold does to moringa. When average temperatures drop below 70 degrees, the tree starts shedding leaves. It goes dormant in winter outside the tropics, the leaves fall, and branches shrivel. That looks like death, but it is the tree waiting. It dies only if it freezes through. A light frost can be survived; a hard freeze cannot.
So the rule is simple. If your winters freeze hard, plan for pots you can carry indoors, or accept an annual you replant each spring. If you are in zone 9 or warmer, plant it in the ground and prune hard.
2. Seed or Cutting: Which Start Wins?
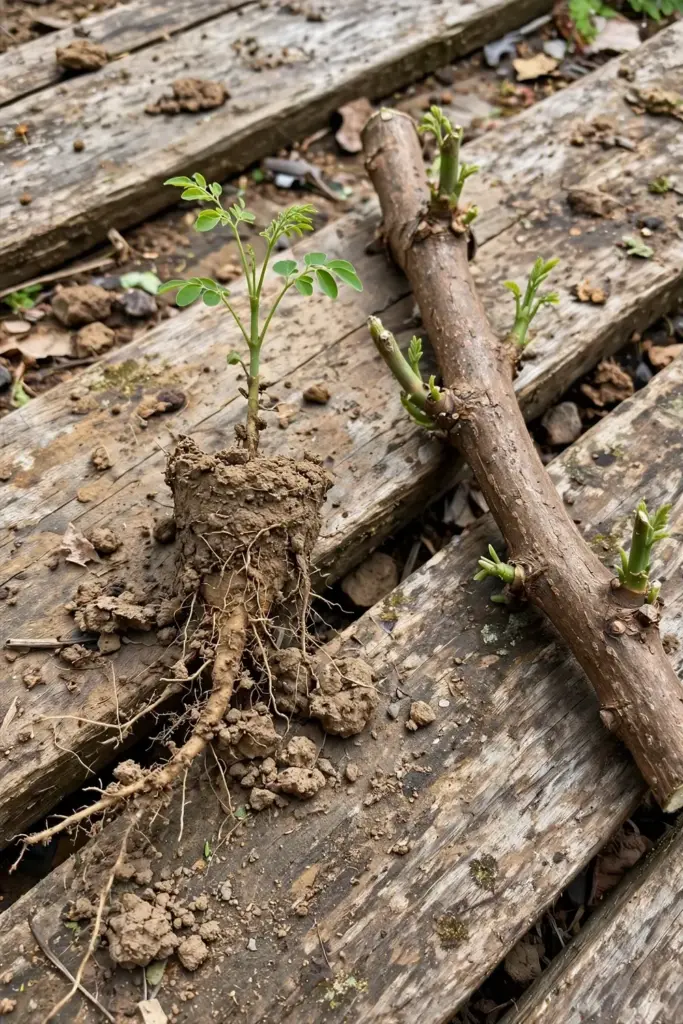
Moringa grows from both, but they make different trees. Seeds are the most common method and they build a strong taproot. Cuttings are faster but may root shallowly and anchor less firmly. Decide once, at the start.
| Factor | Seed | Cutting |
|---|---|---|
| Speed to first pods | 8 to 12 months | About 6 months |
| Root system | Deep taproot, drought-tough | Shallower, needs shelter from wind |
| Cost | Cheapest; seeds store up to a year | Free if a neighbor has a tree |
| Genetic variety | Each seedling differs slightly | Exact clone of the parent |
| Best for | Most home growers | Instant trees, living fences |
| Skill level | Beginner | Beginner with access to a tree |
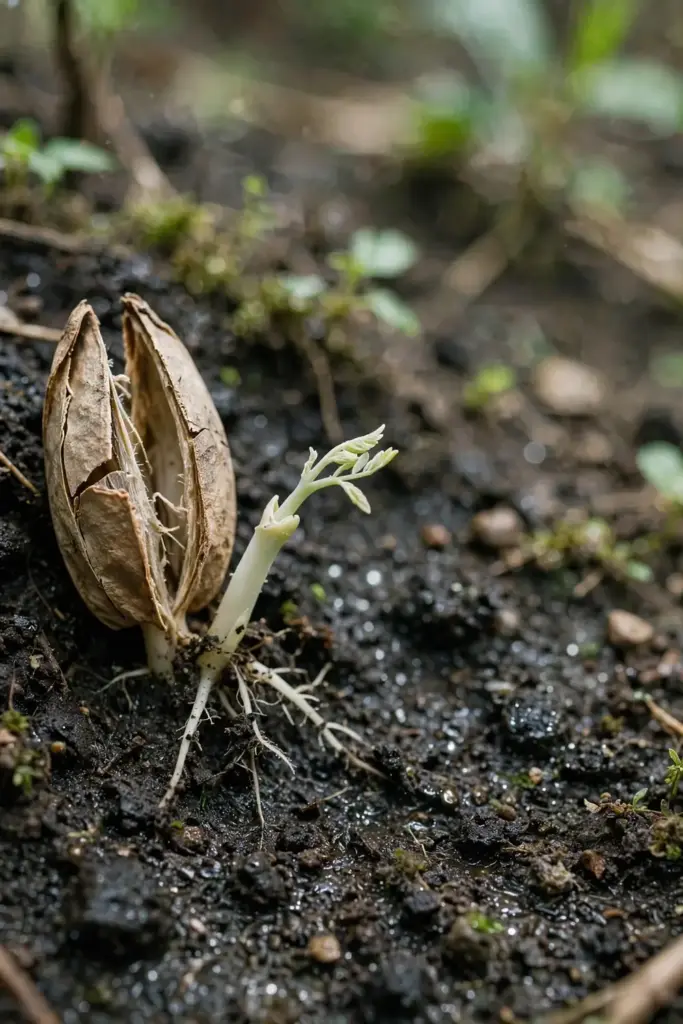
The specialist moringa growing guide from Moringa Education recommends soaking seeds for 24 hours before planting them 1 inch deep, with sprouts appearing in 5 to 14 days. That is the baseline method this guide follows.
One more factor that rarely gets mentioned: the taproot advantage compounds over years. A five-year-old seed-grown tree weathers a dry summer that kills a same-age cutting-grown tree, because its root system reaches water the cutting never found. If your summers run hot and dry, that single difference settles the debate.
3. Buying Seeds: Freshness Beats Variety
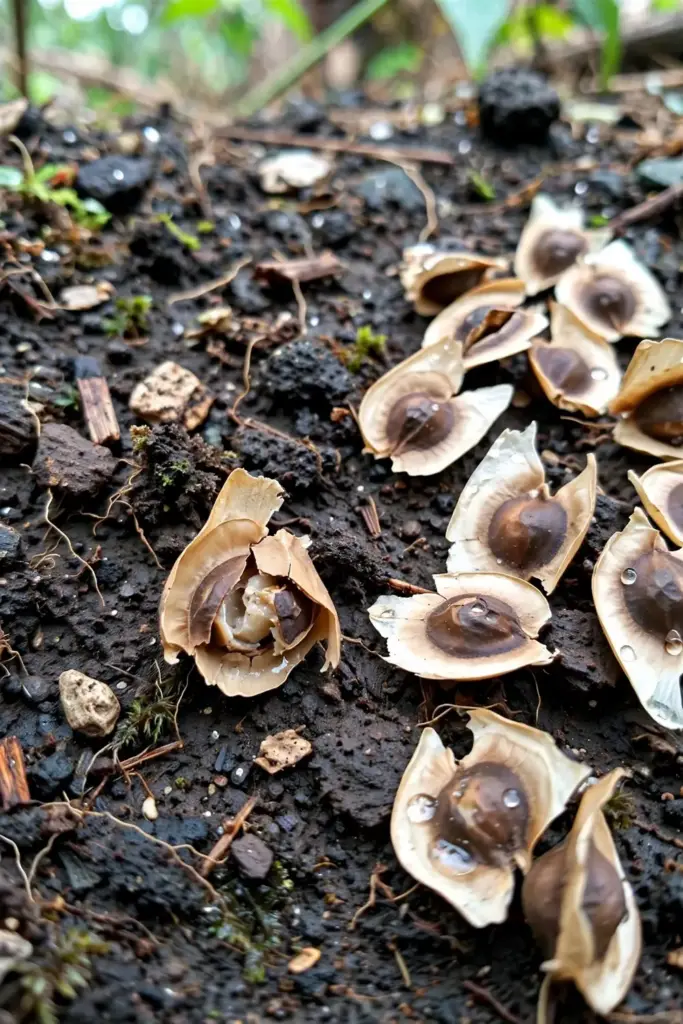
Moringa seed keeps its ability to germinate for up to one year, and it has no dormancy period, so you can plant as soon as you have mature seed. Buy from a supplier that sells planting seed, not cooking seed. Spice-grade moringa seed may be old, heat-treated, or mixed lots.
There is no famous cultivar decision here like there is with mangoes or apples. Home growers do best with plain Moringa oleifera seed from a trusted nursery or seed farm. Buy more than you need. Soak 24 hours, plant the strongest, and keep spares in a dry bag away from heat.
Check the wings. Viable moringa seeds are pea-sized with papery wings and a firm kernel inside. Discard any that are hollow, moldy, or crumble between your fingers.
4. Soaking, Sowing, and Germination: The Numbers That Matter
Germination is the easy part if you respect heat and drainage. Do it indoors 6 to 8 weeks before your last frost if you are outside the tropics, or any time of year where winters stay warm.
| Step | Action | Time |
|---|---|---|
| 1 | Soak seeds in lukewarm water for 24 hours | 24 hours |
| 2 | Sow 3/4 to 1 inch deep in sandy, loose mix | Day 1 |
| 3 | Keep at 75 to 90 degrees, warm and bright | Days 1 to 14 |
| 4 | First sprouts emerge | 5 to 14 days |
| 5 | True leaves develop; move to stronger light | Weeks 2 to 4 |
| 6 | Seedlings ready for potting up or transplant | 8 weeks |
Two details matter. First, moringa seed rots in soggy soil. The University of California extension moringa page reports germination in 7 to 14 days, and growers consistently name overwatering as the number one killer of seedlings. Water gently and let the surface dry between waterings.
Second, heat speeds everything. At 70 degrees the seed sits. At 80 to 85 it moves. A heat mat under the tray is the cheapest insurance for cold-climate growers. The general seed starting steps apply directly here, with extra attention to warmth and drainage.
5. Seedling Care: The First 8 Weeks
Treat seedlings like the tropical babies they are. Bright light, warmth, and restraint with the watering can. The farm guide recommends starting in pots even for in-ground trees, because small seedlings are vulnerable and pots give you control. It suggests letting potted plants grow at least 8 weeks before transplanting.
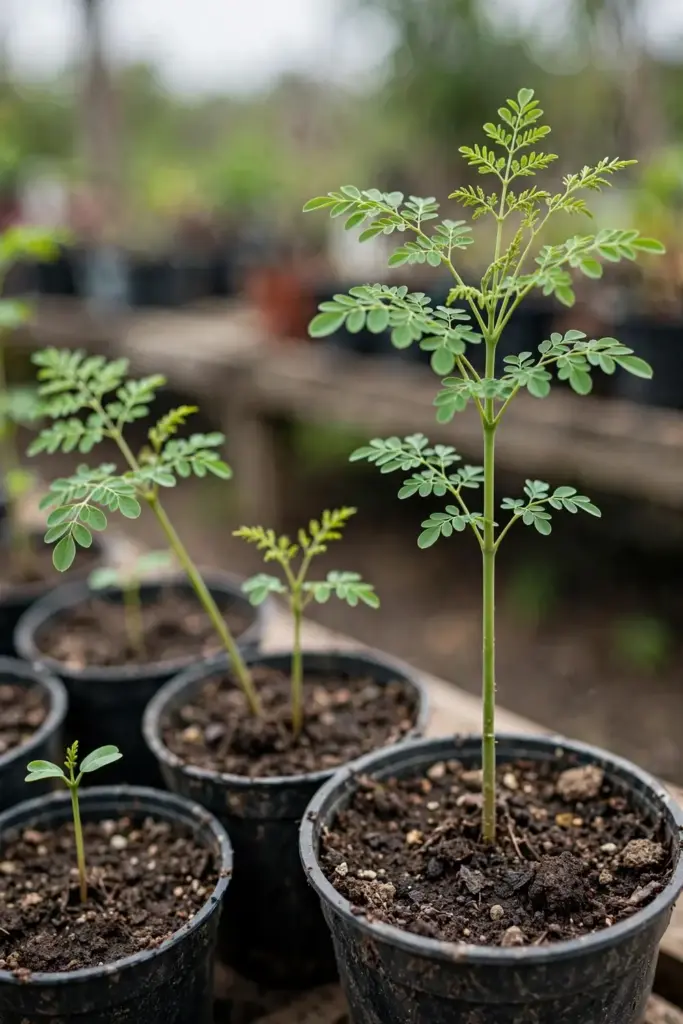
When the seedling has 2 to 3 sets of true leaves, pot it up into a deep container. Depth matters more than width because the taproot dives. Do not disturb the roots when transplanting; slide the whole soil block out of the pot. If seedlings stretch and flop, they need more light, not more fertilizer.
Hold off on feeding until the plant is established. A weak half-strength balanced feed at week 6 is plenty. Overfed seedlings grow soft and snap in wind.
The biggest transplant mistake is waiting too long. Moringa seedlings outgrow starter cells fast. A taproot that hits the bottom of a shallow tray curls into a knot that never straightens, so pot up into deep containers the moment roots show at the drainage holes, even when the top still looks small.
6. Soil and Feeding: Poor Soil Is Fine, Waterlogging Is Not
Moringa tolerates a wide range of soils and grows in poor ground that starves fussier crops. What it does not tolerate is standing water. Plant in sandy loam that drains fast. If your soil is heavy clay, plant on a raised mound or in a container.
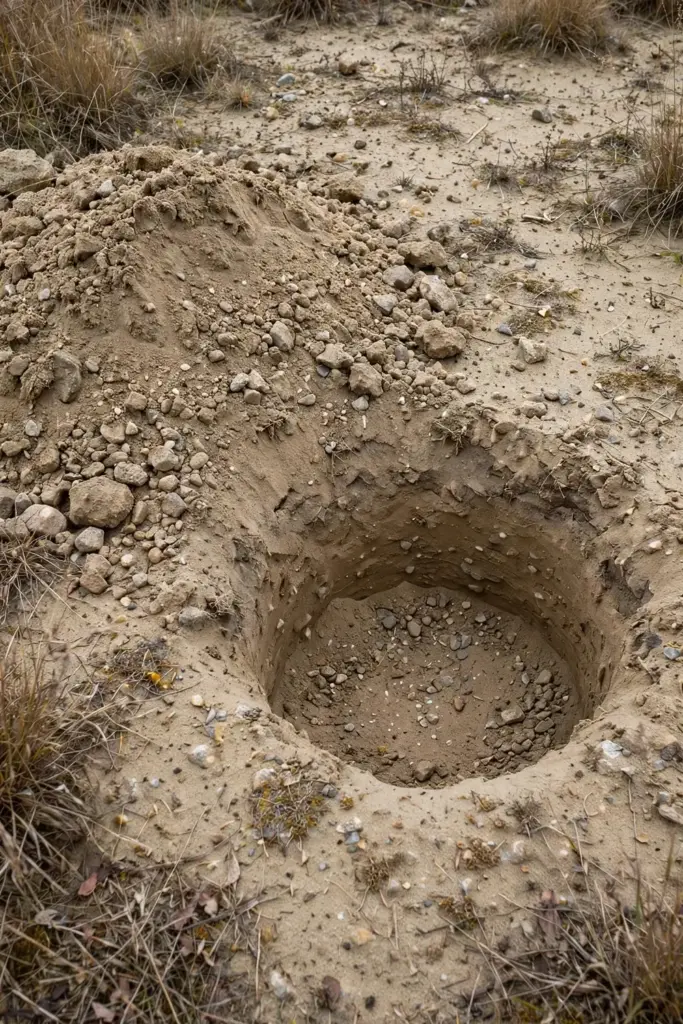
Feed lightly. The tree appreciates compost or well-rotted manure worked into the planting hole, then a light feeding 1 to 2 times per year. Healthy living soil does half the pest work for you, which is why soil health and pest resistance deserve attention before the first problem appears. Container trees need more regular feeding because pots leach nutrients with every watering. A balanced organic feed through the growing season keeps leaves dark green. Yellow leaves on an established tree usually mean too much water, not too little food.
7. Watering: Drought-Tolerant Does Not Mean Thirsty
Moringa survives drought, but it yields on water. New plantings need consistent moisture until the taproot establishes. After that, deep and infrequent beats shallow and daily.
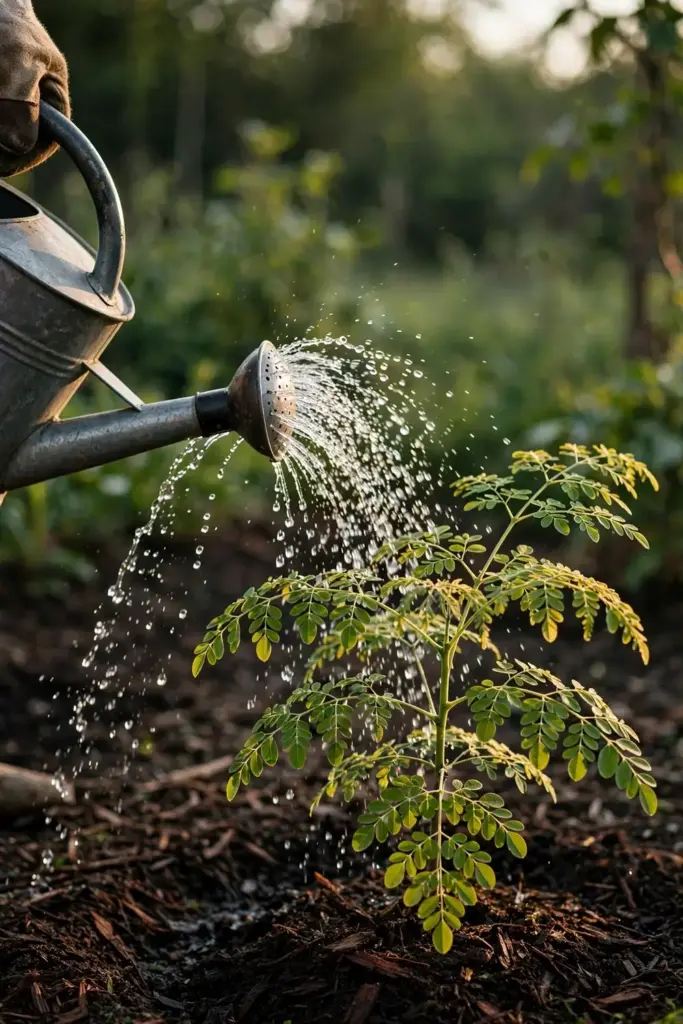
In containers, the rule flips. Pots dry fast in summer heat, so check daily. Water thoroughly until it runs from the drainage holes, then let the top inch dry before watering again. In winter, when a potted tree goes dormant, cut water way back. A dormant moringa with wet feet rots from the roots up.
Mulch helps in-ground trees, but keep mulch pulled back from the trunk. Mounded wet mulch against the bark invites rot, and moringa bark is thin.
Watch the leaves for the watering story. Moringa leaves perk in the morning and relax in afternoon heat; that is normal. Leaves that stay limp into the cool evening are telling you the roots are dry. Leaves that yellow from the bottom up while the soil feels damp are telling you the opposite. Learn to read the plant and you stop guessing.
8. Pruning: Pinch Early, Pollard Hard
Pruning is the management tool for moringa. Without it, the tree races 10 feet up in year one and you need a ladder to harvest leaves. With it, you keep a bushy 6 to 8 foot tree that yields within arm’s reach.
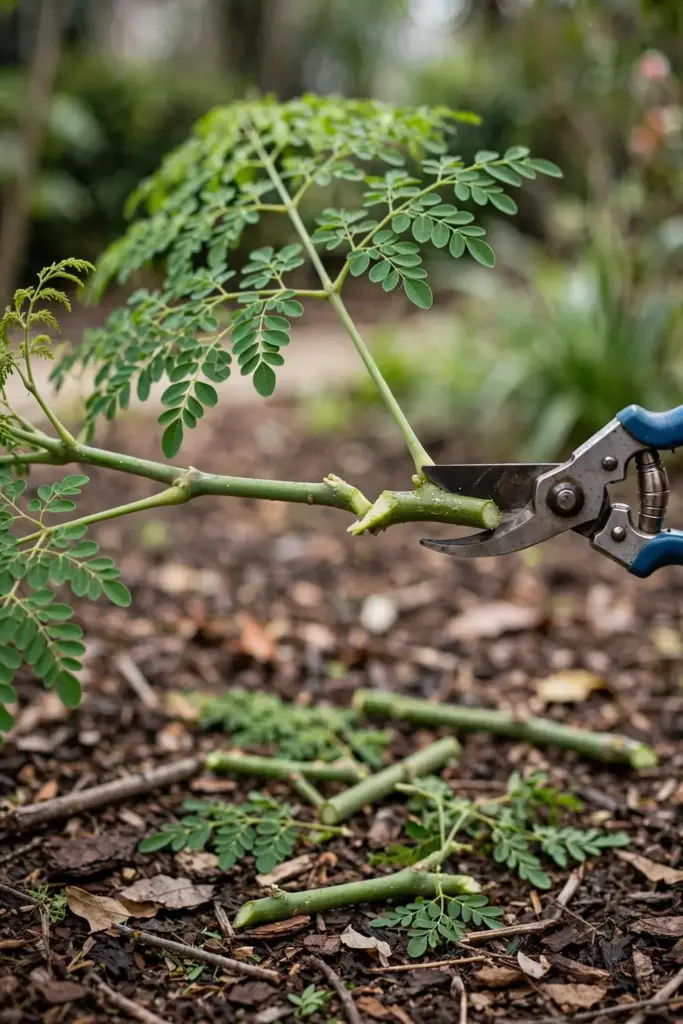
Pinch the growing tip when the seedling reaches about 2 feet. That forces side branches. When those branches reach 20 centimeters, cut them back to 10. Repeat the pinching and the tree bushes out instead of bolting.
| Tree Height | Action | Why |
|---|---|---|
| 2 feet | Pinch the terminal tip | Forces side branches |
| 4 to 6 feet | Cut branches back by half | Keeps harvest within reach |
| End of season | Pollard to 3 feet or lower | Resets the tree for spring |
| After each leaf harvest | Trim harvested branches | Stimulates regrowth |
University of California extension notes the core trade directly: regular pruning leads to bushier growth with increased leaf yield, while no pruning results in more pod production. Decide what you want, leaves or pods, and prune for it.
9. The Container Method: Pots for Cold Climates
This is the Western-climate hook and the section that decides whether the article works for most readers. A moringa tree can live in a pot, but a pot changes the tree. Be honest with yourself about that.
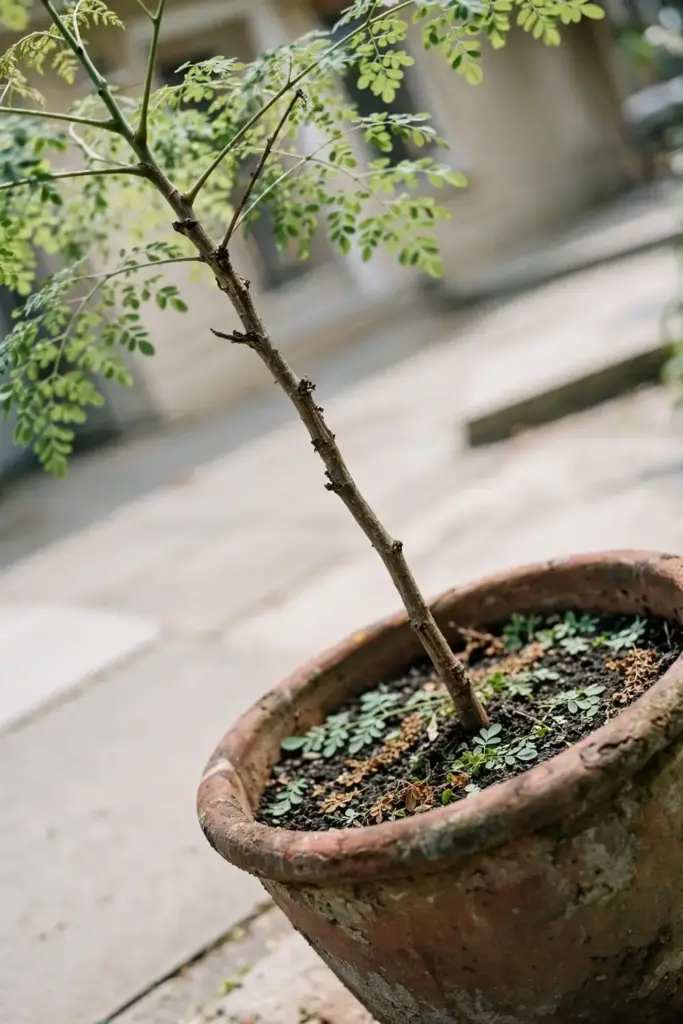
Use a container at least 15 to 20 gallons, about 24 to 30 inches across, and 18 inches deep minimum. Depth matters for the taproot. The farm guide recommends a pot at least 18 inches deep as a final home. Terracotta breathes and dries fast, which suits moringa. Fabric pots air-prune roots and work well too.
Fill with a fast-draining mix: potting soil cut with coarse sand or perlite. No garden soil in pots; it compacts and suffocates roots.
Here is the honesty you were promised. Some nurseries report that moringa does not thrive in containers long term, and in-ground trees outgrow potted ones quickly. That tension is real. A potted moringa is a managed plant: smaller, thirstier, hungrier, and dependent on you for winter. It still gives you fresh leaves for months each year, which is the point for most home growers. If you want a 35-foot tree, plant it in the ground in zone 9 or warmer. If you want fresh leaves in Ohio, the pot is the honest answer.
10. Overwintering: Bring It In Before First Frost
For cold climates this section is the whole project. Moringa goes dormant when cold arrives. Leaves drop, branches shrivel, and the tree looks dead. It is not, as long as the roots stay above freezing.
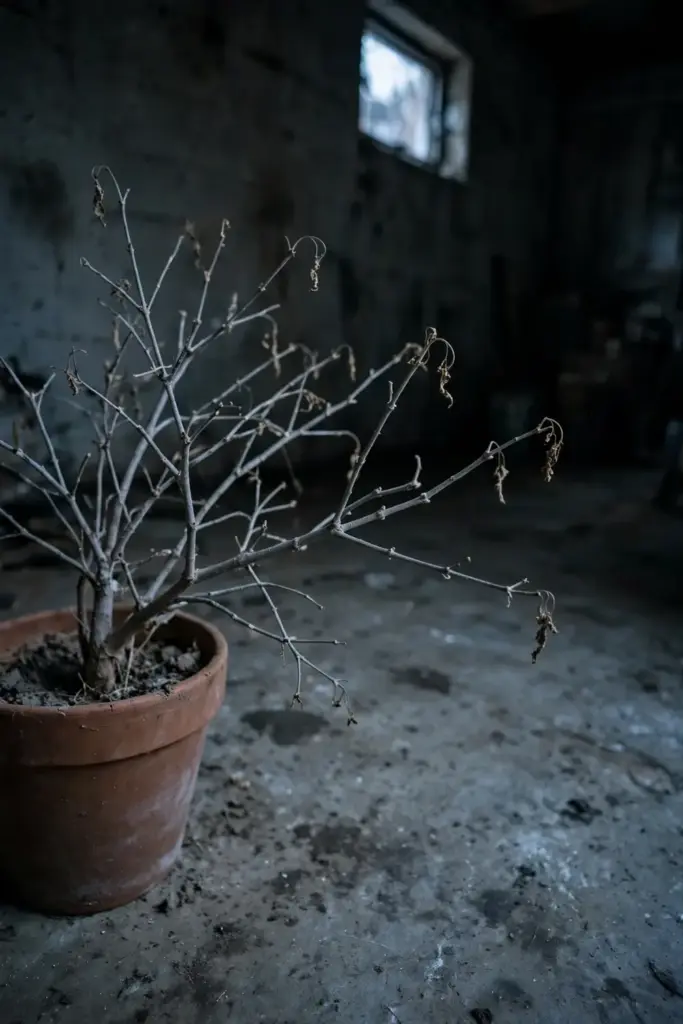
Bring pots indoors before the first frost. A garage or basement that stays between 35 and 45 degrees works for a dormant tree. Cut water back to almost nothing; the tree is sleeping. In California, growers cut the tree back to about 1 foot and cover the stump with plastic through winter, and it regrows from the stump when temperatures rise in spring, per the University of California extension guide.
If you prefer an active winter tree, keep it in a bright south window or under grow lights with reduced watering, the same setup that keeps indoor herb gardens productive through winter. Expect slow, leggy growth. Most growers find the dormant-garage route easier and the tree recovers fine.
Do not fertilize a dormant tree. Wait until new leaves push in spring, then resume feeding and watering as growth returns.
11. Pests and Diseases: Few, But Watch the Roots
Moringa has few enemies, which is one reason beginners love it. The main threats are:
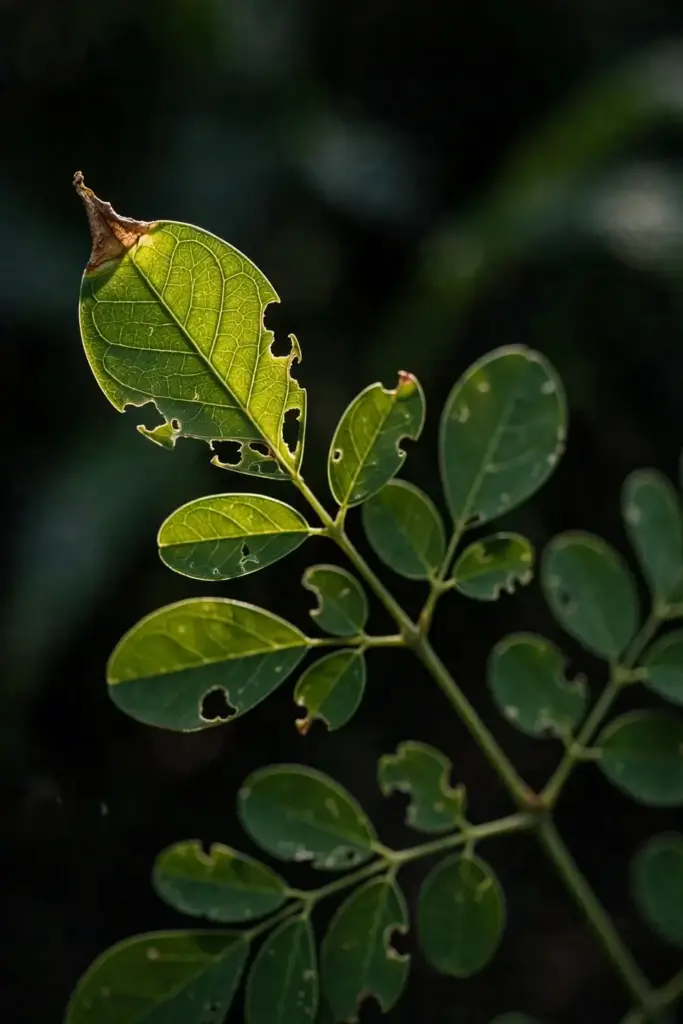
- Root rot from overwatering. The number one killer. Prevention is drainage and restraint, not fungicide.
- Aphids and caterpillars. Hose them off or spray insecticidal soap. Heavy infestations on young trees get pruned out.
- Termites and nematodes. Young saplings in the ground can suffer; healthy vigorous trees mostly outgrow them.
- Leaf spot fungi. Rare in dry climates; improve air circulation and avoid overhead watering late in the day.
The tree outgrows most damage if it is otherwise healthy. A pest problem on moringa is usually a stress signal, so check water and drainage before reaching for sprays.
One more note for container growers: mealybugs love the sheltered leaf axils of an indoor winter tree. Check the undersides of leaves when you bring the pot inside in fall. A cotton swab dipped in rubbing alcohol handles small outbreaks before they spread through the whole plant.
12. Harvesting Leaves: First Pick in 2 to 3 Months
Leaves are the main harvest for most home growers. Start light picking 2 to 3 months after sowing, once the tree is well established and branching. Take outer leaflets and leave the growing tips to keep pushing new growth.
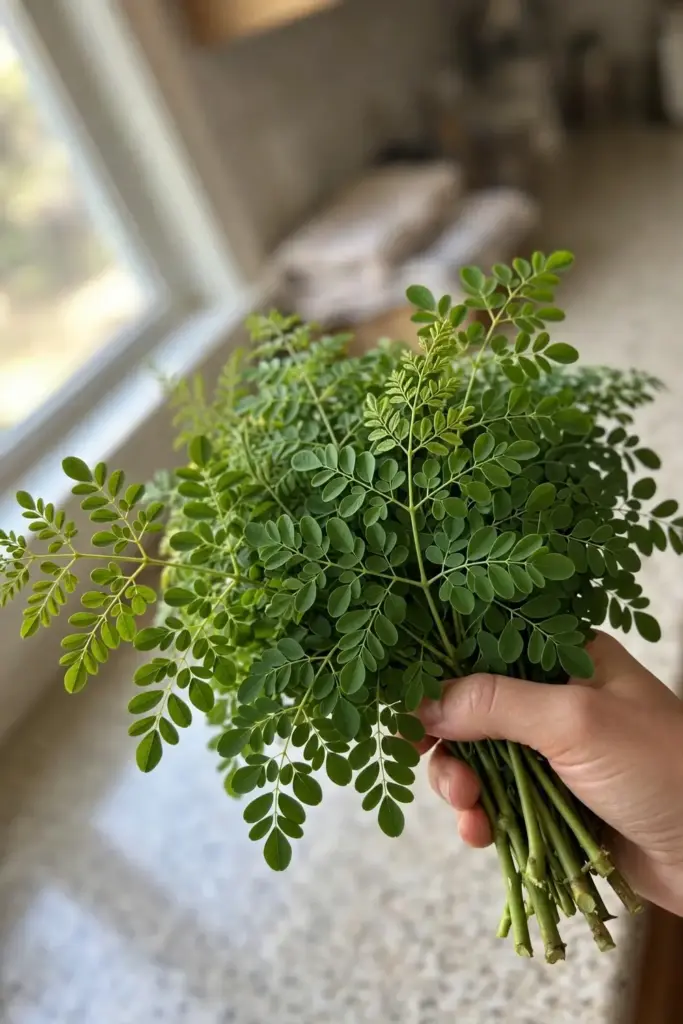
Harvest in the morning when leaves are crisp. Strip leaflets from the tough central stems, since the stems stay fibrous. A regularly pruned tree produces flush after flush; each harvest stimulates the next.
Wash leaves just before use. They wilt fast in heat, so get them into shade or the refrigerator quickly. For powder, dry in shade with good airflow, never in direct sun, which degrades color and nutrients.
The rhythm that works: harvest a third of the leafy branches, let the tree flush for two to three weeks, harvest again. A vigorous tree in warm weather sustains this cycle all season. If growth slows, the tree is asking for water, food, or a harder prune to wake up dormant buds.
13. Harvesting Drumsticks: Pods at 8 to 12 Months
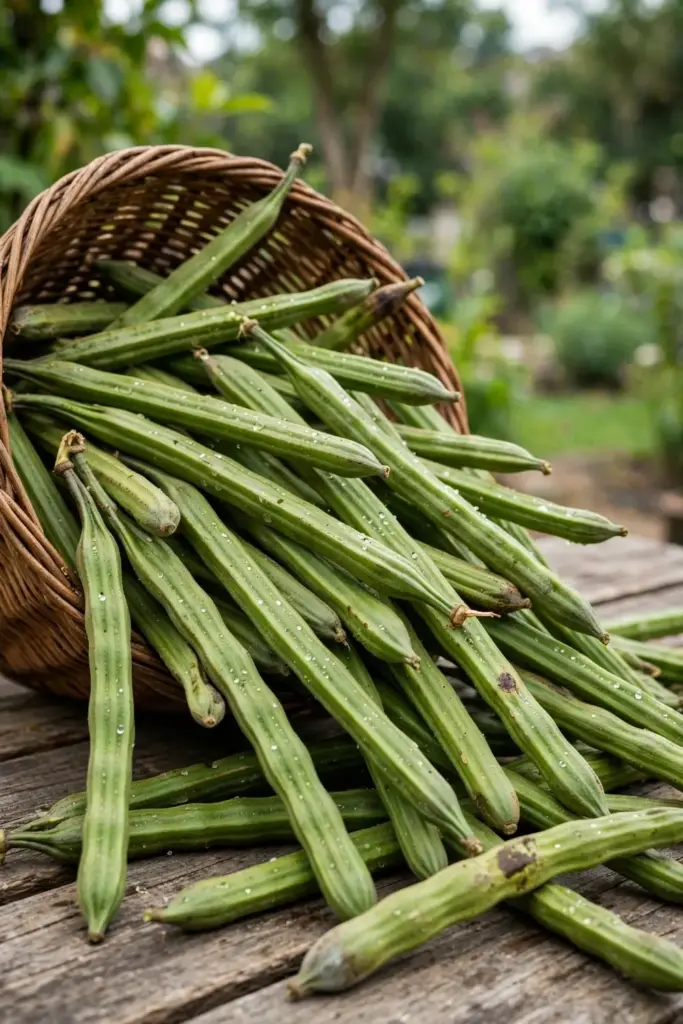
Drumstick pods are the other harvest, and they take patience. Expect the first pods 8 to 12 months after sowing, with heavier crops in year two. Pick pods when they are young and tender, about 12 to 18 inches long and still flexible. Older pods turn fibrous and the seeds inside harden.
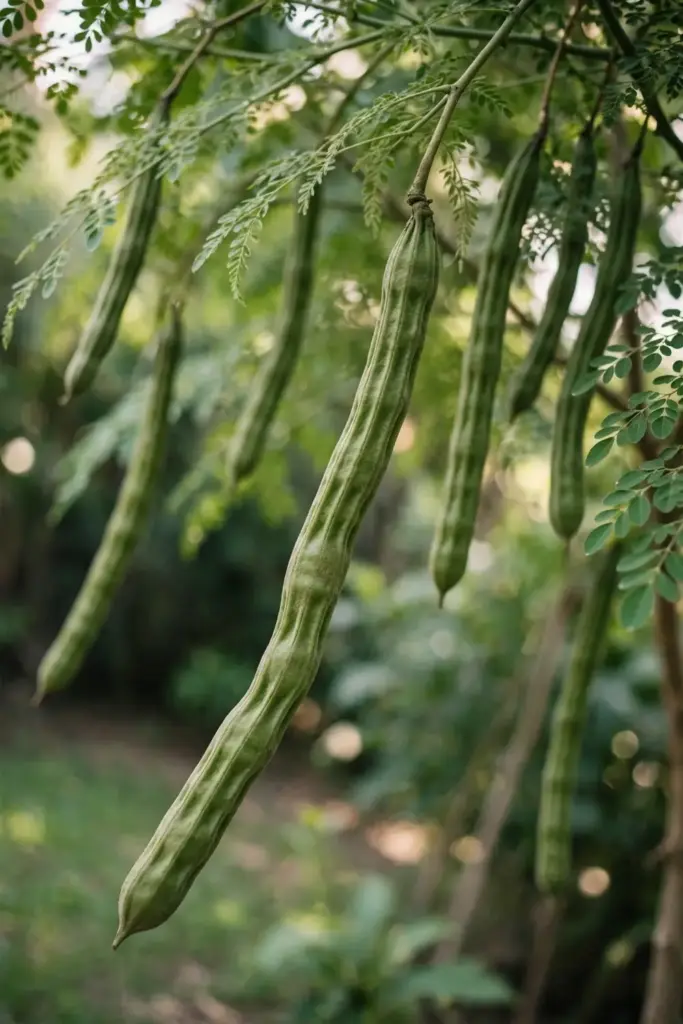
Cut pods with shears rather than pulling them; the branches are brittle. If you let pods mature on the tree, harvest the dried pods for seed before they split and scatter.
If your tree flowers but drops the flowers without setting pods, that is usually heat stress, drought, or a very young tree. Keep water steady and give it time.
14. Processing: From Pod to Kitchen
Fresh pods go straight into curries, sambars, and soups. Split them lengthwise, simmer until tender, and scrape the soft pulp from the fibrous shell with your teeth or a spoon. The flavor is mild and green, closer to asparagus than to anything hot.
For leaf powder, dry leaflets completely until they crumble, then grind in a clean spice grinder. Store powder in an airtight jar away from light. Use within 6 months for best color and flavor.
Mature seeds can be shelled and eaten like peas when young, or pressed for oil. Seed cake left after pressing has traditional use in clarifying water, which is a curiosity worth knowing but not a growing task.
15. Eating Moringa: The Superfood Claims, Handled Carefully
Moringa’s nutrition reputation is enormous. Growers and sellers quote comparisons like more vitamin C than oranges or more calcium than milk. Treat those numbers as marketing until you see a lab report for the specific leaves in question. Nutrient content varies with soil, season, and drying method.
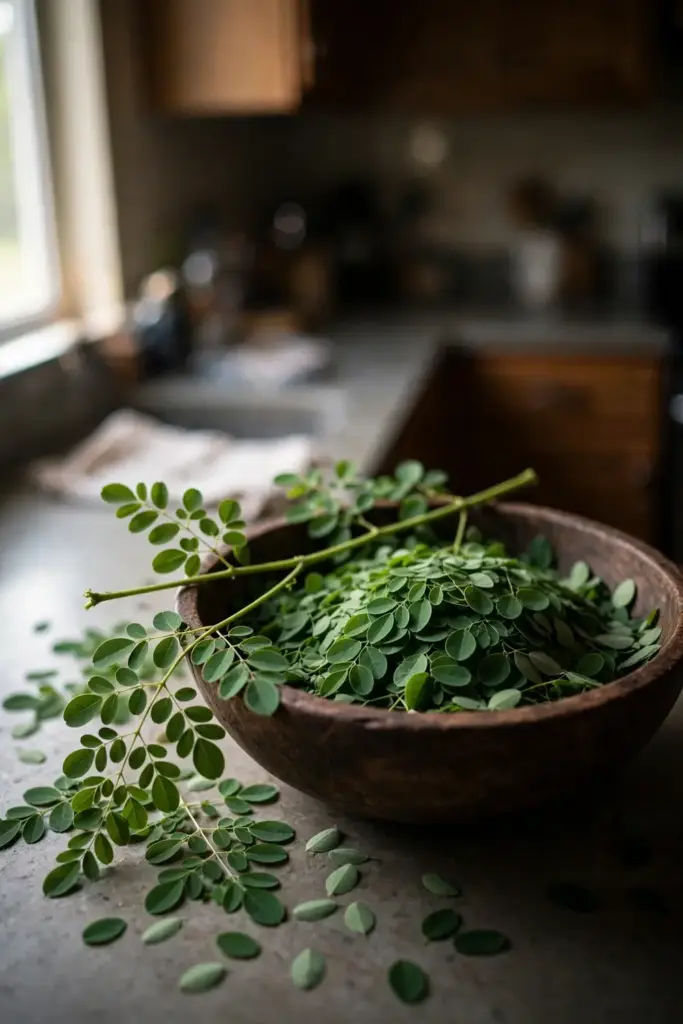
What is solid: fresh moringa leaves are a genuinely nutritious green, rich in protein for a leaf, with meaningful vitamin A, vitamin C, iron, and calcium. Eat them as food, cooked or fresh, the way you would eat spinach or kale. Do not treat the tree as medicine. If you take medication or manage a condition, talk to your clinician before using moringa products regularly. This is a gardening article, not health advice.
16. Common Mistakes and Their Fixes
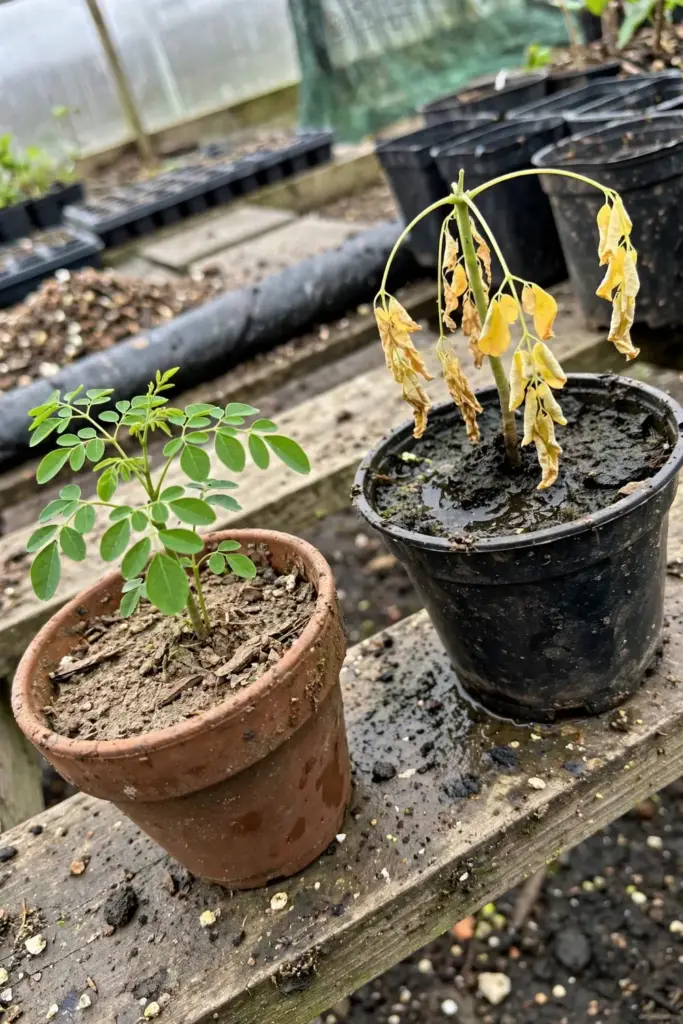
- Drowning the seed. Soggy soil rots moringa seed fast. Fix: sandy mix, water lightly, let the surface dry.
- Skipping the pinch. An unpruned tree becomes a 10-foot pole with leaves you cannot reach. Fix: pinch at 2 feet and keep cutting the branches back through the season.
- A pot too small. A 5-gallon bucket is a nursery, not a home. Fix: 15 to 20 gallons minimum, 18 inches deep.
- Planting out too early. A late frost kills a young tree outright. Fix: wait until nights stay above 50 degrees.
- Overwatering a dormant tree. Winter wet feet rot roots. Fix: bring it in, cut water to nearly zero.
- Expecting pods in month three. Pods take 8 to 12 months. Fix: harvest leaves while you wait.
- Ignoring the taproot. Transplanting carelessly breaks it. Fix: slide the whole soil block out; never bare-root a seedling.
17. Troubleshooting
Seedlings emerge then collapse. Damping off from wet, cold soil. Start over with fresh mix, less water, and more warmth, and do not reuse the old soil.
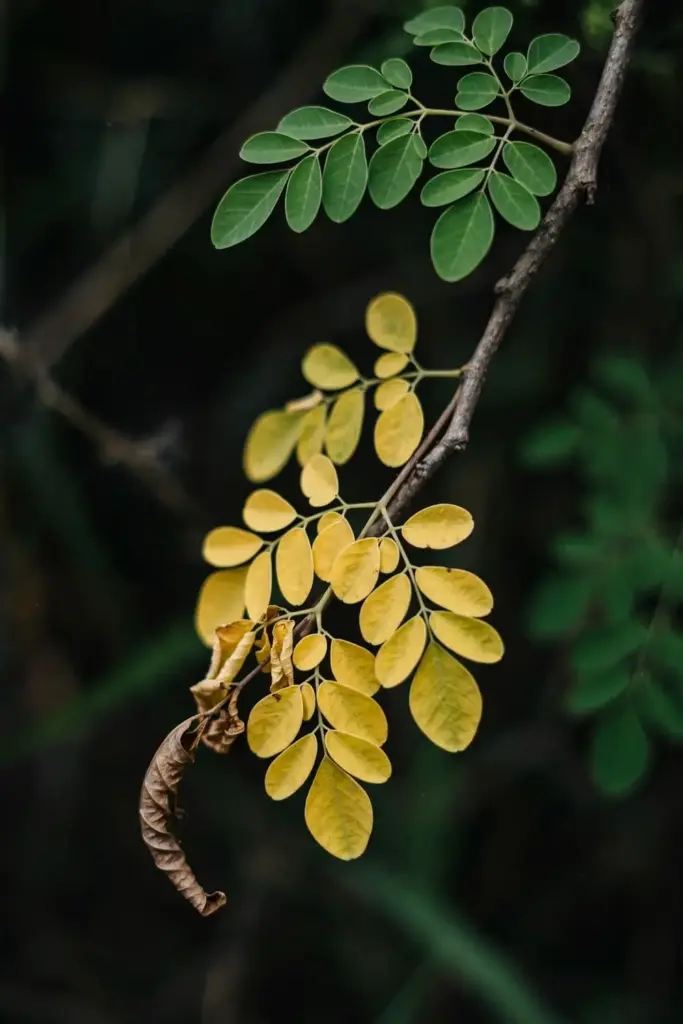
Leaves yellow in summer. Usually overwatering. Check drainage holes and let the pot dry between waterings.
No pods in year one. Normal for seed-grown trees. Flowers and pods commonly wait until year two. Cuttings fruit sooner.
Tree drops all leaves in fall. Dormancy, not death. Keep the roots from freezing and wait for spring.
Leggy indoor winter growth. Not enough light. Either accept it and prune hard in spring, or add a grow light.
White crust on pot rims. Salt buildup from hard water and fertilizer. Flush the pot thoroughly and ease off feeding.
18. Growing Moringa as an Annual: The Cold-Climate Shortcut
Not everyone wants to haul a 20-gallon pot indoors. The shortcut is to grow moringa as an annual, and it works better than it sounds. Start seeds indoors 8 weeks before your last frost, transplant after nights stay above 50 degrees, and let the tree race all summer. Time the season with a planting calendar so the seedling never meets a surprise frost. In a good season you get 6 to 10 feet of growth and months of leaf harvests. The first hard frost ends the run.
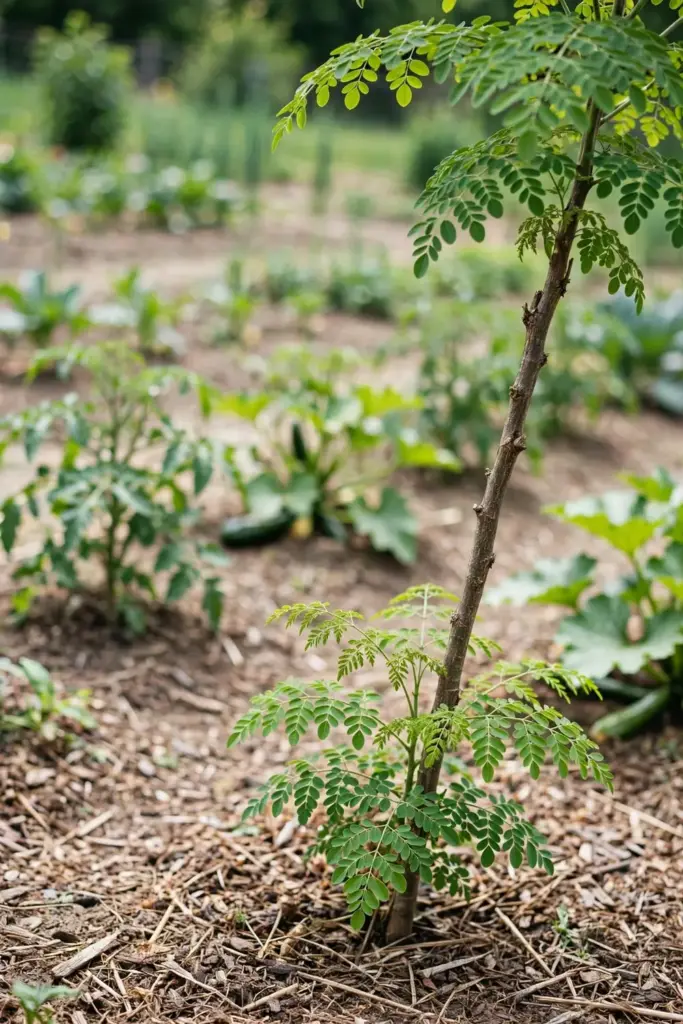
This is the method the University of California extension describes for colder climates: grow it as an annual where winter frosts would kill it. You lose the pods, mostly, since pods need 8 to 12 months and your season is shorter. You gain simplicity. Sow fresh seed every spring and you never store a dormant tree.
For anyone learning how to grow moringa from India in a short-season climate, the annual method is the lowest-effort entry point. If you fall in love with the leaves, graduate to the container method next year.
Choose a variety marketed for your region if one exists, but do not overthink the seed choice. Moringa oleifera is a generalist. Sun, drainage, and a long enough season matter far more than the label on the packet.
Frequently Asked Questions
Germination takes 5 to 14 days in warm soil. The seedling reaches transplant size in about 8 weeks. First leaf harvests come at 2 to 3 months, pods at 8 to 12 months, and a full pod crop in year two. Cuttings skip ahead and can fruit in about 6 months.
Only where winters stay mild, roughly zones 9 and warmer. The tree drops leaves below 70 degrees average and dies if it freezes through. In colder zones, grow it in a container and bring it indoors before first frost, or treat it as an annual.
At least 15 to 20 gallons, about 24 to 30 inches across and 18 inches deep minimum, for a tree you plan to keep. Smaller pots work for the first season but the taproot quickly fills them. Fabric pots and terracotta both suit moringa because they drain and breathe.
Seeds for most growers. They are cheap, store for a year, and build the deep taproot that makes the tree drought-tough. Cuttings suit anyone with access to a mature tree and a need for speed, since they can fruit in about 6 months. Cuttings root shallowly, so stake them in windy spots.
Overwatering is the usual cause, especially in pots. Let the soil dry between waterings and confirm the drainage holes run free. Nutrient deficiency is possible in old potting mix, but check water first. Yellow leaves on a dormant winter tree are normal leaf drop, not a problem.
Fresh leaves are a genuinely nutritious green with solid protein, vitamin A, vitamin C, iron, and calcium for a leafy vegetable. The dramatic gram-for-gram comparisons in marketing vary with soil, season, and processing, so treat them as claims, not facts. Eat moringa as food and consult your clinician about concentrated products.
Where to Go From Here
You now know how to grow moringa from India in the two ways that actually work: in the ground where winters stay warm, and in a big pot with a winter plan everywhere else. Start seeds indoors 6 to 8 weeks before last frost, pinch at 2 feet, and keep the shears handy. The tree does the fast part. Your job is the slow part, which is mostly patience and drainage.