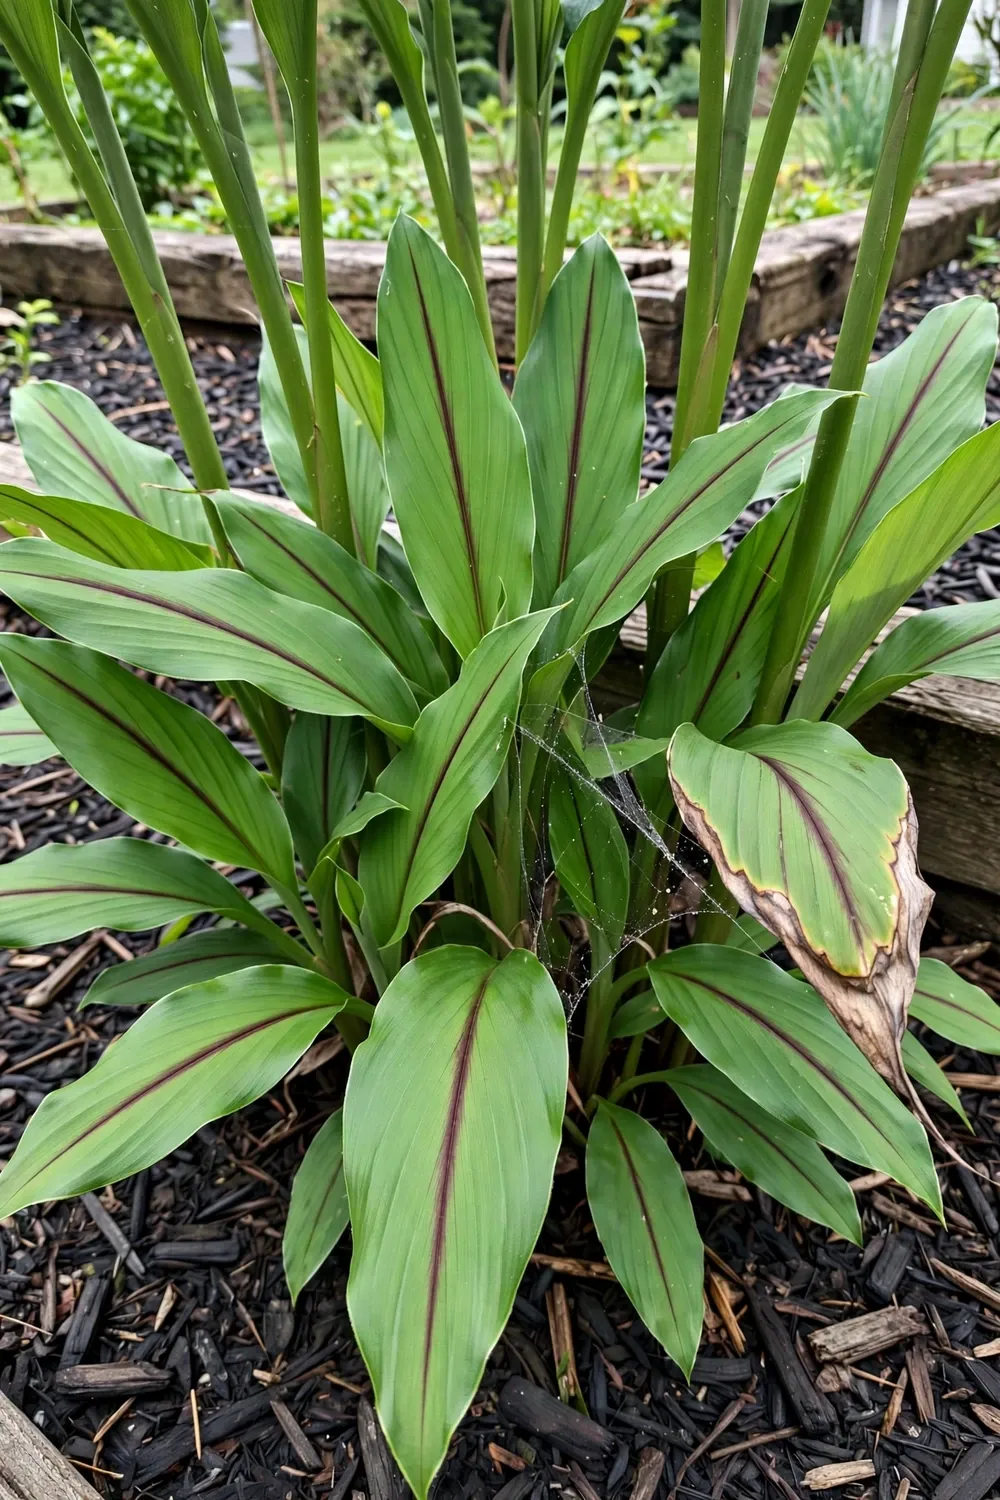

Plant a temulawak rhizome piece 5.1 to 10.2 cm deep, buds up, at the start of the wet season, and dig the harvest when the leaves yellow and collapse at the end of the growing season. That is how to grow temulawak at home. The rest of this page is 16 moves, from the identity test that separates temulawak from its cousins to the first dig. The plant asks for tropical warmth, soil that drains, and patience more than skill.
Temulawak is Curcuma xanthorrhiza, the Javanese turmeric. It is a close cousin of the turmeric in your spice jar, not the same plant. The rhizomes look alike in a market basket, which is exactly why this guide starts with the identity test before a single piece goes in the ground. Grow the wrong rhizome and you will wait a year for the wrong harvest.
The growing method here mirrors growing turmeric at home. Same rhizome logic, same calendar, same leaf-yellowing finish line. Temulawak grows bigger, tastes more bitter, and carries a compound called xanthorrhizol that common turmeric lacks.
What You Need Before You Start
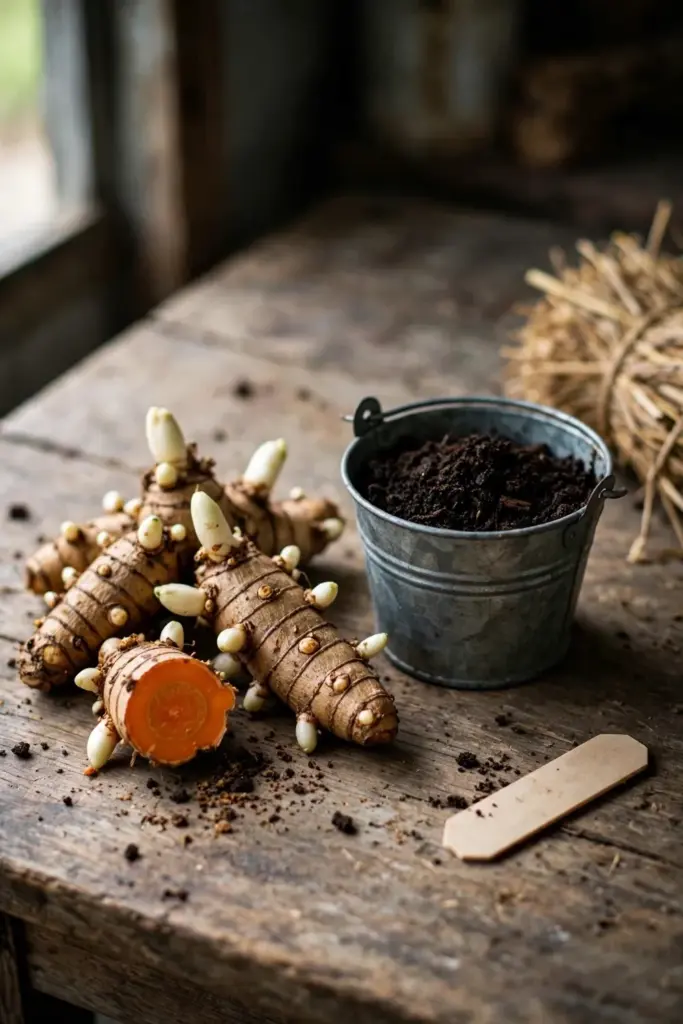
- Fresh temulawak rhizome pieces, each with 2 or 3 visible buds
- A spade or garden fork for loosening the bed
- Finished compost, one bucket per planting hole
- Mulch: straw, dried leaves, or wood chips
- A balanced organic fertilizer
- A large pot (30 cm or deeper) if your winters drop near frost
- A plant marker, because dormant rhizomes are invisible for months
Buy rhizomes from a reputable nursery or an Indonesian grocery supplier, never from a dried spice packet. Dried rhizome is dead rhizome. Fresh pieces feel firm and heavy, and the cut surface shows deep orange flesh that stains your fingers.
1. Plant Rhizome Pieces 5.1 to 10.2 cm Deep with the Buds Up
Break or cut the mother rhizome into pieces the size of a thumb, each carrying 2 or 3 plump buds. Let the cut faces dry for a day so they callus. A fresh cut planted straight into damp soil is an invitation to rot.
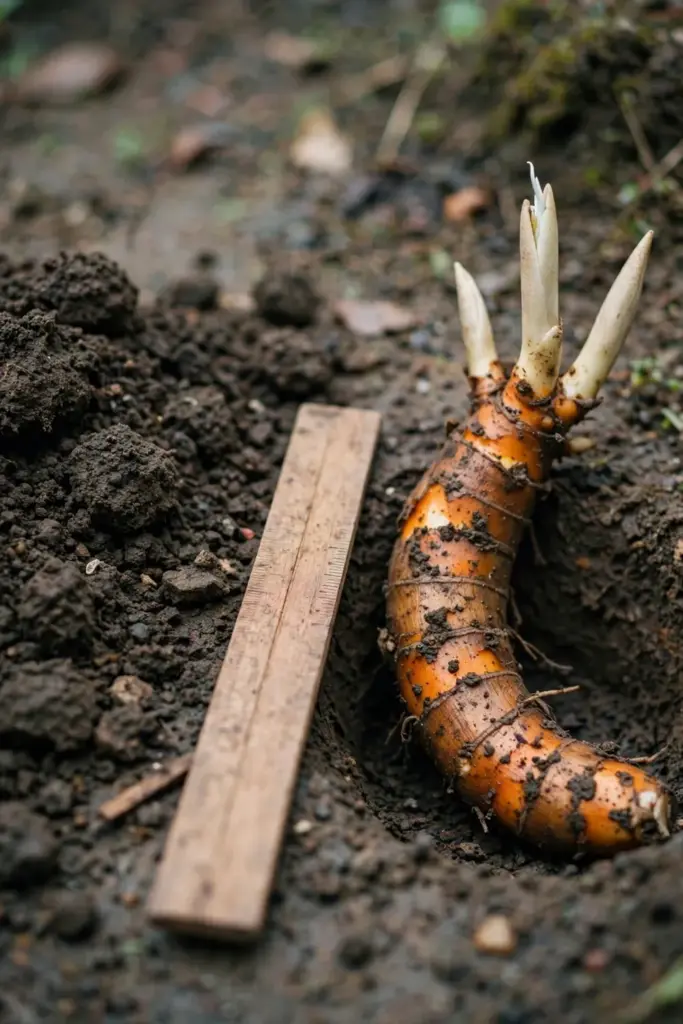
Set each piece 5.1 to 10.2 cm (2 to 4 inches) deep with the buds pointing up, following the standard rhizome-planting depth used for turmeric in this complete turmeric growing guide. Press the soil gently over the top and water it in once. Then leave it alone until shoots appear, which takes 2 to 4 weeks in warm soil. Cold soil doubles the wait, and soggy soil kills the piece before it starts.
Mark the spot. A planted rhizome looks like nothing for a month, and an unmarked bed gets dug up by accident. One small stake saves a season. If you are planting a whole row, lay the pieces out on the soil surface first and check the spacing before you bury any of them; rearranging takes seconds above ground and costs a season below it.
2. Check the Identity: the 4 Curcuma Species Comparison Table
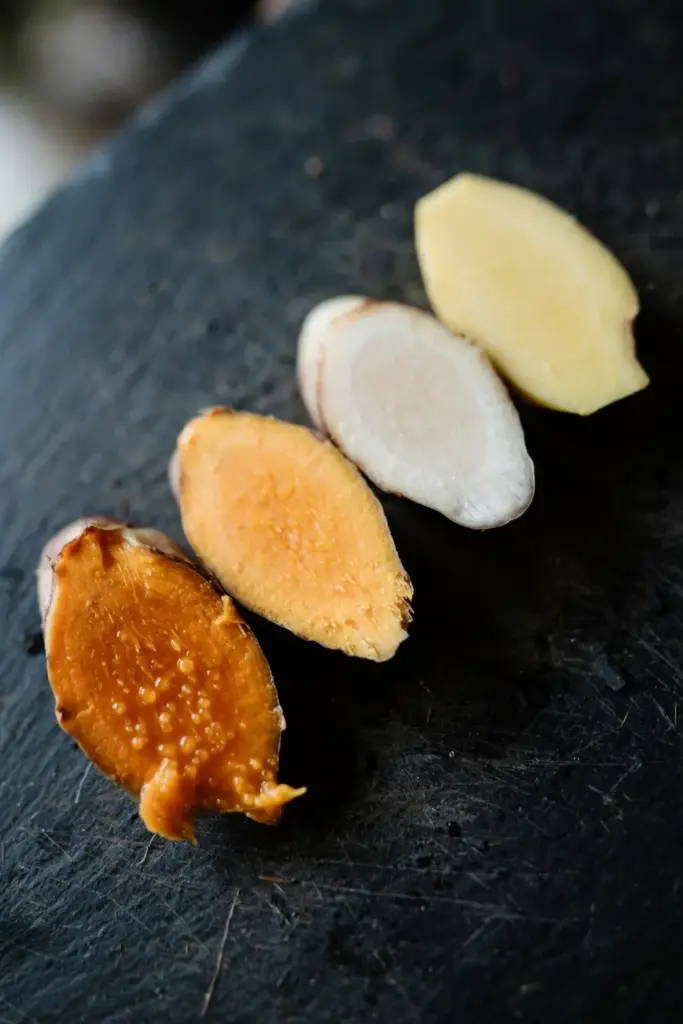
Four Curcuma species share market baskets and nursery labels. One table ends the confusion. The deciding compound is xanthorrhizol: a 2025 comparative study found it to be a significant metabolite in Curcuma xanthorrhiza that is not found in Curcuma longa, and Curcuma zedoaria does not carry it either (Tropical Journal of Natural Product Research). That single chemical marker is why botanists treat temulawak as its own species.
| Species | Common name | Rhizome tell | Xanthorrhizol marker | Lane |
|---|---|---|---|---|
| Curcuma xanthorrhiza | Temulawak, Javanese turmeric | Large, deep orange, sharply bitter | Present, the species marker | Indonesia, jamu |
| Curcuma longa | Common turmeric | Smaller, orange-yellow, earthy and mild | Absent | Spice jar turmeric |
| Curcuma zedoaria | White turmeric | Pale, almost white inside, camphor scent | Absent | India lane, separate article |
| Curcuma amada | Mango ginger | Raw-mango smell when cut, pale yellow | Not the marker compound | India lane, separate article |
In my experience, slicing a fresh rhizome settles every market-stall argument: temulawak smells sharply bitter, while cooking turmeric smells earthy and mild. Curcuma xanthorrhiza also answers to the spelling Curcuma zanthorrhiza; both names point to the same plant, so a nursery tag with either spelling is fine. Buy from the nursery shelf, not the spice aisle: spice-grade dried rhizome is often common turmeric, and the two look identical once powdered. A live rhizome with buds, a Latin name on the tag, and that sharp bitter smell is the full identity check. White turmeric and mango ginger belong to the India growing lane and get their own guides. This page stays with temulawak.
3. Start at the Beginning of the Wet Season
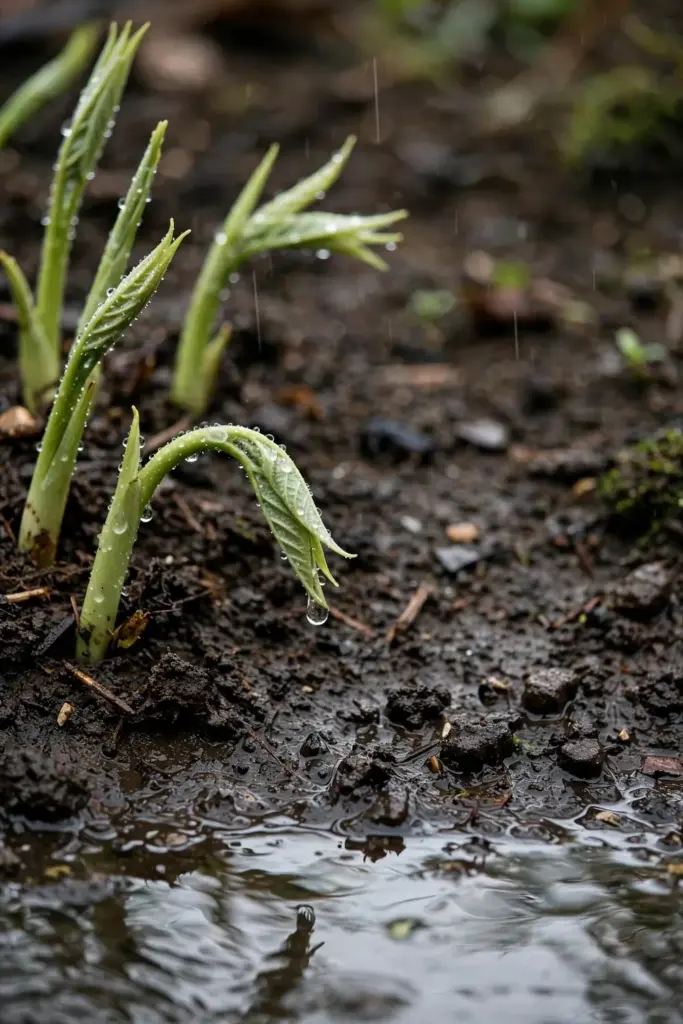
Temulawak runs on a monsoon clock. In its native Java, growers plant at the start of the rains, the plant grows through the wet months, and the rhizome bulks up as the rains fade. Copy that rhythm wherever you garden.
| Season | Action | Why |
|---|---|---|
| Wet-season start | Plant rhizome pieces | Warm soil plus steady rain wakes the buds fast |
| Mid wet season | Mulch and feed | Peak leaf growth, peak water demand |
| Rains fading | Ease off watering | Rhizome starts storing energy instead of growing leaves |
| Dry season | Stop watering, wait for die-back | Dormancy trigger; rhizome cures in the ground |
In temperate gardens, the “wet season” is late spring after your last frost. The soil needs to hold above 15 degrees before planting. If your climate gives you fewer than 8 frost-free months, grow in a pot and start the rhizome indoors 6 to 8 weeks early, the same head start the turmeric guide recommends for cold climates (turmeric growing guide).
4. Mix the pH 5.0 to 6.5 Soil Temulawak Thrives In
Temulawak wants rich, loose, well-drained soil with a pH between 5.0 and 6.5, the range a Brawijaya University study identifies as the thriving zone for the species (Brawijaya University temulawak soil study). The same study found the heaviest rhizomes per clump at pH 5.72 to 6.00. Slightly acidic wins; alkaline or waterlogged soil loses.
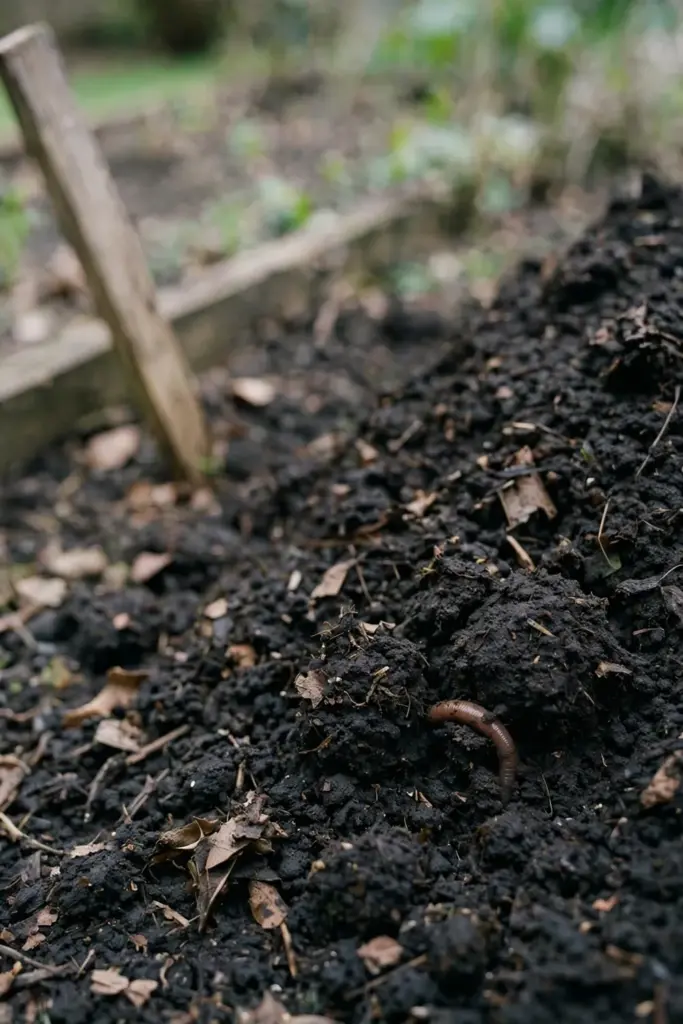
Dig each planting hole twice as wide as the rhizome piece and work in a full bucket of finished compost. Heavy clay needs a raised bed or a mound, because standing water rots Curcuma rhizomes faster than any pest does. Sandy soil needs the compost even more, since it drains before the roots drink.
Test the pH once with a cheap kit before you plant a whole bed. Adjusting after the rhizomes are in is guesswork. Lime raises pH, sulfur lowers it, and compost buffers both directions. Retest each season before planting; heavy rain leaches acidity back in, and a bed that tested 6.0 last year can read 5.2 this year without you noticing.
5. Space Field Rows 60 by 50 cm for the Biggest Rhizomes
Give each plant room. An Indonesian spacing trial found the heaviest rhizome yield per plant at 60 by 50 cm spacing, and the same trial recorded the highest antioxidant activity under 70 percent shade (Asian Journal of Plant Science spacing trial). Crowded plants compete for light and water, and the rhizomes stay small.
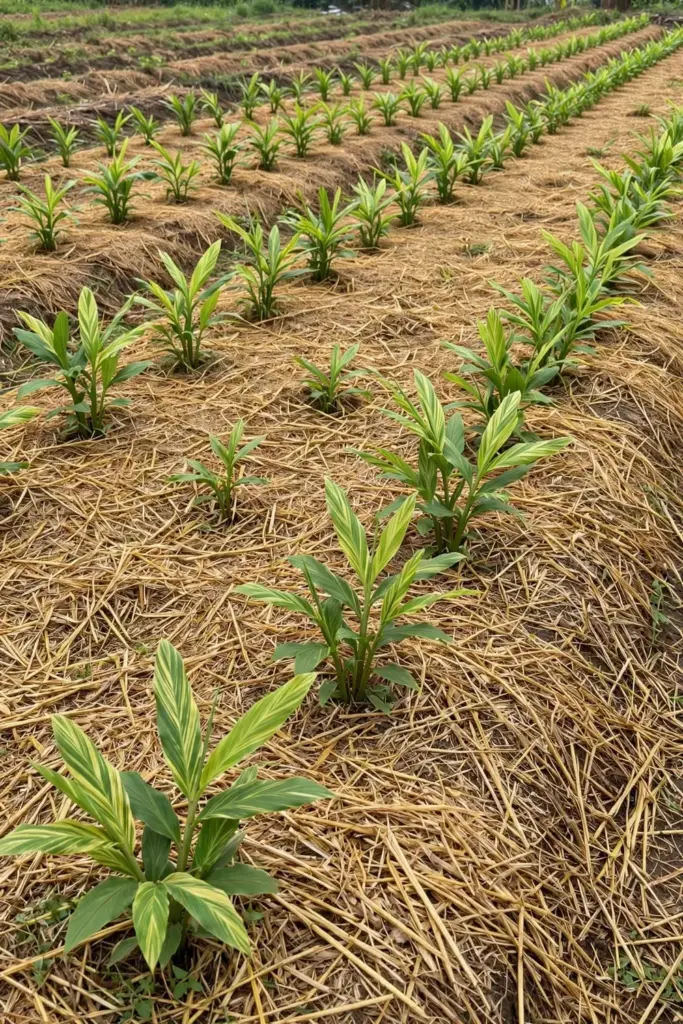
In a home bed, 45 to 60 cm between plants in every direction works. Rows make weeding easier; a loose grid makes mulching easier. Pick the layout you will actually maintain. A weedy, cramped bed always yields less than a clean, roomy one, whatever the spacing math says. Walk the bed monthly and pull weeds before they seed; temulawak hates root competition during the bulking months, and a clean bed also dries faster after rain, which the rhizomes prefer.
Tuck temulawak under light tree shade or on the east side of a fence if your afternoons run hot. The species tolerates part shade well, and trial data recorded the highest rhizome quality at 70 percent shade (Asian Journal of Plant Science spacing trial). Full blazing sun in a dry climate stresses the leaves and slows bulking.
6. Grow Temulawak in a Big Pot When Frost Threatens
Temulawak is a tropical perennial that dies to the ground at the first real frost. If your winter drops near freezing, the pot is the whole strategy. One plant per large pot, the kind you would use for a small shrub, filled with the same compost-rich mix as the bed.
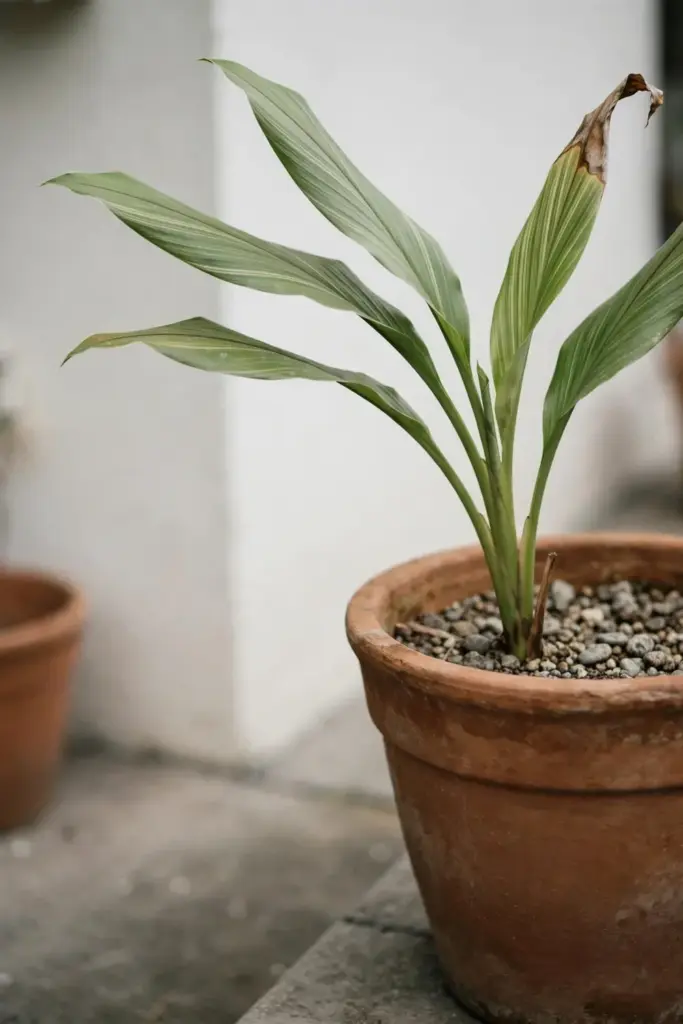
Start the rhizome indoors 6 to 8 weeks before your last frost date, the head start the turmeric guide recommends for cold-climate growers (turmeric growing guide). The mechanics match standard seed-starting steps: warmth first, light after sprouting, no fertilizer until true leaves show. Keep the pot warm and barely moist until shoots show. Move it outside only after nights stay reliably warm, and harden it off over a week: a few hours of morning sun at first, full days by the end.
Before the first autumn frost, carry the pot into a frost-free shed, garage, or bright room. Let the leaves yellow and die back naturally, then stop watering entirely. The rhizome sleeps dry through winter and wakes when warmth returns. One pot, carried in and out, gives you a perennial temulawak anywhere.
7. Water Like a Monsoon, Then Let the Bed Dry at Die-Back
Young temulawak drinks steadily. Keep the soil evenly moist through the growing season, never soggy, never dust-dry. A 5 to 8 cm mulch layer holds moisture and keeps the soil temperature even. Water in the morning so the leaves dry by evening.
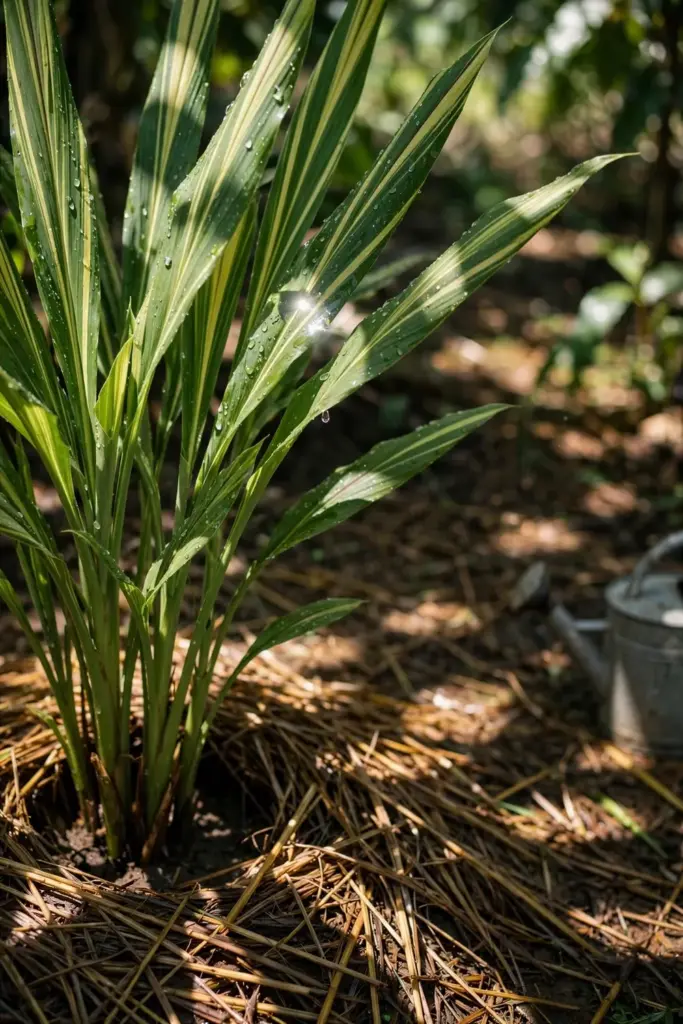
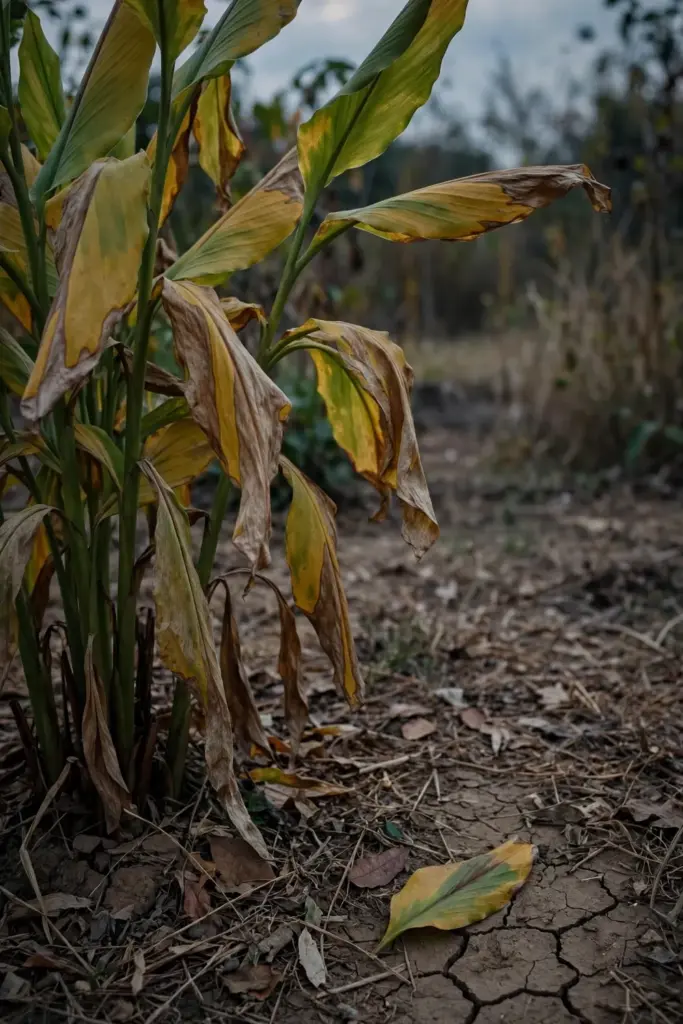
When the leaves start yellowing in the dry season, stop. This is the plant telling you it is done. The rhizome is curing underground, and continued watering at this stage causes rot in the finished crop. Let the bed dry out completely and leave the rhizomes in the ground until you are ready to dig.
A rain gauge helps more than a calendar here. If your dry season still delivers surprise storms, a simple plastic sheet over the bed for the last month keeps the curing rhizomes dry. Growers in truly wet-winter climates often dig the whole clump at first yellowing and cure it under cover instead of gambling on the weather. Either way, the rule holds: once the tops fall, the water stops.
Container growers: lift the pot under cover once die-back starts so autumn rain does not keep the mix wet. A rhizome sitting in cold, wet potting mix through winter is a dead rhizome by spring.
8. Feed Compost at Planting and Again Every 2 to 3 Months
Temulawak is a hungry feeder. Work compost into every planting hole, then top-dress with more compost or a balanced organic fertilizer once every 2 to 3 months through the growing season, the feeding rhythm the turmeric guide finds plenty (turmeric growing guide). Stop feeding when the leaves begin to yellow. Late feeding pushes soft leaf growth instead of rhizome bulk.
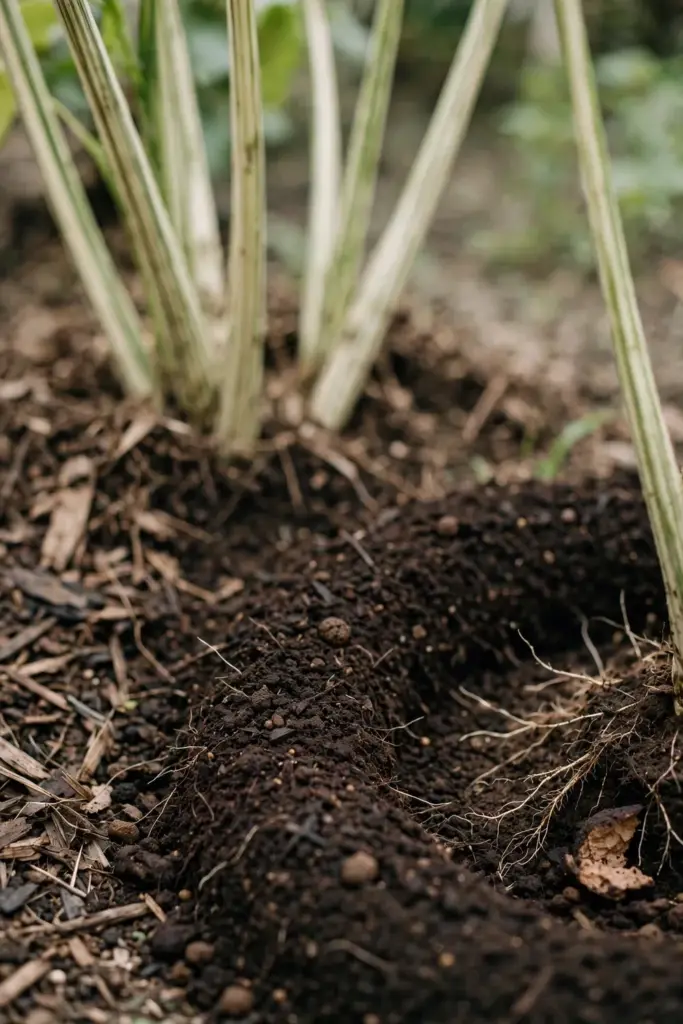
Potassium matters more than most growers expect. An Indonesian curcumin study found the highest curcumin content at the 6-month harvest came from potassium-fed plots, and identified potassium as the main element in curcumin formation (Neliti curcumin study). Wood ash or a potassium-rich organic fertilizer covers it. Goat manure also tested well for fresh rhizome weight in Indonesian trials, so any well-rotted manure is a good base feed.
9. Give Temulawak Tropical Warmth and 50 to 70 Percent Shade
Temulawak grows fastest in steady tropical warmth with no frost and no cold snaps. Growth stalls when nights turn cool, and a hard freeze kills the tops outright. The rhizome may survive a light frost underground in a mulched bed, but do not count on it.
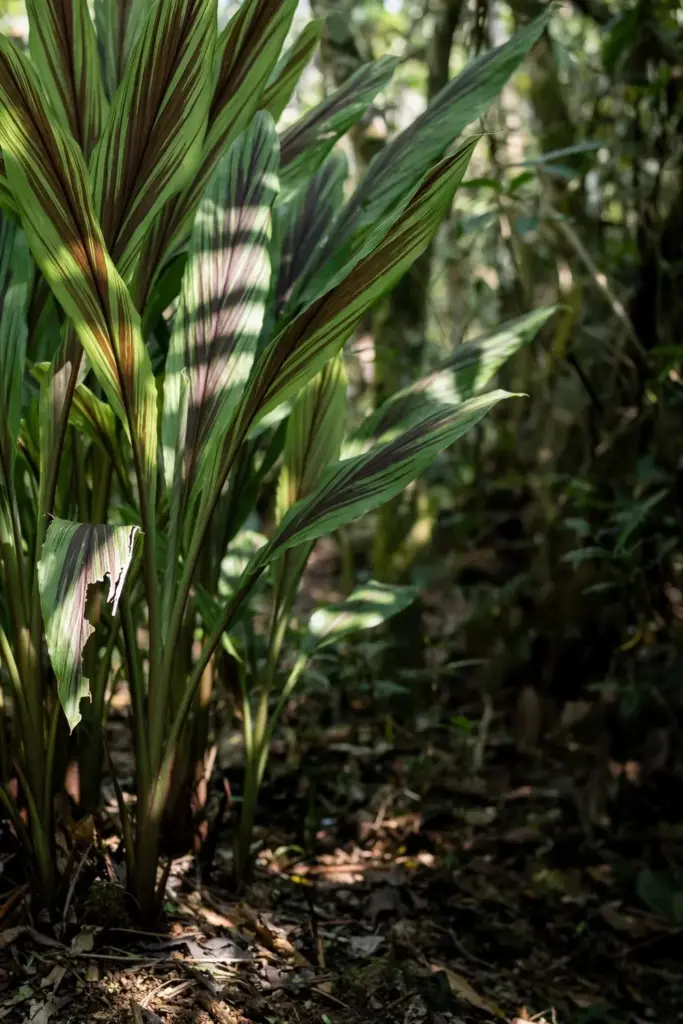
Light shade beats full sun in hot climates. The Indonesian trial measured the highest antioxidant activity at 70 percent shade, and the plants under lighter shade still yielded well (Asian Journal of Plant Science spacing trial). Aim for morning sun and afternoon shade, or dappled light all day. Deep, dark shade starves the plant; the leaves stretch thin and the rhizome stays small.
Wind dries the big leaves fast. A sheltered corner behind a hedge or wall keeps humidity up around the plant, which temulawak appreciates more than most vegetables do.
10. Watch for Rhizome Rot, Leaf Spot, and 3 Curcuma Pests
Temulawak has few enemies, and almost all of them trace back to water. Rhizome rot is the killer: it strikes in waterlogged soil and turns planted pieces to mush before they sprout. Prevention is drainage, callused cut faces, and no watering during dormancy. There is no cure for a rotted rhizome, only a lesson.
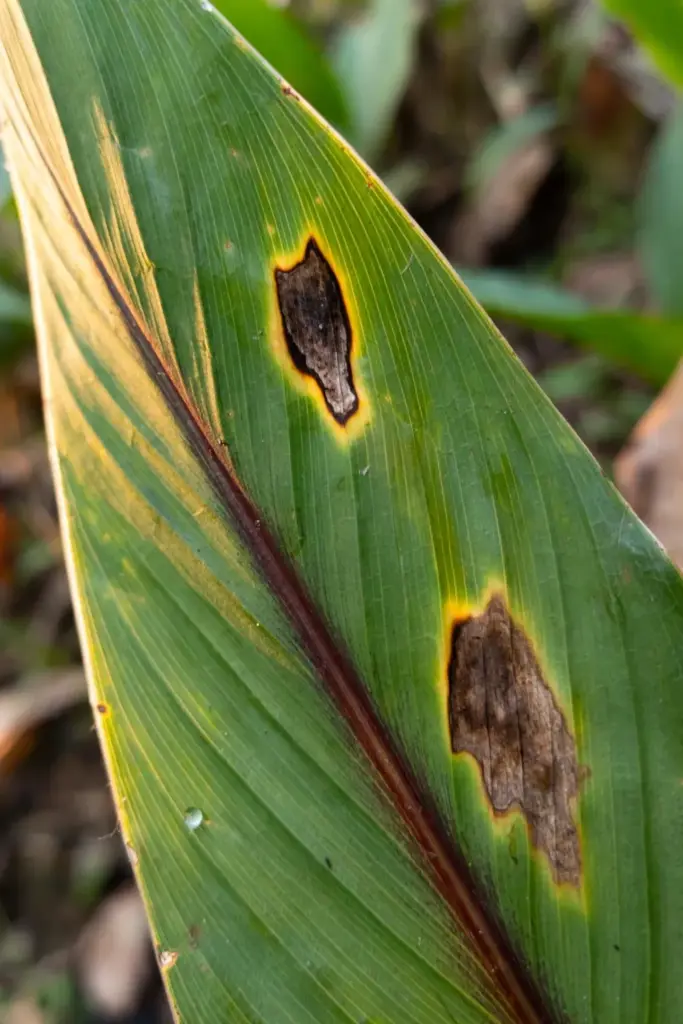
Leaf spot shows as brown patches on the big leaves in wet weather. Strip the worst leaves, improve air flow, and avoid overhead watering. The plant usually outgrows it. Scale insects and mealybugs sometimes cluster on the leaf bases; wipe them off or spray with insecticidal soap. Red spider mites appear in hot, dry conditions; a strong jet of water knocks them back. Check the undersides of leaves monthly through the wet season. All three pests start there.
Healthy plants in the right soil rarely need spraying. Most “pest problems” on temulawak are watering problems wearing a disguise. Fix the drainage and the air flow first, reach for the spray bottle second, and only after you have actually found the insect.
11. Dig the Harvest at 10 Months When the Leaves Yellow
The harvest signal is unmistakable: the leaves turn yellow-brown, dry out, and collapse. The turmeric guide reports an average of 10 months after planting and describes exactly this leaf change (turmeric growing guide). Wait until the tops are fully down, then wait another week or two. The rhizome finishes curing in dry soil.
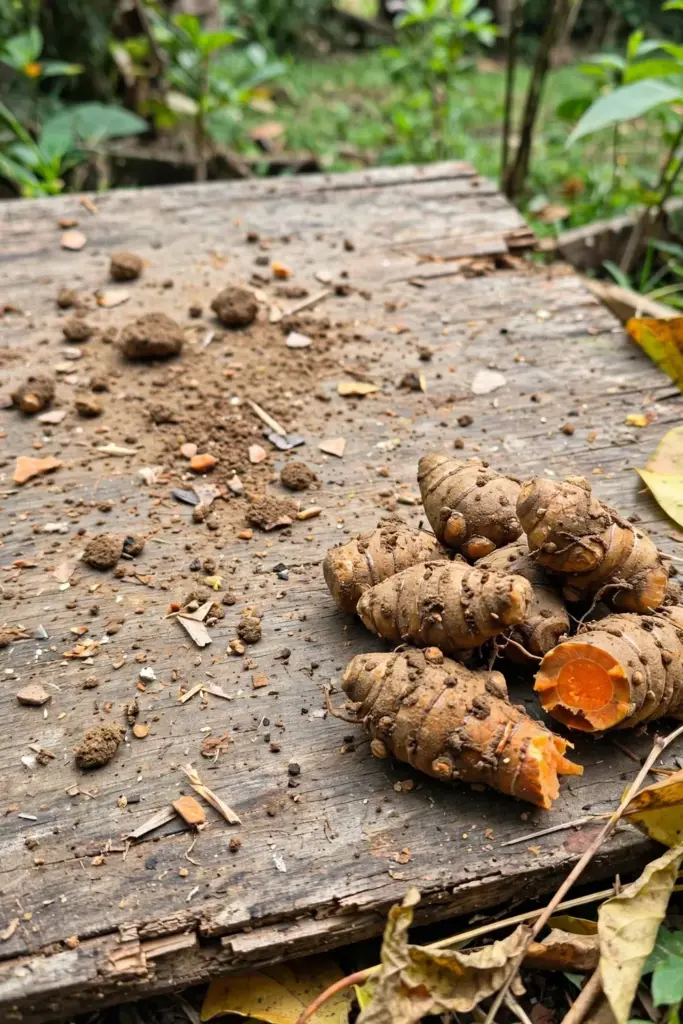
Dig with a fork, not a spade, starting 30 cm out from the plant center. Temulawak rhizomes spread wider than you expect, and a spade slices them. Loosen the whole clump, lift it, and shake off the soil. Save the plumpest pieces with good buds for replanting; the rest is your harvest.
A single healthy plant yields a generous handful to over a kilogram of fresh rhizome, depending on soil, water, and season length. Wash what you will use fresh. Leave the skin on until use; peeled rhizome dries out fast.
12. Cure and Store Rhizomes in a Cool, Humid Spot
Fresh temulawak keeps for weeks in the refrigerator vegetable drawer, unpeeled and dry. For longer storage, you have three honest options. Slice thin and dry the pieces fully in a dehydrator or a warm, airy spot until they snap; store the dried slices in airtight jars away from light. Grate and freeze portions in bags for cooking. Or keep whole rhizomes in barely damp sand in a cool cellar, checking monthly and removing any soft pieces.
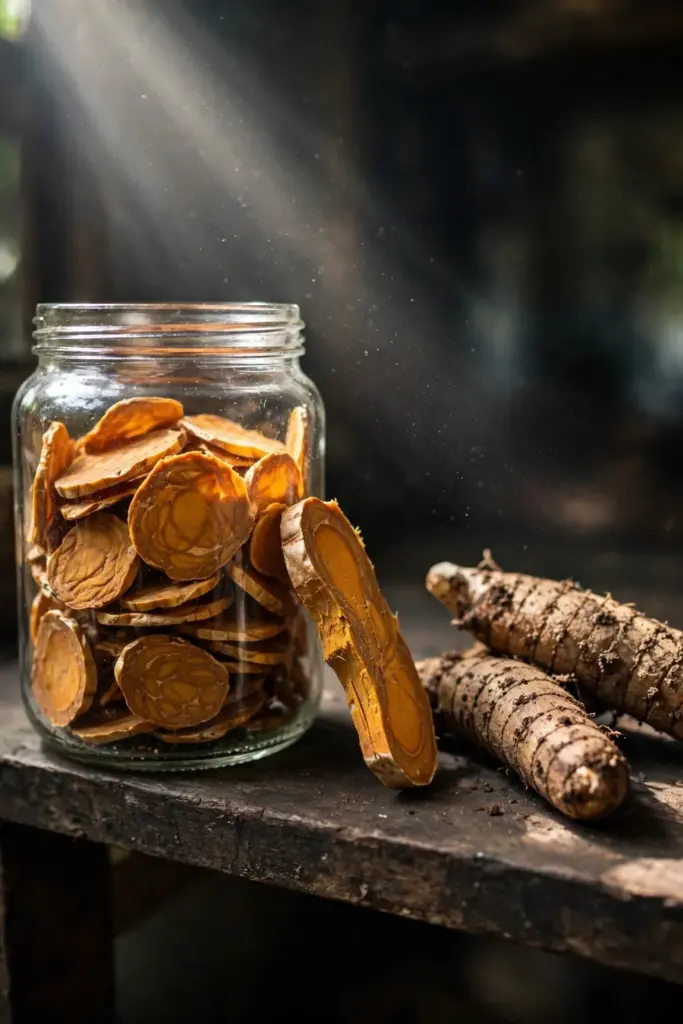
Never store fresh rhizomes sealed in plastic at room temperature. They sweat, then mold, then rot. Airflow matters as much as temperature. Label everything with the harvest date; last year’s dried slices look identical to this year’s until you taste them.
Dried slices need one more check before jarring: bend a thick piece. If it flexes, it is not dry enough and will mold in the jar. Dry it longer. Properly dried temulawak snaps clean and keeps its deep orange color for a year in a dark cupboard. Grind only what you need; whole dried slices hold their flavor far longer than powder.
13. Drink Temulawak as Jamu the Traditional Indonesian Way
In Indonesia, temulawak is a cornerstone of jamu, the traditional herbal drink culture. The classic preparation is simple: fresh rhizome is washed, sliced thin or grated, boiled with water and palm sugar, then strained and drunk warm or chilled. Tamarind, ginger, or turmeric often join the pot in family recipes.

This section describes traditional use only. Temulawak is food and tradition, not medicine, and this guide makes no health claims. If you have a medical condition, talk to a healthcare professional before using any herbal preparation regularly. That is the same caution responsible jamu makers print on their own labels.
For the kitchen, temulawak works anywhere turmeric works, with a more bitter edge. Grate it fresh into curries, simmer slices in soups, or candy thin slices in syrup. Start with small amounts; the bitterness surprises cooks expecting sweet turmeric. A teaspoon of grated fresh rhizome per pot is plenty for a first try; you can always add more next time, and the flavor deepens the longer it simmers.
14. Divide the Clump in Spring for a Free Second Crop
One planted rhizome becomes a clump of many by harvest time, and every piece with a bud is a new plant. At digging time, set aside the firmest pieces for replanting instead of buying new stock. This is how temulawak growers multiply their planting for free, year after year.
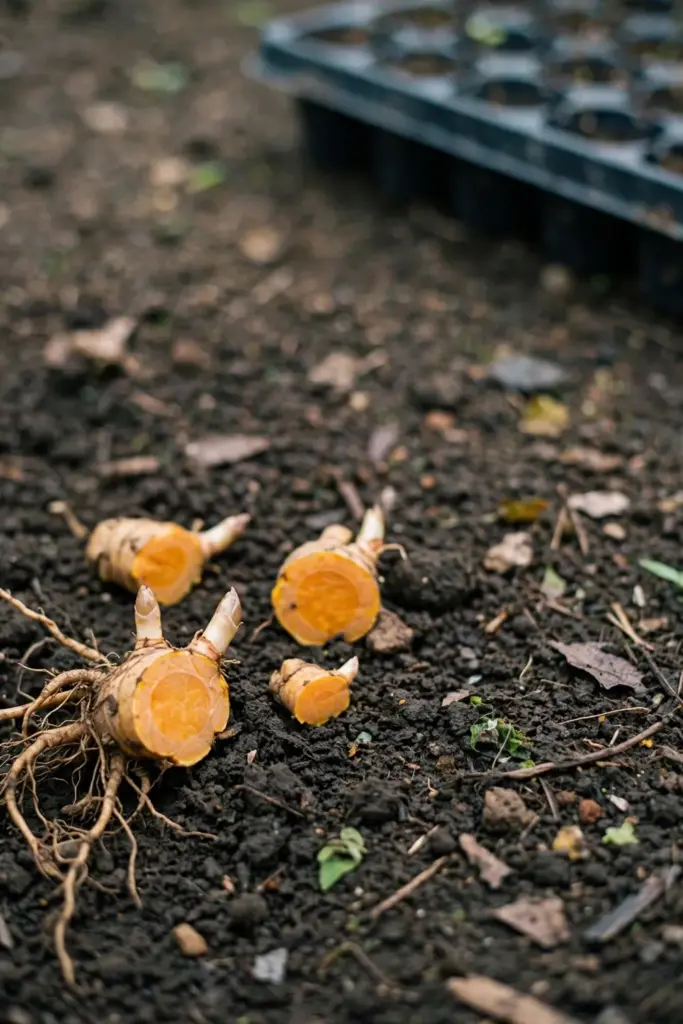
Store your seed pieces in barely damp coco peat or sand in a cool, airy spot until planting time. Check them monthly. Any piece that goes soft gets composted; rot spreads in storage just as it does in soil. Keep the storage spot dark and ventilated, never sealed in plastic, and separate the pieces so one bad one cannot infect its neighbors. Plant at the next wet-season start, and the cycle repeats.
After 3 or 4 cycles, bring in fresh rhizome stock from a nursery. Home-saved pieces gradually accumulate viruses and lose vigor, the same decline growing ginger for a big harvest warns about in ginger. Fresh stock every few years keeps yields high.
15. Skip These 5 Temulawak Mistakes
Planting dried or old rhizomes. If the piece is shriveled, light, or shows no buds, it will not sprout. Buy firm, heavy, fresh rhizomes with visible eyes.
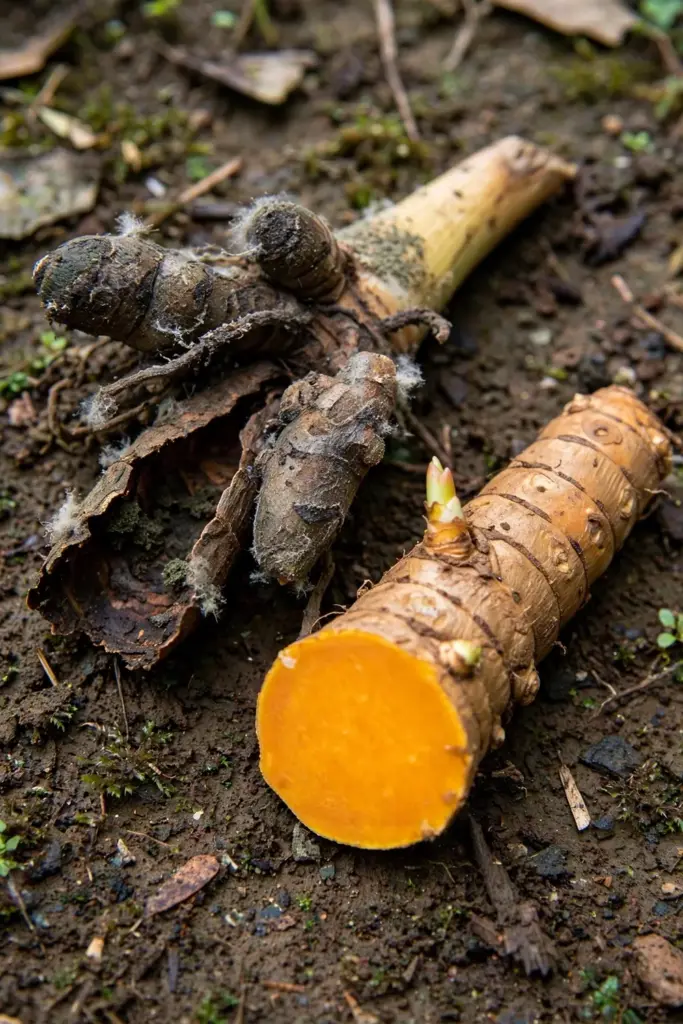
Planting buds-down. Shoots grow from the buds. A piece planted upside down wastes weeks turning around, and weak pieces never make it. Buds up, every time.
Watering through dormancy. The yellowing leaves mean stop. Watering a dormant rhizome is the single fastest way to rot a finished crop.
Harvesting too early. Green, upright leaves mean the rhizome is still bulking. Digging early gives you small, watery rhizomes with weak flavor. Wait for the full die-back.
Skipping the marker. An unmarked dormant bed gets dug, planted over, or paved. Mark every planting the day you plant it.
16. Fix Soft Rhizomes, Yellow Leaves, and Missing Shoots
No shoots after 6 weeks. Dig up one piece and check. Firm with tiny white nubs means it is just slow; rebury it. Soft and brown means rot; the soil was too wet or too cold. Replant fresh pieces in better-drained soil when warmth returns.
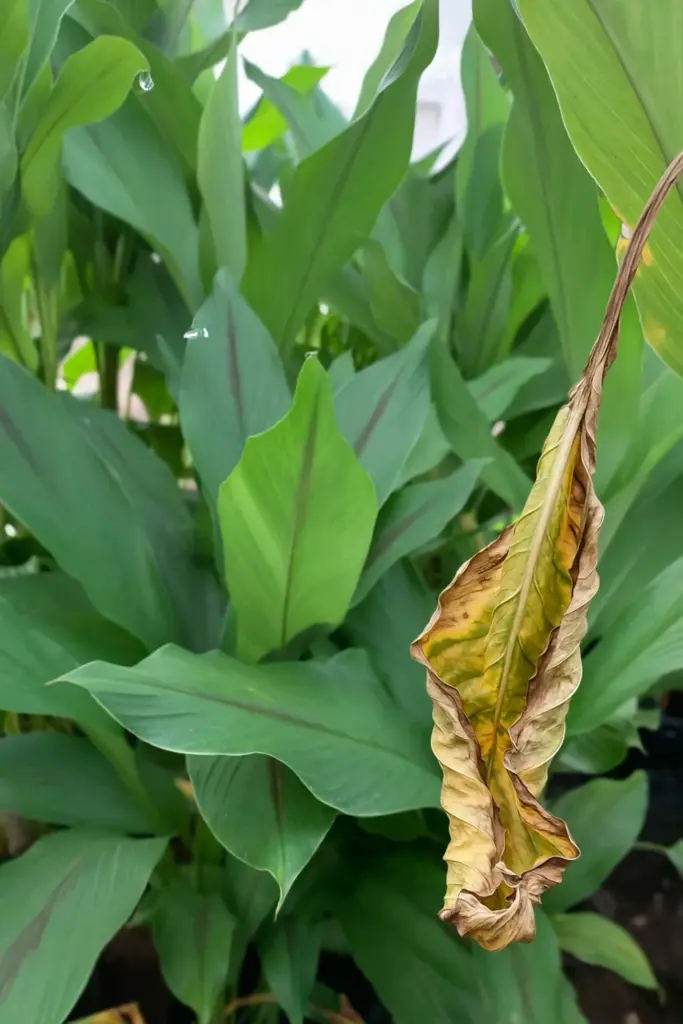
Leaves yellow in mid-season. Yellowing during active growth is not the harvest signal; it is stress. Check drainage first, then feeding. Waterlogged roots yellow fastest. A plant that has not been fed all season yellows from the older leaves up.
Soft spots on stored rhizomes. Cut away the soft part generously and use the firm remainder quickly, or compost the whole piece if the softness runs deep. Improve storage airflow and check the batch weekly.
Thin, stretched leaves. Too much shade. Move pots toward morning sun, or thin the overhead cover on bed plantings. The plant needs bright light to bulk the rhizome.
Small harvest. Usually spacing, feeding, or season length. Crowded plants, hungry soil, and short seasons all shrink the clump. Fix one variable per season and watch the difference.
Rhizome skin looks green. The top of the clump sat exposed above the soil line. It is still usable; peel the green layer off. Next season, mound soil or mulch over the crown as the clump swells so the rhizomes stay buried and pale.
Frequently Asked Questions
No. Temulawak is Curcuma xanthorrhiza and common turmeric is Curcuma longa. Temulawak rhizomes grow larger, taste sharply bitter, and contain xanthorrhizol, a compound that a 2025 comparative study found absent from common turmeric. The plants look similar above ground, so check the rhizome and the Latin name before planting.
Yes, if the rhizomes are fresh, firm, and show visible buds. Many Indonesian grocery suppliers sell true temulawak rhizomes suitable for planting. Avoid shriveled, lightweight, or moldy pieces. Confirm the identity by slicing a small piece: temulawak flesh is deep orange and smells sharply bitter, not earthy like common turmeric.
An average of 10 months from planting to harvest in a home garden, matching the turmeric growing calendar (turmeric growing guide). Plant at the start of the wet season or in late spring after frost danger passes. The reliable signal is the foliage: when the leaves turn yellow-brown and collapse, the rhizomes are ready to dig.
Only where winters stay frost-free. Temulawak is a tropical plant, and freezing temperatures kill the tops. In cold climates, grow it in a large pot and move the pot to a frost-free spot before the first frost. Let the leaves die back naturally, stop watering, and keep the dormant rhizome dry until spring.
Xanthorrhizol is a sesquiterpene compound found most abundantly in temulawak rhizome oil. A 2025 comparative study of Curcuma species identified it as a significant metabolite in Curcuma xanthorrhiza that does not occur in Curcuma longa or Curcuma zedoaria. It is the chemical marker that distinguishes temulawak from its close cousins.
Yes. Indonesian field trials recorded the highest rhizome quality at 70 percent shade (Asian Journal of Plant Science spacing trial), and the species tolerates part shade well. Morning sun with afternoon shade suits it in hot climates. Avoid deep shade, which stretches the leaves thin and keeps the rhizomes small.
Plant Once, Harvest Every Dry Season
Temulawak rewards the patient gardener more than the busy one. Plant at the rains, feed a few times, watch the leaves, and dig when they fall. Save the best pieces, replant, and the cycle runs itself. That is how to grow temulawak: one rhizome in, a clump of bitter gold out, every dry season for years. Few plants ask so little and store so well, and none carries quite the same story from a Javanese garden to yours.