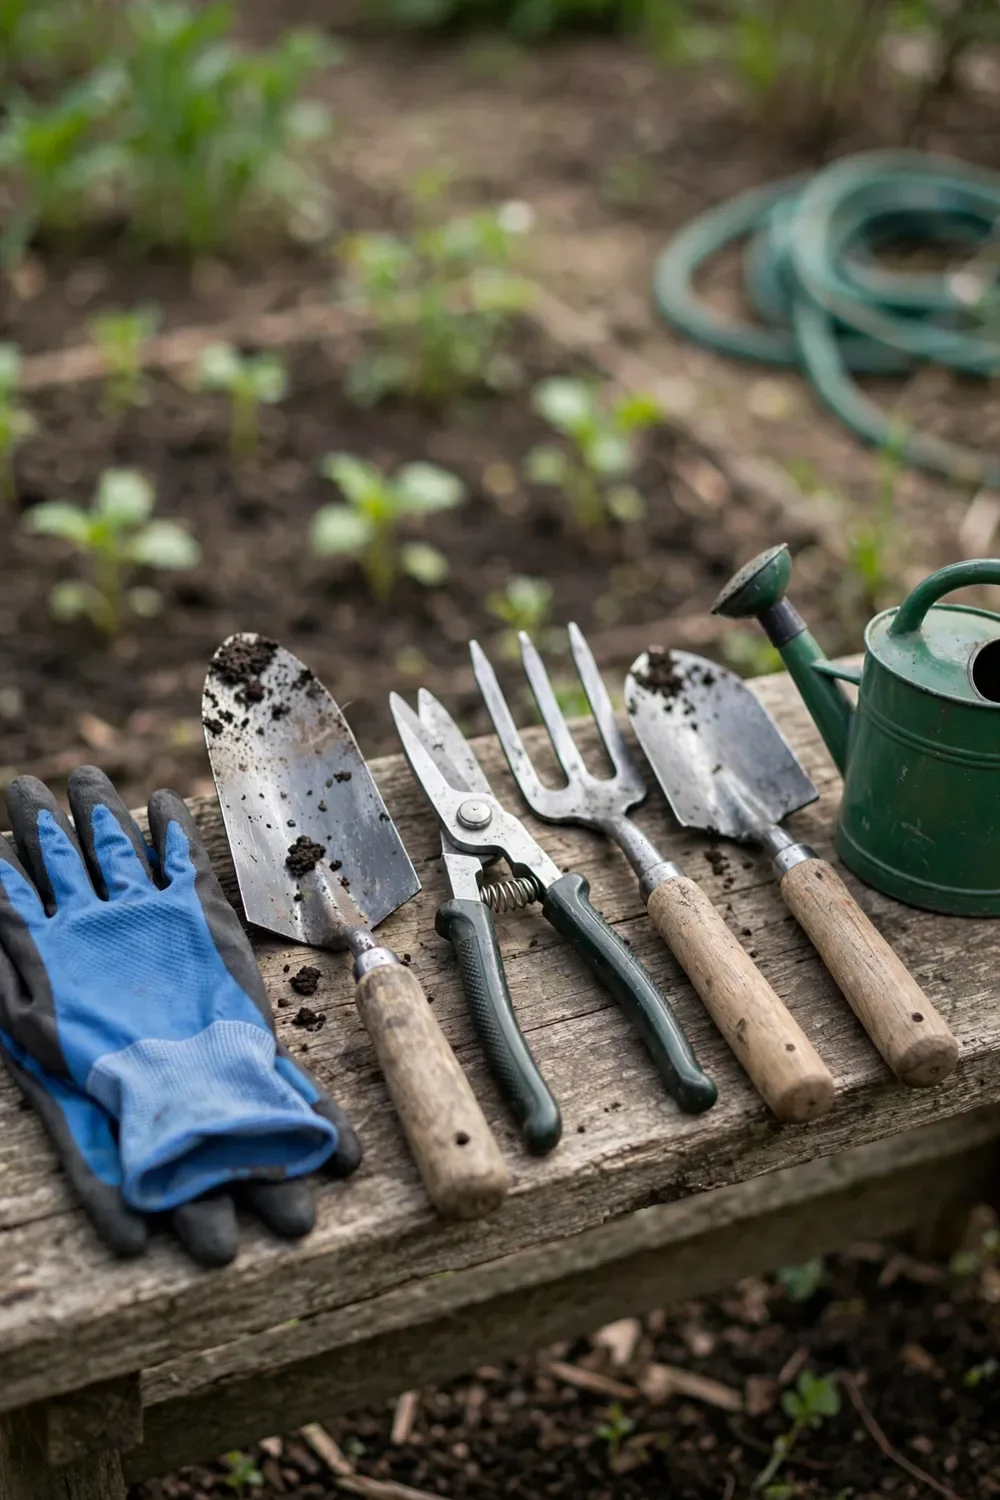

Buy 6 hand tools and walk past everything else in the garden center aisle. That is the essential garden tools for beginners kit. It handles every job a first garden produces, from planting seedlings to cutting back roses.
In my experience, the tools I wipe clean after every use are the ones still sharp two seasons later. The rest of this page is 13 moves, from the first tool to buy to the last gadget to skip, then how to shop and how to keep the kit alive.
Bed prep and soil building are a different job with their own guide. This page stays on the tools. Nothing here repeats that work.
The list covers hand tools only. No mowers, no strimmers, no chainsaws. Power tools have their own maintenance, their own storage, and their own safety rules. Learn the soil with your hands first. The motor can wait.
Buy Gloves That Actually Fit Your Hands
Start with a pair of nitrile-coated gardening gloves that fit snugly at the fingertips. A snug glove lets you feel the stem. That feel is what keeps you from crushing a seedling when you tug a weed beside it. Choose a pair with a breathable back and a grippy palm.
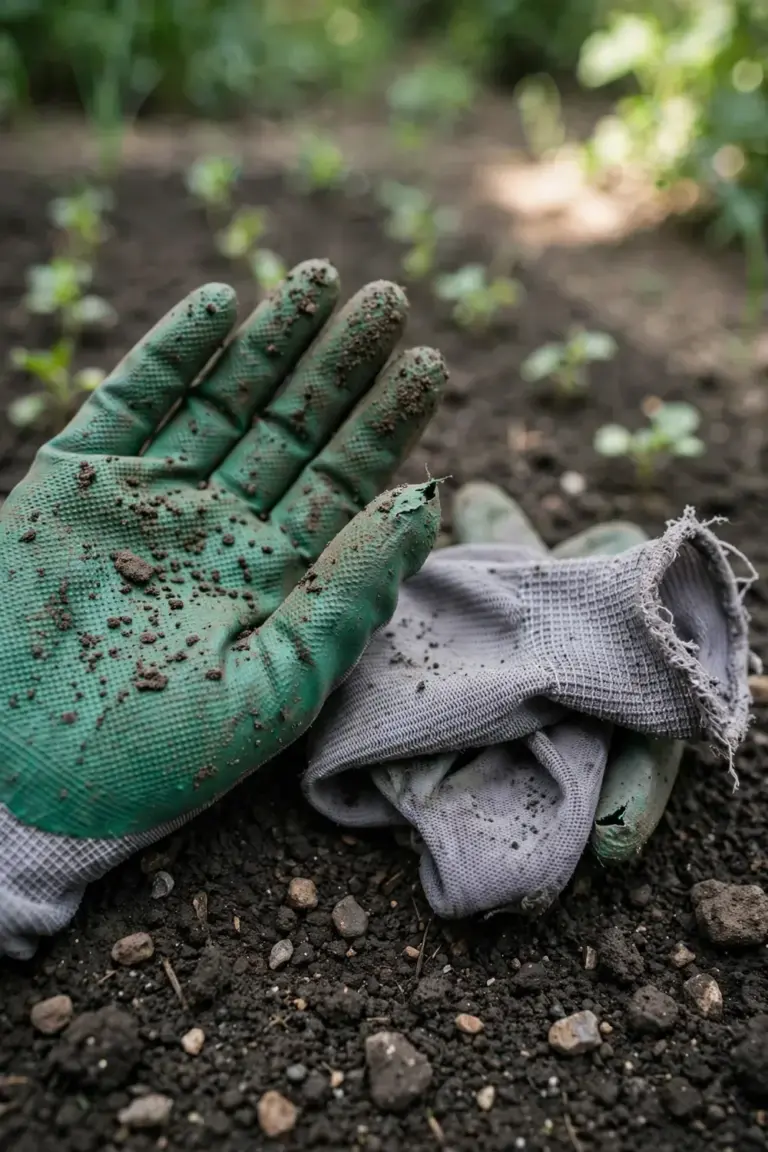
Oversized gloves are the failure. They bunch at the fingertips and you lose grip, so a trowel handle twists in your hand. Blistering follows a few hours later. Try the glove on the trowel handle in the shop before you buy. If your fingers swim, size down.
Match the material to the job. Nitrile-coated gloves handle wet soil and wash clean in the sink. Leather gloves take the thorns when you prune roses or haul brambles. One pair of each covers the whole year, and both cost less than a single cheap gadget that dies in a season.
Keep a second cheap pair in the shed for dirty jobs like hauling compost. The good pair stays for planting and pruning. Gloves with holes go straight in the bin. A hole over the knuckle is a blister waiting to happen.
Buy a Steel-Head Hand Trowel
Buy a trowel with a forged steel head and a full tang, the metal plate that runs the whole length of the handle. A forged head resists bending on the first stone. A full tang transfers force from your hand straight into the soil without a weak joint in the middle.
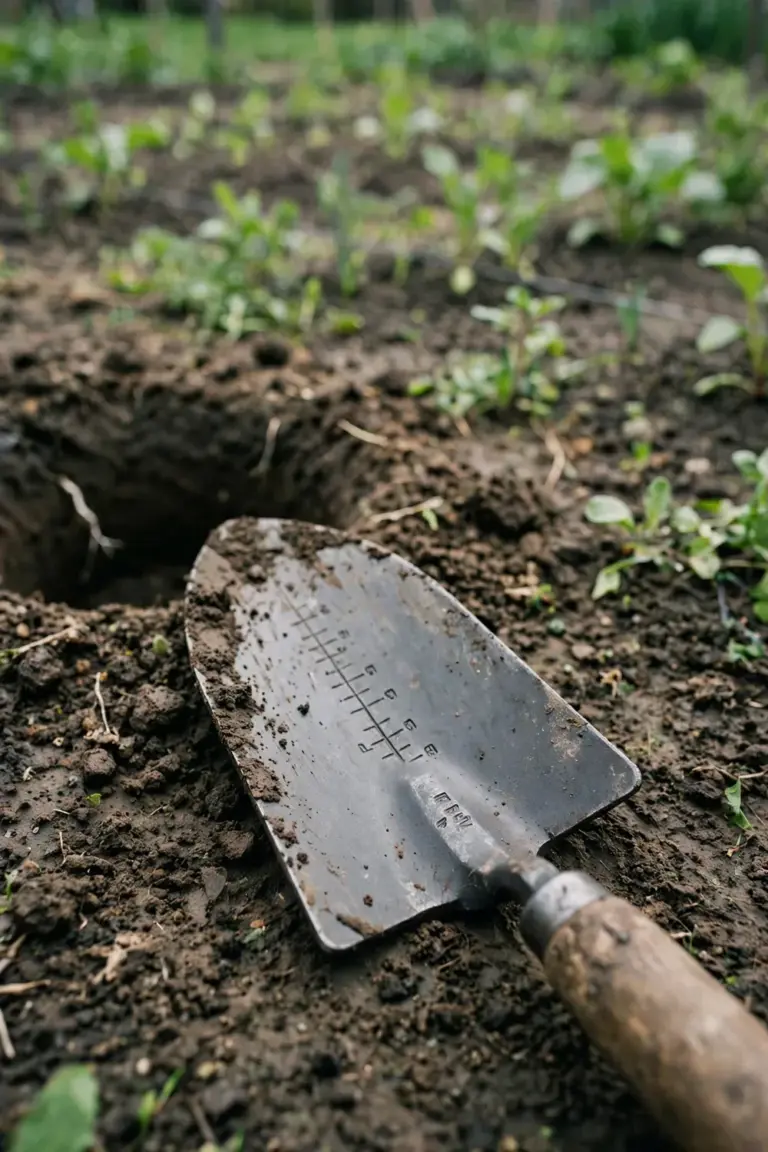
This is the tool you reach for most. It digs planting holes, moves transplants, scoops compost, and lifts small weeds with the root. Depth marks stamped on the blade help you set seedlings at the right level every time.
A pressed-metal trowel with a hollow handle is the failure. It bends at the neck the day you lever out a dandelion taproot, then rusts at the bend. Replace it with the forged one before that day.
Pick a blade width for your soil. A narrow blade slices through stony ground where a wide one wedges. A wide blade moves potting mix faster when you fill containers. Most beginners do best with a standard mid-width blade and an ergonomic handle that fills the palm without stretching the fingers.
Grip the trowel like a handshake in the shop, then push it through the air. Your wrist should stay straight. A handle that twists your wrist on the first squeeze will ache after a full planting bed.
Wipe the trowel blade dry after every session, even on days you only moved potting mix. Potting mix holds moisture against the steel just as garden soil does, and the rust starts at the neck where the blade meets the handle. A dry trowel hung on a nail outlasts a wet one dropped in a bucket by years.
Buy Bypass Secateurs for Live Stems
Buy bypass secateurs, where the blade sweeps past the lower jaw like scissors. Bypass secateurs cut live stems with a clean scissor action. Extension experts in Florida have long recommended the bypass action for live wood, noting that anvil pruners risk crushing the cambium on softer stems, as the University of Florida Extension’s comparison explains.
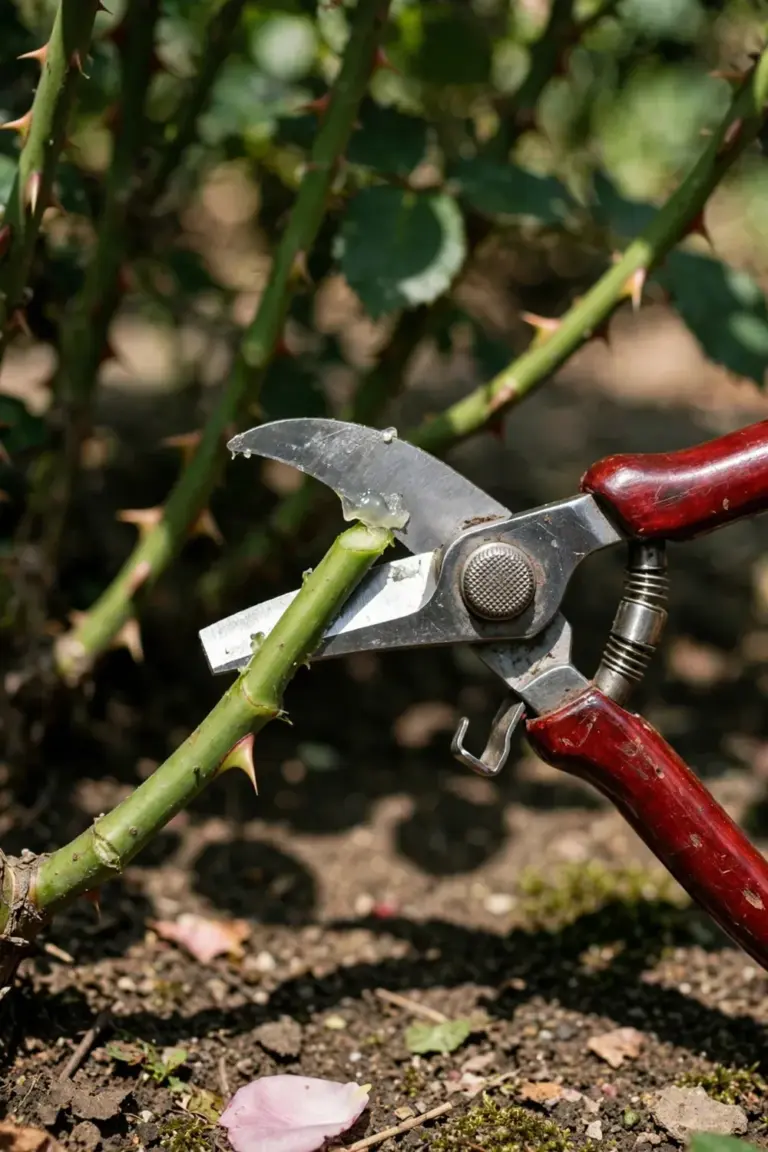
Check the pivot bolt before you buy. It should open and close smoothly with one thumb. Keep the blade sharp and wipe the sap off after a heavy pruning session, or the sticky film makes every cut drag.
An anvil pruner belongs on dead wood only. It presses the blade onto a flat plate, and that press crushes living bark instead of slicing it. Keep one pair of bypass secateurs in your pocket and leave the anvil designs on the shelf. If pruning timing is the question, the site’s spring pruning techniques guide walks through it.
Cut just above an outward-facing bud, with the blade on the stem side you keep and the flat jaw facing the part you remove. That leaves a clean stub-free cut that seals fast. Never twist the secateurs to snap a stem. Twisting tears the bark, and torn bark dries slowly and invites infection.
Left-handed models exist and they matter. A right-handed bypass blade held upside down in the left hand cuts badly and strains the wrist. Buy the pair that matches your hand.
Buy a Digging Fork for Compacted Soil
Buy a digging fork with four flat steel tines and a handle at your hip height. A digging fork breaks compacted soil while leaving most worms unharmed. It also lifts root vegetables cleanly, turns a compost heap without shredding its structure, and pries up stubborn perennials when you divide them in spring.
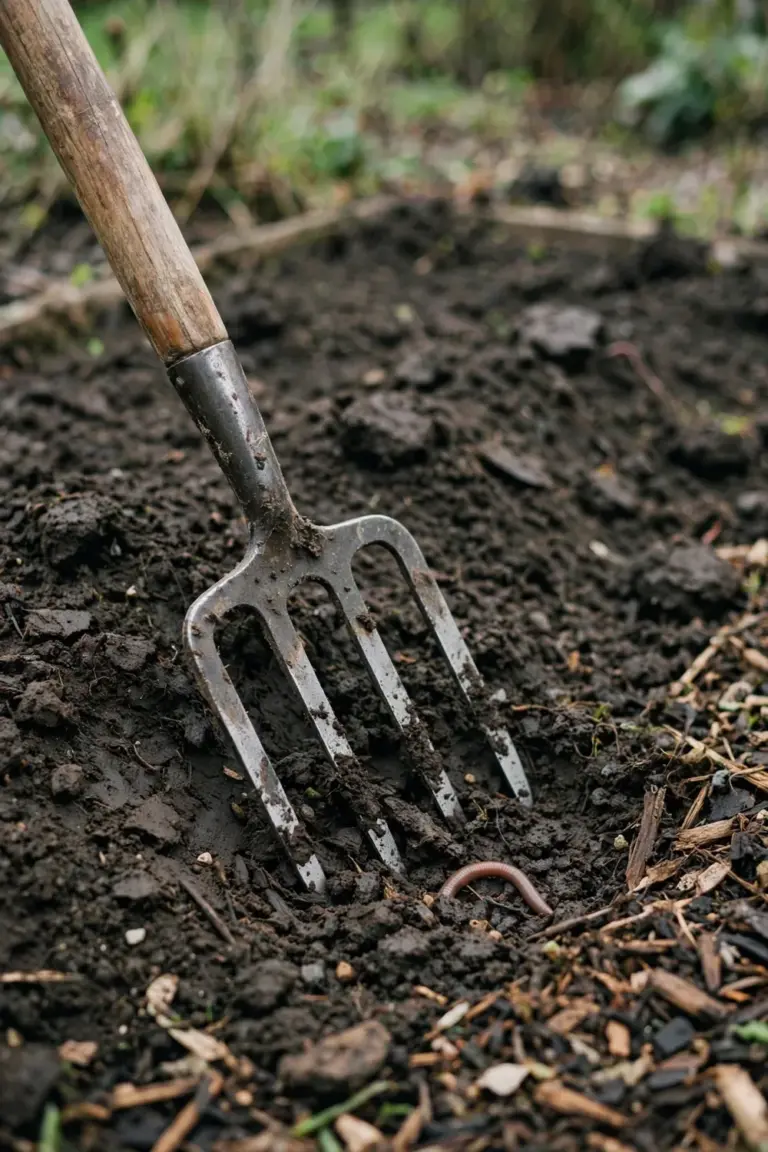
Drive the fork straight in. Lever the handle back toward you. Shake the soil loose and move on.
The same levering motion works for lifting a dahlia tuber in autumn without spearing it. Tines slide around the tuber where a spade edge would cut straight through.
A short border fork is the upgrade, not the first buy. The full-size fork moves soil faster, and your first garden has more soil to move than beds to finesse. Once the beds are loose and workable, the site’s soil health guide shows how to keep them that way.
Buy a Digging Spade With a Forged Head
Buy a digging spade with a forged head, a keen sharpened edge, and foot treads across the top. A forged head drives through heavy soil and root mats without folding. The treads protect your boot when you push the full weight of your leg through it.
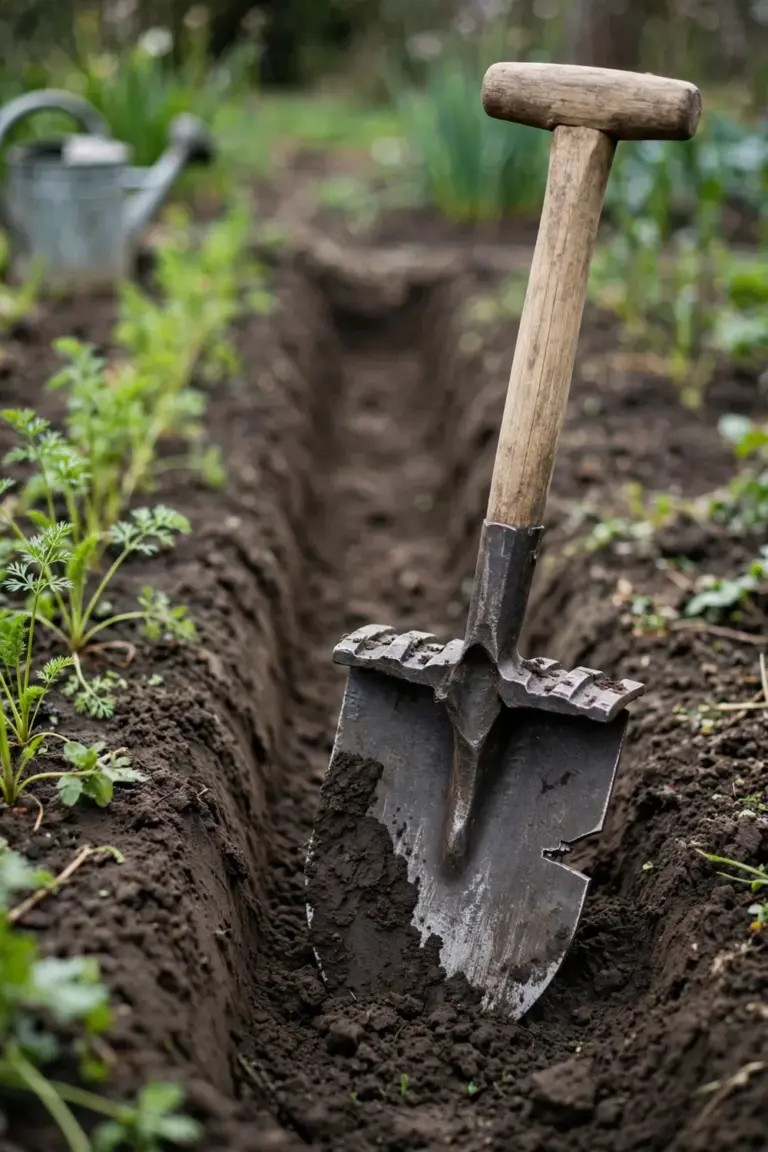
The spade digs planting holes for shrubs, cuts clean edges on new beds, and lifts soil out of the way where the fork then does the fine work. Keep the edge sharp enough to slice a root on one push. A blunt spade bounces off roots and jars your shoulders.
Reach for a border spade instead of the full-size one if you garden mostly in raised beds. The smaller head turns soil in tight boxes where the long handle bangs the frame. One spade is enough for a first garden either way. Pick the size that matches the beds you actually have.
A shovel with a curved scoop is a different tool for a different job. It moves loose material like compost and gravel. The spade cuts into the ground. Buy the spade first.
Use the fork and the spade as a team. The spade opens the hole and cuts the edge. The fork breaks up the bottom of the hole so roots penetrate instead of circling in loose fill. Planting holes dug this way establish faster than holes with glazed, compacted walls.
Ash and hickory handles feel warm in the hand and absorb shock well. Fiberglass handles survive being left out in the rain and never splinter. Either works. What does not work is a handle that flexes sideways under load, which tells you the head is thin pressed steel.
Buy One Watering Setup and Stick to It
Buy one watering can for pots and seedlings plus a hose with an adjustable nozzle for the beds. The can delivers water gently to tender transplants. The hose nozzle switches from a hard jet for cleaning tools to a soft shower for seed trays.
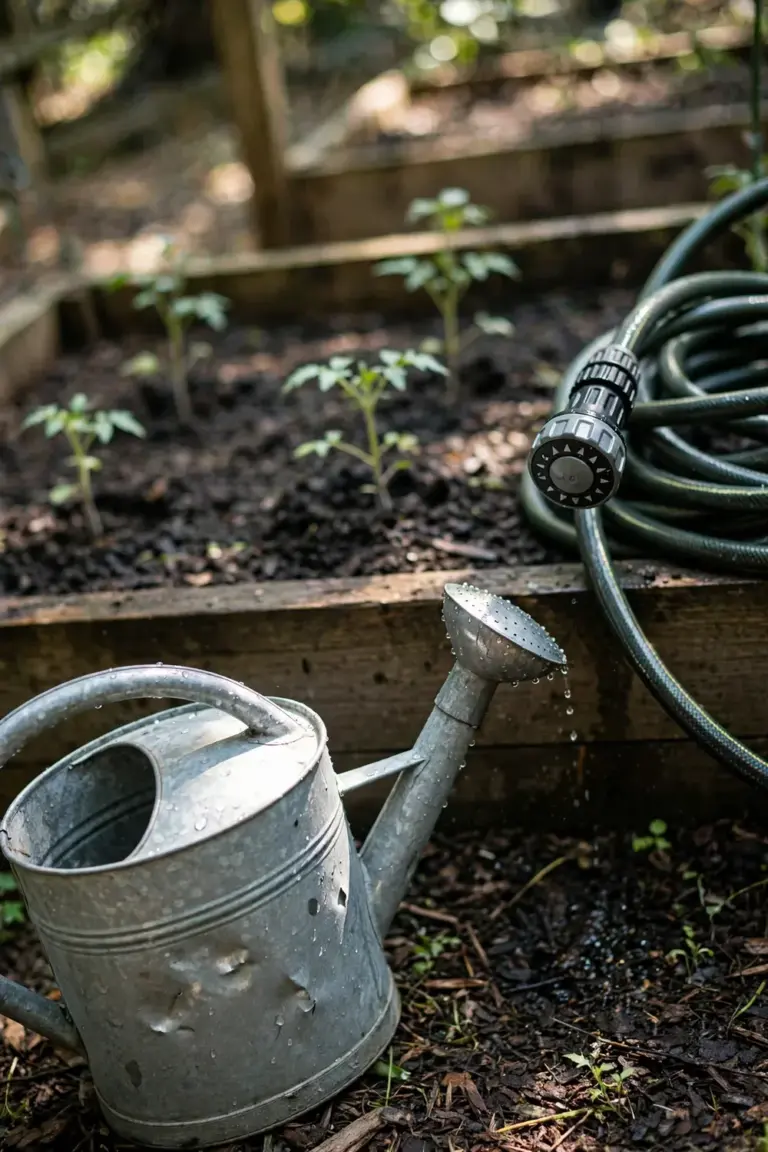
Water at the base of the plant, early in the morning. Base watering keeps the foliage dry through the day. Dry foliage denies leaf-spot fungi the wet surface they need to start an infection.
A fixed-pattern sprinkler is the failure for a beginner. It wets the leaves, misses the root zone, and waters the weeds in the path as enthusiastically as the tomatoes in the bed. One can and one hose cover every first-year watering job.
Add a soaker hose in year two if you grow long rows of vegetables. A soaker hose seeps water straight into the soil along the row. It cuts leaf wetness to near zero and loses almost nothing to evaporation. Lay it under a 5 cm layer of mulch and the bed nearly waters itself.
Check soil moisture with your finger before you water. Push it to the second knuckle. If the soil feels cool and damp there, wait a day. Beginners kill more plants with daily watering than with drought.
Add a Hori Hori Knife When You Transplant More
Add a Japanese hori hori soil knife once your planting jobs outgrow the trowel. The hori hori knife has one straight edge and one serrated edge on a single steel blade. The serrated edge saws through small roots. The straight edge cuts planting slits and divides crowded perennials.
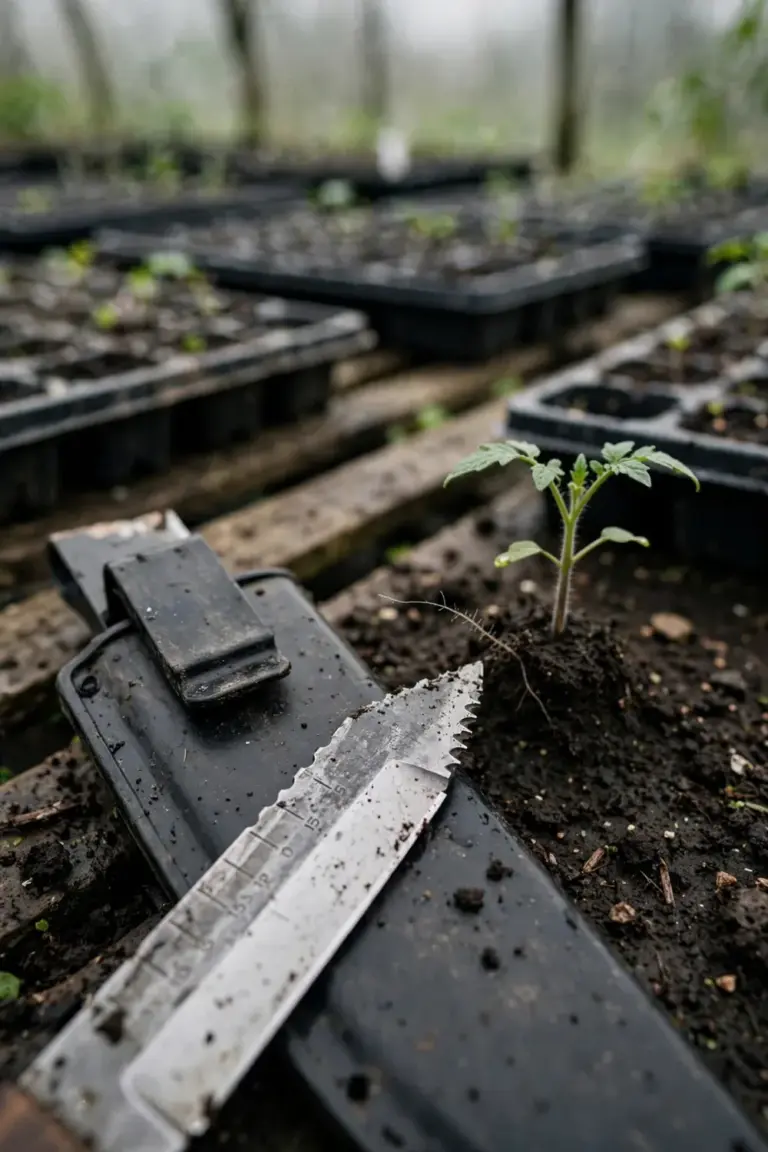
Stamped depth marks on the blade set planting depth for bulbs without a ruler. The thick blade pries apart root balls that a trowel would bend on. Keep the tip pointed at the ground, not at your hand, because the blade stays sharp for years.
Buy it in year two, not week one. The trowel covers the same jobs at first. The hori hori earns its place when you start dividing perennials and planting dozens of bulbs.
The hori hori also cuts through rootbound pots, opens bags of compost, and pries rocks out of a bed. That versatility is exactly why it belongs in the upgrade tier and not the gadget list. It replaces the trowel for heavy work instead of duplicating it weakly.
Buy the version with a sheath that clips to your belt. A bare hori hori in a back pocket is how gardeners stab themselves bending over. The sheath costs nothing extra and keeps the blade away from your leg.
Add a Kneeling Pad and a Sharpening Block
Add a thick foam kneeling pad and a simple whetstone sharpening block. The kneeling pad protects your knees on gravel and wet soil. Protected knees keep you in the bed twenty minutes longer, and twenty more minutes is what gets the weeding finished.
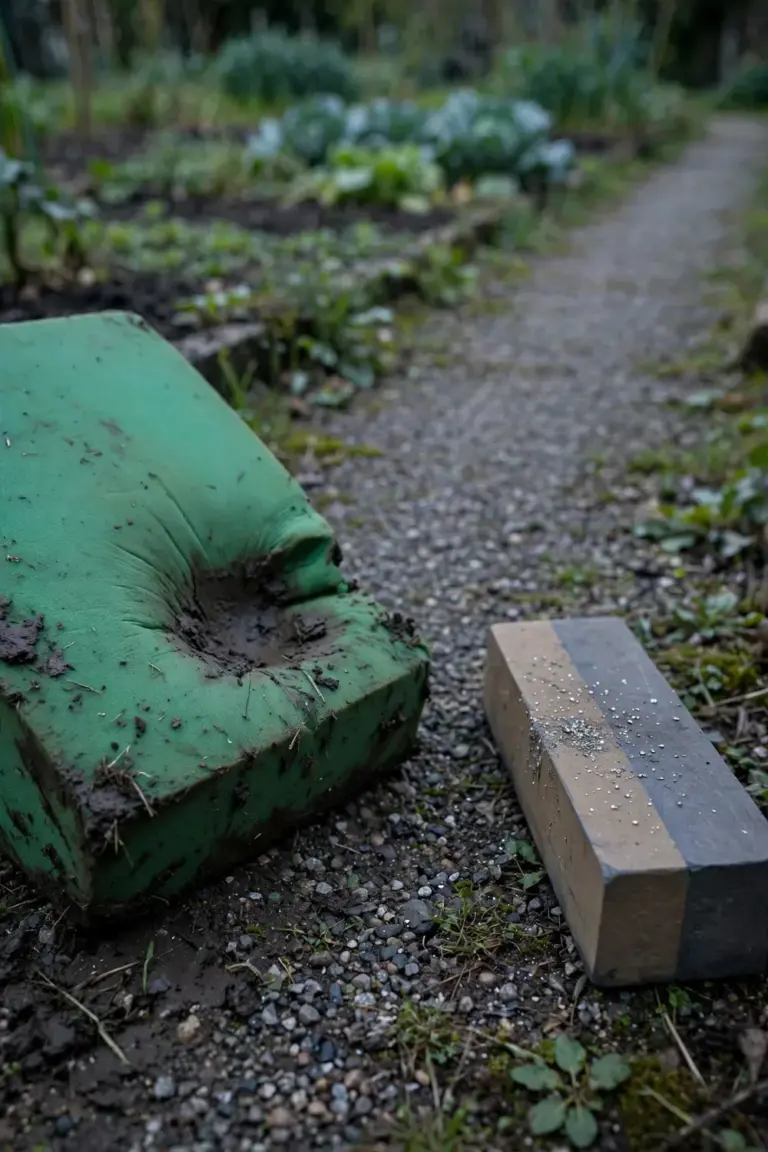
The sharpening block hones the trowel edge and the secateur blade back to keen. A sharp edge cuts roots instead of tearing them. Torn roots heal slowly and invite infection.
Both are cheap and both last for years. Buy the pad the first time your knees ache after a planting session. Buy the block the first time the secateurs crush a stem instead of cutting it.
Hone the blade at its factory angle, the same angle on every pass, with smooth even strokes. A whetstone with a coarse side and a fine side handles every garden edge. Two or three passes on the fine side finish the job and leave the steel keen without removing much metal. You are restoring the edge, not grinding a new one.
Test the edge on a piece of paper. A sharp secateur blade slices the paper cleanly. A dull one folds it. When the blade folds paper, sharpen it before you touch a plant.
Skip the Single-Purpose Gadgets
Skip every tool that does one job and one job only. A garden center aisle is full of single-purpose gadgets: soil scoops shaped like toys, three-pronged cultivators that clog with clay, and weeding forks with handles too short to lever anything. The trowel and the fork already do these jobs. The gadget duplicates them in a weaker form.
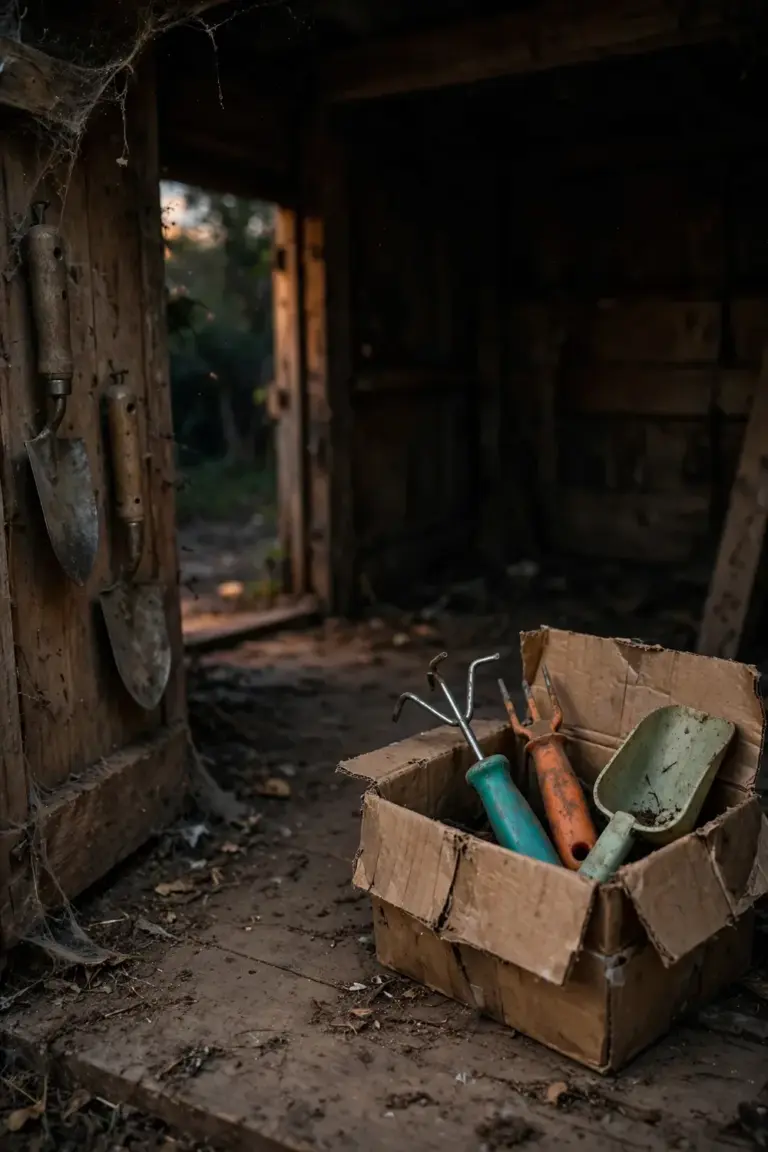
Retailers design these gadgets for the gift buyer, not the gardener. They look clever in the box. They feel clever for one afternoon. Then they sit in the shed while the trowel does the work. A tool that cannot beat the trowel at any job does not belong in the shed beside it.
| Item | Buy or Skip | Why |
|---|---|---|
| 3-in-1 combination tools | Skip | One weak mechanism doing three jobs badly. The trowel, fork, and secateurs each beat it at their own job. |
| Mini plastic greenhouse kits | Skip | A cold frame built from scrap wood and an old window costs nothing and outlasts the plastic. |
| Self-watering gimmick pots | Skip | A 6-euro dripper with a timer does the same job and fits every pot you own. |
| Short-handled weeding forks | Skip | No real pushing force. The digging fork lifts the same weed with one push and no bent back. |
| Combination soil probes | Skip | Your finger tests moisture to 5 cm for free. Probes drift out of calibration and mislead you. |
| Scented glove-and-scrub sets | Skip | A bar of soap and a nail brush do the same work for a tenth of the price. |
The test is simple. If the trowel, the fork, or the secateurs already do the job, the gadget fails the test. Every tool that survives its first year should earn that survival twice over.
Skip the Rake, the Mower, and the Starter Kit
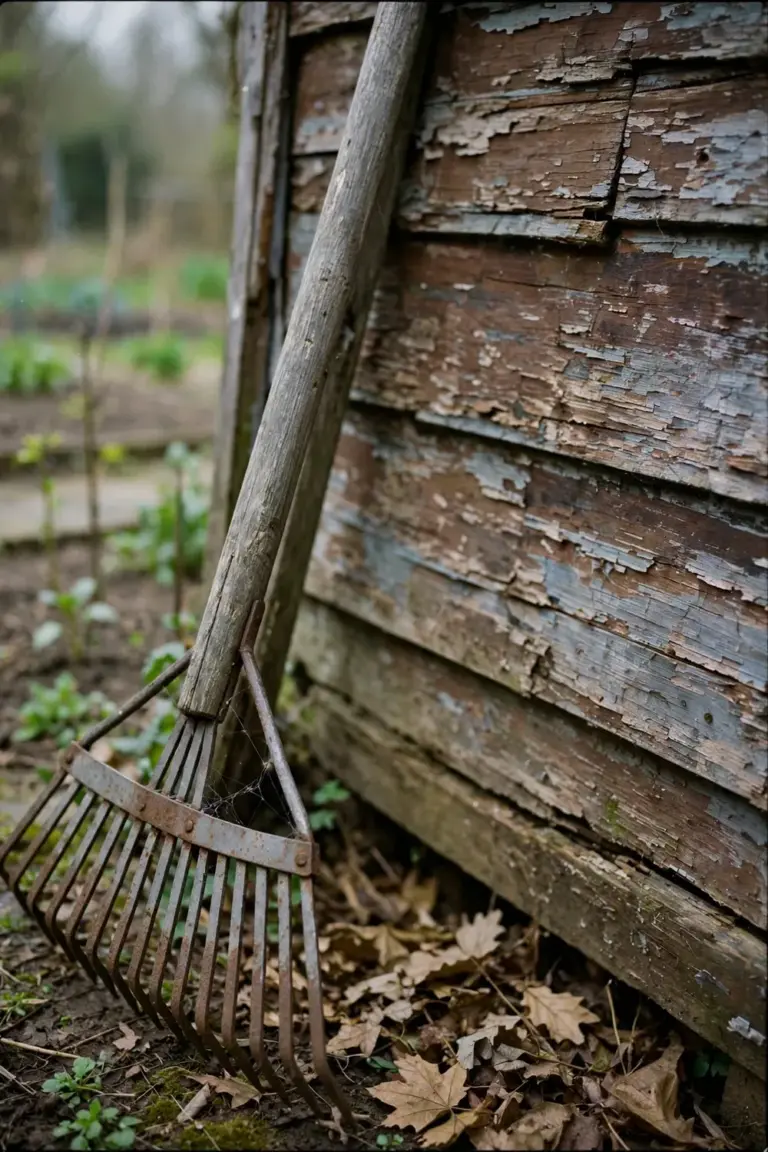
Skip the rake until you have leaves to move. A rake is a seasonal tool for a new garden with no canopy overhead. It earns its place in year two or three, when your own trees drop their first real leaf fall. Until then it hangs on the wall and gathers rust.
Skip the mower at the start. This is a hand-tools list on purpose. A lawn mower is a power tool with its own maintenance and storage needs, and it does not teach you anything about the soil. Rent or borrow one for the occasional cut.
Skip the 20-piece “pro starter kit” in the plastic case. The kit bundles ten weak tools with duplicate handles and one tool you need. It costs more than the six tools above and fails before any of them. Buy the six, one at a time, at the best quality you can afford.
Watch for the bundle trick at the checkout too. A “free” cultivator thrown in with the spade is not free. It is a weak tool that clogs with clay and teaches you nothing. Decline the freebie and spend the same money on the better spade.
Buy Quality Once Instead of Cheap Twice
Buy the best quality your budget allows for each tool, starting with the trowel and the secateurs. A forged head and a proper pivot bolt are not cosmetic. They are the difference between a tool that lasts a decade and one that bends in its first season.
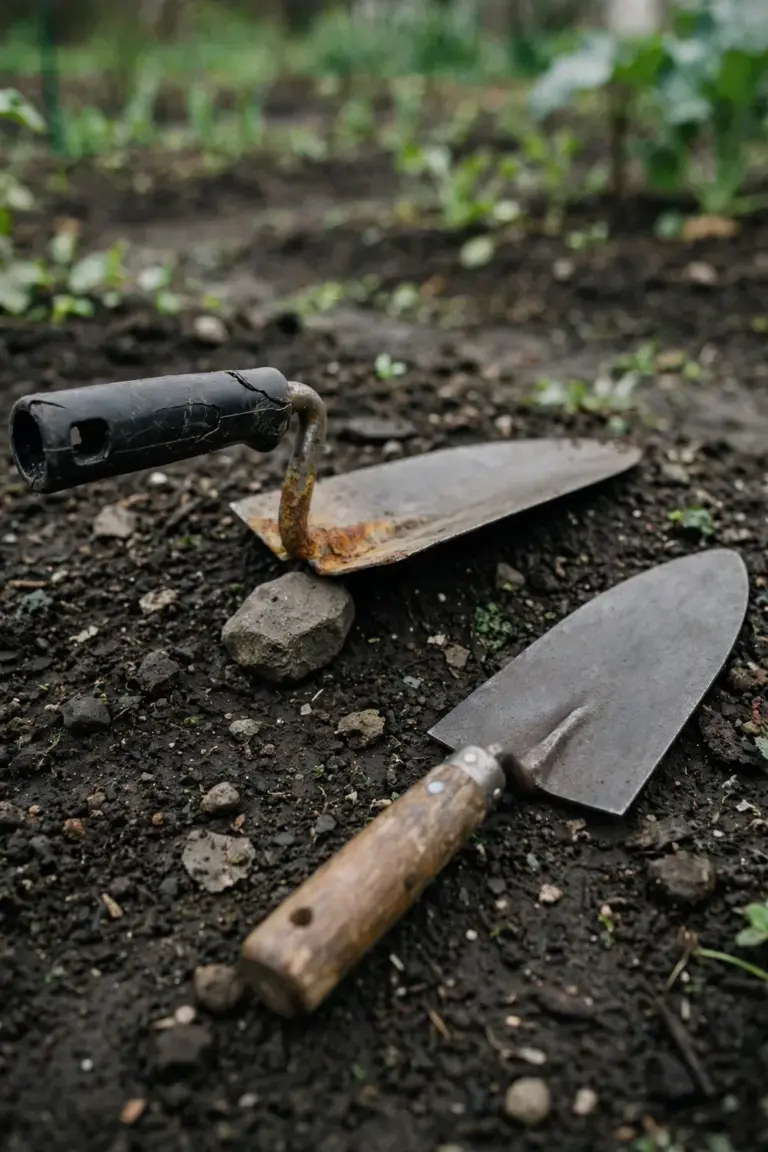
The math is simple. A cheap trowel that bends in six months costs you twice: the replacement and the season it failed in. A University of Missouri Extension horticulturist notes that regular cleaning protects metal blades from rust and wooden handles from rot, which extends the life of the tools, as their garden hygiene guide explains. Quality plus cleaning is the whole formula.
Quality cues to check in the shop: forged or high-carbon steel heads, a tang or socket that runs into the handle, rivets instead of glue, and a handle that fits your grip without splinters. If it wobbles on the shelf, it fails at home.
Check whether the tool can be repaired, not just replaced. Good secateurs sell replacement blades and springs. Good spades and forks sell replacement handles. A tool with spare parts available is a tool the maker expects to last. A sealed plastic handle with no screws is a tool the maker expects you to rebuy.
Clean, Sharpen, and Store Every Tool You Own
Clean every tool after every use. Knock the soil off, rinse with water, and dry the metal before you put it away. Soil left on a blade holds moisture against the steel all night. Rust starts there.
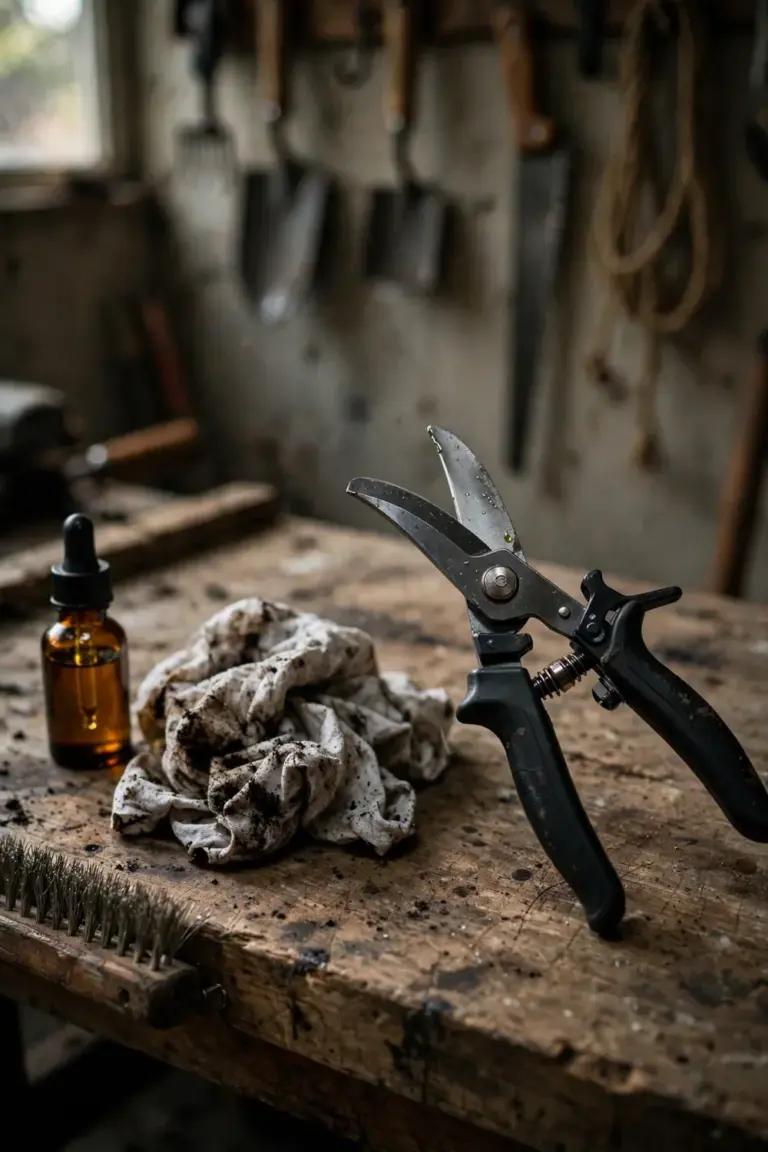
Disinfect cutting blades after pruning diseased material. The Royal Horticultural Society advises applying a suitable disinfectant to used blades and leaving it for 15 to 20 minutes before wiping it off, because tool cleaning stops the spread of diseases such as Phytophthora, bacterial canker, and box blight, per the RHS tool-cleaning guide. Between cuts on a sick plant, a University of Georgia extension guide recommends disinfecting pruners in rubbing alcohol or a 10 percent bleach solution, and cutting at least 15.2 cm below the diseased tissue, as their fall cleanup guide explains.
Then oil the pivot point of the secateurs and hang the tools off the ground. The RHS recommends dropping oil into the central pivot and working it in by opening and closing the blades. A dry shed wall beats a damp floor corner every time. Rub a little linseed oil into wooden handles once a year so they do not dry and crack.
Scrub rust off with a wire brush before it pits the steel. Light surface rust comes off with brushing and a wipe of oil. Deep pitting means the tool was stored wet for a season, and no amount of scrubbing restores the smooth edge.
Winterize the kit before the cold sets in. Clean everything, oil the metal, rub the handles, and hang the tools where the roof does not drip. A spring tool that works on the first warm day is the reward for ten minutes of autumn care. If the seasonal shutdown is the bigger question, the site’s fall garden bed prep guide covers the bed side of the job.
Shop the Hardware Store, Not the Hype
Shop at a local hardware store or garden center where you can lift the tool before you buy. A good spade has weight in the head. A good secateur opens with one thumb. You cannot feel either of those in an online photo.
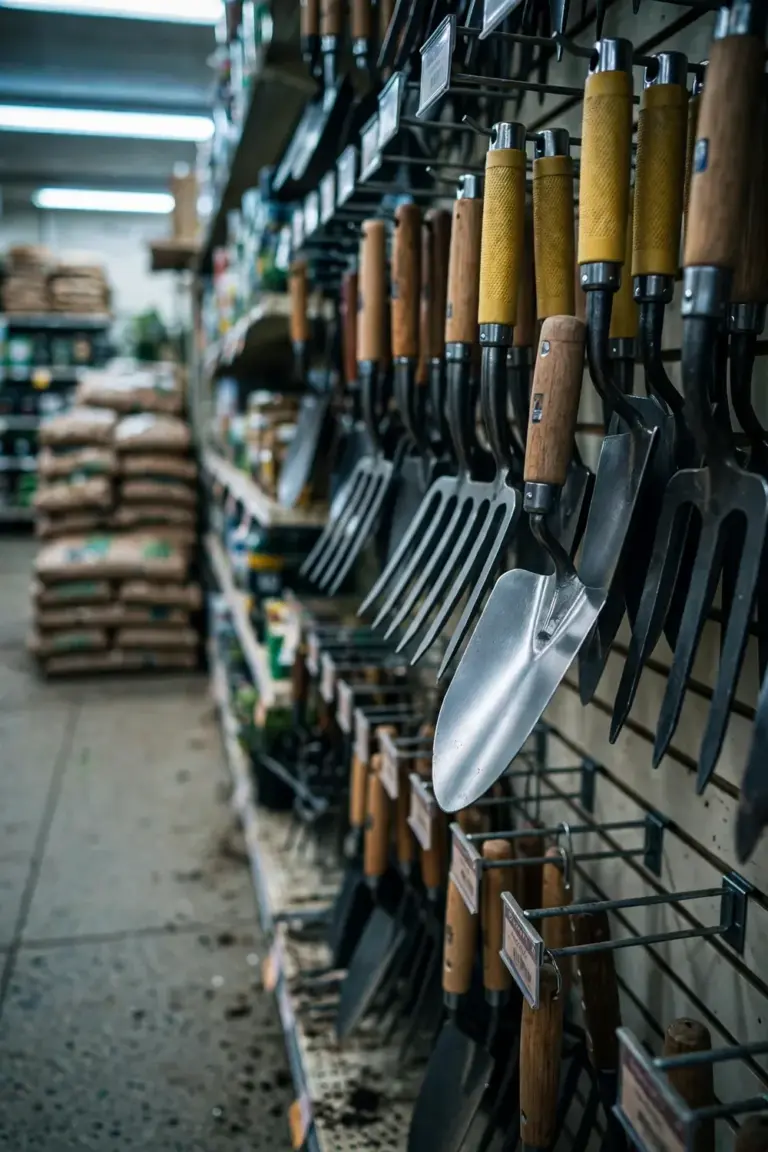
Check the handle fit against your own hand before you pay. Short handles suit raised beds and pots, where a long shaft bangs the frame on every stroke. Full-length handles belong on open ground. A balcony gardener and a half-acre gardener need different handle lengths, and the shop floor is where you learn which one you are. Swing the tool through the air a few times. If your shoulder complains, the handle is too long.
Try second-hand shops and estate sales too. Forged steel does not wear out, and an old spade with a solid head costs less than a new pressed-metal one that bends. Look for the same quality cues: forged head, sound handle, no wobble.
Buying online works when the shop is far away. Read the head material in the specifications, not the marketing copy. “Forged steel” is a real claim. “Heavy duty” is not. Check the return policy before you order, because a tool that feels wrong in the hand is a tool you will not reach for.
In Australia, the same forged-steel basics sit on the shelves at Bunnings and Mitre 10. The list does not change by country. What changes is the store name and the price tag.
Frequently Asked Questions About Beginner Garden Tools
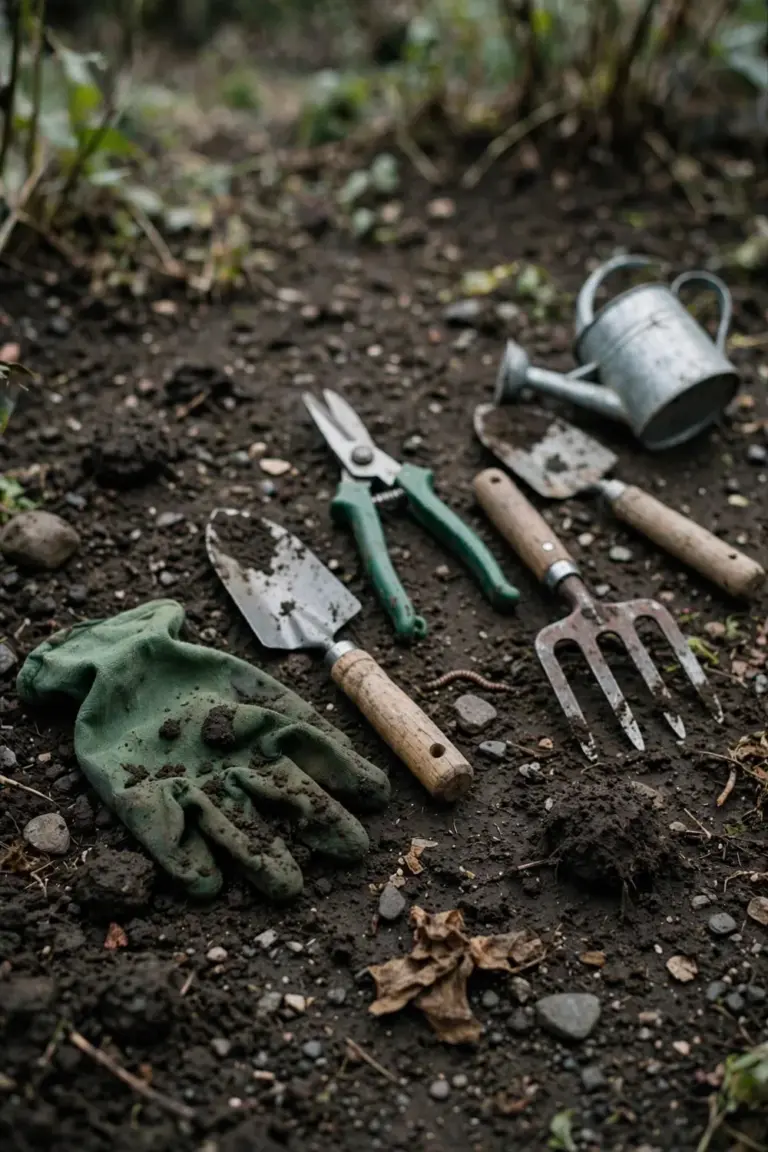
Six tools cover the first year: gloves, a steel-head trowel, bypass secateurs, a digging fork, a digging spade, and a watering can with a hose. Everything else waits. Add the hori hori knife and a kneeling pad in year two when transplanting and weeding become the main jobs. Buy nothing single-purpose until a tool you own proves it cannot do the job.
Buy the hand trowel first. It digs planting holes, moves transplants, scoops compost, and lifts weeds with the root. Choose a forged steel head with a full tang so it never bends at the neck. Gloves come second, because bare hands blister faster than any tool dulls. The rest of the kit follows in the order your garden demands them.
Cheap tools cost more in the long run. A forged head and a solid pivot survive a decade of soil work, while a pressed-metal trowel bends on its first stone and a loose secateur crushes stems instead of cutting them. Buy the best quality your budget allows, starting with the trowel and the secateurs. Cleaning and oiling after use extends the life of every tool you own.
Wipe the blades clean of sap and soil first, because disinfectant fails on a dirty surface. Then apply rubbing alcohol or a 1 to 9 bleach-and-water solution and leave it for 15 to 20 minutes before wiping dry. Cut at least 15.2 cm below any diseased tissue, and disinfect between cuts on a sick plant. Dry and oil the blades afterward so they do not rust.
Where to Go From Here
Buy the six tools, skip the gadgets, and keep the blades clean. That is the whole strategy in one sentence. Your first garden will teach you which upgrade to buy next, and the kneeling pad is usually the first lesson.
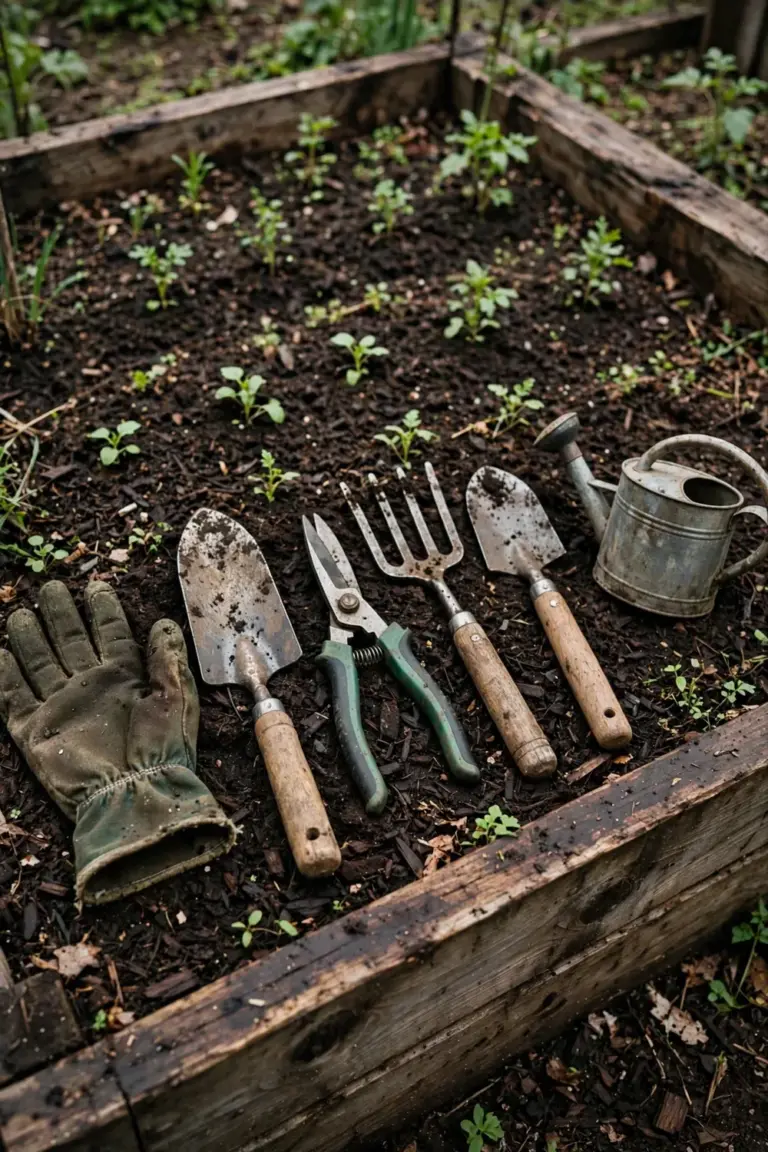
Start with the trowel and the gloves this weekend. Add the secateurs when the first shrub needs a cut. Add the fork and the spade when the beds go in. The kit builds itself in the order your garden demands it, and nothing on the skip list will be missed. If leaf fall or lawn edges arrive before year two, the site’s fall gardening tips cover the seasonal jobs these tools do not.