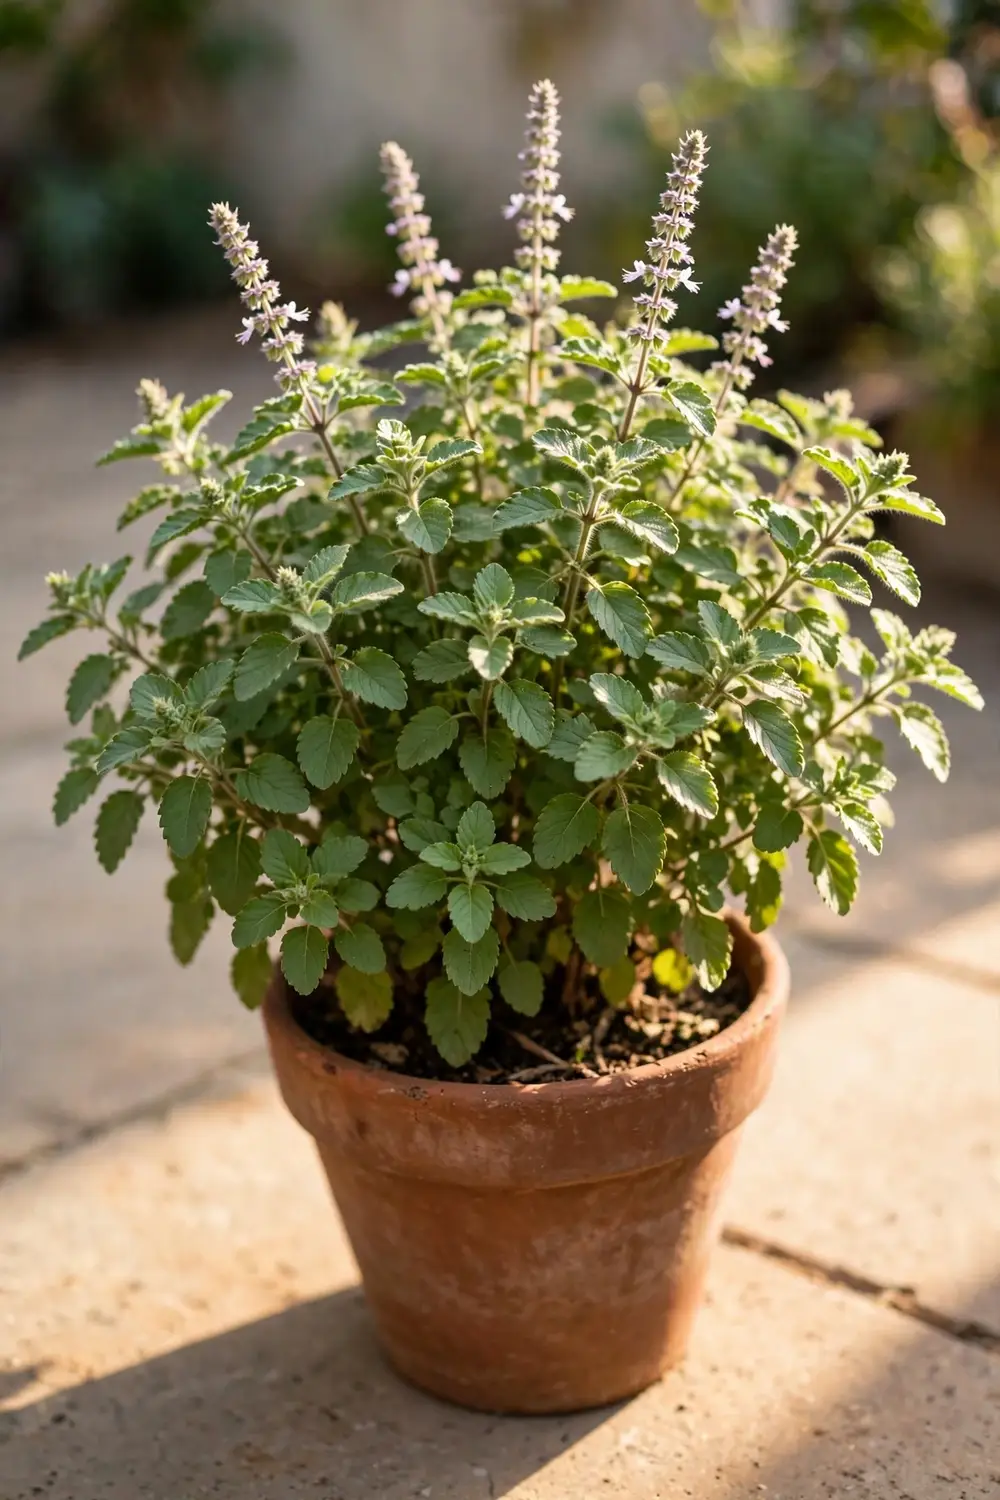

Start tulsi indoors 6 to 12 weeks before your last frost, move it out only when nights stay above 50°F, and you can cut your first handful of leaves at the four-month mark after sowing. In USDA zones 10 and 11 tulsi lives as a short-lived perennial shrub; everywhere else it works as a summer annual outdoors or as a year-round houseplant in a bright window. Learning how to grow holy basil from India starts with one honest fact: this is a tropical plant, and frost ends the experiment fast.
Tulsi (Ocimum tenuiflorum) is a cousin of the basils most gardeners know, but it is not the same plant as sweet basil or Thai basil. That confusion is the number one reason new growers fail, because the plants look related and taste nothing alike. Get the species right, give it warmth, and tulsi is a forgiving herb that suits new gardeners well.
Get four things right and the rest is easy: the species check, a variety that suits your climate, the light rule for germination, and a winter plan that keeps plants alive until spring.
1. Where to Grow Holy Basil From India: The Zone Truth
Tulsi is a tender perennial native to tropical India and Southeast Asia. It is hardy as a true perennial only in USDA zones 10 and 11, where temperatures stay above freezing all year. In zones 9 and colder, treat it as a tender annual outdoors, and keep one or two potted plants indoors for year-round leaves.
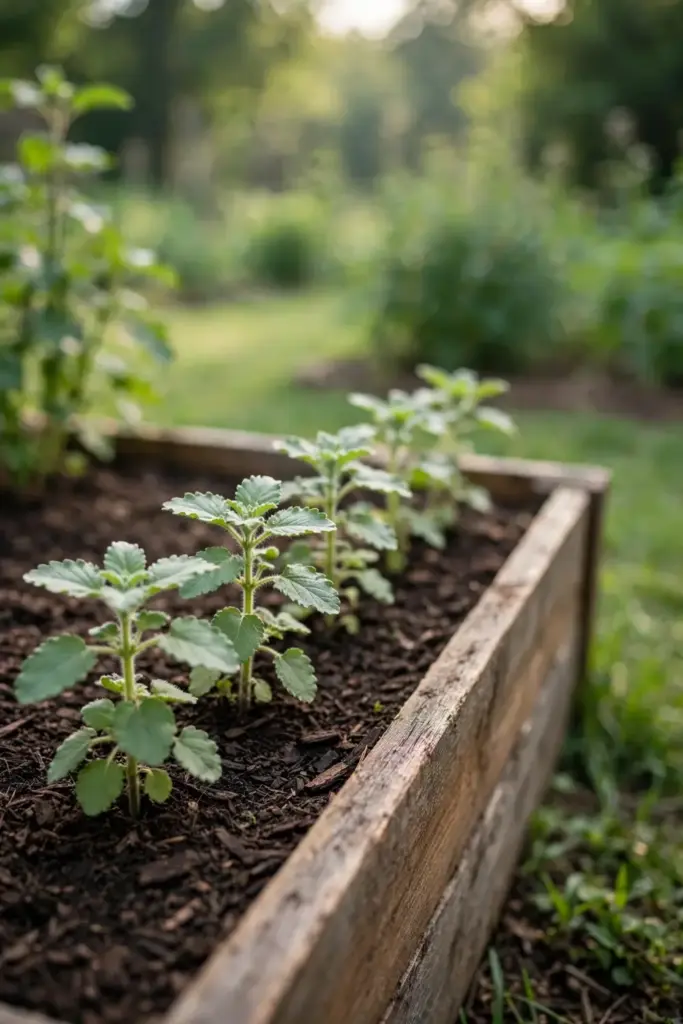
The temperature math is simple. Growth slows dramatically below 60°F, stops entirely below 50°F, and any frost damages or kills the plant. The sweet spot for fast growth is 70 to 90°F, which matches a typical summer in most of the United States. A 100-day growing season is enough for a generous summer harvest even in zone 4, where plants stay smaller (1 to 2 feet) than the 4 to 5 foot shrubs tulsi becomes in India.
If you garden in Canada, the UK, or northern Europe, the most productive approach is tulsi as a summer annual in the garden plus small potted plants brought indoors before the first frost. The indoor plants overwinter under grow lights or in a south-facing window, and give you fresh leaves all winter.
2. Tulsi Is Not Thai Basil: Know Your Plant
Run this identification check before you buy seed. Three different plants share confusingly similar names, and seed packets and nursery labels mix them freely.
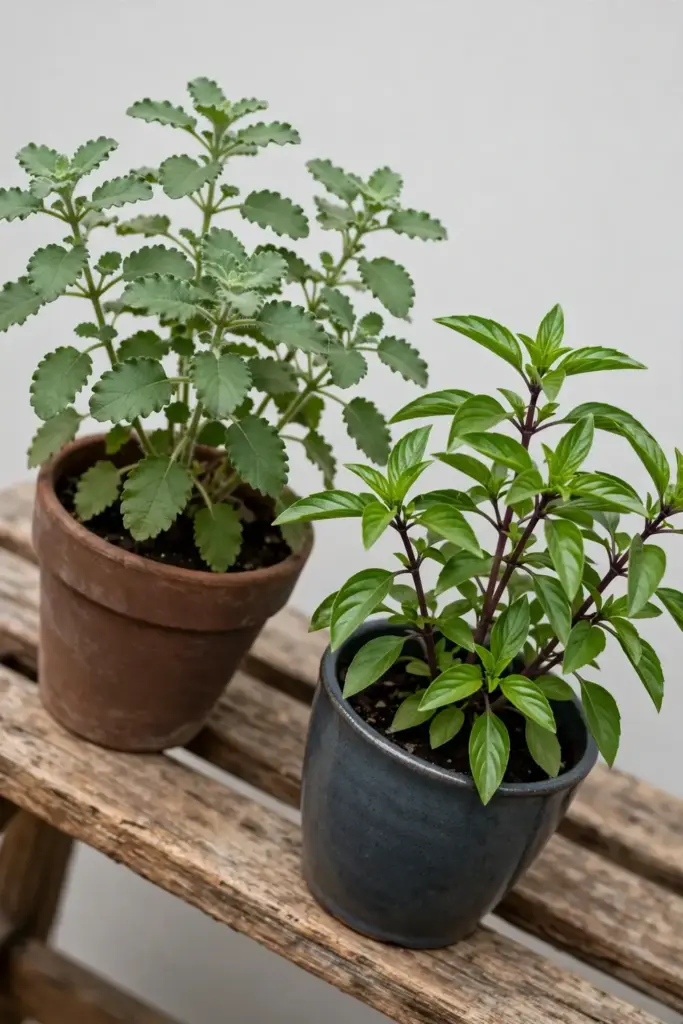
| Feature | Tulsi (Holy Basil) | Thai Basil | Kaphrao Wrinkle |
|---|---|---|---|
| Latin name | Ocimum tenuiflorum | Ocimum basilicum var. thyrsiflora | Ocimum tenuiflorum |
| Flavor | Clove and pepper, warm | Anise and licorice | Peppery, sharper than tulsi |
| Stems | Green, slightly hairy | Purple, smooth | Green, slightly hairy |
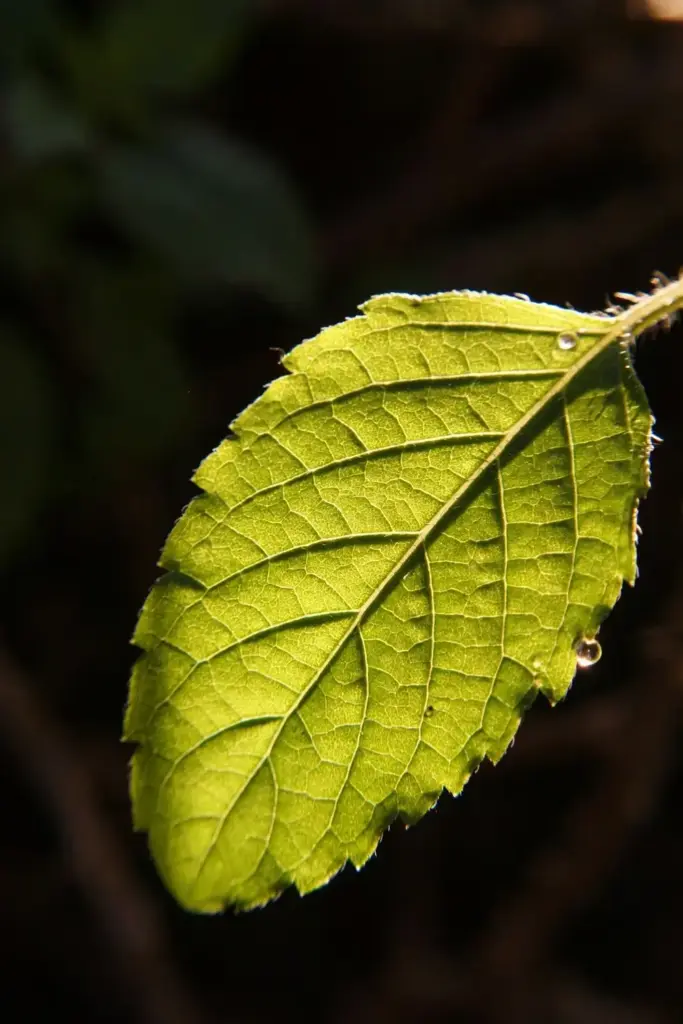
| Leaves | Dull, rounded, serrated edges | Shiny, narrow, pointed | Similar to tulsi, more pungent |
| Main use | Tea, Ayurvedic tradition, garnish | Stir-fries, curries | Pad kra pao (Thai stir-fry) |
| Cold tolerance | Tender perennial, zones 10 to 11 | Tender annual, frost kills it | Same as tulsi |
The kaphrao wrinkle deserves one extra sentence. In Thai cuisine, “Thai holy basil” (kaphrao) is the herb in pad kra pao, and botanically it is Ocimum tenuiflorum, the same species as tulsi. The flavor selection differs from Indian tulsi varieties, so a seed packet labeled “Thai holy basil” may not taste like the tulsi in your tea. Buy by Latin name when the flavor matters to you.
One more commerce warning: some seed sellers list their “Holy Basil” seed as Ocimum africanum, a hybrid species. That plant is not tulsi. Check the Latin name on the packet before you buy.
3. Pick Your Variety: Rama, Krishna, Kapoor, and Vana
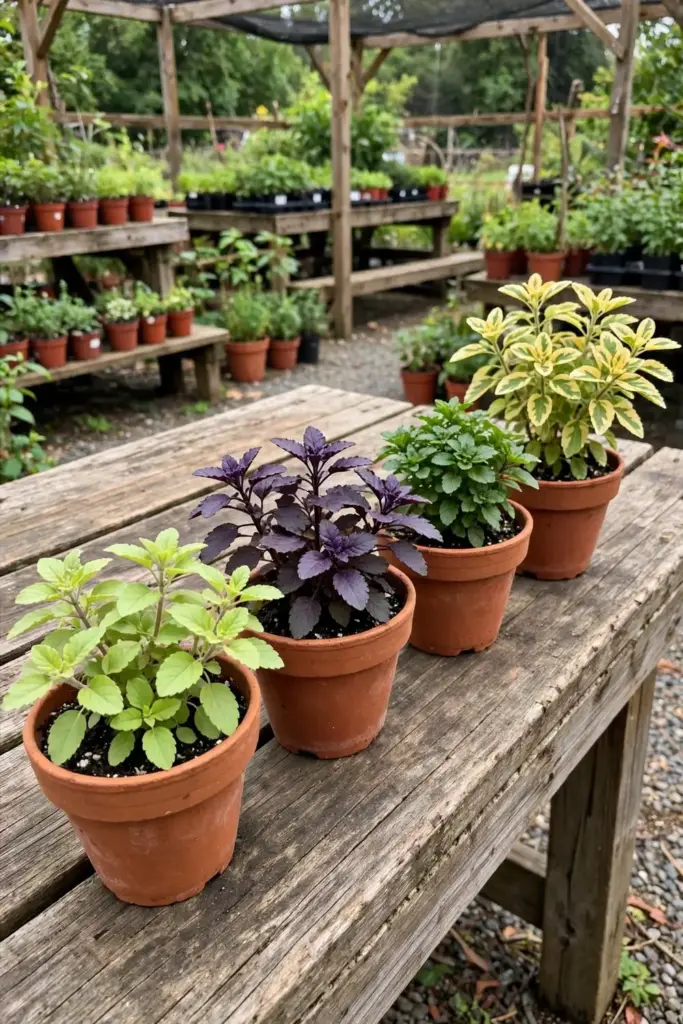
Tulsi has been cultivated in India for thousands of years, and distinct varieties have had plenty of time to develop. Four cover almost every home garden need, and a variety-by-variety breakdown confirms Rama as the standard beginner pick.
| Variety | Leaf Color | Flavor Note | Best For |
|---|---|---|---|
| Rama | Light green | Mild, clove-like | Beginners, everyday tea, culinary use |
| Krishna | Deep purple | Peppery, warm, clove | Stronger tea, ornamental purple foliage |
| Kapoor | Green | Milder, sweet | Cooler climates (“temperate tulsi”) |
| Vana | Two-toned green | Lemony, fragrant | Fresh use, salads, pesto-style dishes |
Rama is the most common cultivated variety and the safest first choice. Its flavor is the mildest, and it is the variety most seed catalogs carry reliably. Krishna grows more slowly than the green-leafed types, and its purple leaves and dark flowers make it the showiest plant in the herb bed. Vana is considered the best-tasting by many herbalists but is harder to find in seed catalogs.
Kapoor needs an honest note. It is sold as “temperate tulsi” because it tolerates cooler conditions and grows faster than the other varieties. Cooler does not mean cold. Kapoor is still frost-tender, and it still needs nights above 50°F. Treat the “temperate” label as a marketing stretch, not a zone extension.
4. Tools and Materials for the Job
Gather these before you sow. Everything on this list is ordinary and reusable.
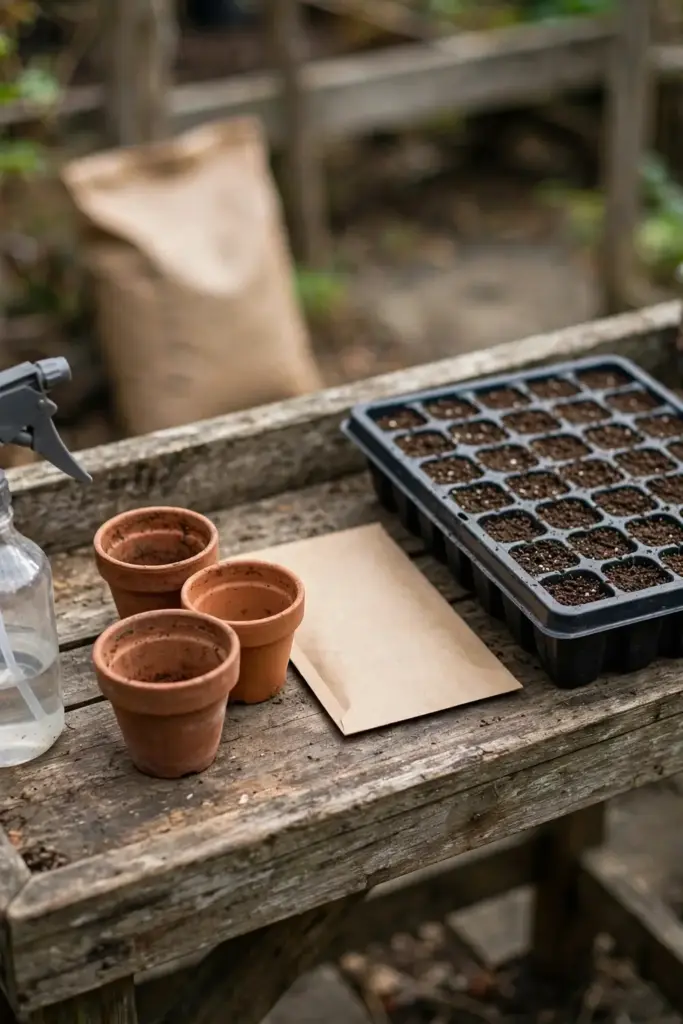
- Tulsi seed packet with the Latin name Ocimum tenuiflorum printed on it
- Seed-starting tray or 3-inch pots with drainage holes
- Fine seed-starting mix (not heavy garden soil)
- A clear plastic dome or plastic wrap for humidity
- A seedling heat mat (optional but helpful in cool houses)
- Small full-spectrum LED grow light
- A 6 to 8 inch terracotta pot with drainage for the first transplant
- A larger 10 to 12 inch pot for the summer plant
- Balanced liquid fertilizer (10-10-10 or similar)
- Fine-mist spray bottle
- Sharp pruners or scissors
5. Buying Seed That Is Actually Tulsi
Fresh seed matters more for tulsi than for most herbs. Seed from a reputable herb seed company germinates far more reliably than a dusty packet found at a checkout counter. Buy from a supplier that prints the Latin name Ocimum tenuiflorum on the packet and lists a variety name (Rama, Krishna, Kapoor, or Vana).
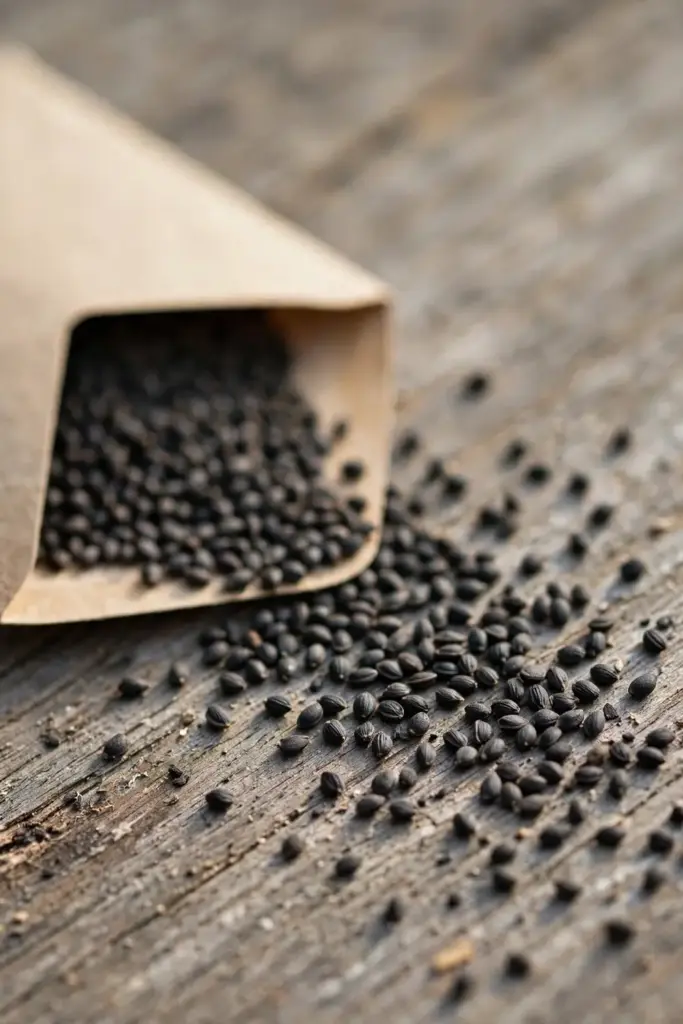
Spice-jar seed is a gamble. The seeds sold as a spice are often old, heat-treated, or a different species entirely, and germination from them is unreliable. For the price of one packet, proper seed removes the biggest variable in the whole project.
If you buy seedlings instead of seed, the same rule applies: ask the nursery for the variety and the Latin name. “Holy basil” on a tag with no species listed is not enough information to buy with confidence.
6. Sow Tulsi From Seed in 6 Steps
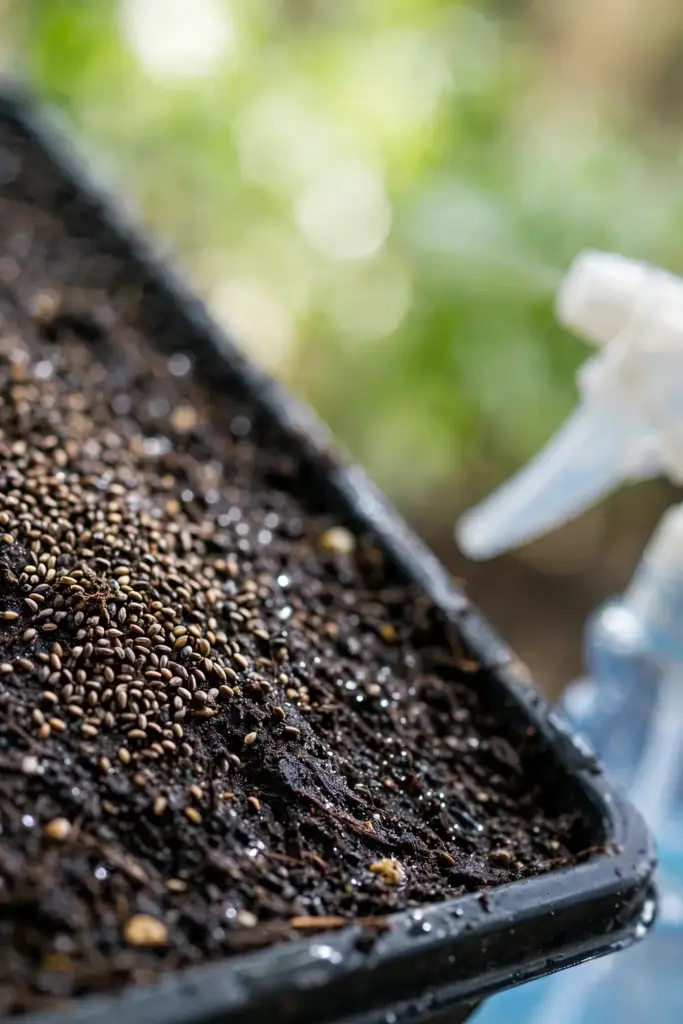
Tulsi grows readily from seed, which is the most reliable way to start it since live plants are still uncommon in most nurseries. A single packet contains far more seeds than one household needs. Start indoors 6 to 12 weeks before your last spring frost, following the same indoor seed-starting basics that work for other tender herbs.
| Step | Action | Time |
|---|---|---|
| 1 | Fill the tray with moist seed-starting mix; level it flat | Day 0 |
| 2 | Press seeds gently onto the surface and cover with a thin sprinkle of mix (seeds need light) | Day 0 |
| 3 | Mist lightly; cover with a dome or plastic wrap | Day 0 |
| 4 | Keep at 75 to 80°F (a heat mat helps in cool rooms) | Days 1 to 14 |
| 5 | Mist daily to keep the surface moist, never waterlogged | Days 1 to 14 |
| 6 | Move to bright light the day seedlings appear | Day 7 to 21 |
The light requirement is the detail most beginners miss. Tulsi seeds need light to germinate, so burying them a quarter inch deep is a common failure. Press them onto the surface and cover with only the thinnest sprinkle of mix. The plastic wrap keeps the surface from drying between mistings, which matters because the seeds sit right at the surface.
Once seedlings appear, the dome comes off and the light goes on. A sunny south-facing window works, and a small LED grow light running a few hours a day prevents the legginess that weakens tropical seedlings.
7. Cuttings: The Faster Second Route
If you already have access to a tulsi plant, cuttings root reliably in water and are faster than seed, producing a plant identical to the parent. The technique matches any soft-stemmed herb.
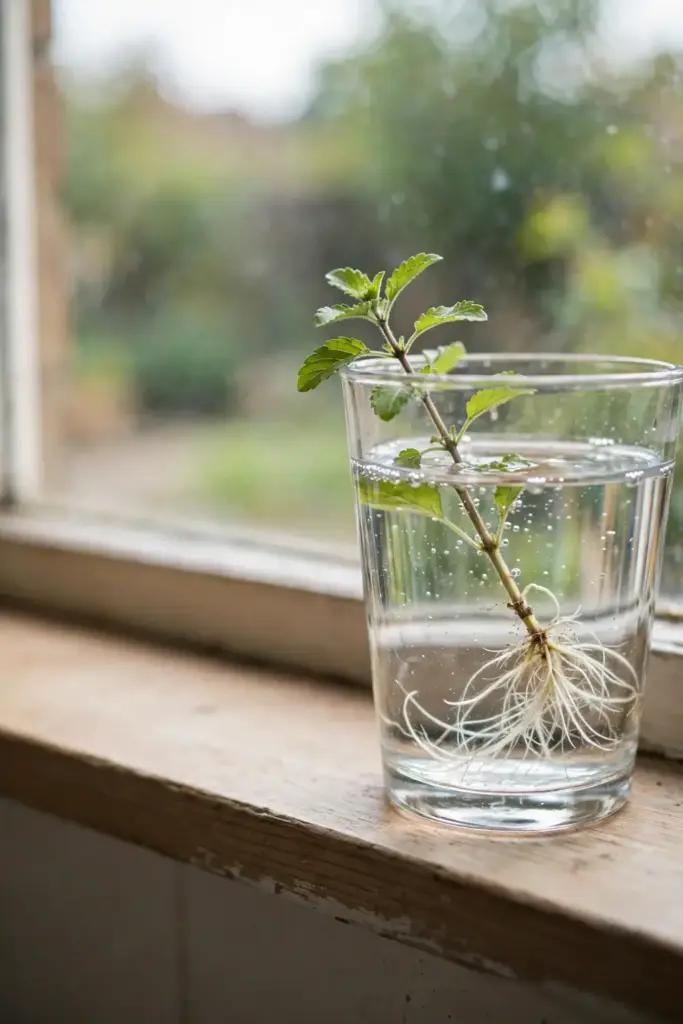
Take a 4 to 6 inch cutting from the tip of a healthy branch, ideally one that has not flowered yet. Strip the lower leaves and any flowers, leaving a few small leaves at the top. Place the cutting in a glass of clean water on a sunny windowsill, with the bottom node submerged and the remaining leaves dry.
Change the water every 2 to 3 days and keep the glass warm, between 70 and 80°F. White roots develop in 2 to 3 weeks. Once roots are an inch or two long, transplant into a small pot with fresh potting mix and keep the soil consistently moist for the first few weeks while the plant establishes. Cuttings taken in late summer are also the simplest way to overwinter a favorite plant: root them indoors before frost and you start spring with an established plant.
8. Germination: What to Expect Day by Day
Tulsi seedlings emerge in 1 to 3 weeks under good conditions, with 75 to 80°F soil temperature speeding things up considerably. At the minimum 70°F they germinate more slowly, and in a cool room without a heat mat the wait can stretch past two weeks. This is normal for a tropical species, not a sign your seed failed.
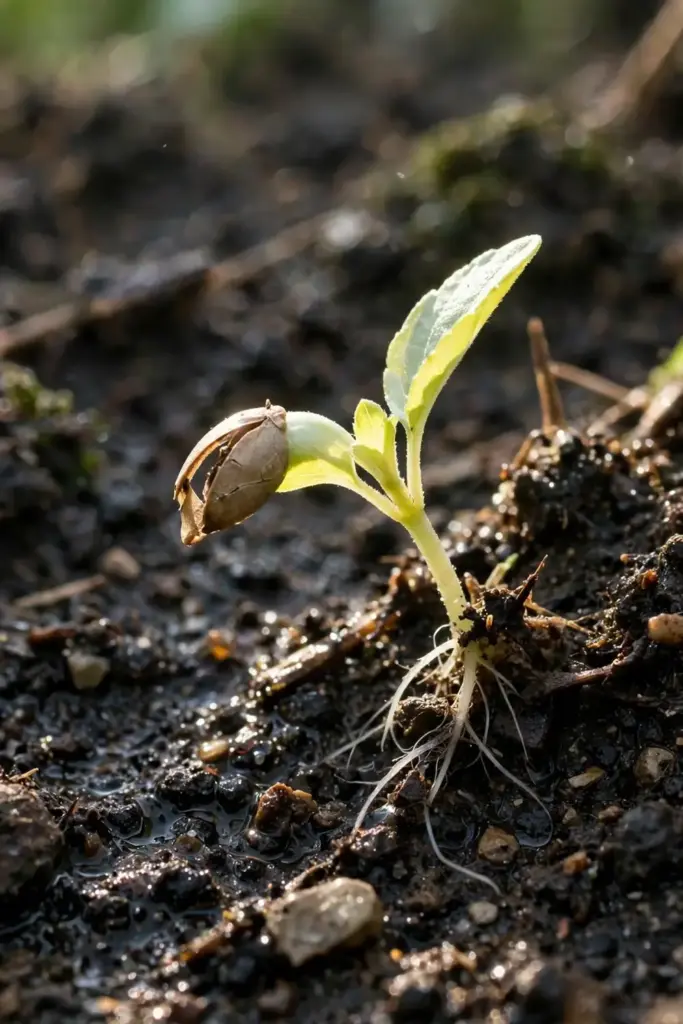
Watch for the two true leaves that follow the round seed leaves. That is the signal the seedling has real photosynthetic capacity and wants full light. Weak, stretched stems at this stage mean too little light, not too little water. Move the tray closer to the window or turn the grow light on, and the next set of leaves will come in compact and sturdy.
Damping-off is the main killer of tulsi seedlings. It shows up as stems that pinch and collapse at the soil line in the first week. Prevent it with the sterile seed-starting mix, good air circulation, and misting instead of pouring water. A small fan running on low across the room keeps the air moving without drying the surface.
9. The 50-Degree Rule for Moving Outdoors
Tulsi is genuinely tender and sets back severely if exposed to temperatures below 50°F or chilly winds before it is ready. Wait until nights are reliably above 50°F, then harden seedlings off over about a week: a few hours of outdoor shade on day one, longer each day, full sun by day seven.
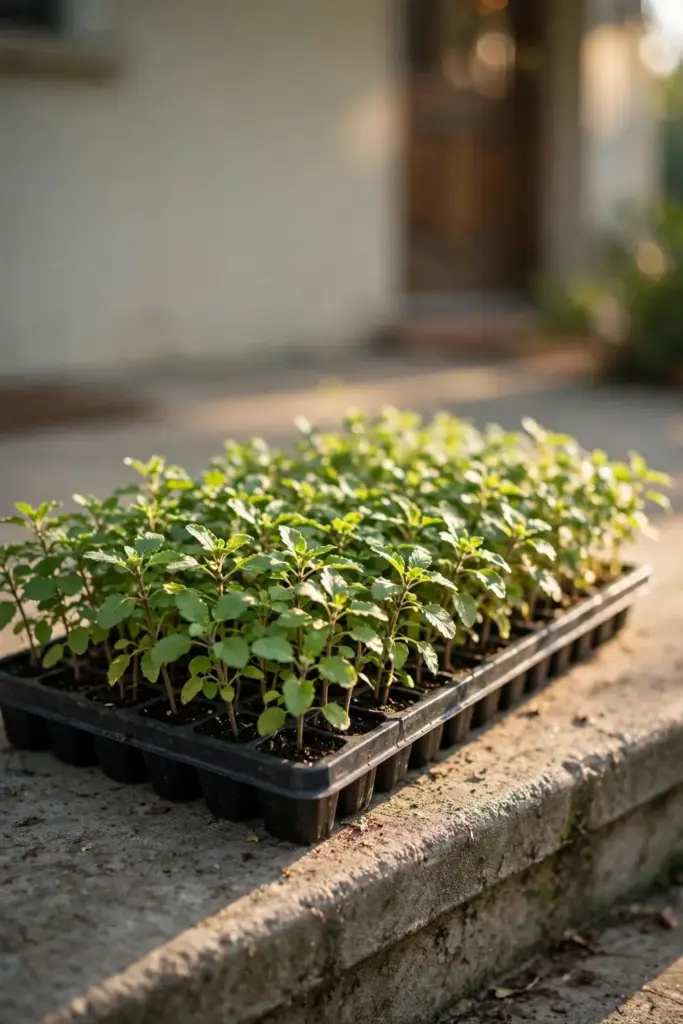
Rushing this step is the classic way to lose a tray of seedlings. A single cold night rarely kills them outright. It stalls growth for weeks and invites disease.
For garden planting, space plants 18 to 24 inches apart. Tiny seedlings look lost at that spacing, but tulsi grows into a bushy plant by midsummer, and crowding invites the fungal problems that spread in still, humid air. Spacing and temperature guidance for warm-season herbs lines up with these numbers. Containers skip the spacing math: one plant per 10 to 12 inch pot.
10. Soil and Pots That Tulsi Likes
Indoors, a well-drained balanced potting mix is all tulsi asks for. Outdoors it is surprisingly adaptable, growing well in everything from heavy clay to sandy raised beds as long as drainage is reasonable. The preferred pH sits between 6.0 and 7.5, which is what most garden soils naturally are.
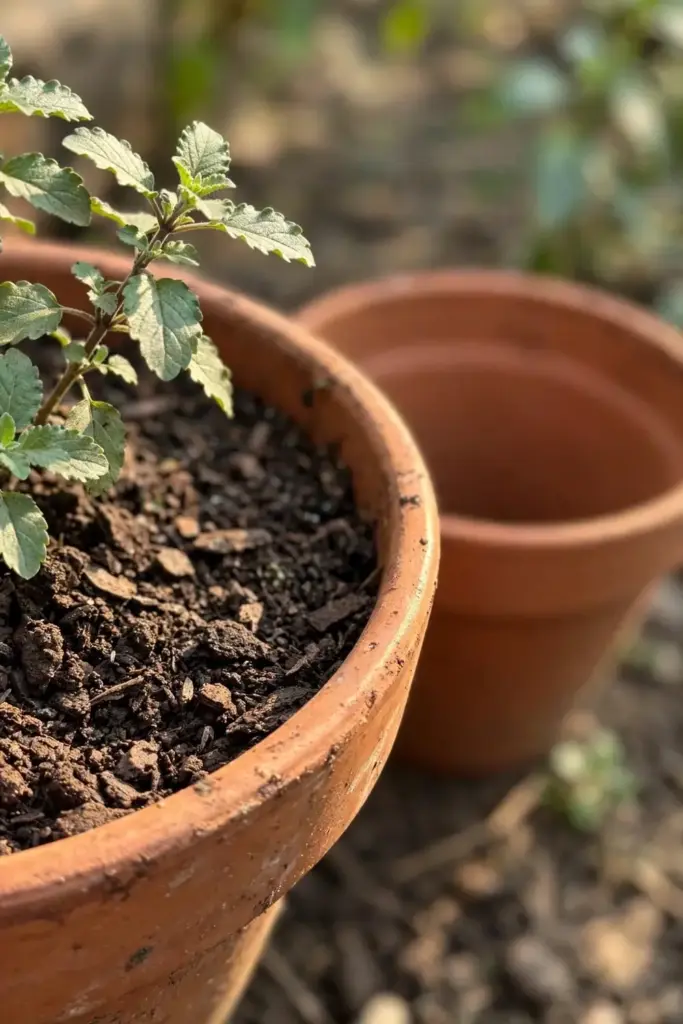
For pots, terracotta is the traditional choice and a good one. Unglazed clay breathes, which keeps the root zone from staying soggy. Start seedlings in a 6 to 8 inch pot with drainage holes, then move up to a 10 to 12 inch pot for the summer plant. Pair that with living, well-fed soil and tulsi rarely complains about its home. Unglazed pots dry faster than plastic, so check moisture more often in hot weather.
A simple container mix works: standard potting soil with a handful of perlite or coarse sand mixed in for extra drainage. Skip the garden soil in pots. It compacts, it drains poorly, and it carries weed seeds and pathogens into a container that has nowhere to flush them.
11. Watering: The Top-Inch Rule
Tulsi wants consistently moist soil, not wet soil. Water when the top inch of soil feels dry, letting water drain freely from the bottom of the pot. In hot summer weather that can mean watering daily, especially in terracotta. In cool, mild conditions, every few days is enough.
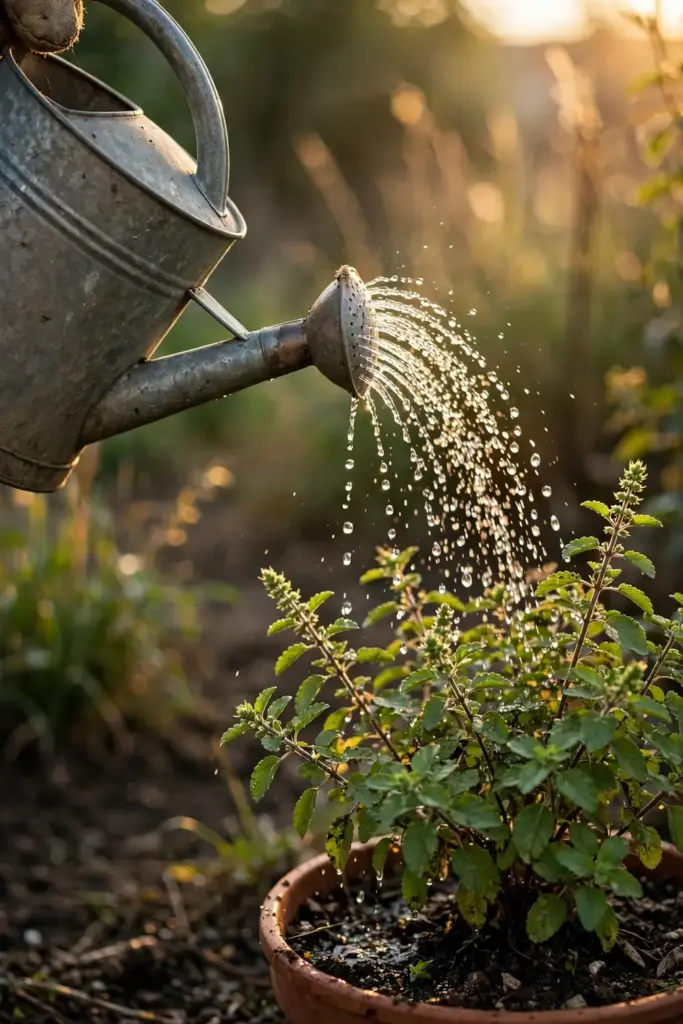
Overwatering is the most common tulsi mistake, particularly indoors in winter when the plant uses much less water. Yellowing lower leaves usually mean the soil is staying too wet, while leaves that wilt and perk up after watering mean the plant was just thirsty. Learn to read those two signals and you will rarely lose a plant to water.
Use room-temperature water, and water at the base of the plant rather than overhead. Wet foliage in still indoor air invites the leaf spots that tulsi otherwise shrugs off outdoors. A saucer under the pot is fine, but empty it after watering so the plant never sits in standing water.
12. Feeding Without Dulling Flavor
Tulsi is a moderate feeder, especially when you harvest leaves regularly for tea. Top-dress garden plants with an inch of compost in spring and again in midsummer for steady fertility. For indoor plants, a balanced liquid fertilizer (10-10-10 or similar) every 4 to 6 weeks during the growing season is plenty, reduced or stopped in winter when growth slows.
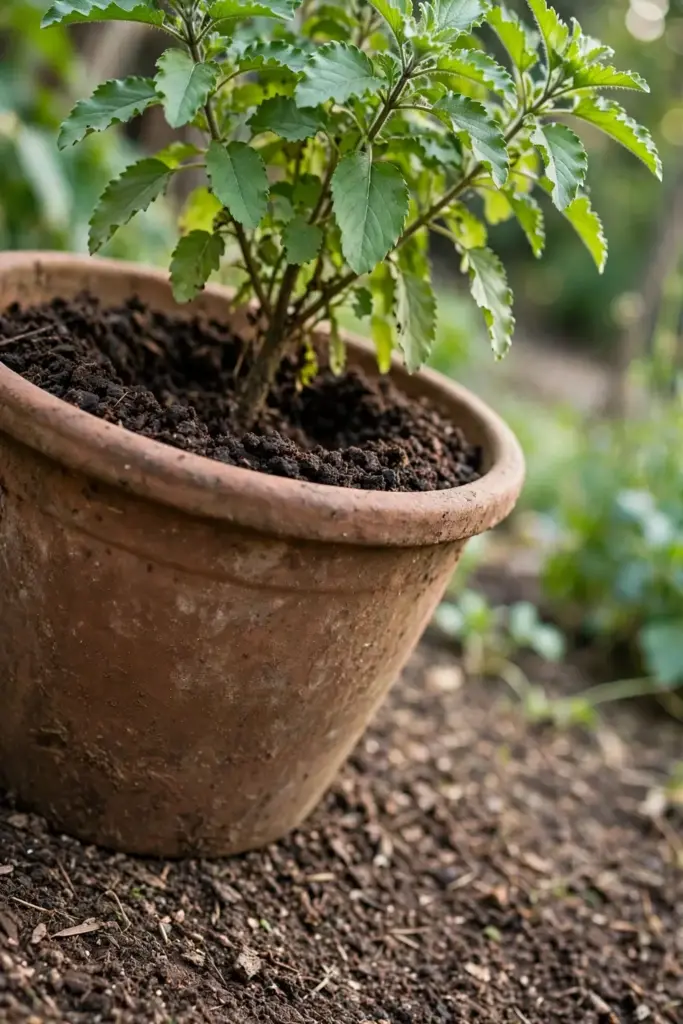
More fertilizer is not better for an herb grown for flavor. Heavy nitrogen pushes soft, watery growth with diluted essential oils, which is the opposite of what you want in a tea herb. If the leaves taste flat, the first suspect is overfeeding, not the variety.
Compost, worm castings, and aged manure all work as gentle alternatives to bottled fertilizer. Whatever you use, feed a plant that is actively growing in warm, bright conditions, and hold back when the plant is resting in a cool winter window.
13. The Pinch That Makes It Bushy
Regular pinching is the single most important care practice for keeping tulsi productive. Pinch the growing tips of each branch every few weeks during active growth, which forces the plant to branch out into a bushy shape instead of growing tall and leggy. The pinched tips work well in fresh tea, so nothing is wasted.
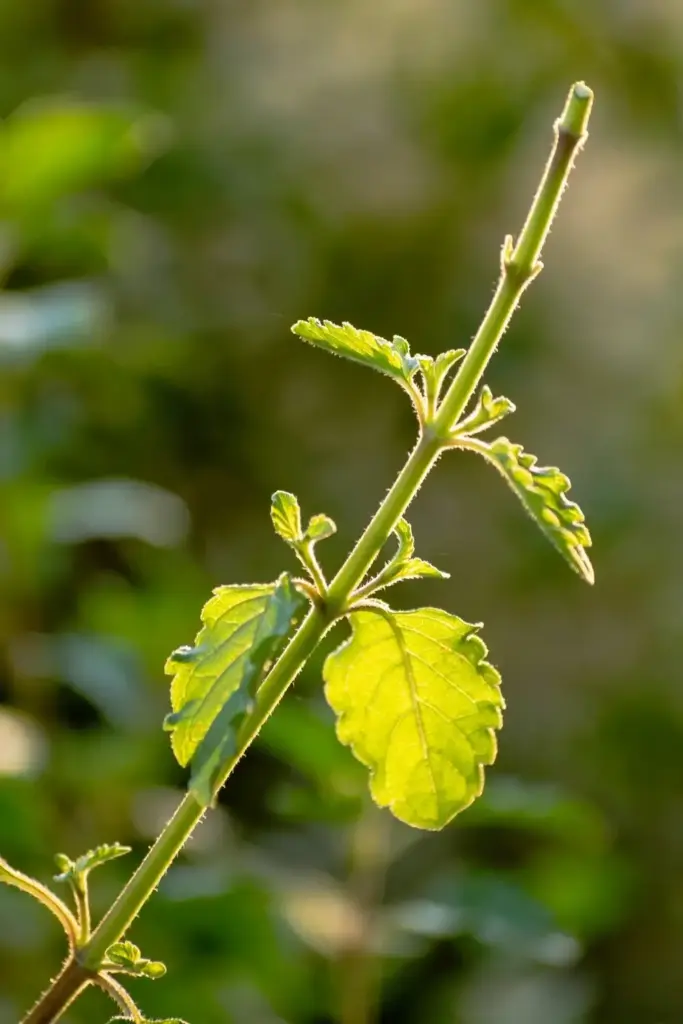
Start when the plant is about 6 inches tall. Pinch the top of each stem when it has 4 to 6 pairs of leaves, and never remove more than half of any single stem. The more you pinch, the bushier the plant becomes, and a bushy plant produces far more leaf than a tall thin one.
If a plant is already tall and leggy, cut the main stem back to where new leaves are sprouting along the lower portion. The plant branches out from those nodes within a few weeks. Tulsi recovers from heavy pruning quickly, so do not be timid. Timid pruning is how growers end up with one sad stalk instead of a shrub.
14. Overwintering: Tulsi Indoors Through Winter
This is the lane that decides whether your tulsi project lasts one season or many, and it is the part of learning how to grow holy basil from India that most short guides skip. Before the first fall frost, bring a potted plant indoors. A plant that has spent the summer in the garden can be dug up and potted, but it is easier to keep one plant in a pot all summer specifically for the winter move.
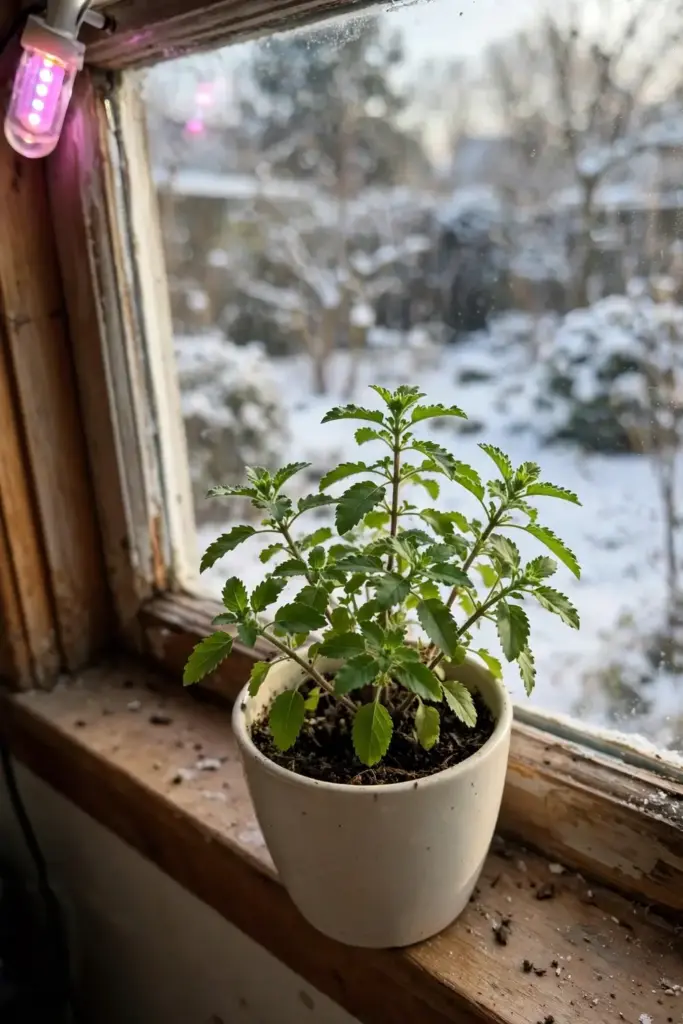
Give the indoor plant what it needs to survive, not thrive. A bright south- or west-facing window is the minimum, and a small grow light running 12 to 14 hours a day makes an enormous difference in dark climates, as winter indoor-growing guides for tulsi confirm. Our own indoor herb garden guide covers the setup in more depth, and the grow light buying tips help you pick the right panel. Keep room temperature between 65 and 85°F, away from cold drafts and away from heating vents that blast hot dry air.
Water sparingly in winter. The plant grows slowly, uses little water, and cold wet soil is the fastest way to kill it. Let the top inch dry, use room-temperature water, and mist occasionally or set the pot on a humidity tray to counteract dry heated air. Feed nothing or almost nothing until spring.
Expect the plant to look tired by February. Sparse growth, some dropped leaves, and a pause in flowering are all normal. When days lengthen and nights warm past 50°F, harden it off again and move it back outside. A plant that survives two winters is doing well. Most indoor tulsi plants are at their best in years one and two, then worth replacing with fresh seed or cuttings.
15. Pests and Diseases
Outdoors, tulsi is a sturdy plant with few serious enemies. Aphids cluster on the tender growing tips, and a strong jet of water or a spray of insecticidal soap handles them. Whiteflies show up in the same places. Slugs and snails chew the lower leaves in wet weather; the usual traps and barriers work.
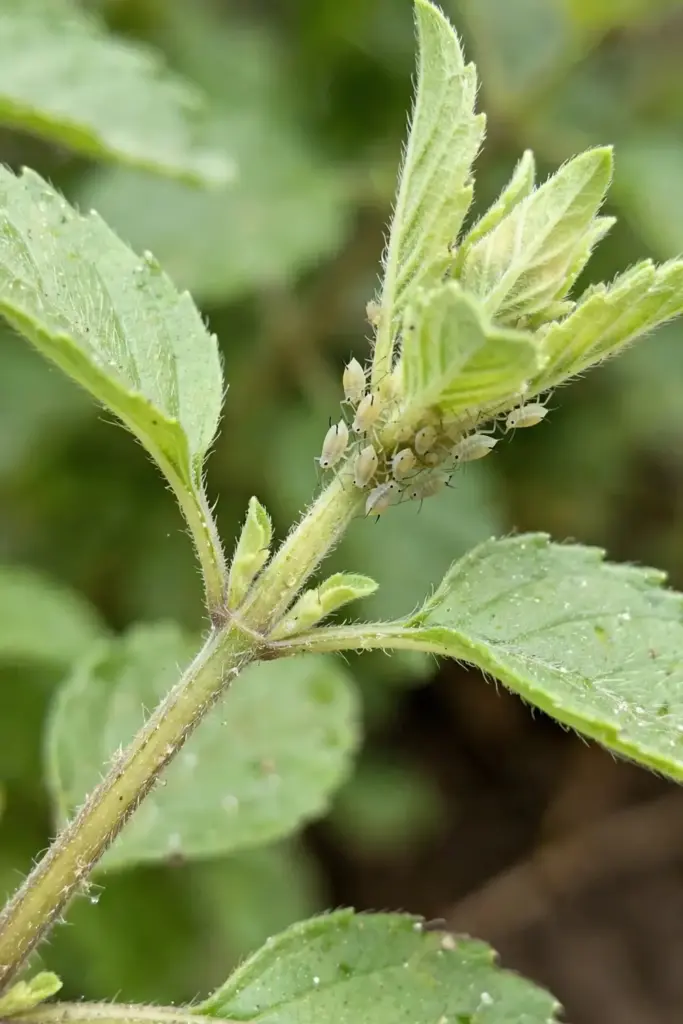
Fungal leaf spots appear when foliage stays wet in still air. Water at the base, give plants their full spacing, and prune for airflow, and most leaf spot problems never start. Root rot is the indoor killer: it comes from oversized pots, missing drainage holes, and winter overwatering. If a plant wilts in wet soil and the stem base turns dark, the roots are gone. Discard it and start fresh rather than trying to nurse it back.
Downy mildew affects basils in humid regions. It shows as yellowing between the veins with a grayish fuzz on the leaf undersides. Remove affected leaves promptly, improve air circulation, and avoid overhead watering. Tulsi is generally tougher than sweet basil against mildew, but it is not immune.
16. Flowering and Seed Saving: The Manjari Question
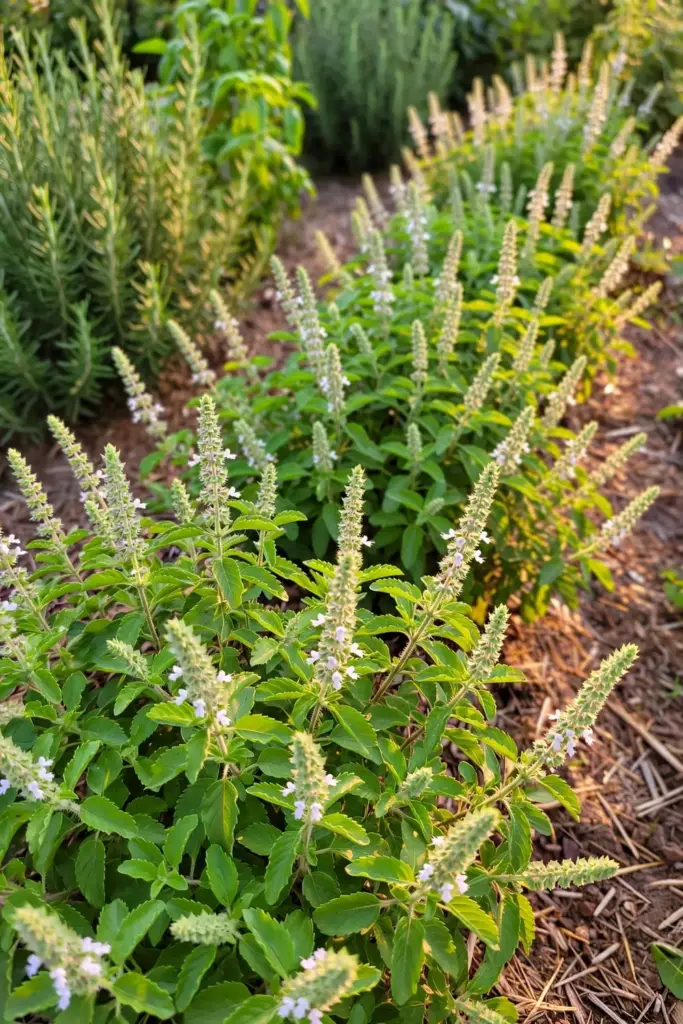
Tulsi flowers continuously through the season, sending up spikes of small purple or white blossoms called manjari. Unlike sweet basil, tulsi does not turn bitter when it flowers, so there is no flavor emergency. The question is what you want from the plant.
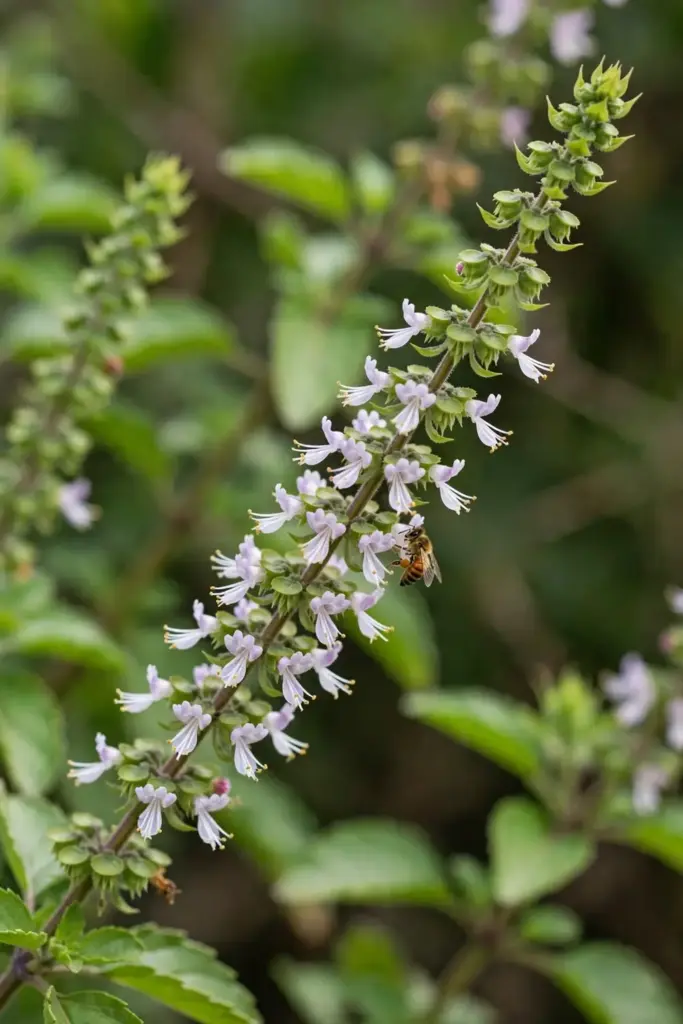
If you want leaves, pinch the flower spikes off as they appear. Each pinched spike redirects energy into more branching and more leaf. If you want seeds, let a few spikes mature and dry on the plant. The tiny seeds fall easily once dry, so hold a paper bag under the spike and tap it.
For seed saving, let the spikes brown fully on the plant, then strip the seed heads into the bag and winnow the chaff by pouring the seed between two bowls in a light breeze. Store dry seed in a labeled envelope in a cool, dark place. Fresh seed germinates best, so sow saved seed the next spring rather than hoarding it for years.
17. Harvesting Leaves for Tea
You can start harvesting small amounts about four months after sprouting, or when the plant is 6 to 8 inches tall with several sets of leaves. Use sharp scissors to cut just above a leaf node, which is where the next pair of branches will sprout. Take no more than a third of the plant at a time during active growth.
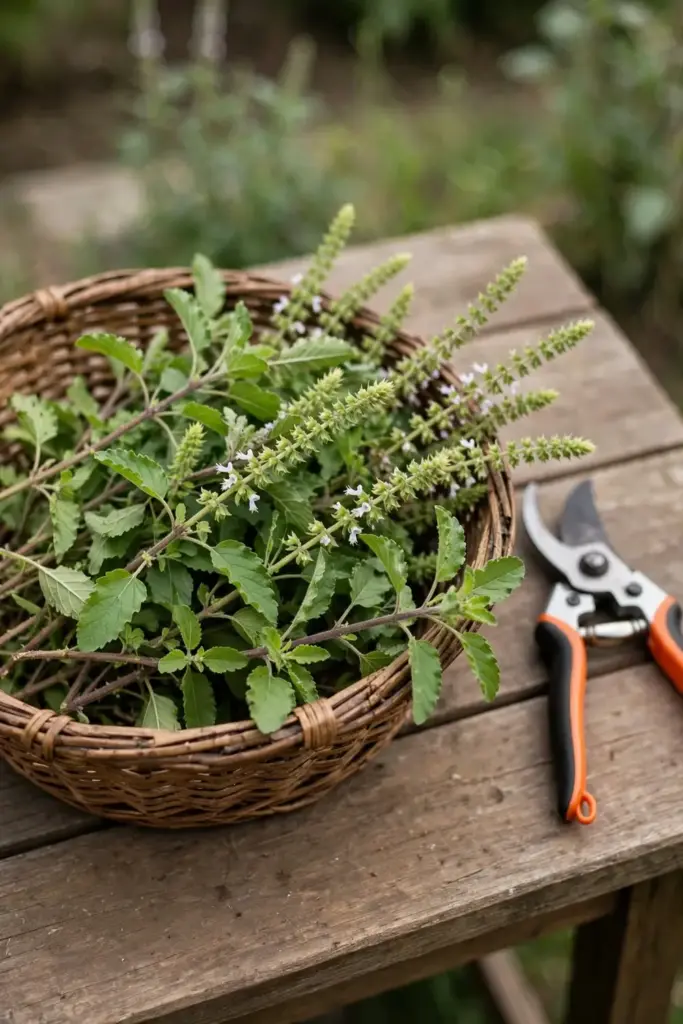
Morning is the best time to harvest. Essential oil concentration is highest in the early hours before the sun heats the leaves. For fresh tea, a few pinched tips per cup is the classic measure. For drying, wait until just before the first frost, cut whole stems at the base, tie them into small bundles, and hang upside down in a warm, well-ventilated room for 1 to 2 weeks.
Once the leaves are crisp, strip them from the stems and store in sealed glass jars away from light. Properly dried tulsi keeps its flavor and aroma for at least a year. A healthy summer plant can be harvested 4 to 6 times in a season if you keep pinching and never strip it bare.
18. 7 Mistakes That Kill Tulsi Fast
These are the failures that show up in every forum thread about dying tulsi. Each one is preventable.
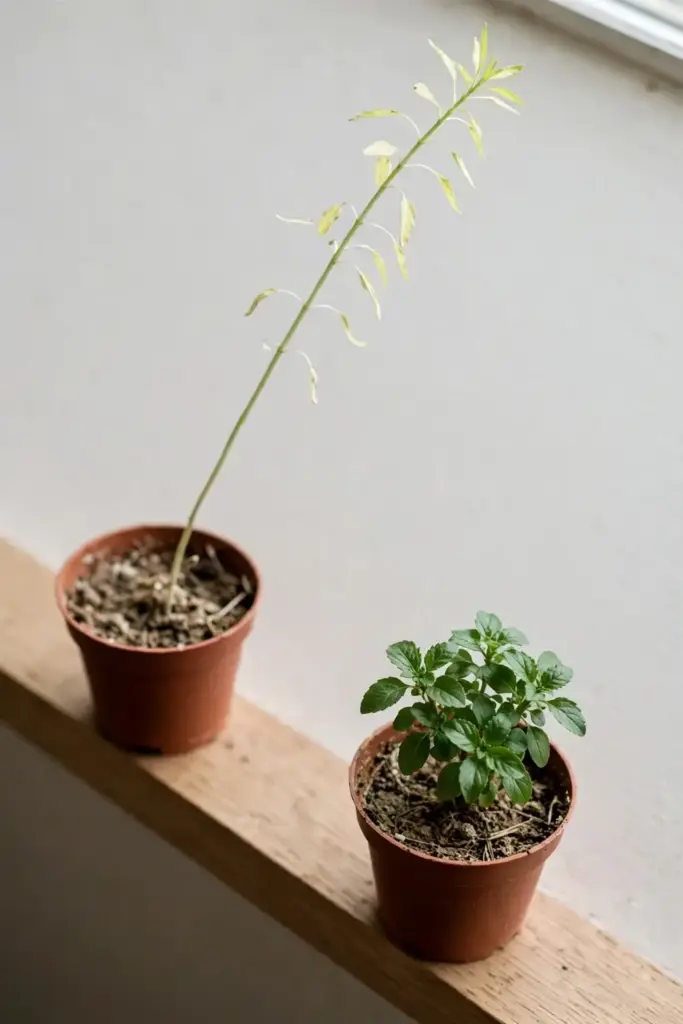
- Burying the seed. Tulsi needs light to germinate. Seeds planted a quarter inch deep often never emerge. Press them onto the surface with only a sprinkle of mix on top.
- Moving out too early. One cold night below 50°F stalls a seedling for weeks. Wait for reliably warm nights and harden off over a week.
- Confusing it with Thai basil. The plants share a name family and nothing else. Check the Latin name on the seed packet before you buy.
- Winter overwatering. An indoor plant in January uses a fraction of summer water. Yellow lower leaves in winter almost always mean too much water, not too little.
- No drainage. A decorative pot without holes is a slow drowning. Every tulsi pot needs drainage, indoors and out.
- Never pinching. An unpinched tulsi grows one tall stalk, flowers, and finishes. Pinched tulsi becomes a bush that produces all season.
- Letting it meet frost. Tulsi has zero frost tolerance. The first freeze ends an outdoor plant. Bring pots in before the forecast, not after.
19. Troubleshooting
Seedlings are tall and floppy. Not enough light. Move the tray to a brighter window or switch on the grow light, and bury the stems slightly deeper at transplant.
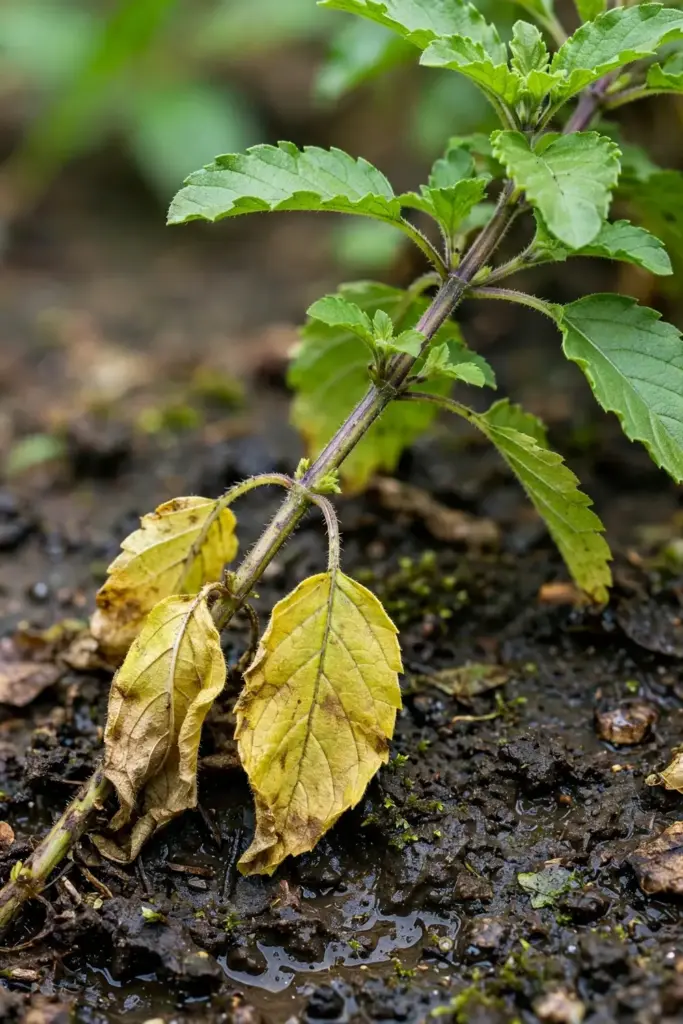
Leaves are pale and growth is slow. The plant is cold or hungry. Check that nights are above 50°F, then feed lightly with balanced fertilizer.
Lower leaves turn yellow and drop. Overwatering is the usual cause, especially indoors. Let the top inch dry between waterings and check that the pot drains.
The plant flowers constantly and stops making leaves. That is normal tulsi behavior, not a failure mode. Pinch the flower spikes the moment they appear and the plant redirects its energy into leafy new growth within days. Prefer seed for next year? Leave two or three spikes alone, let them brown fully on the plant, then tap them into a paper bag.
White fuzz on the soil surface. Harmless mold from constant moisture and still air. Scrape it off, water less, and improve air circulation with a small fan.
Aphids on the growing tips. Blast them off with a strong jet of water, then follow up with insecticidal soap if they return. Check neighboring plants too.
The plant looks dead in February. Probably dormant, not dead. Scratch a stem: green underneath means alive. Keep it warm and bright, water sparingly, and wait for spring growth before declaring it finished.
20. Frequently Asked Questions
No. Tulsi is Ocimum tenuiflorum with a clove and pepper flavor, while Thai basil is Ocimum basilicum var. thyrsiflora with an anise and licorice flavor. They are different species and are not interchangeable in the kitchen or the garden. The confusion comes from the shared “basil” name and the fact that Thai “holy basil” (kaphrao) is itself Ocimum tenuiflorum.
Only in USDA zones 10 and 11, where temperatures stay above freezing. Everywhere else, frost kills it. The standard cold-climate strategy is to grow tulsi as a summer annual outdoors and bring a potted plant indoors before the first frost. Keep the indoor plant in a bright window or under grow lights at 65 to 85°F, water sparingly, and move it back out when nights stay above 50°F.
Expect seedlings in 1 to 3 weeks at 75 to 80°F, a transplant-ready plant in 6 to 8 weeks, and the first light harvest about 4 months after sprouting, when the plant is 6 to 8 inches tall. A healthy plant can be harvested 4 to 6 times during one summer growing season. Starting seeds 6 to 12 weeks before the last frost gives the longest harvest window.
Flowering is tulsi’s natural life cycle, not a problem to fix. The plant sends up flower spikes (manjari) continuously through the season, and unlike sweet basil it does not turn bitter when it blooms. Pinch the spikes off if you want maximum leaf production, or let a few spikes mature and dry on the plant if you want to save seed for next year.
Yes, with enough light and warmth. A bright south-facing window gives the minimum 4 hours of direct sun, but a small grow light running 12 to 14 hours a day produces a far healthier plant in winter. Keep the room between 65 and 85°F, away from cold drafts and heating vents, water only when the top inch of soil dries, and expect slower growth in the darkest months.
Rama. It is the most widely available variety, the mildest in flavor, and the most forgiving in the garden. Krishna adds ornamental purple foliage and a spicier tea once you have the basics down. Vana is worth seeking out for fresh culinary use. Kapoor suits gardeners in cooler summers but is still frost-tender, so treat the “temperate tulsi” label with healthy skepticism.
21. Where to Go From Here
Learning how to grow holy basil from India is mostly about respecting its tropical nature: warmth, light, drainage, and a winter plan. Get those four right and the plant does the rest, rewarding you with fragrant leaves from summer into the cold months.
Start with Rama seed from a supplier that prints the Latin name on the packet. Sow indoors while the weather is still cold, move out when nights hold above 50°F, and pinch relentlessly through summer. Bring one potted plant indoors before the first frost, and you will be drinking tulsi tea in January while your garden sleeps.
Sacred to millions and useful to any cook, tulsi earns its place in the herb garden on flavor alone. The rest is a bonus.