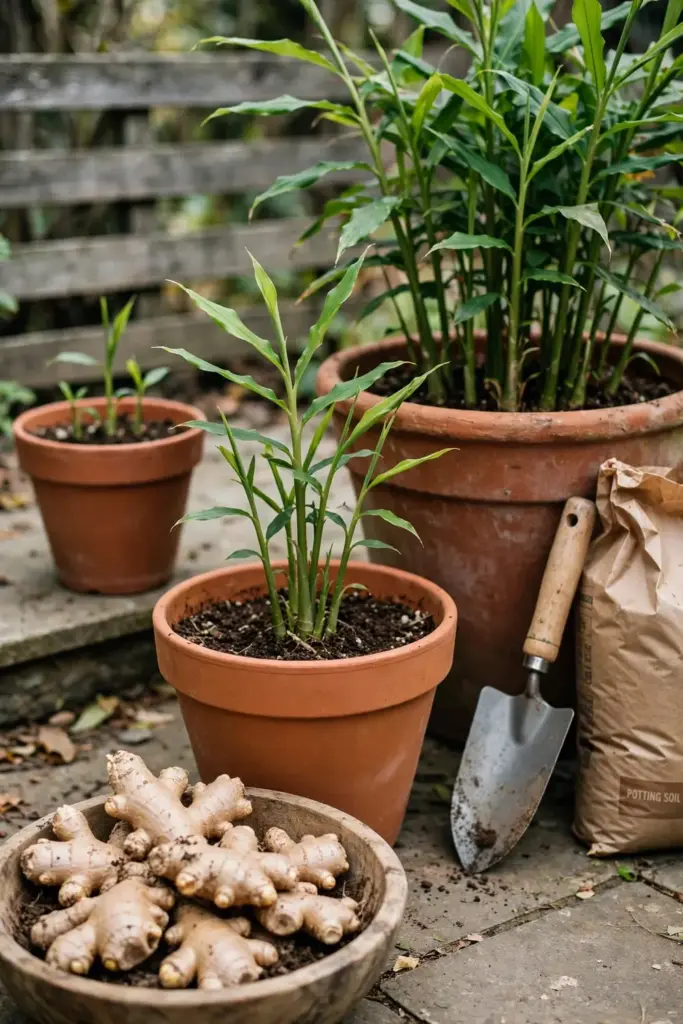

Plant one plump supermarket ginger root in February and you can dig up fresh, juicy rhizomes by October, with thin skins you never need to peel. Learning how to grow ginger at home comes down to three things: warmth, a wide shallow pot, and patience. Sprout the rhizome at 75 to 85°F, keep it as a houseplant through spring, and harvest mature rhizomes 8 to 10 months after planting.
Ginger is Zingiber officinale, a tropical perennial in the ginger family (Zingiberaceae). In Traditional Chinese Medicine it is sheng jiang, a core herb in classical formulas, sometimes called the universal medicine of the Chinese pharmacy. It originated in the forests of Southeast Asia and southern China, and most of the ginger sold in the United States arrives by import, which is why homegrown tastes strikingly fresher. The piece you buy at the store is not a root but a rhizome, an underground stem that grows sideways and carries buds called eyes, each one able to become a new plant.
This guide to how to grow ginger walks through the indoor-and-pot method: how to pick a rhizome that will actually sprout, cut and soak it, pot it up, keep it happy through the growing season, and harvest both baby ginger at four months and mature rhizomes at eight to ten months.
| Fact | Number |
|---|---|
| Sprouting temperature | 75 to 85°F (24 to 29°C) |
| Pot size | At least 12 inches wide; 15 inches better |
| Planting depth | 1 to 2 inches, eyes up |
| Piece size | 1 to 2 inches, at least 1 eye |
| Baby ginger | 120 days (4 months) |
| Mature harvest | 8 to 10 months |
| Soil pH | 5.5 to 6.5 |
| Plant height | Up to 3 feet |
Pick a Rhizome That Will Actually Sprout
Not every supermarket root wants to grow. Conventional ginger is often treated with a sprout inhibitor during shipping and storage, which is why a root that looks perfect can sit in soil for weeks doing nothing. Buy organic ginger when you can: it skips the inhibitor treatment and sprouts far more reliably. The Penn State Extension master gardener program notes that grocery-store ginger may have been treated with a growth inhibitor, and recommends organic to increase sprouting success.
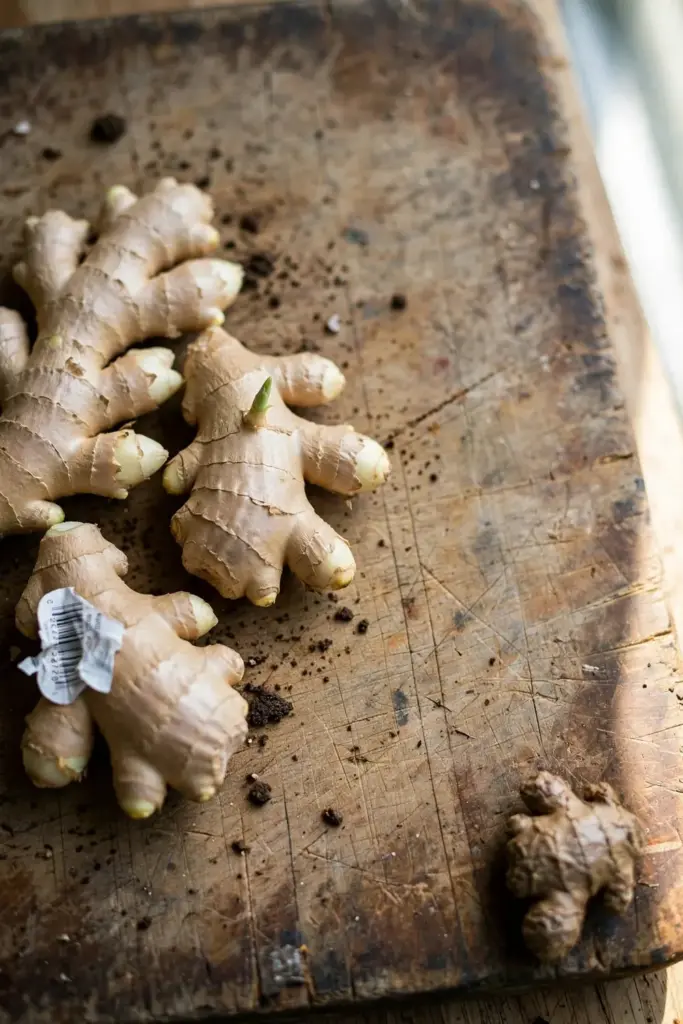
Look for a piece that is plump, firm, and heavy for its size, with smooth skin and no wrinkles. Shriveled sections are spent. Check for eyes: small, pale bumps or slightly raised nubs along the ridges of the rhizome. A good planting piece carries several of them. Avoid anything soft, moldy, or with cut surfaces that look watery. A piece roughly the size of your palm is enough for two or three plants.
Buy your rhizome in late winter or early spring. Stock is usually freshest then, and starting in February or March gives the plant the full 8 to 10 months it needs before cold weather returns. If your market only carries conventional ginger, you can still try it. Soak it a full 24 hours. Plant two pieces to hedge the bet, accepting that sprouting is a coin flip. The inhibitor washes off partially but not always completely, so the extra piece is cheap insurance.
Tools and Materials
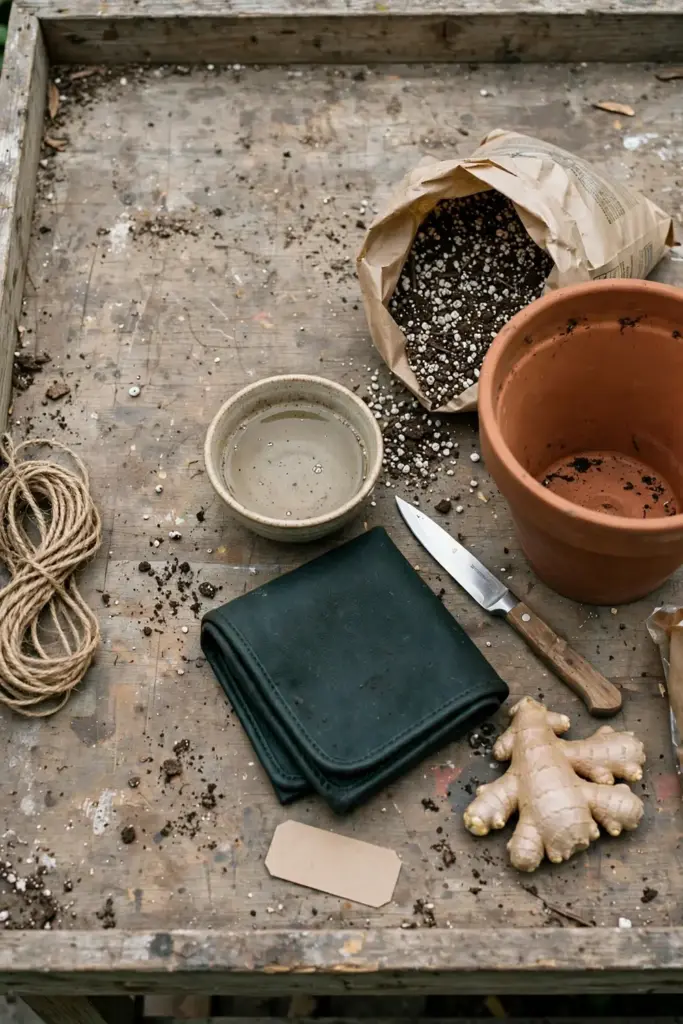
- One organic ginger rhizome from the produce section.
- A clean, sharp knife.
- A bowl of lukewarm water.
- A wide, shallow pot with drainage holes.
- Potting mix, coarse sand or perlite, and finished compost.
- A heat mat or a consistently warm spot.
- A balanced fertilizer.
- A watering can and a spray bottle.
Step 1: Cut the Rhizome Into Pieces
Lay the rhizome on a clean board and cut it into pieces 1 to 2 inches long, following the natural buds so each piece carries at least one eye, ideally two. A clean cut matters more than size: crushed tissue rots. Larger chunks with two or three eyes sprout faster and grow more vigorously, but even a single-eye piece can grow if it is healthy.
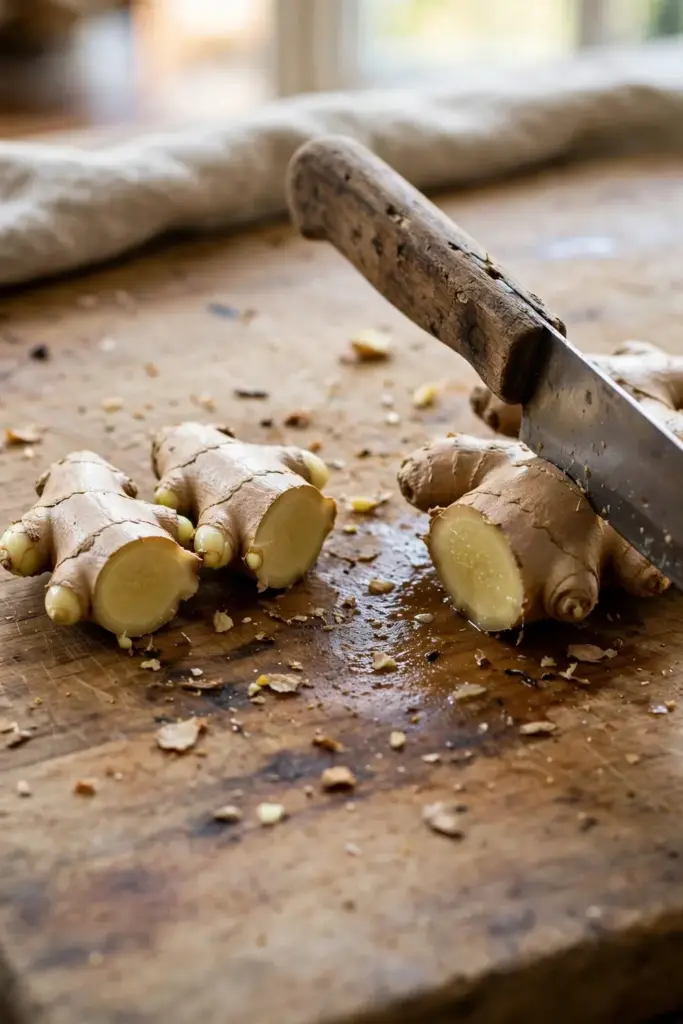
Set the pieces cut-side up on a plate or tray in open air for one to two days. The cut surfaces dry and form a callus, a thin protective skin that blocks the fungi waiting in damp soil. This is the same precaution potato growers use with seed potatoes, and the University of Georgia Extension recommends letting ginger pieces sit a few days to callus over before planting. You will know it worked when the cut face feels dry and firm, not tacky. Plant too soon and rot claims the piece before any sprout appears.
Step 2: Soak and Wake the Pieces
Drop the callused pieces into a bowl of lukewarm water for 24 hours. The soak does two jobs: it rehydrates rhizomes that have dried out during weeks of shipping and display, and it helps wash off any surface treatments that hold back sprouting. The University of Florida Extension notes that soaking rhizomes for several hours before planting helps stimulate sprouting.
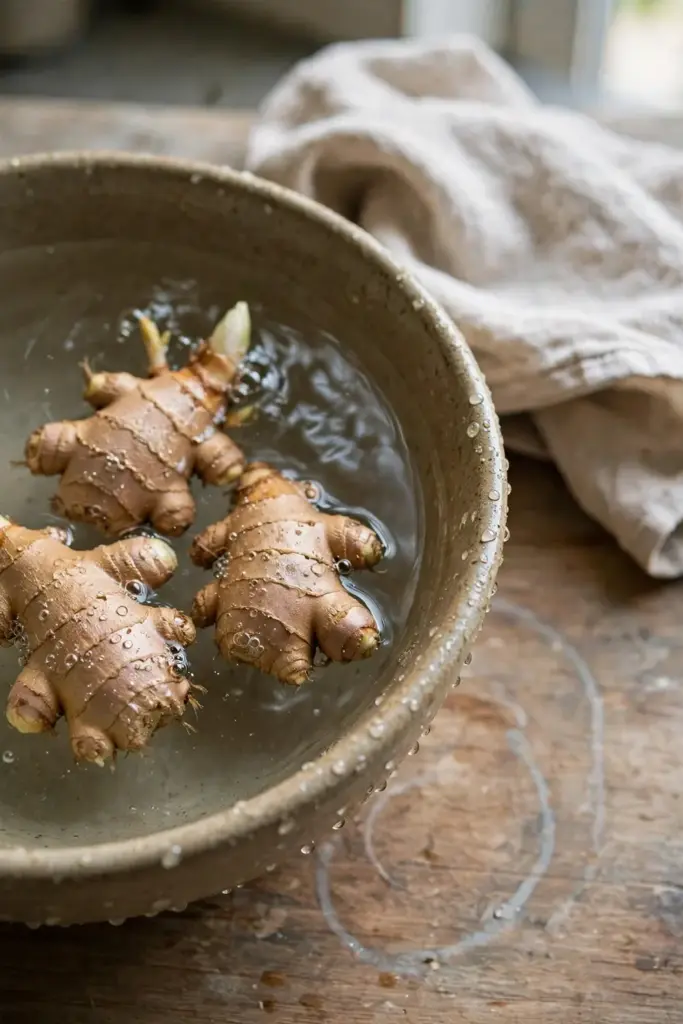
After soaking, lift the pieces out and let them air-dry for a few minutes before planting. Do not skip the earlier callus step and do not extend the soak for days: a waterlogged rhizome trades dormancy for rot. Some growers pre-sprout on a warm windowsill in damp compost for two to four weeks until green shoots show, then pot up only the pieces that sprouted. If you have limited pot space, that filter is worth the wait.
Step 3: Choose a Wide, Shallow Pot
Ginger rhizomes spread sideways near the soil surface, so the pot should be wider than it is deep. One to three pieces fit a 12-inch pot; a 15-inch planter holds more. Drainage holes are mandatory. Ginger tolerates neither standing water nor fully dry soil, and a pot without holes turns the bottom layer into a swamp. Terracotta breathes and dries faster, which suits ginger’s hatred of soggy feet; plastic holds moisture longer, which suits forgetful waterers.
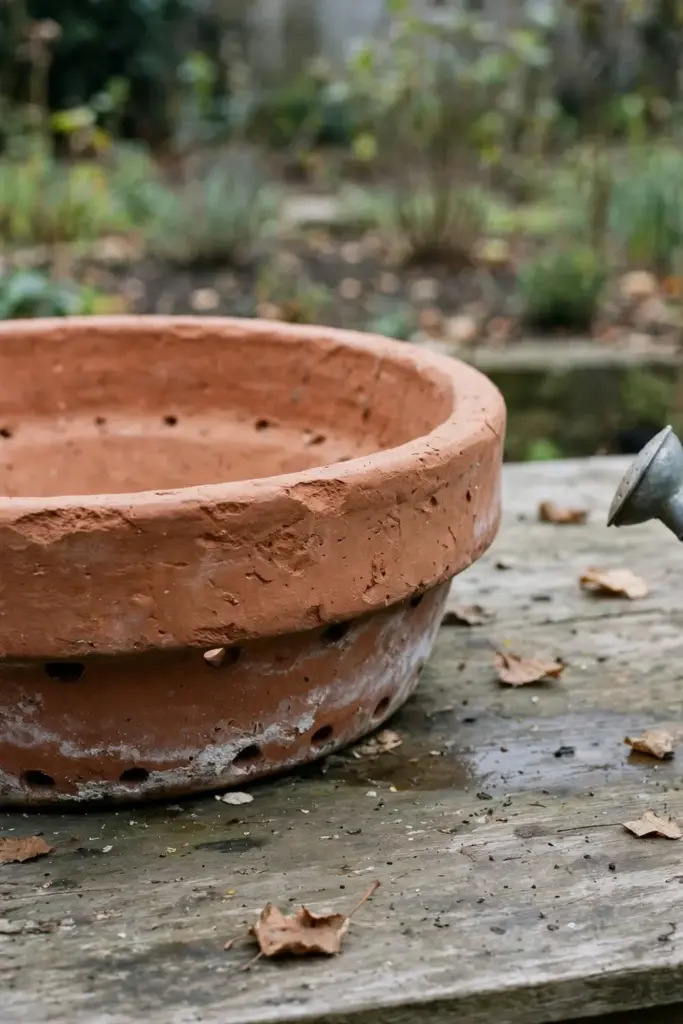
Set the pot where you can keep it warm through spring: an east or north-facing window, a bright corner, or on a heat mat. Ginger will spend its first months indoors in most of the country, and the pot is its home for the whole season unless you move it outside for summer. If you want the container to look as good as it grows, the fall planter ideas guide covers pot styling that works for edible plantings too.
Step 4: Mix a Loose, Rich Soil
Fill the pot with a light, free-draining mix: two parts good potting mix, one part coarse sand or perlite, and a handful of finished compost. The compost feeds the plant; the sand keeps the mix open so water runs through instead of pooling. Skip heavy garden soil entirely. It packs down, holds water, and rots rhizomes.
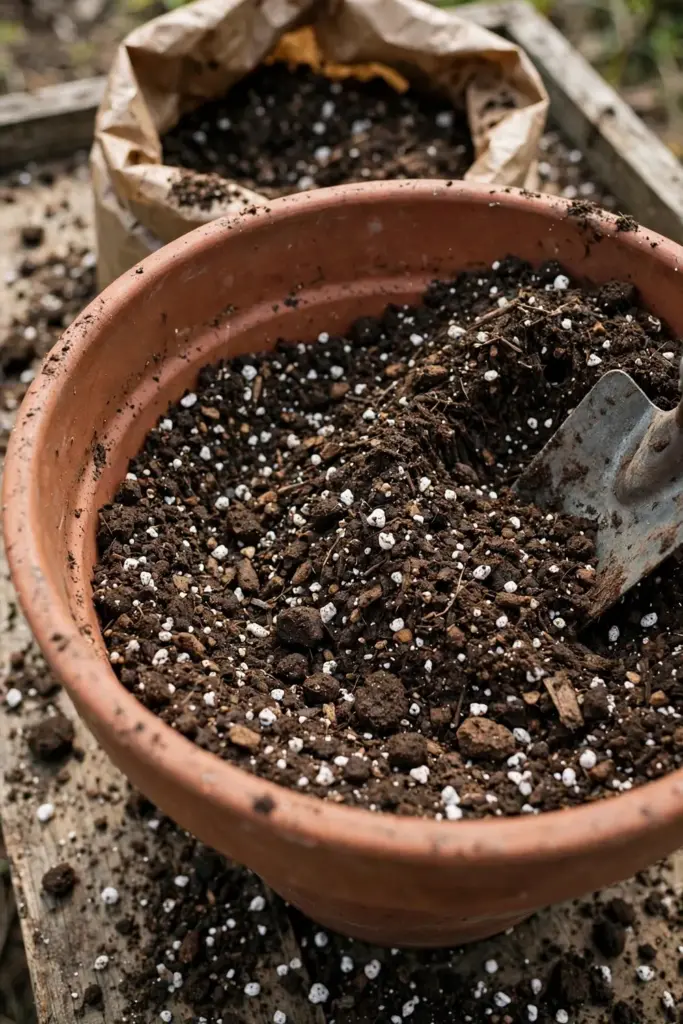
Ginger likes slightly acidic soil, pH 5.5 to 6.5, per Penn State Extension. Most bagged potting mixes already land in that range. If your tap water runs alkaline and leaves white crust on pot rims, a soil test before planting tells you whether amendments are needed. Good soil structure is the cheapest insurance this plant has, because nearly every ginger failure traces back to water management rather than nutrients. The soil health guide explains how living, well-structured soil protects roots from the rot that kills most indoor ginger attempts.
Step 5: Plant Eyes-Up, 1 to 2 Inches Deep
Set each piece on the soil with the eyes pointing up, then cover with 1 to 2 inches of mix. Space pieces about 6 inches apart. Planting deeper invites rot; the top of the rhizome should sit barely under the surface. Press the soil gently around each piece and give the pot a light watering to settle everything in.
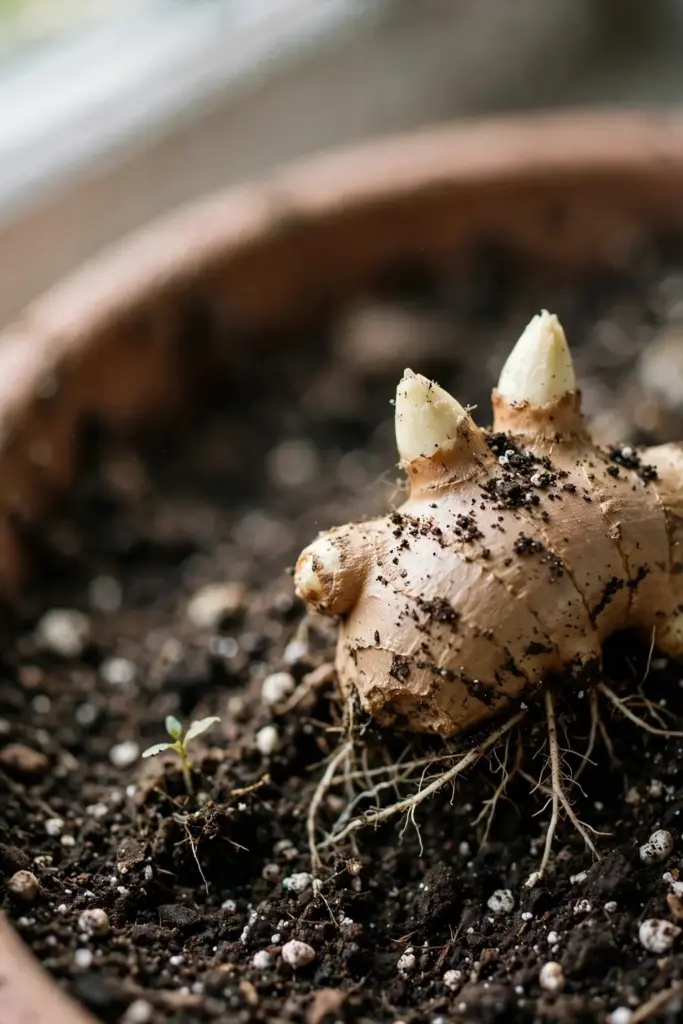
Label the pot with the planting date. Eight months from now you will be glad you know exactly when the clock started. Water once after planting, then wait: keep the mix barely moist until shoots appear, which takes two to four weeks at warm temperatures. Constant heavy watering before any roots exist is the fastest route to a rotted piece.
Step 6: Give It Warmth, Humidity, and Filtered Light
Heat is the lever that matters most. Ginger sprouts best at 75 to 85°F, so set the pot on a heat mat or keep it in the warmest room of the house. The Old Farmer’s Almanac puts ginger’s comfort range at 70 to 90°F with moisture, rich loamy soil, and a little dappled shade. Below 50°F the plant stalls and the rhizome can rot.
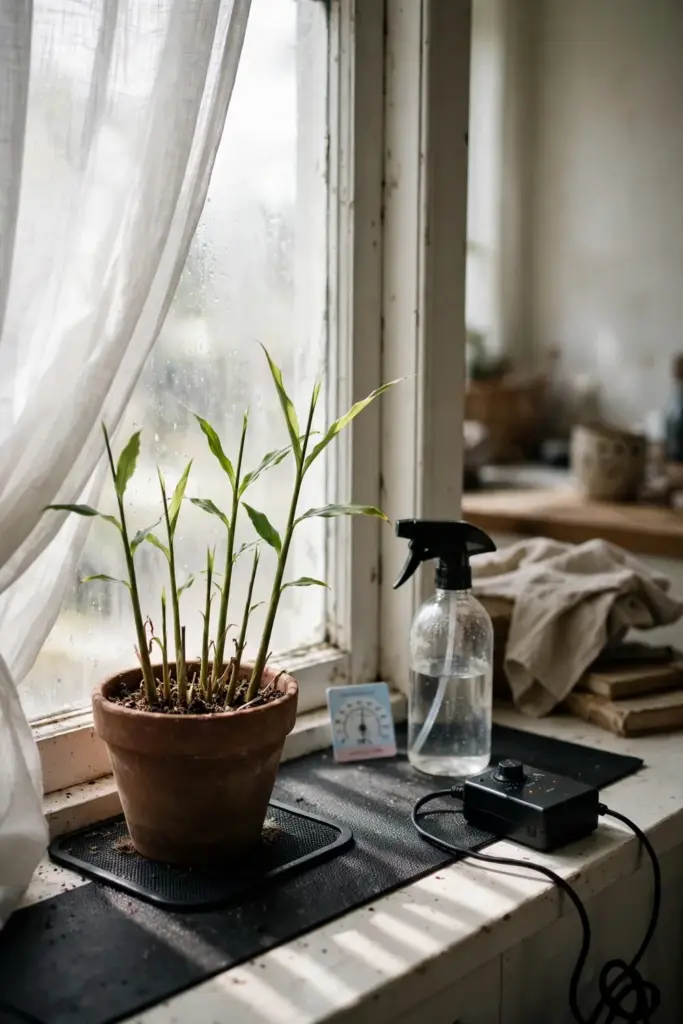
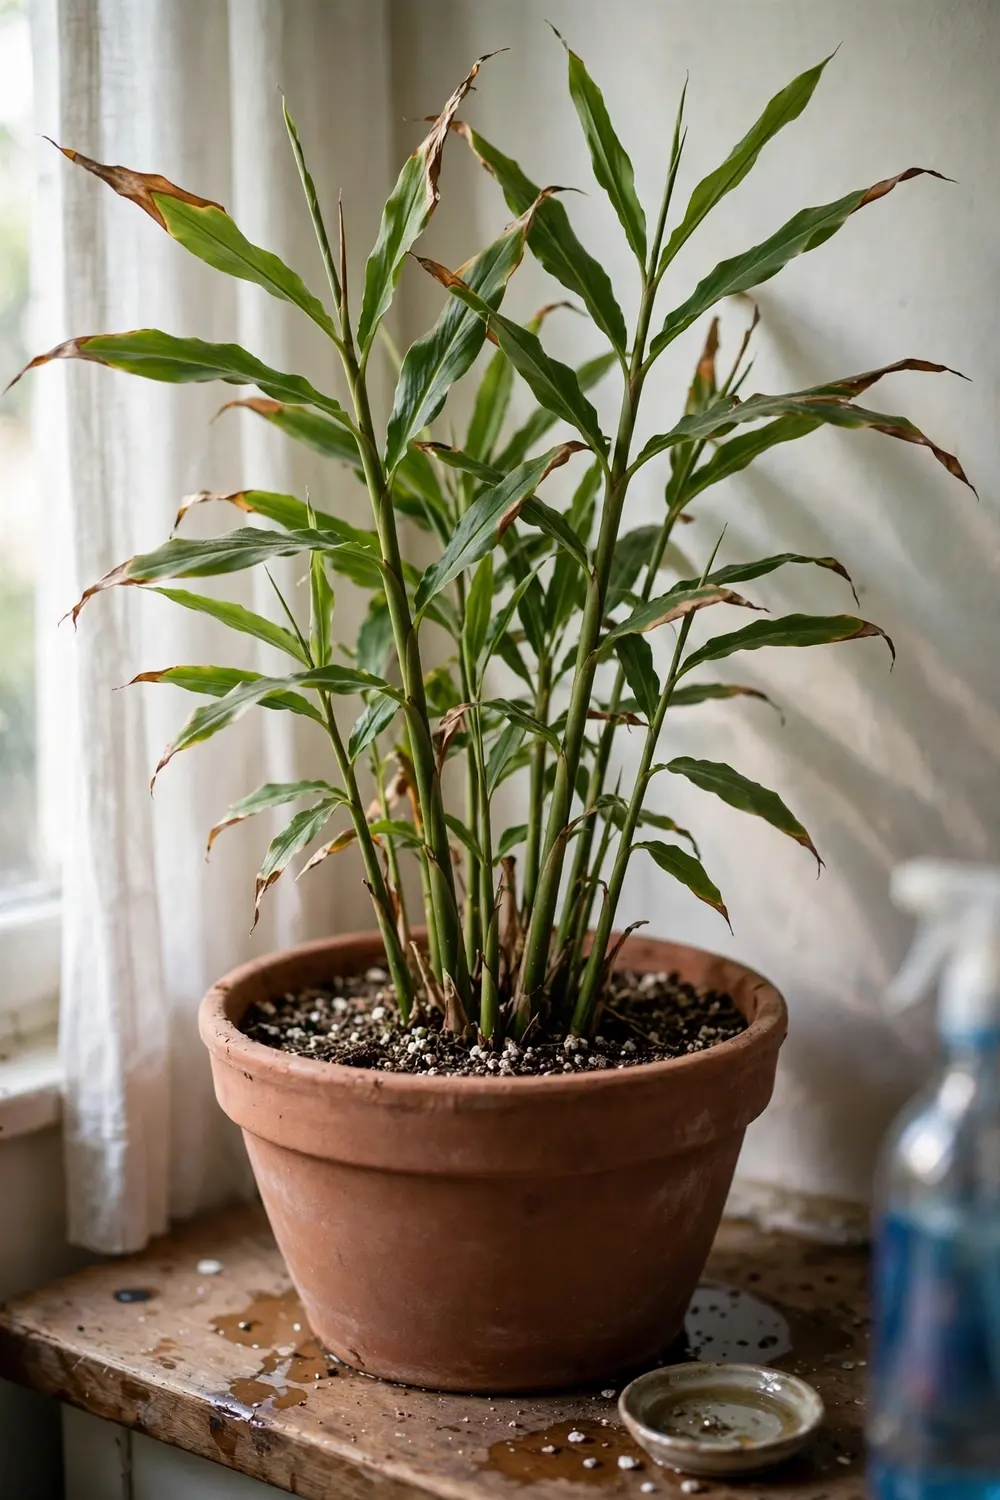
Give it bright indirect light: an east window or a shaded patio is ideal. Direct midday sun scorches the strappy leaves, and brown leaf tips are the plant’s way of saying it wants less light or more water. Ginger is an understory plant in the wild and never asked for full blast. Keep the humidity up with a spray bottle or a pebble tray; dry indoor air in heated rooms stresses new shoots. The indoor seed-starting routine covers the same warmth-and-moisture discipline that gets ginger eyes to break.
If your home runs cool, the heat mat earns its keep twice: it holds the 75 to 85°F sprouting zone during the day and buffers the night dip when the thermostat drops. Without bottom heat, a pot on a cold windowsill can sit 10 degrees cooler than the room air, which is often the entire difference between sprouting in three weeks and rotting in six. Once the shoots are up and the stems reach 6 to 8 inches, the plant tolerates normal room temperatures, but keep it away from cold drafts and air-conditioning vents through spring.
Step 7: Water Evenly and Feed Lightly
Once shoots appear, keep the soil evenly moist but never soggy. The finger test works: water when the top inch feels dry, and stop when water runs from the drainage holes. Ginger hates drying out completely, and it hates sitting in water just as much. As the plant grows through summer, it drinks more; in fall, ease off to encourage the rhizome to fatten up. The University of Georgia Extension advises watering less in the fall to push energy into rhizome growth.
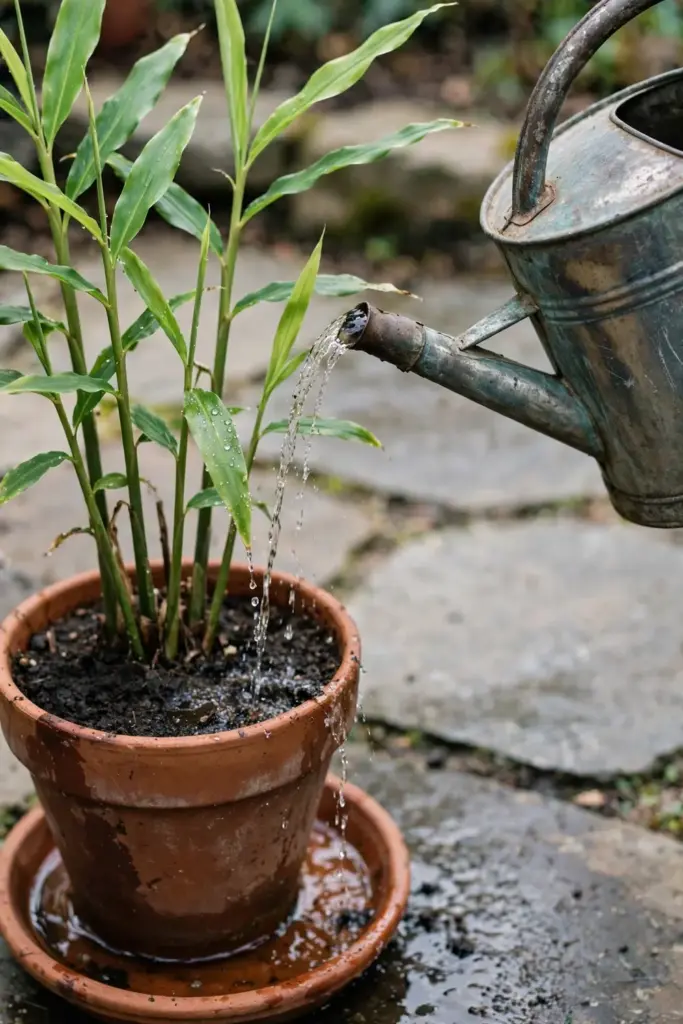
Feed monthly with a balanced fertilizer. Penn State Extension recommends a 5-5-5 blend, while the University of Florida Extension suggests about two ounces of 10-10-10 per rhizome at planting and a few more ounces every six weeks until harvest. Either schedule works for a pot grower: one light feeding a month through the growing season is plenty. Yellowing foliage usually means the plant is hungry; brown leaf tips usually mean it wants more water or less sun. Stop feeding in early fall. Late fertilizer pushes soft leaf growth when the plant should be shutting down and moving energy into the rhizome, which is exactly the wrong direction at harvest time.
Step 8: Move the Pot Outdoors in Summer (Optional)
If your summers are warm, move the pot outside once nights stay above 55°F. The Old Farmer’s Almanac advises planting out only when nighttime temperatures are reliably above that line, and starting indoors in late winter for a head start. Illinois Extension suggests waiting until daytime temperatures run a steady 70 to 80°F before the move.
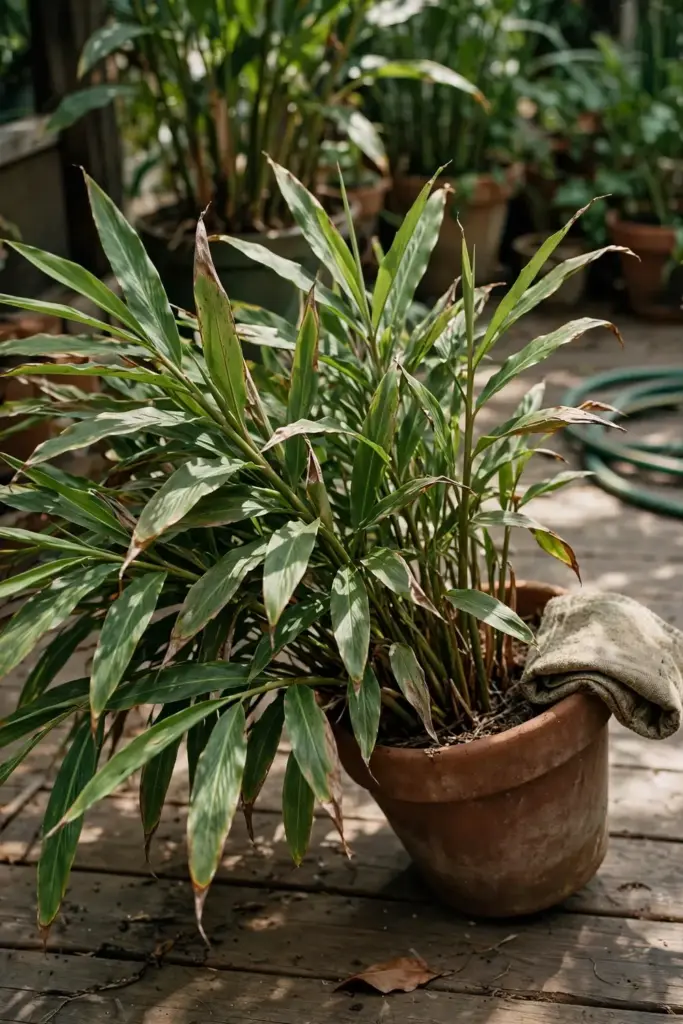
Harden the plant off first: a few days of morning sun and afternoon shade before full placement. A shaded patio or the dappled shade under a taller plant suits it best. Strong wind dries the leaves and can topple a tall pot, so pick a sheltered spot. Bring the pot back inside well before the first frost. In zones 8 and warmer it can winter outdoors under heavy mulch; everywhere else, the pot comes in.
Step 9: Harvest Baby Ginger at About 4 Months
You do not have to wait for maturity. After about four months of growth, you can reach into the soil and break off a section of young rhizome. Baby ginger has thin pinkish skin, pale flesh, and a mild, juicy bite. It bruises easily and will not store long, so harvest only what you will use. Illinois Extension notes that baby ginger lacks the tough outer skin of mature rhizomes and can be frozen for several months to enjoy later.
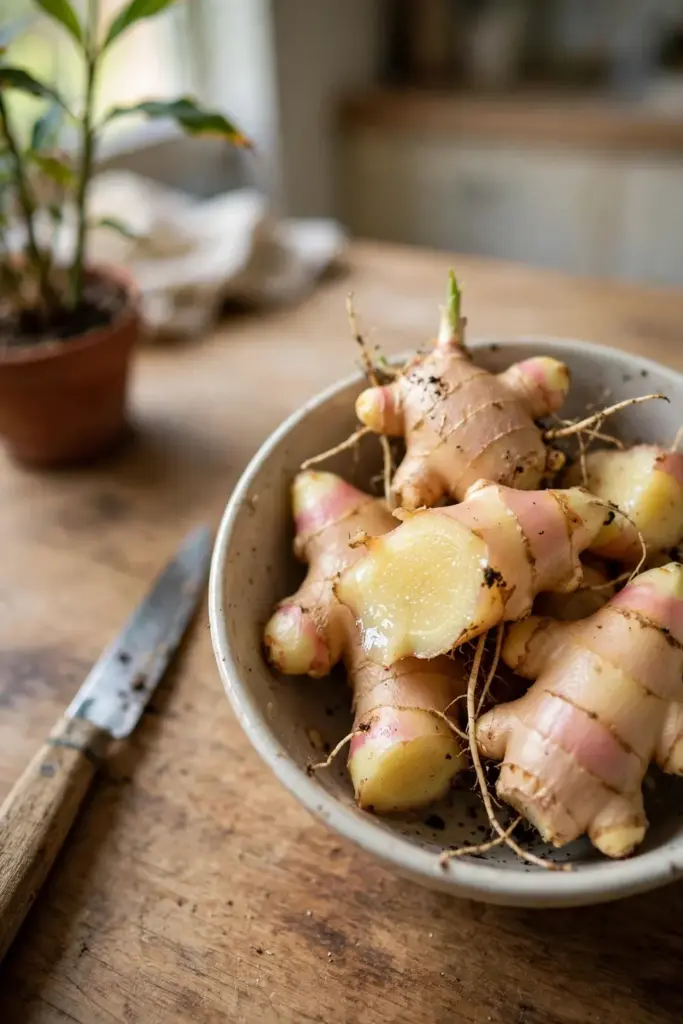
To harvest without disturbing the plant, push the soil aside near the edge of the pot, snap off a piece of the outer rhizome, and tuck the soil back. The plant keeps growing and the remaining rhizome keeps swelling. This staggered harvest is one of the real pleasures of growing your own: fresh ginger on demand, months before the main crop is ready.
Step 10: Harvest Mature Rhizomes at 8 to 10 Months
The main harvest comes when the foliage starts to yellow and die back, usually in fall. That is the plant’s signal that it has finished building rhizomes. The University of Georgia Extension puts mature harvest at about 8 to 10 months after planting; Florida Extension says at least nine months. Tip the pot on its side and ease the whole clump out, or dig around the edges if the plant is in the ground.
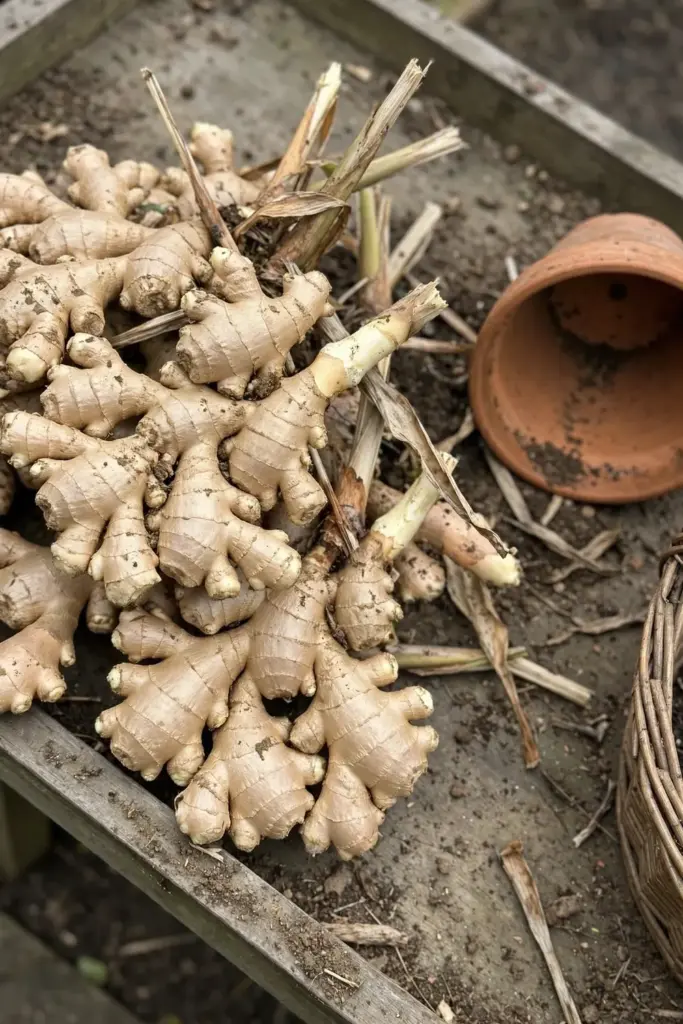
Brush off the loose soil and let the rhizomes air-dry in shade for two to three days. Do not wash them before storage: moisture invites mold. Homegrown ginger has thinner skin than store-bought, so peeling is optional. The trade is a shorter shelf life. Store what you will use soon in the refrigerator and freeze the rest in bags with no prep needed. For next year’s planting, set aside the plumpest pieces and store them in a brown paper bag in a cool, dry place. Never refrigerate seed rhizomes: cold damages the buds.
Step 11: Overwinter the Pot
In cold climates, ginger goes dormant for winter. Once the foliage dies back, stop watering and let the pot rest in a cool, dry spot. You can leave the rhizomes in their soil, as Penn State Extension suggests, or dig them up, clean them, and store them in a brown paper bag until spring. Either way, keep them cool and dry, and do not refrigerate them.
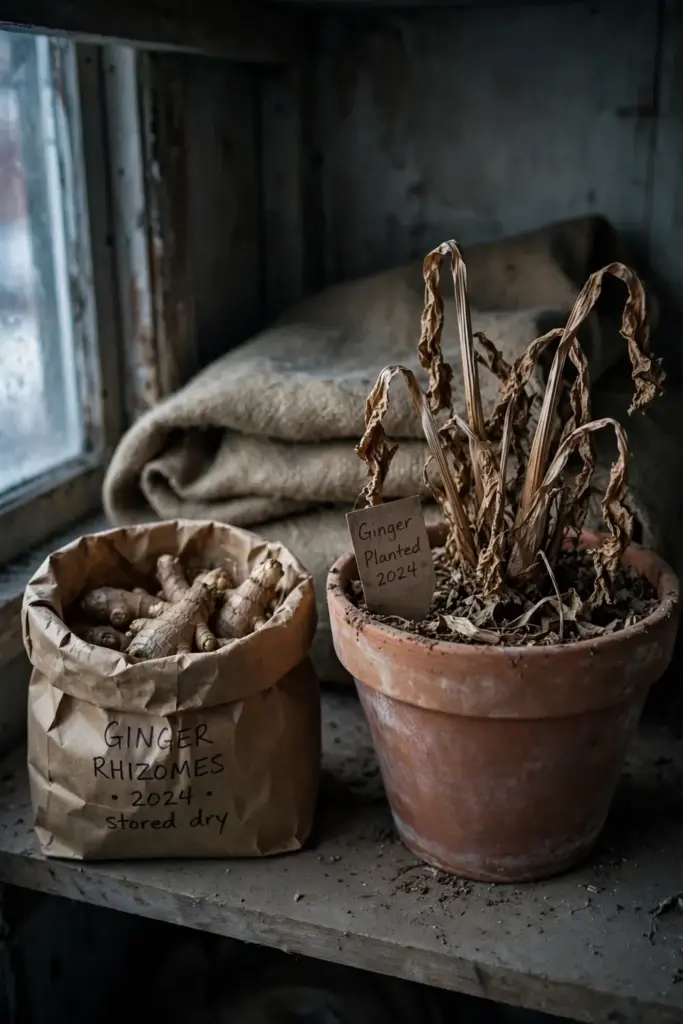
When warm weather returns, divide the stored rhizomes and start again from Step 1. One pot of ginger becomes two or three pots the following year, and the cycle repeats. A ginger grower who never buys another root is not being cheap; that is just how the plant works.
Ginger vs Galangal vs Turmeric: Growing, Not Cooking
The three rhizomes get confused in stores and kitchens, but they are different plants with different growing habits. This table compares them as growers, not as ingredients, so you plant the right one. The confusion is understandable: all three are knobby underground stems from the same family, and all three show up in the same produce bins. The growing differences matter more than the flavor ones. Galangal wants the heat and space of a half-barrel and an extra couple of months; turmeric wants the longest warm season of the three and a deeper dormancy. Ginger is the forgiving entry point, which is why it leads this guide. Master this one and the other two feel like variations on a theme you already know.
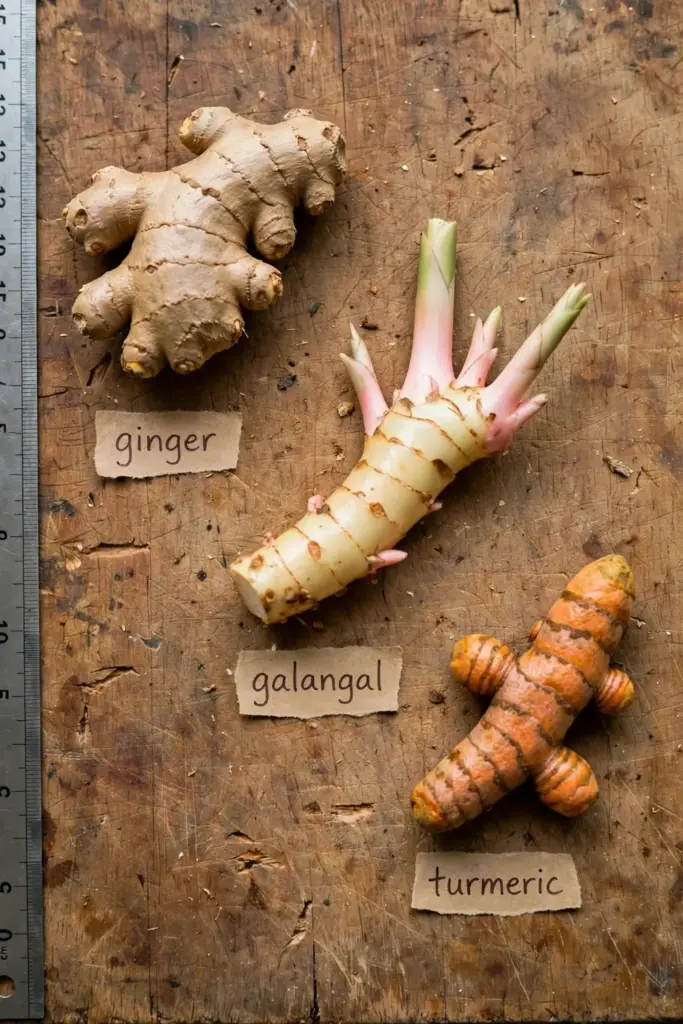
| Ginger (Zingiber officinale) | Galangal (Alpinia galanga) | Turmeric (Curcuma longa) | |
|---|---|---|---|
| Family | Zingiberaceae | Zingiberaceae | Zingiberaceae |
| Plant look | 2 to 3 ft, narrow strappy leaves | 5 to 6 ft, broad glossy leaves, much larger clump | 3 ft, broad paddle leaves, dies back fully |
| Cold tolerance | Dies back below 50°F; overwinter indoors | Tender; needs more heat than ginger | Tender; longer season than ginger |
| Days to harvest | 240 to 300 (8 to 10 months) | 10 to 12 months | 8 to 10 months |
| Pot size | 12 to 15 inches wide | Half-barrel or larger | 12 to 14 inches wide |
| Key growing difference | Easiest of the three; forgiving pot plant | Needs the most space and heat; slow to establish | Needs the longest warm season; dormancy deeper |
| What you harvest | Tan rhizome, thin skin | Pale, hard rhizome with pink shoots | Orange rhizome, must cure before use |
If you can grow ginger, you can grow turmeric the same way with a longer warm season. Galangal is the demanding cousin: bigger, hotter, slower. Buy your starting material from a reputable nursery or an organic produce section, and never plant decorative ornamental gingers, which are usually not edible.
Common Mistakes and How to Fix Them
Planting a treated supermarket root. Conventional ginger is often sprayed with a sprout inhibitor. If nothing emerges after six weeks in warm soil, the rhizome was likely the problem, not your care. Buy organic next time and soak for 24 hours.
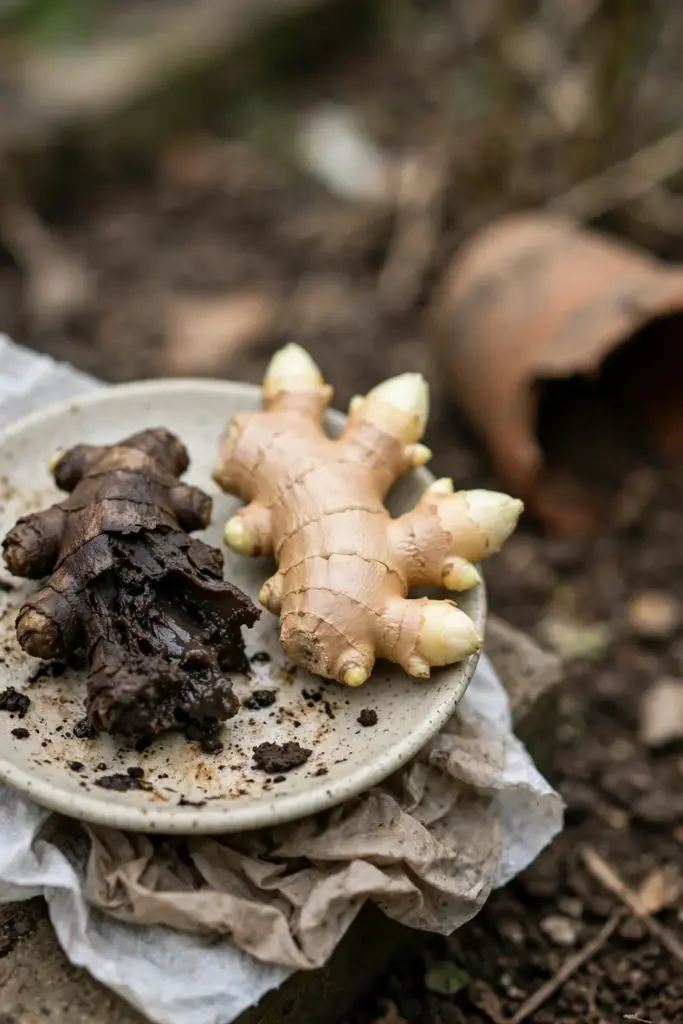
Burying the piece too deep. Rhizomes planted 3 or 4 inches down rot before they sprout. Keep the top barely covered, 1 to 2 inches of soil over the eyes.
Watering before shoots appear. A dormant piece in soggy soil is a rotting piece. Keep the mix barely moist until you see green, then water normally.
Cold soil. Ginger stalls below 60°F and rots below 50°F, so use a heat mat or wait until the room is genuinely warm. Starting in February in a cold house without bottom heat is the classic failure, and no amount of watering fixes it.
A narrow, deep pot. Ginger spreads sideways. A tall skinny pot wastes space and holds too much wet soil below the rhizome zone. Go wide and shallow.
Full midday sun. The leaves scorch. Bright indirect light or dappled shade keeps the plant happy.
Harvesting everything at once. Leave some rhizome in the pot and it keeps growing. Harvest the edges, let the center continue.
Troubleshooting Ginger Problems
No sprouts after a month. Check the temperature first. If the pot sits below 70°F, move it onto a heat mat or into a warmer room. Dig up a piece and inspect it: firm with pale buds means it is alive but slow; soft and mushy means rot, and you should start over with a fresh organic piece.
Shoots appear, then collapse. Damping off, usually from wet soil and poor air flow. Let the top inch dry between waterings and make sure the pot drains freely. Remove the collapsed shoot at the base.
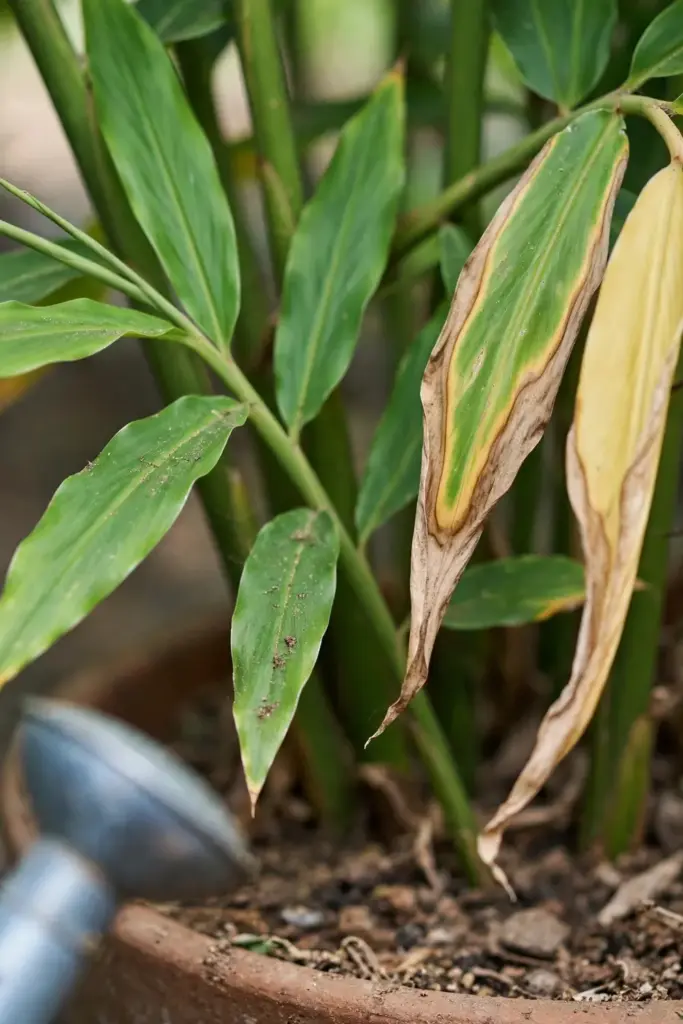
Leaves yellowing in summer. The plant is hungry or the soil stays too wet. Feed with a balanced fertilizer and check drainage. Some yellowing in fall is normal: that is the harvest signal.
Brown leaf tips. Too much sun or not enough water. Move the pot into filtered light and water more consistently.
Tiny flies around the pot. Fungus gnats, a sign the surface stays too wet. Let the top inch dry out between waterings and remove fallen leaf bits from the soil surface.
Rhizomes are small at harvest. The season was too short or too cool. Start earlier next year, keep the pot warmer, and feed monthly. Baby ginger is still a fine harvest; call it a win and adjust.
Frequently Asked Questions
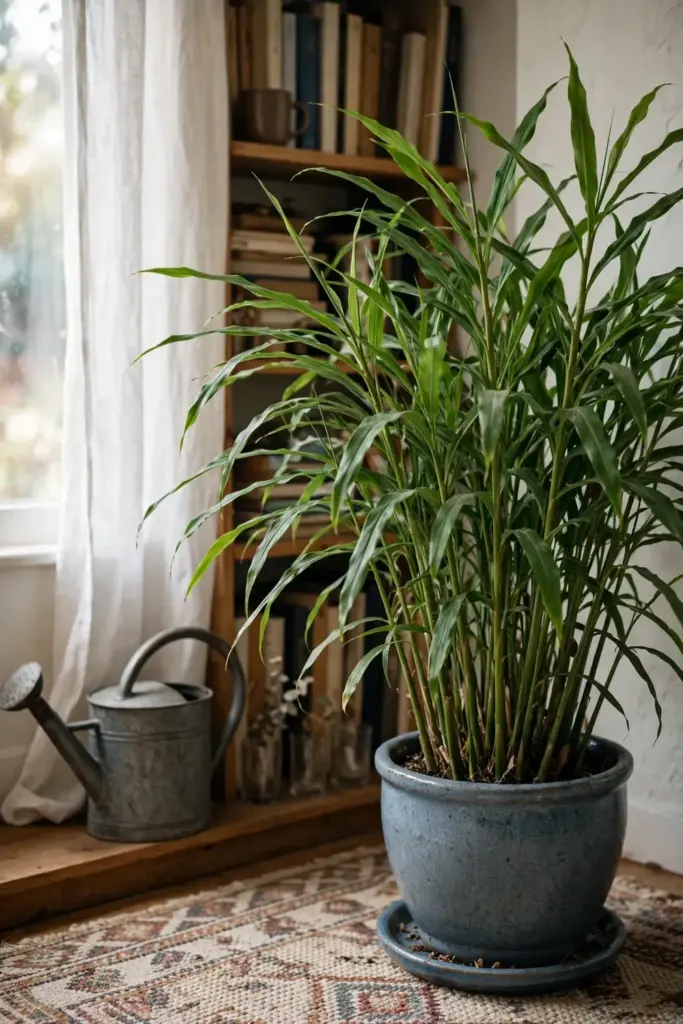
Yes, if you pick the right piece. Choose organic when possible, because conventional ginger is often treated with a sprout inhibitor that stops buds from growing. Look for plump, firm rhizomes with visible eyes, cut into 1 to 2 inch pieces, callus for a day or two, and soak for 24 hours before planting.
Expect about 8 to 10 months from planting to a mature harvest, which is why indoor growers start in February or March. You can steal baby ginger much earlier: after about four months, break off young sections from the edge of the pot. The plant keeps growing and the remaining rhizome keeps swelling.
The three usual causes are a treated rhizome, cold soil, or rot from overwatering. Supermarket ginger sprayed with inhibitor may never sprout no matter what you do. Soil below 70°F stalls buds, and a soaked dormant piece rots. Fix it with an organic rhizome, a heat mat holding 75 to 85°F, and barely moist soil until shoots appear.
Only in warm climates, roughly zone 8 and up, and then only with heavy mulch. Everywhere else, bring the pot inside before the first frost. The plant goes dormant, loses its leaves, and rests through winter. Store the rhizomes in their pot in a cool, dry spot, or dig them up into a brown paper bag, and replant in spring.
Baby ginger is harvested after about four months: thin pinkish skin, pale juicy flesh, mild flavor, and it bruises easily, so it stores poorly. Mature ginger, harvested at 8 to 10 months after the foliage dies back, has firmer tan skin and stronger flavor and keeps for weeks. Both come from the same plant at different times.
Usually not, and you should not assume it is. Nursery plants sold as ornamental gingers belong to different species grown for flowers, and their rhizomes are not food. Grow only Zingiber officinale for eating. If you bought a ginger plant without a species label, enjoy the flowers and buy a labeled rhizome for the pot.
Where to Go From Here
Start one pot this February and you will learn more in a season than any guide can teach. The method scales: two pots this year, a summer patio row the next. Once you know how to grow ginger indoors, the same wide-shallow-pot logic suits turmeric, and the disambiguation table above tells you what changes. If you later want to try ginger in the ground outdoors, the complete ginger growing guide covers the garden-bed method. For your next herb project, the fall herbs to plant guide maps out companions that share ginger’s calendar. Ginger rewards the patient grower with the freshest rhizomes you will ever taste, dug up steps from your kitchen.