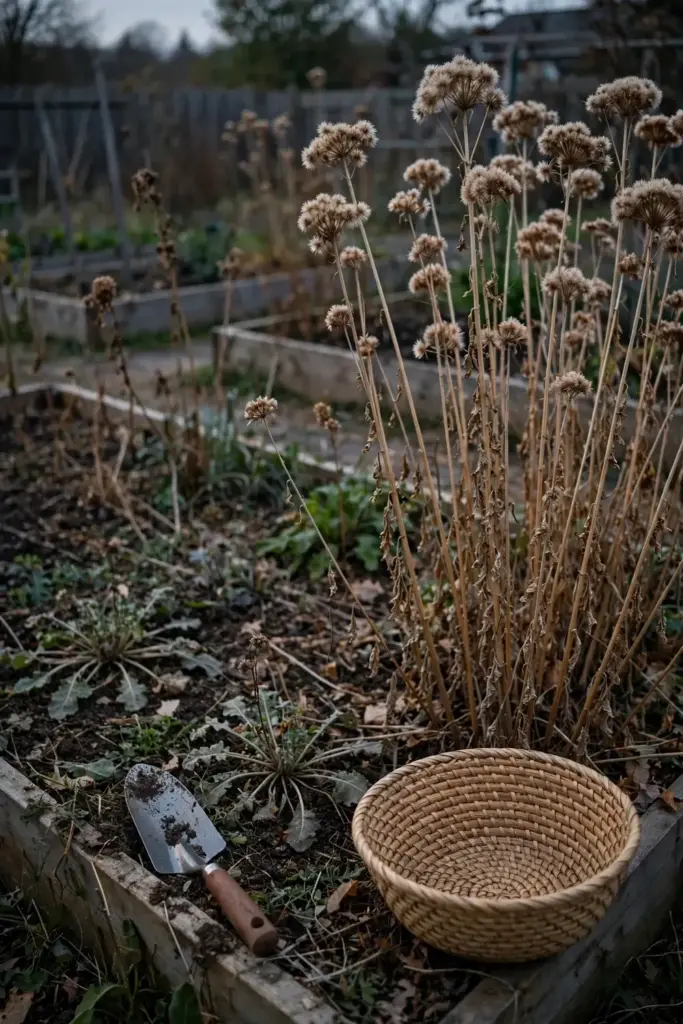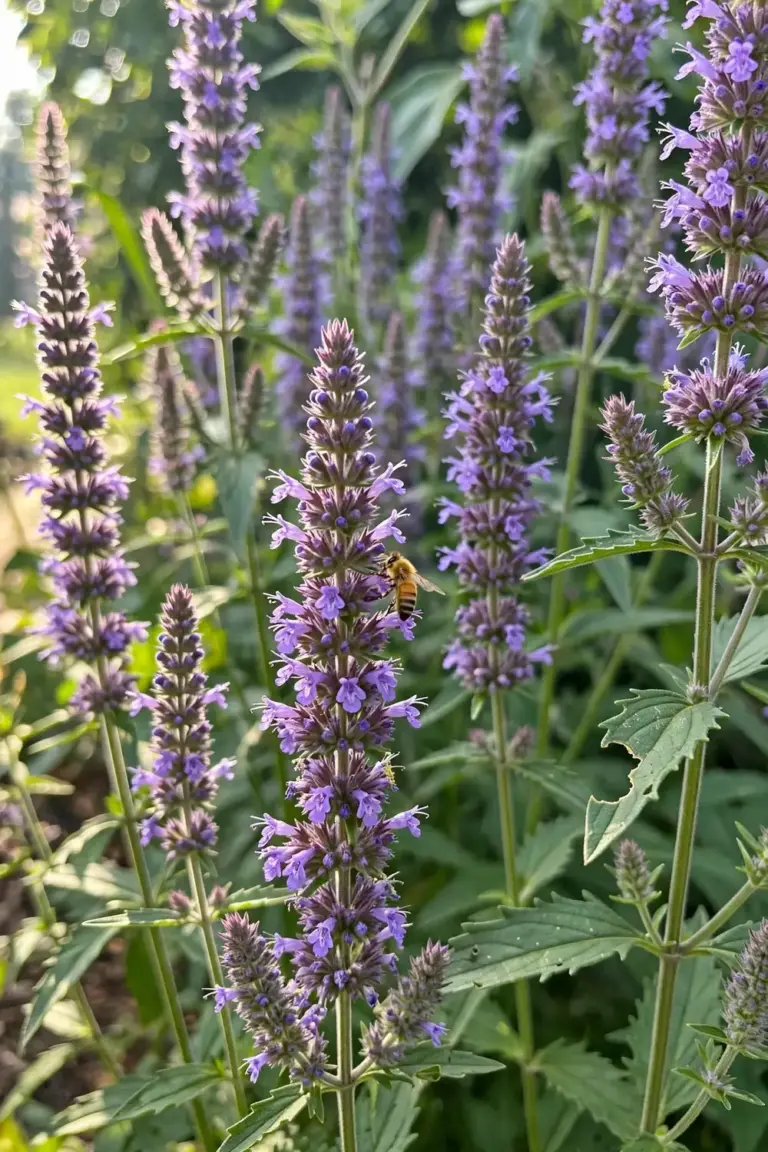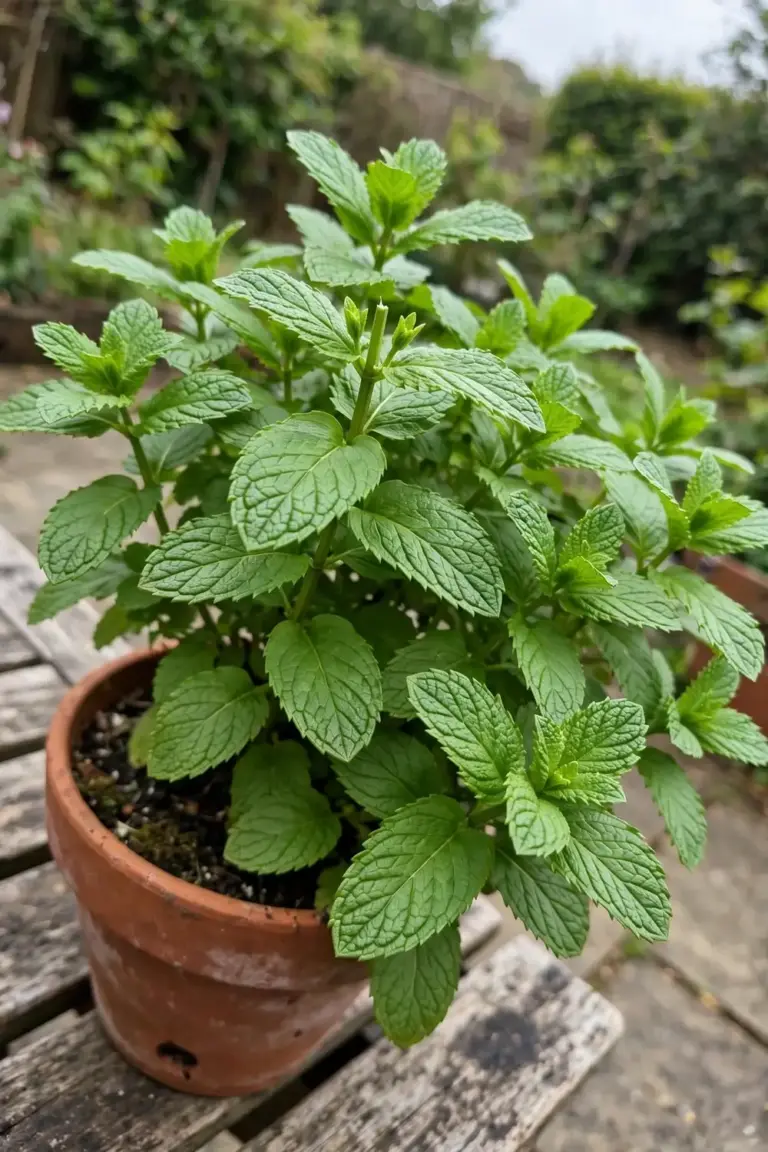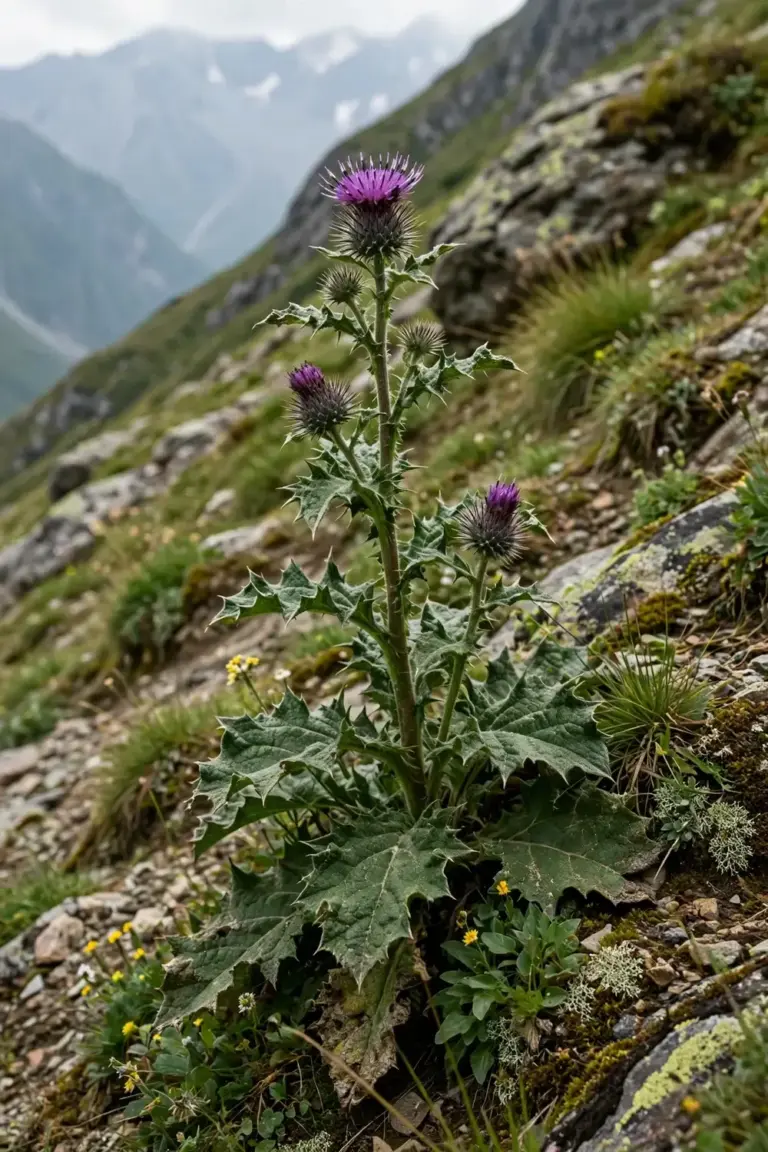

Three years. That is the honest headline of pushkarmool: you plant root cuttings in late autumn, wait through two full summers, and dig thick, sweet-smelling roots in the third autumn. It is a long game, and it is the only honest way to frame Inula racemosa, the Himalayan root crop that Ayurvedic texts know as Pushkarmool. If you want a plant that rewards patience with something you cannot buy fresh at any market, this is one of the few worth it.
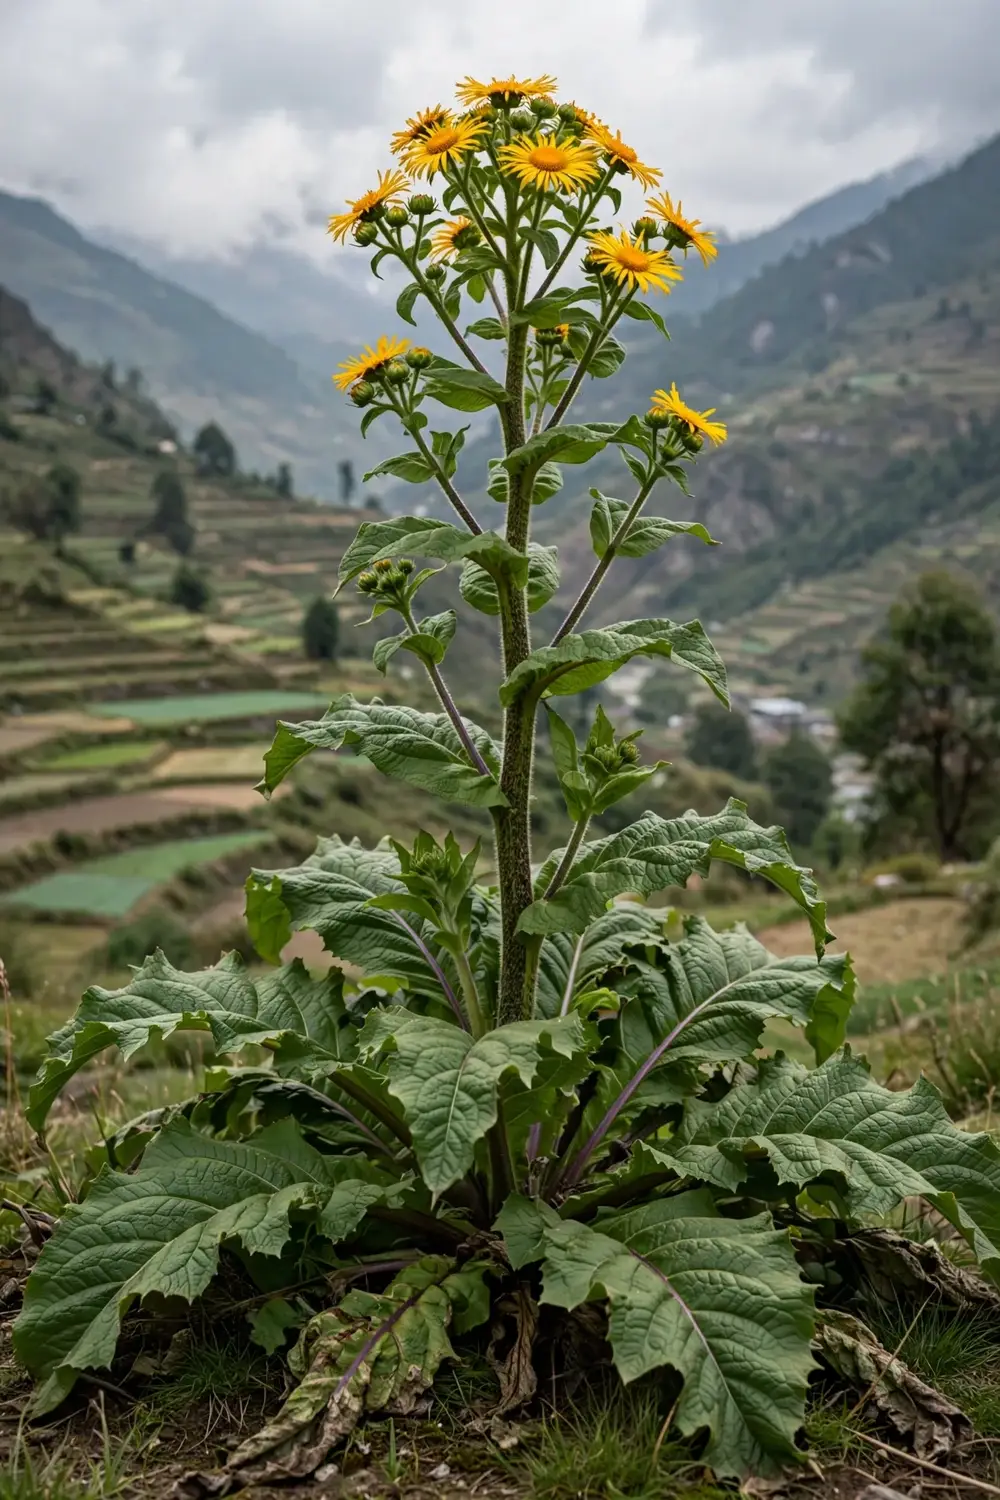
Pushkarmool grows wild in the western Himalayas, from Kashmir to Nepal, at elevations between 1,500 and 4,200 meters. It is a stout perennial that reaches about 2.5 meters tall, with giant basal leaves and yellow daisy-like flowers arranged in racemes. The root is fusiform, 20 to 25 centimeters long and 5 centimeters across, sweet and camphoraceous in odor, bitter in taste. Everything about this plant is built for cold mountain summers and long snowbound winters, which is exactly why the climate question decides whether you can grow it before anything else does. If your climate delivers real winter chill and moderate summers, you can grow pushkarmool at home, even far from the Himalayas. If your winters never drop below freezing and your summers stay hot and humid, this guide explains why you should grow something else instead of fighting nature for three years.
The second thing to know is that cuttings beat seeds for this plant. Pushkarmool sets seed poorly because of high sterility, and the seed that does form carries deep physiological dormancy. The proven method, documented in the Lahaul case study from Keylong in Himachal Pradesh, uses root cuttings planted in October or May in deep small pits fed with farmyard manure. Sprouts emerge about six weeks later on snowmelt moisture, and the plant flowers in its third year. If you are starting from seed instead, plan on 60 days of cold moist stratification and surface sowing, since the seeds need light to germinate. The standard seed-starting routine works for the mechanics, with one Himalayan modification: keep the chill phase long and real. This is the honest version of how to grow pushkarmool from India, and everything that follows bends toward three-year roots.
1. Pushkarmool Reality Check: Who Can Grow It
Growing pushkarmool from India begins with a climate question, not a seed packet. This is a plant of cold deserts, riverbanks, grasslands, and field borders in the western Himalayas, fully hardy to freezing winters and comfortable in the 18 to 25 degree Celsius range for germination. It wants moist, slightly acidic, humus-rich soil, summer moisture at the roots, and a winter that actually gets cold. Gardeners in the Himalayan foothills, cold-climate hill stations, and temperate zones can grow it as a true perennial. Gardeners in hot lowland plains cannot give it what it needs, and the plant will tell you within one summer.
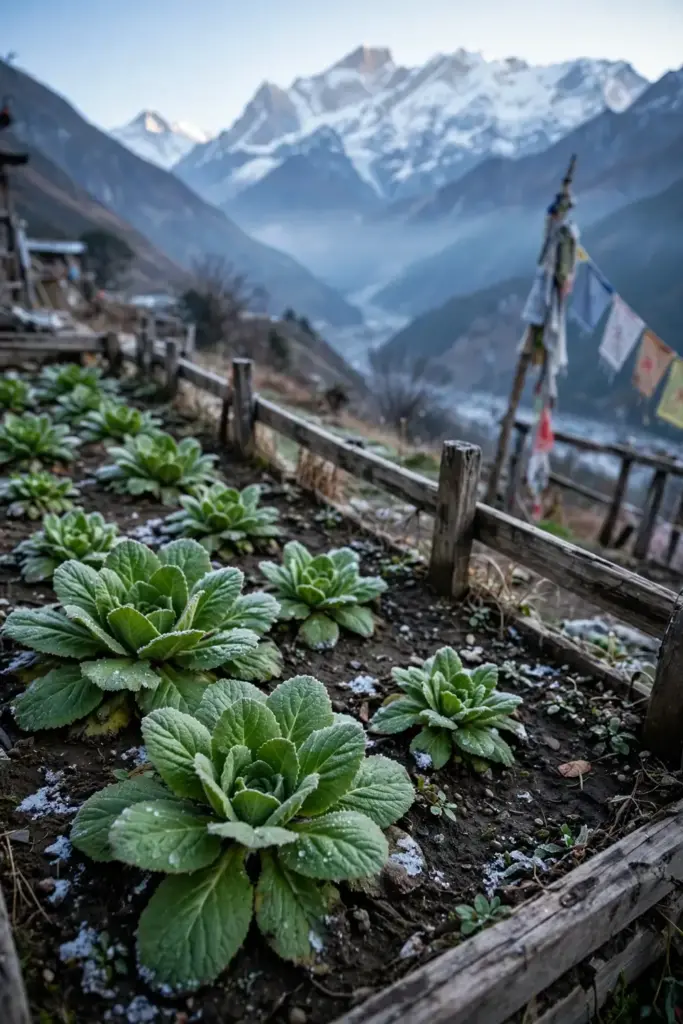
The minimum garden profile looks like this: winters with real chill (freezing or near it), summers that stay below about 35 degrees Celsius, and soil that holds moisture without waterlogging. If you live in a hot plains climate, the honest move is to enjoy pushkarmool as a trade product rather than a garden project. If you live anywhere with winters like a hill station, from the Kumaon hills to temperate gardens worldwide, this plant is realistic and rewarding.
Time is the other gate. Three years from planting to root harvest is the documented figure from the Lahaul cultivation study, with seed-grown plants taking a year longer. This is not a crop you rotate annually. It is a crop you plant once, tend for two seasons of foliage, and harvest in the third autumn when the flower heads start to dry.
2. Know Your Species: The Elecampane Mix-Up Fixed
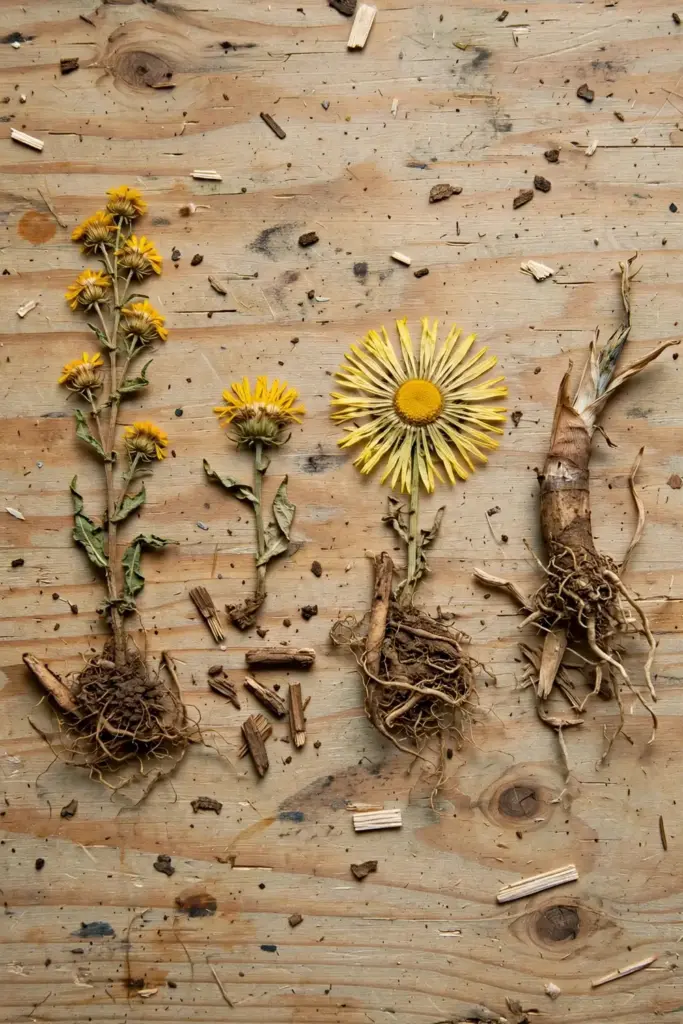
Buying or sowing the wrong Inula is the most common failure in this lane, and the market makes it easy. Pushkarmool is Inula racemosa Hook.f., Indian elecampane, a western Himalayan species. It is routinely confused with three other plants, and one of them is not even an Inula. The differences matter because only I. racemosa carries the specific lactone profile the classical record describes.
| Trait | Pushkarmool (I. racemosa) | European Elecampane (I. helenium) | Giant Fleabane (I. magnifica) | Orris Root (Iris germanica) |
|---|---|---|---|---|
| Native range | Western Himalayas: Kashmir, Afghanistan, Nepal, Xinjiang | Europe | Caucasus, ornamental gardens | Mediterranean (completely different family) |
| Habit | Tall stout perennial, 1.5 to 2.5 m | Smaller perennial | Very tall ornamental | Rhizomatous iris |
| Root character | Fusiform, camphoraceous, bitter | Different lactone profile | Least root mass, least medicinal history | Violet-scented rhizome |
| Why it is confused | Name overlap | Western herbalism uses the same common name | Sold as a giant Inula | Some sources conflate them outright |
| Verdict for this article | The plant you want | Substituting alters efficacy | Not a substitute | Not even a relative |
The naming geography is the root of the confusion. In Western herbalism, “elecampane” means Inula helenium, a smaller European species with a different chemistry. Substituting I. helenium for pushkarmool changes the product, and classical sources treat them as distinct. Inula magnifica is a garden ornamental with the least root mass of the three. Orris root is an iris, and the conflation appears in some commercial sources, so fence it out by name when you buy. When you order, demand the Latin name Inula racemosa on the label, not just “elecampane”.
3. The Root Is the Prize
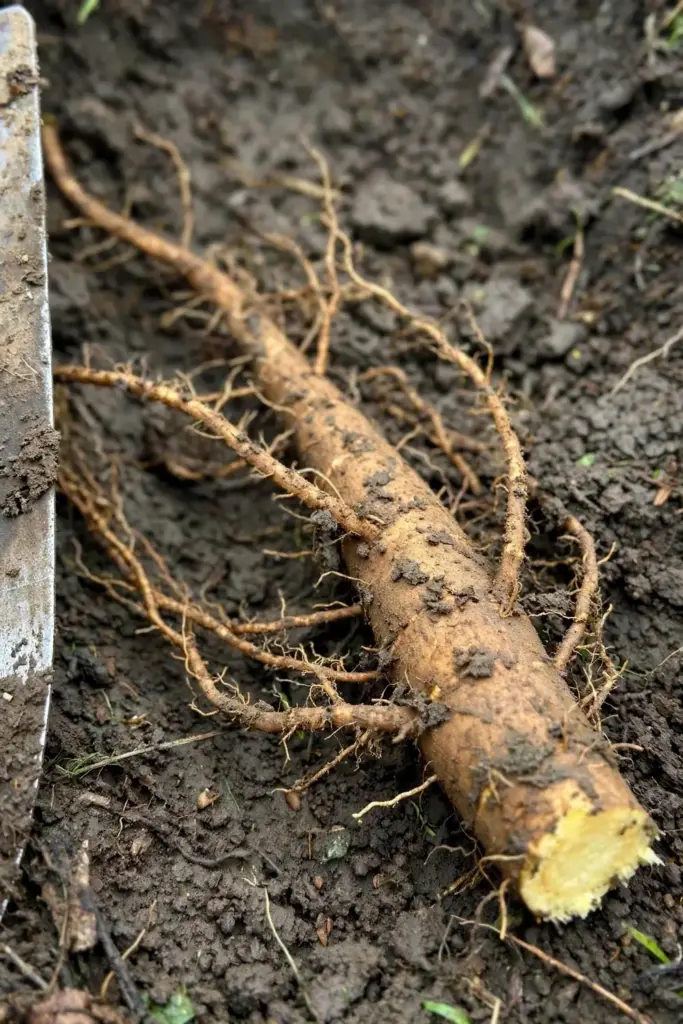
Pushkarmool is a root crop in every sense. The leaves are enormous and handsome, and the yellow racemes attract bees, but nobody grows this plant for the flowers. The commercial product is the dried fusiform root, sweet and camphoraceous, bitter on the tongue, carrying sesquiterpene lactones dominated by alantolactone at roughly 59 to 64 percent and isoalantolactone at 31 to 35 percent of the essential oil fraction, per the 2025 western Himalayan field trial. Total essential oil content is modest, around 0.04 percent of field material per the published trial, which is why cultivation focuses on root mass rather than oil extraction.
This single fact should drive every decision you make about spacing, feeding, and patience. Dense spacing shrinks roots. Nitrogen-heavy feeding grows leaves instead of roots. Harvesting early gives you thin roots with the wrong texture. The whole game is thick, clean, dry roots at the end of year three.
4. Cuttings vs Seeds: Choose Your Starting Line
The method comparison for pushkarmool is settled by biology, not preference. Seed set in cultivated plants is poor because of high sterility, and viable seed carries deep physiological dormancy that demands either 60 days of cold moist stratification or GA3 treatment. Root cuttings skip both problems: they root reliably, grow faster, and stay true to the parent plant.
| Option | Time to harvest | Cost | Verdict |
|---|---|---|---|
| Root cuttings (collar portion) | 3 years | Moderate (source plants or cuttings) | Best for almost everyone |
| Stratified seed | 3 to 4 years | Cheap (packets around $4.50) | Works; add a year |
| Unstratified seed | Data not available | Cheap | Do not bother |
If you can source cuttings or a mother plant, use them. If you can only get seed, buy fresh, stratify properly, and accept the extra year. Never sow seed straight from the packet into soil and hope; dormancy is physiological, not mechanical, and light is required for germination.
5. Planting Root Cuttings: Step by Step
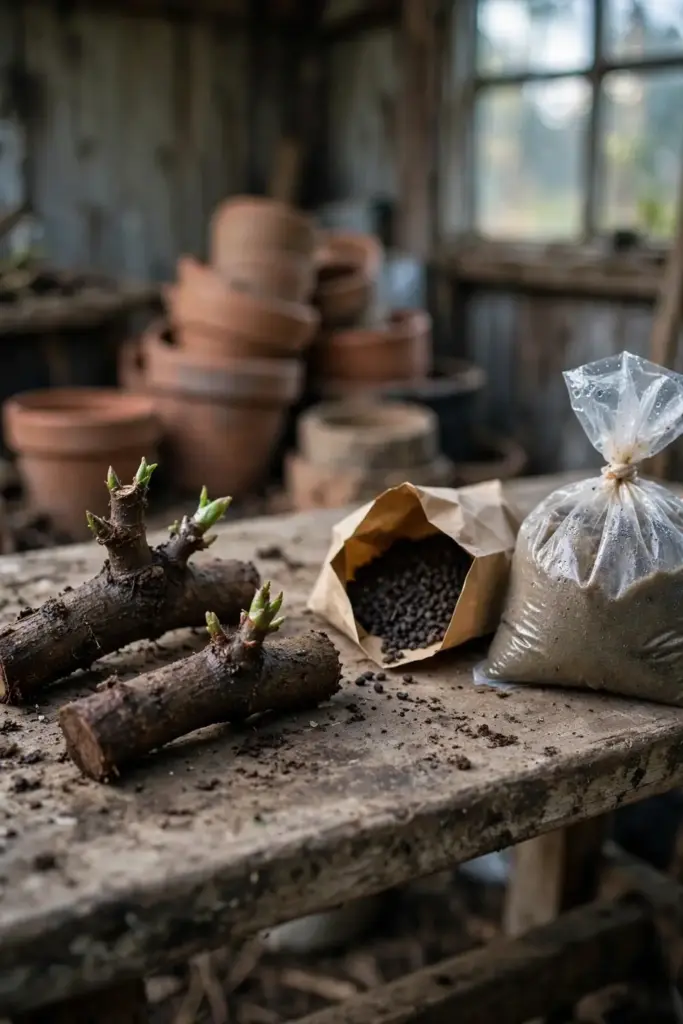
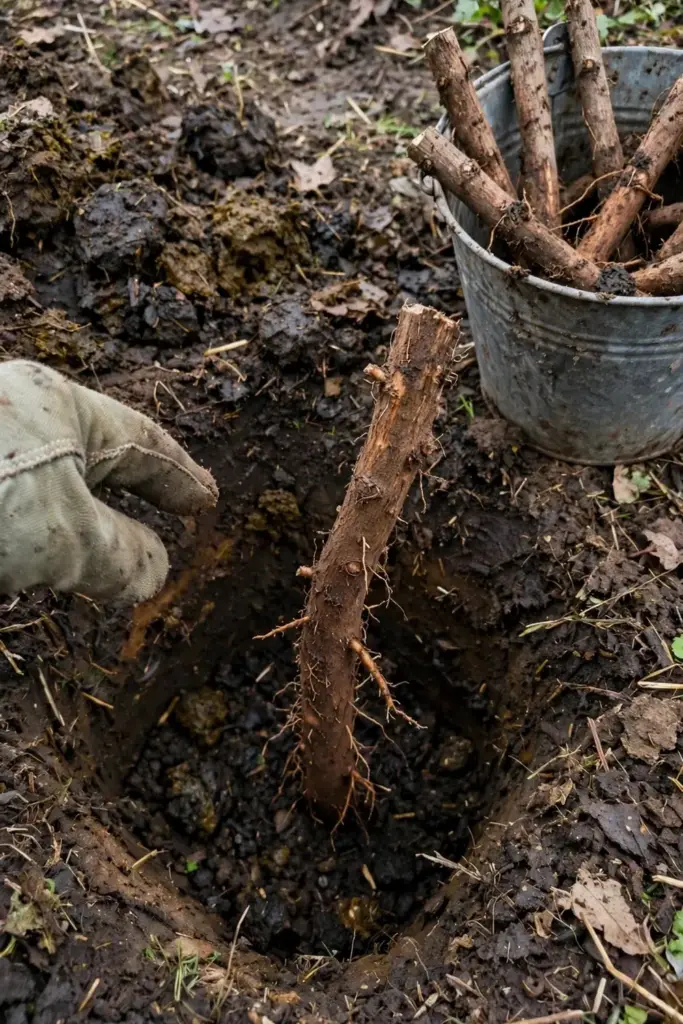
The Lahaul method is the backbone here. Farmers in Keylong plant the collar portion of the root, the strongest section, in late autumn (October) or early spring (May). Use deep small pits rather than shallow trenches, and feed each pit generously with farmyard manure or sheep and goat droppings. Sprouts emerge about six weeks later, driven by snowmelt moisture. Autumn timing matters as much here as in any fall planting calendar, since the cutting must settle before hard cold.
| Step | Action | Time |
|---|---|---|
| 1 | Choose firm collar-portion cuttings with visible buds, 8 to 12 cm long | Planting day |
| 2 | Dig deep small pits, 30 cm apart in the row | Planting day |
| 3 | Mix liberal farmyard manure or well-rotted animal droppings into each pit | Planting day |
| 4 | Set the cutting upright with the bud just below the surface, firm the soil | Planting day |
| 5 | Water gently and mulch lightly; do not flood the pit | Planting day |
| 6 | Watch for sprouts | About 6 weeks, after snowmelt |
Planting geometry matters for root mass. The 2025 BMC Plant Biology trial found that 30 by 45 cm spacing outperformed tighter and wider geometries for dry root yield, so give each plant room. Crowding is the amateur mistake that turns a three-year project into a three-year disappointment.
6. From Seed: Breaking the Dormancy Code
Seed propagation works, but only if you respect the dormancy. Pushkarmool seeds show physiological dormancy and require light for germination; burying them is the classic way to get zero sprouts. The research consensus points to three routes: cold moist stratification for 60 days or more, GA3 treatment for the impatient, or dry storage for 12 months or longer, which ages the dormancy out naturally.
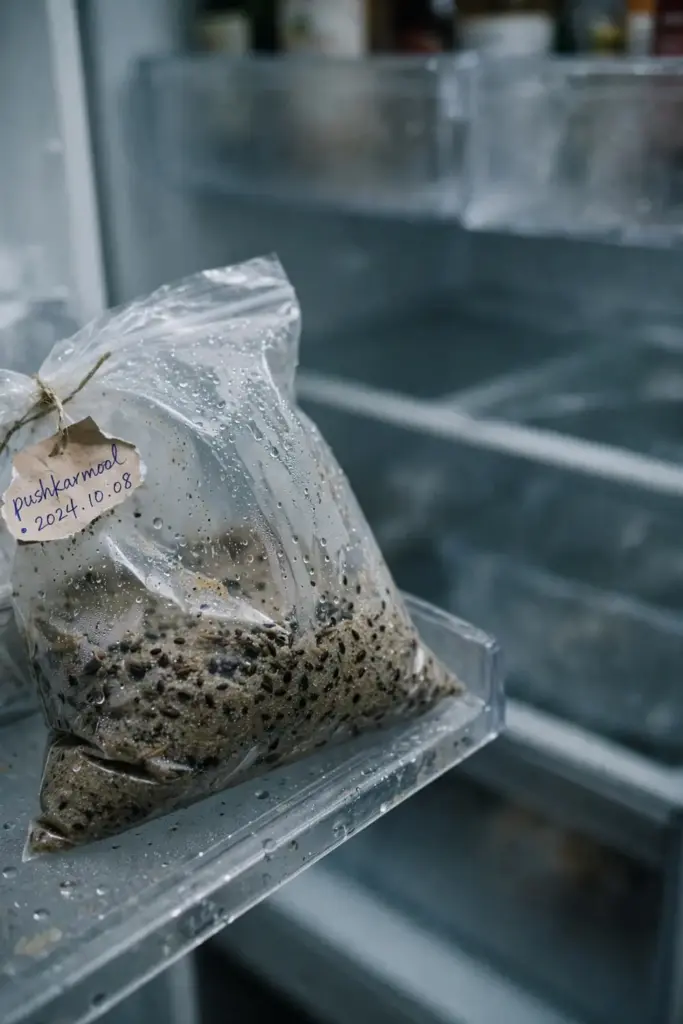
The practical protocol runs like this. Mix seed with damp sand in a sealed bag and refrigerate for 60 days, checking monthly for mold. Sow in June when temperatures sit near 25 degrees Celsius, which produced the maximum germination in published studies, with sprouts appearing about 13 days after incubation at that temperature. Press the seed onto the surface of the mix and do not cover it. Keep the surface moist under bright light, not darkness. In-vitro work reached 100 percent germination in 13 days at 25 degrees under continuous light, which confirms that light and warmth are the two levers that matter most.
Expect variable results. Wild-collected seed germinates worse than garden-fresh seed, and viability fades in storage. Sow generously, then thin to the strongest. Also deadhead the flowers you do not need for seed, because this plant self-sows enthusiastically and will spread itself around your garden if you let it.
7. The Lahaul Case Study and the 30 by 45 cm Rule
The Keylong, Lahaul and Spiti case study is the closest thing this crop has to a commercial cultivation manual, and it reads like a blueprint. Local farmers call the plant Mano. They plant collar cuttings in deep pits with heavy manure, harvest roots in September and October of the third year when the flower heads begin to dry, then clean, cut, and sun-dry the roots. The entire local economy around it runs on patience and manure, not on inputs.
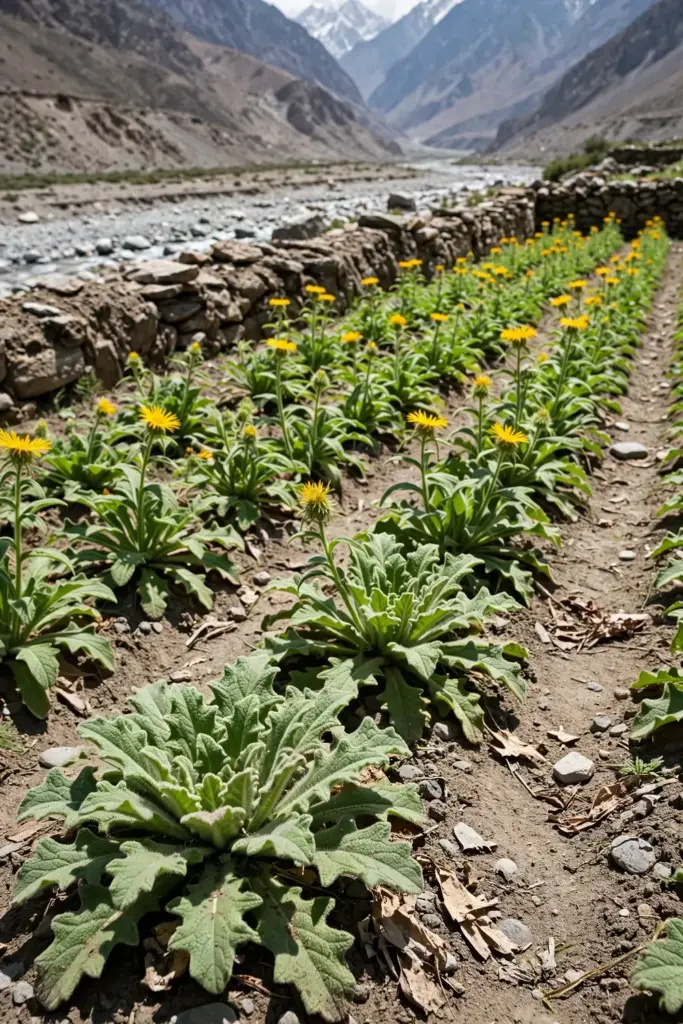
The 2025 field trial sharpened the numbers. Planting at 30 by 45 cm with NPK at 150:90:60 kilograms per hectare produced the best growth, dry root yield, and essential oil yield, as the published trial reports. For the home gardener, the sustainable recommendation is the more useful figure: NPK at 120:75:40 with the same 30 by 45 cm geometry, which the researchers proposed as the practical agro-technique for the cold arid Himalayas. Translate that to garden terms: wide spacing, moderate fertility, and no attempt to push growth with heavy nitrogen.
8. Climate and Location: Himalayan Honesty
Pushkarmool is hardy. Fully hardy, in the nursery sense, meaning established plants take real winter without protection. What it is not is heat tolerant. It grows along riverbanks and in moist grasslands, and it expects summer moisture and cool nights. A garden that freezes in winter and stays moderate in summer is ideal. A garden with hot, humid summers and warm winters is not.
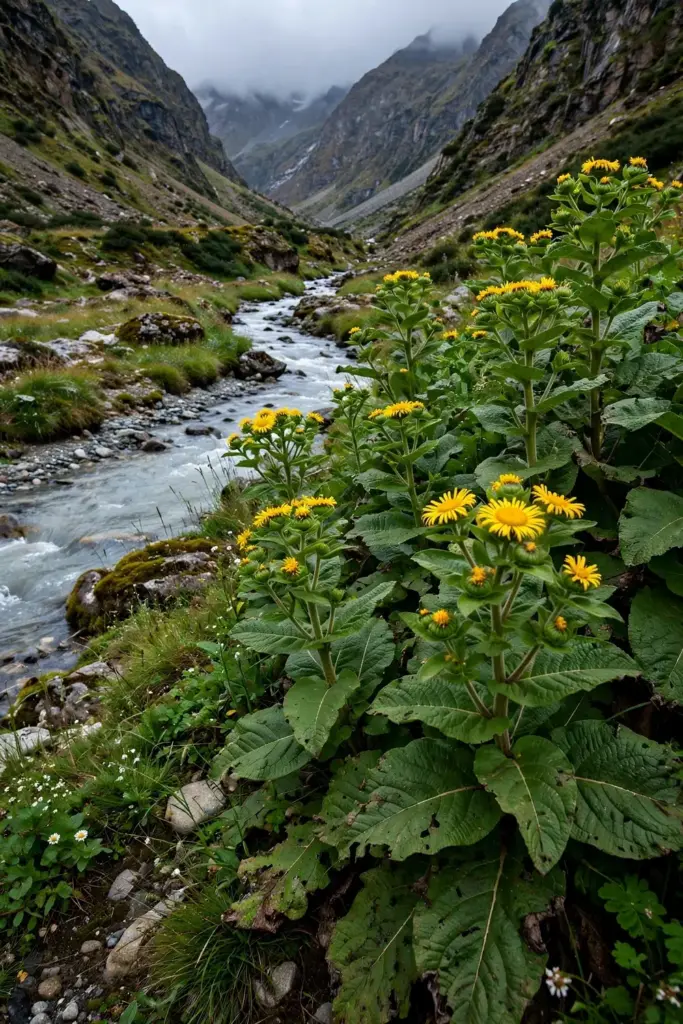
Site selection follows the ecology. Choose a spot with full sun to light shade, sheltered from desiccating wind, with soil that stays moist through the growing season. Riverbank-adjacent beds, low spots that hold moisture, and north-facing slopes work, which is consistent with how nursery growers describe its native stations: riverbanks, grasslands, and field borders at 1,500 to 3,200 meters. South-facing rockeries and dry raised beds do not. If you only have dry ground, commit to irrigation; if you only have heat, commit to another plant.
Altitude in the wild runs 1,500 to 3,200 meters and higher in parts of the range, but altitude is a proxy for the conditions that matter: cool summers, cold winters, and steady moisture. Match those conditions at any elevation and the plant is content. That is the climate honesty at the heart of how to grow pushkarmool from India: match the mountain weather, and the three-year root takes care of itself. One caution from the trade side: because wild populations are under pressure from commercial collection, starting your own plants from documented stock is the responsible move, and the conservation section at the end of this article explains why.
9. Soil: What the Roots Want
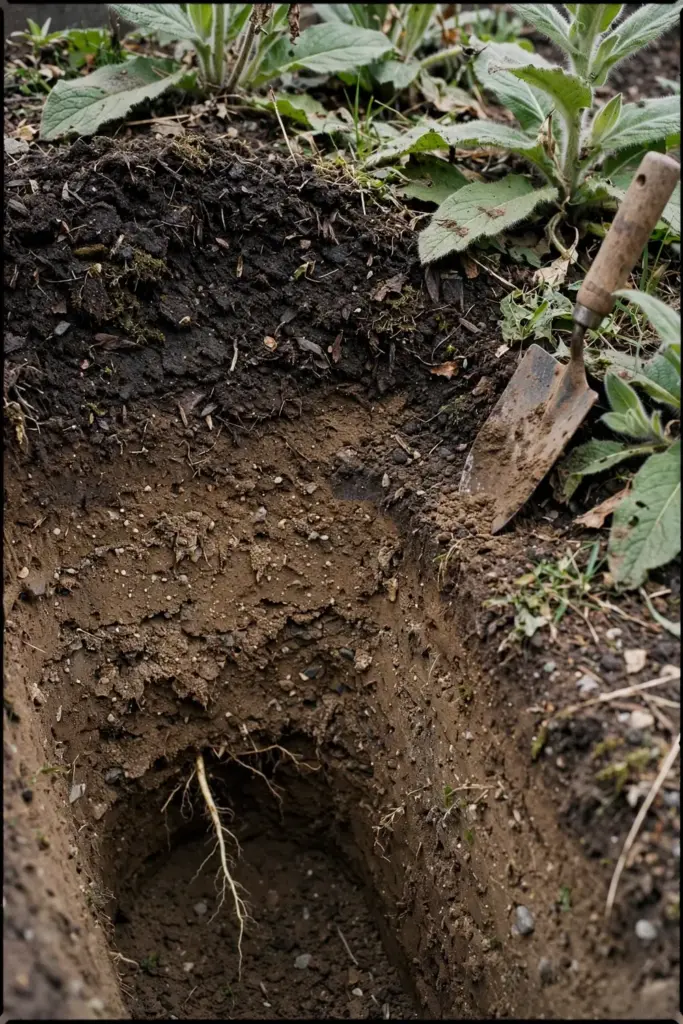
Roots are the crop, so soil preparation is the investment. Pushkarmool wants moist, slightly acidic, humus-rich soil that holds water without waterlogging. The Lahaul practice of deep pits filled with farmyard manure achieves this naturally: depth for root run, organic matter for moisture and fertility, and structure that drains.
| Component | Purpose | Proportion |
|---|---|---|
| Garden loam | Base body and minerals | 50 percent |
| Well-rotted farmyard manure or compost | Fertility and moisture holding | 30 percent |
| Coarse sand or fine grit | Drainage insurance | 20 percent |
Aim for a slightly acidic pH, roughly 6.0 to 6.5. Double-dig the bed to at least 30 centimeters because the root needs to run deep and straight; a shallow hardpan gives you forked, stubby roots. If your soil is heavy clay, plant on low ridges so the crown sits above winter wet. Getting the soil biology right is a larger project than one article, and the soil health foundation guide covers the long game. Never add fresh manure directly against the cuttings; rot is the one disease that can take a planting out.
10. Watering: Moist Feet, Never Drowned
The ecology says it all: riverbanks, moist grasslands, field borders. Pushkarmool roots should never dry out completely during the growing season, and the crown should never sit in stagnant water. White Flower Farm’s cultivation notes for Himalayan elecampane put it plainly: well-drained garden soil that never dries out completely.
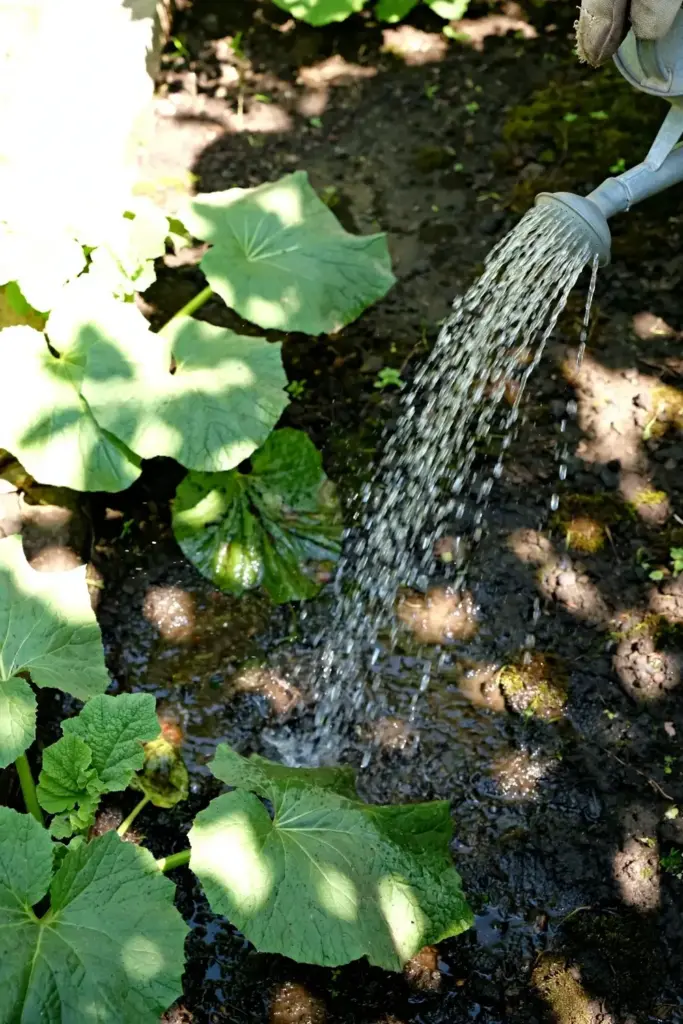
Water deeply and regularly through the growing season, letting only the top few centimeters dry between waterings. Mulch with compost or straw to hold moisture and cool the root zone, which also suppresses the weeds that compete with slow-establishing cuttings. Reduce watering after the tops die back in autumn; the dormant crown needs moist but not wet soil through winter. The watering rhythm is close to what Himalayan elecampane growers describe: soil that never dries out completely, but never waterlogged. In containers, this balance is harder to hold, which is one reason the container section of this article stays honest about limits.
11. Feeding: Compost First, Numbers Second
Feed for roots, not leaves. The research trial gives the field figures: NPK at 120:75:40 kilograms per hectare as the sustainable dose, which for a home gardener translates to moderate feeding, not heavy feeding. Excess nitrogen grows the spectacular foliage at the expense of the root mass you are actually waiting three years for.
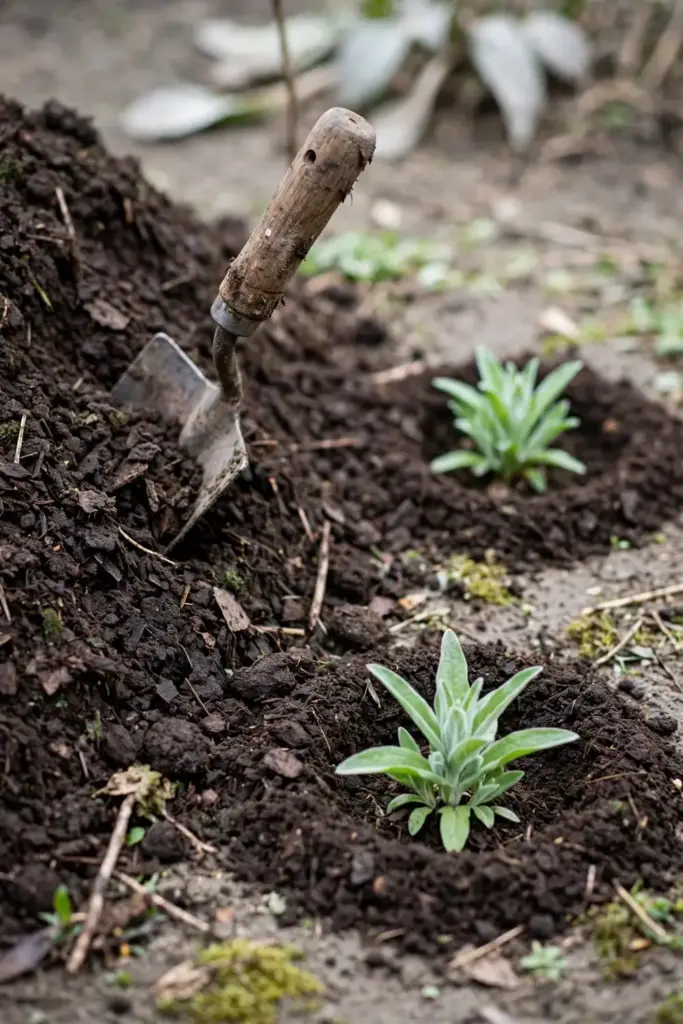
The practical schedule: work compost into the planting pit at planting time, top-dress with compost each spring, and add a light balanced granular feed once every two years if growth looks pale. White Flower Farm’s notes agree on a light hand: a balanced 10-10-10 application every two years is sufficient. Manure at planting plus compost top-dressing will carry most garden plantings without any synthetic input at all.
12. The First Two Years: Leafy Patience
Year one and year two are the patience years. The plant spends them building the root system and the foliage engine that will fill the root in year three. Expect big basal leaves, a rising stem, and yellow flowers in the second or third summer depending on propagation method. This is normal, not a problem, and cutting the plant back early buys you nothing.
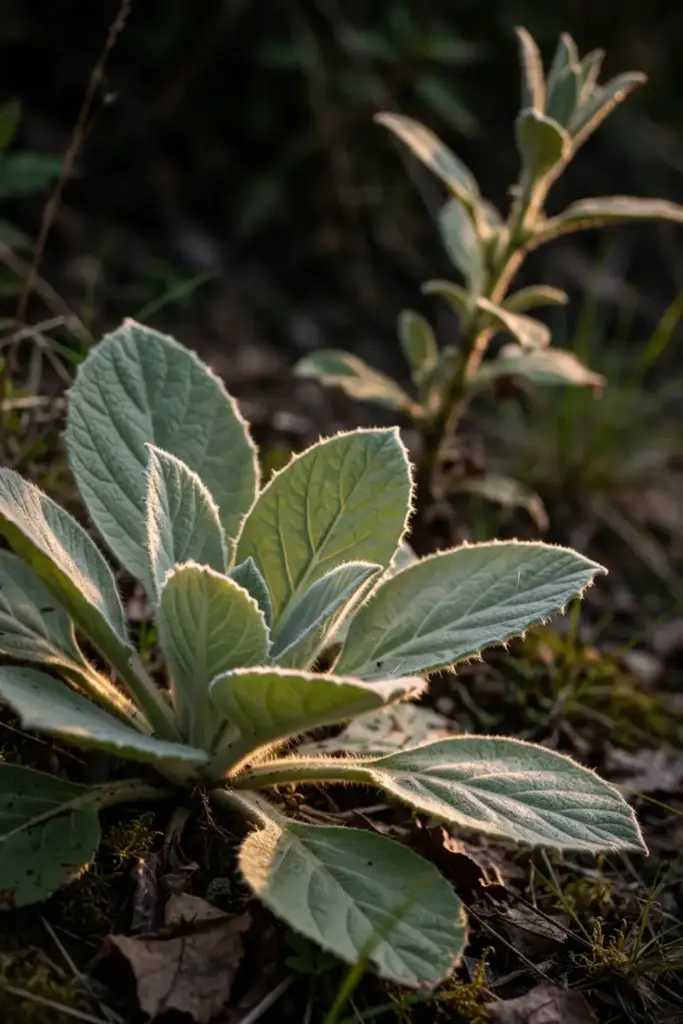
Care during the establishment years is simple: keep weeds down, keep mulch in place, keep moisture steady, and do not dig to check the roots. Every disturbance costs the plant weeks of regrowth. Deadhead spent flowers unless you want seed, because self-sowing turns a planned row into a scattered colony. Leave the autumn dieback standing through winter as natural crown protection, then clear it in spring when new shoots emerge. Like other herbaceous perennials, the plant does its real work underground while the garden looks empty.
13. Winter: Sleeping Through the Cold
Pushkarmool is built for this. As a fully hardy herbaceous perennial, the top growth dies back in autumn and the crown overwinters underground, exactly as it does under Himalayan snow. In regions with real winters, no protection is needed beyond the mulch already in place and the standing dieback you left for insulation.
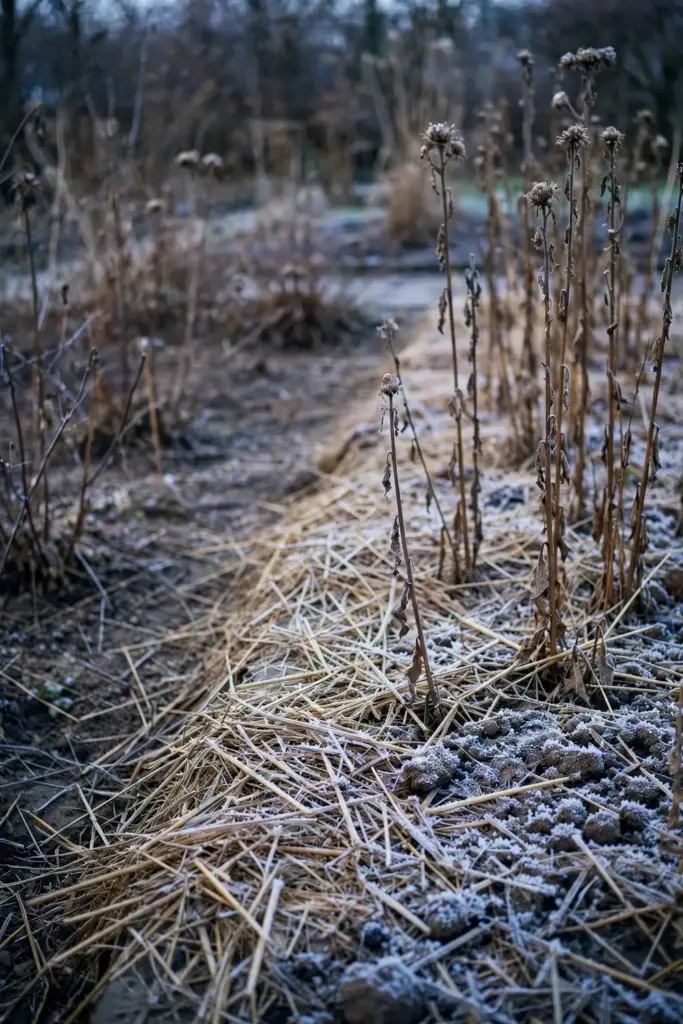
The winter risk is not cold but wet. Crowns sitting in waterlogged soil rot, so the drainage work you did at planting pays its dividend now. In gardens with soggy winters, the low ridges suggested in the soil section keep crowns above the worst of it. In milder regions, watch for premature sprouting during warm spells, which a late frost can damage; a thicker mulch layer moderates the swings. Container plants are the exception: pots freeze harder than ground soil, so move containers to a sheltered spot or heel them into a mulch pile for the winter months.
14. Pests and Diseases
Pushkarmool is not a pest magnet, and Himalayan field cultivation runs with minimal protection. The realistic roster is short. Slugs and snails target young sprouts in wet springs; hand-pick at dusk or trap with boards. Aphids occasionally colonize the flower buds; a sharp water spray handles them. Powdery mildew can appear on the big leaves in humid, still air; spacing for airflow and morning watering keep it cosmetic.
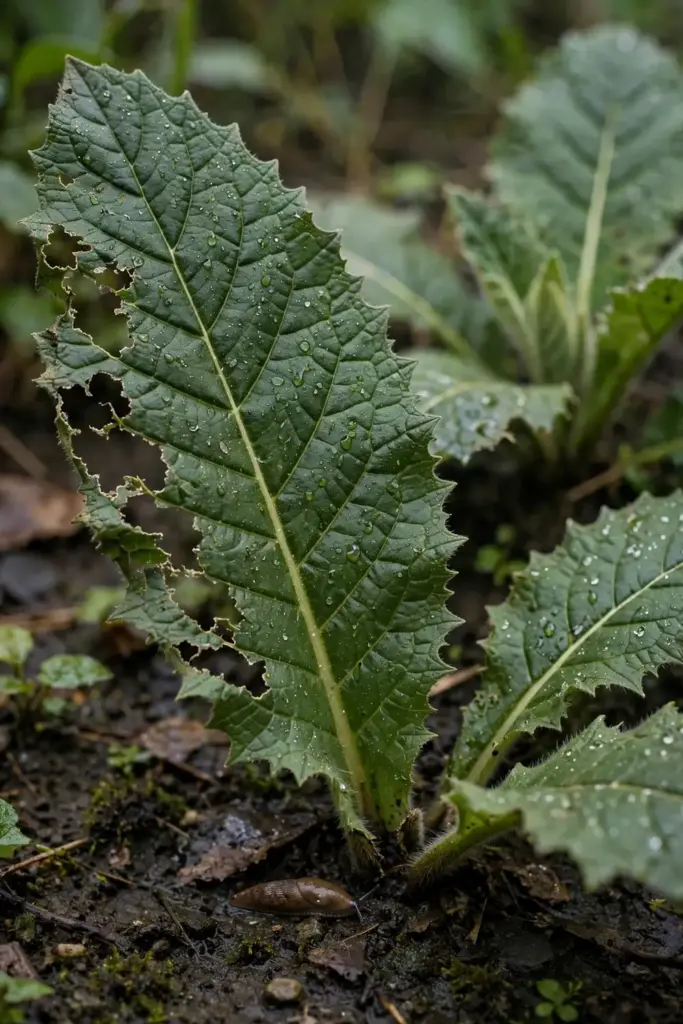
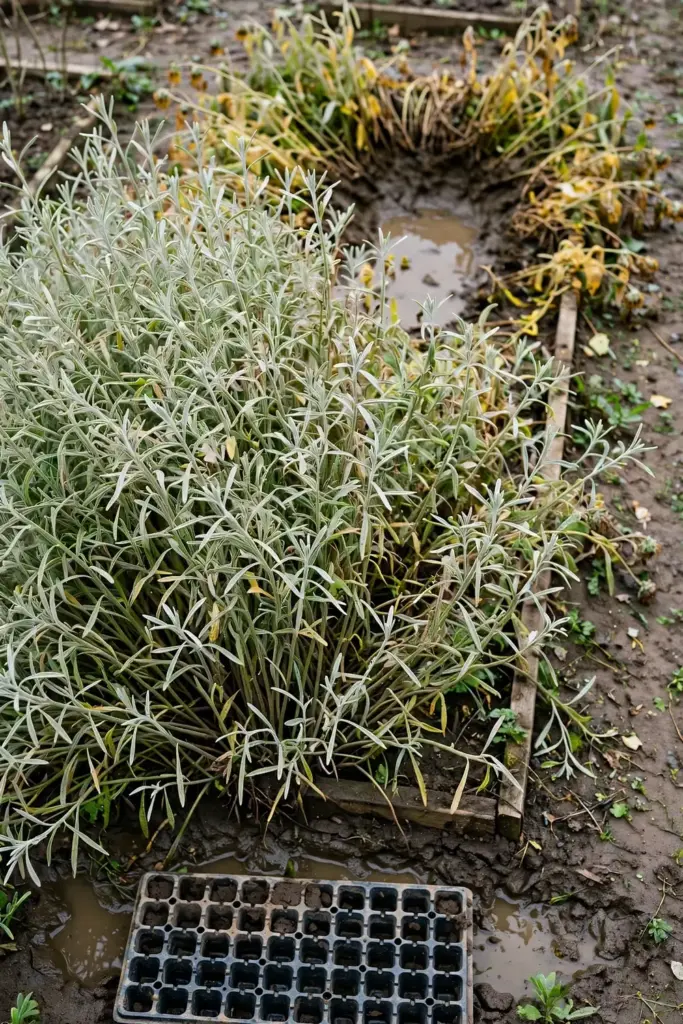
Root rot is the one serious threat, and it is a management failure, not a pathogen invasion. It strikes when cuttings sit in waterlogged soil, especially in winter. Prevention is the deep pit, the grit in the mix, and the low ridge on heavy ground. There is no rescue once the crown is soft, so get the drainage right at planting and you will likely never need to treat anything.
15. Year Three: Harvesting the Roots
The harvest window opens in September and October of the third year, when the flower heads begin to dry. That drying is the signal: the plant is pulling energy into the root, and the root is at its heaviest and most aromatic. Digging earlier gives you underdeveloped roots; digging much later risks winter wet and root damage.
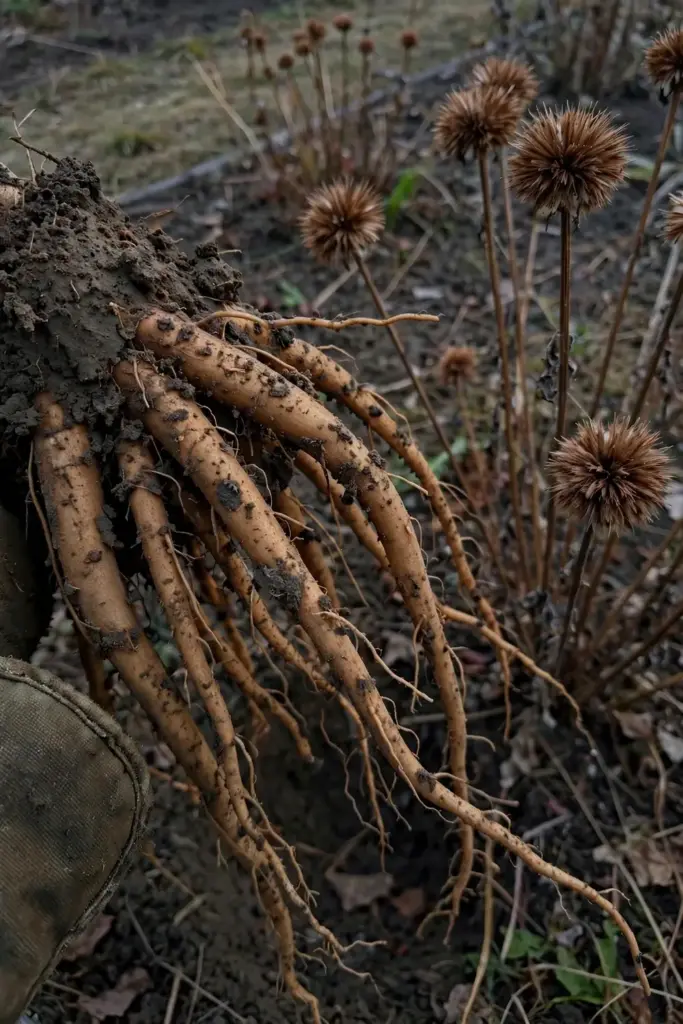
Digging a two-meter perennial’s root system is real work. Loosen the soil in a wide circle around the crown with a digging fork before you pull, because the fusiform root snaps if you haul it straight up. Expect roots 20 to 25 centimeters long and about 5 centimeters thick on a well-grown plant. Shake off loose soil but do not wash yet; washing comes after trimming. Set aside the best collar sections for the next planting before you process the rest, because your next three-year cycle starts the day you harvest.
16. Washing, Cutting, and Drying
Post-harvest handling decides the quality of the dried product. Wash the roots in clean water, trim off the fine lateral roots and any damaged sections, and cut the thick roots into uniform slices or chunks so they dry evenly. Uneven pieces mean the outside case-hardens while the inside stays damp and spoils.
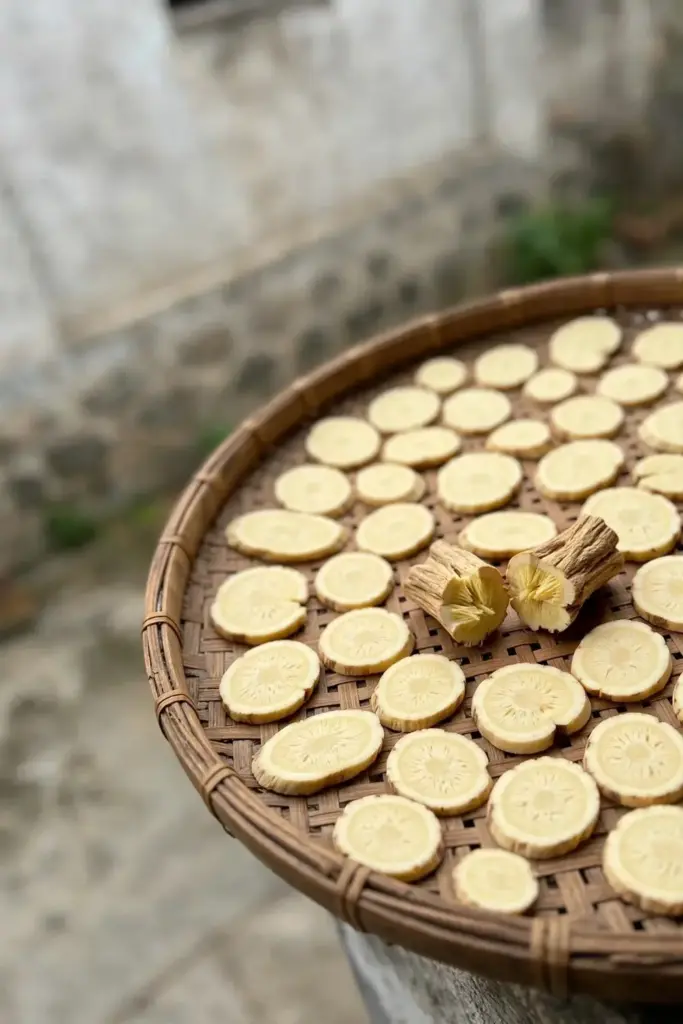
Dry in the sun or in a warm, airy, shaded spot until the pieces snap cleanly when bent. The Lahaul practice is sun-drying, and it works wherever autumn air is dry. Where autumn is humid, use a dehydrator or a warm room with airflow rather than gambling on mold. Store the dried pieces in airtight containers away from light; the sweet camphoraceous aroma is the quality marker, and it fades if the dried root sits in open air. Properly dried and stored, the root keeps its character for a year or more.
17. Growing in Containers: Honest Limits
Here is the honest container section. Pushkarmool grows 2.5 meters tall with a meter of spread and a root that wants to run 25 centimeters deep, so a standard patio pot is not a three-year home. It can work for one to two seasons as a nursery stage: start cuttings or stratified seedlings in deep containers, grow them on for a season, then transplant to open ground for the long wait.
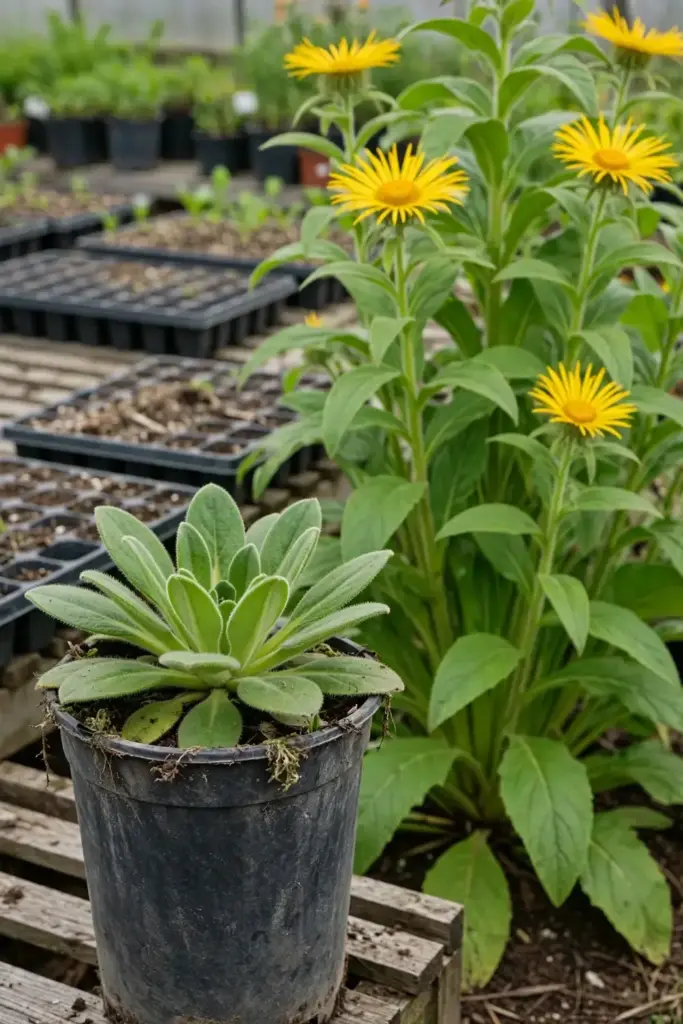
If you must keep it potted longer, use the largest deep container you can manage, at least 45 centimeters deep and 40 wide, with the soil mix from section 9 and flawless drainage. Expect smaller roots, more frequent watering, and winter protection for the pot. The container is a holding pattern, not a production system. Plan the ground bed from day one.
18. Traditional Uses, Conservative Notes
The classical record for pushkarmool is rich and specific, and it deserves a careful reading. Caraka lists it among the best remedies for hiccough, asthma, and pain in the flanks, and places it in the groups for respiratory support and hiccough relief. It appears in heart formulations as a paste with honey, and in Pushkar Guggulu combined with Commiphora mukul. The root is described as expectorant and resolvent, used traditionally for cough, dyspnea, chest pain, skin disorders, rheumatism, and obesity. The rasa profile is recorded as Katu Tikta with Katu vipaka and Usna virya, pacifying Vata and Kapha.
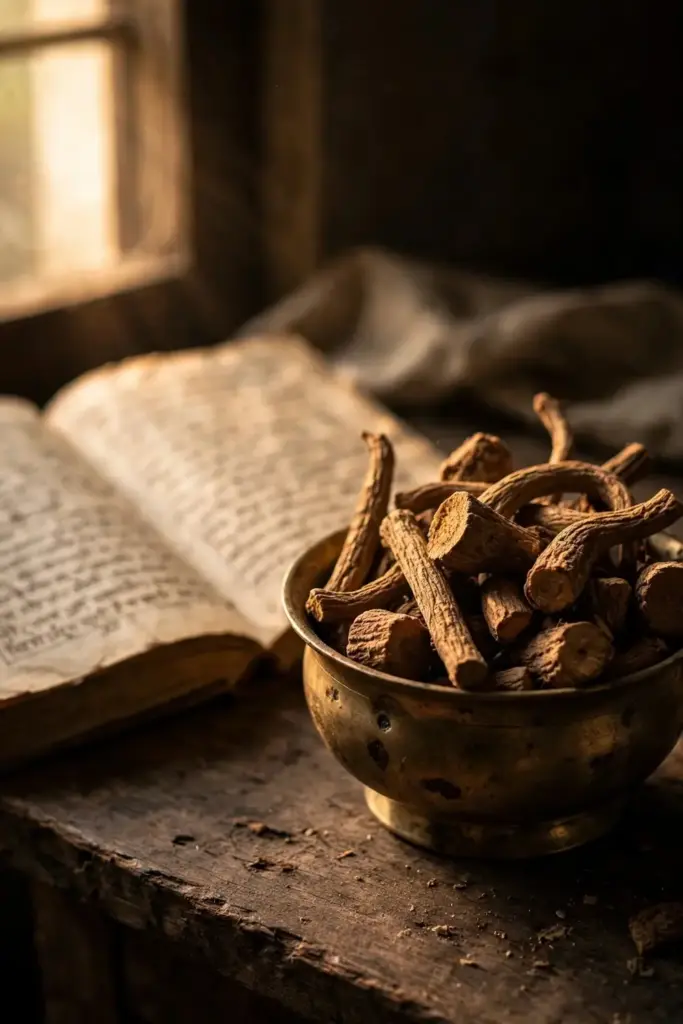
Read that record with the clinician-consult language it requires. Traditional use is not dosage guidance, and this article gives none. High doses cause gastrointestinal upset, Asteraceae family members can trigger allergic reactions in sensitive people, and the folk claim that pushkarmool “cures TB” is a myth to discard: it is at most an adjunct in traditional practice, never a standalone treatment. If you plan to use the root you grow, discuss it with a qualified practitioner first, especially if you are pregnant, nursing, or taking medication.
19. Conservation: Grow It, Do Not Strip It
Pushkarmool is endangered in the wild. Habitat fragility plus commercial exploitation have squeezed wild populations across its range, and unsustainable wild collection is the pressure the research literature keeps naming. The trade price of 180 rupees per kilogram at the loose market in New Delhi reflects real demand against shrinking supply.
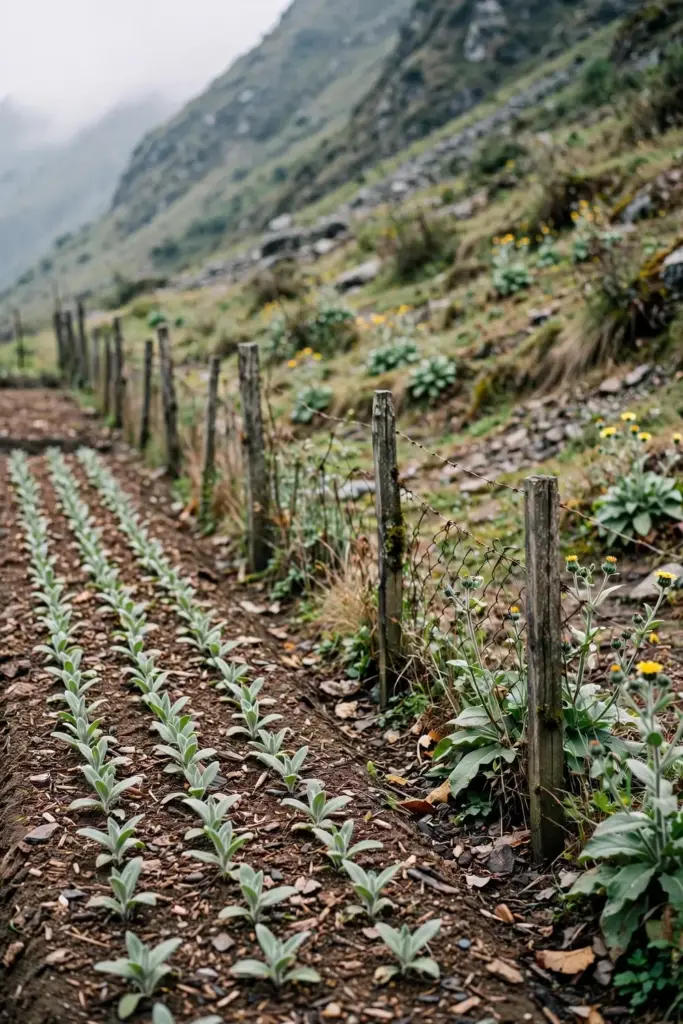
Cultivation is the conservation answer, and it is the one you are already practicing by growing it. Every garden-grown plant is one less root taken from a wild slope. Buy propagation material from documented cultivated stock, not from wild-harvested sources, and be skeptical of any seller who cannot say where the material came from. The agrotechnology exists, the biofertilizer work is underway, and micropropagation research has shown what scaled production could look like. Your three-year bed is a small part of that larger fix.
20. Mistakes Growers Make (and Fixes)
The same five mistakes repeat in this lane. Burying the seed is first: pushkarmool needs light to germinate, so surface-sow or watch nothing happen, then fix it by pressing seed onto the surface next time. Skipping stratification is second: unstratified seed sits dormant for months, and the fix is the 60-day cold moist chill or GA3. Planting too tight is third: the trial data says 30 by 45 centimeters for a reason, and crowded plants make thin roots. Drowning the crown is fourth: waterlogged winter soil rots the planting, fixed by drainage and ridges at planting time. Harvesting early is fifth: year-two roots are underdeveloped, and the fix is waiting for the flower heads to dry in the third autumn.
21. Troubleshooting Quick Answers
Yellow leaves in year one usually mean waterlogging or nitrogen shortage; check drainage first, then feed lightly. No sprouts six weeks after autumn planting usually means the cutting desiccated or rotted; dig one up and inspect before replanting. Flowers but no seed set is normal; sterility is high in this species, and seed was never the point of your planting. Floppy tall stems in rich soil mean too much nitrogen; cut back feeding and stake if needed. Small roots at harvest mean tight spacing or early digging; widen the geometry next cycle and wait the full three years.

Frequently Asked Questions
Three years from root cuttings to root harvest is the documented figure from Himalayan field cultivation. Seed-grown plants take three to four years because dormancy and slow establishment add a season. The flowers appear in the third year, and roots are dug in September and October when the flower heads start drying.
Honestly, no, not well. Pushkarmool is a cold-climate Himalayan perennial that wants real winter chill, moderate summers, and steady moisture. In hot lowland plains it struggles through summer and never builds the roots properly. Gardeners in hill stations and temperate zones are the realistic audience.
Only in the loose common-name sense. Pushkarmool is Inula racemosa, Indian elecampane, from the western Himalayas. Western herbalism’s “elecampane” is usually Inula helenium, a smaller European species with different chemistry. Substituting one for the other changes the product, so buy by Latin name.
Yes. The seeds have deep physiological dormancy and also need light to germinate. Give them 60 days of cold moist stratification, sow on the surface without covering, and keep them near 25 degrees Celsius. GA3 treatment is the faster research route. Unstratified seed germinates poorly or not at all.
Dig in September and October of the third year, when the flower heads begin to dry. That is the plant’s own signal that energy has moved into the root. Wash, trim, cut into even pieces, and sun-dry until the pieces snap cleanly, then store airtight away from light.
Wild populations are under pressure from habitat fragility and commercial collection, and the species is treated as endangered in parts of its range. Growing your own from documented cultivated stock is the responsible approach. Avoid buying wild-harvested material from sellers who cannot document the source.
Where to Go From Here
Three years is a long time to wait for a root, and that is precisely what makes pushkarmool worth growing. That is how to grow pushkarmool from India at its best: not as a quick herb project but as a long Himalayan partnership, built one collar cutting at a time. Plant in October, feed with manure, give each plant its 30 by 45 centimeters, and let the mountain plant work. Then, in that third autumn, dig deep. The sweet camphoraceous scent rising from the soil will tell you the wait was the whole point.