
Raspberry leaf spot is a fungal disease that strips leaves from raspberry canes in wet summers. 7 prevention strategies hold it back, and the first one costs nothing: check whether the spots sit on primocanes or floricanes before you do anything else.
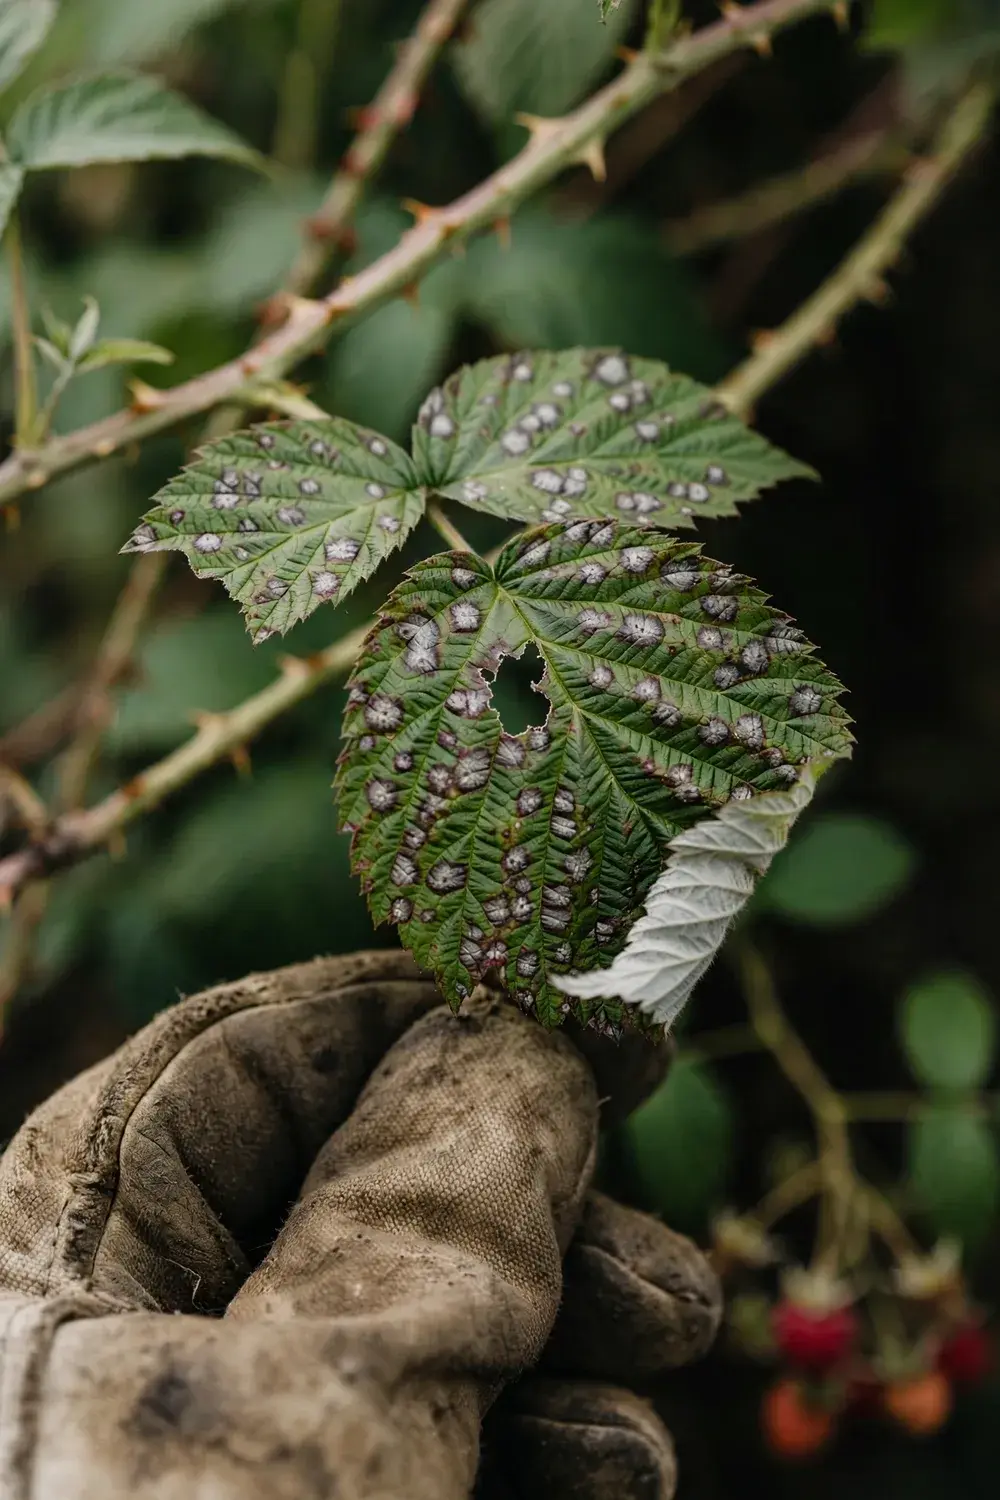
Spots start dark green to black on young leaves, fade to white or gray as leaves age, and the centers can fall out and leave small holes. Badly infected leaves curl downward at the edges and drop off the cane. I have learned that the patches that dry fastest after rain are the patches that keep their leaves.
The rest of this page runs the order a gardener should follow. Identify the disease on leaves and canes, rank your varieties by risk, then work the 7 steps from the first decision to the last spray call.
1. What Raspberry Leaf Spot Actually Is
Raspberry leaf spot is a fungal disease of raspberry. The fungus Sphaerulina rubi causes raspberry leaf spot.
Older books may call this disease Septoria leaf spot. Taxonomists moved the fungus out of Septoria and into Sphaerulina. The name changed. The fungus, the symptoms, and the control measures stayed the same.
The fungus overwinters in infected leaf debris and in spots on canes. Only young, growing leaves and canes can be infected. Spores spread by splashing water. Mature leaves and hardened canes escape infection, so the disease follows each flush of new growth through the season.
The disease spreads all summer, as long as young leaves are present. A patch that looks clean in spring can carry heavy spotting by late summer after a wet stretch. That long season is why prevention runs from variety choice to fall cleanup, and why a single spray never ends it.
The fungus needs young tissue, splashed water, and a wet leaf. Young tissue gives it an entry point. Splashing water carries the spores. A wet leaf gives them the hours they need. Remove any one of the three and the disease stalls. Every step below removes at least one. Only young, growing leaves and canes can be infected, so each flush of growth opens a fresh window. A cane that finished growing escapes further infection. That window is why the steps below protect new canes first and why fall cleanup matters after growth stops.
2. How to Identify Raspberry Leaf Spot on Leaves
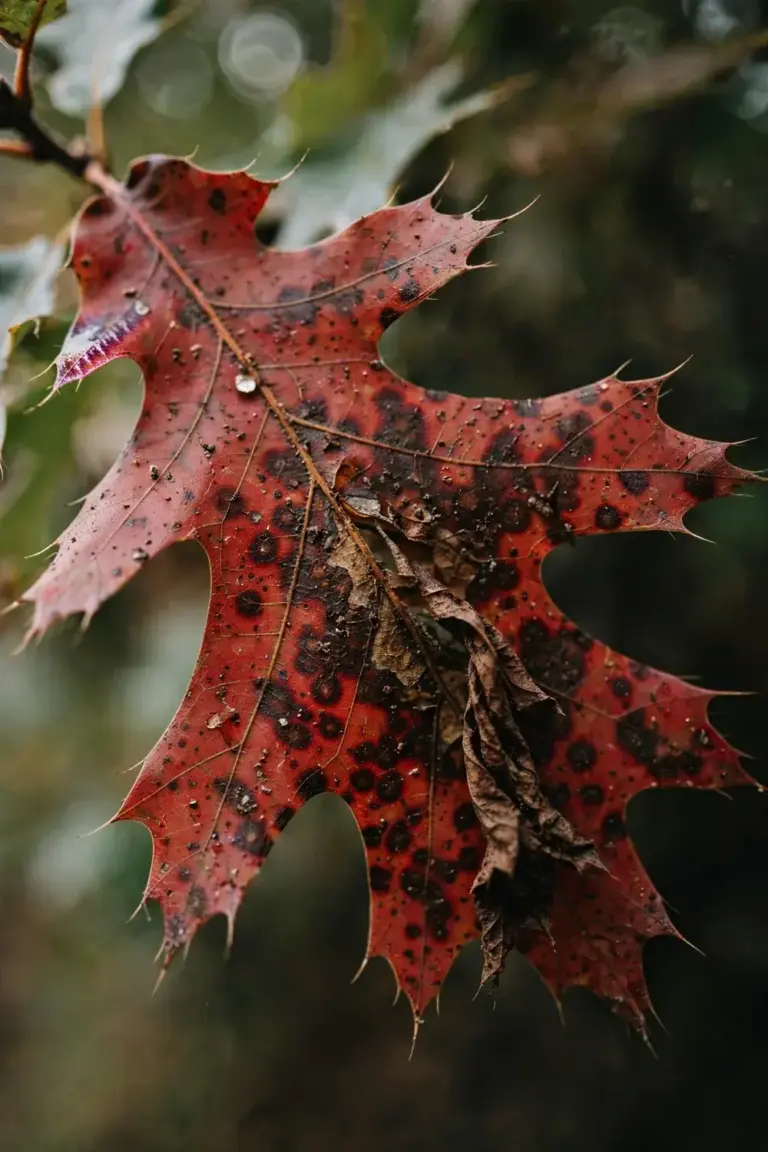
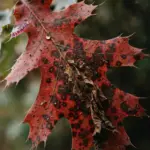
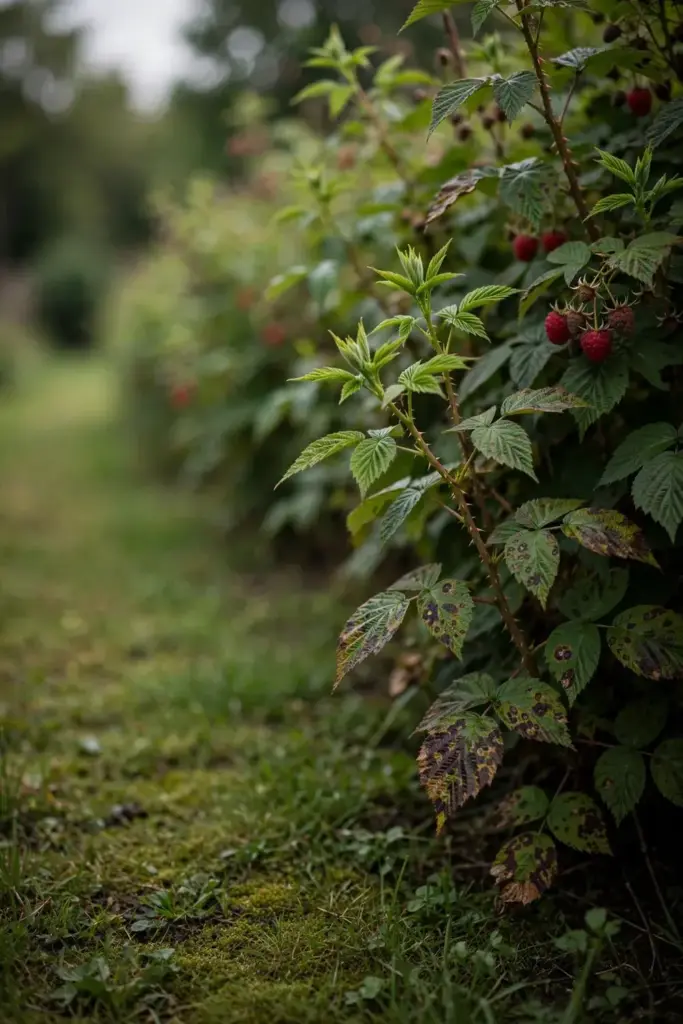
Leaf spot shows on young leaves first. Small dark green to black spots appear on the upper surface of young leaves.
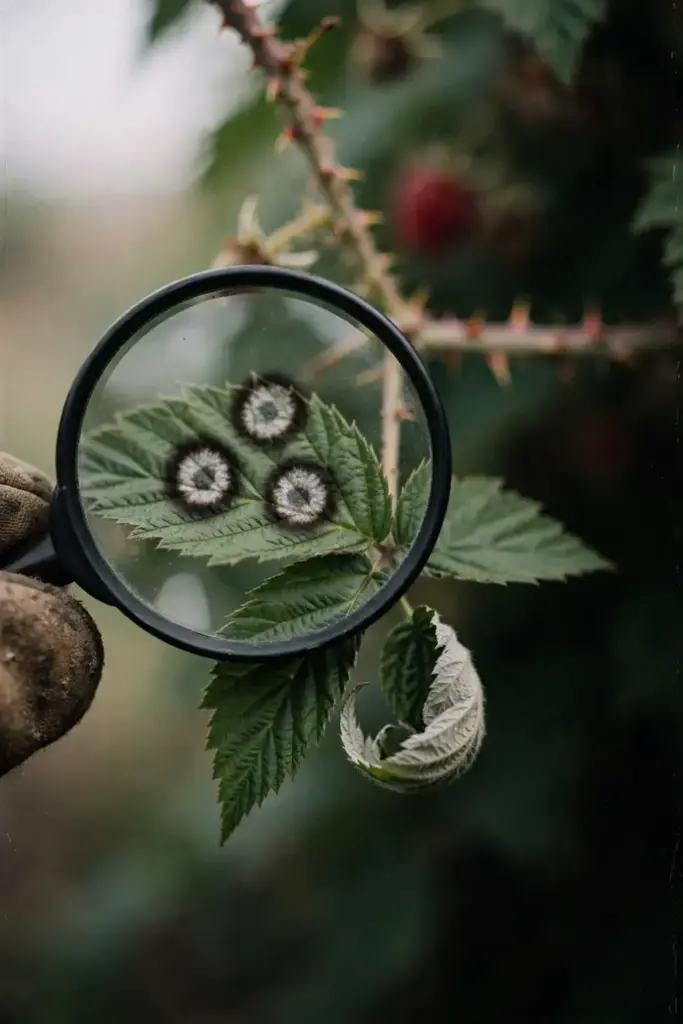
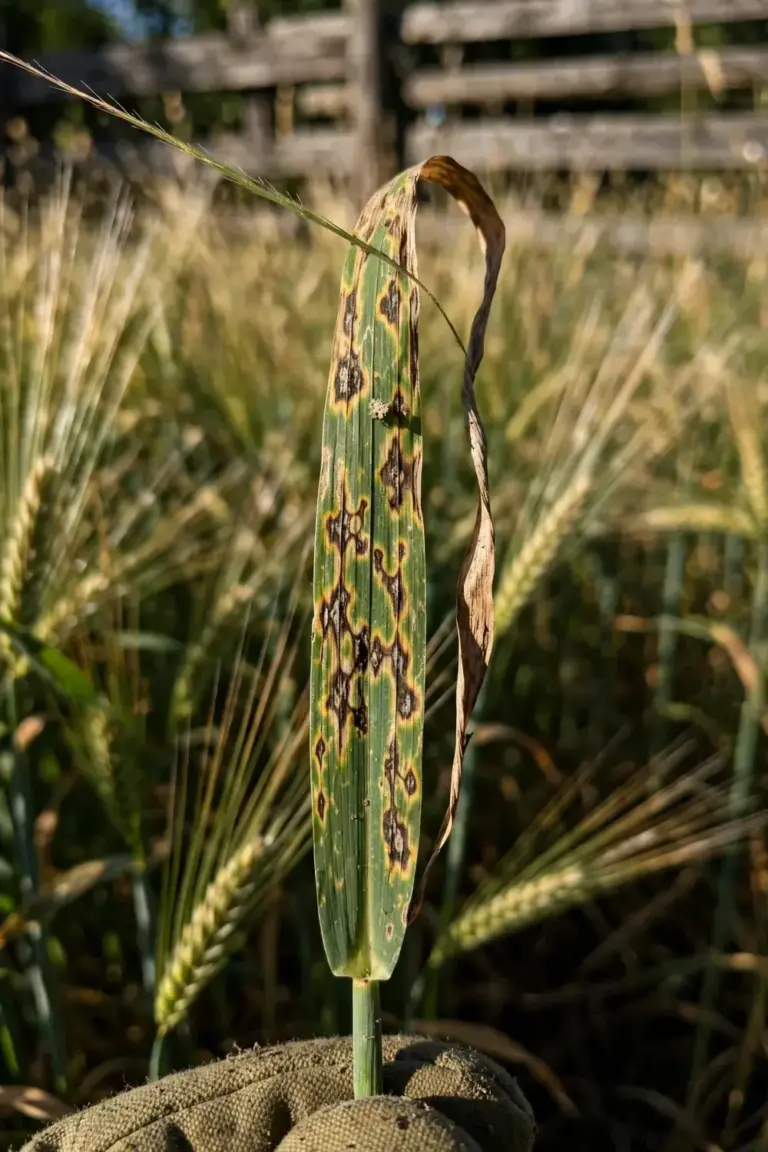
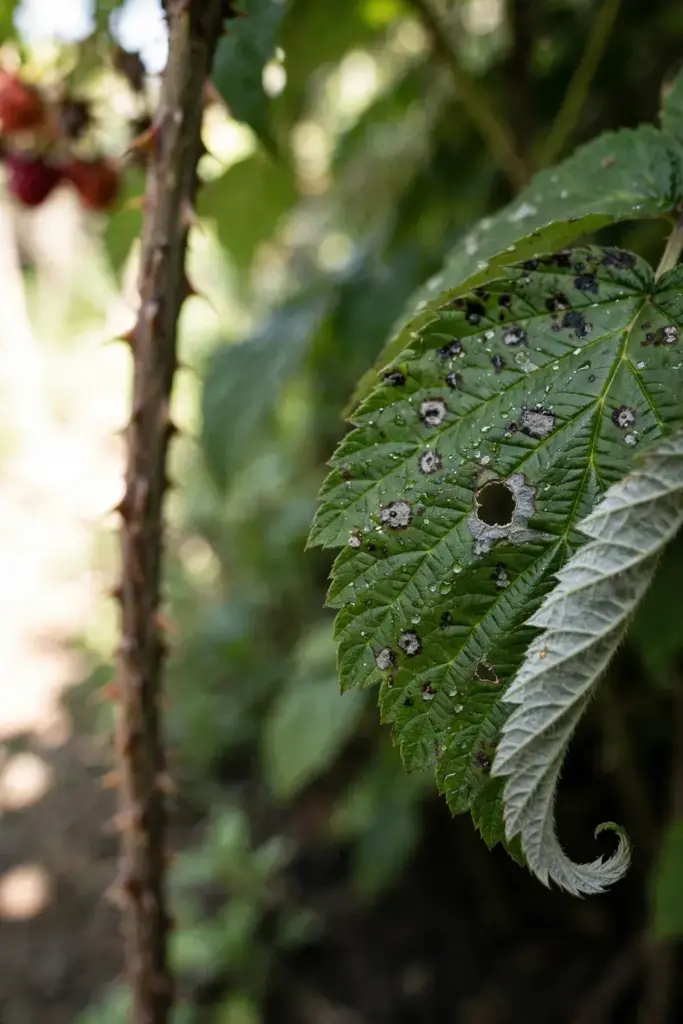
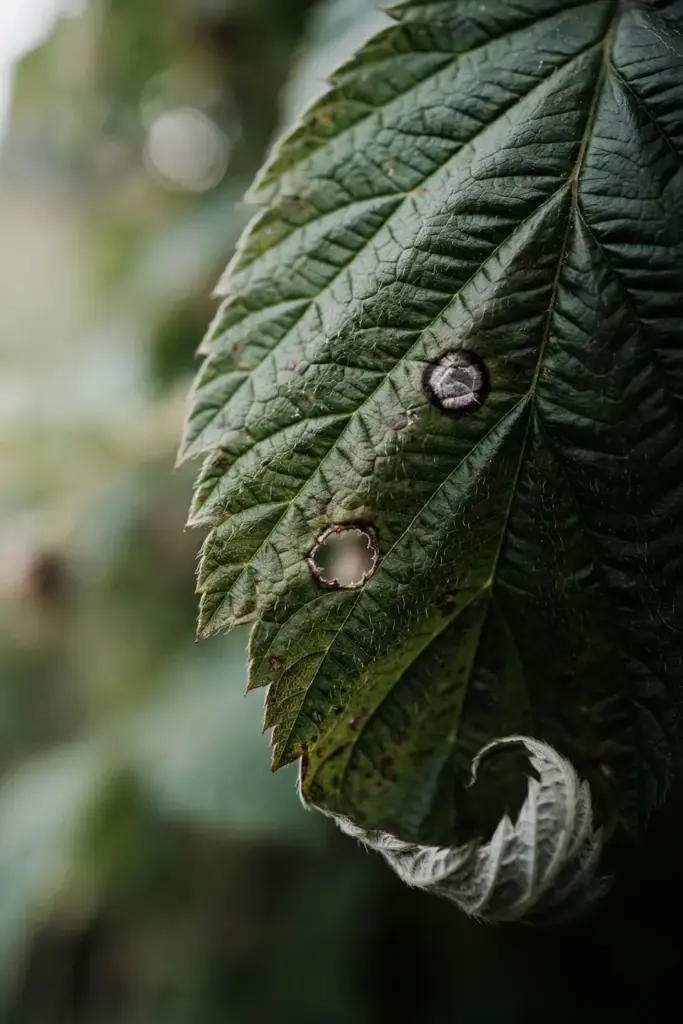
As leaves age, the spots turn white to gray. The center of a spot may fall out, leaving a small hole in the leaf. The Cornell Berry Diagnostic Tool calls these frog-eye spots, with whitish centers and darker margins.
Badly infected leaves curl downward at the edges and fall off. Spots show most often on the lower portion of canes, where air moves slowly and leaves stay wet longest after rain. A leaf with a few spots still feeds the cane. A leaf that yellows, curls, and drops feeds nothing.
Check the underside too. Spots sit on the upper surface first, and the white-to-gray centers show best in daylight. Hold a suspect leaf up to the sky and look for the pale center with the darker rim. That frog-eye pattern marks raspberry leaf spot more clearly than any single spot color.
Infected leaves may turn yellow, then brown, then drop off the plant. That color sequence runs from the first spot to the bare cane: green leaf, spotted leaf, yellowing leaf, bare cane. A cane that drops its lower leaves in midsummer still carries healthy leaves higher up, and those upper leaves do the feeding for the rest of the season.
3. How to Identify Raspberry Leaf Spot on Canes
Cane spots look like leaf spots stretched long. Small brown spots sometimes form on canes close to the ground.
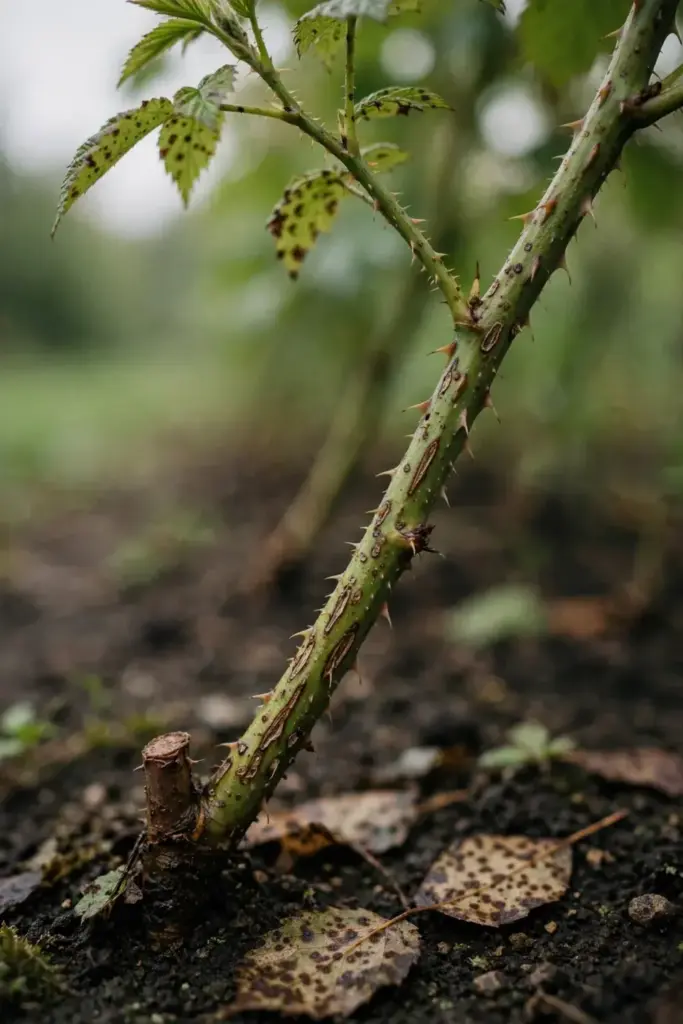
Cane lesions match the leaf spots in color and shape, but they run more elongated along the cane. The University of Kentucky scouting guide describes cane lesions at the bases of young canes, similar to the leaf spots, and notes that the fungus overwinters in fallen leaves or in cankers.
Young, expanding canes catch spring infections. The fungus overwinters in spots on canes, so a cane that carried spots last year carries the next season’s inoculum. That carryover is why fall cleanup sits beside summer care in the steps below, and why a cane with spots earns removal rather than watching.
A cane that shows spots low on its base needs a closer look at its leaves. Leaf spots and cane spots on the same cane confirm one disease at work. A cane with spots but clean leaves still carries the fungus, so it still belongs on the removal list after harvest.
Check cane bases in spring, when young canes expand and catch infections. A cane base that shows small brown spots in spring carries the fungus into the season. Mark those canes and watch their leaves. Early spotting on a cane base warns you before the leaves show a single spot.
4. Which Raspberry Varieties Get Hit Hardest
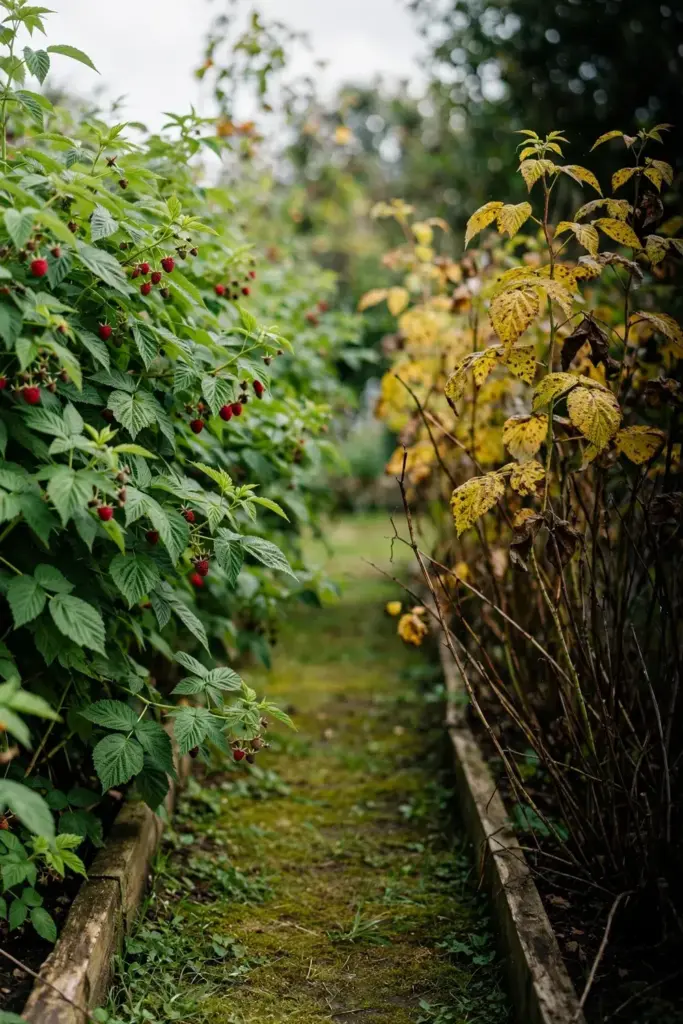
Variety choice decides how hard leaf spot hits. UMN ranks five common varieties by leaf spot response.
| Variety | Type | Leaf Spot Response |
|---|---|---|
| Latham | Summer-bearing red | Resistant |
| Nova | Summer-bearing red | Resistant |
| Boyne | Summer-bearing red | Likely infected; can lose all leaves in frequent-rain years |
| Killarney | Summer-bearing red | Likely infected; can lose all leaves in frequent-rain years |
| Royalty | Purple (red and black cross) | Very likely infected; canes weaken each year |
Boyne and Killarney can lose all of their leaves in years with frequent rain. That total defoliation starves the cane, cuts the next crop, and leaves the cane open to winter injury. A variety that drops every leaf in a wet year needs the full seven steps, and it still may not hold up.
Royalty earns the strongest warning. Royalty is a purple variety, a cross between red and black raspberry species. It is very likely to be infected, and its canes grow weaker each year as leaf spot worsens. UMN advises against planting Royalty where leaf spot is present.
Start with the table when you plan a new patch. A resistant variety needs no extra work to stay leafy, while a susceptible variety needs the full seven steps and still may fail in a wet year. The table above is the cheapest prevention here, because variety choice happens once and pays every season. A patch of Latham can still spot in a wet year, and a patch of Boyne can stay clean in a dry one. Variety sets the odds. Weather and spacing decide the outcome, which is why the steps below matter even for resistant varieties.
5. Why Wet Summers Drive Raspberry Leaf Spot
Wet summers drive raspberry leaf spot. Rain splashes spores from debris and cane spots onto young leaves, and each wet stretch starts a new round of infection.
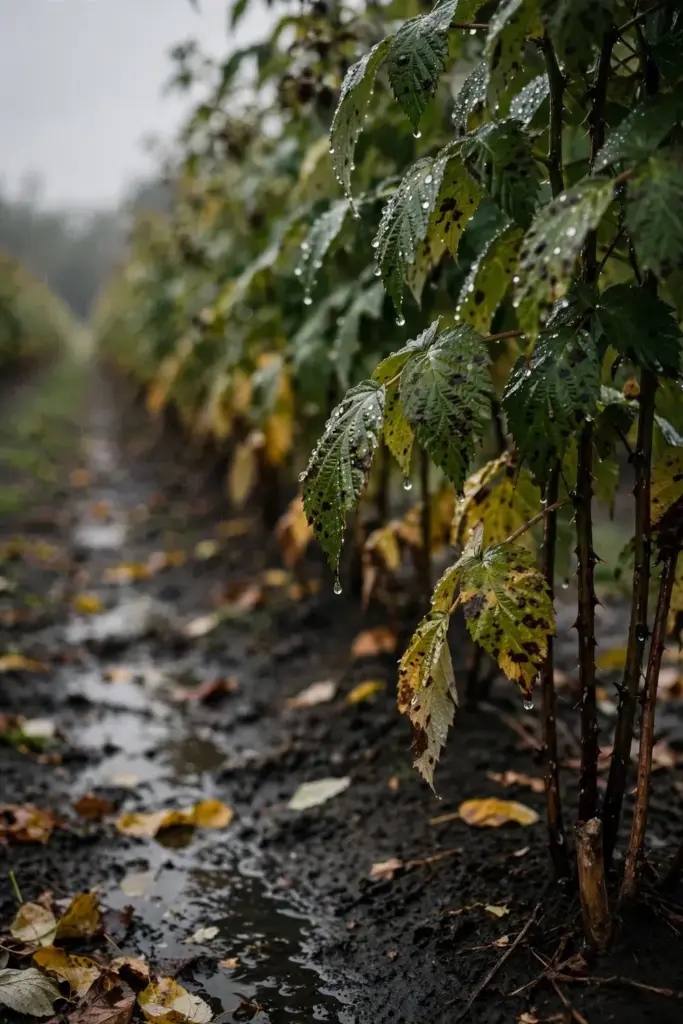
Leaf spot causes the most damage in summers with heavy rains in June and July. The disease continues to spread all summer, as long as young leaves are present. Each new leaf opens a new target, and each rain moves spores onto it.
During humid summers, primocanes can lose up to 75% of their leaves, causing the canes to stop growing, according to the University of Minnesota Extension raspberry leaf spot page. These small canes produce less fruit and are likely to be damaged by winter injury.
In some varieties, the disease becomes worse each year unless cultural practices or fungicides hold it back. That year-over-year climb is the reason prevention starts with variety choice and row layout, not with a spray bottle. A patch that loses leaves three summers running enters each winter weaker than the last.
The damage runs through the cane, not just the leaf. A primocane that loses its leaves stops growing, and a cane that stops growing stays small. Small canes produce less fruit. Small canes also face more winter injury. One wet summer can therefore cost two seasons: this year’s leaves and next year’s crop.
6. What Makes Raspberry Leaf Spot Worse in a Home Garden
Still air makes raspberry leaf spot worse. Leaves that stay wet after rain give spores hours to germinate, and a crowded patch holds that wet air in place.
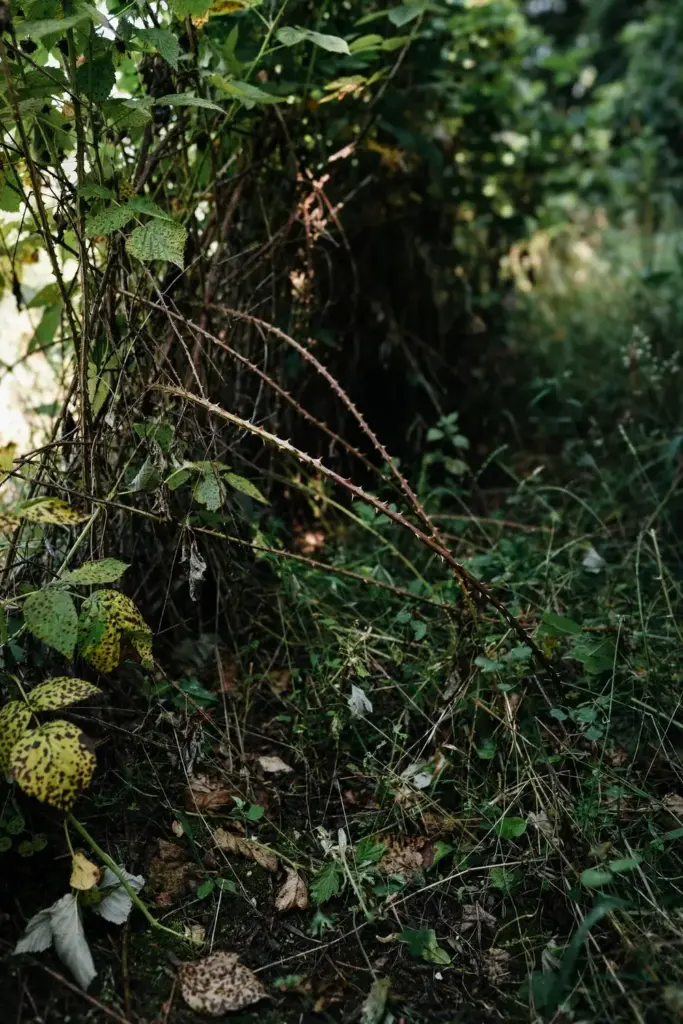
Overgrown plantings top the risk list. Canes packed tight shade each other, slow drying, and keep lower leaves wet long after the rain stops. Wide rows do the same by shading the row center. Weeds add a third layer of still air at ground level, right where the lowest leaves sit.
Overhead watering adds splash on dry days. A sprinkler lifts spores from debris and cane spots onto young leaves, the same way rain does. Water that lands on leaves extends the wet period the fungus needs, so a sprinkler can start infections in a week with no rain at all.
Fallen leaves left in the patch carry the fungus through winter. The fungus overwinters in infected leaf debris and in spots on canes, so debris left on the ground becomes next spring’s inoculum. A patch that skips fall cleanup starts each season with the fungus already in place.
Site choice sits under all of it. UMN recommends a site with full sun and good air circulation. Shade and wind shelter slow drying and hand the fungus the wet hours it needs. A sunny, breezy site dries leaves between rains and starves the disease of its wet window.
Debris is the bridge between seasons. The fungus overwinters in infected leaf debris and in spots on canes, so any debris left in the row bridges last year to this year. Cleanup breaks that bridge. Every leaf and cane you remove in fall is inoculum that never splashes onto spring leaves.
7. Step 1: Decide Whether Treatment Is Worth It
Triage comes before treatment. Decide whether the spotted leaves sit on primocanes or floricanes.
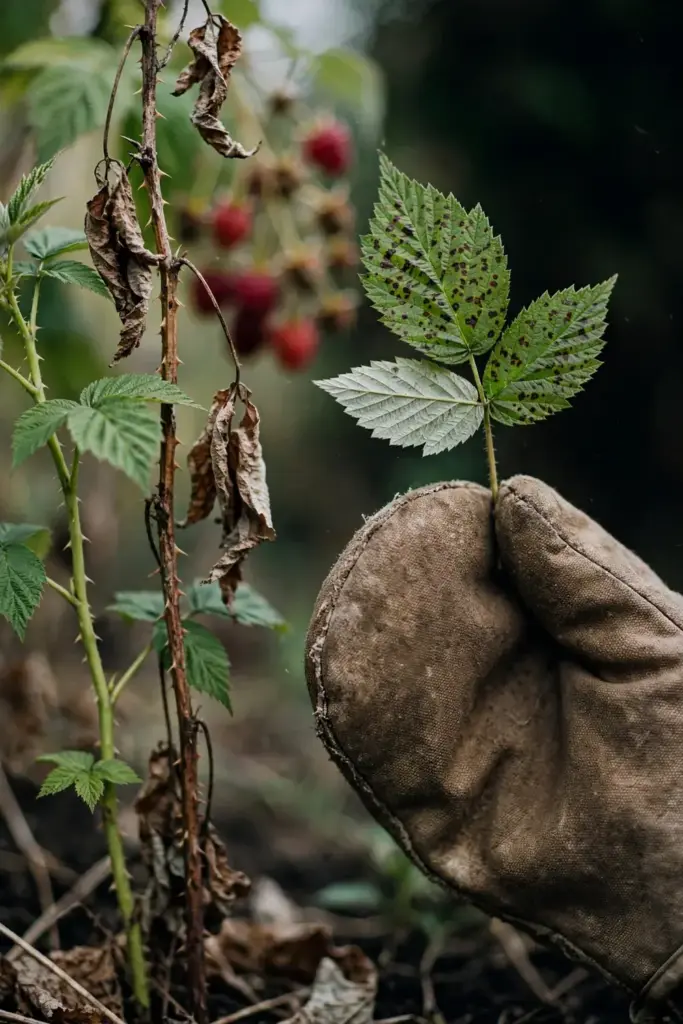
Leaf spot is more serious on primocanes. Primocanes are first-year canes, and they carry next year’s crop. Heavy leaf loss on primocanes stops cane growth, cuts fruit production, and raises winter injury risk. A primocane stripped of leaves in July grows small and fruits lightly the next year.
Floricanes tell a different story. Floricanes are second-year canes, and their leaves naturally die toward the end of harvest. Spots on floricane leaves late in the season call for cleanup, not alarm. The cane already did its fruiting work.
Walk the patch and sort each cane. Spots on primocanes with most leaves still green earn the full seven steps. Spots only on floricanes near harvest earn Step 5 cleanup and a note to watch next year’s primocanes. A patch with light spotting and strong primocane growth may need nothing beyond the cultural steps. That honest call saves the spray for patches that truly need it.
Two patches show the two calls. A patch with spots on primocanes and thinning leaves earns the full steps, starting with variety and row width. A patch with spots only on floricanes near harvest earns cleanup and a watch note. The first patch fights for next year’s crop. The second patch already banked its crop, and its spotted leaves cost it nothing.
8. Step 2: Plant Resistant Varieties and Skip the Susceptible Ones
Variety choice is the one decision that pays every year. Resistant varieties resist leaf spot without sprays, thinning, or extra work.
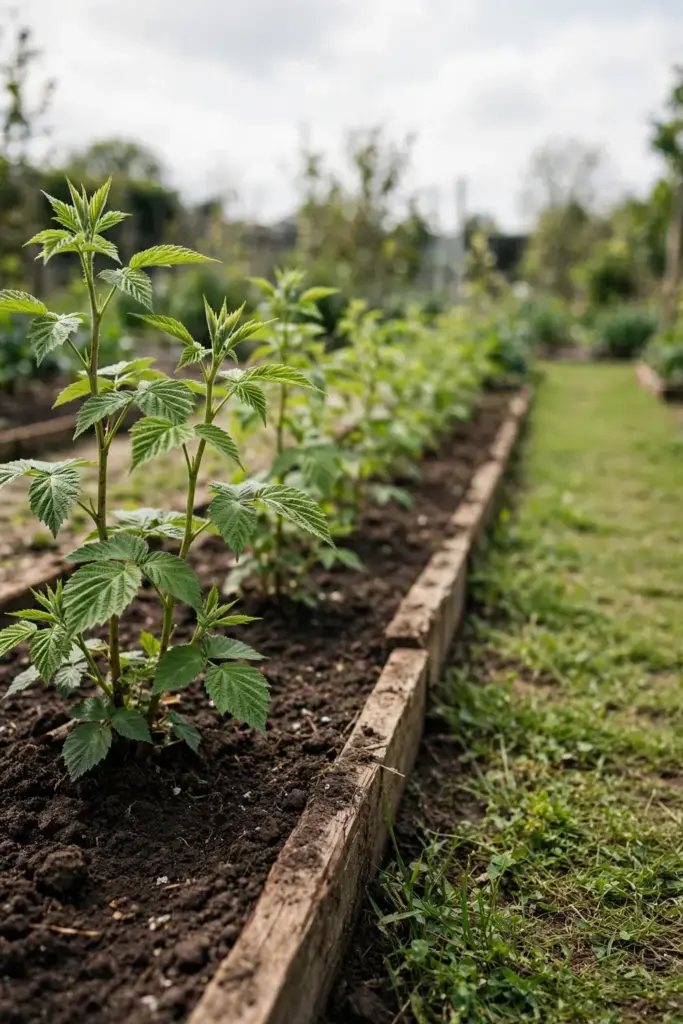
Plant Latham or Nova where leaf spot has appeared. Both are summer-bearing red varieties that resist raspberry leaf spot. Skip Boyne and Killarney in patches with leaf-spot history, and skip Royalty anywhere leaf spot is present. Royalty canes weaken each year as the disease worsens.
Site new plants in full sun with good air circulation. Sun and moving air dry leaves fast after rain, and dry leaves break the splash cycle at the start. A new patch on a breezy, sunny spot starts with two advantages a shaded, sheltered patch lacks.
If you start from seed, the guide to growing juicy raspberries from seed in five easy steps covers the full path from seed to fruiting cane. Pick the resistant variety first, then follow the planting steps. The variety decision comes before the shovel work.
9. Step 3: Keep Rows Narrow So Leaves Dry Fast
Narrow rows dry fast. Wide rows hold wet air.
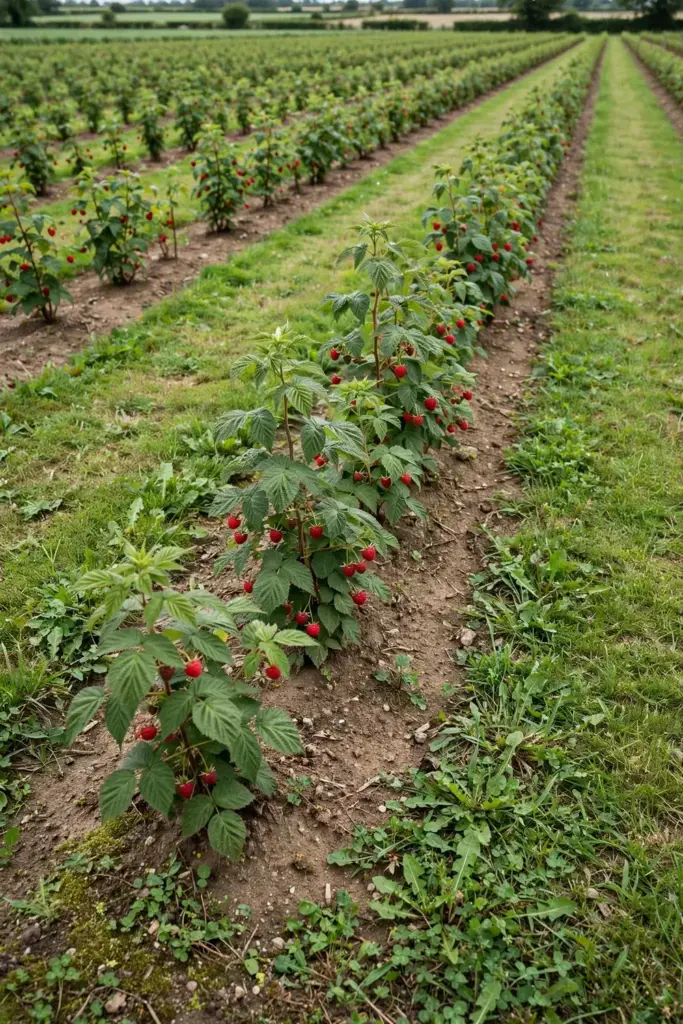
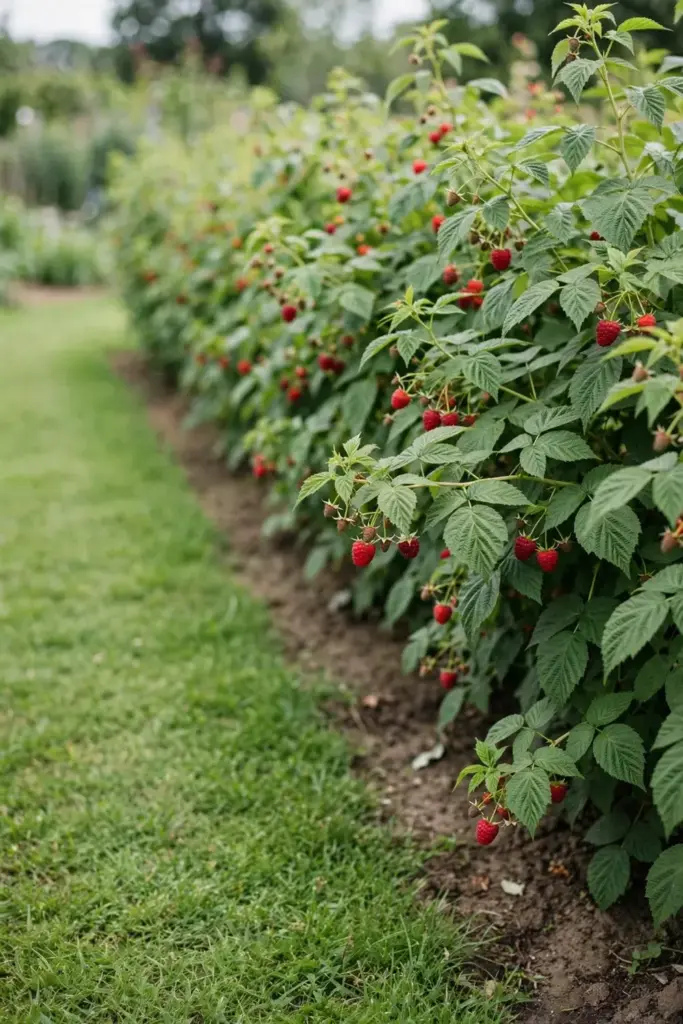
Keep raspberry rows 18 inches wide or less, the width UMN recommends so leaves dry out after rainfall. A narrow row lets sun and wind reach every leaf. A wide row shades its own center and keeps lower leaves wet.
Measure the row at the base of the canes, not at the top. Canes lean outward as they grow, so a row that measures narrow at the top can run wide at the base where the lowest leaves sit. Cut back any canes that push the row past the mark.
A narrow row also dries from both sides. Sun hits the east side in the morning and the west side in the afternoon, and wind passes through instead of around. A wide row dries from the outside in, and the center stays wet longest. The center is where the lowest leaves sit, and those leaves spot first. Thinning, floricane removal, and inspection all go faster when you can reach every cane without pushing through a thicket. The row width decision pays off at every later step, all season long.
10. Step 4: Thin Primocanes During the First Summer
Thin primocanes during the first summer. Thinning opens the canopy so air moves and leaves dry.
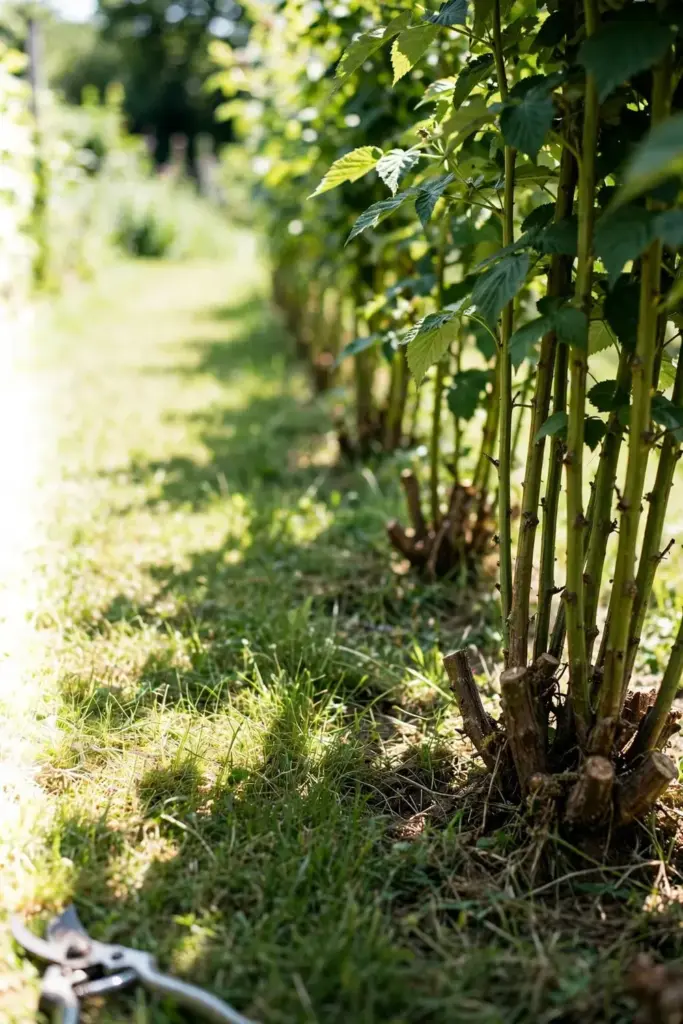
Pull or cut the weakest primocanes first. Leave the strongest canes standing with space between them. A thinned row dries after rain while a crowded row stays damp into the evening. The canes left standing grow thicker and leaf out stronger.
Thin early, while the canes are still young and growing. Early thinning shapes the row before the canopy closes. Late thinning still helps, but it chases a canopy that already trapped a season of wet air.
Thinning is pruning by another name, and the guide to spring pruning techniques covers the cutting basics that carry over to cane thinning. Cut at the base, take the weak canes first, and leave the row open enough that wind passes through it.
11. Step 5: Remove Floricanes After Harvest
Remove floricanes after harvest. Floricanes fruit once, then die, and their spent canes hold the fungus through winter.
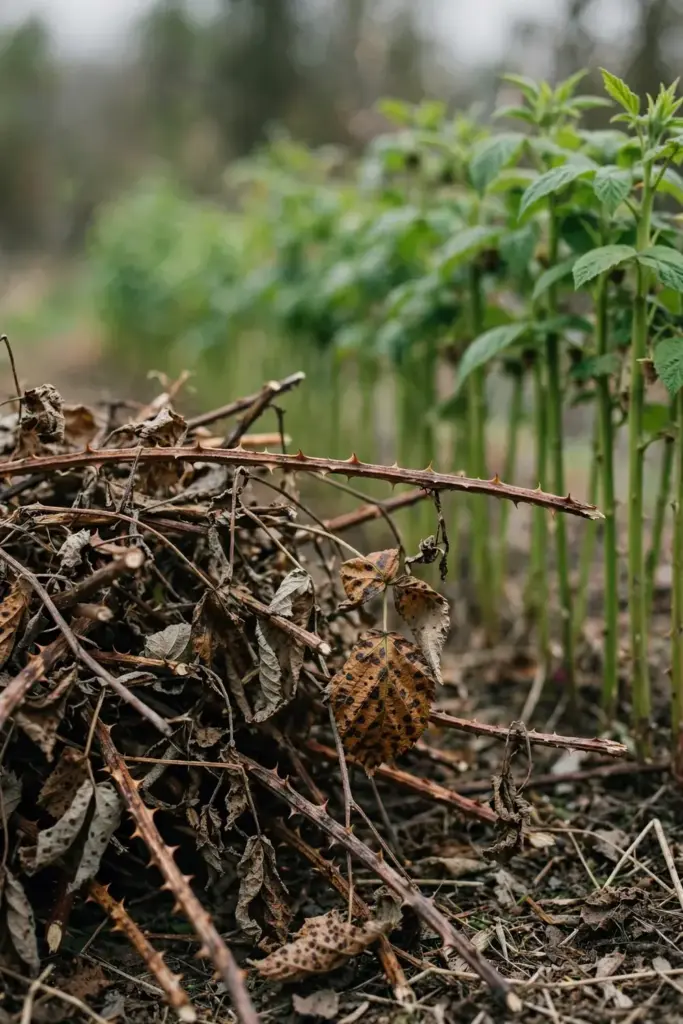
Cut each floricane at the base once harvest ends. Removing them takes the overwintering fungus out of the patch before it can splash onto next year’s primocanes. UKY lists floricane removal as core sanitation, alongside removing all diseased canes.
Bury removed canes or add them to a compost pile. Never leave cut canes lying in the patch, where the fungus overwinters in infected debris and waits for spring rain. The goal is direct: nothing diseased stays in the row.
Work the row once, then check it again. A missed floricane hides among the primocanes and carries the fungus through winter. A second pass catches the canes the first pass missed, and a clean row enters winter with less fungus in place.
12. Step 6: Keep Foliage Dry and Weeds Down
Keep water off the leaves. Splashing water spreads the spores, so every dry leaf is a leaf the fungus cannot reach.
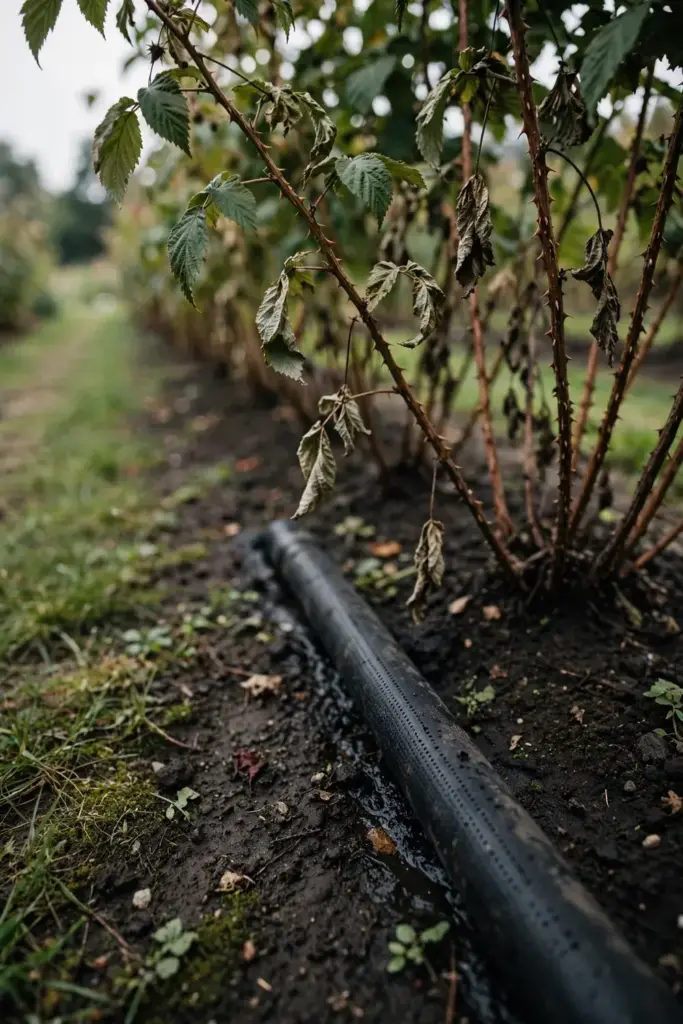
Water at the base of the canes. A soaker hose or a watering can set low puts water on the soil, not on the foliage. Overhead sprinklers do the opposite: they wet the leaves and splash spores upward in one pass, starting infections on a dry day.
Dry foliage breaks the cycle at the cheapest point. No wet leaf means no germination, and no germination means no new spots. Every other step costs time or money. Keeping water off the leaves costs nothing beyond a change in watering habit.
Pull weeds from the row and the row edges. Weeds block airflow at ground level and hold moisture around the lowest leaves. A weed-free row dries faster after rain and after watering, and it leaves the lowest leaves exposed to sun and wind.
Check the row after storms. Rain does the wetting for you, and a weed check after a wet week keeps airflow open when the fungus spreads fastest. The work is small. The drying it buys is the whole point of this step.
13. Step 7: Use Fungicide Only in Patches With Severe History
Fungicide is the last step, not the first. Cultural practices carry most patches, and fungicides usually are not necessary when those practices are in place.
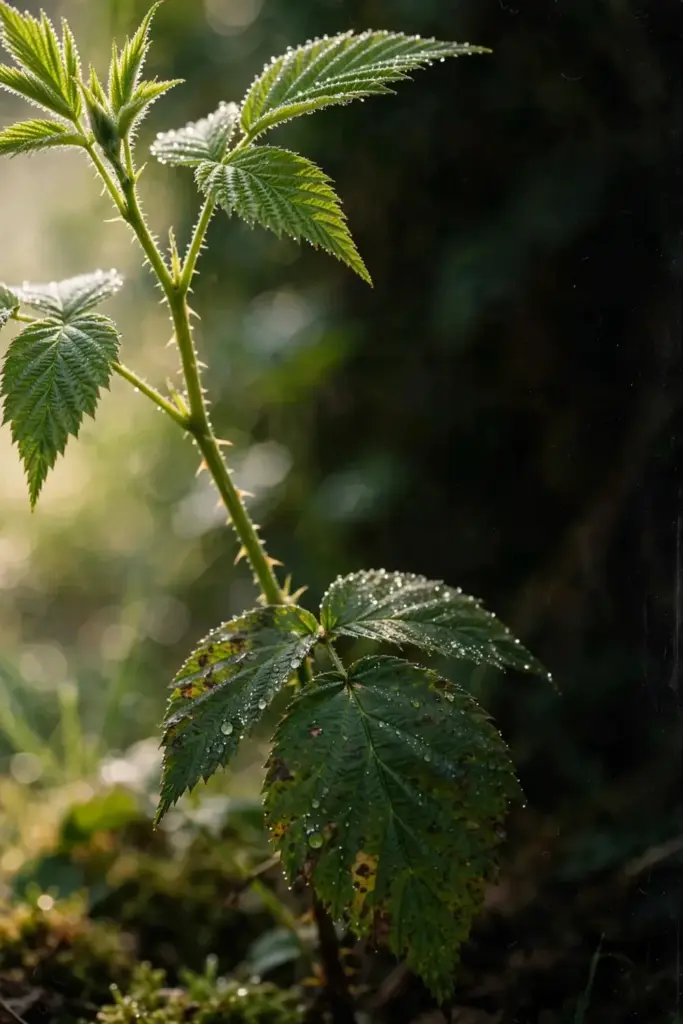
Reach for a spray only in patches with a history of severe leaf spot. In those patches, fungicides can slow the spread of the disease. A patch with light spotting and strong primocanes gains nothing from a spray program, and spraying it wastes money and effort.
Direct sprays toward recently sprouted canes. Young, growing canes are the tissue the fungus can infect, so protection belongs on new growth. Apply sprays according to label instructions and repeat through the season as long as new leaves and shoots keep developing.
Spray timing follows new growth, not the calendar. New leaves keep emerging all summer, so protection must cover each new flush. A single early spray leaves later growth unprotected. The label sets the repeat interval for your product, and the season sets the end: stop when new leaves and shoots stop developing. Read the label for your product and your region before you spray, and follow it exactly. No home recipe replaces the label, and no spray cures leaves that already carry spots.
14. Living With Leaves That Are Already Spotted
Spotted leaves do not heal. No spray restores a leaf that already carries spots, so the work shifts to protecting the growth that comes next.
Keep the cultural steps running. Narrow rows, thinned primocanes, and weed-free ground dry the new leaves that still emerge. Floricane removal after harvest takes the overwintering fungus out of the patch. Each clean season lowers the pressure on the next one.
Expect weaker canes after a heavy defoliation year. Primocanes that lost most of their leaves grow small, fruit lightly, and face higher winter injury risk. A light crop from a weakened cane is normal. The cane earns another season if it leafs out strong next spring.
Plan the replant while the patch recovers. Mark the rows where leaf spot ran hardest, and put Latham or Nova in those rows when you replant. A resistant variety in a cleaned row starts the next cycle with better odds than the variety that just failed there.
Watch next year’s primocanes first. New canes show the first spots, and early spotting tells you whether the cleanup worked. A clean spring means the row starts fresh. Fresh spotting means the row needs the full steps again, starting with thinning and airflow. Either way, the check takes minutes and answers the only question that matters: did the pressure drop?
15. Frequently Asked Questions
Raspberry leaf spot rarely kills a cane outright. Heavy leaf loss on primocanes stops cane growth, cuts fruit production, and raises winter injury risk, and canes weakened year after year decline. Floricane leaf loss near harvest matters less, since those leaves die naturally. The real danger is cumulative: repeated defoliation weakens canes until winter finishes them.
Most patches do not need a spray. Good cultural practices carry the disease: resistant varieties, narrow rows, thinned primocanes, floricane removal, and dry foliage. Fungicides enter only in patches with a history of severe leaf spot, using copper, captan, or myclobutanil per label, directed at recently sprouted canes. A light patch gains nothing from a spray program.
The fungus overwinters in infected leaf debris and in spots on canes. Spring rain splashes spores onto young leaves, and the disease spreads all summer while young leaves keep emerging. Fall cleanup breaks the cycle: remove floricanes after harvest, bury or compost the cut canes, and clear debris from the row. A patch that skips cleanup starts each spring with the fungus already in place.
Bury removed canes or add them to a compost pile. Never leave cut canes lying in the patch, since the fungus overwinters in infected debris. Remove floricanes after harvest and take out any diseased canes you find. A second pass catches the canes the first pass missed, and a clean row enters winter with less fungus in place.
Raspberry leaf spot targets raspberries. Blackberries carry their own leaf spot disease, Septoria leaf spot, which is specific to blackberry. The two diseases share a naming history: many Sphaerulina species were once classified as Septoria. Management runs the same in both crops: airflow, sanitation, and resistant varieties. Treat each crop on its own symptoms.
16. Where to Go From Here
Start with the walk. Check every raspberry cane and sort the spots: primocane or floricane, light or heavy.
The order is triage, variety, row width, thinning, floricane removal, dry foliage, and spray only as a last resort. Walk the patch today. Mark the rows that spotted hardest. Cut the floricanes after harvest. Bring shears, a marker, and a bag for the cut canes.
Next spring, start where the fungus starts. Check cane bases for spots, watch the first young leaves, and thin early while the canopy is still open. The season runs on the same order: triage first, culture always, spray last. A patch that follows that order loses fewer leaves every year it follows it. The patch you walk today is the patch you harvest next year, and the steps above are how you keep it leafy.
For the wider bramble picture, the bramble bonanza guide to raspberries and blackberries covers both crops together, from planting to harvest.