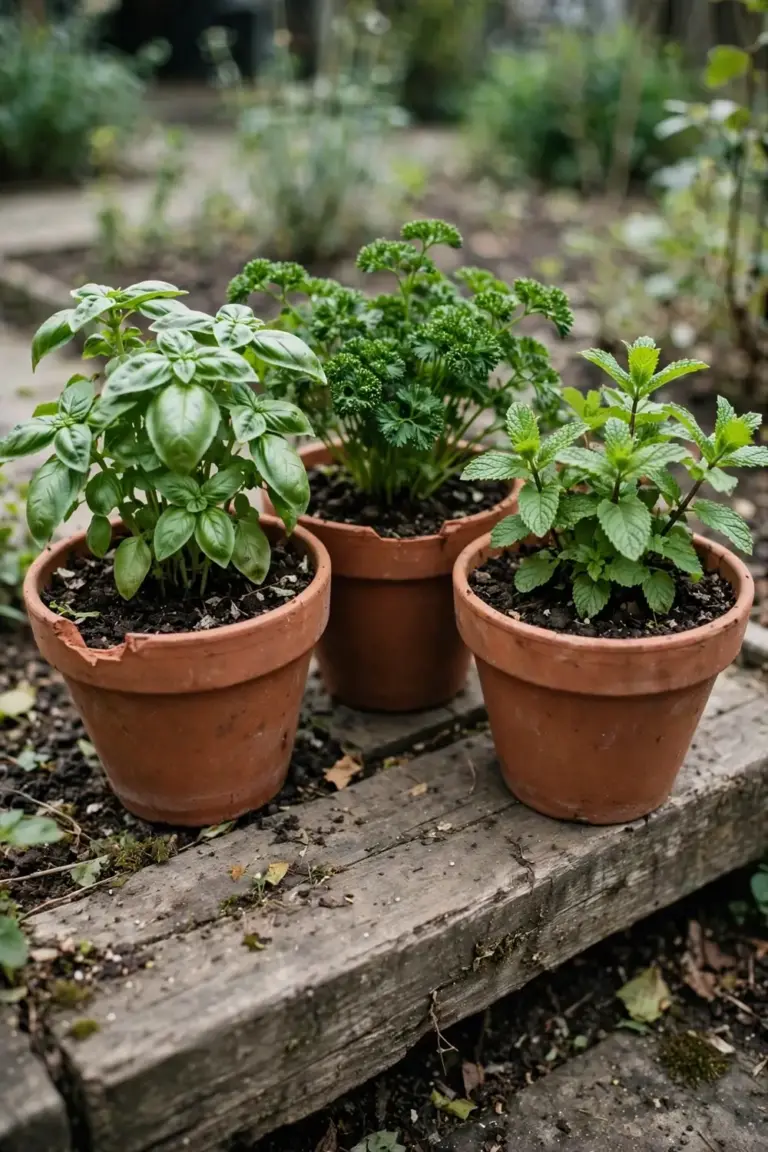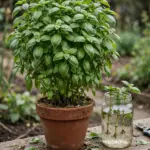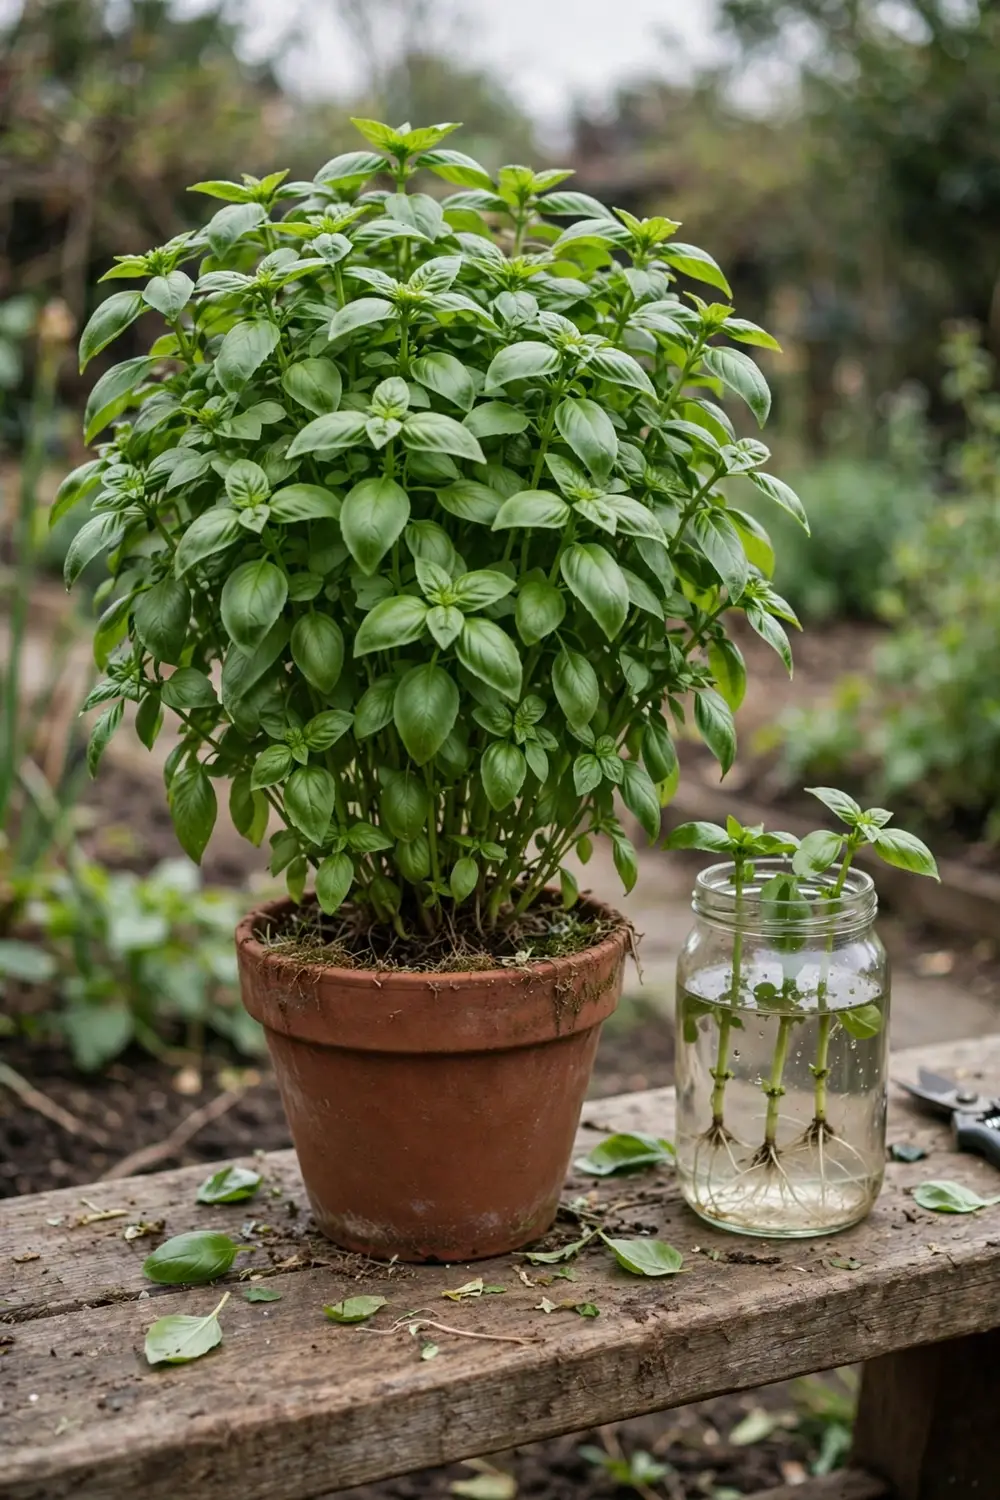

Snip a 10.2 to 15.2 cm stem from a healthy basil plant, strip the lower leaves, and stand it in a jar of water. Roots form in 7 to 14 days, and the cutting becomes a new plant once roots reach 5.1 cm. That is how to grow more basil from one plant using cuttings in Australia, and one mother plant can supply cuttings all warm season.
I root the pinchings from my weekly harvest instead of composting them, because each pinched tip is a free plant. A cutting grows into the same cultivar as the mother plant. Seed-grown plants vary. A cutting skips germination and carries the mother plant forward, which is why sterile cultivars come from stem cuttings or bought transplants, according to Penn State Extension’s basil guide.
The rest of this page is 11 moves, from picking the mother plant to timing cuttings to the Australian warm season. Work in the morning. Cut with clean shears. Root on a bright windowsill out of direct sun.
1. Pick a Mother Plant Worth Multiplying
Pick a healthy, actively growing basil plant with no signs of disease or pests. The mother plant sets the quality of every cutting. A stressed mother plant gives weak cuttings that root slowly or fail.
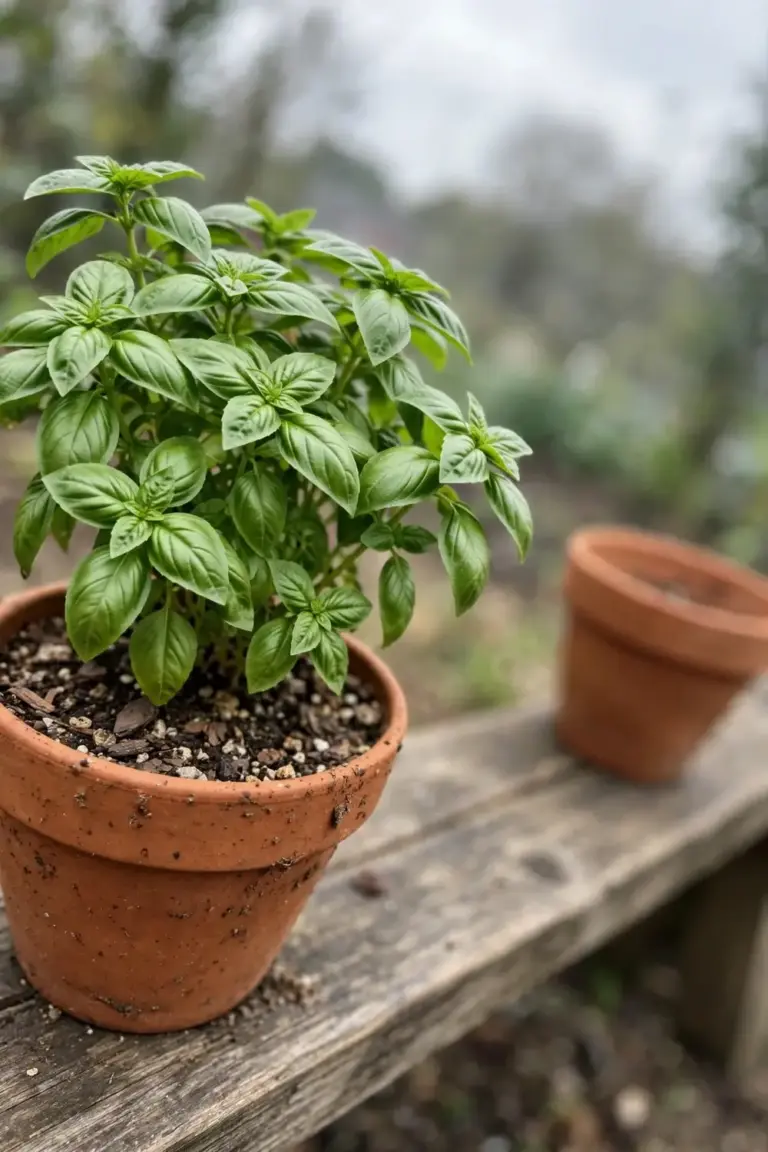
Choose stems at least 10.2 cm long with several sets of leaves. The Spruce propagation method starts with a stem at least 4 inches long carrying several sets of leaves, cut just below a leaf node. Wait until the mother plant carries at least six leaves before taking a cutting. Penn State Extension advises pruning a basil plant above the second leaf set after the first six leaves appear, so six leaves mark the point where the plant can spare a stem.
Skip flowering stems. The Spruce method starts with a stem carrying no flowers. Cut one stem first. Watch it root. Then cut more. One rooted cutting proves the mother plant, the jar, and the windowsill all work.
Check the mother plant before cutting. Look at the undersides of the leaves, where pests and early disease hide. Skip plants with yellowing leaves, blackened patches, or visible pests. A cutting from a sick plant carries the problem into the jar, and no jar of water cures it. A healthy mother plant gives cuttings that root fast and grow hard. If the only basil on hand looks sick, buy a fresh plant and grow it on for a few weeks before taking cuttings.
2. Snip 10.2 to 15.2 cm Cuttings Below a Node
Cut a 10.2 to 15.2 cm stem just below a leaf node. A node is the bump where leaves join the stem, and roots emerge from nodes. Cut below the node, not between nodes. A cutting with no node below the waterline has nowhere to root from.
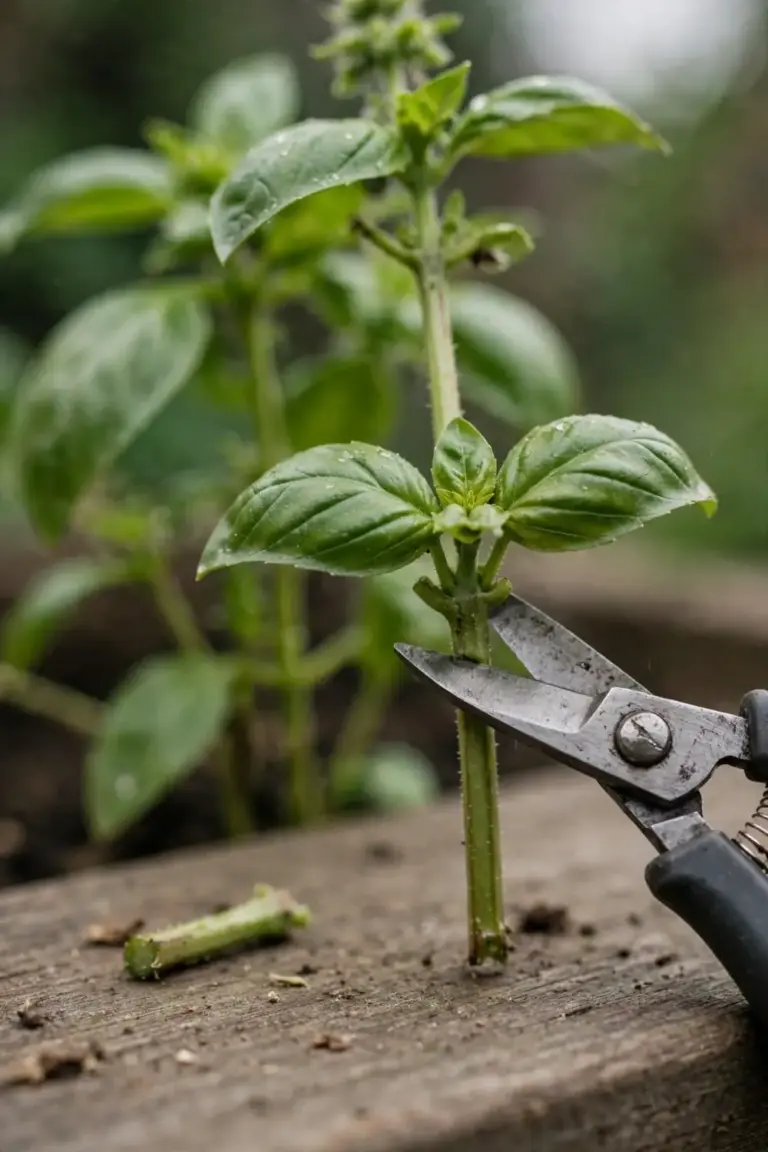
Use clean, sharp scissors or shears. The Spruce method calls for sterilized scissors or shears to prevent introducing disease to cuttings. Wipe the blades clean before cutting. A crushed stem drinks poorly. A clean cut heals fast.
Cut in the morning when stems hold the most moisture. Hold the stem steady. Cut once. A second cut frays the stem end and invites rot. Drop the cutting straight into water or onto a damp cloth while preparing the next one. Cuttings left on a dry bench wilt fast. A damp cloth buys time between the cut and the jar.
Count the nodes on the cutting. A cutting with two nodes below the waterline roots from both. A cutting with one node roots from one. More nodes mean more root starts, and more root starts mean a stronger plant at potting time. Take a longer cutting when the mother plant can spare it. A 15.2 cm cutting with three nodes beats a 10.2 cm cutting with one.
Keep the stripped leaves. The leaves pulled off the lower stem still cook. Drop them into a salad, a pasta pot, or a pesto batch the same day. Only the leaves that sat in water or turned slimy belong in the bin.
3. Strip the Lower Leaves and Keep Two Sets on Top
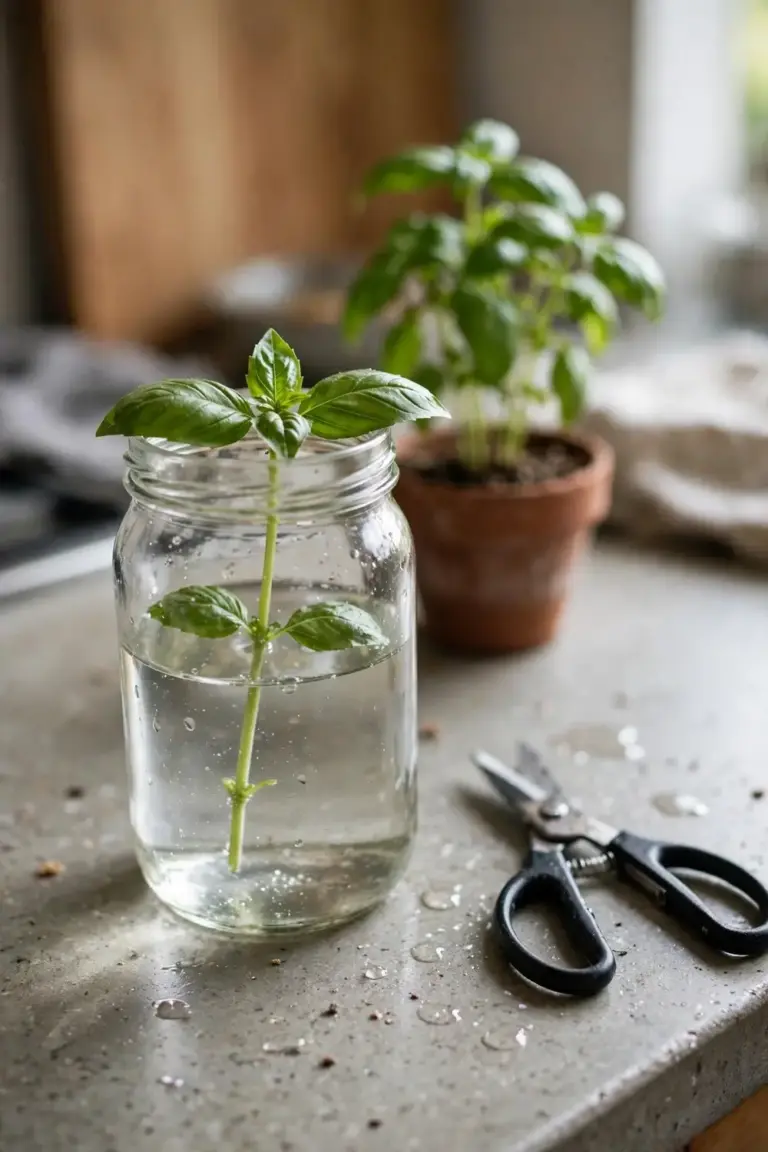
Strip every leaf that would sit below the waterline, and keep the top two sets of leaves. Leaves underwater rot. The water goes cloudy. The cutting fails. The Spruce method removes the leaves from the bottom 5.1 cm of the cutting so no leaf sits below the waterline.
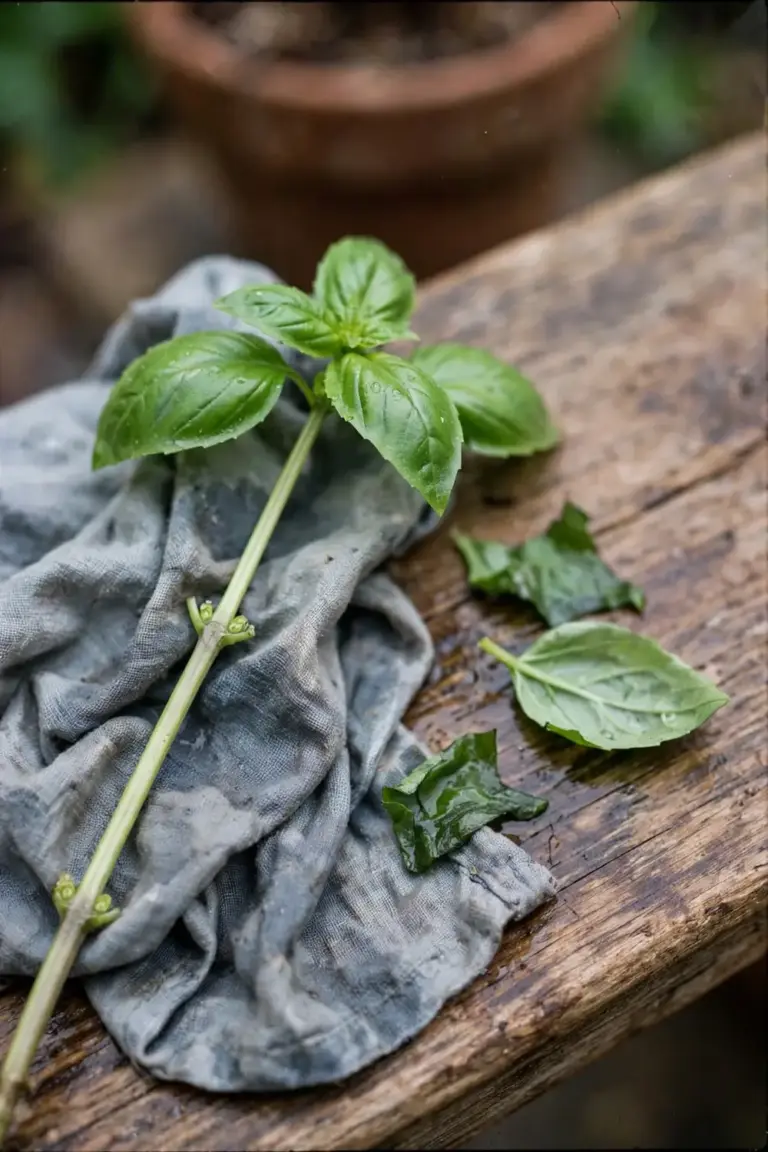
Keep the top leaves. They feed the cutting while roots form. A cutting with no leaves starves. A cutting with too many leaves loses moisture faster than it can replace it. Two sets on top balance food and water loss.
Snip off any flower buds on the cutting. The Spruce method starts with a stem carrying no flowers. A bud pulls energy toward bloom. A cutting needs that energy for roots. Pinch buds off with fingertips or snip them with scissors.
If the top leaves look large and floppy, the cutting loses water through them. Shorten nothing. Move the jar to a cooler bright spot and wait.
4. Root Basil Cuttings in Water on a Bright Windowsill
Stand the cutting in a jar of water with the nodes submerged and the leaves above the waterline. Fill a glass or jar with lukewarm water and place the cutting in it, with the leaf nodes submerged and the leaves above the waterline to prevent rot, according to The Spruce propagation guide. Use a clear jar. Root growth stays visible, and a cloudy jar warns early.
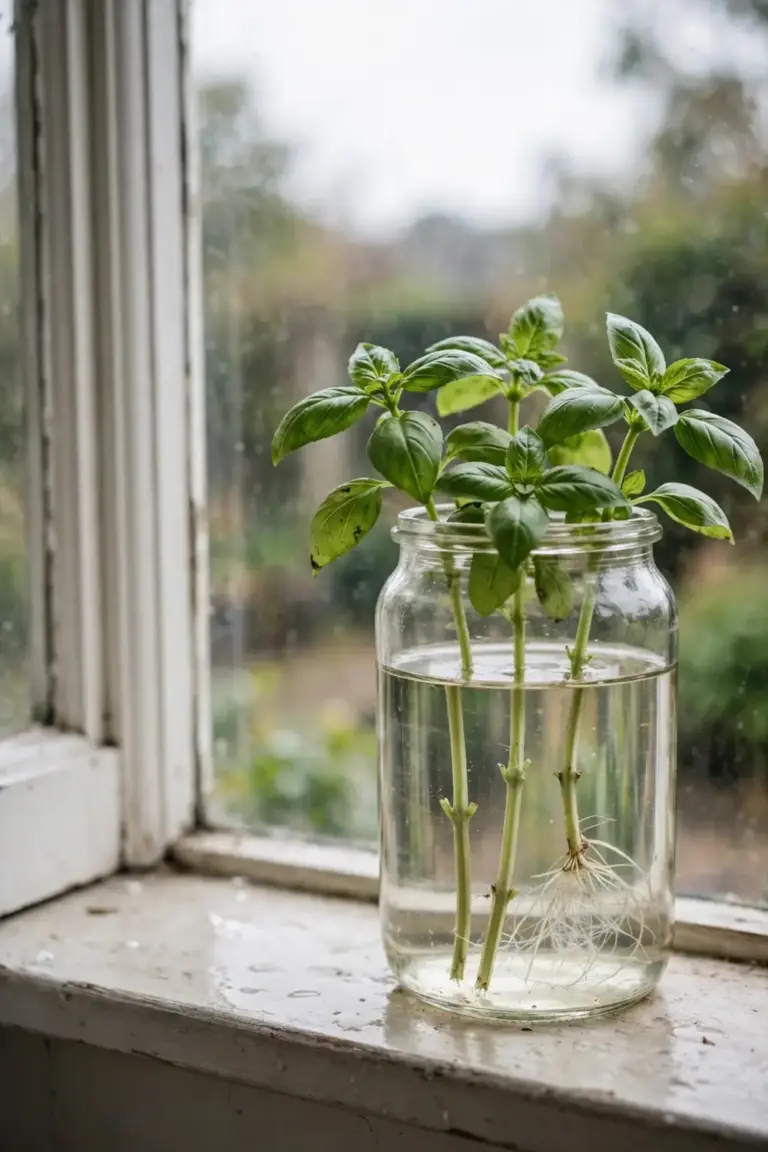
Put the jar in bright, indirect light. A windowsill works. Direct sunlight overheats the water and stresses the cutting. In Australia, a north-facing windowsill takes the harshest sun, so an east-facing windowsill or a bright south-facing one suits cuttings better.
Change the water every 2 to 3 days to keep it fresh. The Spruce guide advises replacing the water every 2 to 3 days to prevent bacterial growth and encourage healthy root development. Roots start forming after 7 to 14 days. Wait until roots reach at least 5.1 cm before transplanting. Short roots tear in soil. Long roots tangle in the jar.
Roots slow to appear mean the jar sits too cold, too dark, or in stale water. Check warmth first. The jar needs a warm room, bright indirect light, and fresh water. A cutting that wilts on day one often recovers overnight once the water stays fresh. A stem that turns soft or black will not recover. Discard it and start again with a fresh stem.
5. Root Cuttings in Soil for Sturdier Roots
Push the cutting 5.1 cm deep into moist, well-draining potting mix. The Spruce soil method fills a small pot with a light, well-draining potting mix, makes a hole, and inserts the cutting about 2 inches deep, then presses the soil around the stem to make it firm. Water lightly. Wet the soil, but do not soak it. Basil cuttings rot in waterlogged mix.
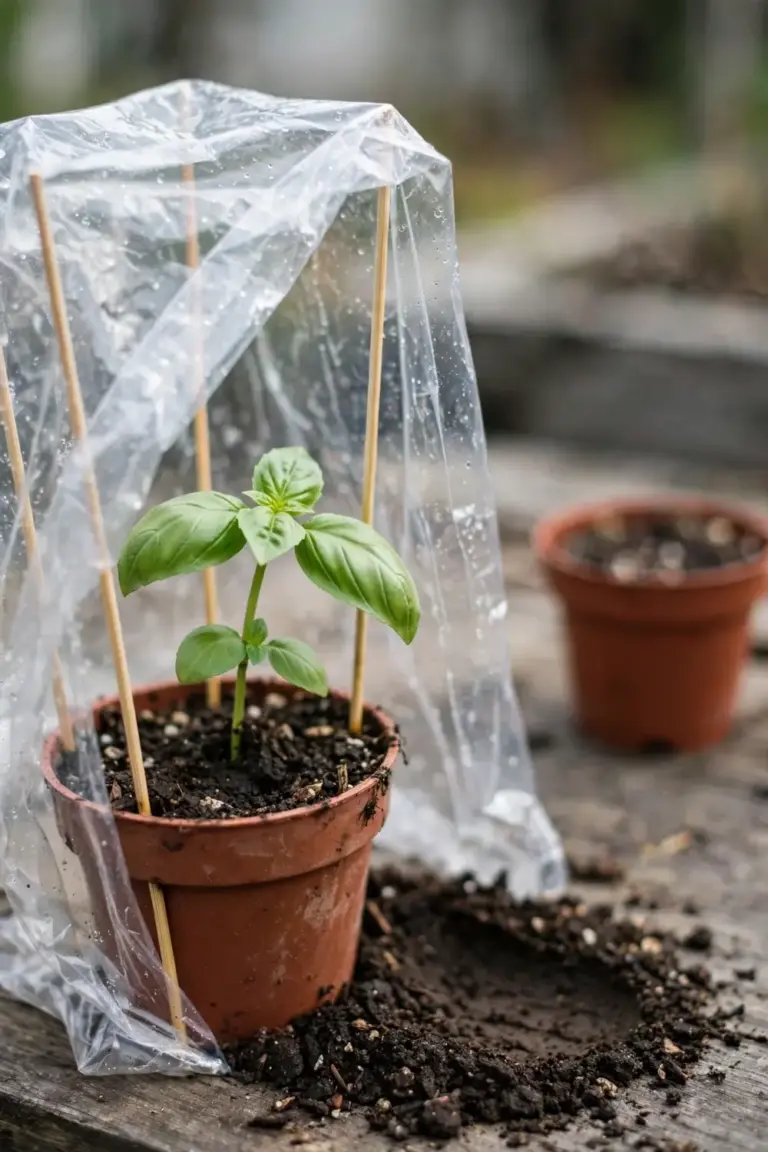
Dipping the cut end in rooting hormone powder is optional. The Spruce guide notes the step is optional but helps with growth. A plastic bag or clear dome over the pot holds humidity. Keep the cover off the leaves. A cover touching leaves traps moisture on them and invites mold.
Check for roots after 2 to 3 weeks with a gentle tug. The Spruce guide says roots have formed if the cutting resists a gentle tug after 2 to 3 weeks. Then remove the cover and care for the cutting like a regular plant. A cutting that slides out has no roots yet. Leave it alone and test again in a few days.
| Method | Roots Appear | Transplant Signal | Best For |
|---|---|---|---|
| Water | 7 to 14 days | Roots 5.1 cm long | Beginners, visible progress |
| Soil | 2 to 3 weeks | Tug resistance | Sturdier roots, no water-to-soil shock |
Soil-rooted cuttings carry sturdier root systems than water-rooted ones, according to Better Homes and Gardens, but they take longer to root. Water shows progress. Soil skips the transplant shock step. Try both methods and keep the one that fits the kitchen bench. A small pot of seed-starting mix works for soil rooting, and the seed starting guide covers mix and moisture in more detail.
Choose water when the goal is speed and certainty. Roots show in the jar, and a failed cutting shows early. Choose soil when the goal is a plant that never leaves its pot. Soil-rooted cuttings skip the tender water-to-soil move entirely. Run both methods side by side on the first batch. The comparison teaches more than any single method.
6. Pot Up Rooted Cuttings at 5.1 cm of Root
Move the cutting into soil once roots reach 5.1 cm long. The Spruce guide advises transplanting once roots are at least 2 inches long, because shorter roots tear during potting while much longer ones tangle and snap. Five centimeters hits the middle.
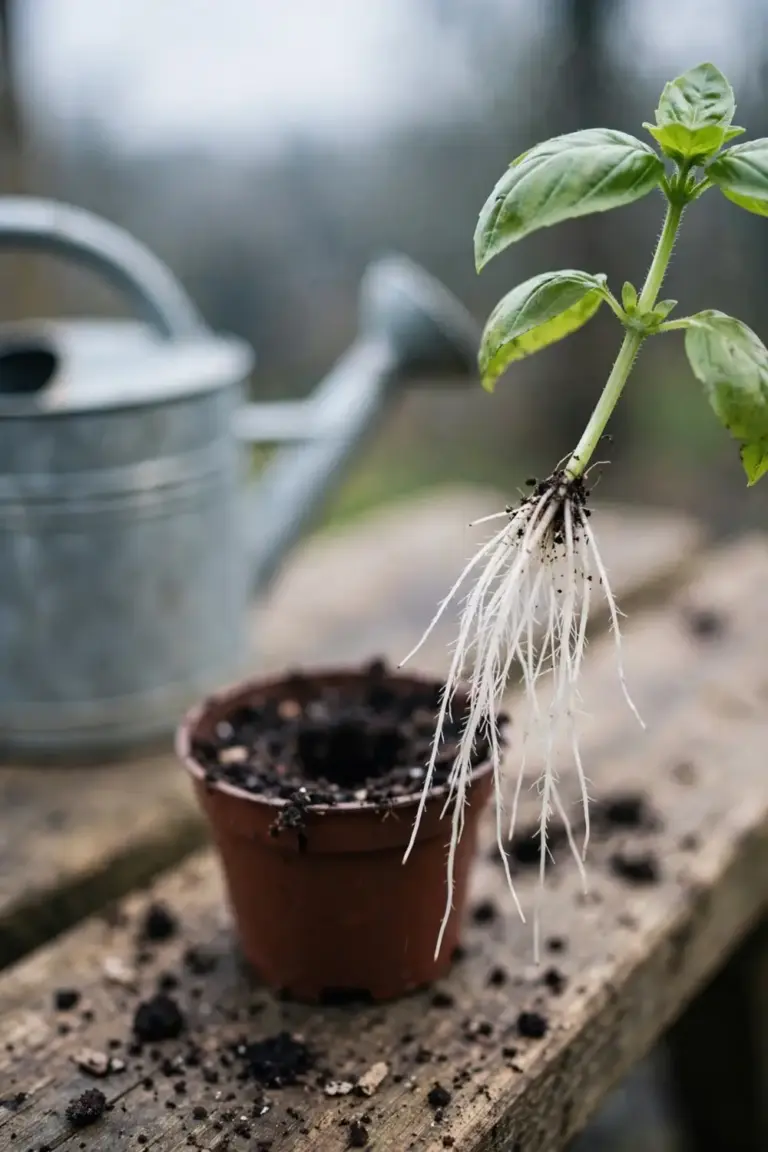
Plant the cutting in a small pot with moist, well-draining soil. Water thoroughly and keep the cutting in indirect light for a few days to help it adjust, according to The Spruce guide. The first days in soil stress water-formed roots. Shade softens the move. Direct sun on a freshly potted cutting wilts it fast.
Start in a small pot, not a large one. A small pot dries at a sane pace. A large pot holds wet mix around tiny roots and invites rot. Move the cutting to a larger pot once new leaves show and roots fill the small pot. The pot upgrade waits for growth, not the calendar.
Roots circling the drainage holes signal the upgrade. Tip the plant out gently and look. White roots threading through the mix mean the cutting has outgrown the pot. Brown or mushy roots mean overwatering, not a pot problem. Fix the watering first. A bigger pot never rescues a drowned cutting.
Fill the pot with a free-draining potting mix and check the drainage holes. A pot with no drainage holes drowns the cutting. Basil likes soil in the pH range of 6.0 to 7.5, according to University of Minnesota Extension. Bury the roots and the bare stem up to the lowest leaves. Firm the mix around the stem. Water until it drains from the bottom.
7. Harden Off Cuttings Before Moving Them Outside
Move indoor-rooted cuttings outside over several days, not in one jump. A cutting raised on a windowsill has never met wind, direct sun, or a cold night. One hard day outside can flatten it. The Spruce guide keeps a transplanted cutting in indirect light for a few days to help it adjust.
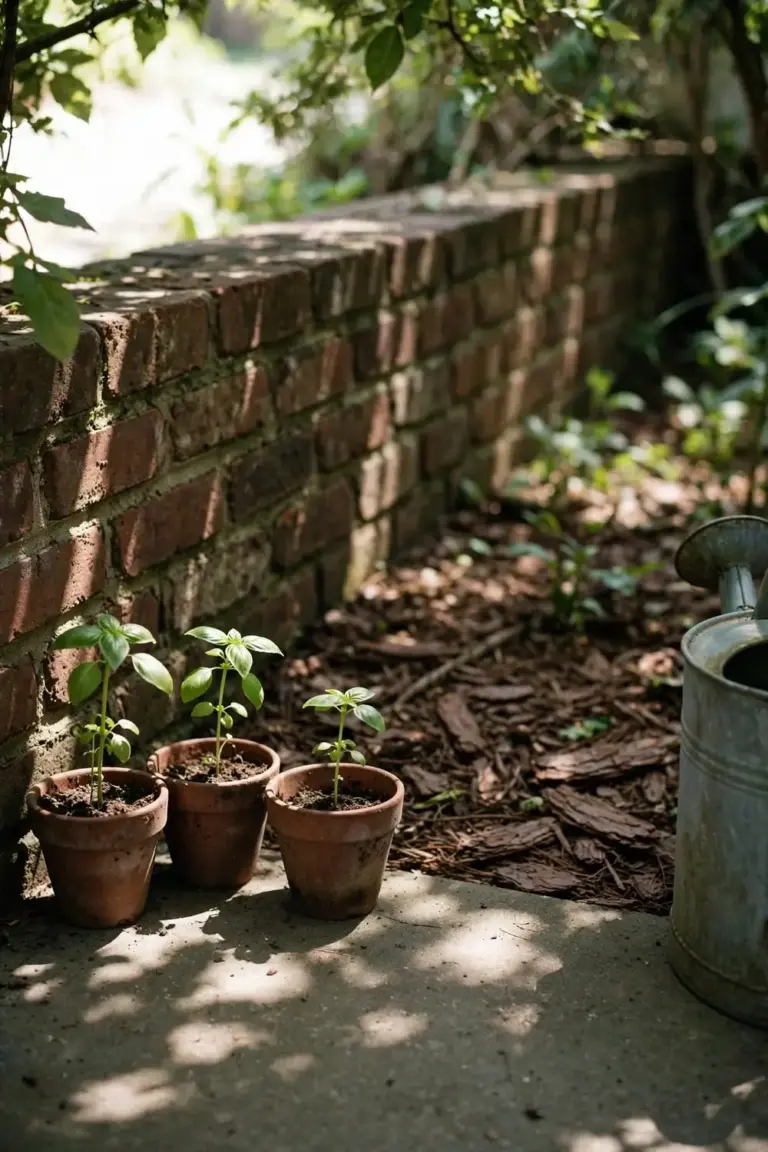
Start with a shaded, sheltered spot for a short spell. Wind is the quiet killer here. A cutting that stood still on a windowsill meets moving air for the first time, and moving air strips moisture from leaves fast. A sheltered corner behind a wall or a large pot breaks the wind.
Lengthen the outdoor time each day. Bring the pot back inside at night. After several days of lengthening spells, the cutting stays out. Leaves that wilt in the first hour need more shade, not more water. Pale patches on leaves mean sun scorch. Move the pot back a step and lengthen the spells more slowly.
Move cuttings outside only after the last frost and once the soil has warmed. Penn State Extension advises transplanting or seeding after the last frost date and after the soil has warmed to at least 60 degrees Fahrenheit (15.5 degrees Celsius). Penn State Extension puts germination at 70 degrees Fahrenheit (21 degrees Celsius). Cold soil stalls a young cutting. Warm soil grows it.
Spread mulch around the base once the cutting stands outside. University of Minnesota Extension recommends a 2 to 3 inch (5.1 to 7.6 cm) mulch of grass clippings, straw, compost, or ground-up leaves to retain soil moisture and minimize weeds. The mulching guide covers mulch materials and depth. Keep mulch off the stem. Mulch piled against the stem holds moisture on it and invites rot.
8. Pinch the Mother Plant Above the Second Leaf Set
Pinch the mother plant above the second leaf set once it carries six leaves. Penn State Extension advises pruning a basil plant above the second set of leaves after the first six leaves appear, and re-pruning every branch back to its first set of leaves once it carries six to eight leaves. Pinching stops one tip and starts side branches. The plant grows bushy instead of tall.
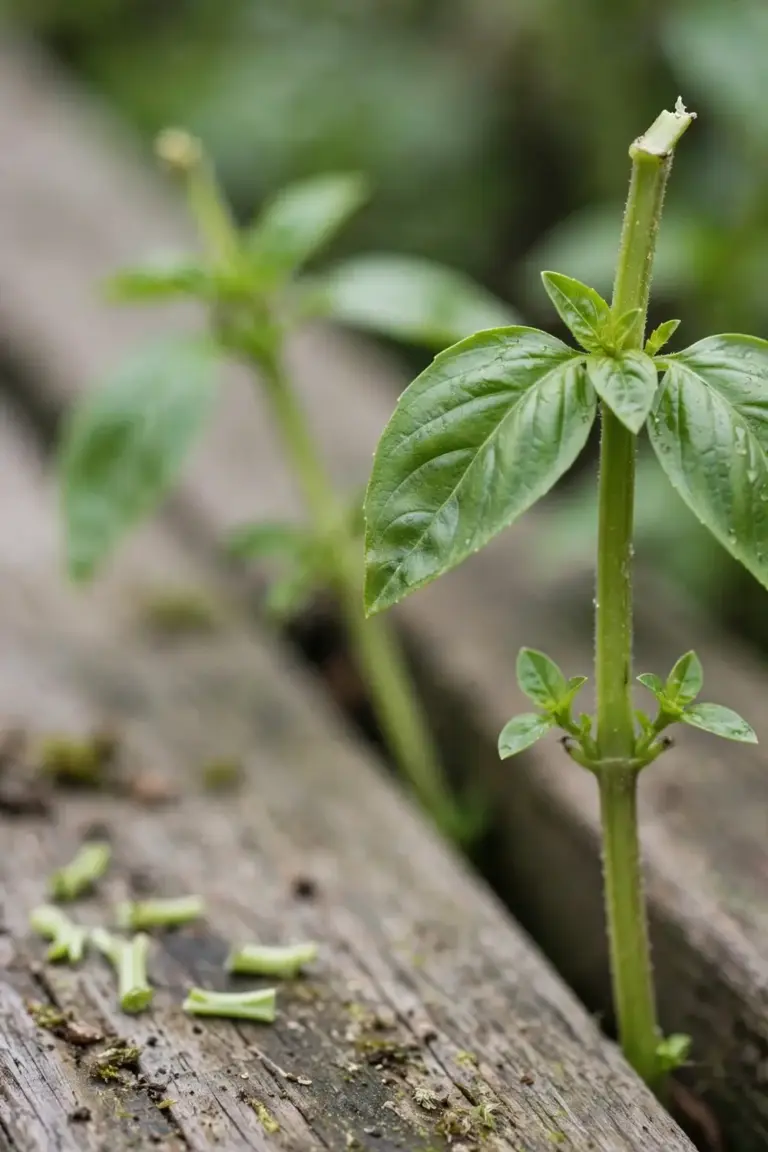
Pinch out growing tips to retard flowering and to promote branching and leafy growth, according to Penn State Extension’s basil guide. Every pinched tip is a cutting. Root the pinchings instead of composting them. Pinching and propagation share one cut.
Pinch with fingertips or scissors. Cut just above a leaf pair, and watch what follows. New growth appears at the cut point. University of Minnesota Extension notes new growth at the cut point should be visible within a week when stems are cut just above a pair of leaves. A ragged tear heals slowly. A clean pinch heals fast. The spring pruning techniques guide covers clean cuts on woody plants, and the same clean-cut rule applies to soft basil stems.
Pinch through the season, not once. A mother plant pinched every week or two stays bushy and keeps throwing up new tips. A mother plant left alone grows tall, sparse, and quick to flower. Each round of pinching gives fresh cuttings. The mother plant and the cutting jar feed each other all season.
9. Feed and Water the Mother Plant for Steady Cuttings
Water the mother plant deeply and feed it lightly. A starved mother plant gives weak cuttings. A drowned mother plant rots. Steady water and light feeding keep cuttings coming all season.
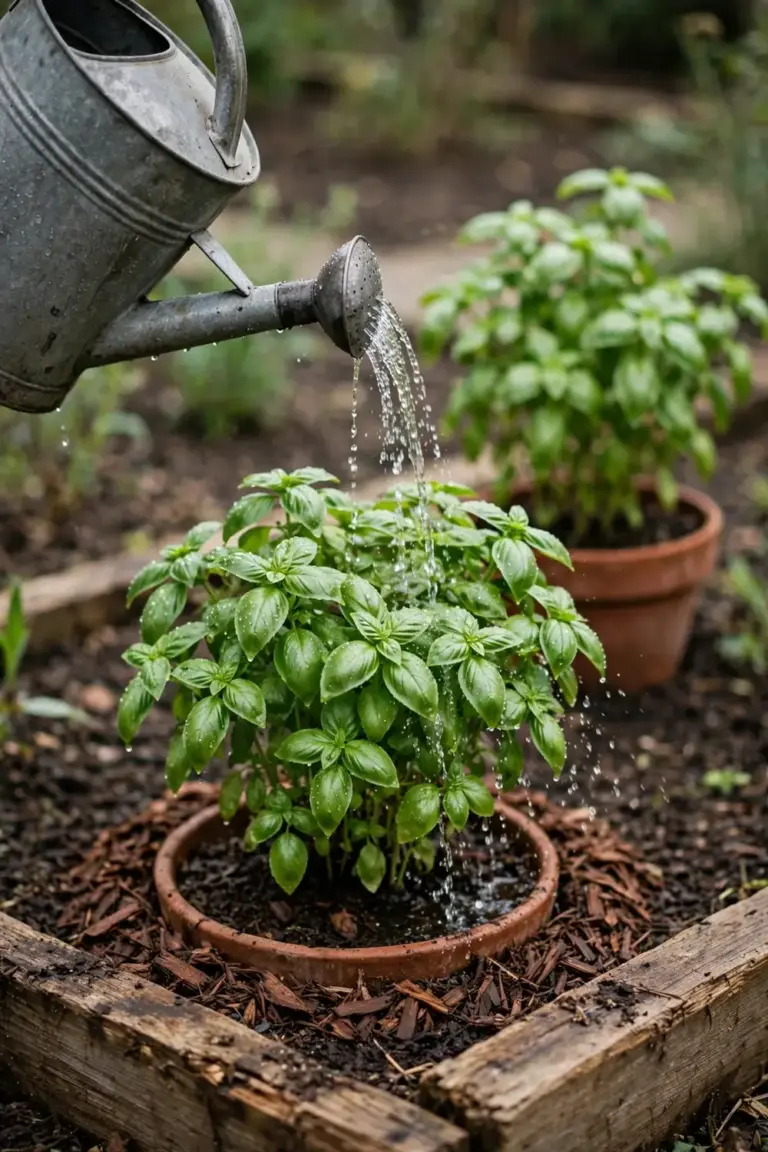
Water deeply every 7 to 10 days, depending on rainfall. University of Minnesota Extension advises deep watering every 7 to 10 days so roots receive enough moisture. Plants in containers dry out faster than those in garden beds, so water container plants more often. Check the top of the mix with a finger. Dry on top means water. Wet on top means wait.
Watch the plant in the heat of the day. A basil plant that wilts at midday and recovers by evening wants water. A basil plant that stays wilted in the morning has a root problem, not a water problem. Check drainage before adding more water. A pot with no drainage holes drowns the plant no matter how careful the watering looks.
Fertilize sparingly. University of Minnesota Extension recommends a 5-10-5 commercial fertilizer once or twice during the growing season at the rate of 3 ounces per every 10 feet of row (85 g per 3.05 m of row). For containers, use a liquid fertilizer at one-half the label recommended strength every 4 to 6 weeks for indoor plants and every 3 to 4 weeks for basil grown outside in containers. Full-strength fertilizer pushes soft, flavorless growth. Half-strength keeps the plant steady.
Bed plants and pot plants feed on different schedules. A bed plant draws on soil reserves and needs fertilizer once or twice a season. A pot plant lives in a small volume of mix that leaches with every watering, so it needs light liquid feeds more often. Match the schedule to the home. A pot on a sunny balcony eats more than a plant in a rich bed.
Pale leaves and slow growth mean the plant wants feeding. Dark green, soft, floppy growth means it got too much. Feed the pale plant at half strength and watch for a week. Skip the feed on the floppy plant and let it grow hard before feeding again. The leaf color reads the feeding better than any calendar.
10. Keep Flower Buds Off Both Mother and Cuttings
Pinch off flower buds as soon as they appear. After six weeks, watch out for early flowering, according to Penn State Extension. If flower buds do emerge, cut or pinch them off. The flavor will be adversely affected if the plant is allowed to flower.
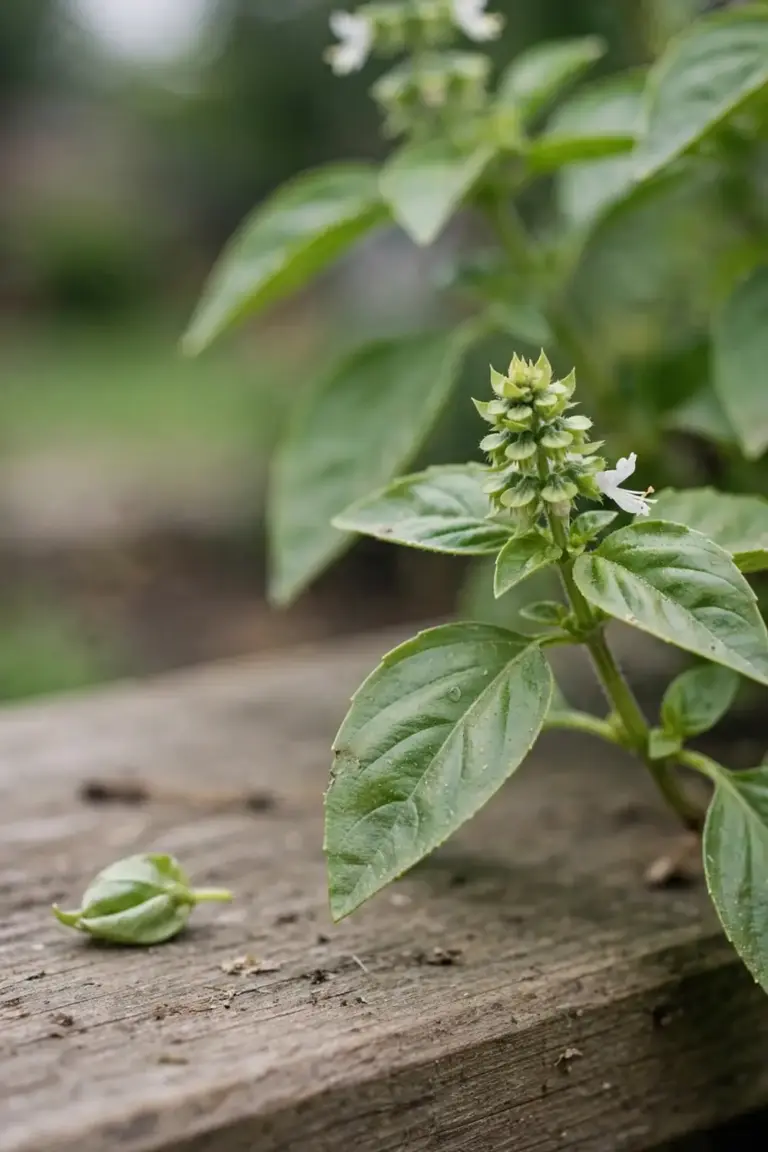
Flowering ends leaf production. University of Minnesota Extension warns that a basil plant allowed to flower and form seed becomes woody, yields considerably less, and turns bitter. One missed bud becomes a flower spike. One flower spike tells the plant the season is over.
Check the mother plant and the cuttings every few days in warm weather. Buds hide between the top leaves. Pinch buds off with fingertips. A cutting that flowers before rooting rarely roots at all. A mother plant that flowers stops giving cuttings worth taking.
Let one plant flower on purpose late in the season. Penn State Extension notes nectar-bearing basil flowers attract bees, butterflies, and other pollinators, so a flowering plant still earns its place. The flowering plant stops giving cuttings, so pick the weakest mother plant for the job and let the rest keep feeding the cutting jar.
11. Time Cuttings to the Australian Warm Season
Take cuttings through the warm season, from late spring to early autumn in cool and temperate zones. The Spruce guide places the best propagation window between late spring and summer, with basil thriving in temperatures between 70 and 85 degrees Fahrenheit (21 to 29 degrees Celsius) and cuttings rooting fastest in warm, humid conditions. Keep cuttings above 70 degrees Fahrenheit (21 degrees Celsius) for best results.
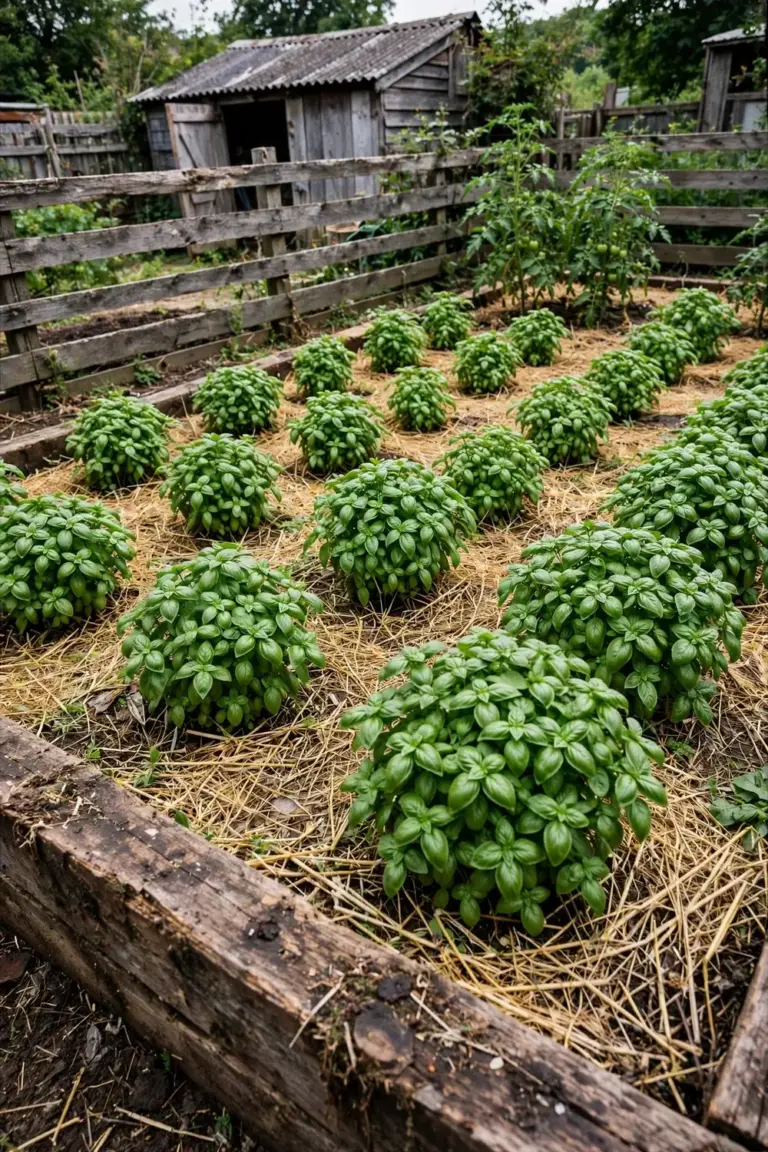
In Australia the warm season runs opposite to northern hemisphere guides. Late spring means November, not May. A guide written for Pennsylvania or Minnesota spring still applies, once the months shift by six. Frost ends the season. Penn State Extension warns temperatures below 40 degrees Fahrenheit (4.4 degrees Celsius) discolor basil leaves, and leaves deteriorate below 50 degrees Fahrenheit (10 degrees Celsius).
Indoors, cuttings root year-round with enough warmth and light. Move potted plants inside before the first cold nights. A bright windowsill and a warm room carry one mother plant through winter. Take fresh cuttings in spring from the overwintered plant.
In hot inland summers, give basil afternoon shade. NurseriesOnline’s Australian basil guide advises a sunny position with protection from hot afternoon sun in hot periods, and soil that never dries out. Morning sun plus afternoon shade keeps leaves tender. All-day harsh sun scorches leaves and pushes the plant to flower early. A pot on a shaded patio edge grows steadier basil than a pot baking against a west-facing wall.
| Region | Start Cuttings | Notes |
|---|---|---|
| Darwin and far north Queensland | Year-round | Frost-free; basil grows all year |
| Brisbane and Sydney | September to February | Seedlings go out from September |
| Melbourne, Perth, and Adelaide | November to February | Wait for soil to warm |
| Hobart and Canberra | November to January | Shortest warm window |
The city windows above follow NurseriesOnline’s Australian basil planting guide, which lists seedlings in the garden from September to February in Brisbane and Sydney, November to February in Melbourne, Perth, and Adelaide, and November to January in Hobart and Canberra. Gardenate’s tropical Australia basil page lists soil temperatures between 64 and 95 degrees Fahrenheit (18 to 35 degrees Celsius) and harvest in 10 to 12 weeks. Warm soil grows basil fast. Cold soil stalls it.
Frequently Asked Questions
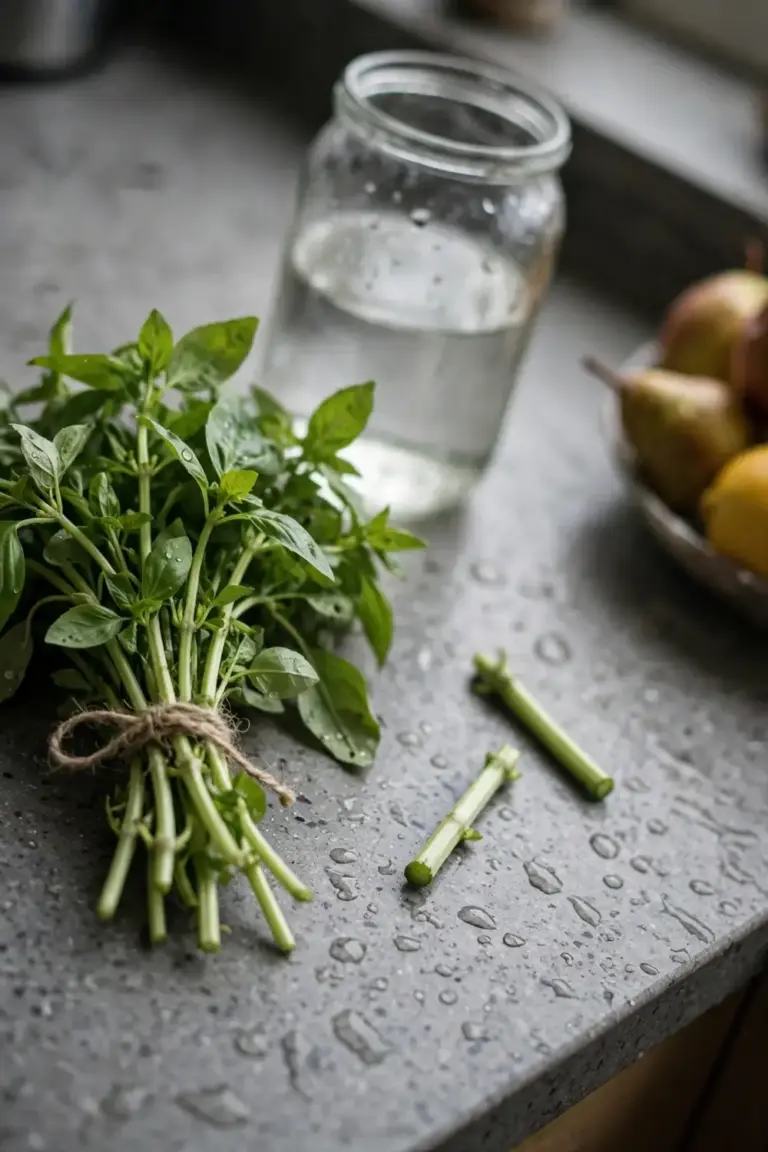
Yes. Pick stems that look fresh and firm, with no wilted or blackened leaves. Cut a 10.2 to 15.2 cm stem just below a leaf node. Strip the lower leaves. Stand it in a jar of water in bright, indirect light. Change the water every 2 to 3 days. Supermarket plants grow crowded in small pots, so separate the stems and give each cutting its own jar. Roots should appear in 7 to 14 days.
No for water rooting. Basil roots freely in water with no hormone. For soil rooting, dipping the cut end in rooting hormone powder is optional. The Spruce soil method notes the step is optional but helps with growth. Skip the hormone on a first batch. Spend the effort on clean cuts, fresh water, and bright indirect light. Those three matter more than any powder.
No fixed number. Take a few cuttings at a time and leave most of the leaves on the mother plant. The leaves left behind feed new growth. Let the mother plant regrow between rounds. A plant pinched regularly branches more and supplies more cuttings over the season. A plant stripped bare in one round stalls for weeks. Small, steady harvests beat one big strip.
Stagnant water, leaves underwater, or a warm still jar breed bacteria. Change the water every 2 to 3 days. Keep every leaf above the waterline. Discard a cutting that turns soft or black, and start again with a fresh stem from a healthy mother plant. A slimy cutting rarely recovers. A fresh cutting in clean water roots fast.
A cutting lives in water for weeks, not months. Plain water carries no nutrients. Pot the cutting up once roots reach 5.1 cm. In winter, keep the potted plant on a bright windowsill in a warm room. Take fresh cuttings in spring from the overwintered plant. One potted mother plant through winter beats a jar of tired stems.
Start With One Cutting This Weekend
Snip one stem. Strip the lower leaves. Stand it in a jar of water on a bright windowsill. Roots appear in 7 to 14 days. Pot it up at 5.1 cm of root. Pinch the mother plant above the second leaf set and root the pinchings too. That is how to grow more basil from one plant using cuttings in Australia. One plant becomes two, then four, and the kitchen never runs out of basil.
The habit matters more than the count. One cutting a week beats ten cuttings once. The jar stays full. The mother plant stays bushy. The kitchen stays supplied.