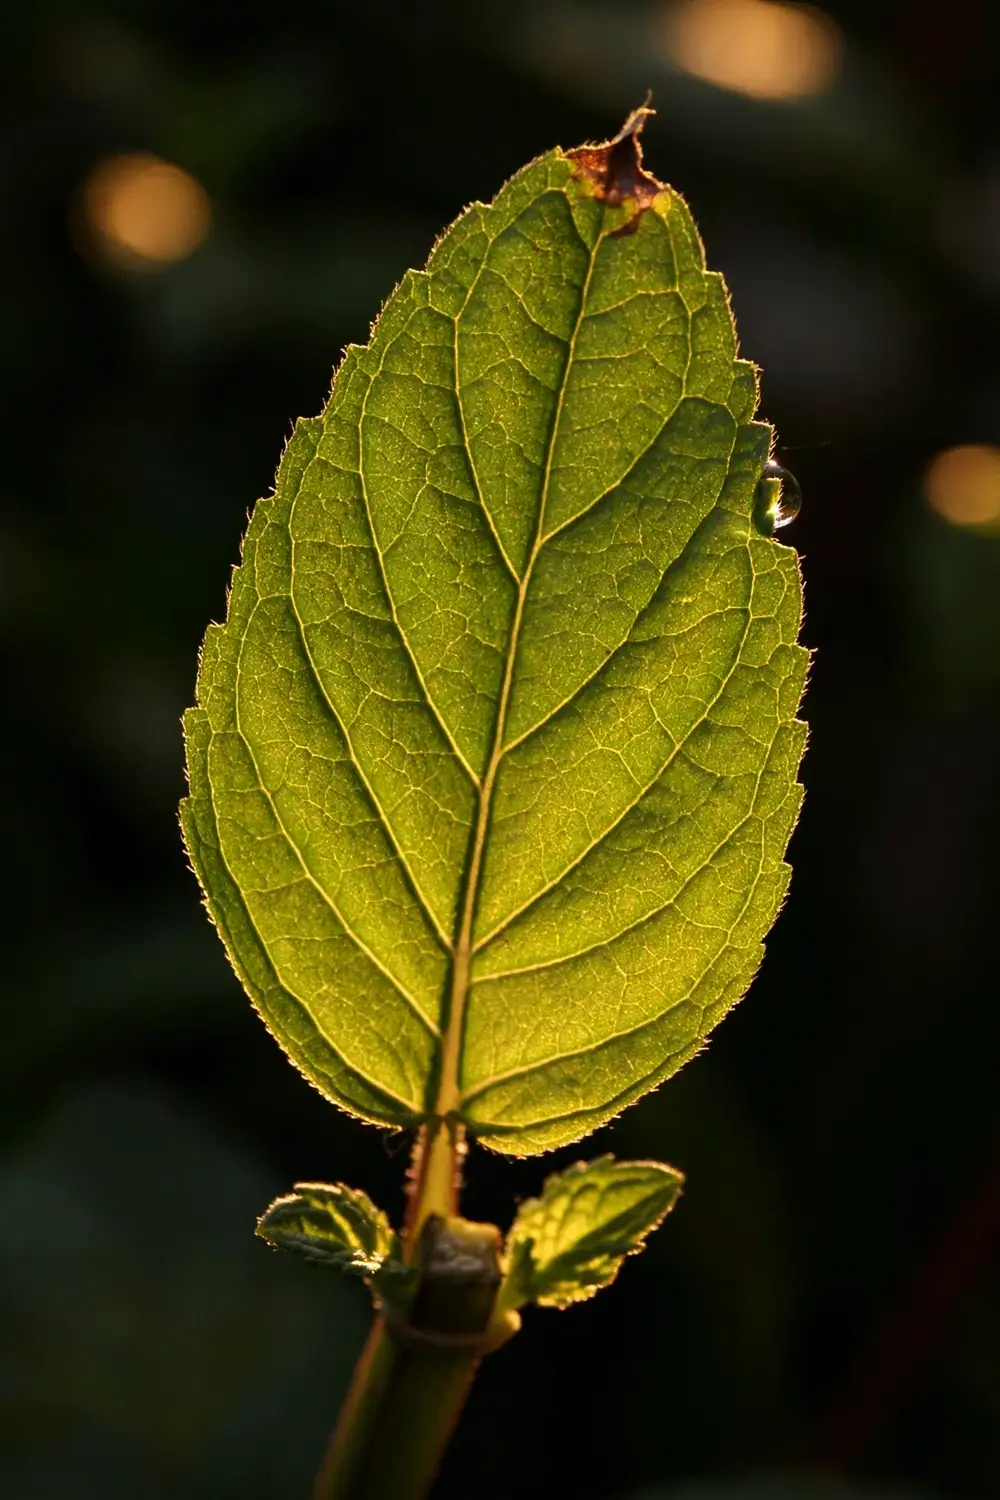

Take one 6-inch cutting, root it in water for two weeks, and you have a menthol mint plant that never stops spreading. That is Mentha arvensis, the Japanese mint grown commercially for menthol across northern India, and it is not peppermint. The rest of this page is 21 moves, from species honesty to the yearly division that keeps the harvest strong.
The fix is simple once you know it. Start from cuttings of a named Mentha arvensis plant if you want true menthol punch, or grow from seed if you accept some genetic variation. Give it a wide pot, not a deep one, because mint spreads through runners that travel sideways. A single healthy planting gives you pickable leaves within 6 to 8 weeks, and the patch renews itself if you divide it once a year. Confuse arvensis with peppermint and you will buy the wrong plant, expect the wrong flavor, and wonder why your harvest tastes mild.
I have learned that mint teaches humility faster than any other herb, because the first planting always looks tamer than the second year proves it to be.
1. Know Where Menthol Mint Grows Outdoors
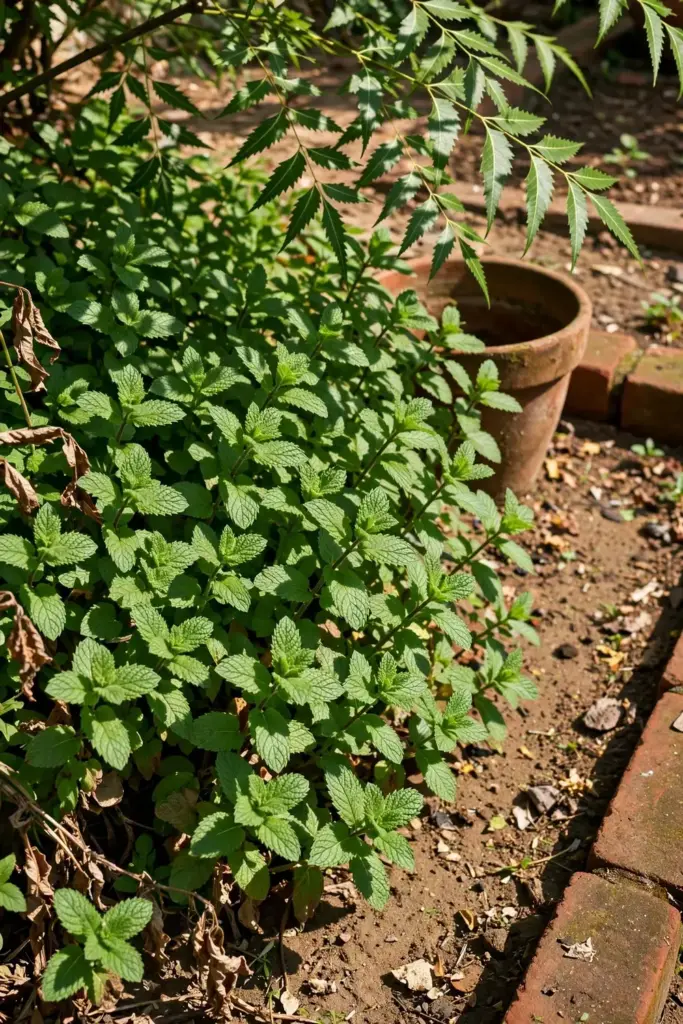
Menthol mint is hardy in roughly USDA Zones 3 to 8, though those zones describe winter survival for temperate plantings, not the plant’s favorite weather. It thrives in warm, moist conditions and sulks in drought and blasting heat. In India it is a rabi-season and monsoon-season crop in the plains, grown commercially in Uttar Pradesh and Bihar, and a summer annual-or-perennial in the hills. For home growers in Delhi or Lucknow, that means active growth from the monsoon through spring, with May and June demanding shade and extra water. In Bangalore or Coorg the climate is milder and the plant grows more of the year. Match your calendar to heat and rain, not to a single national date.
2. Menthol Mint Is Not Peppermint: Learn the Difference
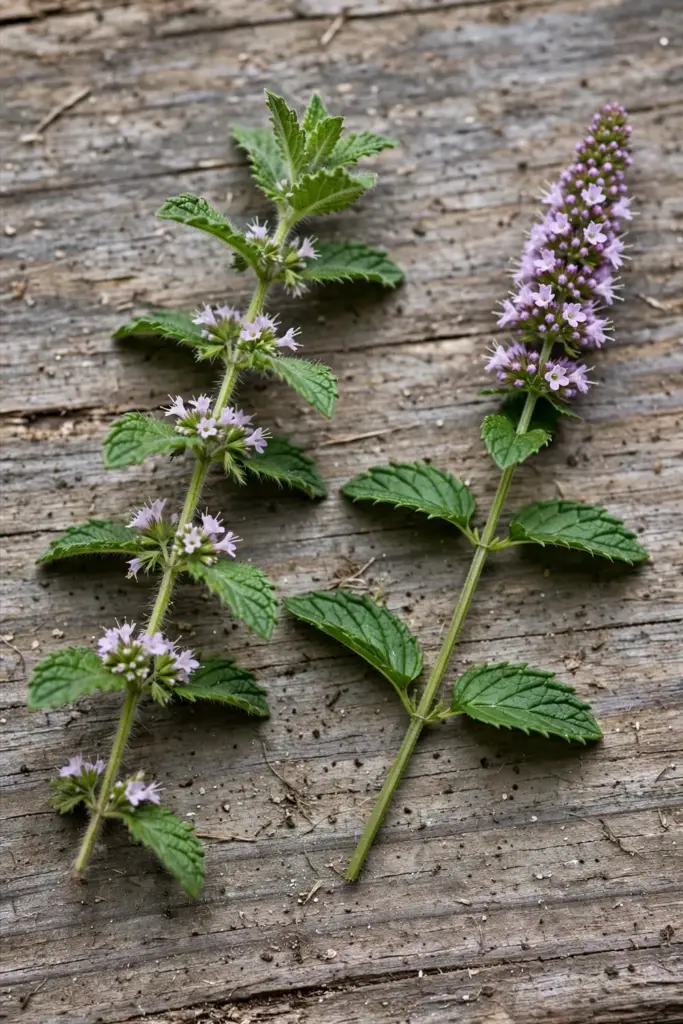
This is the section that earns the article its keep. Three search engines’ AI answers currently tell readers that “menthol mint” is peppermint, and one retailer claims peppermint holds more menthol than M. arvensis. A comparison page from a bulk essential-oil supplier that compares the two species side by side puts arvensis at 65 to 75 percent menthol and piperita at 35 to 50 percent, with arvensis described as strong, medicinal, and cooling while piperita is sweet and smooth.
| Feature | Menthol Mint (M. arvensis) | Peppermint (M. x piperita) |
|---|---|---|
| Other names | Japanese mint, cornmint, field mint | True peppermint |
| Origin | Wild species of Europe and Asia | Sterile hybrid of watermint x spearmint |
| Menthol in oil | 65 to 75 percent | 35 to 50 percent |
| Flavor | Sharp, medicinal, cooling | Sweet, smooth, fresh |
| From seed | Variable seedlings, often weaker flavor | Sterile hybrid; “peppermint seed” never grows true |
| Best for | Menthol punch, balms, tea | Desserts, candy, aromatherapy |
One more fence, because the scout flagged it: Mentha haplocalyx, Chinese field mint or bo he, is the Traditional Chinese Medicine herb and a different article lane. It is sometimes treated as a subspecies of arvensis, but for the grower it belongs to a separate story.
3. Seed or Cuttings: Choose the Honest Start
Here is the honest trade. Seed is cheap and fun, but mint seed is tiny, about 14,000 seeds per gram, and notoriously reluctant to germinate. Mint also cross-pollinates eagerly, so seed-grown menthol mint varies in flavor, sometimes badly. A detailed mint growing guide states plainly that seeds produce variable results with a different taste and appearance than the parent plants, and that commercial growers propagate vegetatively. If you want the exact menthol punch of a named variety, take cuttings or runners from a mother plant you have tasted. If you only want fresh leaves for tea and chutney and do not care about peak menthol, seed is fine and cheap.
| Method | True to Type | Speed | Best For |
|---|---|---|---|
| Seed | No; variable flavor | Slow; 10 to 21 days to sprout | Cheap bulk leaves |
| Stem cuttings | Yes | Roots in 10 to 14 days | Named menthol varieties |
| Root division | Yes | Fastest; instant plants | Renewing an old patch |
Decide before you sow, because your choice determines the harvest you get.
4. Start Menthol Mint From Seed
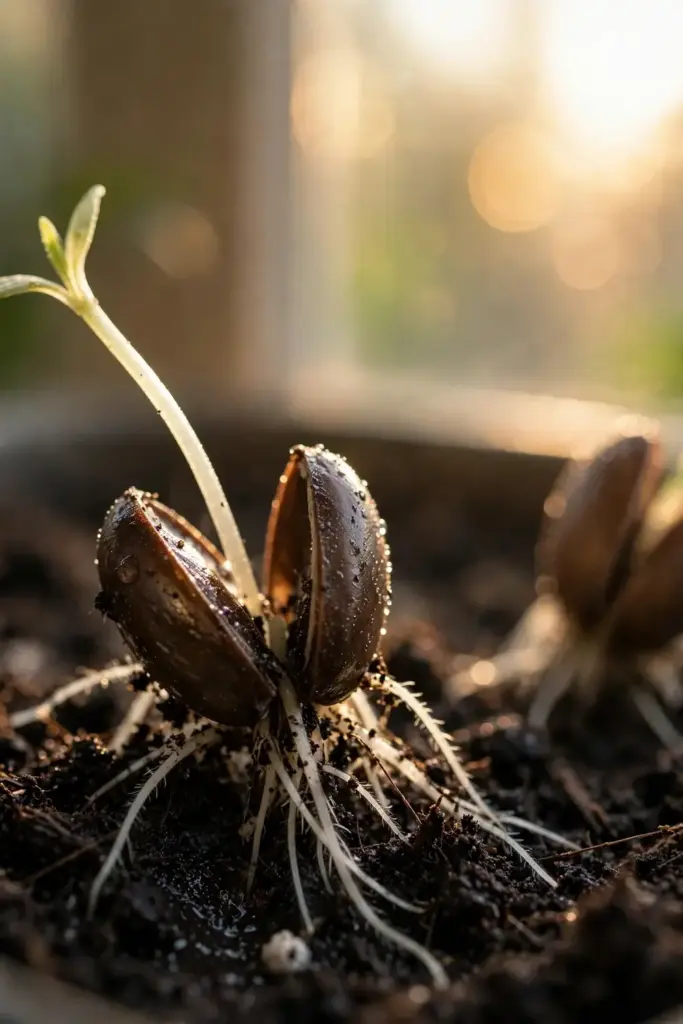
Surface sow. Mint seed needs light to germinate, so press seeds onto damp mix and do not cover them, or cover with the thinnest dusting of vermiculite. Keep the tray at 65 to 75°F; a heat mat helps in a cold house. Expect sprouts in 10 to 21 days, and mist instead of watering from above so you do not bury the seed. Thin seedlings ruthlessly once they have two true leaf pairs. A companion guide on starting seeds indoors covers tray setup and lighting in detail.
| Step | Action | Time |
|---|---|---|
| 1 | Fill a tray with fine, damp seed mix | Day 0 |
| 2 | Surface sow; press down, do not bury | Day 0 |
| 3 | Mist to settle; cover with a humidity dome or plastic | Days 0 to 14 |
| 4 | Hold at 65 to 75°F; check daily for sprouts | Days 10 to 21 |
| 5 | Remove cover; move to bright light | At first sprouts |
| 6 | Thin to strongest seedlings | Two true leaves |
5. Start Menthol Mint From Cuttings and Runners
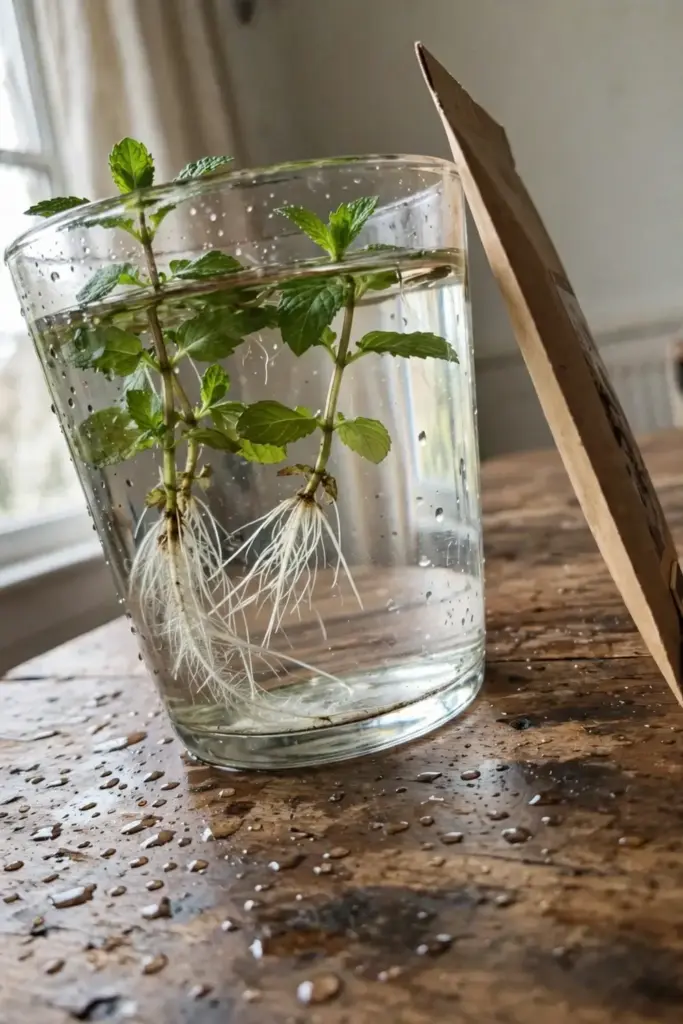
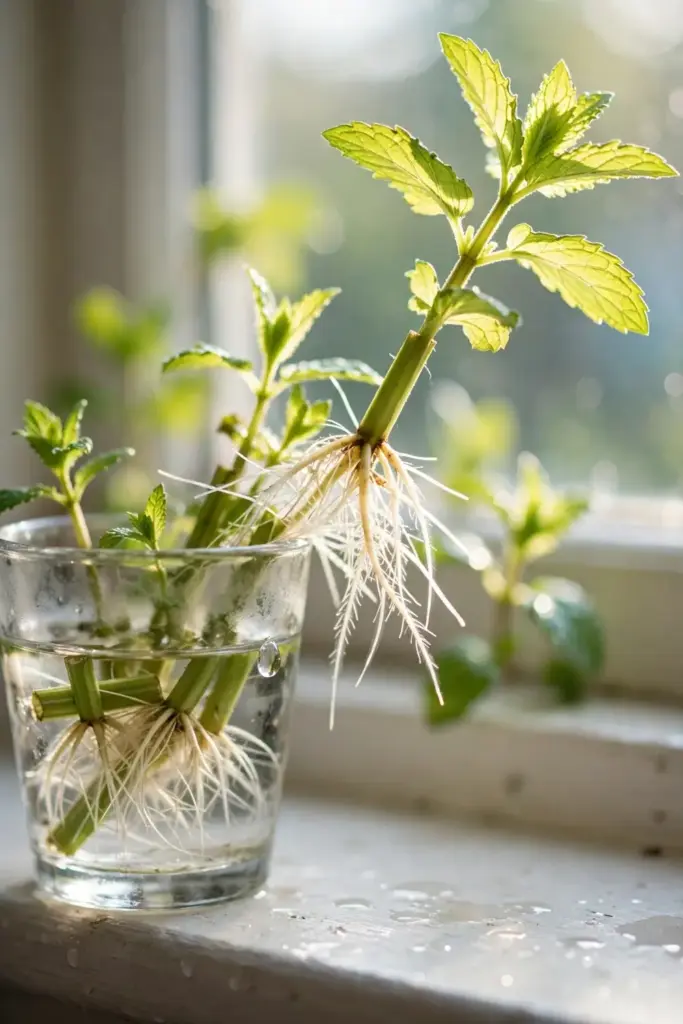
Cuttings are the true-to-type method and the one commercial growers use. Take 4 to 6 inch stem pieces from healthy non-flowering shoots, strip the lower leaves, and set them in a glass of water on a bright windowsill. Roots appear at the leaf nodes in 10 to 14 days, and the cuttings can be potted up in 3 to 4 weeks, per the mint propagation walkthrough. Alternatively, lay 6 inch pieces of rooted runner stems horizontally in soil, which roots even faster. Rooted runners taken in early spring establish the quickest. Pot each rooted cutting into its own container before the runners start strangling their neighbors.
6. Choose Wide Pots, Not Deep Ones
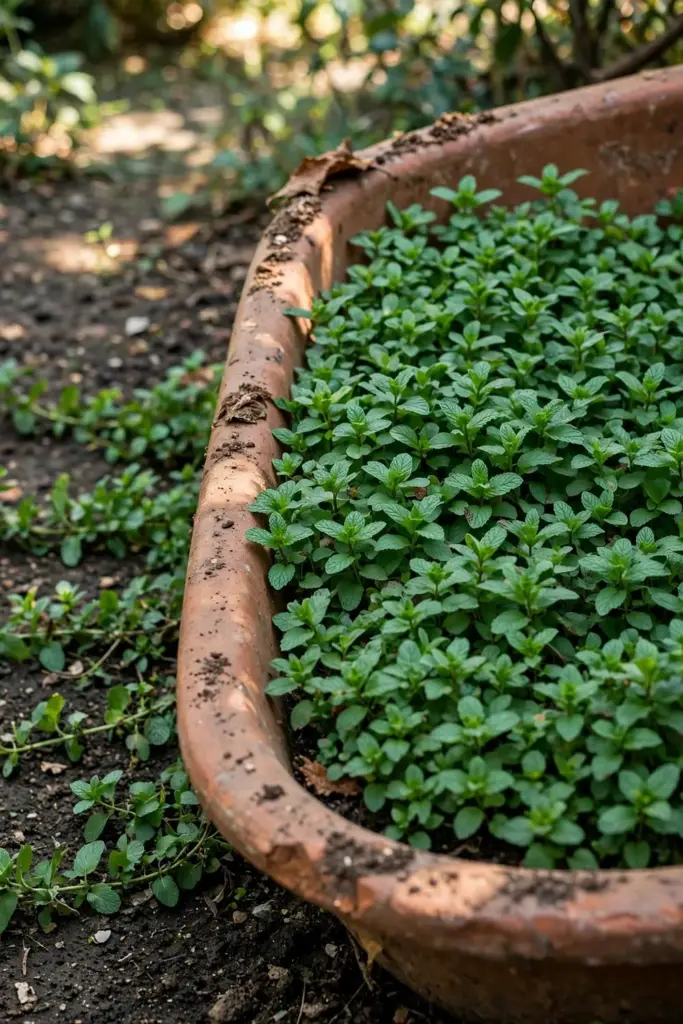
Mint spreads through runners that travel horizontally, above and below the soil. A tall narrow pot wastes its depth and invites the plant to escape over the rim anyway. For a home planting of menthol mint, use containers at least 12 inches wide, even if they are only 8 to 10 inches deep. Wide shallow planters, rectangular troughs, and fabric grow bags all work. One plant per pot. Drill extra drainage holes if the pot lacks them, because mint wants moist soil but drowns in standing water. Skip the tall narrow pot. Runners travel sideways, so the pot must be wide too.
7. Grow in Containers: The Indian Home Method
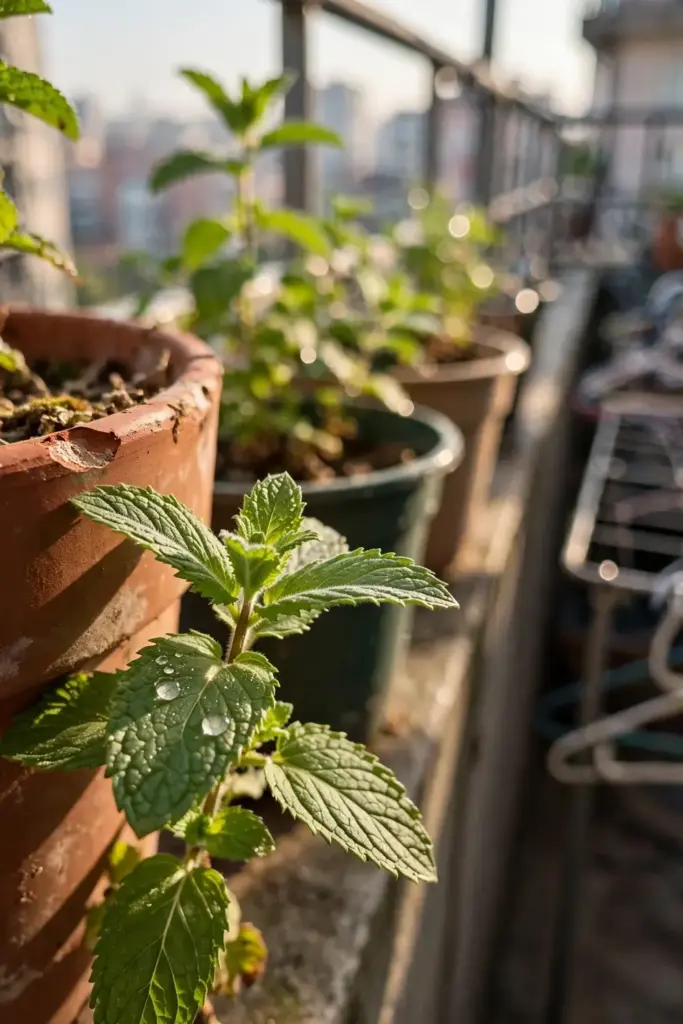
The container lane is the real Indian home-grow method, and learning how to grow menthol mint from India in pots is mostly about placement. Place pots where they get morning sun and afternoon shade, which is the single most important placement rule in hot cities. Balconies facing east are ideal. Terracotta breathes and suits monsoon humidity; plastic retains moisture in dry months. Water when the top inch of soil feels dry, which in May can mean twice a day for small pots. During the monsoon, lift pots off saucers and tilt saucers after rain so roots never sit in water. In winter, growth slows; cut stems back hard and let the pot rest in a sheltered spot until spring warmth returns.
8. Prepare Soil That Holds Moisture and Drains
Menthol mint wants rich, organic, consistently moist soil that still drains. Aim for pH 6.0 to 7.0. For pots, mix three parts garden soil or potting mix with one part well-rotted compost, plus a handful of sand or perlite for drainage.
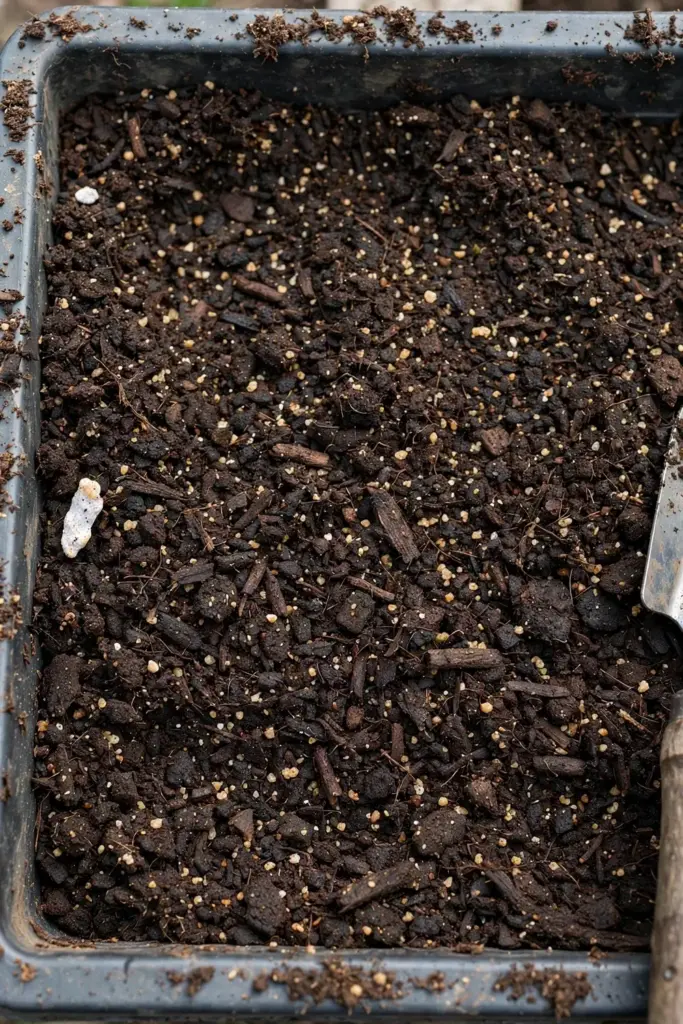
| Component | Purpose | Proportion |
|---|---|---|
| Garden soil or potting mix | Structure and moisture holding | 3 parts |
| Well-rotted compost or aged manure | Slow-release fertility | 1 part |
| Coarse sand or perlite | Drainage in the monsoon | 1 handful per pot |
| Coco peat (optional) | Extra moisture in hot months | Up to 1 part |
For beds, dig in compost and aged manure before planting and mulch with a 2 inch layer of straw after planting. The soil-health foundation guide explains how living soil keeps hungry perennials like mint productive for years.
9. Water Deeply and Often, But Never Swamp It
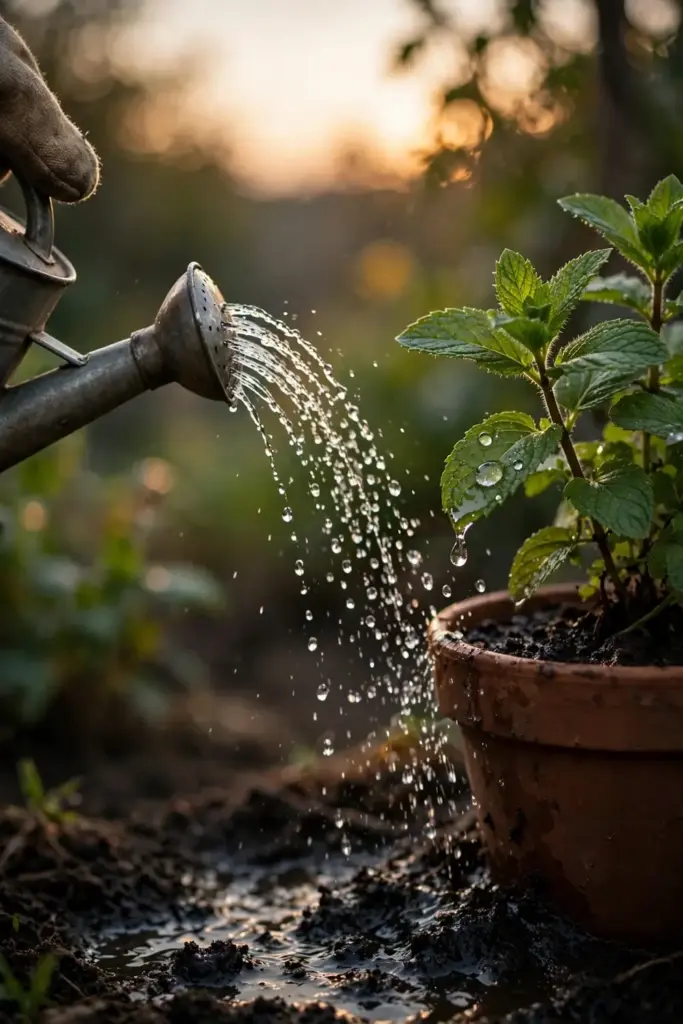
Mint is a stream-bank plant. It wants its roots damp and hates drought, which turns leaves bitter and sparse. At the same time, waterlogged pots breed root rot. The rule: water when the top inch of mix is dry, then water until it drains from the bottom. Mulch helps enormously in hot months. Self-watering pots are the lazy gardener’s best friend for mint. If leaves yellow and the soil smells sour, you are overwatering; let it dry halfway and improve drainage before the plant rots.
10. Feed Lightly but Steadily
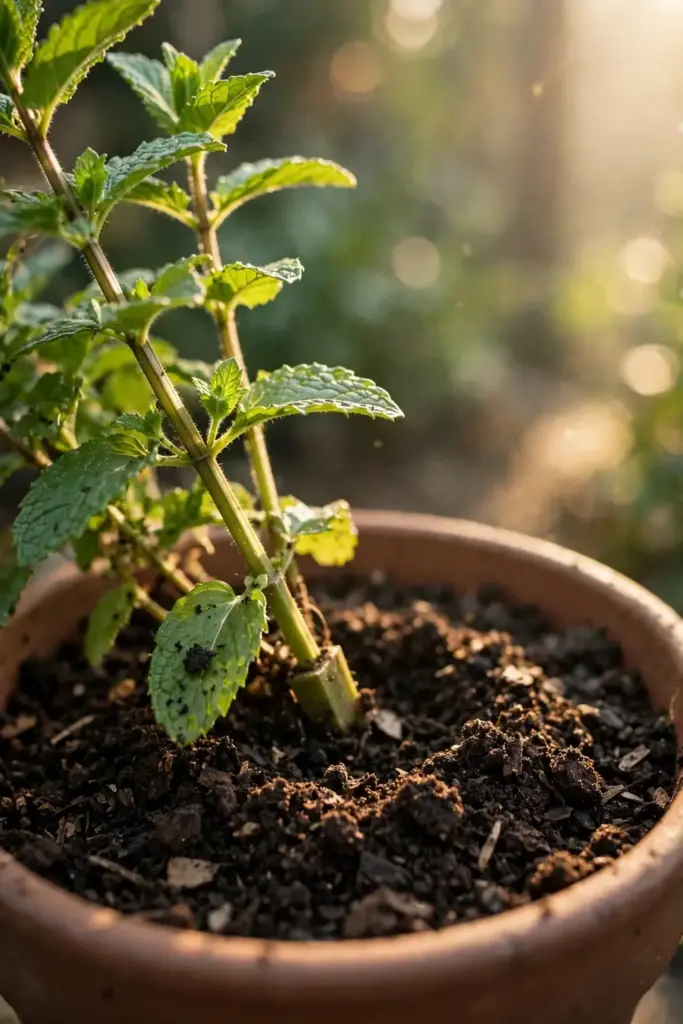
Mint is a heavy feeder for a leaf crop, and starved plants produce thin, pale leaves. Work compost into the pot at planting, then feed through the growing season on this rhythm.
| Task | Frequency | Notes |
|---|---|---|
| Compost top-dress at planting | Once, at potting | 1 part compost in the mix |
| Balanced liquid feed, half strength | Every 4 to 6 weeks | 10-10-10 or equivalent, spring to late summer |
| Fresh compost mulch | Twice a season | Keeps roots cool and fed |
| Stop feeding | Late autumn | Prevents soft growth before cold |
Nitrogen pushes leaf growth, which is exactly what you harvest. Stop feeding in late autumn so new soft growth does not get nipped by cold. Container plants deplete their mix faster than bed plants, so potted mint benefits from a fresh compost top-dress each spring.
11. Pinch and Prune for Bushy Growth
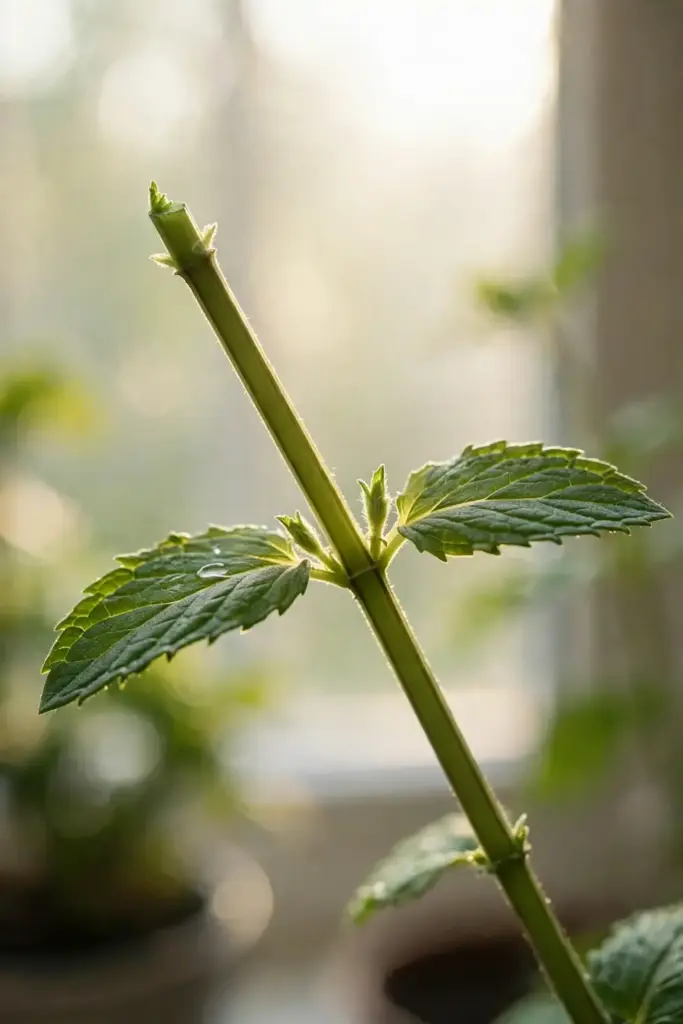
Pinching is the harvest and the care in one motion. Once stems are 6 to 8 inches tall, pinch or snip the top sets of leaves. Each pinch forces two side shoots, which doubles the plant. Harvest regularly; unpicked mint gets leggy and flowers early, and flowering ends leaf production for that stem. Before flowering, cut whole stems 1 inch from the ground to trigger a flush of new growth. You can harvest a healthy plant two or three times in a growing season. Flowering stems are pretty and bees love them, but the leaves past bloom are the least flavorful, so snip flower buds the moment they appear unless you want seed.
12. Divide Every Year to Renew the Patch
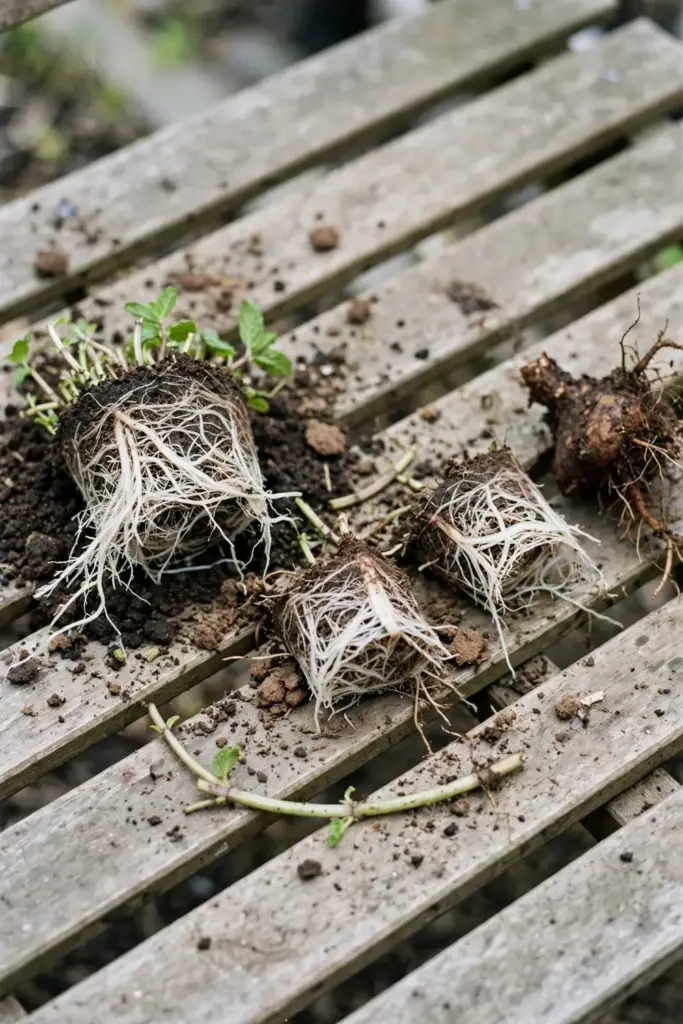
Mint declines in the middle as runners choke themselves. Every 12 months, or at most every 3 to 4 years for containers, lift the root ball in early spring, quarter it with a sharp spade or shears, discard the woody center, and replant the vigorous outer pieces in fresh mix. Work in this order: water the pot the evening before, slide the root ball out, saw it into quarters, trim away the dead brown center, and pot each quarter into its own container of fresh compost-amended mix. Water well and shade for three days while roots re-establish. This single operation doubles your plants and restores vigor. Root division is also the best way to multiply a favorite named variety for free.
13. Survive Summer Scorch and the Monsoon
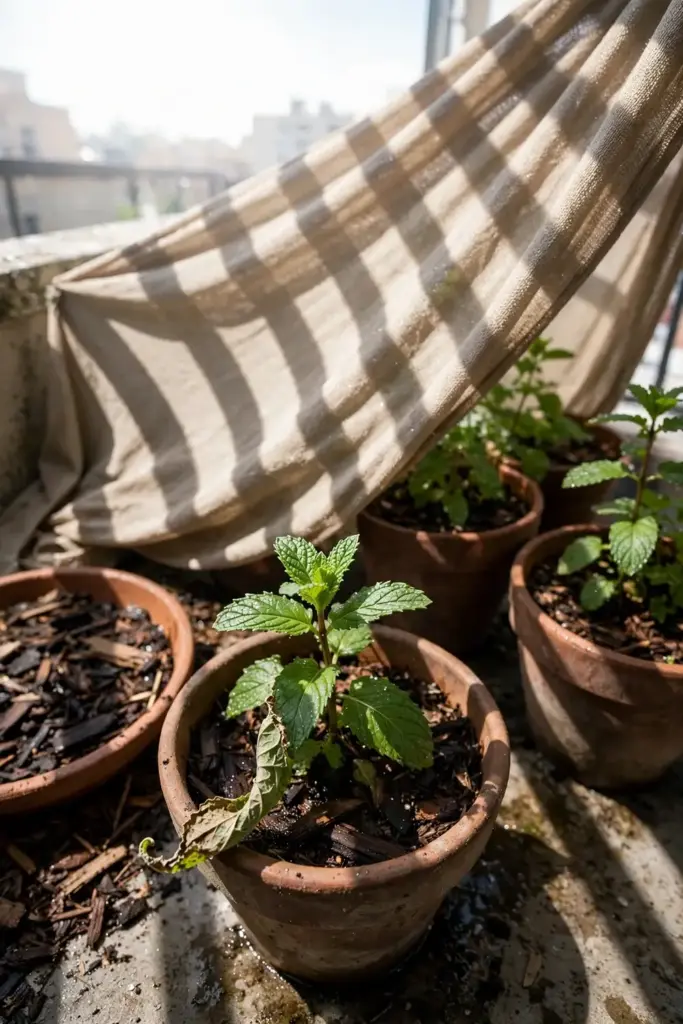
Indian growers face two killers that temperate guides ignore. The first is May and June heat, when pots on a west-facing balcony can hit 45°C and the plant fries. Move pots to afternoon shade, double the mulch, and water morning and evening. The second is the monsoon, when endless rain waterlogs pots and invites fungal disease. Ensure drainage, space pots for airflow, and prune lower leaves for air circulation. In heavy rain weeks, a simple overhead shelter of clear plastic on a frame keeps leaves drier while light still reaches them. Cut stems back after the monsoon flush and the plant rebounds into autumn growth. May fries the leaves. The monsoon drowns the roots. Shade and drainage answer both.
14. Rest Through Winter and Cold Snaps
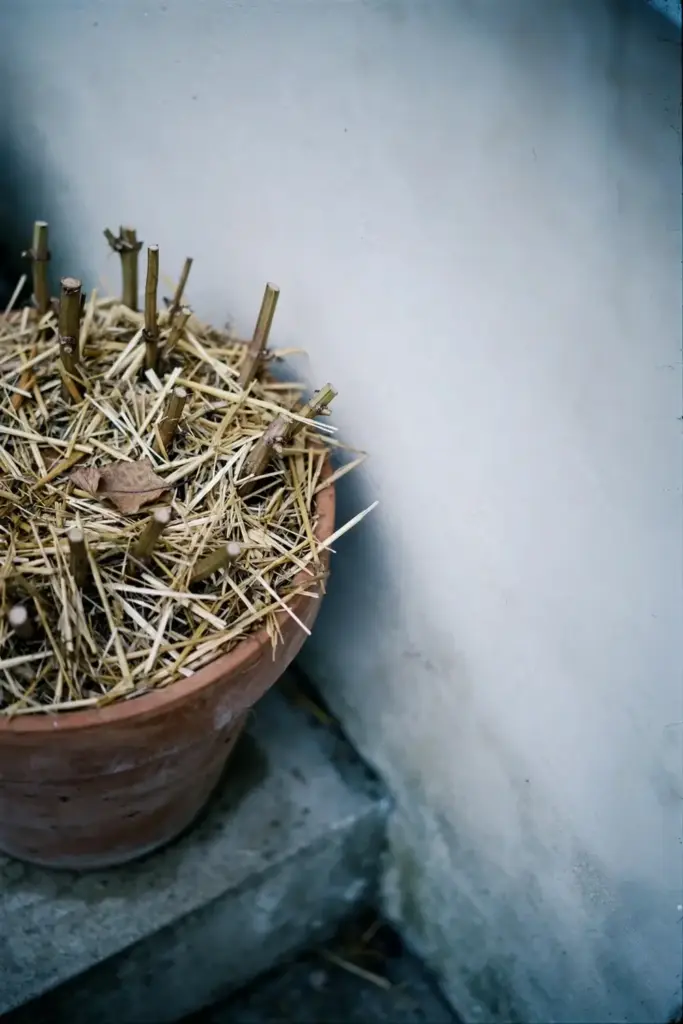
In the north Indian plains, menthol mint slows down from December to February as days shorten and nights turn cold. This is rest, not death. Cut all stems back to 2 inches, add a fresh 2 inch layer of mulch, and reduce watering to just enough to keep the mix from drying out completely. The rhizomes underground are alive and will push new shoots with spring warmth. In the hills or in zones colder than Zone 8, bring pots into a sheltered spot or an unheated room; top growth dies back but the roots survive a light frost. Never feed a resting plant. The spring wake-up is the ideal moment for the yearly division described above, so schedule both together.
15. Manage Pests and Diseases
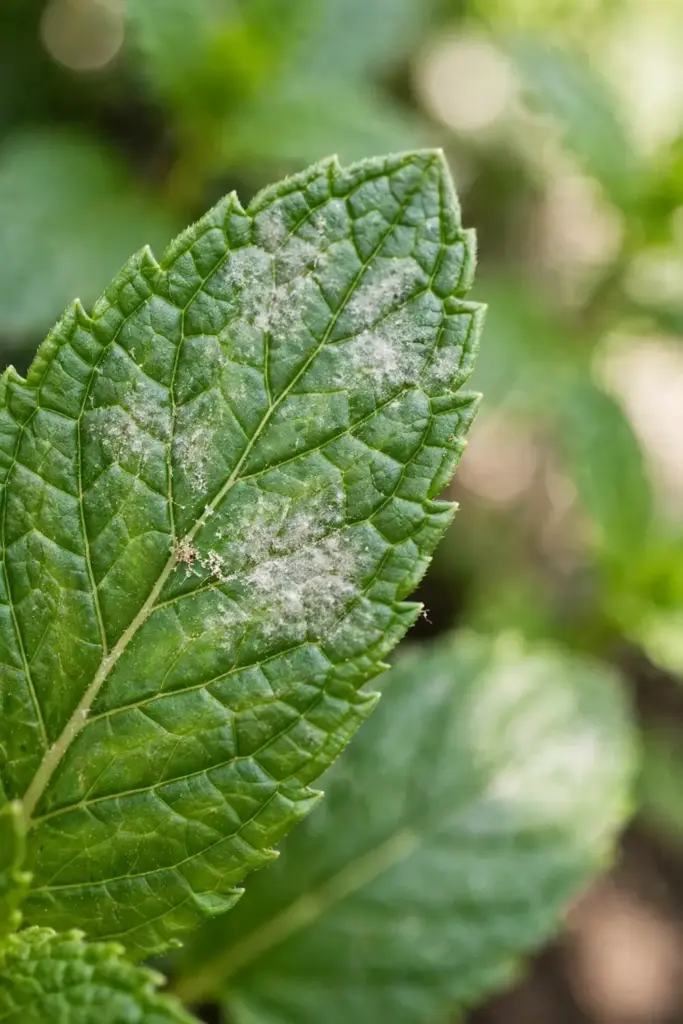
Mint is tough but not invincible. Powdery mildew strikes in humid shade; rust appears as orange pustules under leaves; leaf spot and anthracnose follow wet seasons. The Old Farmer’s Almanac mint profile lists powdery mildew, rust, leaf spot, anthracnose, and stem canker as the main disease roster. Prevention beats cure: give full morning sun, space for airflow, water the soil not the leaves, and never let pots sit in saucers of water. Remove and bin badly infected stems; do not compost them. Aphids and spider mites occasionally colonize stressed plants; a strong jet of water dislodges aphids, and neem oil handles light mite pressure. Plant stress is almost always the root cause, so fix water and light first.
16. Harvest Leaves at Peak Menthol
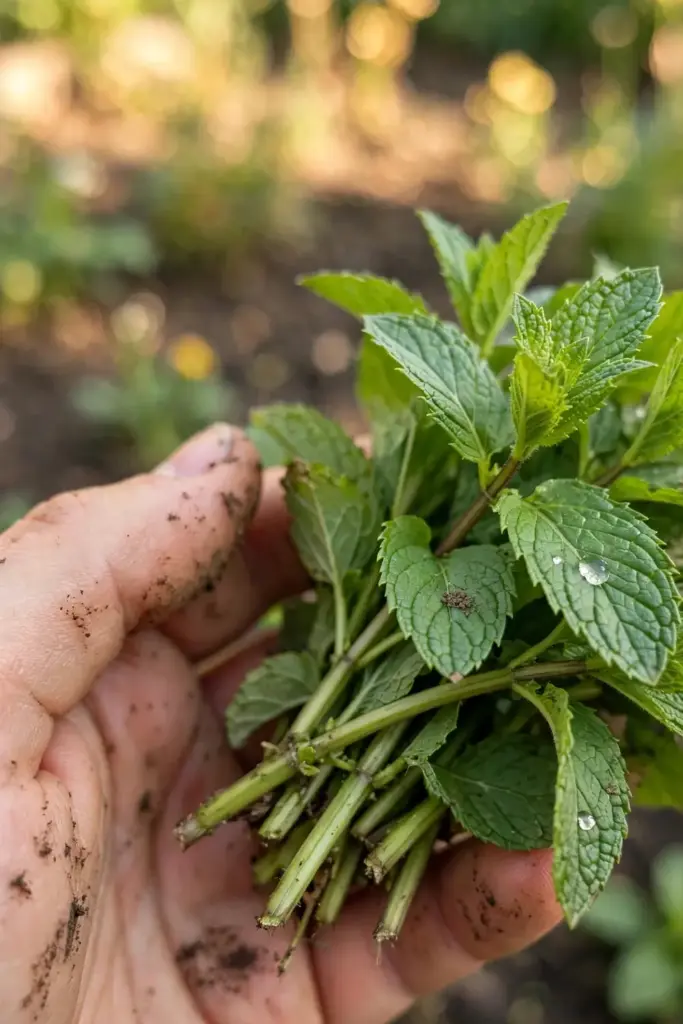
Pick in the morning after dew dries, when volatile oils are most concentrated. Young upper leaves carry more flavor than old lower ones. Harvest just before flowering for peak menthol, since blooming shifts the plant’s chemistry toward reproduction. For fresh use, snip what you need daily. For drying, cut whole stems, bundle them, and hang them upside down in a dark airy room; leaves are done when they crumble between your fingers. Store dried mint in airtight jars away from light. You can also freeze whole leaves in ice-cube trays with water for tea-ready portions.
17. Set Honest Menthol Expectations
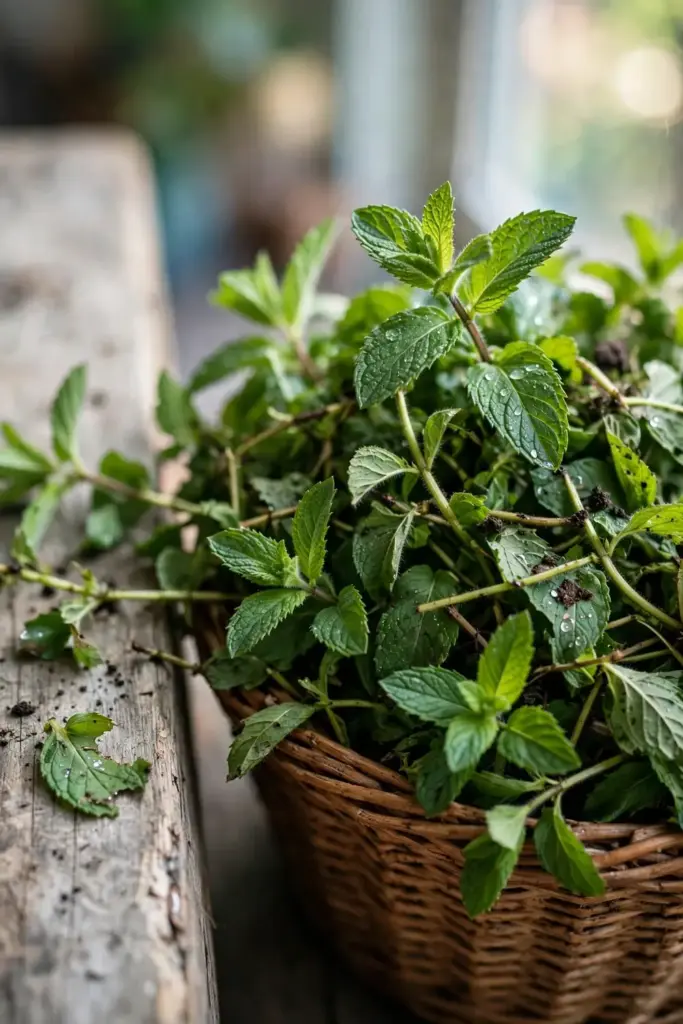
Here is the conservative truth about menthol percentages. The 65 to 75 percent menthol figure for M. arvensis oil comes from steam-distilled essential oil, not from the leaves in your pot. Your kitchen harvest contains a fraction of that, and leaf menthol varies with variety, sun, harvest timing, and drying. Do not promise yourself commercial oil numbers. What you can count on: properly identified M. arvensis, harvested before flowering and dried quickly, tastes noticeably stronger and more cooling than spearmint and sharper than peppermint leaf. Some AI summaries and retailer pages reverse the arvensis-versus-piperita ranking; the side-by-side comparison from that essential-oil supplier anchors arvensis higher at 65 to 75 percent against piperita’s 35 to 50 percent.
18. Use Menthol Mint in the Kitchen and Beyond
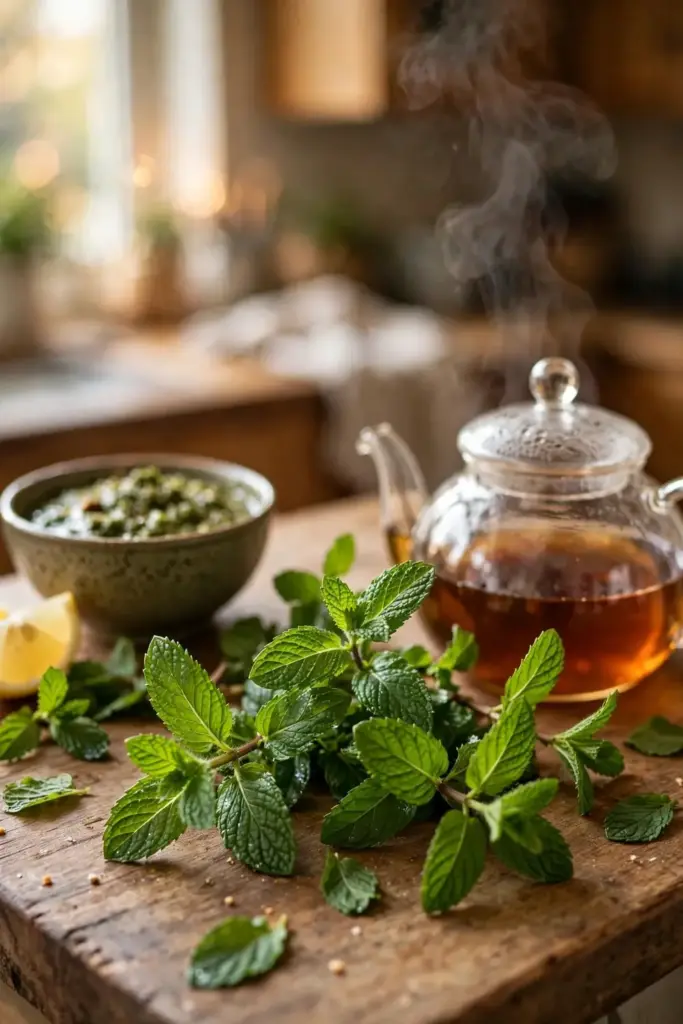
Menthol mint’s sharp cooling flavor shines in fresh chutneys, raita, and summer drinks where spearmint tastes too sweet. Use it in tea for a bracing cup; in pudina parathas; in tabbouleh and salads; as a garnish on fruit chaat. Medicinally, mint leaf tea has a long traditional use for digestion and as a comforting drink, and menthol itself is the cooling compound in balms and rubs. That said, leaf tea is not essential oil, and oil-strength claims do not transfer to a cup of tea. If you are pregnant, nursing, or managing a condition, talk to a clinician before using mint medicinally rather than culinarily. Keep expectations culinary and you will never be disappointed.
19. Avoid These Common Mistakes
Planting mint in open beds is the classic error. Without barriers it colonizes the whole bed within two seasons; the Almanac warns that a single peppermint plant can become a sprawling 4-foot giant in just one year. Second mistake: starting from seed when you wanted a named menthol variety, which gives you variable seedlings and weak flavor. Third: deep pots instead of wide ones, which cramp runners and stunt the plant. Fourth: full afternoon sun in May, which scorches leaves and invites mites. Fifth: letting it flower, which ends leaf production and weakens flavor. Sixth: overwatering pots in the monsoon without drainage, which rots roots. Every one of these is preventable, and most are fixed with a pair of scissors and a bigger, wider pot.
20. Troubleshoot Common Problems
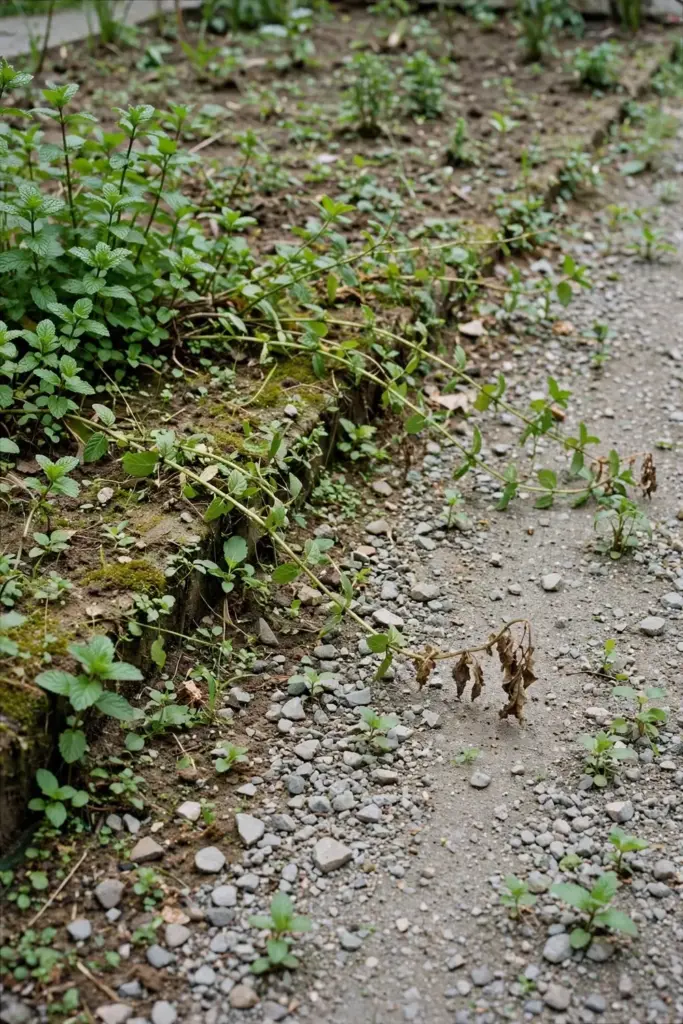
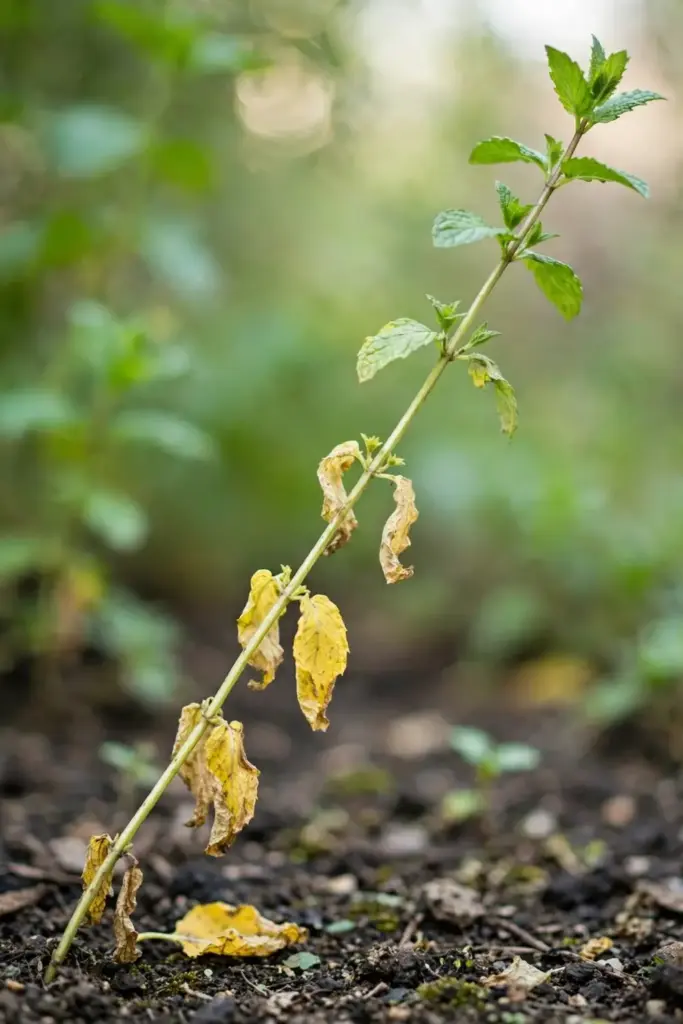
Leggy stems with sparse leaves mean too little light; move to brighter morning sun and pinch hard. Yellow leaves with wet soil mean overwatering; improve drainage and let the top dry. Brown leaf edges in summer mean heat stress; shift to afternoon shade and increase mulch. White powdery coating on the leaves means powdery mildew. Improve airflow, prune the affected stems, and avoid wetting the foliage from above. Orange spots under the leaves mean rust; remove the affected leaves and thin the plant. No growth in spring usually means the pot is root-bound, so divide and repot in fresh mix. Bitter harsh leaves mean the plant flowered or is drought-stressed. Cut back hard and water properly, and new growth returns tender.
21. Plan the First Year With a Simple Calendar
For the north Indian plains, run the year like this. February to March: take cuttings or divide last year’s pot and replant in fresh mix. March to April: pinch regularly as growth accelerates; start the feeding rhythm. May to June: move pots to afternoon shade, mulch, and water twice daily; expect slower, tougher growth. July to September: protect from waterlogging, prune for airflow, and take a second flush of cuttings after the monsoon. October to November: the best harvest window returns as heat fades; dry a stockpile now. December to January: cut back, mulch, and rest. In the south, shift everything earlier and stretch the active season; in the hills, compress planting into April to October. One calendar, adjusted for heat, carries the whole year. Pin this rhythm to your fridge or garden notebook and the hardy plant does the rest for years.
Frequently Asked Questions
No. Mentha arvensis is a wild species, Japanese or cornmint, while peppermint, Mentha x piperita, is a sterile hybrid of watermint and spearmint. Per a supplier’s arvensis-versus-piperita comparison, arvensis oil carries 65 to 75 percent menthol against piperita’s 35 to 50 percent, with a sharper, more medicinal flavor. Seed sold as “peppermint” never grows true because the hybrid is sterile.
Partially. Seed-grown M. arvensis is genetically variable, so menthol strength varies between seedlings. For guaranteed strong menthol, start from cuttings or runners of a mother plant whose flavor you know. For casual tea and chutney use, seed is cheap and perfectly fine.
Use a pot at least 12 inches wide, even if only 8 to 10 inches deep, because mint spreads through sideways runners. One plant per pot. Terra-cotta suits humid monsoon climates; plastic retains moisture in dry months. Ensure drainage holes and never let the pot sit in a full saucer.
Weak fragrance usually means the wrong species, seed-grown variable stock, too much shade, or harvest after flowering. Confirm the plant is M. arvensis, give it morning sun, harvest before bloom in the morning, and pinch regularly to keep growth young and flavorful.
Yes, with protection. Give afternoon shade, mulch 2 inches deep, water twice daily in small pots, and move pots off scorching west-facing surfaces. The monsoon brings the opposite risk: waterlogging. Ensure drainage, space pots for airflow, and shelter leaves from endless rain.
Divide container mint every 1 to 3 years, or when growth slows and the center goes woody. Lift the root ball in early spring, quarter it, discard the center, and replant the vigorous outer pieces in fresh mix. Bed plantings benefit from division every 2 to 3 years for the same reason.
Where to Go From Here
Now that you know how to grow menthol mint from India at home, the whole game is maintenance, not magic. Wide pots, morning sun, honest species identity, and a yearly division keep the harvest strong for years. Pinch often, cut before flowering, and never let it loose in an open bed. Do that and the sharpest cooling leaf in the mint family grows on your balcony, ready for tea, chutney, and raita whenever you are.