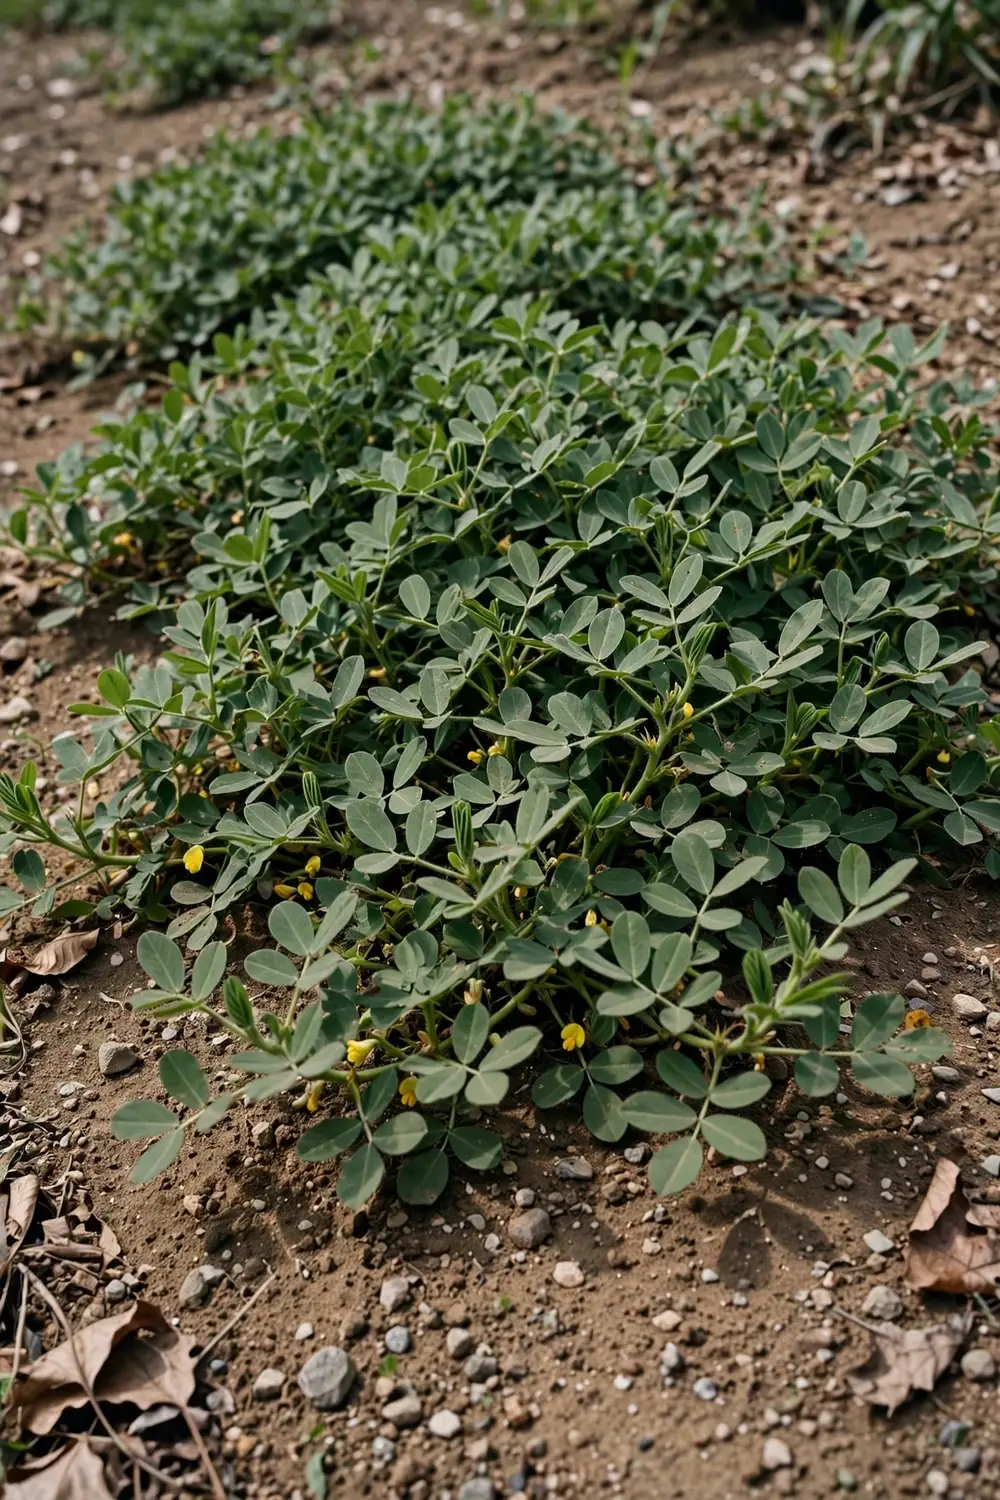

Using peanuts to restore damaged soil works when peanuts play a cover-crop job. Peanuts fix nitrogen through root nodules and shade bare soil through a warm summer. They need 18 to 24 frost-free weeks and soil at 18 °C before they do either.
Peanuts are Arachis hypogaea, the same plant that grows eating peanuts. A cover crop grows for the soil, not for harvest. Tired soil means depleted soil low in organic matter. That kind of soil crusts after rain, dries fast in sun, and grows weak plants.
The rest of this page is 8 moves, from the soil-temperature check to the chop-and-drop finish. Each move carries the number that decides it. The close names the lower-effort perennial peanut for beds you do not want to re-sow.
1. Test Whether Your Patch Is Peanut Country
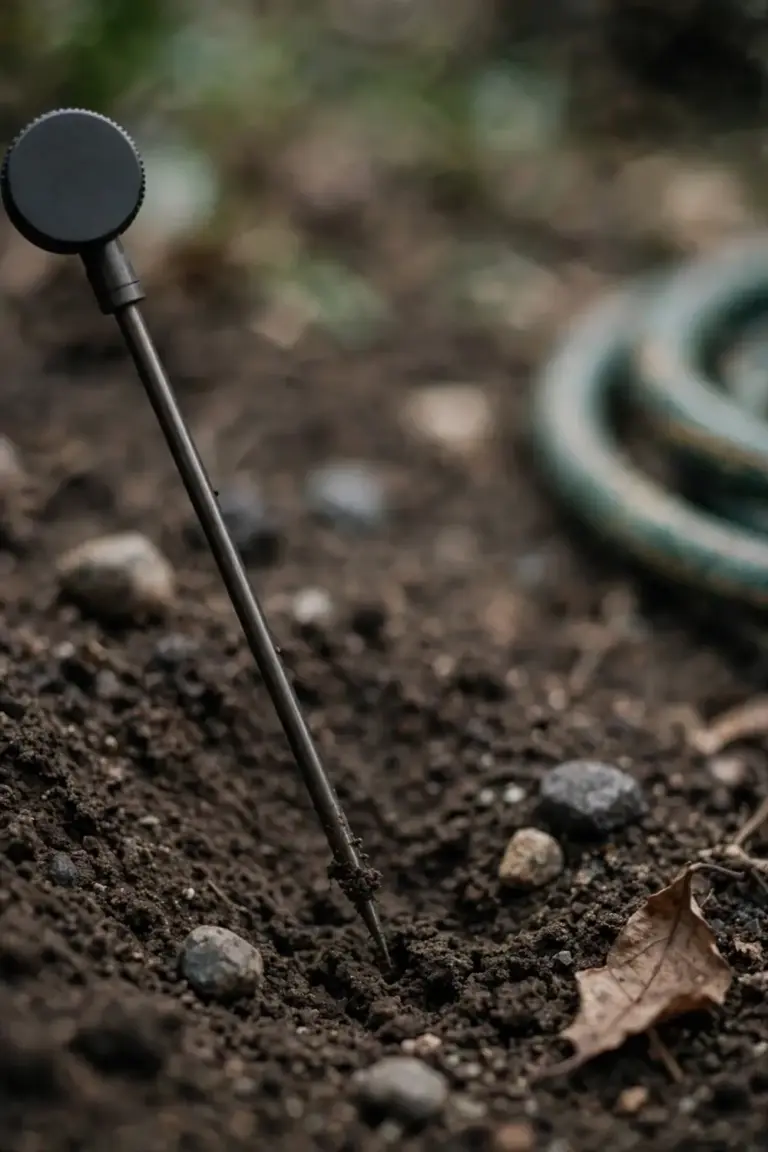
Your patch suits peanuts when the soil holds 18 °C at 50 mm depth at 9 a.m. for 3 days running, and when 18 to 24 frost-free weeks lie ahead. GRDC GrowNotes for peanuts in northern Australia sets that 18 °C rule at 50 mm depth, measured at 9 a.m. for 3 days in a row. I check the soil thermometer at 9 a.m. for three mornings before I sow, because a warm afternoon tells me nothing about germination.
Peanuts in northern New South Wales and Queensland grow through summer, planted anywhere from September to early January, and the crop usually takes 18 to 24 weeks from planting to digging, according to the same GRDC GrowNotes. Growth favors warm temperatures above 25 °C. Dry matter production drops by about 25 percent when night temperatures reach 15 °C, and by 50 percent when night temperatures drop to 9 °C.
Warm Australia means frost-free summer months, not a postcode. Brisbane, the South Burnett, the Atherton Tableland, and the northern New South Wales coast hold the long warm window peanuts need. Melbourne, Hobart, and Canberra rarely hold 18 to 24 frost-free weeks with warm nights. A patch in a cold-climate city fails on temperature before it starts.
| Check | Pass Mark | How to Check |
|---|---|---|
| Soil temperature | 18 °C at 50 mm depth at 9 a.m., 3 days running | Probe thermometer pushed to 50 mm |
| Frost-free weeks ahead | 18 to 24 weeks | Count back from first expected frost |
| Drainage | Water drains, never pools | Dig a 30 cm hole, fill it, watch it empty |
UGA Extension peanut planting notes set a higher bar, soil temperature above 68 °F, which converts to 20 °C, at 10.2 cm depth for 3 consecutive days. Treat the Australian 18 °C figure as the sowing rule and the United States 20 °C figure as corroboration that cool soil stalls peanuts. Sow when the patch passes the Australian test, not when the calendar says summer.
Measure in the morning, in the bed you will sow. Push a probe thermometer to 50 mm in bare soil, away from mulch and paths. Read it at 9 a.m., the same hour the Australian rule uses. Write each morning reading down. Three readings at or above 18 °C in a row open the window. One warm afternoon reading means nothing. Afternoon sun heats the top centimetres and lies about the seed zone.
Sow too cool and the stand tells you. Emergence drags, gaps open in the rows, and seed sits in cold damp soil instead of growing. A patchy stand shades little, fixes little, and leaves bare soil where weeds move in. Waiting a week for warm soil beats re-sowing a failed bed.
2. Sow Peanuts 50 to 70 mm Deep in Friable Soil
Sow peanut seed 50 to 70 mm deep in loose, friable soil that drains freely. GRDC GrowNotes for peanuts in northern Australia calls 50 to 70 mm the ideal depth, with a working range of 35 to 100 mm. In dry soil, plant at 25 to 35 mm so the seed sits in moisture instead of drying out above it.
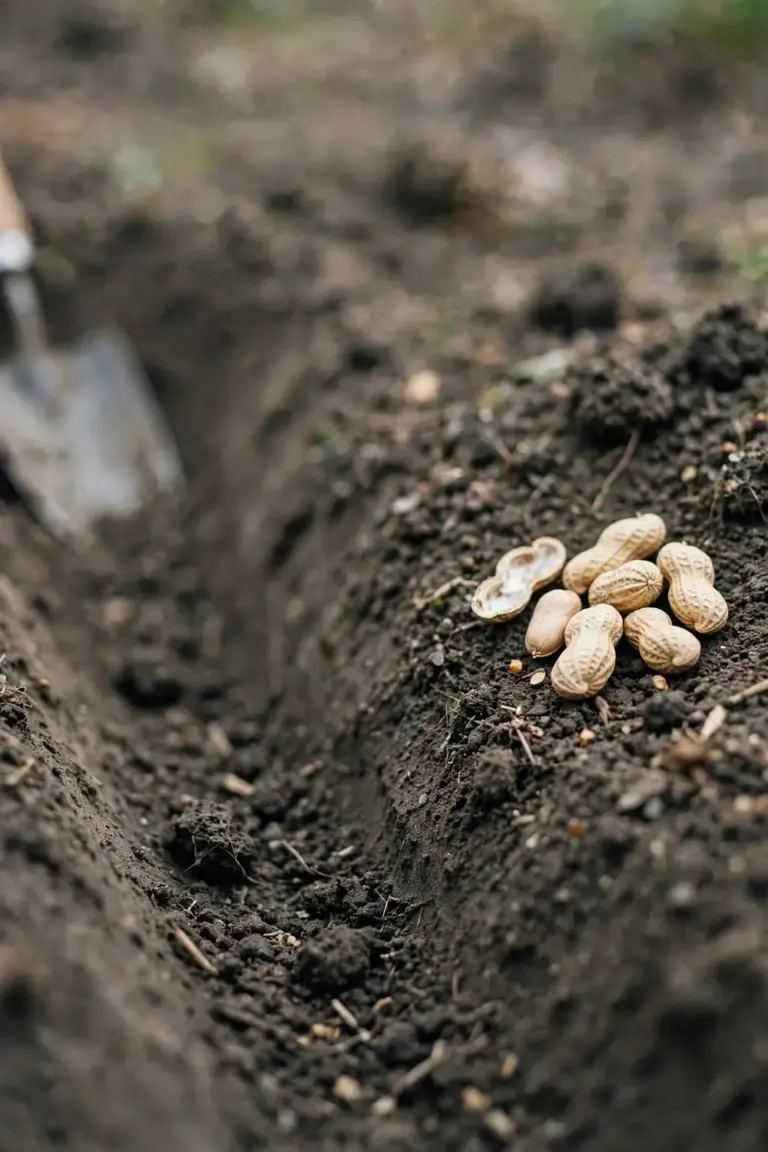
Loose soil matters twice. Roots need air and drainage. Pegs need a soft surface. After pollination, the flower stalk grows down into the soil and forms the pod underground. The stalk is the peg. Hard or crusted soil blocks pegs, and pods never form. The same GrowNotes state that peanuts need loose soil for the crop to peg into and to make digging easier, a job usually done through deep ripping before planting on a farm.
Space seeds 15 cm apart in rows 60 cm apart. Cover the seed, water gently, and keep the soil moist until emergence. Start seed the way the seed starting guide sets out: moist mix, steady warmth, no waterlogging. Handle seed gently. A split seed will not germinate, because the two halves cannot grow, per the same GrowNotes.
Pegs decide the sowing depth more than roots do. A peg that meets a crust stops. A peg that meets loose soil slides in and forms a pod. Keep the row surface loose through flowering. If a storm crusts the surface, run a hoe lightly between rows, shallow enough to break the crust without cutting pegs. Water after hoeing, so the loosened surface settles around the pegs instead of drying into clods.
Water with a light hand. Peanut seed must absorb water equal to 35 percent of its own weight before it germinates, per the same GrowNotes. Dry seed in dry soil never starts. Soaked seed in waterlogged soil rots. Aim for soil that feels damp when squeezed and holds together without dripping. Water in the morning, so the surface dries by evening and slugs stay away. Buy fresh seed each season. Untreated peanut seed often germinates below 20 percent, so fresh, handled-with-care seed is the only seed worth sowing, per GRDC GrowNotes for peanuts in northern Australia.
3. Inoculate Every Season for Real Nitrogen Fixing
Inoculate peanut seed every season with a peanut-specific Group P rhizobium inoculant. GRDC GrowNotes for peanuts in northern Australia recommend inoculation every season for growers chasing maximum yields, and name the Group P strain as the improved strain designed for peanuts.
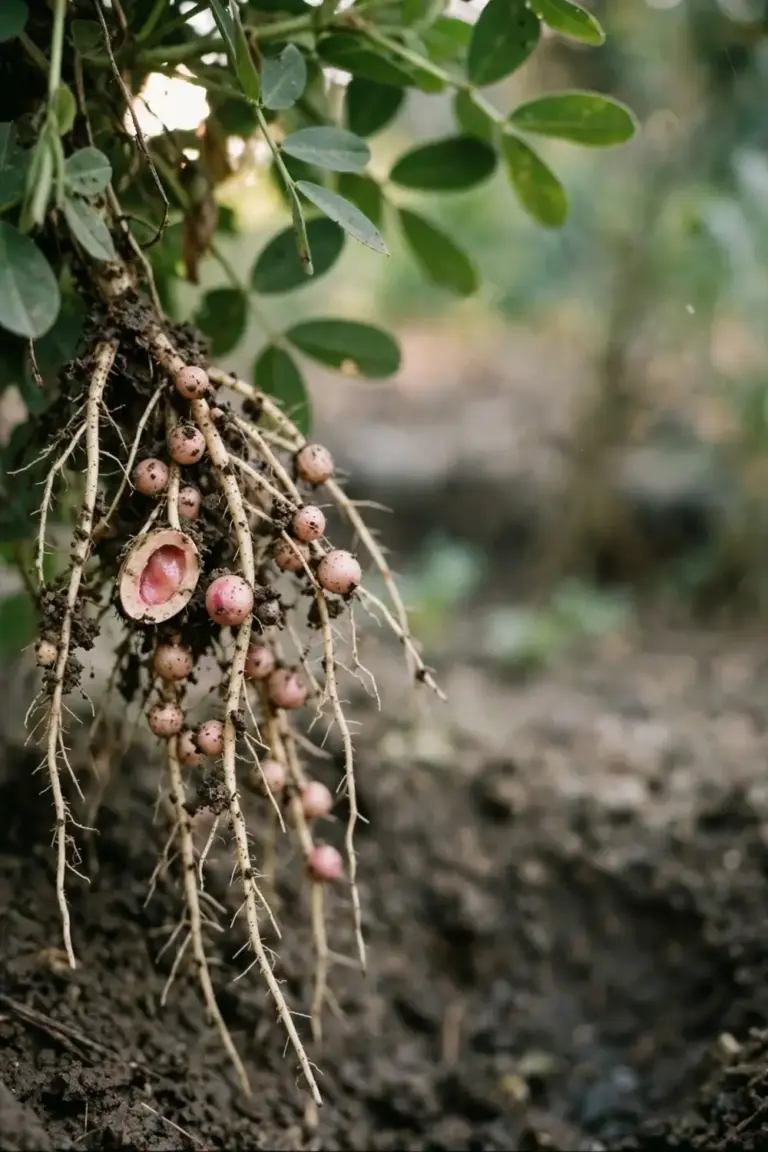
Peanuts are legumes. Rhizobia bacteria infect the root system and form nodules. The nodules fix nitrogen gas from the atmosphere into a form the plant uses. Failure to nodulate cuts nitrogen-fixing ability and lowers yields, according to the same GrowNotes. Native rhizobia exist in many soils, and the inoculant strain still beats them. The Group P strain is regarded as more effective than the native strains in the soil.
UGA Extension peanut planting notes advise applying inoculants in fields that have been out of peanut for more than 5 years, and call yearly application good practice after extreme weather. A home bed that never grew peanuts counts as out of peanut. Inoculate it.
Treat inoculant as a living product. Keep peat inoculant cool before use. GRDC GrowNotes for peanuts in northern Australia advise keeping peat inoculants in a cool place, such as an esky or a fridge. Water injection is the best method for applying peat inoculant. Do not mix the inoculant into a slurry and apply it to the seed, because the slurry damages the seed. Plant inoculated seed within hours into moist soil. Rhizobia survival drops when seed goes into hot, dry soil, per the same GrowNotes.
Buy inoculant fresh each season and check the use-by date. Rhizobia die in heat, sunlight, and old packets. A packet left on a shed shelf through summer holds dead bacteria. Store the packet in the fridge until sowing day, carry it to the bed in a cool bag, and use it the same morning. Dead inoculant costs a season of nitrogen fixing, and nothing on the plant shows the failure until the nodule check.
Dig one plant at about 6 weeks and slice a nodule open. A pink interior means the nodule is fixing nitrogen. A white or green interior means it is not. No nodules at all means the inoculant failed or the soil stayed too cool, and the cover crop will shade soil without fixing much nitrogen. A failed nodule check still leaves a useful cover crop. Sow the next bed with fresh inoculant, and treat the failed bed as mulch and shade, not as a nitrogen source.
4. Let the Plants Fix Nitrogen and Shade the Soil
Peanut plants fix nitrogen while they grow, then return it as their residues break down. UF/IFAS Extension notes on nitrogen from peanut residues describe the trade: soil bacteria called rhizobia penetrate peanut roots and supply the plant with nitrogen in exchange for carbon. Peanut residues hold large amounts of nitrogen from biological nitrogen fixation. As residues decompose after harvest, nitrogen releases and becomes available to later crops.
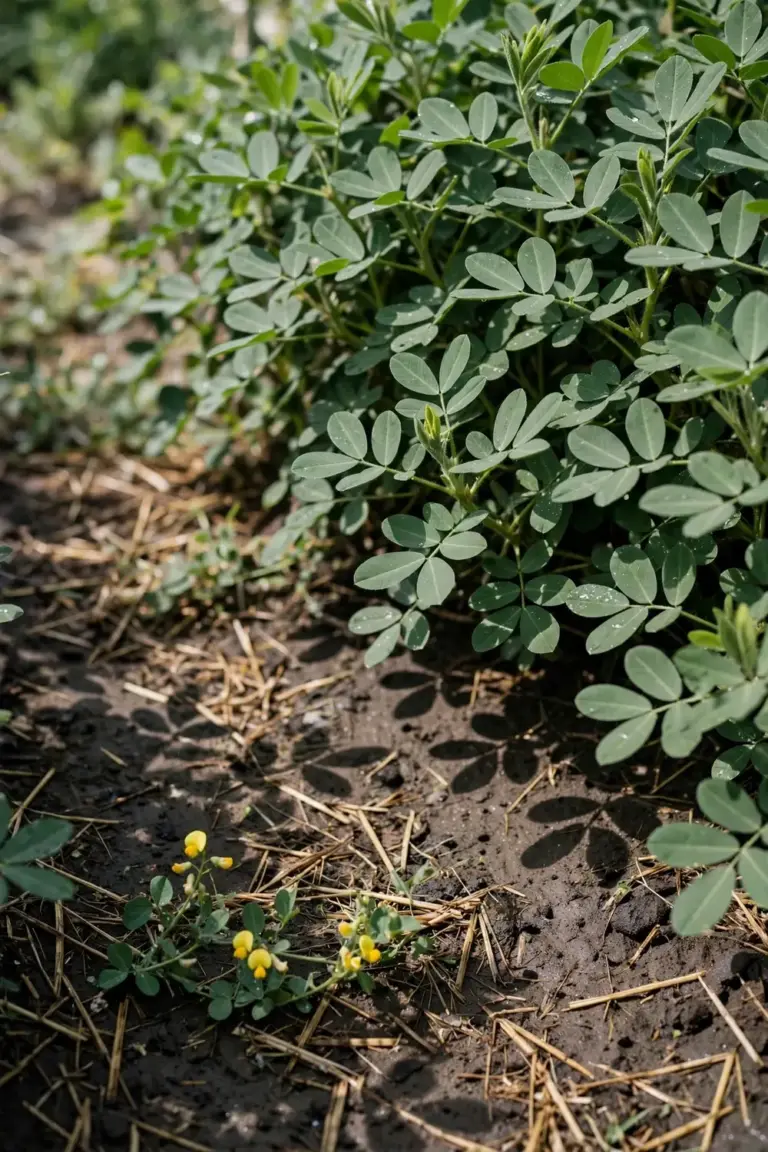
The canopy does quiet work while the nodules work underground. Leaves shade bare soil, slow evaporation, and cut the crusting that follows a hot afternoon storm. Roots push through the top soil and leave channels behind when they decay. Leaf drop adds organic matter to the surface. No single channel rebuilds a soil profile. The sum of shade, roots, and residue moves tired soil in the right direction across a season.
Soil life feeds on what peanut roots release. Roots leak sugars and organic acids into the soil around them. Microorganisms gather at that food source and multiply. Their activity loosens crumbs, cycles nutrients, and builds the living part of soil that a bag of fertilizer never supplies. A season of living roots grows more soil life than a season of bare soil under mulch. That living layer is the part of soil health a cover crop builds best.
Water holds the job together. Keep the soil moist through flowering and pegging. Never let water stand. Peanuts need well-drained soil with no waterlogging, per the Peanut Company of Australia production guide. A bed that pools after rain drowns nodules and rots pegs. Drainage comes before sowing, not after.
A mulch layer between rows holds moisture and keeps the surface friable for pegs. The mulching guide sets out how mulch holds moisture, blocks weeds, and keeps soil cool. Keep mulch thin around peanut stems, about 5 cm, and leave a gap at each stem so the crown stays dry. Thick mulch piled against stems holds dampness where rot starts.
5. Chop and Drop the Plants Before Pods Fill
Cut the peanut plants at first flowering, before pods fill, and leave the residue on the soil or dig it in shallowly. Cutting at first flowering keeps the nitrogen in the leaves and stems, where the next crop can reach it. Waiting for pods lets the plant spend that nitrogen on nuts, which is the eating-peanut job, not the cover-crop job.
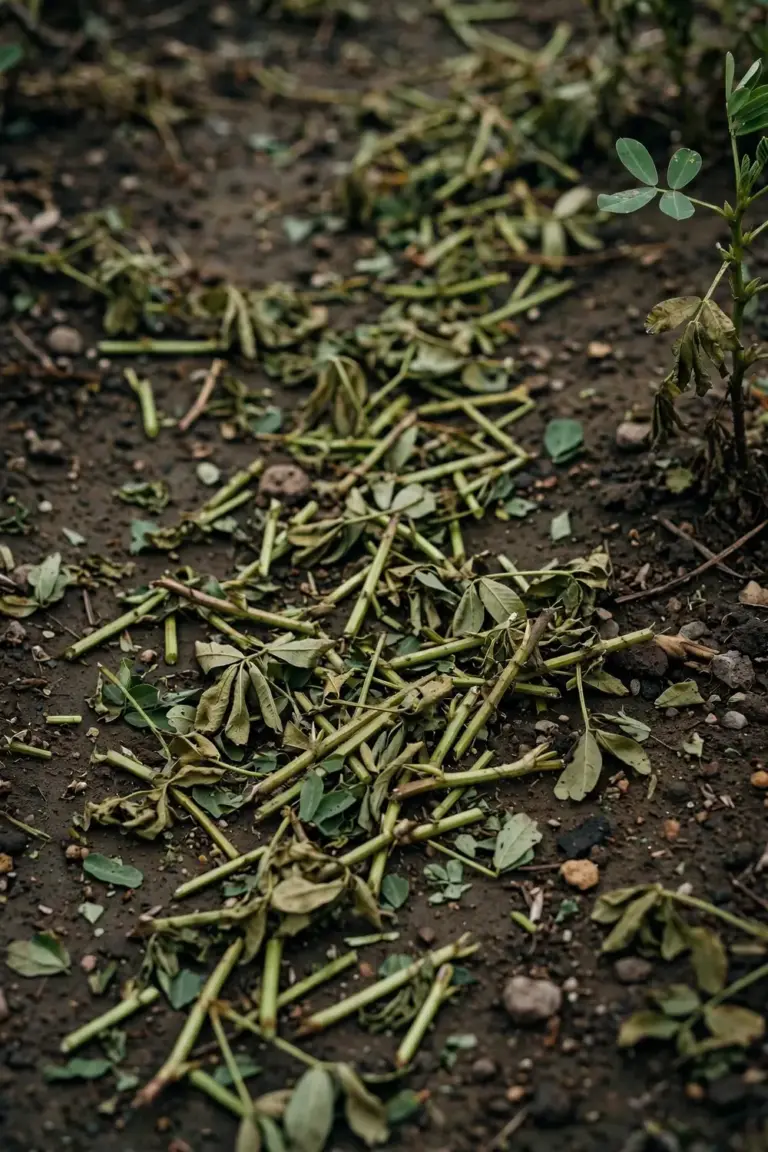
Incorporated residue releases nitrogen faster than surface residue. UF/IFAS Extension notes on nitrogen from peanut residues report that incorporated residues released 48 percent of their nitrogen within 30 days after harvest, against 30 percent for surface residues. Incorporating residue with tillage gives soil microorganisms greater access, so they decompose the residue faster and release nitrogen during the process. Dig residue in for faster release. Leave it on the surface for erosion protection, moisture retention, and slower release.
A typical peanut residue load of 3,000 lb per acre, which converts to 3,360 kg per hectare, holds 60 lb of nitrogen per acre, which converts to 67 kg of nitrogen per hectare, according to the same UF/IFAS Extension notes. That figure is the nitrogen inside the residue, not the nitrogen the next crop receives. Most of it leaves the root zone, volatilizes, or feeds soil microorganisms before a later crop takes it up.
Let the residue break down before sowing the next crop. Watch the chopped material darken, crumble, and lose its leaf shape. Sow into residue that still looks like fresh leaves, and the next crop competes with decomposers for nitrogen. Sow after the residue has visibly broken down, and the next crop finds the nitrogen released and waiting.
Cut with shears, a mower, or a slasher, whichever fits the bed. Small beds take shears. A mower passes over a larger bed in minutes. Slash the plants at ground level and leave the roots in place. The roots hold the soil and decay where they grew. Pulling plants out by hand tears the root channels the season just built.
6. Face the Limits of Using Peanuts to Restore Damaged Soil
Peanuts improve tired soil. They do not restore damaged soil alone. The distinction decides whether the bed gets better or the gardener gets disappointed.
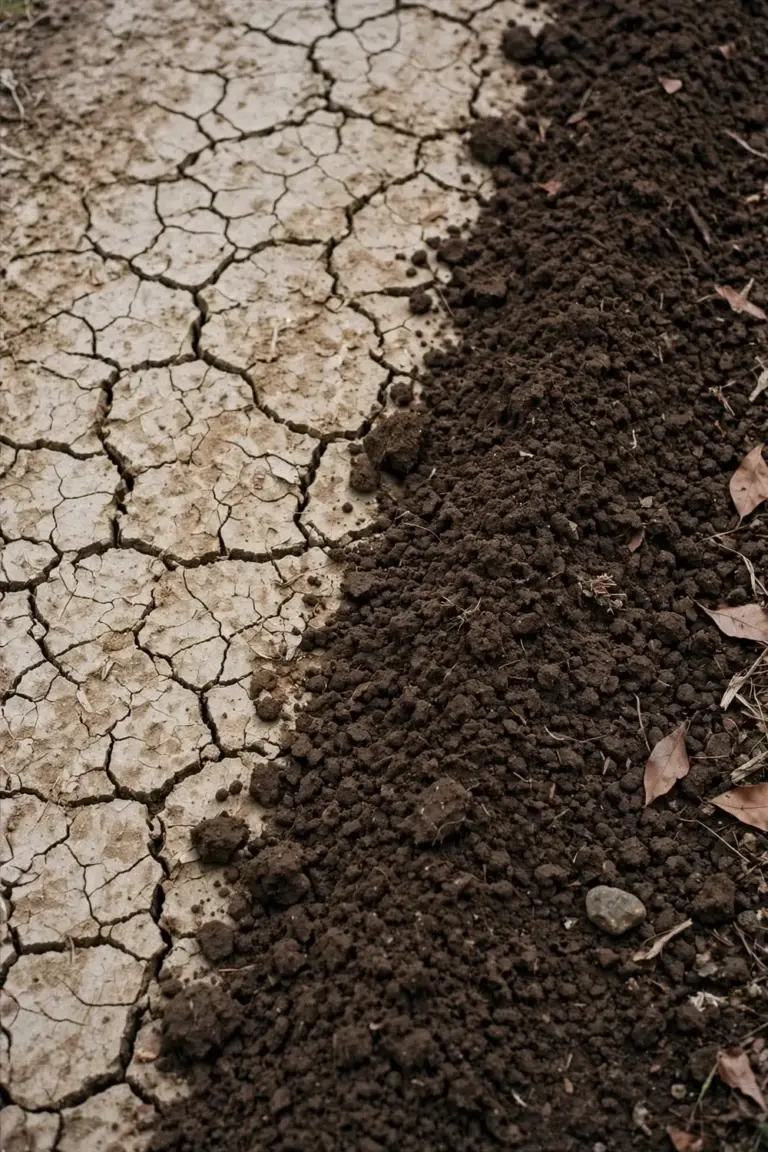
Field experiments across the United States peanut region found no peanut nitrogen credit worth counting. UF/IFAS Extension notes on nitrogen from peanut residues report that fall-sown and spring-sown crops planted after peanut generally perform no better than crops planted after other crops. If a peanut nitrogen credit exists, it is too small to affect the performance of subsequent crops. The same notes add that peanut residues should not substitute for nitrogen fertilization.
The numbers behind that verdict are small. Only 2 to 9 kg of nitrogen per hectare from incorporated residues, and 2 to 18 kg of nitrogen per hectare from surface residues, releases during a following spring crop, according to the same UF/IFAS Extension notes. A hungry vegetable crop wants far more nitrogen than that. Treat the peanut residue as a small bonus, and fertilize the next crop at its full rate.
| Problem | Peanuts Help? | What Else It Needs |
|---|---|---|
| Low nitrogen | Yes, modestly | Fertilize the next crop at its full rate |
| Low organic matter | Yes, slowly | Add compost and mulch alongside |
| Compaction | No | Loosen with a fork or rip first, then cover crop |
| Waterlogging | No | Fix drainage before sowing anything |
| Contamination | No | Test the soil and follow local advice |
Peanuts are one legume option among others, not a soil repair service. Pair the peanut cover crop with compost, mulch, and other legumes across the rotation. Peanuts are one tool in a soil health program, not the program. A bed with compaction, waterlogging, or contamination needs its real fix first. Peanuts help after that fix, never instead of it.
Compost supplies what peanuts cannot. A peanut cover crop adds a thin layer of residue and a season of root activity. Compost adds bulk organic matter in one barrow load. Compost lifts water holding, feeds soil life, and buffers pH in ways a single cover crop cannot match. Spread compost before sowing the peanut cover crop, and the two work together. Compost feeds the soil now. Peanuts keep it covered and add nitrogen through the season.
Set a three-season horizon. One peanut summer improves a bed a little. Three seasons of cover crops, compost, and mulch change how the soil feels, holds water, and grows plants. Judge the program after three seasons of steady work, not after one peanut bed. The gardener who expects restoration in one season quits in disappointment. The gardener who expects steady improvement keeps going and gets it.
7. Grow Perennial Peanut as a Living Mulch Instead
Perennial peanut gives the same nitrogen-fixing groundcover without yearly re-sowing. Perennial peanut is Arachis pintoi, a different species from the eating peanut Arachis hypogaea. UF/IFAS Extension notes on perennial peanut as living mulch describe it as a perennial cover crop and green manure crop for orchards, grown for soil and groundcover, not for nuts. One planting covers the bed for years. The trade is patience: the stand takes time to close over.
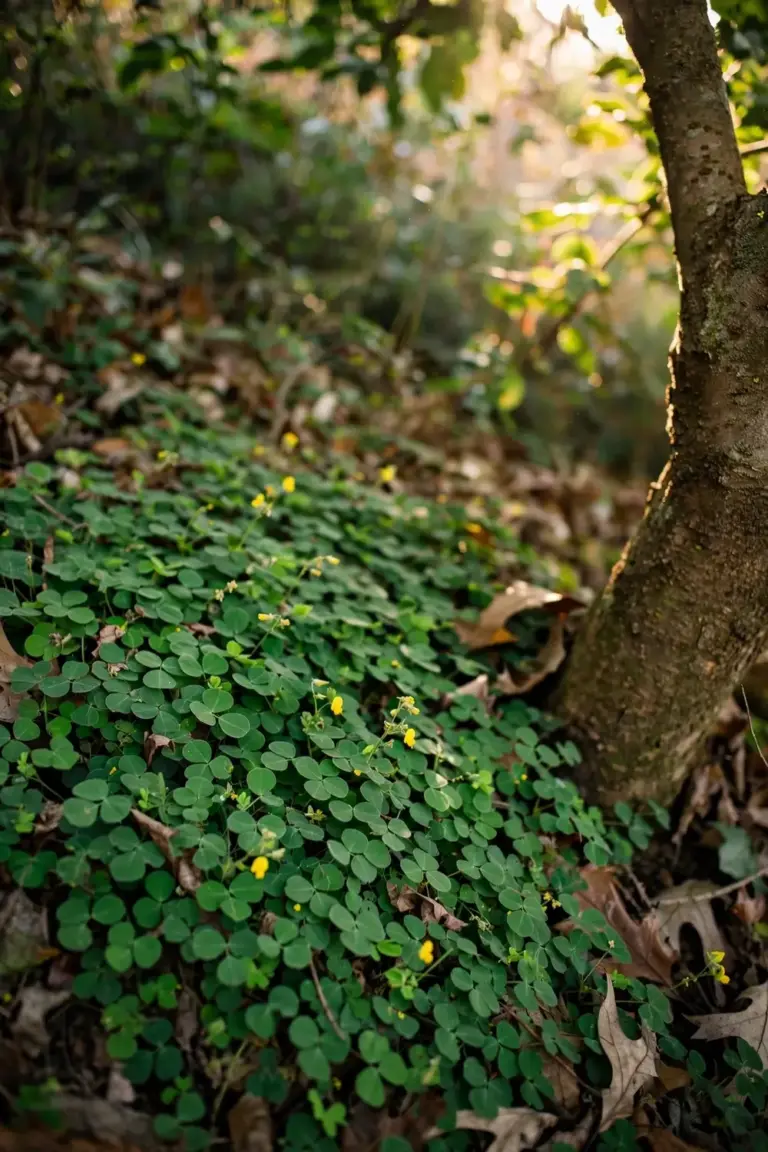
Plant perennial peanut where it stays put. Orchard rows, the ground under fruit trees, and beds you want covered year after year suit it. It grows in full sun and handles partial shade under orchard trees, per the same UF/IFAS Extension notes. Once established, the rhizoma type tolerates drought. The pintoi type does not, and it wants wetter sites or irrigated ground. Match the type to the water your patch actually holds.
Perennial peanut adds a maximum of 100 kg of nitrogen per hectare to trees through its mowed clippings, according to the same UF/IFAS Extension notes. It tolerates soil pH from 5.0 to 6.5. It fixes its own nitrogen through association with nodule-forming Bradyrhizobium bacteria, so supplemental nitrogen fertilizer is unnecessary as long as clippings return to the soil.
The ‘Amarillo’ cultivar was developed in Australia for forage and cover-crop use, per the University of Hawaii CTAHR perennial peanut notes. That Australian link makes perennial peanut a natural fit for warm Australian beds and orchard rows. Plant it under fruit trees and in beds you want covered year after year, and let it hold the soil between crops.
Perennial peanut establishes slowly, typically over 2 years, per the same UF/IFAS Extension notes. Weeds win the first season unless the bed starts clean. Clip the stand at least every 8 weeks, and mow to a 2.5 to 5.1 cm stubble height. Return the clippings to the soil, because the nitrogen rides in the clippings. A stand that establishes and gets clipped becomes a living mulch that feeds soil without yearly sowing, yearly inoculant, or yearly soil-temperature checks.
8. Pick Your Next Crop After Peanuts
Follow peanuts with a hungry crop, and do not cut its fertilizer. Peanut residues should not substitute for nitrogen fertilization, per UF/IFAS Extension notes on nitrogen from peanut residues. A leafy green, a brassica, or a fruiting vegetable takes the small nitrogen bonus and still wants its full feed. Feed it at the full rate, and count the peanut residue as a bonus on top.
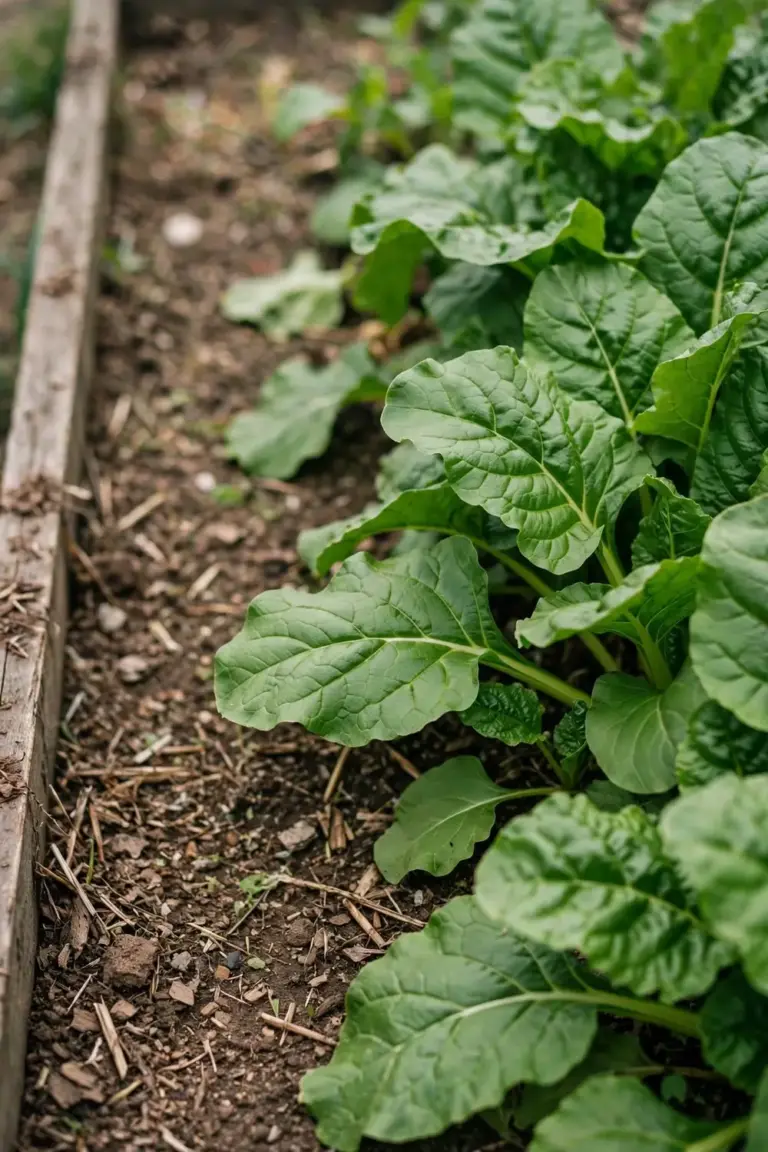
Watch for the windrow effect and read it correctly. Crops planted after peanut often look best where peanut residue lay thickest, in the old windrows. The same UF/IFAS Extension notes state that the windrow effect most likely comes from greater soil organic matter, moisture retention, lower erosion, and cooler soil temperatures, not from nitrogen. Spread residue evenly instead of piling it, and the whole bed gains the organic matter and moisture benefit.
Rotate the next cover crop to a different legume or a non-legume. Other cover crops fill the months peanuts cannot, and a varied rotation feeds a wider soil community. The cover crops guide lists cover-crop options for the cooler months, when peanuts stop growing. A peanut summer followed by a cool-season cover crop keeps living roots in the bed across the year, which is the habit that builds soil.
Do not sow peanuts in the same bed two seasons running. Rotation breaks pest and disease cycles that build when one crop repeats. A second legume in the same bed next season also wastes the rotation slot. A brassica, a leafy green, or a grass cover crop takes the peanut bed next, and peanuts return to that bed in a later season.
9. Frequently Asked Questions
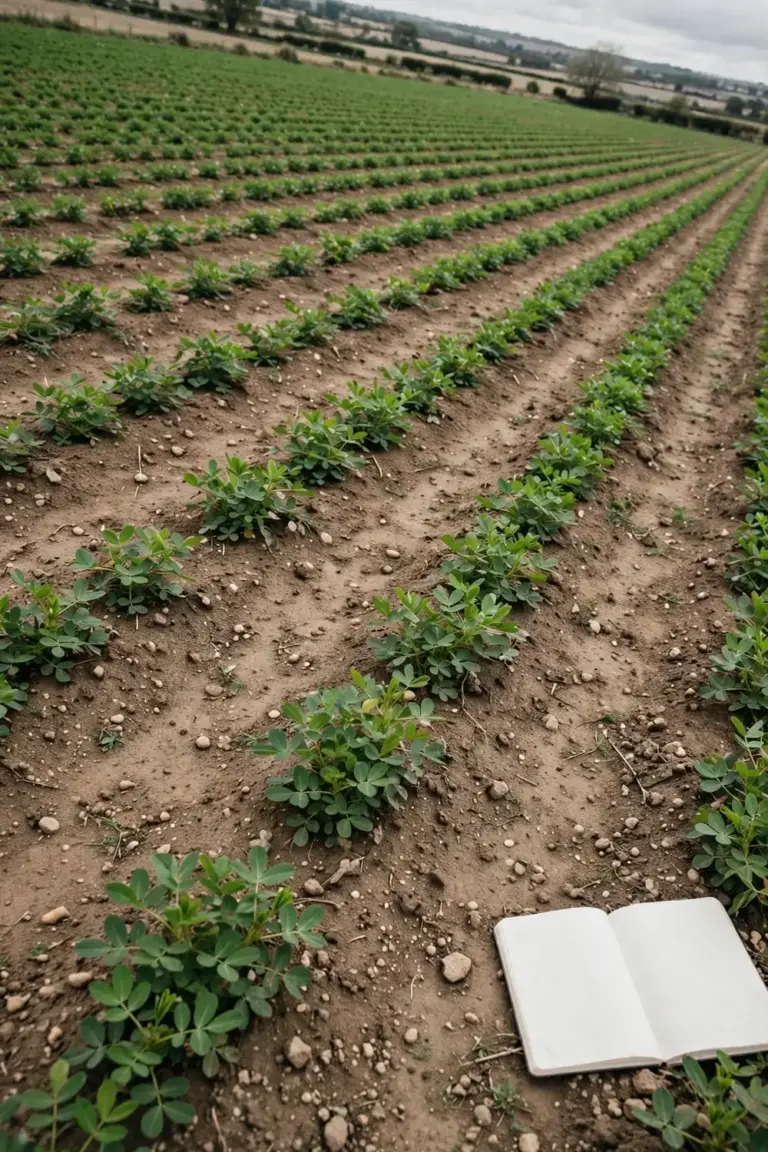
No. Peanuts will not fix compacted clay soil. Roots cannot push through a compacted layer, and pegs cannot enter crusted ground. Loosen the bed with a fork or rip it first, then sow peanuts as one step in a longer program. Compost and mulch do more for compaction than any single cover crop. Peanuts help after the structure opens, never instead of opening it.
Yes. Inoculate every season for the best nitrogen fixing. Native rhizobia exist in many soils, and the Group P inoculant strain still beats them, per GRDC GrowNotes. UGA Extension advises inoculants when ground has been out of peanut for more than 5 years, and calls yearly application good practice. A bed that grew peanuts last year still gains from fresh inoculant.
Yes, when you grow eating peanuts and let pods fill. A cover-crop planting cut at first flowering holds no nuts, because the plants never fill pods. Let the plants run to full maturity, dig at 18 to 24 weeks, and cure the pods before eating. Keep the two jobs apart. Cut early for soil, or wait for nuts. One planting cannot do both.
One season shows small change. The canopy shades the bed, roots open the top soil, and residue adds organic matter. Measurable gains in organic matter and structure take repeated seasons of cover crops, compost, and mulch. Peanuts are one season in that program. Judge the bed after three seasons of steady cover cropping, not after one peanut summer.
Perennial peanut suits beds and orchard rows you want covered year after year. It fixes nitrogen, needs no yearly sowing, and returns a maximum of 100 kg of nitrogen per hectare through mowed clippings, per UF/IFAS Extension. Annual peanuts suit a single-season soil job and a nut harvest. Perennial peanut establishes slowly over about 2 years. Annual peanuts work in one summer.
10. Start With One Peanut Bed This Summer
Test the soil temperature at 9 a.m. for three mornings. Sow one bed when the soil holds 18 °C at 50 mm. Inoculate the seed, keep the soil moist, and cut the plants at first flowering. Dig the residue in or leave it on the surface, and feed the next crop at its full rate.
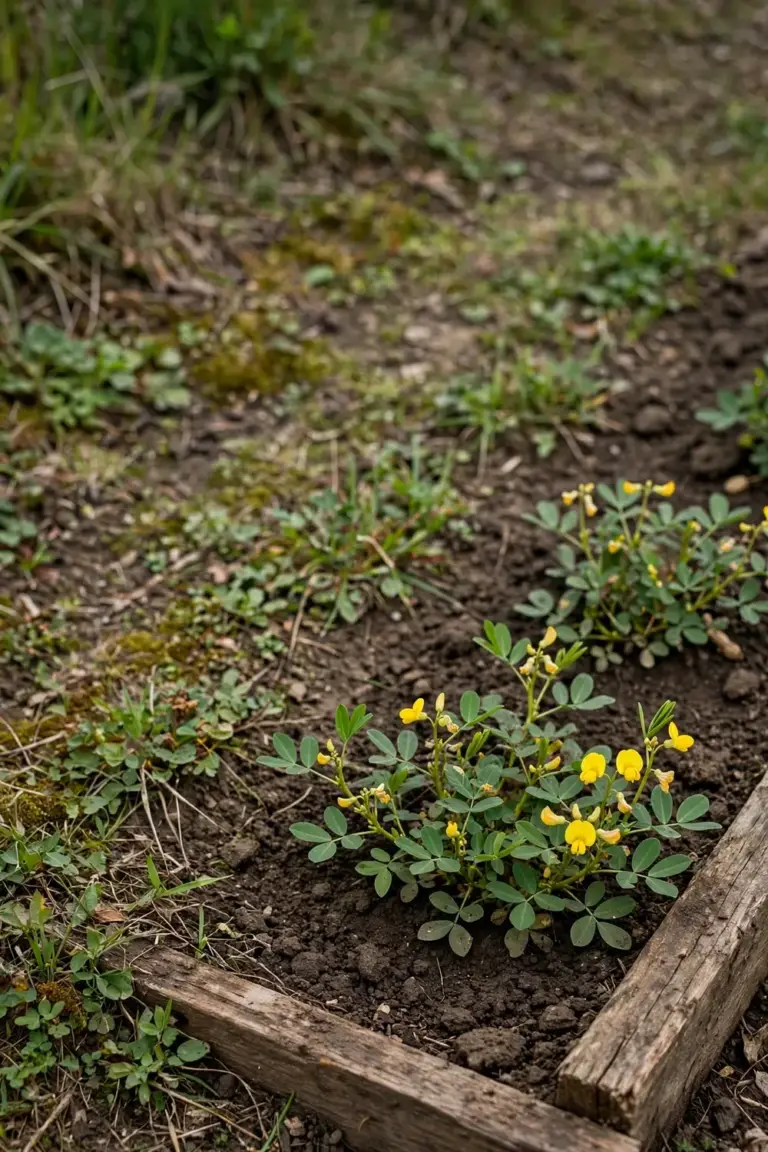
One peanut bed teaches the whole job. The thermometer reading, the nodule check, and the chop-and-drop finish carry into every later cover crop. Peanuts will not restore damaged soil alone. Peanuts will improve tired soil, season after season, as one legume in a program built on compost, mulch, and rotation.
Write the season down. Note the sowing date, the three morning soil readings, the chop date, and the next crop. Next summer, the notes tell you when the soil warmed, how long the stand ran, and what followed it. A notebook beats a memory across seasons.