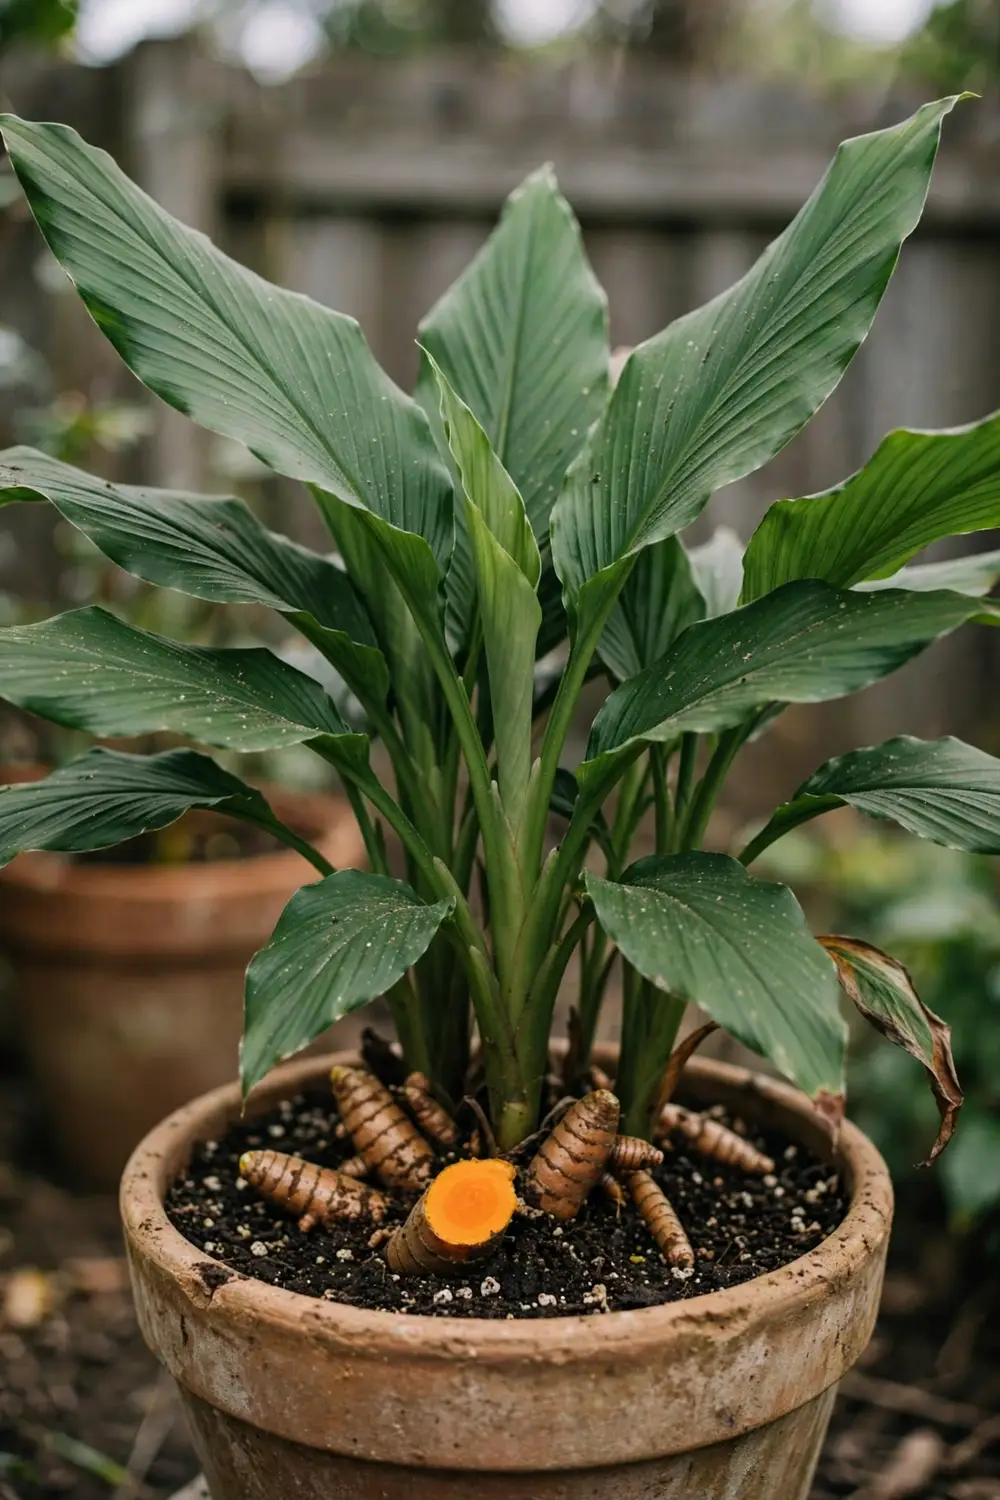

Turmeric needs 7 to 10 months of warm weather to fatten its rhizomes. If you live in USDA zone 7 or below, your frost-free season is too short for that. Here is how to grow turmeric from India in a cold climate: start haldi rhizomes indoors 4 to 8 weeks before your last frost, grow them in movable pots through summer, and dig the crop before the first fall frost.
This guide covers the India lane only. Indian turmeric, called haldi in Hindi, is the same species as supermarket turmeric, Curcuma longa, but Indian cultivars like Lakadong, Salem, and Erode are bred for higher curcumin and stronger color. The method here is the cold-climate lane: pre-sprouting, container strategy, and frost-timed harvest. It assumes you are not in a tropical zone.
1. Know Your Climate Reality: Zones 8 to 11 vs Zones 7 and Below
The first decision is not which variety to buy. It is where your garden sits on the hardiness map. Turmeric is a tropical perennial, and it stops growing when temperatures drop below about 50°F. In USDA zones 8 through 11 it survives winter in the ground. Everywhere colder, the tops die back and the rhizomes rot in frozen soil.
| Zone | Strategy | Timing |
|---|---|---|
| 8 to 11 | Perennial in the ground | Plant after last frost; harvest in late fall or leave in soil |
| 7 and below | Annual in containers | Pre-sprout indoors 4 to 8 weeks before last frost; dig before first frost |
| Any zone | Greenhouse or hoophouse | Extend the season 1 to 2 months on both ends |
Do the season math before you buy rhizomes. Find your average first fall frost date, then count backward 7 to 10 months. If that lands in December or January, you are pre-sprouting indoors in deep winter, which is exactly what the cold-climate method calls for. A zone 6 garden with a 150-day frost-free window cannot finish turmeric outdoors, no matter how warm the summer. The container route is not a compromise. It is the method that actually works north of zone 7, as House Digest’s cold-climate turmeric guide shows with its indoor-start protocol.
One more reality check: turmeric slows dramatically below 60°F and stops below 50°F. A cool summer still produces a crop in pots, but a heat mat start and the warmest microclimate you have (south-facing wall, black pots that absorb heat) make a measurable difference in rhizome size.
2. How to Grow Turmeric from India: Picking Lakadong, Salem, and Erode Cultivars
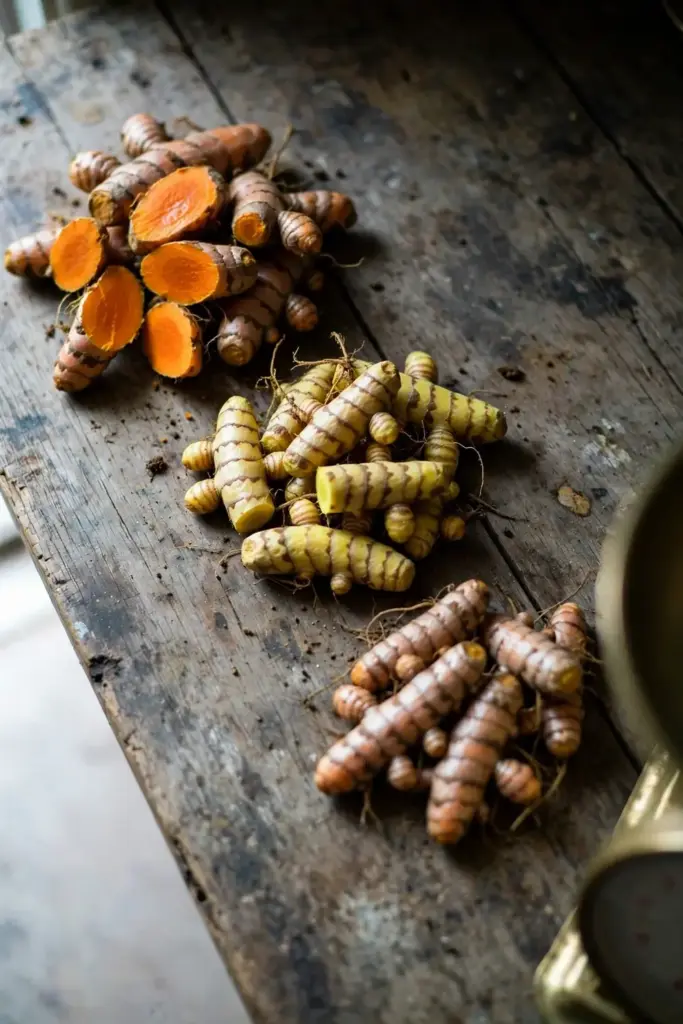
Most store-bought rhizomes are unmarked, but Indian-grown planting stock often comes with a cultivar name. These are worth seeking out, because Indian cultivars differ in curcumin content and vigor. When you set out to grow turmeric from India, the cultivar name on the bag is your first quality signal.
| Cultivar | Origin | Curcumin | Notes |
|---|---|---|---|
| Lakadong | Meghalaya | 7 to 9 percent | Highest curcumin of the common Indian types |
| Salem | Tamil Nadu | 4 to 5 percent | Vigorous, widely planted commercial type |
| Erode | Tamil Nadu | 3 to 4 percent | The classic South Indian turmeric |
Curcumin content drives color and flavor intensity, and Lakadong leads the pack at roughly double the average. For home growing, vigor matters more than lab numbers: Salem and Erode establish faster in short seasons, which can matter more than curcumin in a zone 5 summer. Any named cultivar outperforms an unlabeled rhizome of unknown age.
Where to find them: Indian grocery stores sometimes stock named-cultivar haldi in the fresh produce section. Turmeric growers and specialty rhizome sellers online list cultivar names explicitly. Ask the seller two questions: which cultivar, and was it stored cold. Cold-stored rhizomes often refuse to sprout, no matter how good the cultivar.
A note on haldi vocabulary: haldi is the Hindi word for turmeric, dried or fresh. It is not a different plant. Sellers who say “haldi rhizomes” mean fresh turmeric rhizomes, usually of Indian origin.
3. Source Rhizomes: How to Sprout Store-Bought Haldi
You do not need seed. Turmeric does not grow from seed in home gardens; it is planted from rhizomes, the fleshy underground “fingers.” Grocery-store haldi works if you pick it right.
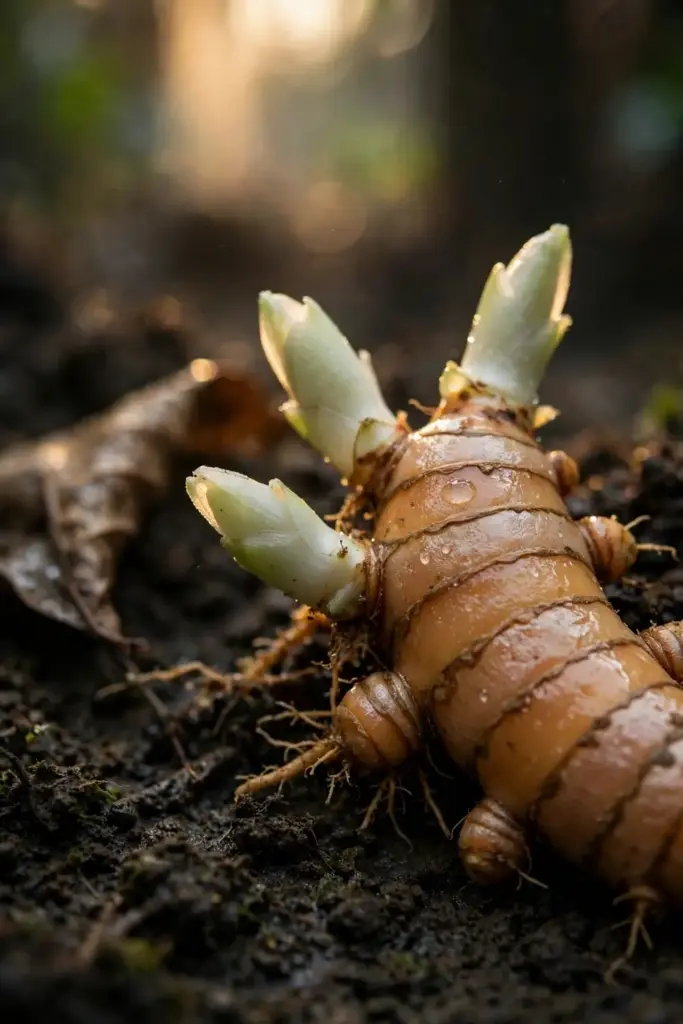
Look for firm, plump rhizomes with visible growth buds or “eyes,” like the eyes on a potato. The skin should be taut and the flesh dense. Avoid anything shriveled, moldy, soft at the ends, or glossy from wax coating. Organic is better, because conventional rhizomes are sometimes treated with sprout inhibitors. Never plant rhizomes that have been stored in the cold section of the grocery store. Cold-stored rhizomes often refuse to sprout even under perfect warmth.
Cut large rhizomes into 2 to 3 inch pieces, each with 2 to 3 buds. Use a clean knife; a ragged tear invites rot. Let the cut pieces dry for a day or two so the cut faces callus over. This single step prevents most rot, and skipping it is the most common beginner error after overwatering.
How much to buy: a pound of rhizomes plants a couple of large pots or a short row. Each 2 to 3 inch piece becomes one plant, and one plant yields a few ounces of fresh rhizomes in a good container season.
4. Pre-Sprout 4 to 8 Weeks Before Your Last Frost
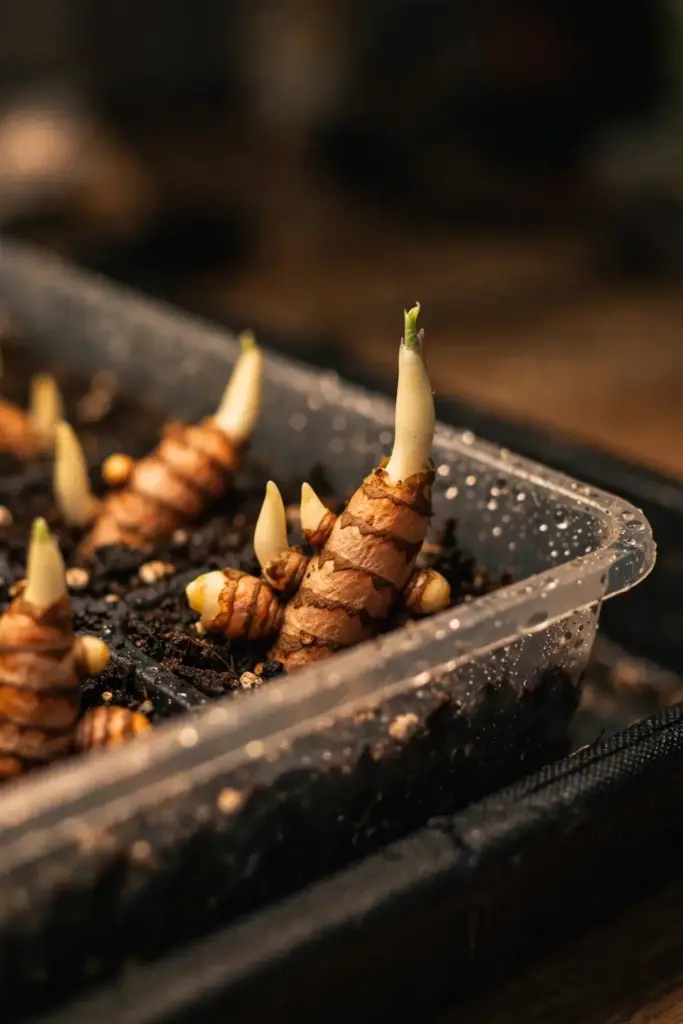
Pre-sprouting is the cold-climate trick that makes the whole method work. Rhizomes take 3 to 8 weeks to sprout, and you cannot afford to lose that time to cold soil. Starting indoors in February or March buys you the equivalent of an extra month of tropical weather.
| Step | Action | Time |
|---|---|---|
| 1 | Cut rhizomes into 2 to 3 inch pieces with 2 to 3 buds each | Day 1 |
| 2 | Let cut faces dry and callus | 1 to 2 days |
| 3 | Soak briefly, then nestle in damp potting mix or a damp towel in a bag | Day 3 |
| 4 | Hold at 70 to 80°F with a heat mat, out of direct light | 3 to 8 weeks |
| 5 | Pot up when sprouts reach 1 to 2 inches; move out after nights stay above 50°F | After last frost |
Warmth matters more than light before sprouts appear. A heat mat set near 80°F wakes rhizomes weeks faster than a cool windowsill. The University of Vermont Extension indoor method recommends the same approach: warmth first, then bright light the moment shoots emerge. Keep the medium barely damp, not wet. Check weekly and discard any piece that turns soft or smells sour; one rotting piece can spread mold to its neighbors.
What sprouts look like: a pale nub pushes from an eye, then unfurls into a tight cone that greens up within days of light exposure. Once shoots reach an inch or two, move them to bright light immediately. Leggy, pale shoots grown too long in the dark never fully recover their vigor. The same warmth-first logic applies to starting seeds indoors: heat wakes them, light builds them.
5. Plant in the Ground (Zones 8 to 11)
If your winters stay above freezing, plant directly in the ground after the soil is regularly 55°F or warmer. Dig holes 4 to 6 inches deep and space pieces 6 to 12 inches apart. Set each piece with buds facing up and cover loosely. Do not press the soil down hard; loose cover lets shoots push through easily.
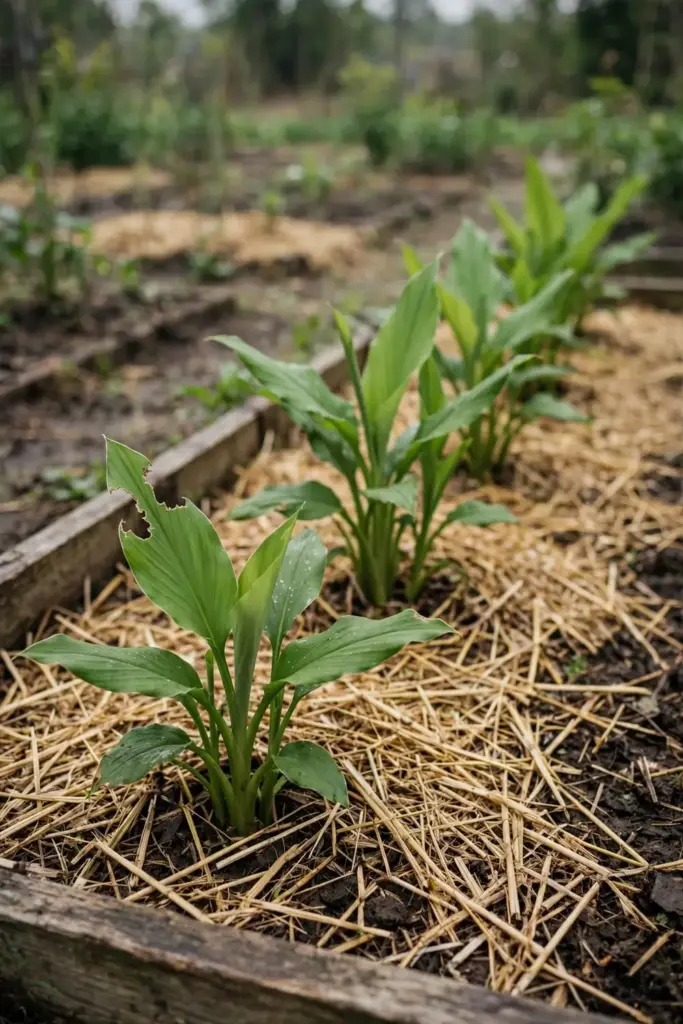
Work the bed to at least a foot deep and mix in generous compost. Turmeric is a heavy feeder and its rhizomes need room to swell. Mulch 2 to 3 inches with straw or shredded leaves to hold moisture and suppress weeds. In zone 8, leave rhizomes in the ground over winter under mulch; in zones 9 to 11 they reshoot on their own each spring.
In-ground plants in warm zones still benefit from the Indian cultivar choice. Lakadong’s high curcumin shows in deeper orange flesh at harvest, a visible reward for sourcing named stock.
6. The Pot Method: Containers That Move Indoors
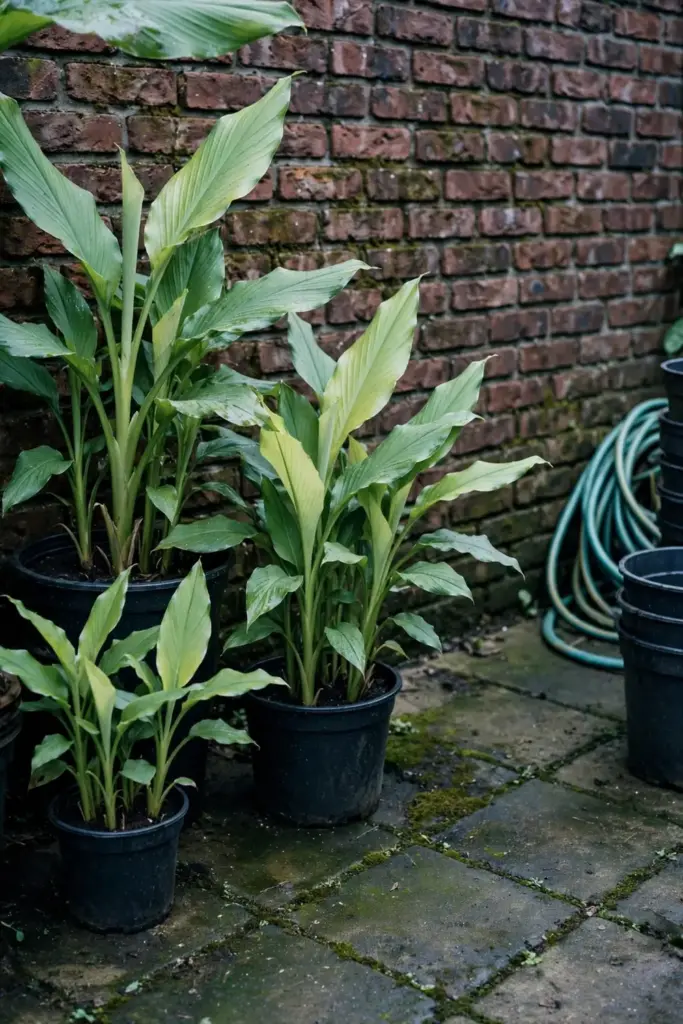
For zones 7 and below, the pot is the garden. Choose containers at least 12 inches deep and as wide as you can manage. A 3 to 5 gallon pot holds 2 to 3 rhizome pieces; larger harvests need 15 to 20 gallon containers or half wine barrels. Rhizomes swell outward and can crack a cramped pot, so err large.
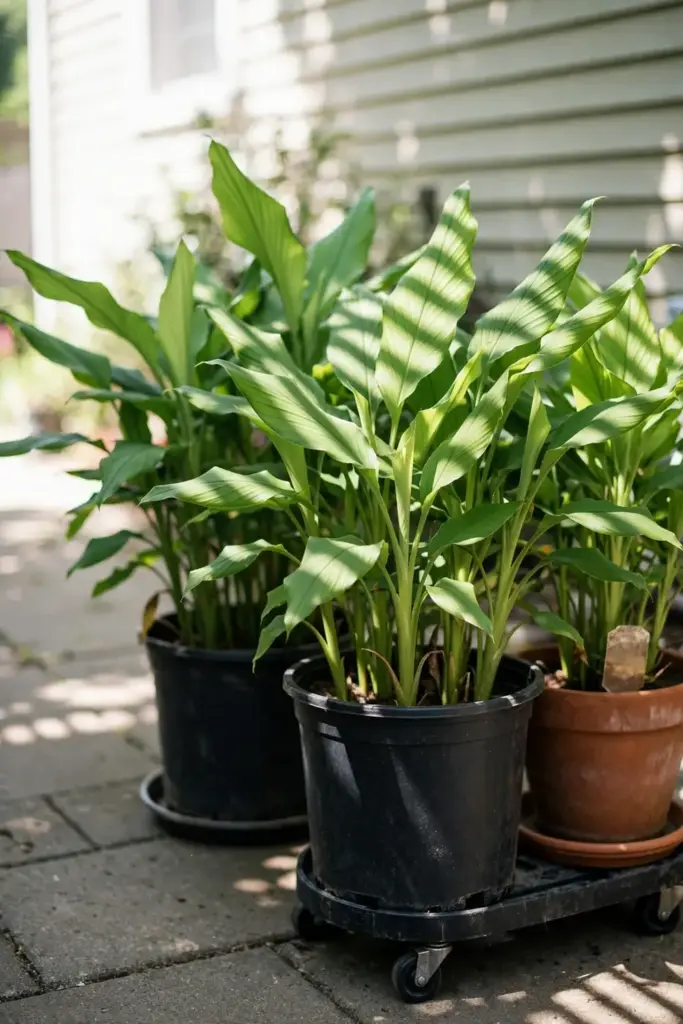
Drainage holes are mandatory. Turmeric rhizomes rot in standing water, and a saucer left full after rain is the classic container failure. Fabric grow bags are an excellent alternative; they air-prune roots and drain freely, though they dry faster and need more frequent watering.
Plant pieces 2 to 3 inches deep, buds up, spaced 4 to 12 inches apart. Fill with a loose, rich mix (see the soil section below). Water lightly until sprouts appear, then water to keep the mix evenly moist.
The pot method’s real advantage is mobility. When nights threaten to drop below 50°F in fall, the whole crop moves indoors instead of being dug up early. You can even finish ripening indoors under lights for a few extra weeks. Homestead and Chill’s complete turmeric guide documents the same zone-7-and-below container strategy with photo walkthroughs. Learn how to light indoor plants properly before October arrives.
7. Soil: Loose, Rich, and Well-Drained
Turmeric wants soil that is loose, high in organic matter, and slightly acidic, around pH 5.5 to 7.0. Heavy clay is the enemy; it suffocates rhizomes, holds winter cold, and makes harvest a wrestling match.
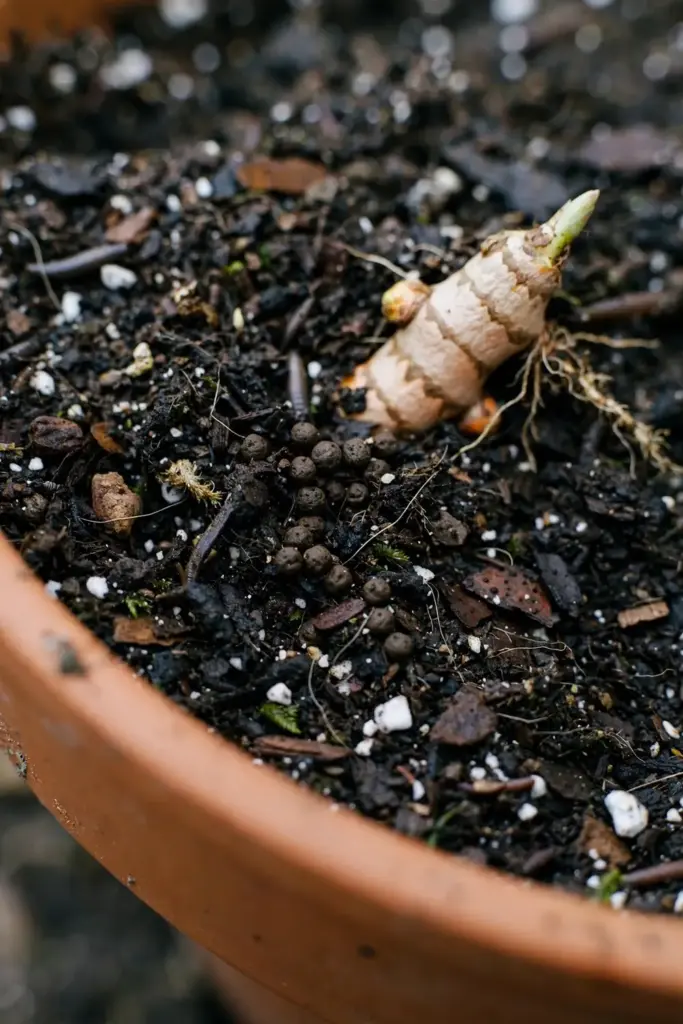
For pots, combine 70 to 80 percent quality potting soil with 20 to 30 percent aged compost. A handful of perlite per gallon improves drainage in dense bagged mixes. In the ground, loosen native soil a foot deep and work in compost plus a little sand or perlite. Add a balanced slow-release organic fertilizer at planting, erring on the light side; you will feed again during the season.
Healthy soil is the foundation of pest resistance too. Rich, living soil grows vigorous plants that shrug off minor pest pressure. If you have not read it yet, the soil-health foundation guide explains how organic matter and biology keep root crops strong.
8. Watering: Moist, Never Soggy
Water sparingly until sprouts appear. A dormant rhizome in wet mix rots instead of sprouting. This is the number one way beginners lose their crop, and it happens in the first three weeks.
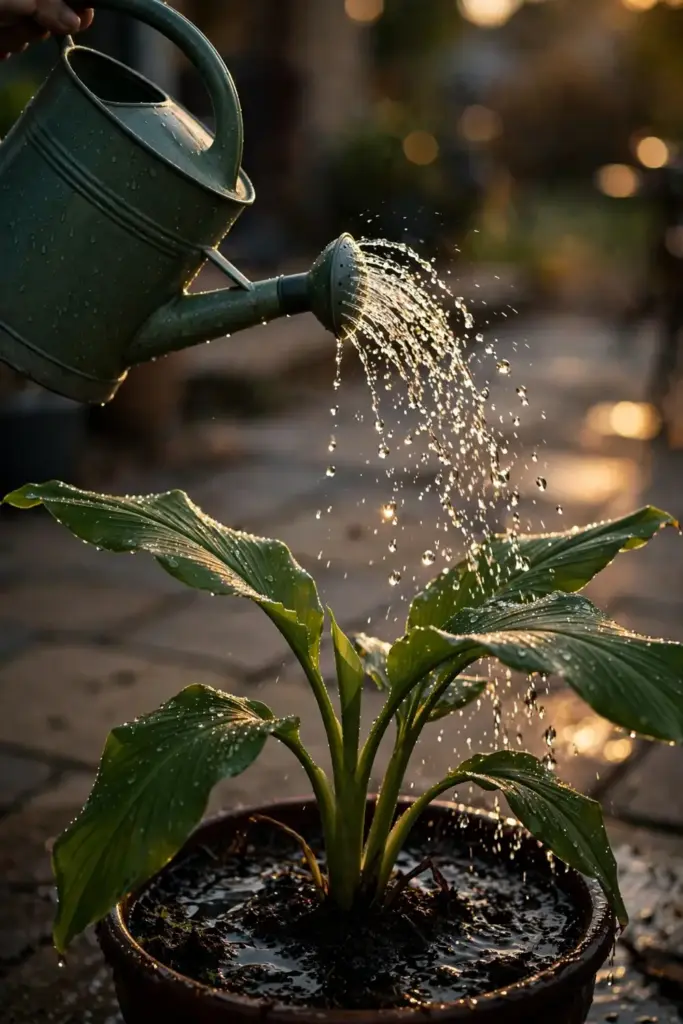
Once leaves emerge, keep the soil consistently moist but never waterlogged. Deep watering once or twice a week suits most climates; container plants in summer heat may need daily checks. Mulch helps enormously by buffering moisture swings. As fall approaches and leaves yellow, taper watering off. Wet soil plus cold air is a recipe for rot, and a plant entering dormancy needs almost no water.
A simple test: push a finger 2 inches into the mix. If it feels dry at that depth, water. If it feels damp, wait. Rhizomes store water, so turmeric tolerates a missed watering far better than a drowning.
9. Feeding: A Hungry Crop
Turmeric feeds heavily through its long season. Side-dress with compost or a balanced organic fertilizer every 4 to 6 weeks once plants are actively growing. Container plants exhaust their mix faster, so feed pots on the shorter end of that range, roughly monthly.
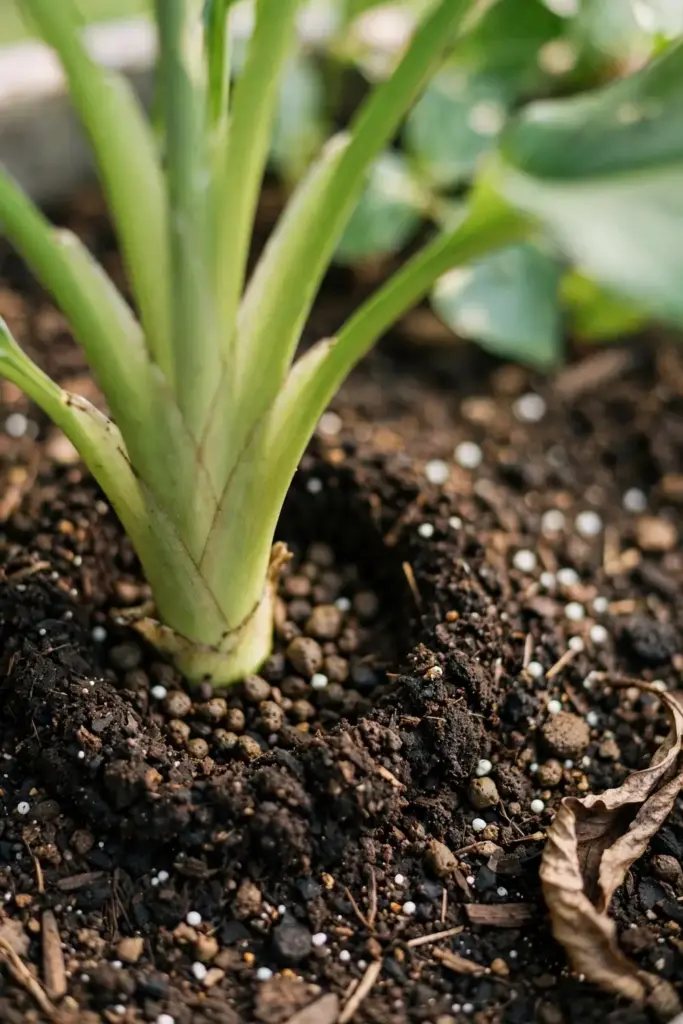
Watch the leaves for feedback. Deep green, upright foliage means the feeding schedule is working. Pale or yellowing leaves in midsummer usually signal hunger, not disease; a dose of balanced liquid fertilizer corrects it within two weeks.
Avoid heavy nitrogen late in the season. Leafy top growth in September comes at the expense of rhizome swelling. A fertilizer with more potassium than nitrogen suits the bulking phase from late summer into fall.
10. Pests and Diseases
Turmeric has few serious enemies, which is part of its appeal for beginners. Rhizome rot from waterlogged soil is the main killer; prevention beats cure, and the answer is drainage plus careful early watering.
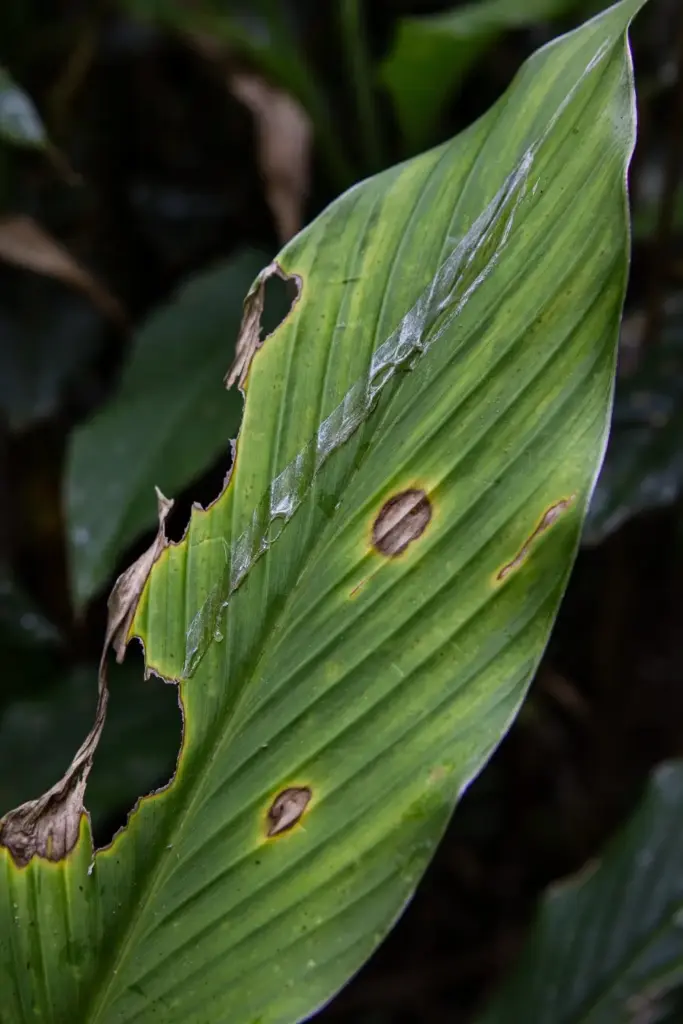
Slugs and snails chew young leaves in damp gardens; a ring of diatomaceous earth or evening hand-picking handles them. Spider mites and mealybugs appear when indoor air gets too dry during overwintering; a strong blast of water or insecticidal soap knocks them back. Leaf spot occasionally marks foliage but rarely threatens the harvest; remove affected leaves and improve air circulation.
Because you grew from your own rhizomes in fresh mix, soil-borne disease pressure starts near zero. Do not reuse potting mix from a failed batch without composting it first. One more caution: turmeric and ginger share pests, so do not plant them in the same pot two seasons running without refreshing the mix. Rotation applies to containers too.
11. Harvest: Dig Before the First Frost
The harvest signal is unmistakable: leaves turn yellow and die back, usually 7 to 10 months after planting. In cold zones, do not wait for a hard freeze. Dig the entire clump before the first frost, even if some leaves are still green. A light frost blackens foliage overnight, and a hard freeze damages shallow rhizomes.
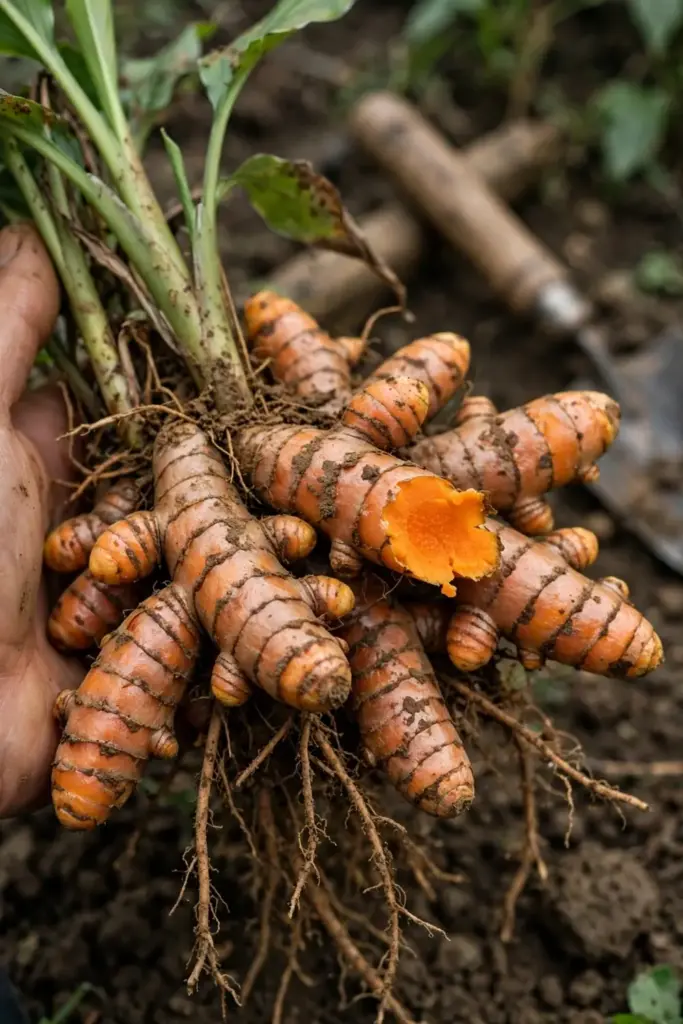
Lift carefully with a fork, starting well outside the planting spot to avoid spearing the crop. Brush soil from the rhizomes and cut the stalks off at the crown. Rinse gently; a hard spray can bruise the skin.
Sort your harvest into three piles. The plumpest pieces with the most buds become next year’s planting stock. Firm, clean rhizomes go to the kitchen fresh. Anything soft, damaged, or moldy goes to the compost. Wear gloves if you dislike stained hands; fresh turmeric dyes everything it touches a stubborn yellow.
12. Curing and Drying Your Rhizomes
Fresh rhizomes keep in the refrigerator for up to 3 months in a paper bag. For long storage, dry them. First cure the harvest: spread rhizomes in a warm, airy, shaded spot for 3 to 5 days. Curing toughens the skin and reduces moisture, which prevents mold in storage.
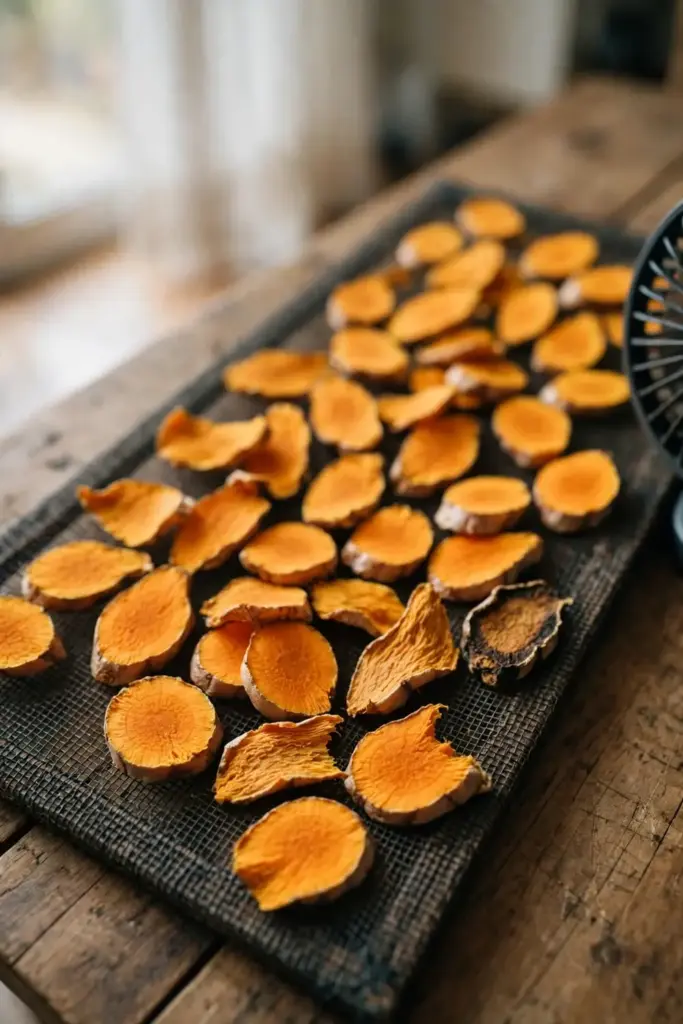
Then wash, slice into quarter-inch pieces, and dry in a dehydrator on its fruit and vegetable setting or in a warm, airy spot until the slices snap instead of bending. Sun-drying works in dry climates; in humid regions use a dehydrator to prevent mold. Drying concentrates both flavor and color.
Properly dried slices store in an airtight jar in a dark cupboard for a year or more. Keep the jar away from light; curcumin fades with light exposure, and faded powder has lost both color and punch.
13. Grinding Fresh Haldi Into Powder
Grind dried slices in a spice grinder or high-powered blender until fine. Work in small batches; the grinder heats up and heat dulls aroma. Sift out any coarse bits and regrind them. Freshly ground turmeric is brighter and more aromatic than anything from a store shelf, and Lakadong powder is a startling deep orange.
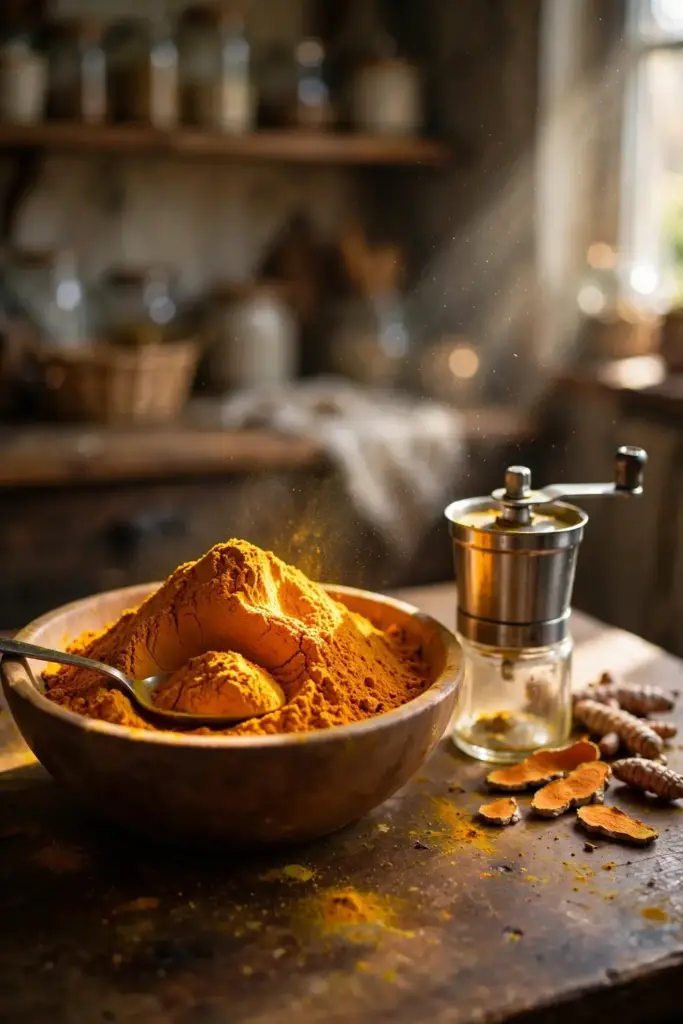
Keep expectations honest. A home container harvest yields ounces, not pounds. A few pots give you fresh rhizomes for cooking and enough dried powder to fill a small jar. That is a real win for a zone 6 garden, and the flavor beats the commercial bag.
A note on curcumin claims: higher-curcumin cultivars genuinely contain more curcumin by weight, but no home kitchen can measure it. Treat potency talk as interesting, not medical, and consult a clinician before using turmeric medicinally.
14. Overwintering: Storing Rhizomes and Pots
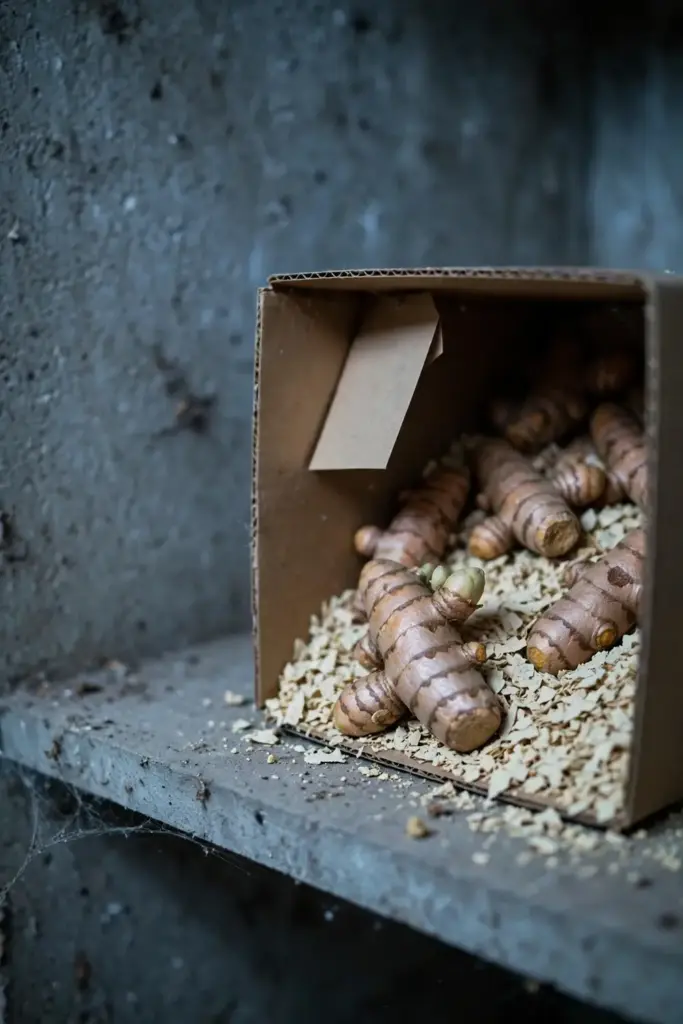
You have two options for zones 7 and below. Option one: store the planting pieces. Cure the saved rhizomes a few days, then pack them in barely damp peat, vermiculite, or sawdust in a cool spot around 50 to 60°F. A basement corner or unheated garage shelf works. Mist sparingly through winter so they do not shrivel. Check monthly. Too wet and they rot; too dry and they desiccate into husks.
Option two: keep the whole pot. Trim dead foliage at the soil line, stop watering almost entirely, and move the pot to a cool, dim spot indoors. This works best for large containers you do not want to empty. The rhizomes rest in their own soil, which buffers moisture swings.
Both methods feed into the same spring routine: pre-sprout 4 to 8 weeks before last frost, exactly as described in the pre-sprouting section above. That is the full cycle for how to grow turmeric from India north of zone 7: sprout, grow, dig, store, repeat. The Old Farmer’s Almanac overwintering protocol agrees: dormant pots need only a cool 50 to 60°F spot and minimal water until spring. If you are setting up an indoor growing space for the shoulder seasons, the indoor herb garden guide covers light, humidity, and airflow basics that apply to overwintering turmeric pots too.
15. 7 Mistakes Cold-Climate Growers Make
Every northern gardener learning how to grow turmeric from India hits at least one of these. Learn them here instead of in your garden.
- Planting too early in cold soil. Wait until nights stay above 50°F. Cold soil stalls sprouts and invites rot.
- Overwatering before sprouts appear. Dormant rhizomes rot in wet mix. Barely damp until green shows.
- Using cold-stored grocery rhizomes. They often never sprout. Buy fresh, firm, organic stock.
- Pots too small. Rhizomes swell and can crack a cramped container. Go 3 gallons minimum.
- No heat mat during pre-sprouting. Weeks of season are lost to a cool windowsill.
- Waiting for a hard frost to harvest. Dig before the first frost, even with green leaves left.
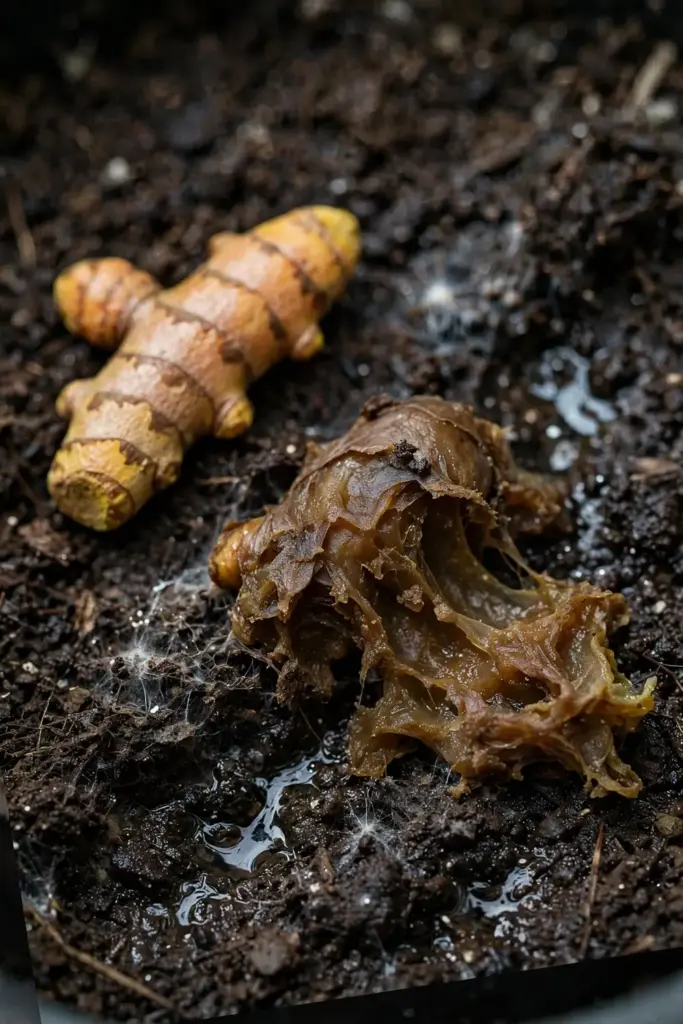
- Storing planting rhizomes too wet or too warm. Cool and barely damp wins. Check monthly.
16. Troubleshooting
Most turmeric problems trace back to three causes: cold, wet, or bad planting stock. Work through the list below before you buy new rhizomes.
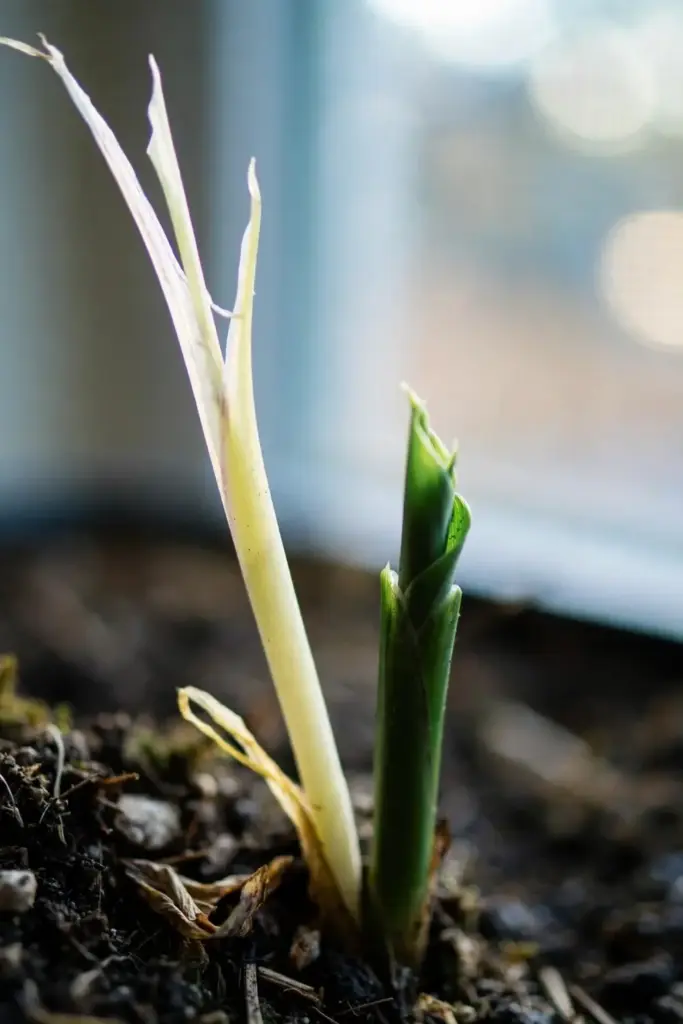
Nothing sprouts after 8 weeks. The rhizome was probably cold-stored or treated with sprout inhibitor. Buy fresh stock from a turmeric grower, keep the heat mat near 80°F, and start over. Do not keep waiting past 10 weeks.
Leaves yellow in midsummer. Usually overwatering or poor drainage. Check that the pot drains freely and let the top inch dry between waterings. In the ground, this points to clay soil; lift and amend next season.
Plants stall in September. Normal. Days shorten and growth slows; the rhizomes are bulking underground. Do not fertilize to “fix” it. Reduce water as foliage yellows.
Stored rhizomes shrivel. The storage medium dried out. Mist lightly, repack, and check monthly instead of forgetting them until March.
Stored rhizomes grow mold. Too wet and too warm. Dry them off, cut away affected spots, repack in fresh dry vermiculite, and keep cooler.
Sprouts are pale and leggy. They stayed in the dark too long after sprouting. Move to strong light immediately; new growth will be normal, though the stretched stems stay weak.
17. Frequently Asked Questions
Yes, if they are fresh, firm, and organic. Look for visible buds or eyes and avoid cold-stored or waxed rhizomes. Cut into 2 to 3 inch pieces with 2 to 3 buds each, let the cuts dry a day, then pre-sprout warm at 70 to 80°F. Grocery haldi from an Indian market often includes named cultivars.
About 7 to 10 months from planting to harvest. In cold climates, pre-sprouting indoors 4 to 8 weeks before last frost effectively lengthens the season. The leaves yellowing and dying back in fall is the harvest signal, not the calendar date.
Only in USDA zones 8 to 11, where rhizomes survive winter in the ground. In zone 7 and below, treat it as an annual: dig rhizomes before the first frost, store the best pieces cool and barely damp, and replant in spring.
Lakadong is an Indian cultivar from Meghalaya with 7 to 9 percent curcumin, roughly double the average commercial turmeric. For home growers the practical difference is stronger color and flavor in cooking. It grows exactly the same way as any other turmeric.
It can survive indoors with strong light, but it will not produce a real harvest without a warm growing season. The better use of indoor space is pre-sprouting in late winter and overwintering dormant pots or stored rhizomes through the cold months.
Potency varies with cultivar and growing conditions. Indian cultivars like Lakadong are bred for high curcumin, and fresh homegrown rhizomes beat old store powder on aroma. No home kitchen can verify exact curcumin levels, so treat health claims with skepticism and consult a clinician about medicinal use.
18. Where to Go From Here
You now have the India cold-climate method: named cultivars, pre-sprouting, container strategy, and frost-timed harvest. For the general turmeric basics that apply in any zone, the beginner’s turmeric guide covers the crop in full.
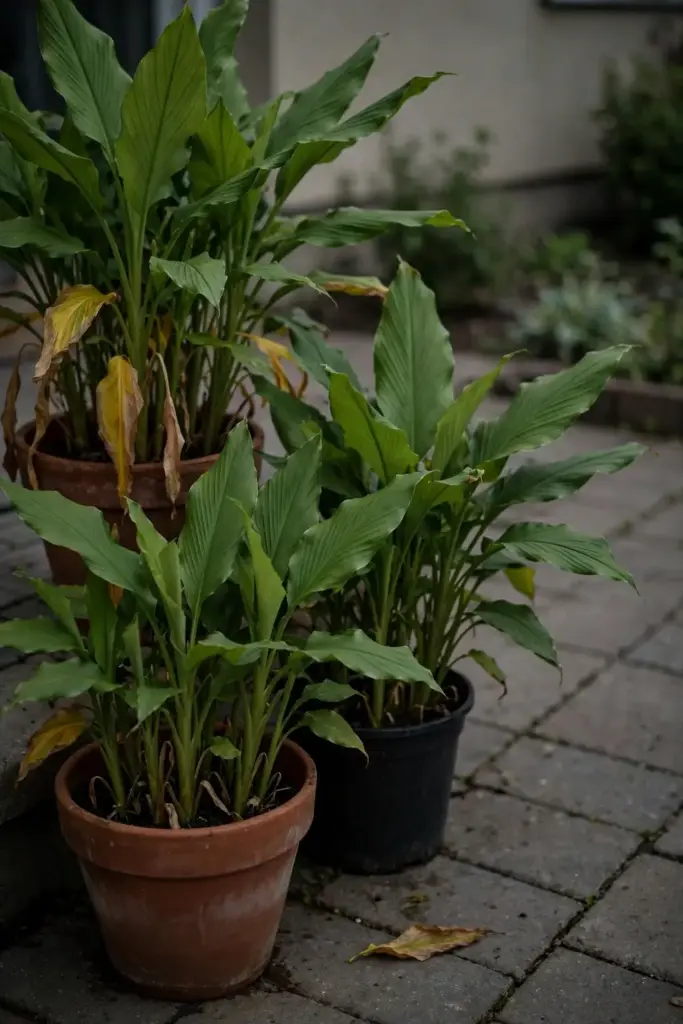
Start your rhizomes early, keep them warm, and dig before the frost. Cold-climate haldi is a deeply satisfying container crop for a northern garden.