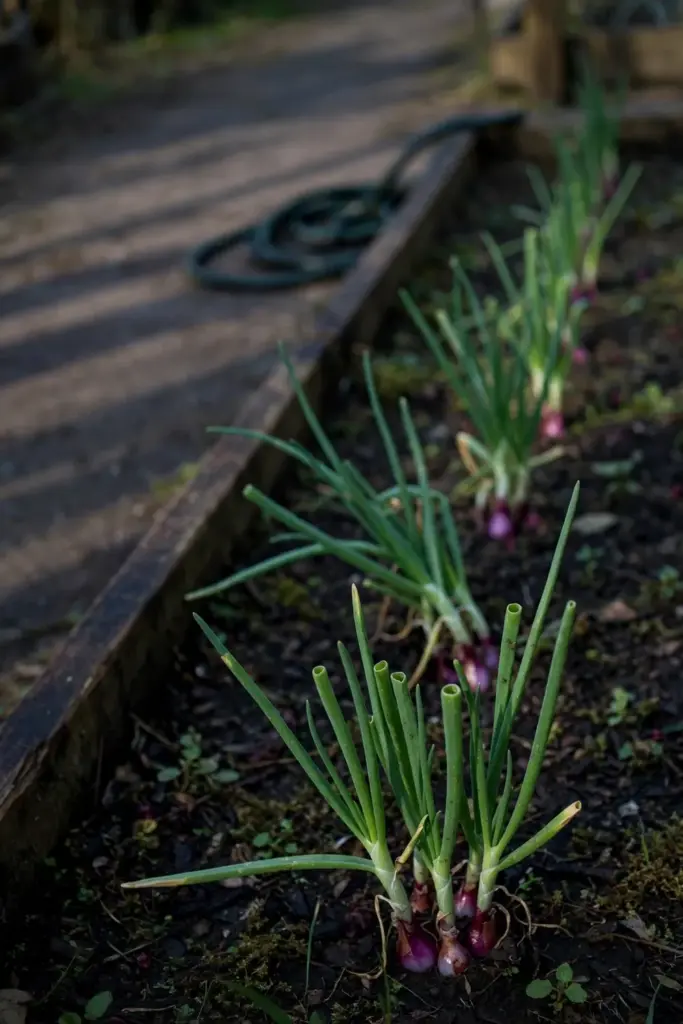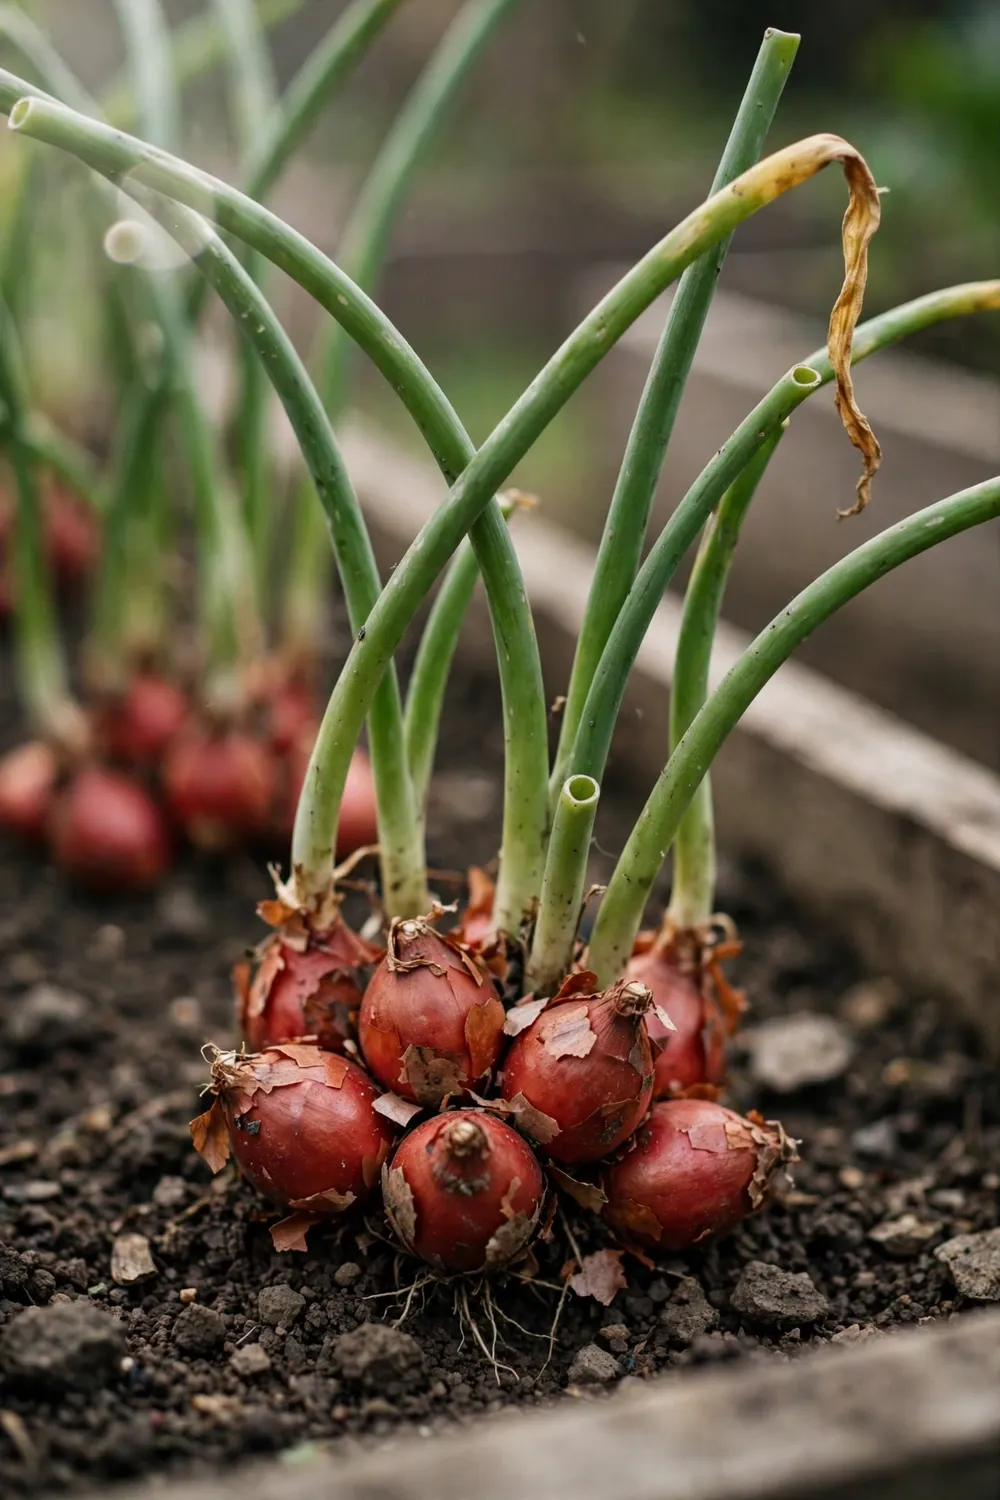

Plant 10 bawang merah sets 15.2 cm apart in a sunny bed, and one set multiplies into a cluster of 10 to 15 bulbs. That is how to grow Indonesian shallots: one small red bulb in, a whole cluster out, and the harvest ends in a pan of crisp bawang goreng. The rest of this page is 18 steps, from buying true Indonesian sets to frying the harvest.
Work from the top if planting day is close. Buy sets first. Plant the day they arrive. Fry the harvest the week you cure it.
Bawang merah is the Indonesian name for the small, red-skinned, cluster-forming shallot of the Allium cepa Aggregatum Group. Indonesian cooks reach for it daily: raw in sambal, sliced into stir-fries, and fried crisp as bawang goreng. I have learned that wide spacing, not fertilizer, decides whether one set becomes a cluster of 10 to 15 bulbs.
A generic shallot guide grows any shallot for any kitchen, and that job lives on the site’s shallot growing guide. This page stays on the Indonesian type. Indonesian varieties. The cluster habit that feeds the frying pan. The bawang goreng finish.
1. Buy Bawang Merah Sets by the Indonesian Variety Name
Buy sets sold under an Indonesian variety name. That name is the only proof the bulb in the bag is bawang merah.
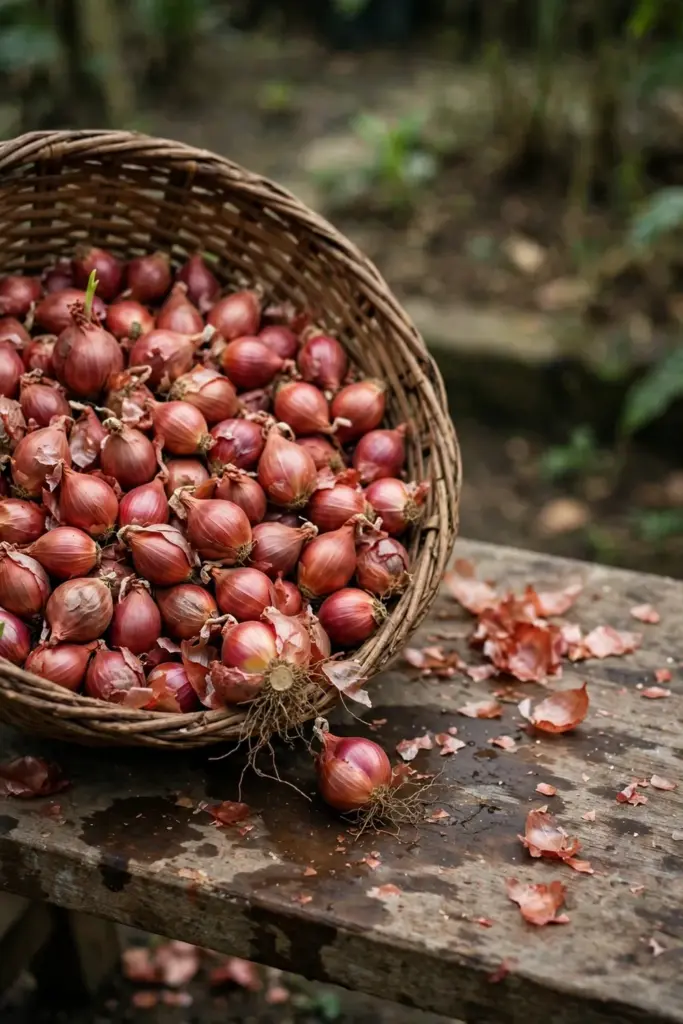
Bawang merah belongs to the Allium cepa Aggregatum Group, a cluster-forming branch of the onion family. Older labels call the same group Allium ascalonicum. The bulbs are small, red-skinned, and pungent. Each planted bulb divides into a cluster of daughter bulbs. That cluster habit is the trait that separates bawang merah from a common onion, which grows one bulb per plant, and from a French shallot, which grows larger and milder.
| Bulb on the Stall | What It Grows | What It Tastes Like | Buy It for Bawang Goreng? |
|---|---|---|---|
| Bawang merah | A cluster of small, red-skinned bulbs | Sharp, pungent, aromatic | Yes, this is the one |
| French shallot | A cluster of larger, elongated bulbs | Milder, sweeter | A substitute, not the real thing |
| Common onion | One single bulb per plant | Familiar onion bite | No, it fries soft and thick |
Read the bag before you pay. A trustworthy bag prints the variety name and the country of origin. A bag that prints only “shallots” tells you nothing about the type inside. Skip that bag. Buy the one that names an Indonesian variety in print. That check is the first move in how to grow Indonesian shallots for the Indonesian kitchen.
2. Pick Bima Brebes, Bauji, or Sumenep for the Frying Pan
Pick Bima Brebes, Bauji, or Sumenep. Any of the three grows true bawang merah in a home bed.
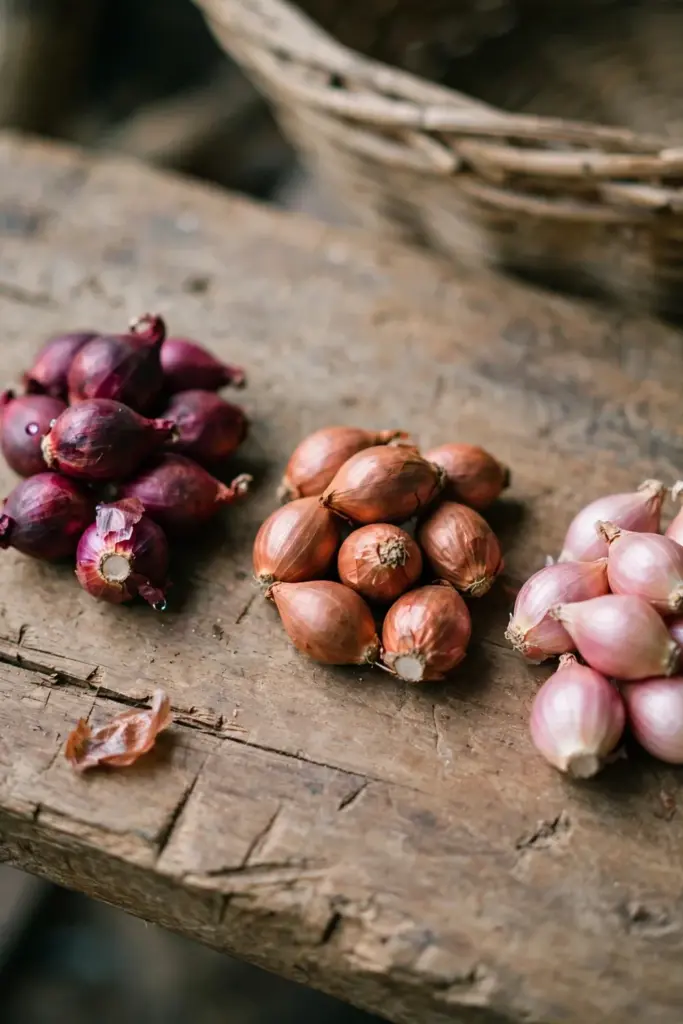
Indonesian farmers plant local varieties such as Bima Brebes, Bauji, Keling, Maja Cipanas Ampenan, Sumenep, Kuning, and Lampung, according to a 2024 Indonesian shallot variety trial. The same trial tested Bima Brebes, Tajuk, Sumenep, and Bauji side by side. Bima Brebes showed the best growth and production of the four. The trial also names Tajuk as a Thailand Nganjuk line, a Thai-origin entry in an Indonesian trial, so treat Tajuk as an import line rather than an Indonesian variety.
| Variety | Origin Note | What It Gives You |
|---|---|---|
| Bima Brebes | Indonesian, from Brebes | Best growth and production in the 2024 trial |
| Bauji | Indonesian local variety | Strong bulb counts in Indonesian trials |
| Sumenep | Indonesian local variety | A long-grown local line for home beds |
| Tajuk | Thailand Nganjuk line | An import line, not an Indonesian variety |
The differences between the three Indonesian picks are small at the home-garden scale. One may cluster a little tighter, another may color a little deeper, and none of those differences changes the method here. Spacing, sun, and timing decide the harvest. Variety name does not.
Buy from a seller who serves Indonesian growers or stocks Indonesian seed lines. Those sellers carry the real varieties. A bulk bin of nameless shallots may hold French types, onion sets, or a mix. The bag costs less. The season it wastes costs more.
3. Plant Sets, Not Seeds, for True Bawang Merah Clusters
Plant sets. A set is a small bulb grown for planting, and it carries the mother bulb’s cluster habit with it.
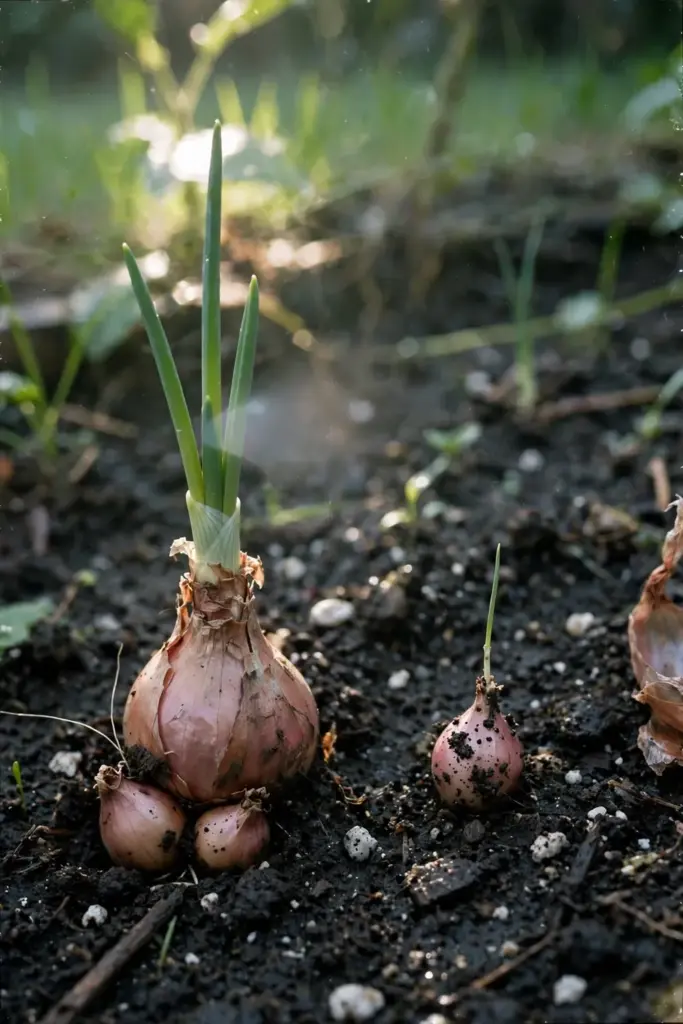
Seeds grow one bulb per plant. A set grows a cluster. That difference decides the whole harvest. The Utah State University Extension shallot guide puts it plainly: each seed yields one bulb, while bulbs planted at wide spacing may produce clusters of 10 to 15 bulbs. Seeds also need thinning, a longer runway, and a seedbed of their own. Sets skip all three.
Sets also keep the variety true. A set of Bima Brebes grows Bima Brebes. Seed from a shallot flower may cross with nearby onions and grow something else. When the goal is bawang goreng from a named Indonesian variety, that certainty matters.
Buy firm sets with dry, papery skins and a solid base. Skip any set that feels soft, smells sour, or shows mold at the neck, because one rotten set in a bag spreads rot to its neighbors in storage. Check every bulb before it goes in the ground.
4. Set Each Bulb 2.5 to 5.1 cm Deep With the Tip Showing
Push each set into the soil root end down, 2.5 to 5.1 cm deep, with the pointed tip just showing. Depth decides whether the bulb roots or rots.
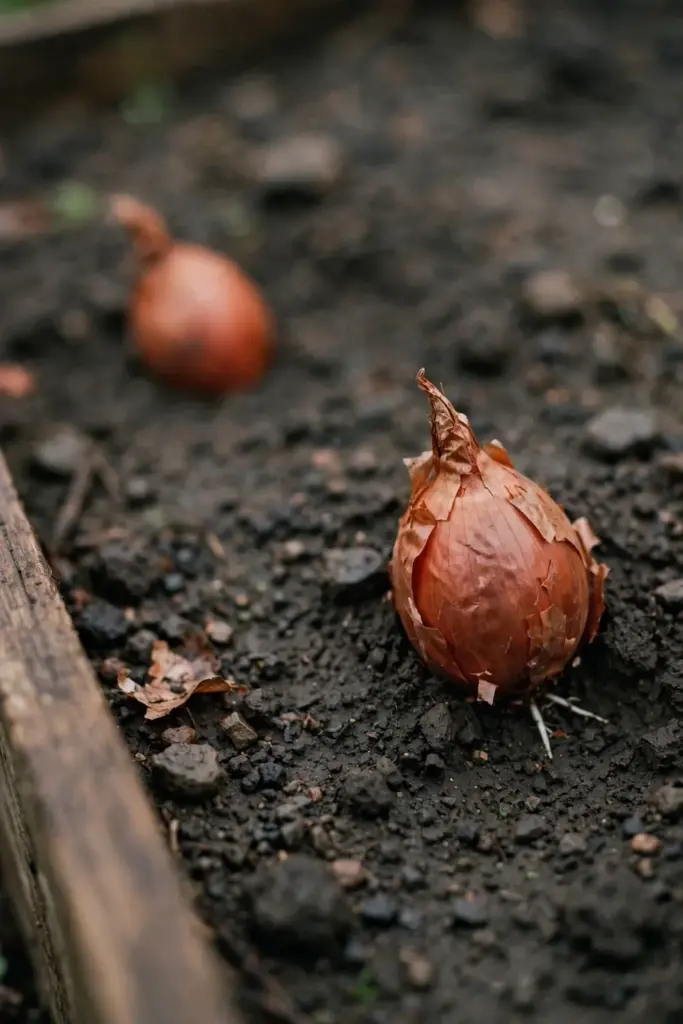
The Utah State University Extension shallot guide gives that depth range for bulb sets: 2.5 to 5.1 cm deep. Shallower than that, and birds pull the sets out or the sun dries the base before roots form. Deeper than that, and the bulb sits in wet soil and rots.
Press the soil gently around each set. Firm soil holds the bulb still while roots grow. Loose soil lets the set shift and dry. Water the row right after planting, so soil settles against the base.
Check the row the next morning. Birds pull fresh sets out of soft soil. Push any lifted set back in, tip up, and cover the row with fleece or netting until shoots stand. The cover comes off once roots anchor the bulbs.
5. Space Sets 15.2 cm Apart for Clusters of 10 to 15 Bulbs
Space sets 15.2 cm apart in rows 30.5 cm apart. Wide spacing grows clusters. Tight spacing grows singles.
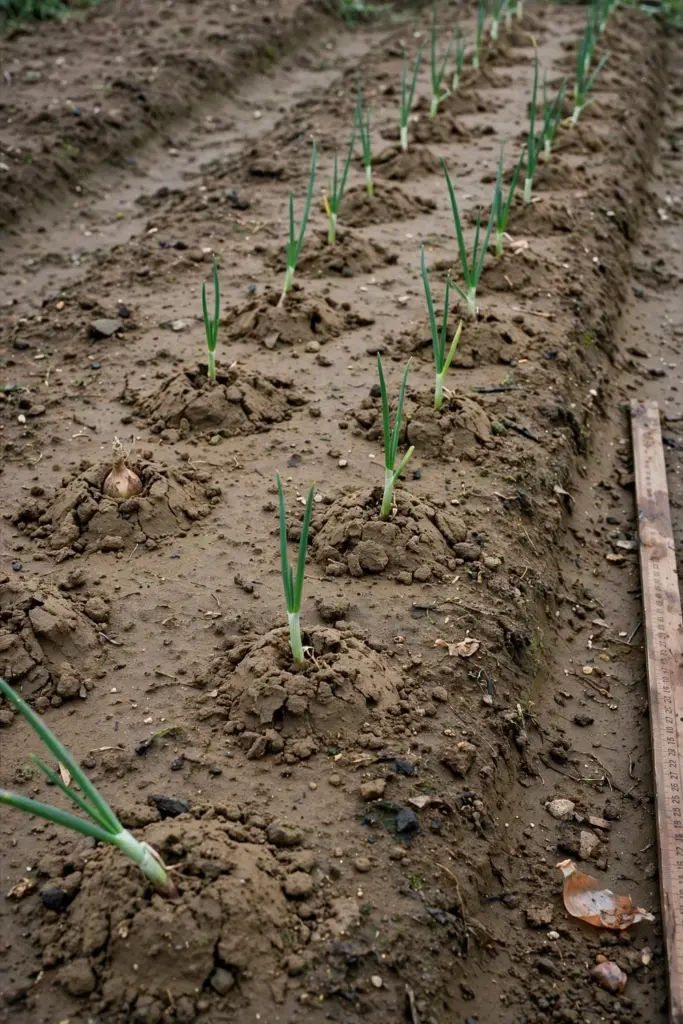
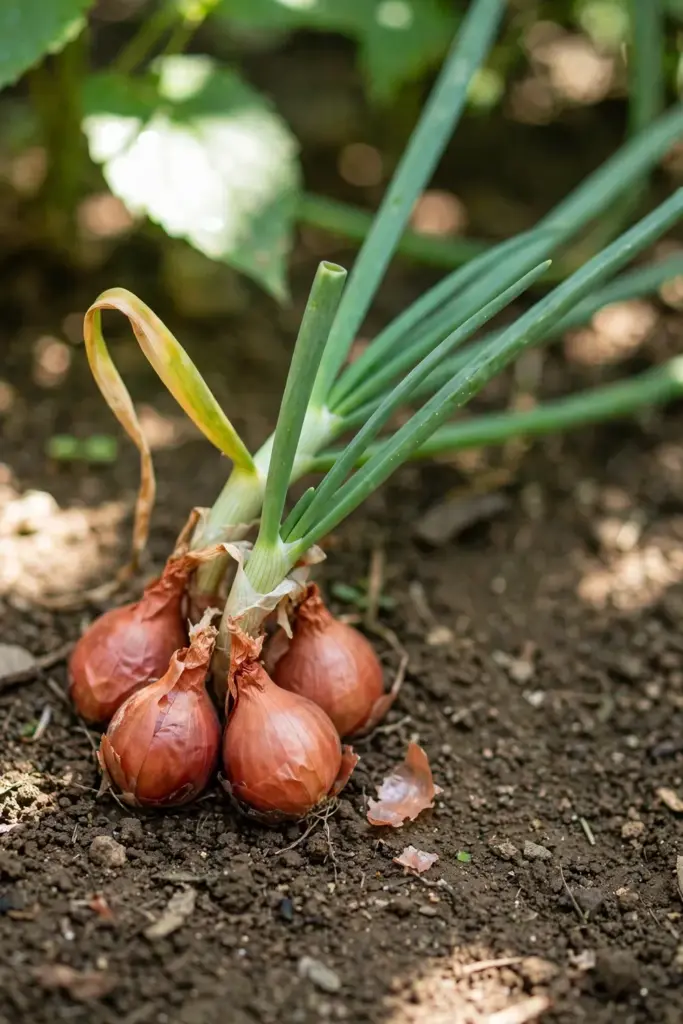
The Utah State University Extension shallot guide sets bulb spacing at 7.6 to 15.2 cm apart in rows 30.5 to 45.7 cm apart, and it ties the outcome to the gap: high-density planting yields one shallot per bulb planted, while wider spacing may produce clusters of 10 to 15 bulbs. The wide end of that range is the bawang merah end. A cluster needs room to spread. A crowded set has nowhere to divide.
Keep the row straight and the gaps even, because uneven gaps give uneven clusters and the tight spots yield singles. A stick marked at 15.2 cm beats guessing. Walk the row once with the stick. Drop a set at each mark. The spacing stays honest.
Leave the rows wide enough for a hoe. A 30.5 cm row gap fits a hand hoe between rows without nicking shallow roots. Narrow rows force hand weeding for the whole season.
6. Grow Bawang Merah in Full Sun and Soil at pH 5.5 to 7.5
Give bawang merah full sun and fertile, well-drained soil at pH 5.5 to 7.5. Sun and drainage decide the crop more than any feed does.
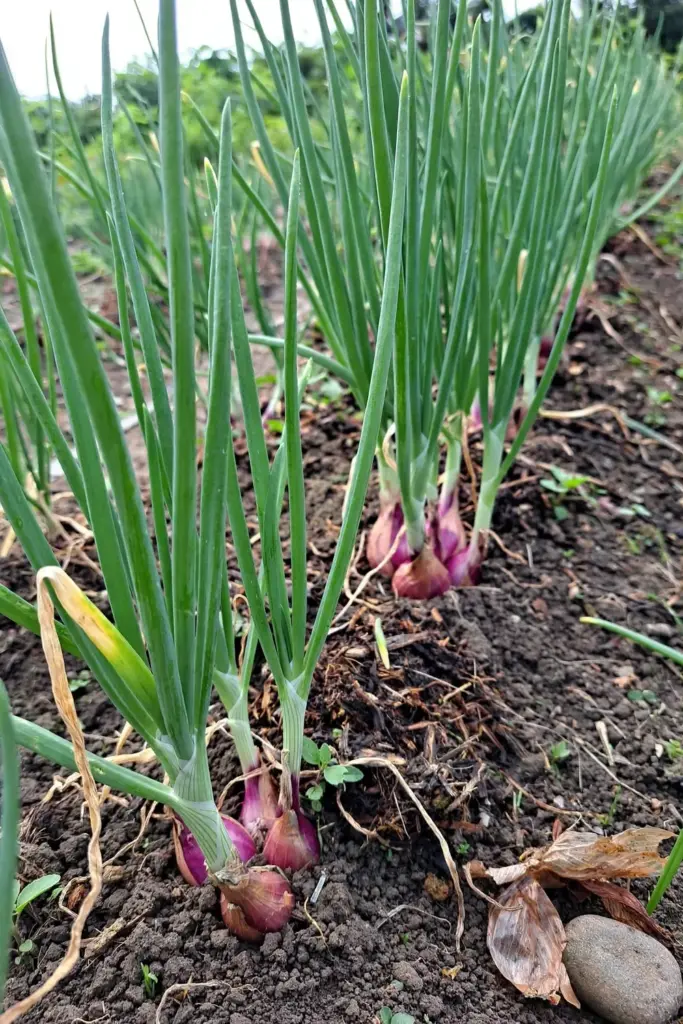
The Utah State University Extension shallot guide calls shallots a cool-season vegetable that grows best in full sun and fertile, well-drained soils, with a soil pH of 5.5 to 7.5. The same guide adds a soil test before planting, with fertilizer worked into the top 15.2 cm of soil. A test costs little and stops blind feeding.
Work compost into the bed before planting. The Utah State University Extension shallot guide caps compost at 2.5 cm of well-composted organic matter per 9.3 square meters of bed. Compost loosens heavy soil, feeds soil life, and holds moisture without waterlogging. Fresh manure does the opposite: it burns roots and invites rot.
Skip boggy ground. Wet soil rots sets before they root. A raised bed fixes a wet site faster than any amendment. A bed 15.2 cm high drains free and warms early.
7. Feed Sets at 30 Days and Again at 60 Days
Feed twice: once 30 days after planting, and again at 60 days. Then stop. Late nitrogen grows leaves and shrinks bulbs.
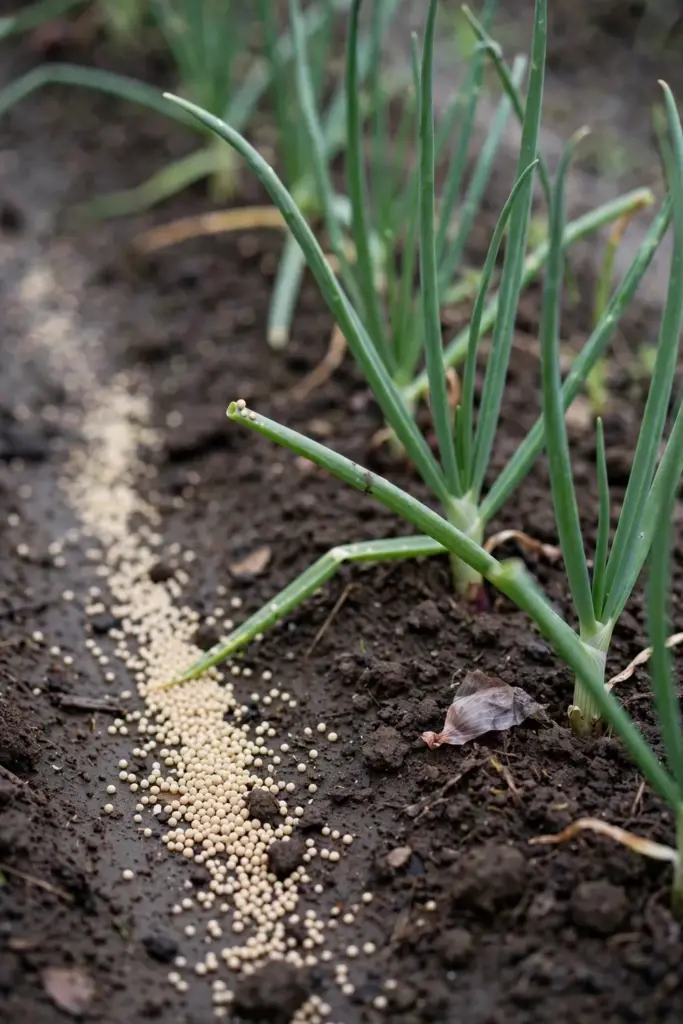
The Utah State University Extension shallot guide gives the base rate as 227 g of 21-0-0 nitrogen fertilizer per 9.3 square meters, applied 30 days after planting and again 60 days after planting. The same guide warns against fertilizing after mid-July: extra nitrogen stimulates late-season leaf growth and reduces bulb storage potential.
A field trial behind the Indonesian varieties found a similar ceiling. The 2024 Indonesian shallot variety trial tested NPK fertilizer at 200, 250, and 300 kg per hectare, and the 250 kg per hectare rate gave the best growth and production with Bima Brebes. That rate equals 25 g per square meter, per the same 2024 trial. More fertilizer did not grow more shallots.
Scatter the feed beside the row, not on the leaves. Water it in the same day. Feed on dry soil burns leaf tips. Feed after mid-July grows tops that never bulb.
8. Water 20.3 to 30.5 cm Deep and Stop Before Bulbs Swell
Water deep, then stop once bulbs swell, because shallots want steady moisture early and dry soil late.
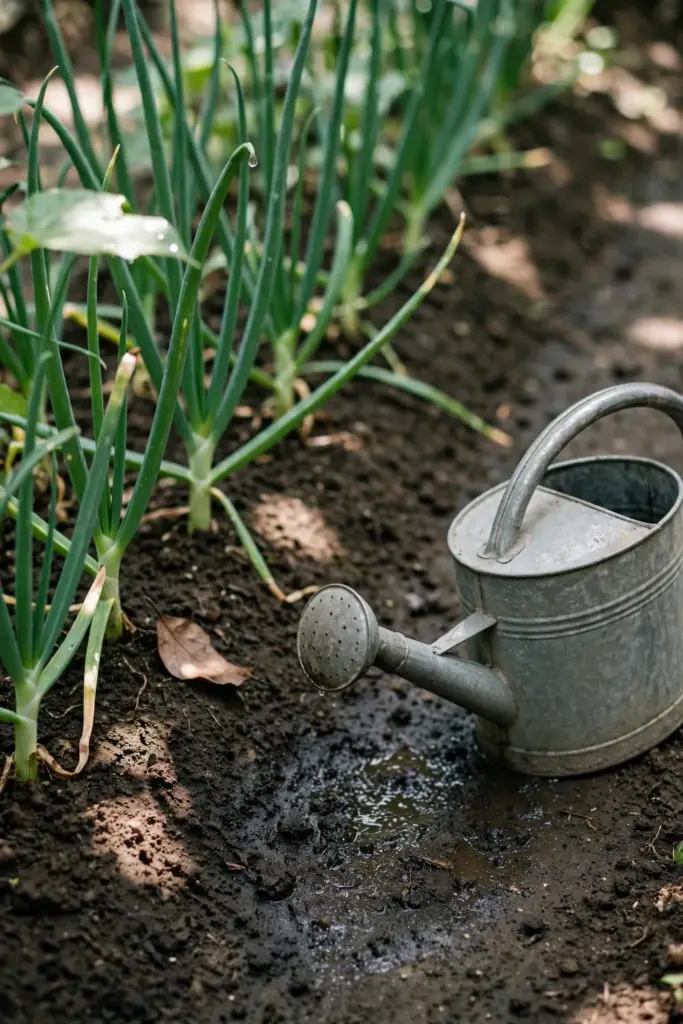
The Utah State University Extension shallot guide advises moistening the soil thoroughly to a depth of 20.3 to 30.5 cm, with drip irrigation if possible. Drought stress during growth decreases growth, yield, and overall weight. Overwatering contributes to bulb rot. The line between the two is drainage: water that drains away feeds roots, and water that stands rots bulbs.
The Royal Horticultural Society shallot guide adds the stop rule: once well rooted, shallots need water only in prolonged dry spells in early summer, and watering after mid-summer can mean they store less successfully. A bulb that swells in wet soil stores poorly. A bulb that finishes in dry soil keeps.
Water at the base. Wet foliage invites fungal disease. A soaker hose or a watering can at soil level keeps leaves dry. Morning watering beats evening watering, because leaves dry before night.
9. Mulch the Bed to Hold Moisture and Starve Weeds
Mulch the bed after sets root. Mulch holds moisture, smothers weeds, and keeps the soil cool.
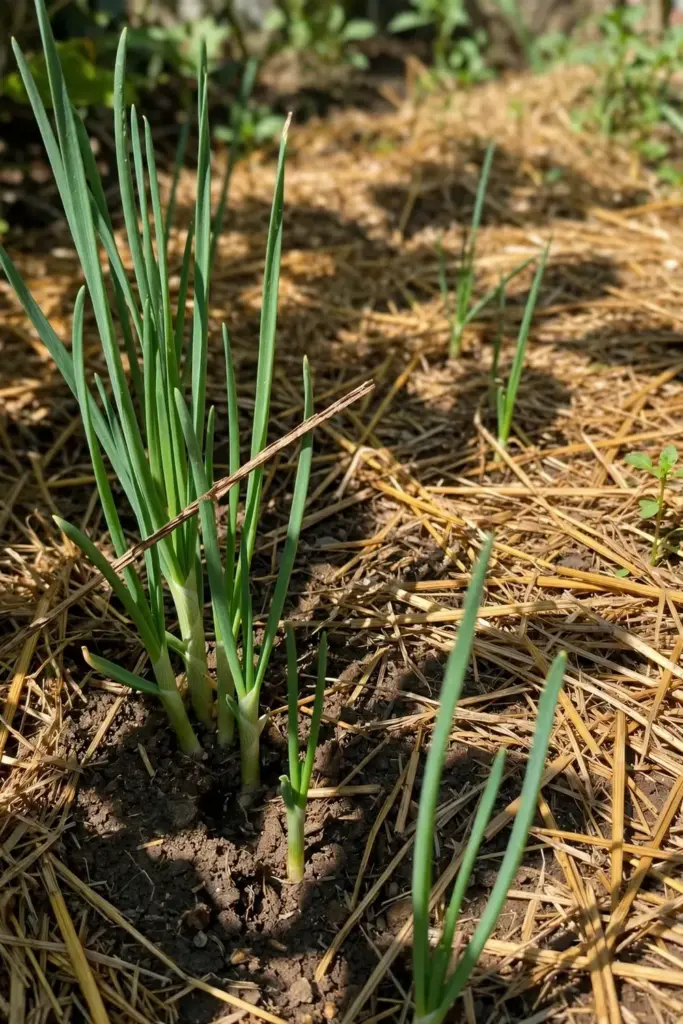
The Utah State University Extension shallot guide credits organic mulches with conserving water, supplying extra nutrients, and reducing weeding. Compost, grass clippings, or leaves all work. The same guide warns that weed control matters most during the first two months of growth, when plants grow slowly and weeds overtake them fast.
Keep mulch off the necks of the sets. Mulch piled against a bulb holds moisture on the skin and invites rot. Leave a finger-width gap around each shoot. The gap costs nothing and saves bulbs.
Weed by hand near the row. Shallow roots sit close to the surface, and a hoe slips into them. Pull weeds when the soil is damp, when roots come out whole. A weed left to seed undoes a season of mulching.
10. Grow Bawang Merah in a 30 cm Pot When Ground Space Runs Out
Grow bawang merah in a pot at least 30 cm wide and 30 cm deep. A pot that size holds a small cluster bed on a balcony. A pot extends how to grow Indonesian shallots to balconies and small yards.
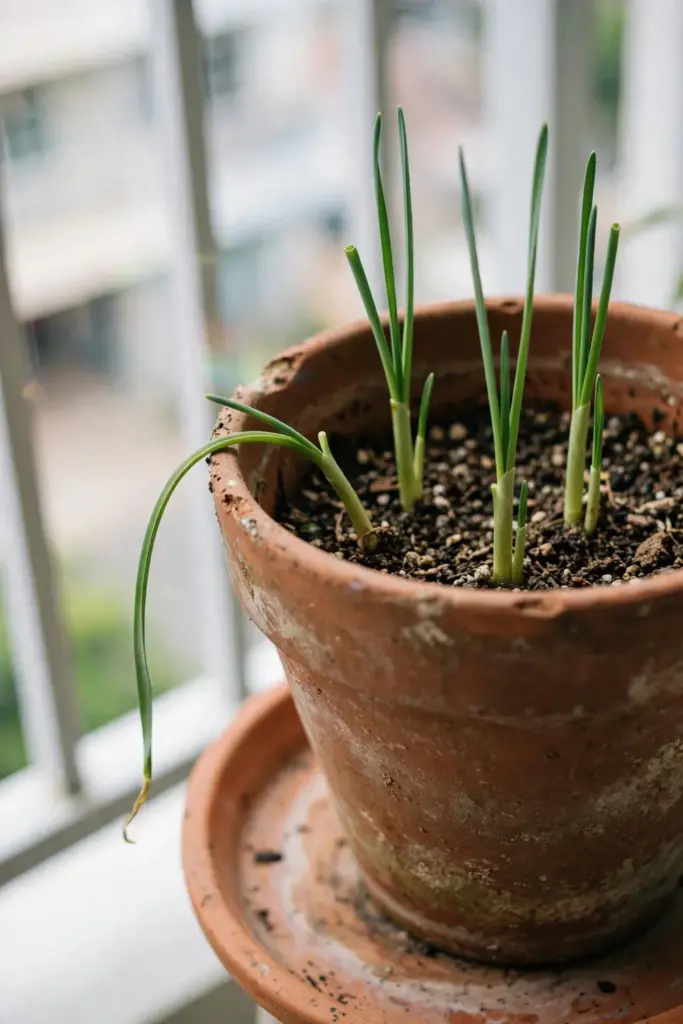
The Royal Horticultural Society shallot guide sets the container minimum at 30 cm wide and deep, and it warns that shallots in containers need more frequent watering than those in the ground. A pot dries from all sides. A bed dries from the top only. Check pot moisture daily in warm weather.
Plant sets at the same depth and spacing as in the ground: 2.5 to 5.1 cm deep, 15.2 cm apart. A 30 cm pot holds 4 sets in a square. A 45 cm pot holds 9. Crowd the pot and the sets grow singles instead of clusters.
Feed potted plants lightly through the season. The Royal Horticultural Society shallot guide advises occasional feeds with an organic-based general liquid fertilizer for container plants, from spring to mid-summer. A pot has no soil reserve to draw on. Small, regular feeds beat one heavy dose.
11. Cut Green Tops at 15.2 to 20.3 cm for a Second Harvest
Cut green tops once they reach 15.2 to 20.3 cm tall. The tops are a second harvest from the same planting.
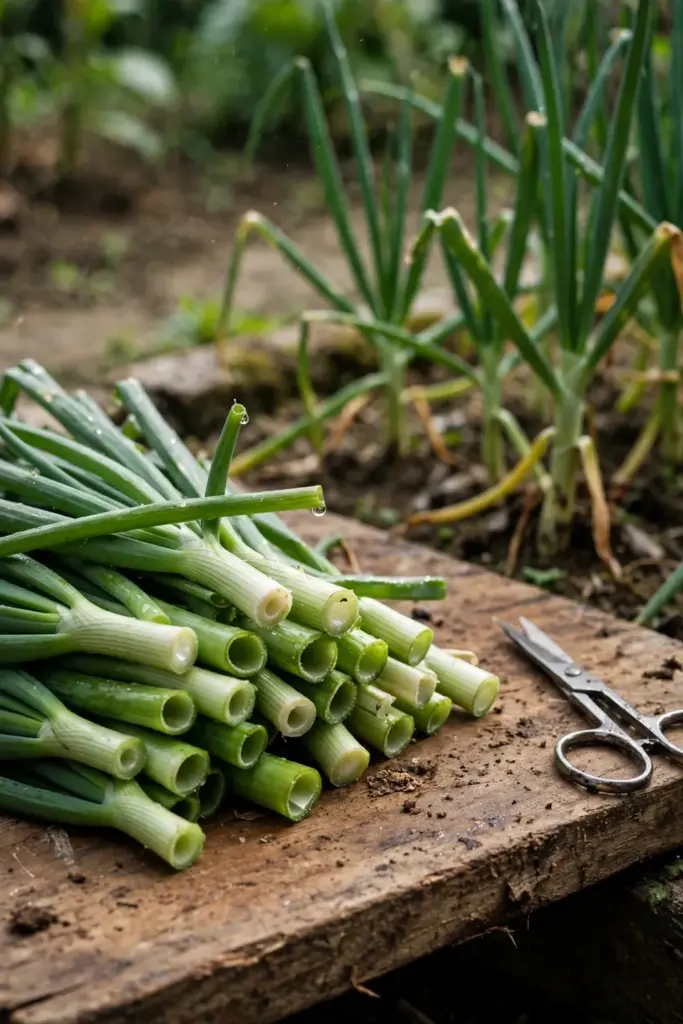
The Utah State University Extension shallot guide puts that window at 50 to 60 days after planting, when tops stand 15.2 to 20.3 cm tall. Snip the outer leaves and leave the center standing. The plant keeps growing. The bulb keeps swelling. The kitchen gets scallion-like greens weeks before the bulbs mature.
Use the tops like green onions. Slice them into fried rice, noodle soups, and omelets. The flavor is milder than the bulb and fresher than a stored onion. A small bunch lifts a plain bowl of rice.
Take no more than a third of the leaves from any one plant. Leaves feed the bulb. A plant stripped bare grows a small bulb. A plant trimmed lightly grows a full cluster and still gives greens.
12. Catch Thrips, Onion Maggot, and Gray Mold Early
Check the plants weekly for thrips, onion maggot, and gray mold. Early catches save the bed. Late catches do not.
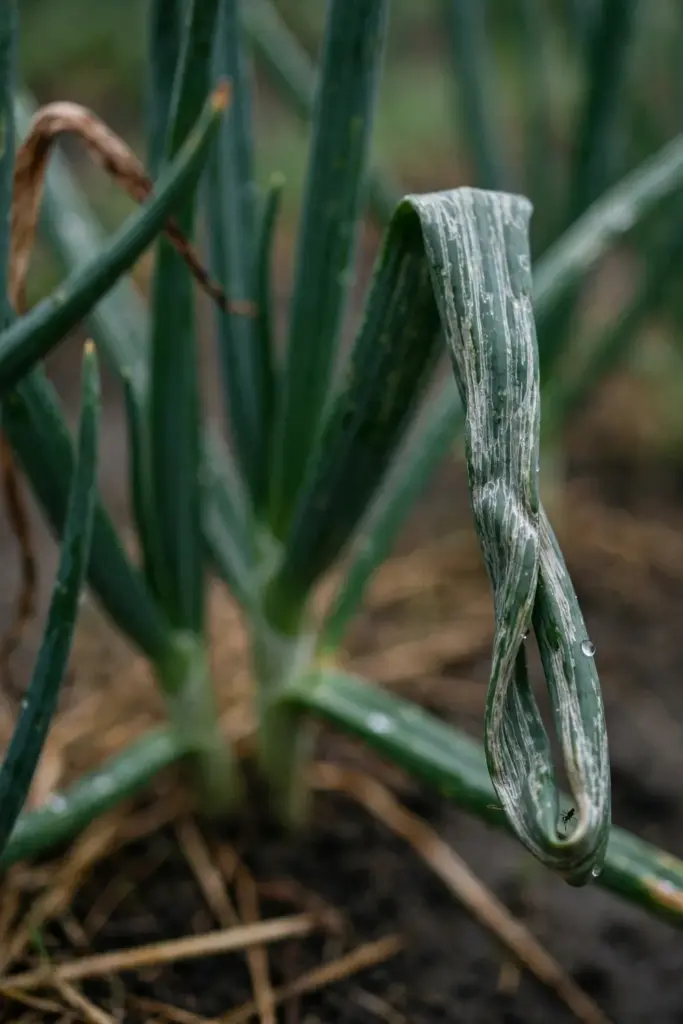
The Utah State University Extension shallot guide lists the three as the main threats. Thrips are tiny, thin insects that feed on leaves and stems; leaves turn silver or gray and may twist and die. Onion maggot is a white worm that bores into roots, with adults laying eggs around the base of the plant. Botrytis, or gray mold, shows as gray mold on leaves, stems, and buds, with small brown or gray sunken lesions near the base of the bulb.
Pull and destroy any plant with maggots. Do not compost it. The maggots survive compost and return next season. Wash thrips off leaves with a stiff spray of water. Add compost and mulch to build the biological control the same guide credits for thrips management.
Keep leaves dry to hold mold back. The Utah State University Extension shallot guide ties gray mold control to dry foliage: avoid overwatering, avoid watering at night, and avoid wetting the plant when watering. Remove affected plant parts the day you spot them.
13. Rotate Alliums Out of the Bed for 3 Years
Move alliums to a fresh bed each year, and wait 3 years before shallots return to the same ground. Rotation breaks the pest and disease cycle.
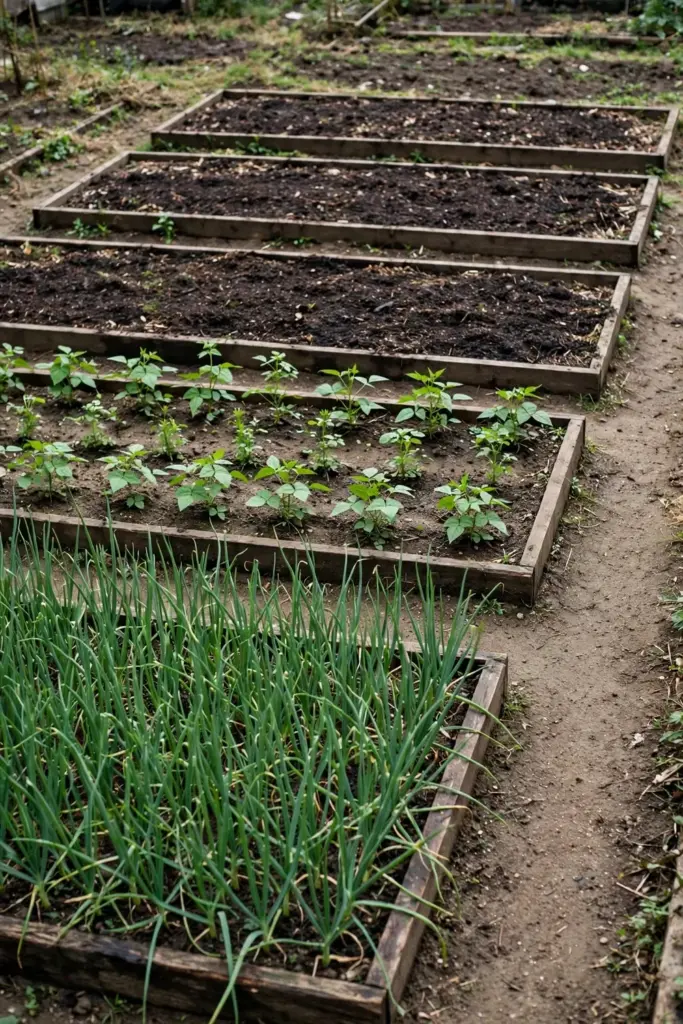
Onion maggot pupae and soil fungi wait in the soil where alliums grew. Planting shallots in the same bed next year hands them a fresh crop. The Utah State University Extension shallot guide names crop rotation as a control for both onion maggot and downy mildew. Rotation costs nothing and works where sprays fail.
Count garlic and onions as alliums for rotation. All three share pests and diseases. A bed that grew garlic last year is not a fresh bed for shallots this year. A bed that grew beans, lettuce, or carrots is fresh.
Mark the beds on paper. Memory fails by year three. A sketch with bed names and years keeps the rotation honest. Four beds on a 4-year cycle give every allium a clean start.
14. Harvest When Tops Fall Over and Skins Turn Papery
Harvest when most tops have fallen over and the bulb skins feel dry and papery. The fallen tops are the signal. The calendar is not.
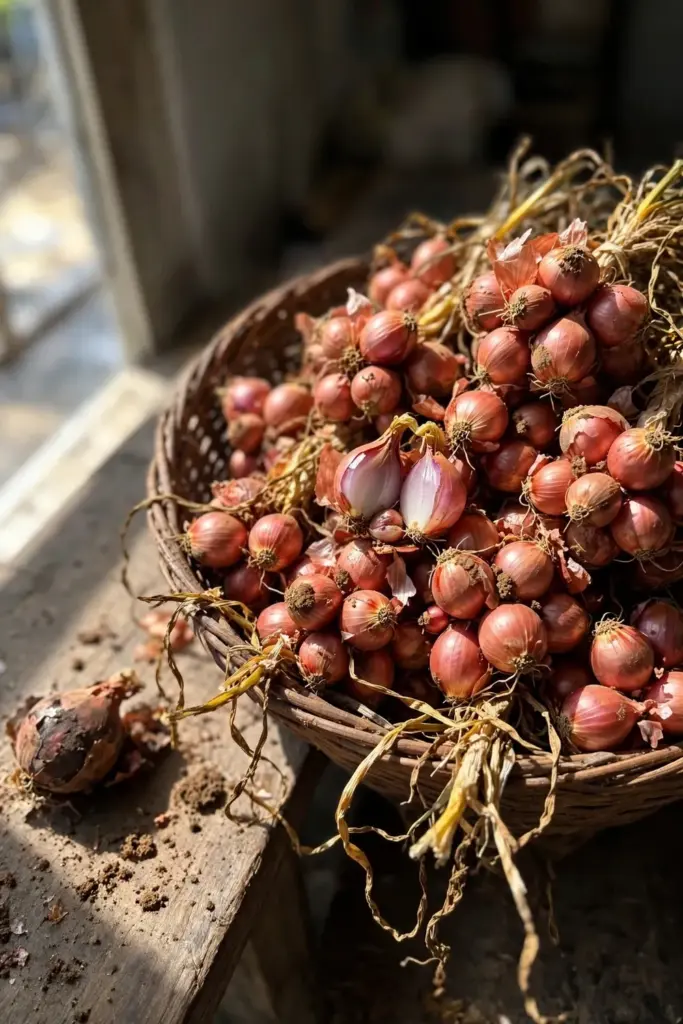
The Utah State University Extension shallot guide gives the harvest rule: for dry bulbs, harvest after the tops of plants fall over. Maturity date varies by variety. Lift the bulbs and gently separate the clusters into individual bulbs. Pulling early gives small, wet bulbs that store poorly. Waiting long after tops fall invites rot in wet soil.
Lift on a dry day. Loosen the soil with a fork a hand-span away from the bulbs, then pull the cluster by the tops. A fork driven into the cluster splits bulbs. A pull on wet soil tears roots and skins.
Sort at the bed. Set aside any bulb with soft spots, cuts, or bruises for the kitchen this week. Damaged bulbs rot in storage and spoil their neighbors. Sound bulbs go to curing.
15. Cure Bulbs 1 to 2 Weeks Before You Store Them
Cure bulbs 1 to 2 weeks in a warm, dry place before storage. Curing dries the skins and seals the necks.
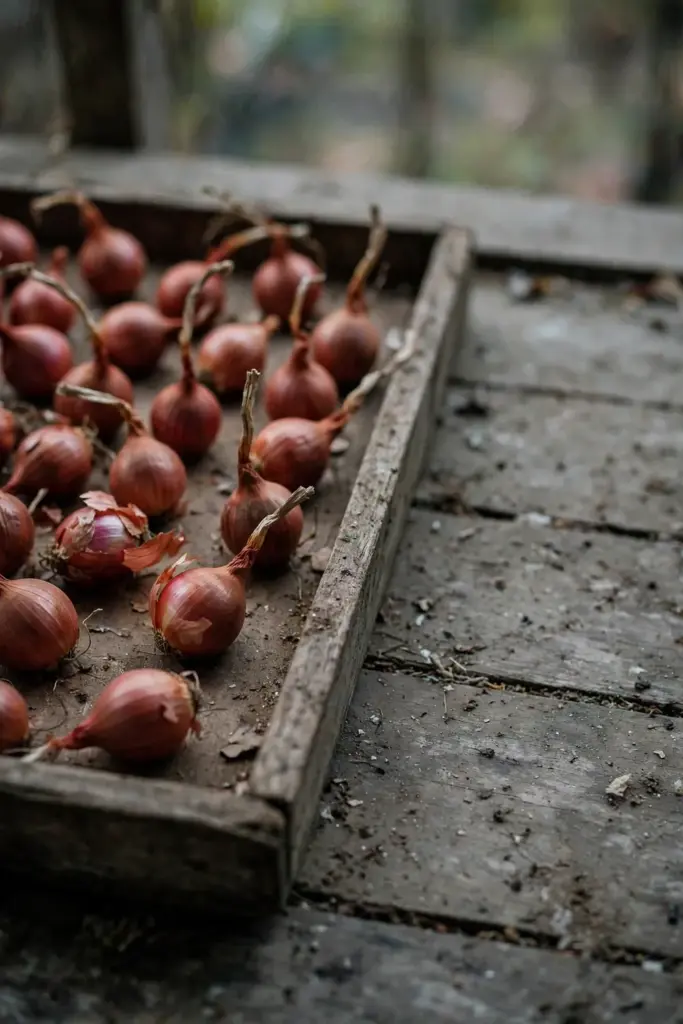
The Utah State University Extension shallot guide gives the curing window: leave bulbs in the garden to cure for 1 to 2 weeks, until bulbs and leaves are completely dry and the skin is papery. A covered porch, a dry shed, or a shaded bench all work. Direct rain undoes a week of curing in a day.
Spread bulbs in a single layer with air moving around them. Stacked bulbs trap moisture and mold. Turn them once halfway through curing, so every side dries. The skins should rustle when you touch them.
Braid tops together or cut leaves 5.1 cm above the bulb after curing, per the same guide. Braids hang well and look right in a kitchen. Cut bulbs pack tighter in mesh bags. Either way, the neck must feel dry and tight before storage.
16. Store Cured Bulbs at 0 to 4°C in Mesh Bags
Store cured bulbs in mesh bags at 0 to 4°C in a dry place. Cool, dry, and airy keeps bulbs for months.
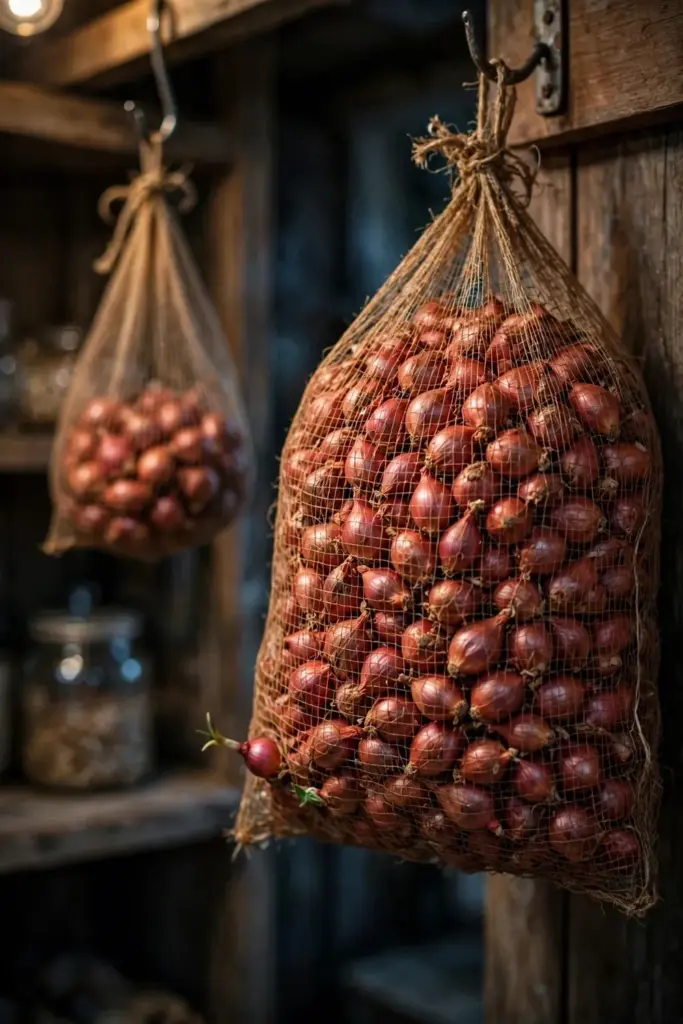
The Utah State University Extension shallot guide sets the storage window at 0 to 4°C in a dry environment, in mesh bags. Mesh bags breathe. Plastic bags trap moisture and grow mold. A cold pantry, an unheated room, or a refrigerator drawer all work, as long as the air stays dry.
Check the bags monthly. Pull any bulb that softens or sprouts and cook it that week. One soft bulb in a closed bag rots the rest. Small bulbs keep worst, so use them first. The same guide notes that small bulbs do not keep well.
Keep seed sets separate from kitchen bulbs. Mark the bag “seed” and pick the firmest, best-shaped bulbs for replanting. Seed selection starts at storage, not at planting.
17. Fry Bawang Goreng at 163°C in Small Batches
Fry bawang goreng at 163°C in small batches. Small batches fry evenly. A crowded pan fries unevenly and burns.
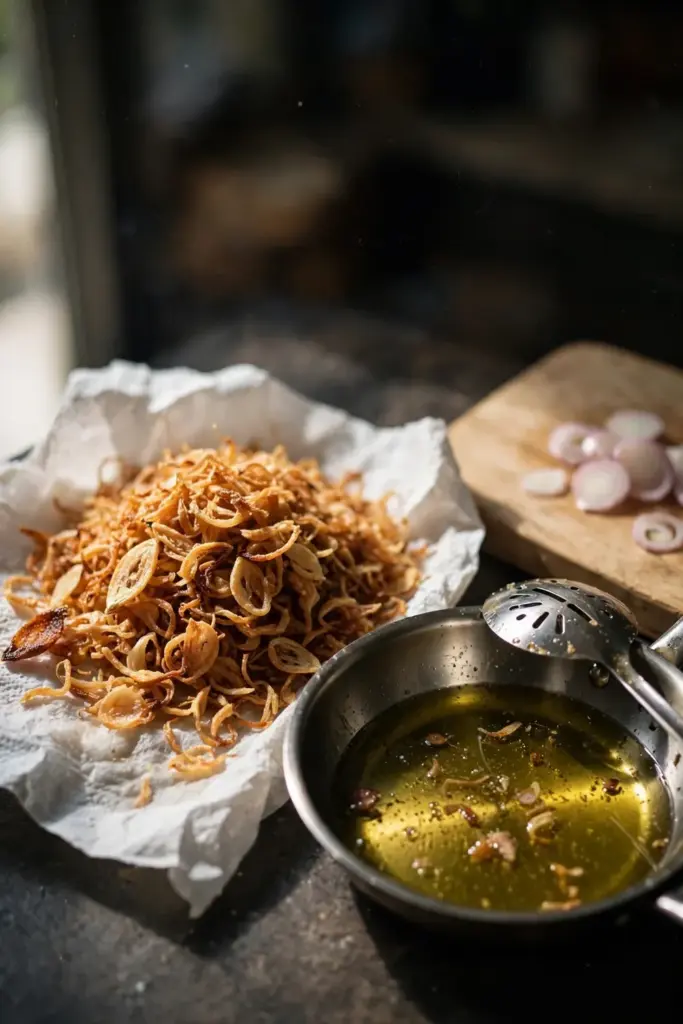
Slice the shallots as thinly as possible with a sharp knife or a mandoline, per the bawang goreng recipe. Spread the slices in a thin layer so they do not clump. Heat peanut oil in a small heavy saucepan to 163°C. Work in 5 to 6 small batches, stirring constantly, until the slices turn light golden brown, about 1.5 minutes. Pull them a few seconds before they look done. They darken as they sit.
Drain the fried slices on a paper-towel-lined plate. Let them cool fully before jarring. Slices that go into a jar warm turn soft in the jar. The bawang goreng recipe stores the finished crisp shallots in an airtight container in the refrigerator for up to 1 week.
Save the frying oil. Strain it and keep it in a clean jar. The oil carries the shallot fragrance into fried rice, stir-fries, and soups. Six shallots make about 2 cups of bawang goreng, per the same recipe. A little covers a lot of dishes.
Scatter bawang goreng over fried rice, noodle soups, soto, steamed vegetables, and omelets. The crisp topping adds crunch and a savory depth that raw shallot cannot give. A spoonful per bowl is plenty.
18. Save the Best Bulbs for Next Season’s Sets
Save the best bulbs for next season’s sets. The harvest you just cured is next year’s seed stock.
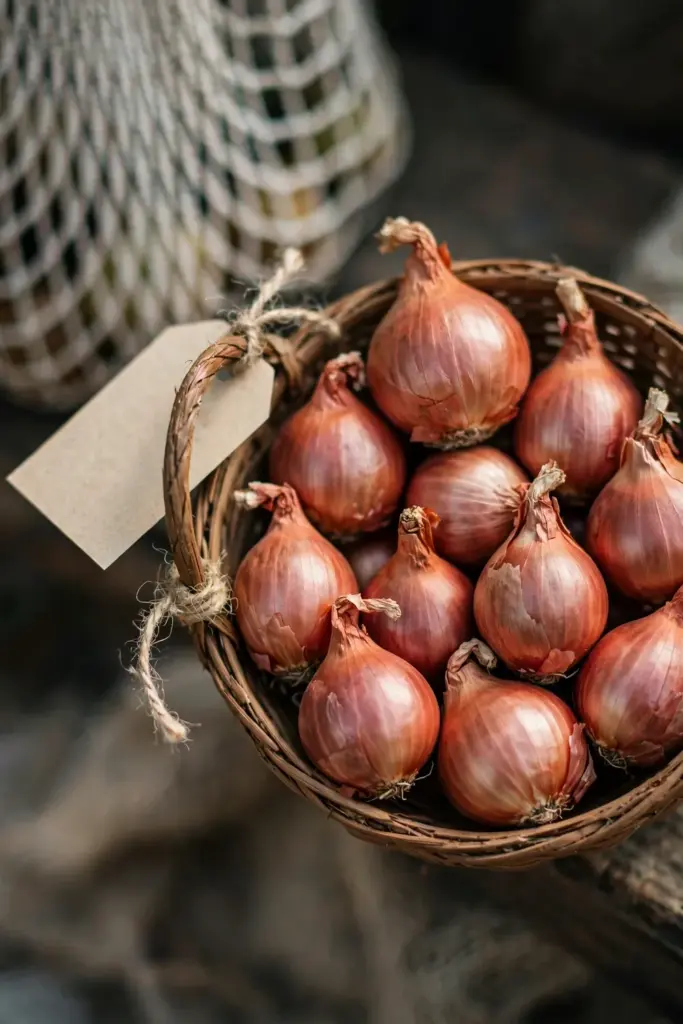
Pick bulbs from the strongest clusters: firm, well-shaped, fully cured, with dry tight necks. The Utah State University Extension shallot guide notes that properly stored shallot bulbs can be replanted in the spring. A bulb that stored well carries the traits that store well. A bulb that sprouted early in storage carries the opposite.
Keep 10 to 15 bulbs back for a row of the same size, and label the bag with the variety name and the harvest date. A bag without a label becomes a mystery by spring. A labeled bag plants true.
Plant saved sets the same way as bought sets: 2.5 to 5.1 cm deep, 15.2 cm apart, in fresh ground. Saved sets need no special treatment. The rotation rule still applies. Fresh ground, true variety, wide spacing, and the cluster habit repeats.
Frequently Asked Questions About Indonesian Shallots
You can, but the result is a gamble. Supermarket shallots often carry no variety name, and many are French or Dutch types rather than Indonesian bawang merah. A nameless bulb may grow a cluster, but it will not grow true bawang merah flavor. Buy named Indonesian sets for a sure result, and treat a supermarket bulb as an experiment, not as seed stock.
Bawang merah grows smaller, redder, more pungent bulbs in tight clusters, and Indonesian cooks use it raw in sambal and fried as bawang goreng. A French shallot grows larger, elongated, milder bulbs. Both belong to the Allium cepa Aggregatum Group, and both divide into clusters. The difference is type and kitchen use, not species. Buy by the variety name to get the one you want.
Seed grows one bulb per plant, not a cluster, and seed from a flowering shallot may cross with nearby onions. Sets grow true clusters of the named variety. Grow from seed only when sets of the variety you want are unavailable. Sow seed 0.6 to 1.3 cm deep and expect sprouts in 10 to 14 days, per the Utah State University Extension shallot guide. Then thin seedlings to 5.1 to 10.2 cm apart.
Sets planted in spring mature when the tops fall over, usually in mid to late summer. The exact span varies by variety and weather. Green tops reach cutting size at 50 to 60 days after planting, per the Utah State University Extension shallot guide. Dry bulbs follow weeks later. Watch the tops, not the calendar. Fallen tops and papery skins mark the harvest, and no fixed day count replaces those two signs.
Soft bawang goreng comes from three causes: slices cut too thick, oil too cool, or jarring before cooling. Cut slices thin and even. Heat the oil to 163°C. Pull the slices a few seconds before they look done, drain them, and let them cool fully. Jar only cool, crisp slices in an airtight container. Warm slices trapped in a jar steam themselves soft. Reheat a soft batch briefly in a dry pan to restore some crunch.
A pot on a bright sill grows green tops year-round, but bulbs need full sun and a dry finish to swell and cure. A 30 cm pot by a sunny window grows leaves for cutting. Full clusters need outdoor light, airflow, and the dry late-season rest that a windowsill rarely gives. Grow tops indoors in winter and clusters outdoors in the growing season for the best of both.
Start With One Row of Bawang Merah
Start with one row of bawang merah. One row of 10 sets teaches the whole crop: the planting depth, the spacing, the dry finish, and the fry. That row is how to grow Indonesian shallots at its simplest. The row takes a small bed, a pot, or a corner of a raised bed. The harvest fills a jar of bawang goreng and a bag of sets for next year. Plant the row, watch the tops fall, cure the bulbs, and fry the first batch while it is still fresh.