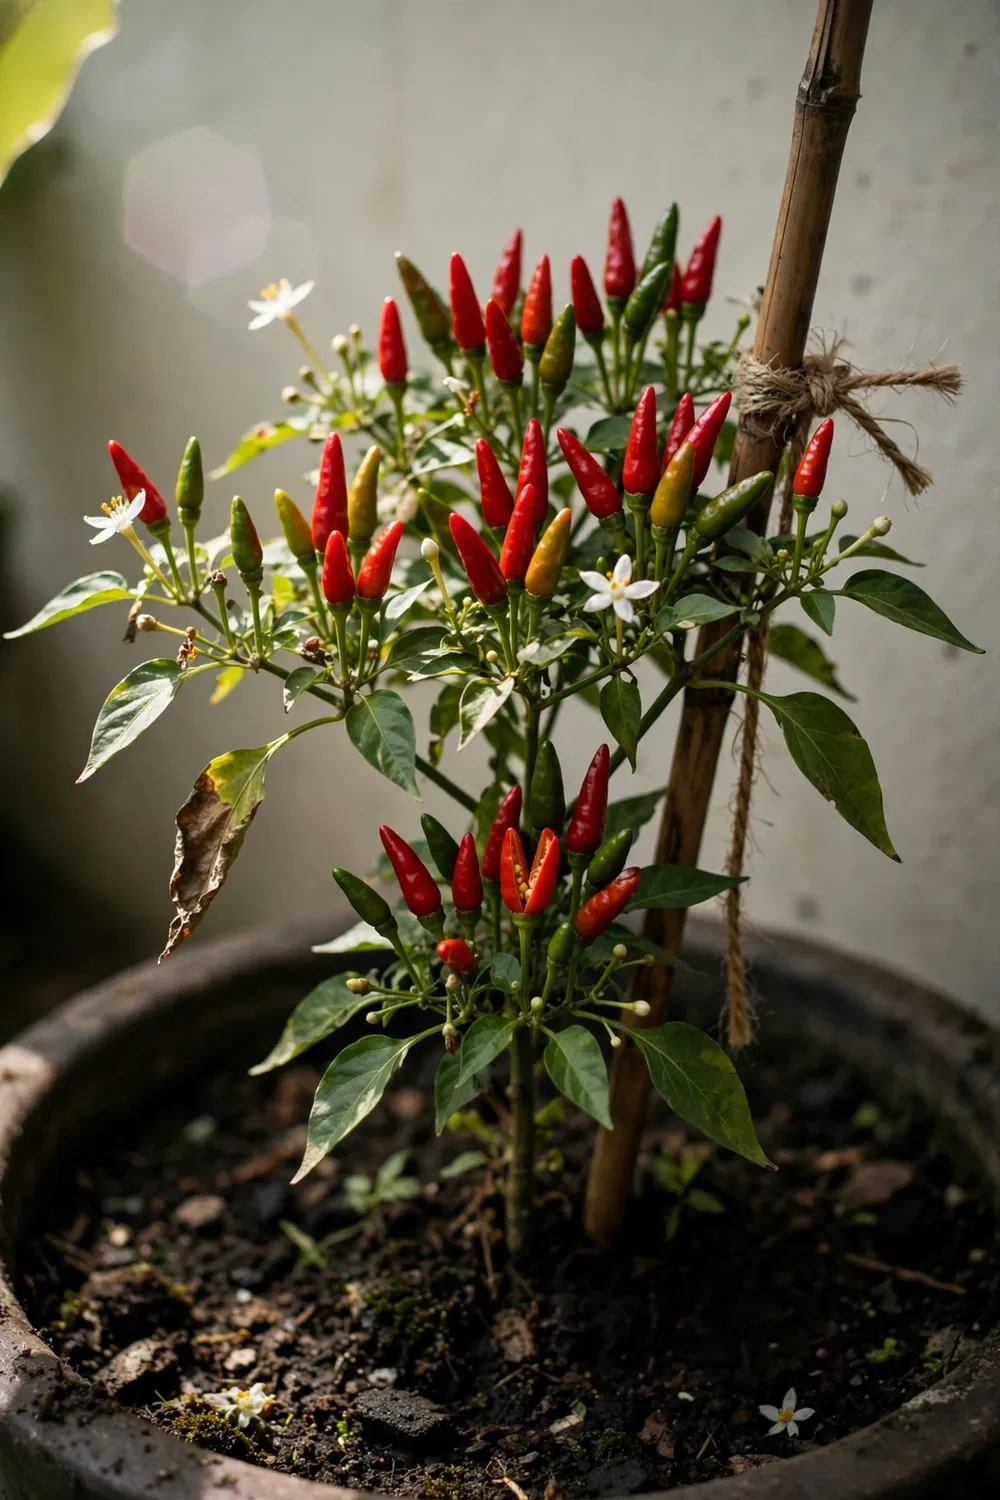

You can grow bird’s eye chili from Indonesia in a temperate climate when you treat it as a potted tropical perennial. Start seeds indoors 8 to 10 weeks before your last frost, grow each plant in a 5-gallon container, and move the pot outside once soil reaches 65 to 70°F. Expect ripe red fruit 100 days from sowing. That is the whole method: warmth early, a big pot, and a move indoors before the first frost.
Cabai rawit is the Indonesian name for the small, upright, fiercely hot fruit of Capsicum frutescens. In Indonesia, cooks reach for cabai rawit daily, often in sambal. The plant is a compact tropical perennial. A temperate gardener grows it as an annual in a pot, or overwinters one plant indoors. I have learned that warmth at sowing matters more than any other single factor.
Packets labeled bird’s eye chili sometimes hold Thai chili instead, a different species with a similar look. The species check comes first. Tabasco pepper plants belong to the same species as cabai rawit, and they grow the same way in pots.
1. Start With the Right Species Before You Buy Bird’s Eye Chili Seeds
Buy Capsicum frutescens. That is the species behind cabai rawit. To learn how to grow bird’s eye chili from Indonesia, start with the botanical name on the packet, not the English name on the front.
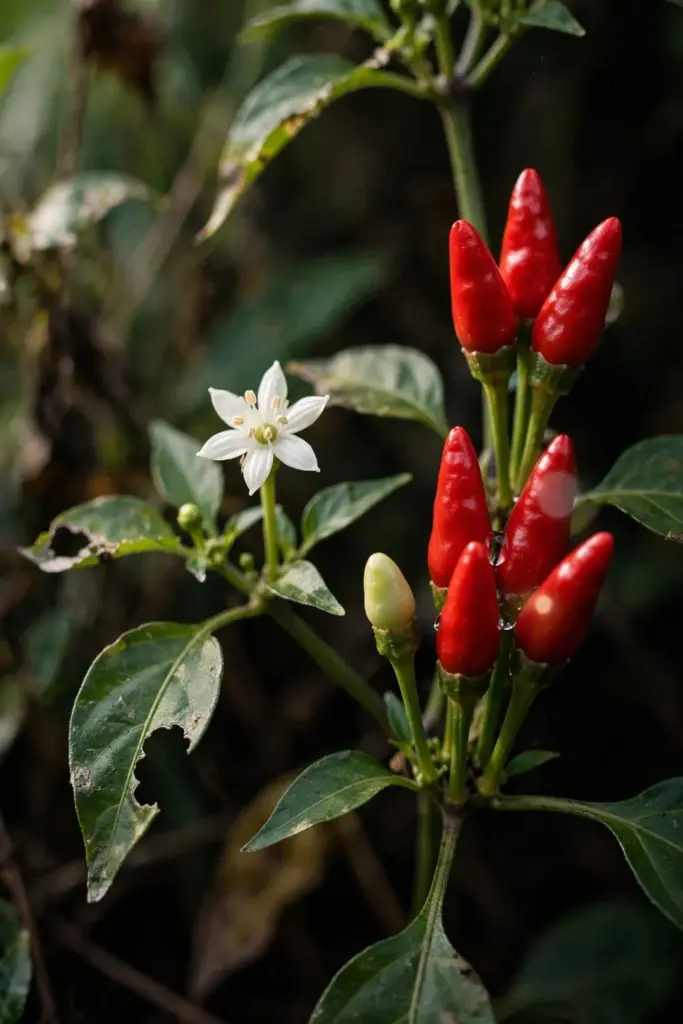
Seed sellers use the name bird’s eye chili for two species. Cabai rawit from Indonesia is Capsicum frutescens. Thai chili, often sold as Thai bird’s eye, is Capsicum annuum. The fruits look alike on a market stall. The plants share a size and a shape. The species still matters, because a packet of the wrong species grows the wrong plant, and no amount of care fixes a labeling error after sowing.
Two more names cause the same confusion. Bhut jolokia is Capsicum chinense. It grows larger, wrinkled fruit, far hotter than cabai rawit, with a different growing habit. Kashmiri chilli is Capsicum annuum. It grows larger, smooth fruit, mild enough that growers raise it for color. Neither one substitutes for cabai rawit in the kitchen or the pot.
Read the packet before you pay. A trustworthy packet prints the botanical name, the variety name, and the harvest year. A packet that prints only “bird’s eye chili” tells you nothing about the species inside. Skip that packet. Buy the one that names Capsicum frutescens in print.
| Name on the Packet | Species | What the Fruit Looks Like | How to Treat It |
|---|---|---|---|
| Cabai rawit | Capsicum frutescens | Small, erect, tapering, ripens red | Buy this one for the Indonesian type |
| Thai chili, Thai bird’s eye | Capsicum annuum | Small, erect, tapering, ripens red | A different species with a similar look |
| Bhut jolokia, ghost pepper | Capsicum chinense | Larger, wrinkled, ripens red | Far hotter, with a different growing habit |
| Kashmiri chilli | Capsicum annuum | Larger, smooth, ripens red | Mild, grown for color |
| Tabasco | Capsicum frutescens | Small, erect, tapering, ripens red | Same species as cabai rawit |
2. Pick an Indonesian Cabai Rawit Variety for a Pot
Pick any named Indonesian cabai rawit variety sold as Capsicum frutescens. Bara, Pelita, Rawita, Dewata, and Taruna all sit in that group. Any of them fits a 5-gallon pot.
Indonesian seed sellers offer cabai rawit under those variety names, and the differences between them are small at the home-garden scale. One variety may fruit a little earlier, another may carry a slightly longer fruit, and none of those differences changes the method here. Pot size, warmth, and timing decide the harvest. Variety name does not.
Buy from a seller who serves Indonesian growers or stocks Indonesian seed lines. Those sellers carry the real varieties. A generic “bird’s eye chili” packet from a bulk bin may hold any species, any variety, or a mix. The packet costs less. The season it wastes costs more.
One packet grows many plants. Sow more seeds than you need, then keep the strongest seedlings. A packet with a printed harvest year beats a packet without one. Pepper seed loses vigor with age, and a packet of unknown age may sprout thinly. Fresh seed, a warm start, and a bright window give you a full tray of seedlings.
3. Start Seeds Indoors 8 to 10 Weeks Before Your Last Frost
Sow 8 to 10 weeks before your last frost. That long indoor start gives cabai rawit the warm season it needs. The full calendar for how to grow bird’s eye chili from Indonesia runs 100 days from sowing to ripe fruit, according to a South Pacific Seeds bird’s eye datasheet.
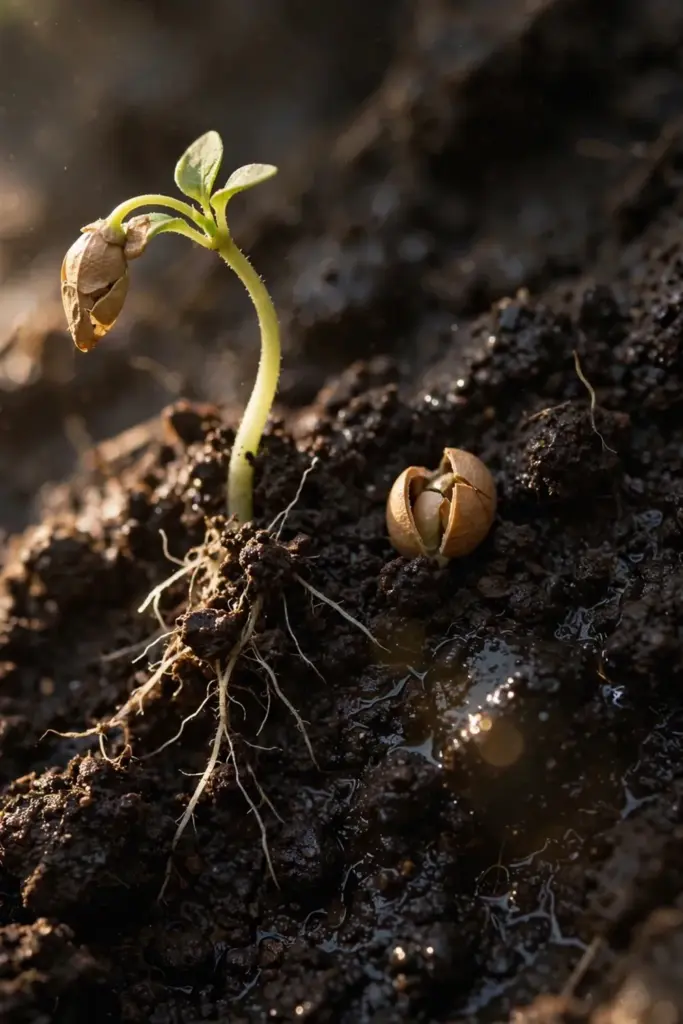
Sow each seed one quarter to one half inch deep in moist seed-starting mix, as the Washington State University Extension pepper guide advises for peppers. Cover the tray with a clear lid or plastic wrap. The lid holds humidity while the seed wakes. Remove the lid the day sprouts appear, so air moves and mold stays away.
Warmth decides germination speed. Pepper seeds germinate across 65 to 95°F, with 85°F the optimum, per the LSU AgCenter pepper guide. The Royal Horticultural Society chilli guide puts chilli germination near 21°C (70°F). A heat mat under the tray holds the warm end of that range. A radiator shelf or the top of a warm appliance works too. A cold windowsill in late winter does not. Seeds in cold mix sit, rot, or sprout weeks late.
Washington State University Extension advises starting peppers indoors 6 to 8 weeks before transplanting. Cabai rawit needs the long end of that window and more, because it ripens 100 days from sowing. Start at 8 to 10 weeks. The extra two weeks buy you ripe fruit before autumn cools the pots.
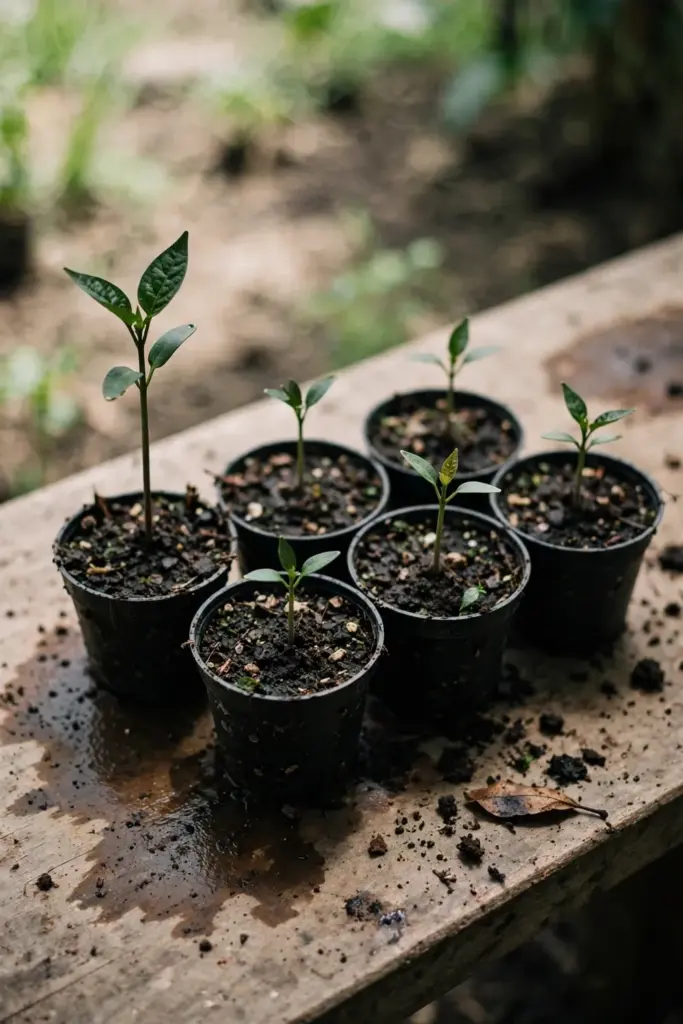
Sow two seeds per cell. Thin to the stronger seedling once true leaves show. A seedling with two true leaves and a sturdy stem beats a taller seedling with a thin one. Keep the tray warm until every seedling stands upright in bright light.
4. Give Seedlings Bright Light From the Day They Sprout
Move sprouts into bright light the day they emerge. Light shapes the seedling more than water or feed does. A seedling that stretches toward a dim window grows tall, pale, and weak, because the stem chases light it cannot reach. A seedling under bright light grows short, stocky, and dark green.
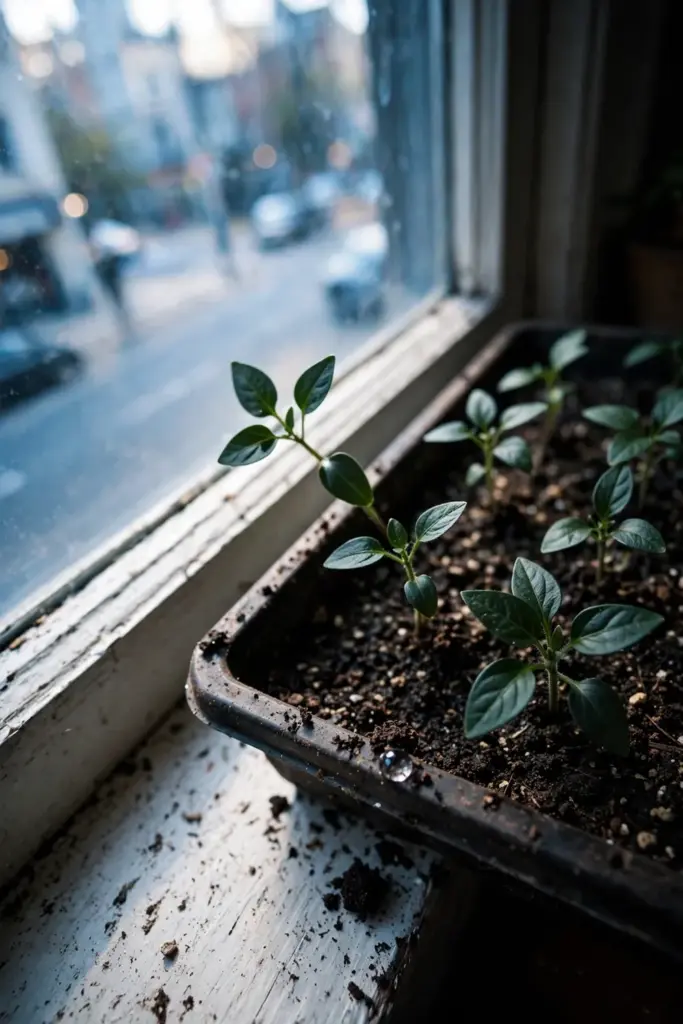
Set the tray on your brightest windowsill. A south-facing sill suits seedlings in spring. An east-facing sill works when no south sill exists. Turn the tray a quarter turn each day, so stems grow straight instead of leaning toward the glass. A grow light hung close above the tray beats a windowsill on cloudy weeks. Keep the light on from morning to evening, then give the plants a dark night.
The Royal Horticultural Society chilli guide advises keeping sprouted seedlings at 16 to 18°C (60 to 64°F) in bright light, watering to keep the mix evenly moist. That range is cooler than germination warmth. Seedlings want bright light and steady warmth, not heat. A room that feels comfortable to you suits them.
Water with a light hand. Seed-starting mix should feel damp, like a wrung-out sponge. Soggy mix rots stems at the soil line. Dry mix stalls growth. Water from below when you can. Set the tray in a shallow dish of water for a few minutes, then drain it. The mix pulls up what it needs, and the surface stays dry.
Pot seedlings on once roots show through the drainage holes. Move each one into its own small pot of peat-free multi-purpose compost. Bury the stem no deeper than it sat before. Keep the pots warm and bright, because a seedling that stalls in a tiny cell never catches up to one that moves on time.
5. Move Each Seedling Into Its Own 5-Gallon Container
Pot each seedling into its own 5-gallon container. One plant per pot. The Washington State University Extension pepper guide notes that a pepper in a 5-gallon bucket grows happily. Cabai rawit fills that volume with roots by midsummer.
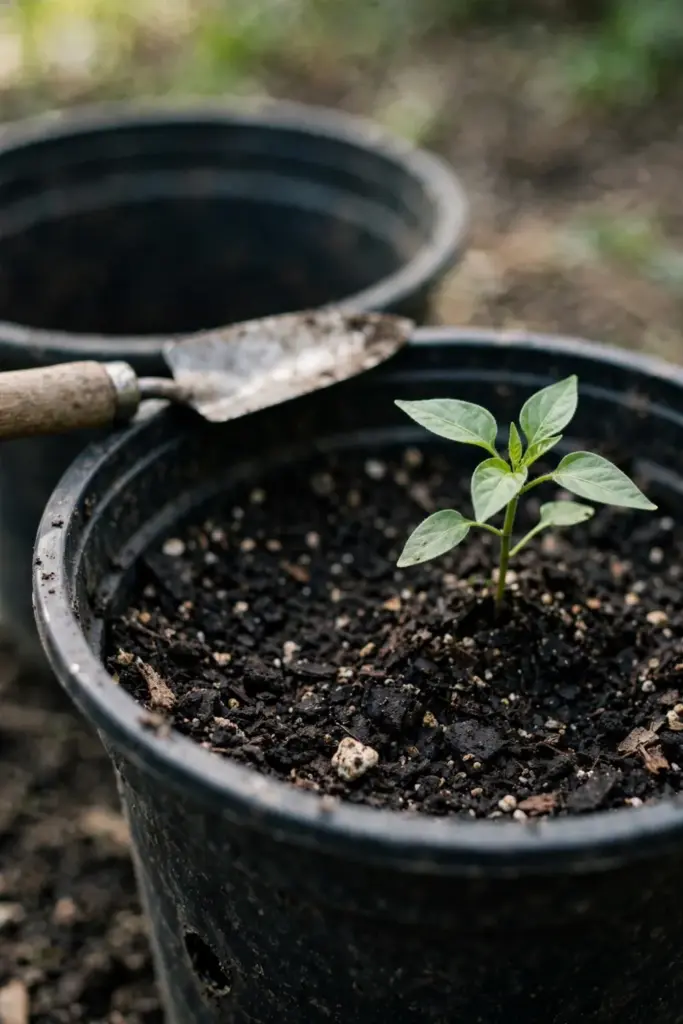
Pick a container with drainage holes in the base. A plastic bucket with holes drilled through the bottom works. A fabric grow bag works. A glazed ceramic pot without drainage does not. Roots in standing water rot, and a pot without holes holds water after every rain.
Fill the container with peat-free multi-purpose compost mixed with a handful of perlite or coarse grit. The compost feeds the plant. The perlite keeps air in the mix. Plain garden soil compacts in a pot and drowns roots. A bagged potting mix drains better and starts weed-free.
Set the seedling at the same depth it grew before, firm the mix around the root ball with your fingers, and water slowly until water runs from the base. Top the mix with a thin layer of mulch. The mulch slows drying on hot days and keeps the surface from crusting.
Place the pot where it will live for the summer before you fill it. A 5-gallon pot full of wet mix is heavy. A pot trolley or a plant caddy under the base lets you roll it indoors when frost threatens. Set that up now, while the pot is still light.
6. Harden Plants Off for 10 Days Before They Go Outside
Harden plants off for 10 days before they live outside. The Washington State University Extension pepper guide advises hardening pepper starts for 10 days. A seedling raised indoors has soft leaves and thin skin. Full sun and wind scorch soft leaves in an afternoon. Hardening thickens the leaf surface and toughens the stem.
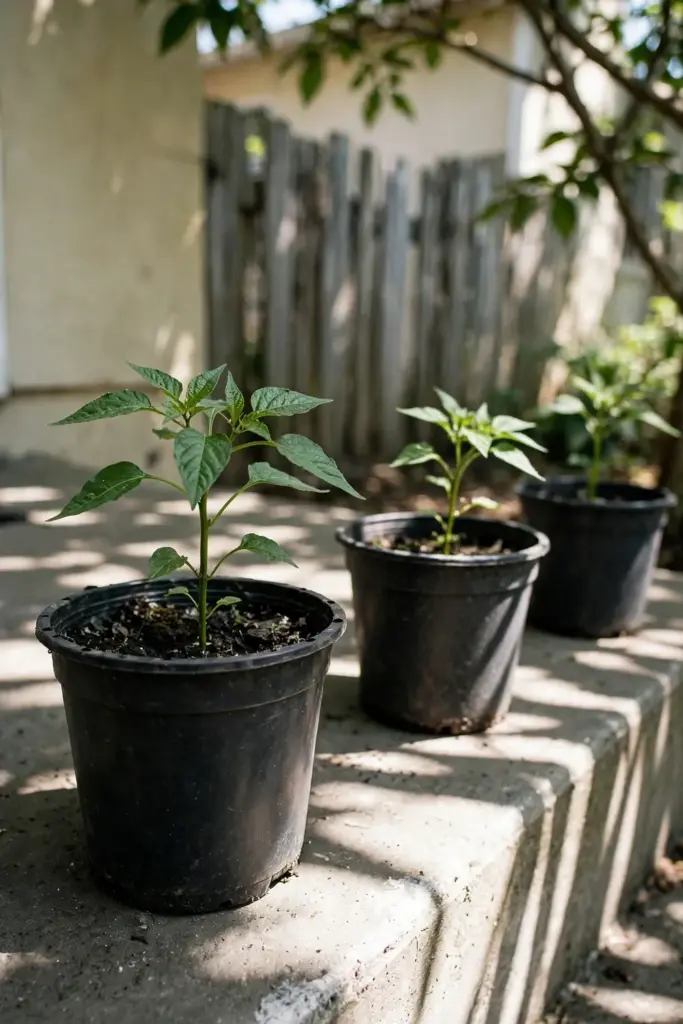
Start on a mild, overcast day. Set the pots outside in shade, sheltered from wind, and bring them back indoors after an hour or two. Lengthen the outdoor stay each day. Move them into dappled sun on the third or fourth day, then into morning sun. Leave them out overnight only after several full days outside, and only when nights stay warm.
Watch the leaves during hardening. Leaves that pale or wilt in sun need more shade days. Leaves that curl at the edges need more water. A plant that sulks after a windy day needs a sheltered spot. Hardening is a conversation with the plant, and the leaves answer every question.
Skip hardening and the plant pays. Sunscald bleaches patches of leaf white. Wind snaps soft stems. A cold night drops flowers and stalls growth for weeks. Ten days of patience at the start of the season saves a month of recovery later.
Keep watering through hardening. Pots dry fast outdoors in wind and sun. Check the mix each morning. Water when the surface dries. A hardened plant with a dry root ball still wilts, and wilting at this stage sets the plant back.
7. Set Plants Out Once Soil Reaches 65 to 70°F
Move pots outside to stay once soil reaches 65 to 70°F and frost danger passes. The Washington State University Extension pepper guide gives that soil range for transplanting peppers outdoors. A soil thermometer in the pot tells you the truth. A calendar date does not.
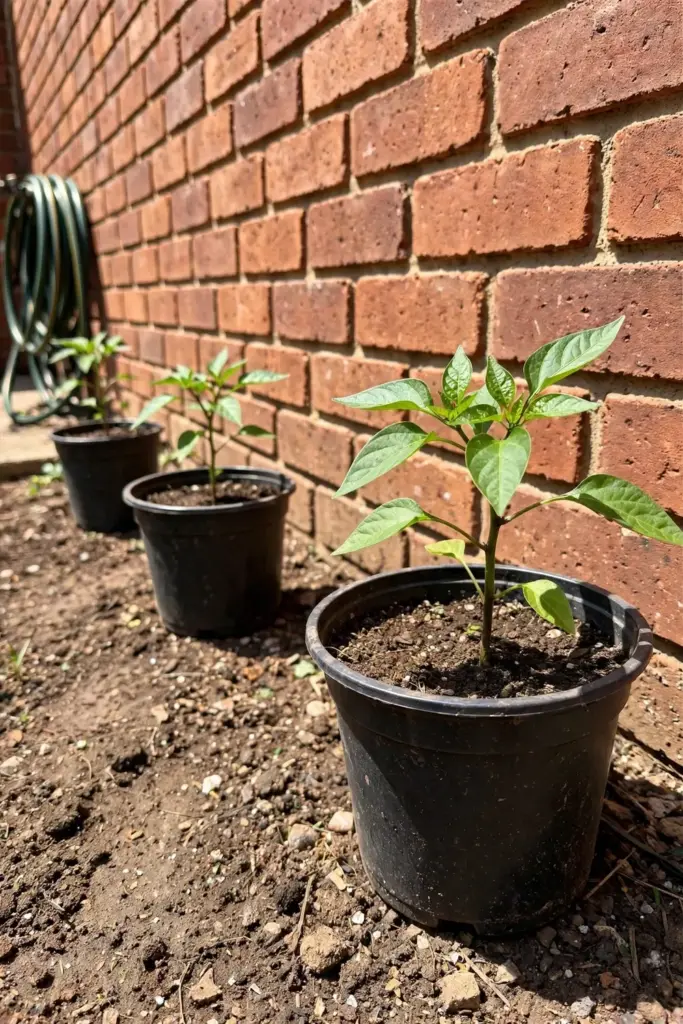
Cabai rawit is a tropical perennial. Cold soil stalls it. A plant set out into 50°F soil sits still for weeks, drops its first flowers, and never catches up to a plant that waited indoors. Warm soil wakes the roots. Warm nights keep the flowers. Patience in May buys fruit in August.
Give the pots full sun. Six or more hours of direct sun each day suits fruiting peppers. Morning sun dries dew off the leaves and slows disease. Afternoon sun drives growth. A balcony that catches sun from midday onward works. A shaded courtyard does not, even with reflected light.
Choose a sheltered spot. A wall behind the pots stores heat and blocks wind. A fence corner does the same. Wind dries pots fast and snaps brittle stems. A sheltered, sunny wall is the best outdoor site a temperate garden offers a tropical chili.
Keep the pot trolley under the base. A late cold snap still threatens after the move outside. A pot on wheels rolls indoors in a minute. A pot on bare soil needs lifting, and a wet 5-gallon pot resists lifting at the worst moment.
8. Space Container Plants 18 to 24 Inches Apart
Set pots 18 to 24 inches apart. The Washington State University Extension pepper guide gives that spacing for peppers. Pots let you set the gap with your eyes, not a tape measure. Two hand spans between pot rims is close enough.
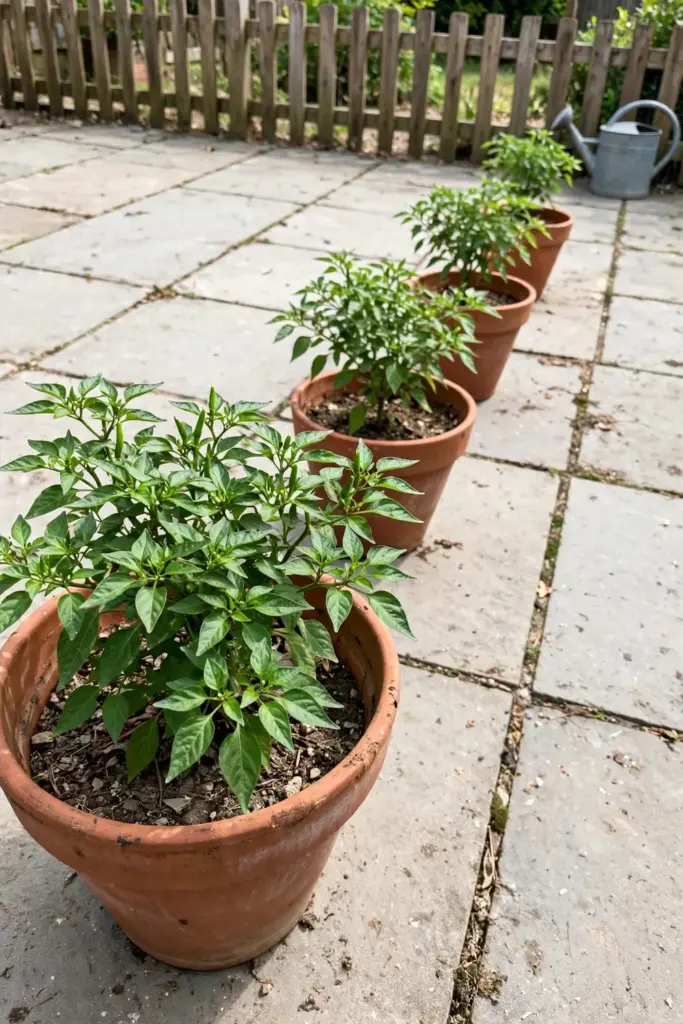
Airflow is the reason for the gap. Leaves that dry fast after rain resist disease, while leaves that stay wet invite spots and mold. A crowded row of pots holds damp air between the plants. A spaced row lets wind through and dries each leaf by midday.
The same spacing rule applies when growing cayenne pepper in beds, because cayenne is a Capsicum annuum chili with a similar bushy habit that crowds the same way and pays for the same gap.
Raise pots off the ground on feet or a slatted bench. Air under the pot drains the base and keeps roots out of puddles. Slugs reach pots on the ground fast. A pot on feet slows them. A copper strip around the bench leg slows them more.
Group pots with other heat lovers. Tomatoes, eggplants, and basil share the sunniest wall and the same watering rhythm. Grouping them also makes daily checks faster. One walk past the sunny wall covers the whole hot bed.
9. Water Containers When the Surface Dries
Water when the surface of the mix dries. Push a finger a knuckle deep into the mix. Dry at that depth means water now, damp means wait a day. Pots dry faster than beds, and a 5-gallon pot in full sun can need water daily in high summer.
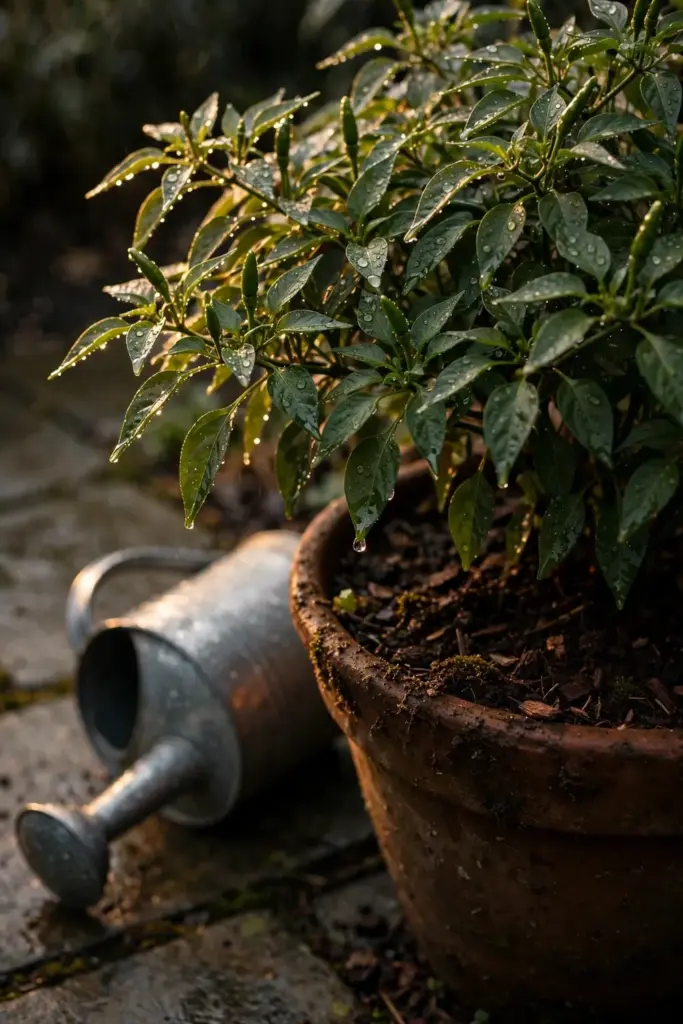
Water slowly until it runs from the base. A fast pour runs down the gap between mix and pot wall and leaves the root ball dry. A slow pour soaks the whole mix. A watering can with a rose head spreads the flow. A hose on a gentle setting works too, aimed at the mix, not the leaves.
The Royal Horticultural Society chilli guide advises watering to keep the mix evenly moist. Evenly moist means damp all through, never soggy, never dusty. A plant that swings between flood and drought drops flowers. A plant on steady moisture holds its flowers and sets fruit.
Mulch the surface. A thin layer of straw, bark chips, or compost over the mix slows evaporation. Mulch also stops soil from splashing onto lower leaves during watering. Keep the mulch a finger width clear of the stem, so the stem stays dry.
Empty the saucer after watering. A saucer that holds water keeps the base of the pot wet and rots roots. A saucer that stays dry between waterings tells you the pot drains. In a rainy week, tip saucers out after each storm. Roots want air as much as water.
10. Feed Plants Lightly Once Fruit Sets
Feed lightly once fruit sets, because a plant in fresh potting mix needs no feed for the first weeks. The mix carries enough nutrition to grow leaves and stems, while feeding too early grows soft, leafy plants with few flowers.
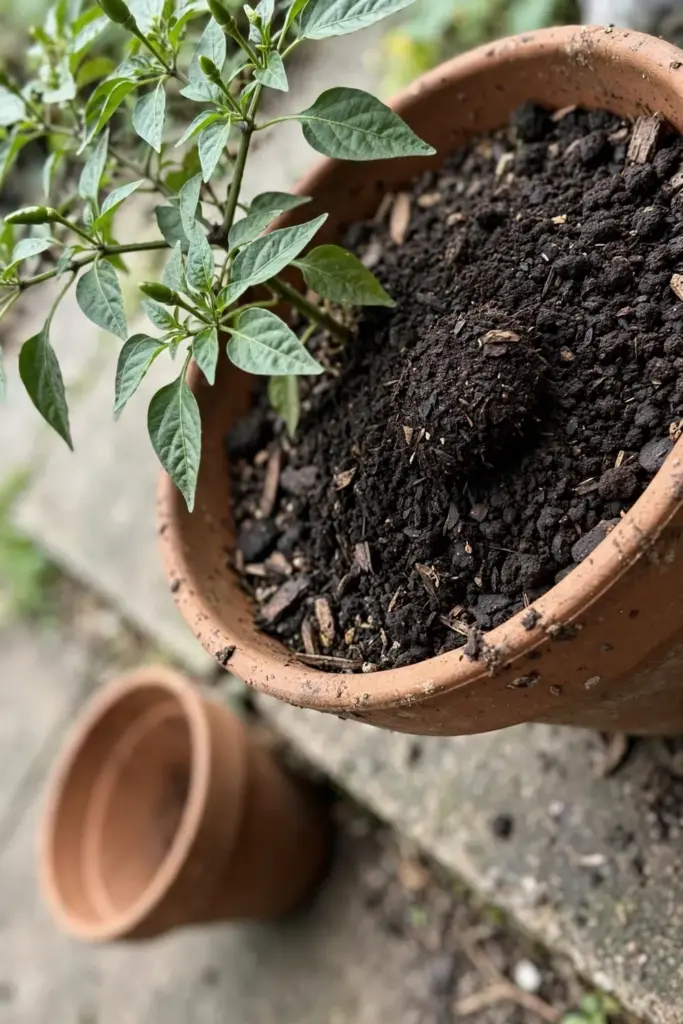
Use a balanced fertilizer at the label rate once the first small fruits appear. A balanced feed supports leaves, flowers, and fruit together. A high-nitrogen feed grows leaves at the expense of fruit. Read the label. Mix at the stated strength. More feed does not mean more fruit.
The Washington State University Extension pepper guide advises applying fertilizer per soil test results. A pot has no soil test. The label rate stands in for one. If leaves yellow between the veins while fruit sets, the plant wants magnesium or iron, and a feed with trace elements helps. If leaves stay deep green and fruit sets well, the feed is right.
Feed after watering, never into dry mix. Fertilizer in dry mix burns root tips. Water first, feed second. A weekly feed at half strength suits containers better than a monthly feed at full strength, because watering flushes nutrients out of the pot with every pass.
Stop feeding when growth slows in autumn. A plant heading indoors for winter needs no push to grow. Feed it again in spring, when new leaves show and days lengthen.
11. Stake Each Plant Before the First Heavy Fruit Set
Stake each plant before fruit loads the branches. Pepper branches snap under a heavy fruit load. A stake placed early supports the stem without disturbing roots. A stake hammered in late tears roots and bruises stems.
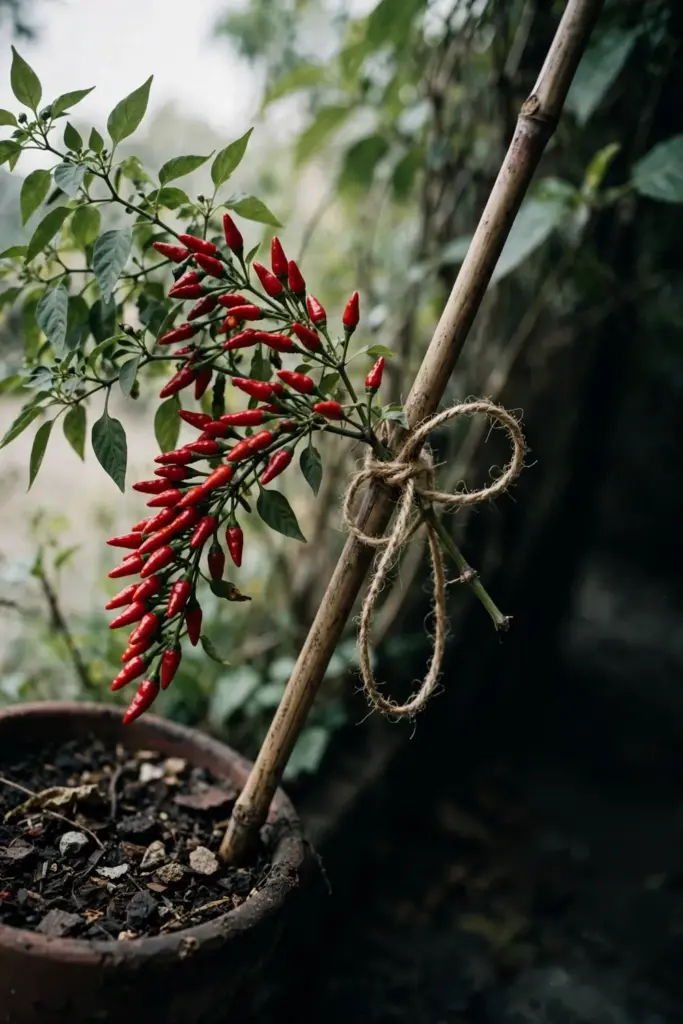
Push a bamboo cane into the mix near the stem, close but not touching. Tie the main stem to the cane with soft twine in a loose figure eight. The loop holds the stem without strangling it. Retie as the stem thickens. A tie that grips a young stem girdles an older one.
Cabai rawit carries many small fruits along each branch. The load adds up. A branch that sags under fruit still feeds its pods, but a branch that snaps feeds nothing. Support the two or three longest branches with their own ties when fruit sets heavily. A plant with four ties looks fussy. A plant with one snapped branch looks worse.
Check ties after storms. Wind loosens twine and shifts canes. A cane that leans pulls the stem with it. Straighten the cane, retie the loop, and firm the mix around the base. Two minutes after a storm saves a branch.
12. Pinch the First Blossoms at Transplant Time
Pinch the first blossoms off at transplant time. A seedling that flowers on the windowsill spends energy on a fruit it cannot yet support. Pinching those first blossoms sends energy to roots and leaves instead.
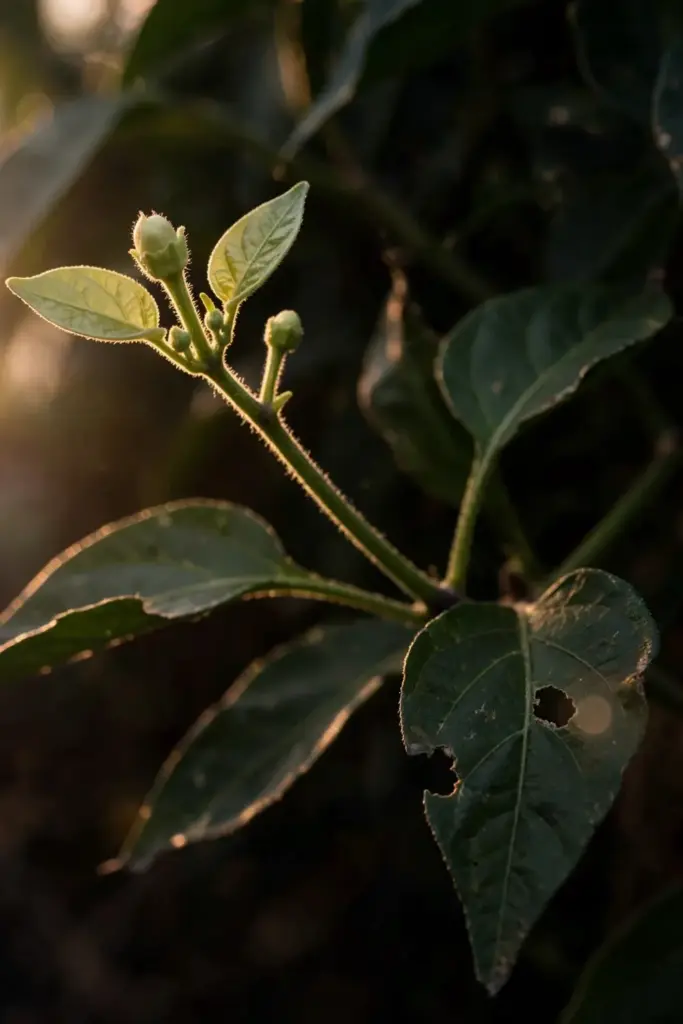
Use your fingertips. Snap the tiny flower bud off where it meets the stem. Leave the leaves alone. A seedling with its first blossoms pinched grows a stronger root system in the two weeks after transplanting. A seedling left to fruit early stays small and crops lightly all season.
Let later flowers stand. Once the plant grows knee-high in its final pot and roots fill the mix, flowers are the point. The plant can carry them now. From this stage on, every flower is a future chili, and pinching costs fruit.
A plant that flowers heavily and sets nothing has a different problem. Heat, dry roots, or missing pollination drops flowers. The next section covers pollination. The watering section covers dry roots. Fix those two first before blaming the plant.
13. Shake Indoor Flowers to Set Fruit Without Insects
Shake indoor flowers gently to set fruit, because Capsicum frutescens flowers self-pollinate and each flower carries both pollen and ovary. Outdoors, insects and wind move the pollen. Indoors, no insect visits, and still air leaves the pollen sitting. A gentle shake does the insect’s job.
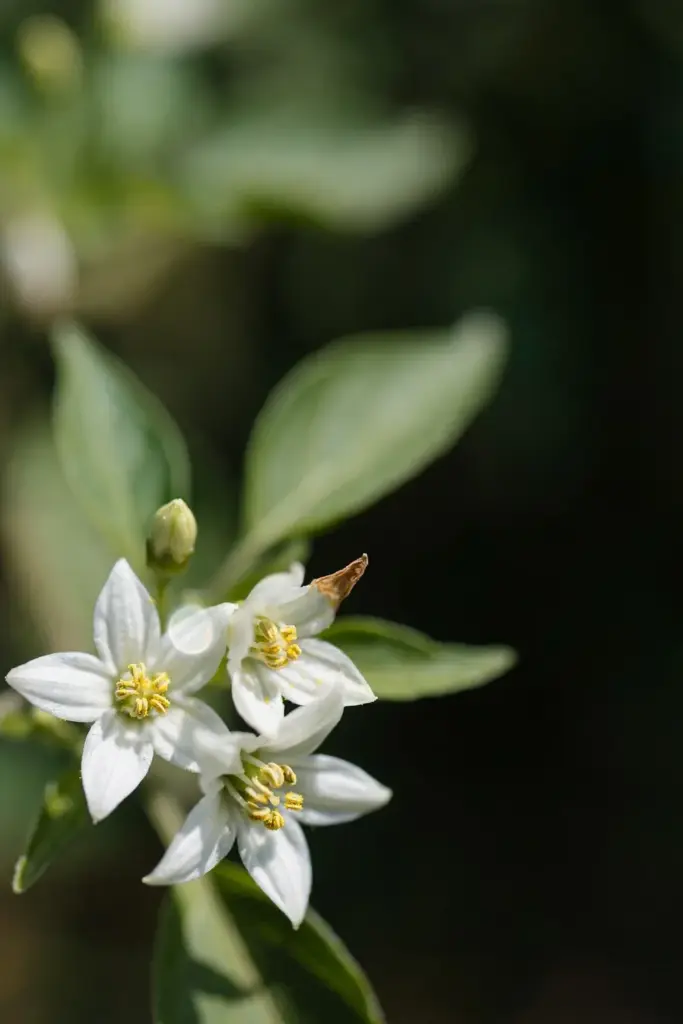
Tap the main stem each morning while flowers are open. Or shake the pot lightly, just enough to tremble the flowers. Or brush each open flower with a fingertip or a soft paintbrush. Any of these moves pollen onto the stigma. Fruit follows within days on a healthy plant.
Flowers that fall without setting fruit point to a cause. Night temperatures below the plant’s comfort zone drop flowers. Dry roots drop flowers. A plant with too much nitrogen grows leaves and drops flowers. Check water first, then warmth, then feed. The plant usually answers within a week.
Outdoor plants need no help. Bees and wind pollinate open flowers through the day. A plant on a sunny balcony sets fruit on its own. Bring that plant indoors in autumn, and the shaking routine starts again for winter flowers.
14. Check Leaves Every Week for Aphids, Whiteflies, and Thrips
Inspect leaf undersides every week. Pests gather where you look least. Aphids cluster on soft shoot tips and under young leaves. Whiteflies rise in a cloud when you brush the plant. Thrips scar flowers and young fruit. A weekly check catches all three before they build.
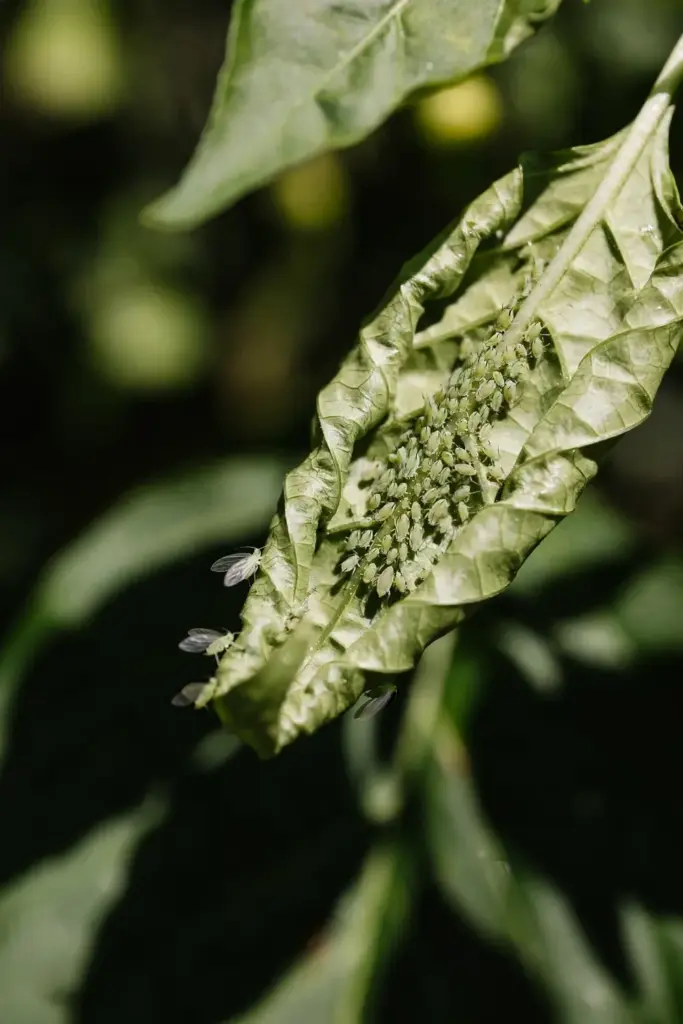
Start with water. A strong jet from a hose or a spray bottle knocks aphids and whiteflies off the leaves. Repeat every few days until the plant stays clean. Water removes pests without chemicals, and it works on indoor plants too, over a sink or a bath.
Use insecticidal soap for a stubborn colony. Spray the undersides, where pests feed. Spray in the evening, so the soap dries before sun hits wet leaves. Repeat after a week, so the next hatch dies too. Soap kills on contact and leaves no residue that harms pollinators the next day.
Thrips need a closer look. They are tiny, fast, and hide inside flowers. Scarred petals, deformed buds, and silvery streaks on young leaves mark their work. For a full thrips routine, read how to manage chilli thrips. Early action matters more with thrips than with aphids, because thrips spread fast and hide well.
Isolate a badly infested plant. Move the pot away from its neighbors for a week. Pests walk and fly between touching leaves. A gap of a few feet breaks the bridge. Treat the isolated plant, check the neighbors, and bring the pot back only when new growth stays clean.
15. Harvest Red Chilies at Full Color With Scissors
Pick chilies when they turn fully red and feel firm. A ripe cabai rawit glows red, holds its shape, and snaps cleanly at the stem. A chili picked green still burns, but it lacks the ripe flavor and the full heat. Wait for red.
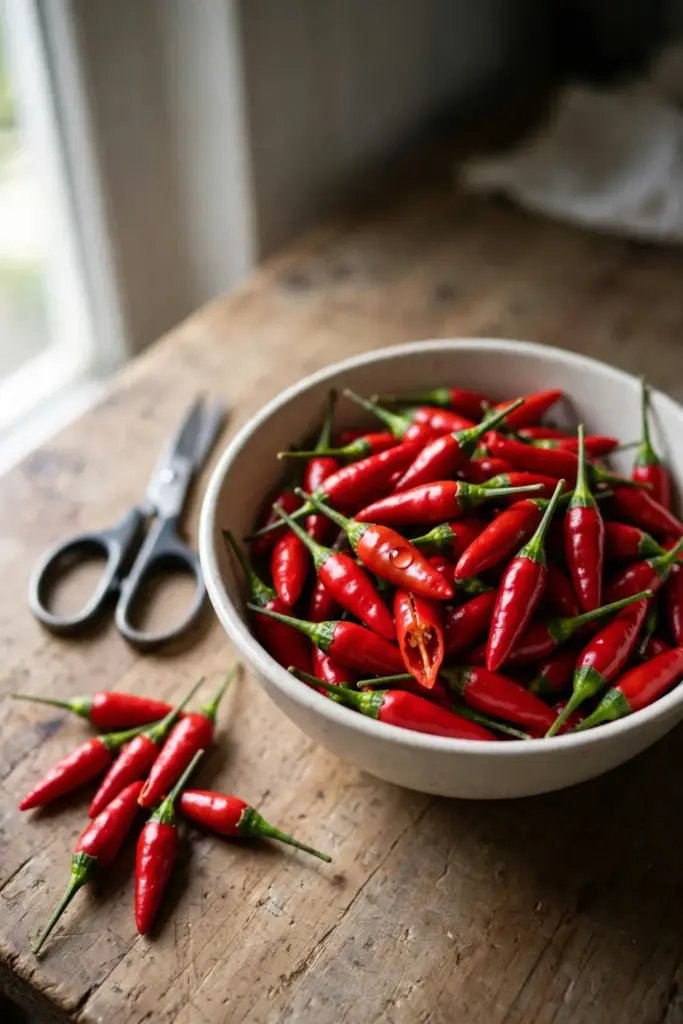
Cut each chili off with scissors or small snips. Do not pull. Pulling tears the stem and strips buds beside the fruit. A clean cut leaves the plant whole and the next flowers standing. Carry a small bowl or basket. A pocket full of chilies crushes them.
Wear gloves. Capsaicin sits in the fruit’s inner membranes and clings to skin. Gloves keep it off your fingers, and off your eyes later. Wash hands, scissors, and the cutting board after handling a harvest. A chili harvest is kitchen work, and kitchen hygiene applies.
Bird’s eye types rate 50,000 to 100,000 Scoville Heat Units, per a South Pacific Seeds bird’s eye datasheet. That heat sits far above a jalapeño. One or two pods season a pot of curry. The same datasheet puts the fruit at 4 cm long and 1 cm wide. Small fruit, strong heat, and a big harvest from one plant.
Pick often. A plant that holds ripe fruit slows new flowers. A plant picked clean keeps flowering. Harvest every few days at the peak of the season. The plant answers with more buds, more flowers, and more chilies.
16. Bring One Plant Indoors Before the First Frost
Bring one plant indoors before the first frost. Cabai rawit is a tropical perennial. The LSU AgCenter pepper guide describes peppers as warm-season, frost-sensitive, tropical perennials grown as annuals in cooler climates. Frost kills the plant outright. One cold night ends a plant that could fruit for years.
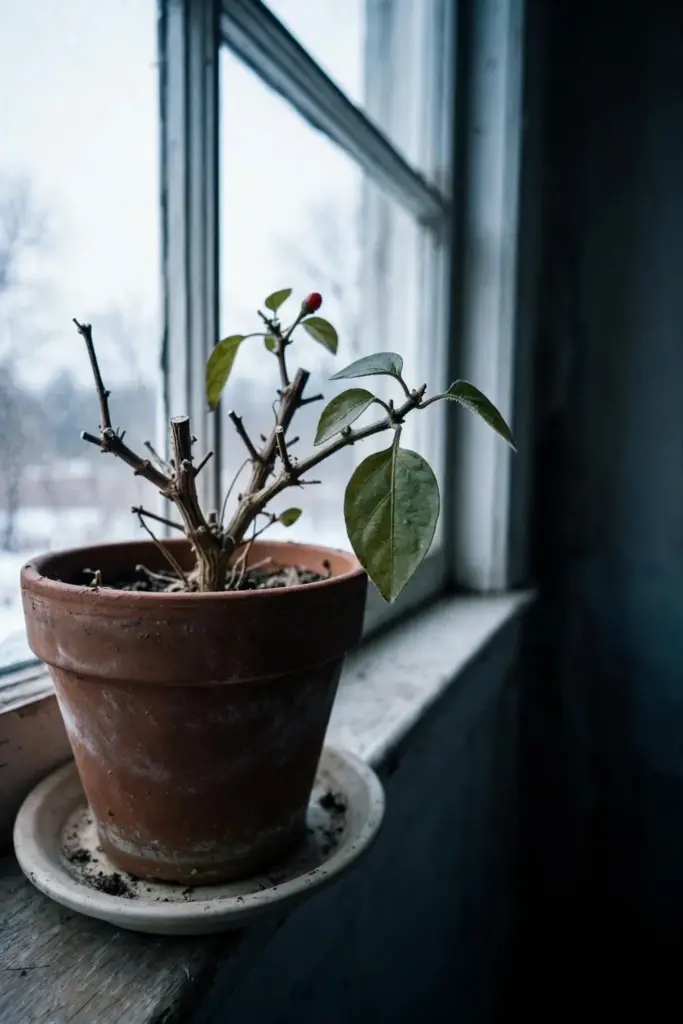
Pick your best plant. Choose the one with the strongest stem, the fullest canopy, and the heaviest fruit set. Cut it back by a third before the move. Pruning shrinks the canopy to fit a windowsill and drops the pest load with the cut leaves. Check the plant for aphids and whiteflies before it comes inside. One infested plant spreads pests to every houseplant in the room.
Set the pot on your brightest windowsill. The Royal Horticultural Society chilli guide notes that chillies grow best above 15°C (59°F). Hold the plant above that line through winter. A cool room that stays above 59°F suits it. A room that drops below it stalls growth and drops leaves.
Water sparingly through winter. The plant grows slowly in short days and drinks little. Water when the surface dries, and keep the saucer empty. Feed nothing until spring. New leaves in spring mean the plant woke. Then resume feeding, and move the pot outside again once soil warms.
17. Save Seeds From Your Best Red Pod for Next Year
Save seeds from the best red pod on your best plant. A pod that ripened fully on a strong plant carries the seed you want. A pod from a weak plant, or a pod picked green, does not.
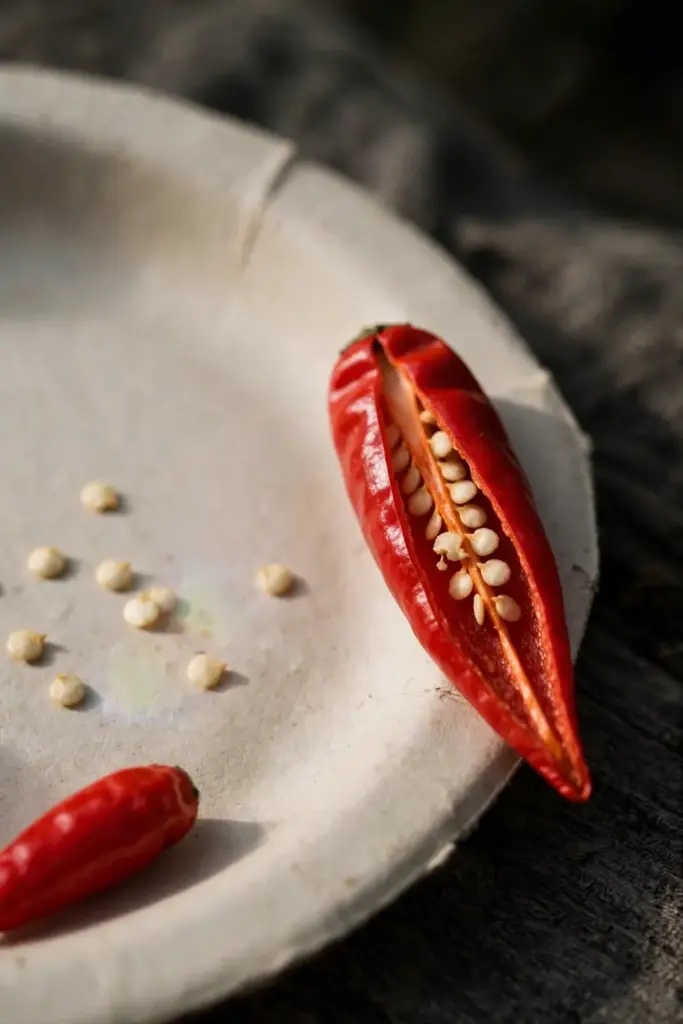
Cut the pod open with a gloved hand. Scoop the seeds onto a paper plate. Spread them in a single layer. Dry them in a warm, airy spot out of direct sun for a week. Seeds that feel papery and snap when bent are dry. Seeds that feel soft still hold moisture, and moisture rots stored seed.
Store dry seeds in a labeled paper envelope. Write the variety name and the year on the envelope. Keep the envelope in a cool, dry place. A sealed jar with a small packet of silica gel holds seeds drier than a drawer. Dry, cool, and dark keeps pepper seed alive for years.
Know that saved seed may differ from the parent. Peppers cross-pollinate. A cabai rawit flower visited by a bee carrying pollen from a cayenne flower grows a crossed seed. The pod you pick still tastes like cabai rawit, because the pod is the mother’s tissue. The seed inside carries the cross, and the plant it grows may show it. Grow one variety, or separate varieties by a wide gap, if you want seed that stays true.
Buy fresh seed when the cross matters. A packet of named seed costs little and removes doubt. Save your own seed for fun, and buy named seed for the main crop.
18. Dry, Freeze, or Ferment the Surplus Harvest
Dry, freeze, or ferment the surplus. One healthy plant out-produces a kitchen. A week of August harvests can fill a basket. Preserve the surplus at its peak, and the harvest seasons your cooking all winter.
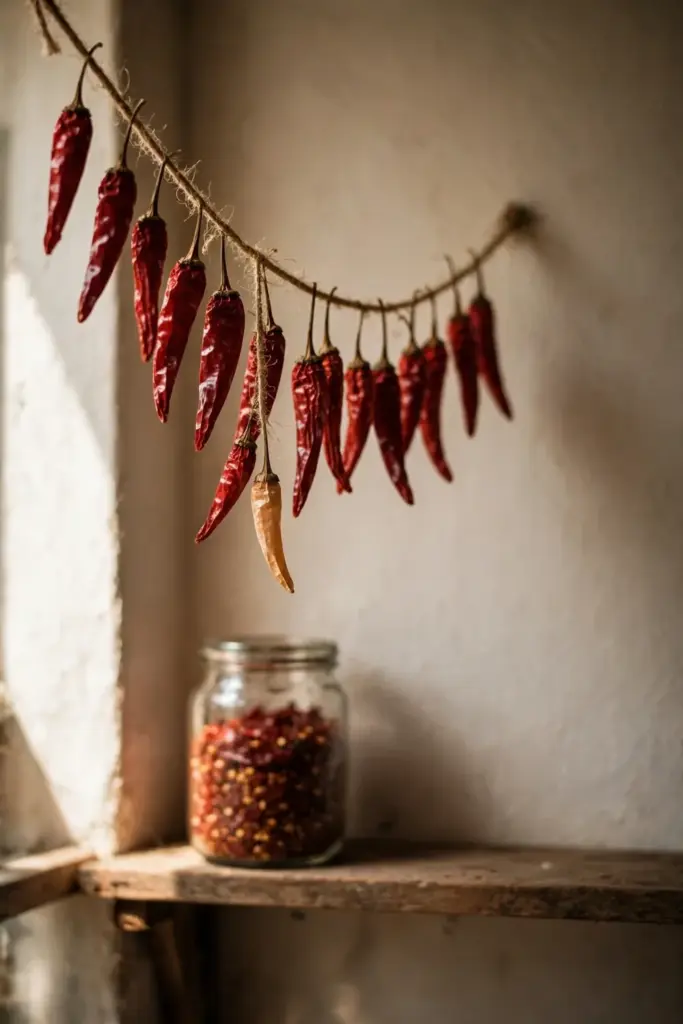
Thread chilies on a needle and string for air-drying. Run the thread through the stems, not the fruit. Hang the string in a warm, airy spot out of direct sun. Chilies that rattle when shaken are dry. Crumble them into a jar, or grind them into flakes. Dry chilies keep their heat for months.
Freeze whole chilies for fresh use. Spread them on a tray, freeze until hard, then tip them into a freezer bag. Frozen chilies slice straight from the bag into a pan. They soften on thawing, so they suit cooking better than fresh garnish.
Ferment chilies for sauce. Pack chopped chilies with salt in a clean jar, weight them below the brine, and let them ferment for a week or two. Fermentation deepens the flavor and tames the raw edge. Taste daily once the brine turns cloudy. Refrigerate the jar when the flavor suits you.
Label every jar and bag with the contents and the date. A freezer bag of unnamed red chilies puzzles everyone in January, while a jar labeled “cabai rawit, dried, August” tells the cook exactly what it holds.
Frequently Asked Questions
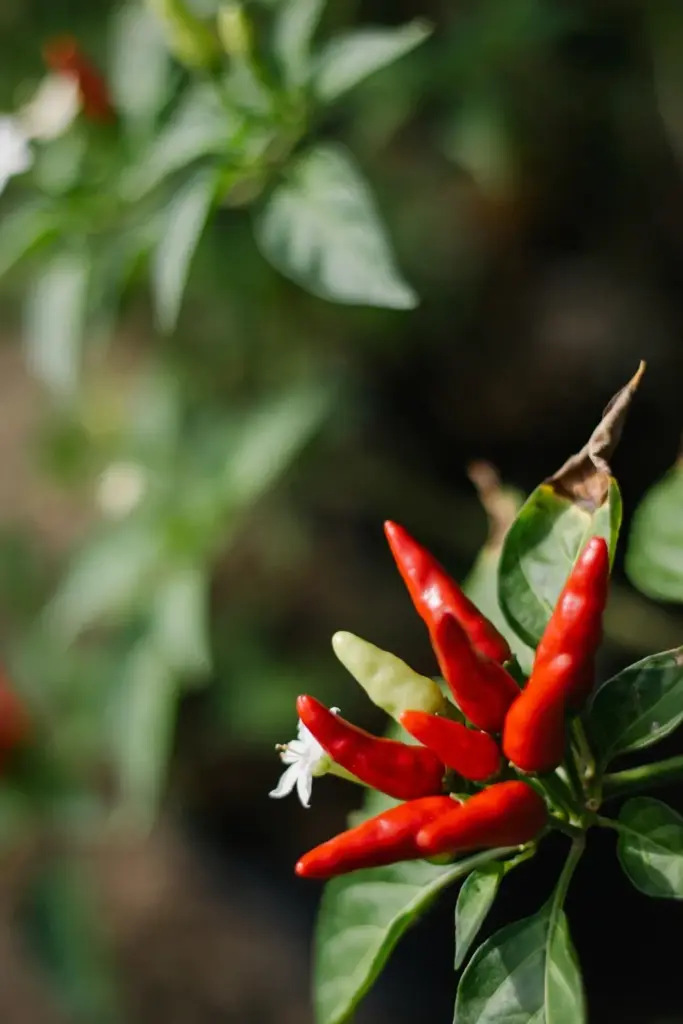
Yes, in summer. Grow each plant in a 5-gallon container on a sunny, sheltered spot, and move the pot outside once soil reaches 65 to 70°F. The plant fruits through the warm months. Bring one plant indoors before the first frost, or start fresh seed next spring. An in-ground plant will not survive a temperate winter.
Bird’s eye types rate 50,000 to 100,000 Scoville Heat Units. That heat sits far above a jalapeño, so one or two pods season a whole pot of curry. Wear gloves when handling a harvest. Capsaicin clings to skin and reaches eyes hours later. Taste a small piece first, then add more. You can always add heat, never remove it.
Count on 100 days from sowing to ripe red fruit on a warm start. Start seeds indoors 8 to 10 weeks before your last frost, so the plant has a warm head start, and move pots outside once soil reaches 65 to 70°F. First flowers follow in early summer, and first red fruit follows 100 days after sowing, with steady picking through the warm months.
Three causes cover most cases. Dry roots drop flowers, so water when the surface dries. Cold nights drop flowers, so wait for warm soil before moving pots out. Still indoor air blocks pollination, so shake indoor flowers gently each morning. Fix water and warmth first, then shake. Most plants set fruit within a week of the fix.
Yes, with bright light. A sunny windowsill or a grow light carries one plant through winter. Shake the flowers each morning to set fruit, since no insects visit indoors. Indoor plants fruit more lightly than outdoor plants, because light is weaker. One overwintered plant still beats a spring seedling, because it starts the season with a full root system.
No. Cabai rawit is Capsicum frutescens. Thai chili is Capsicum annuum. The fruits look alike, and sellers use the name bird’s eye chili for both. Check the botanical name on the packet before you buy. A packet that prints only “bird’s eye chili” tells you nothing about the species inside. Buy the packet that names Capsicum frutescens.
Make the Honest Call on Cabai Rawit
Learning how to grow bird’s eye chili from Indonesia comes down to three honest facts. The plant is tropical, so it needs warmth from sowing to harvest. The plant is compact, so one 5-gallon pot per plant gives it room. The plant is perennial, so one overwintered plant beats a spring seedling.
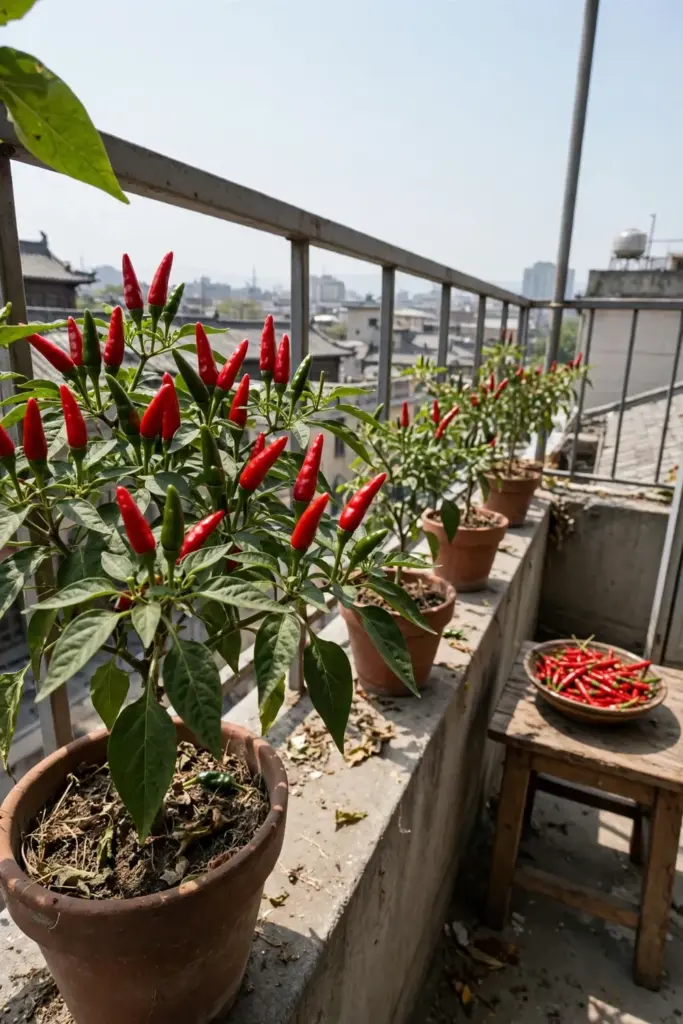
The temperate path works, with limits. No in-ground plant survives a temperate winter. No windowsill replaces full summer sun. No fertilizer fixes cold soil. Accept those limits, and the plant pays you back with a summer of red chilies from a single pot.
Start with the right species. Start seeds early and warm. Give each plant its own pot, sun, and steady water. Pick red, pick often, and bring one plant indoors before frost. That is the whole method, and it fits on a balcony, a patio, or a sunny windowsill.