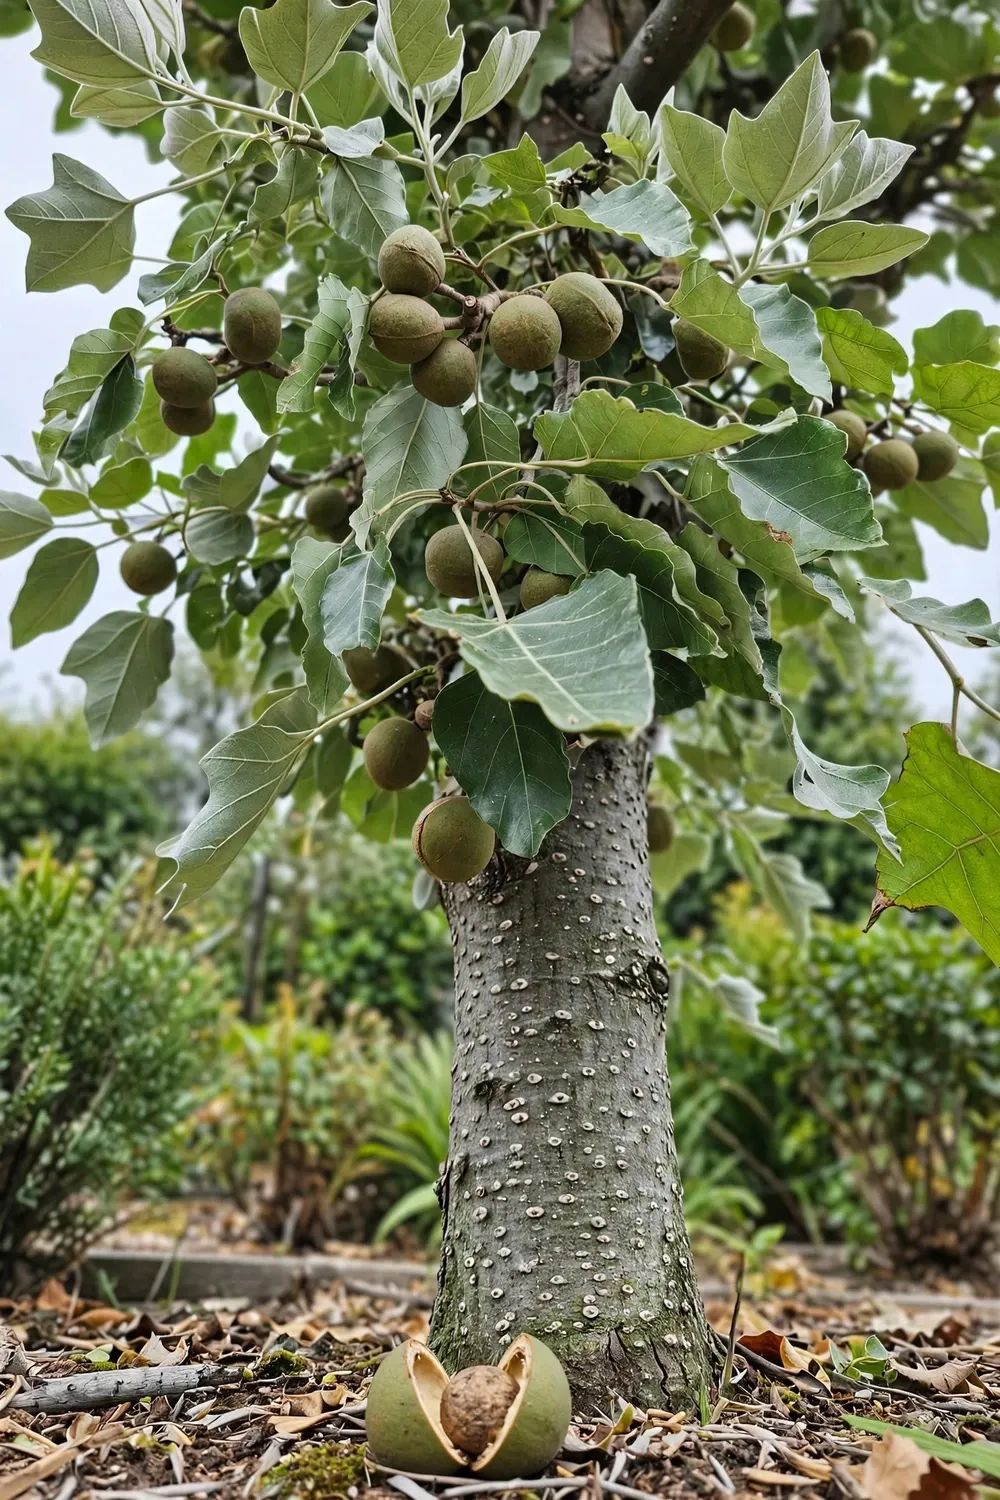

How to grow candlenut: plant fresh scarified stones 3 to 10 cm deep at the start of the wet season and expect the first flowers around year 4. The tree that follows is a tropical giant, typically 10 to 15 m in a garden with a crown nearly as wide, and PROTA’s botanical notes record specimens reaching 40 m tall, so this is a ground-planting job for frost-free land, not a houseplant. The rest of this page is 15 moves, from cracking the hard shell to harvesting the fallen nuts.
One safety rule comes first: raw candlenut kernels are mildly toxic and act as a laxative, so eat them only roasted or cooked, and keep raw nuts away from children and pets. I have learned to treat the four-year wait for first flowers as the price of admission to a decades-long harvest, not a flaw in the method.
Candlenut is also the nut most often confused with macadamia, and the two are different genera with different rules in the kitchen. A mango tree is the closest familiar comparison on this site: a fellow large tropical tree that demands real ground, so the guide to growing mango from seed or grafted stock makes a useful companion read. This article stays on one tree only: Aleurites moluccanus, the Indonesian kemiri, grown from seed to harvest.
1. Confirm Your Site Handles a 15 to 30 Meter Tree Before You Start
The honest answer to how to grow candlenut starts with climate and space, because the tree decides everything else. Candlenut needs a tropical or subtropical site with at least 700 mm of annual rainfall, a dry season no longer than 5 months, and soil pH between 5 and 8, according to the PROTA botanical profile of Aleurites moluccanus).
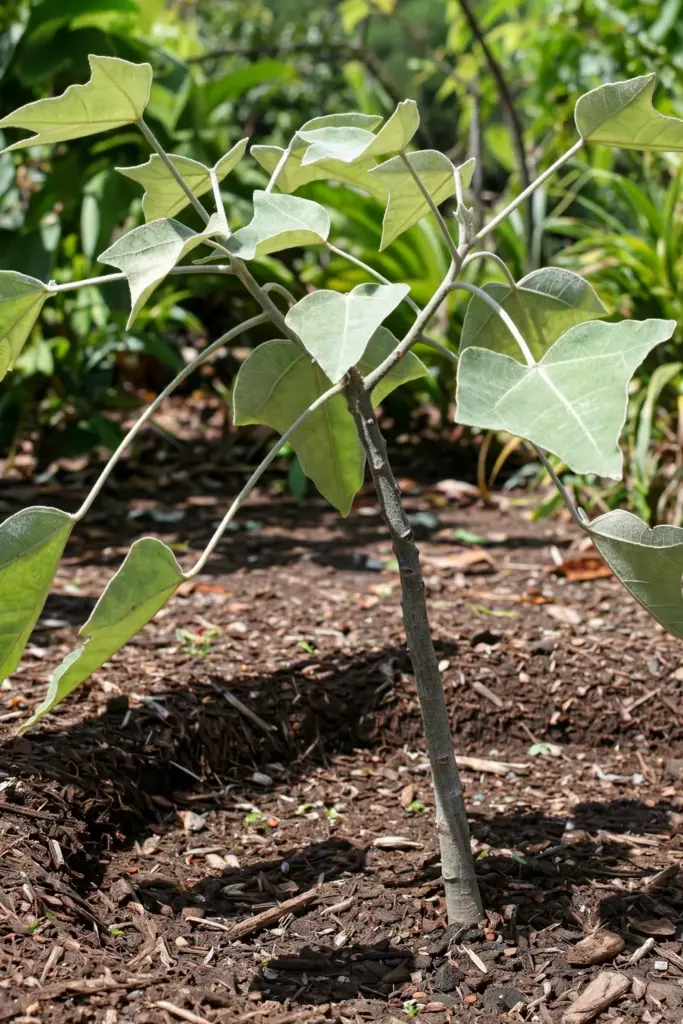
The same profile sets the temperature band: a mean maximum of 26 to 30°C in the hottest month and a mean minimum of 8 to 13°C in the coldest. Frost that lasts several days kills it. That rules out outdoor planting in temperate zones, and it rules out the windowsill completely. If your winters freeze, the only lanes are a large pot moved indoors before the first frost, a heated greenhouse, or a bonsai pot.
Wind is the one stress the tree shrugs off. The PROTA profile notes tolerance of strong winds and some salt spray, which is why candlenut works as a coastal windbreak tree. Waterlogging is the opposite story: roots in standing water fail. Pick the sunniest, best-drained corner of the warmest ground you own, or do not plant this tree.
2. Give Each Tree 7 to 10 Meters of Ground
Each candlenut tree needs 7 to 10 m of spacing in every direction when grown for seed, per the PROTA planting guidelines). The crown of a mature tree runs nearly as wide as the tree is tall, and the Elevitch agroforestry profile puts a typical garden tree at 10 to 15 m, so tight spacing buys you a canopy war within a decade.
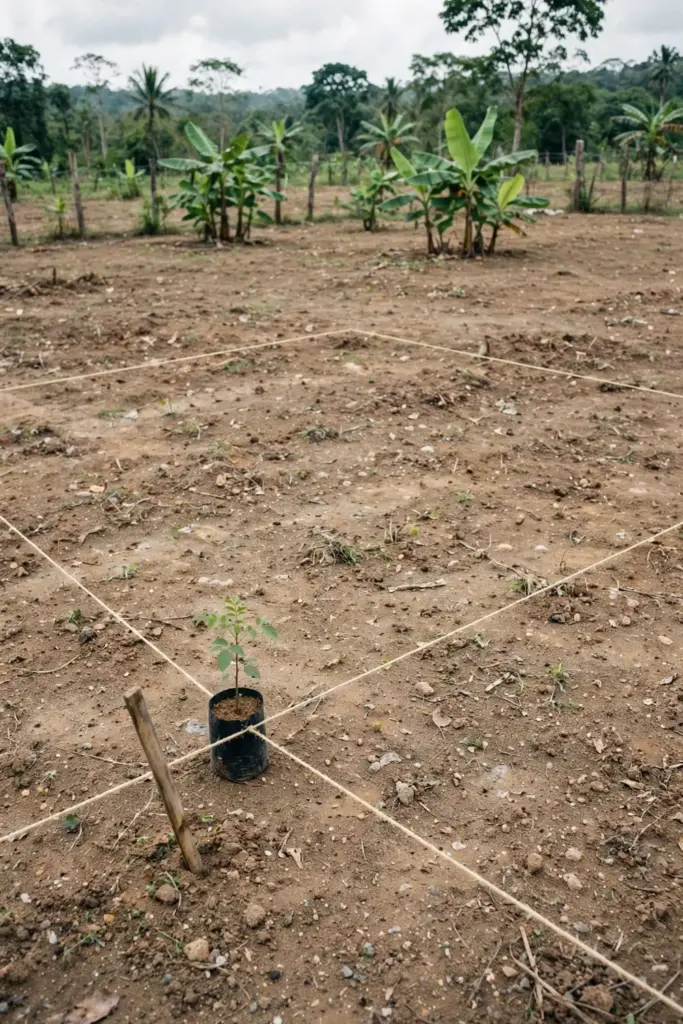
Mark the planting spot with two 10 m lines crossed at right angles before you dig anything. That cross is the tree’s adult footprint. Nothing permanent goes inside it: no shed, no driveway edge, no septic line. Seedling leaves look small for the first two years, and that is exactly when growers plant too close.
Closer spacing has its uses, just not for a home nut tree. PROTA lists 4 m by 4 m for pulpwood plantations and 3 to 4 m apart in windbreak rows. A home grower copying plantation density gets shaded-out lower branches, weak form, and a harvest ladder job nobody wants. On a small lot, one candlenut plus its 10 m circle is the whole plan. Put the tree at the sunniest corner and give the rest of the ground to smaller crops that finish before the canopy closes over them.
3. Treat Raw Kernels as Toxic Until They Are Cooked
Raw candlenut kernels are mildly toxic and act as a laxative. Heat treatment reduces the toxicity, which is why Indonesian and Malaysian kitchens roast, toast, or cook the nuts before pounding them into curries. Keep raw nuts in a sealed container, out of reach of children and pets, from the day you harvest.
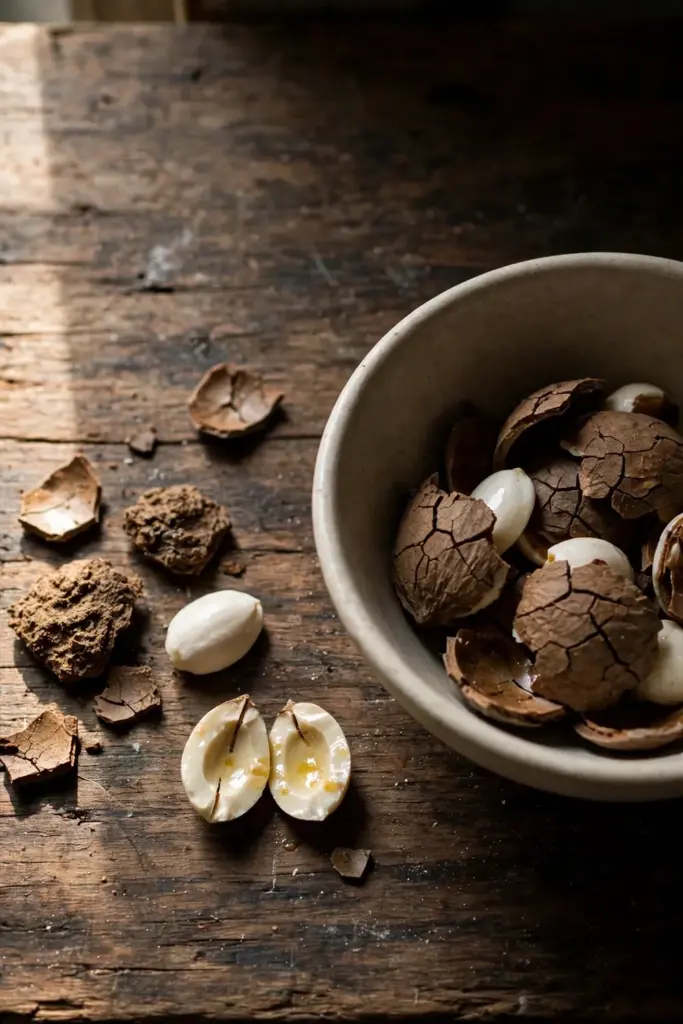
The toxicity comes from saponin, phorbol, and a toxalbumin similar to the ones in Abrus and Ricinus species, per the PROTA toxicity notes). Those compounds break down with cooking. The pressed oil itself carries no known toxicity. That clean record is why kukui oil shows up as a common cosmetic ingredient.
This rule also governs the presscake. PROTA rates candlenut presscake as an excellent organic fertilizer rich in nitrogen and phosphorus, but warns to use it with caution as animal feed because of the toxic effects. On a home tree, dig the cake into the soil as fertilizer and keep it away from the dog bowl.
4. Source Fresh Hard-Shelled Stones, Not Snack Mix Nuts
Buy whole hard-shelled stones, not shelled snack kernels. The shell is the seed’s armor: PROTA reports that hard-shelled stones retain viability for over a year, while shelled kernels are attacked by beetles and their oil acidifies in storage. A roasted snack nut is dead for planting purposes anyway. A dozen stones is a sensible order for a home grower: at 30 to 40 percent germination), twelve scarified stones should yield three to five seedlings, and one garden needs only one tree.
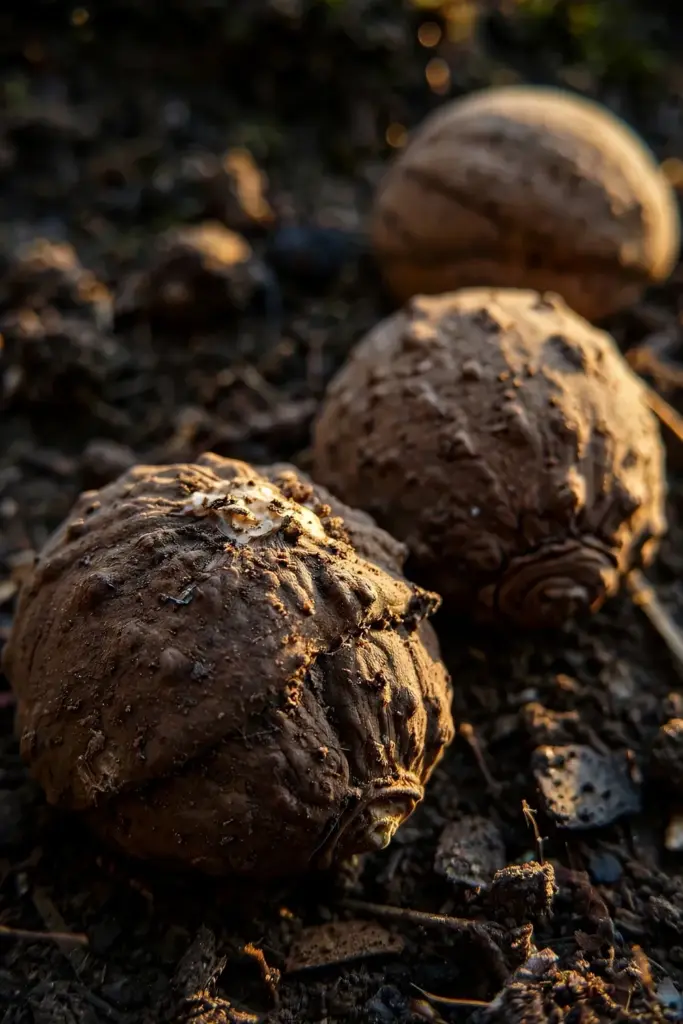
Each stone weighs 10 to 14 g, and a kilogram holds 100 to 120 stones with the shell on, per the PROTA seed data). That density makes seed cheap to ship and easy to store cool and dry. Pick stones that feel heavy for their size with uncracked, unmoldy shells.
Stones picked off the ground carry more soil fungi than tree-picked ones. Buy graded seed when you can, and keep any ground-collected stones in their own container until sowing.
5. Crack or Scarify the Shell to Lift Germination Past 40 Percent
Untreated candlenut seed germinates slowly and unevenly, usually at 30 to 40 percent), because the hard shell blocks water uptake. Scarify the shell by mechanical, physical, or chemical means before sowing, and the rate climbs. That single treatment is the difference between a full seedbed and a row of empty pots.
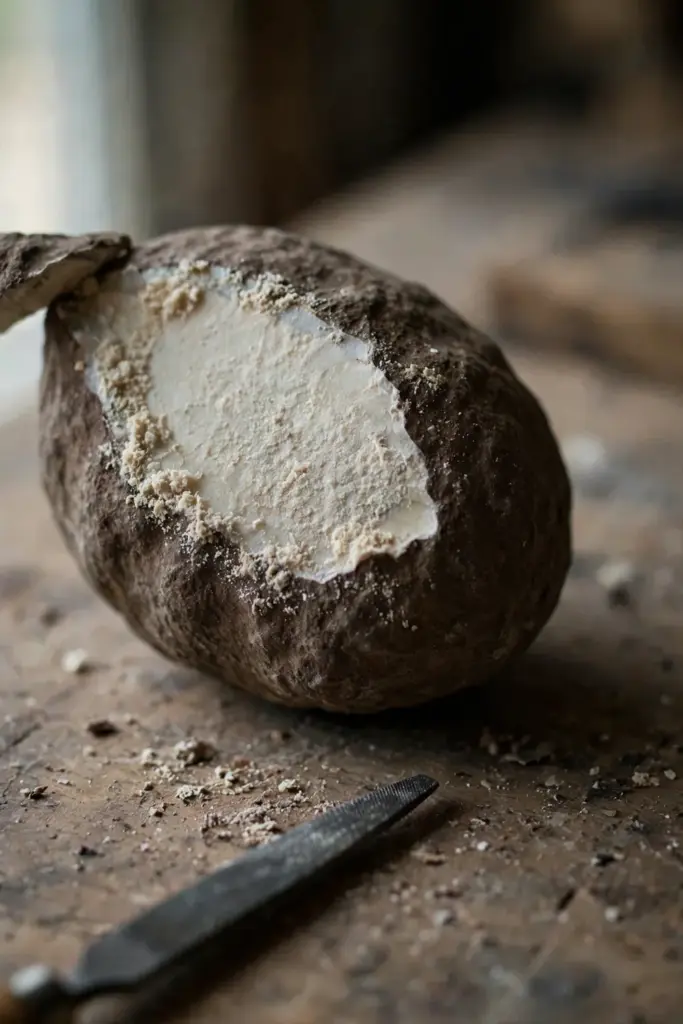
PROTA lists the working options: repeated warming and cooling of the stones, sun-warming in a moist medium, and outright cracking of the stone. Cracking the stone speeds germination the most but opens a door to fungal infection, so cracked stones go into clean mix, never reused soil. Sun-warming is the gentlest home method: spread the stones on damp sand in full sun for several days, then sow.
File one small flat on each stone with a metal file if you want precision over tradition. Stop filing the moment the pale inner coat shows through. The goal is a water channel, not a window. Sow scarified stones within a day or two; a breached shell dries out fast.
6. Sow Stones 3 to 10 cm Deep at the Start of the Rains
Sow scarified stones in a seedbed or in polythene nursery bags at a depth of 3 to 10 cm, following the PROTA sowing protocol). Shallow sowing in that band beats deep burial: the sprout has a fat kernel to feed on, but it still needs to push a heavy stone coat upward through loose mix.
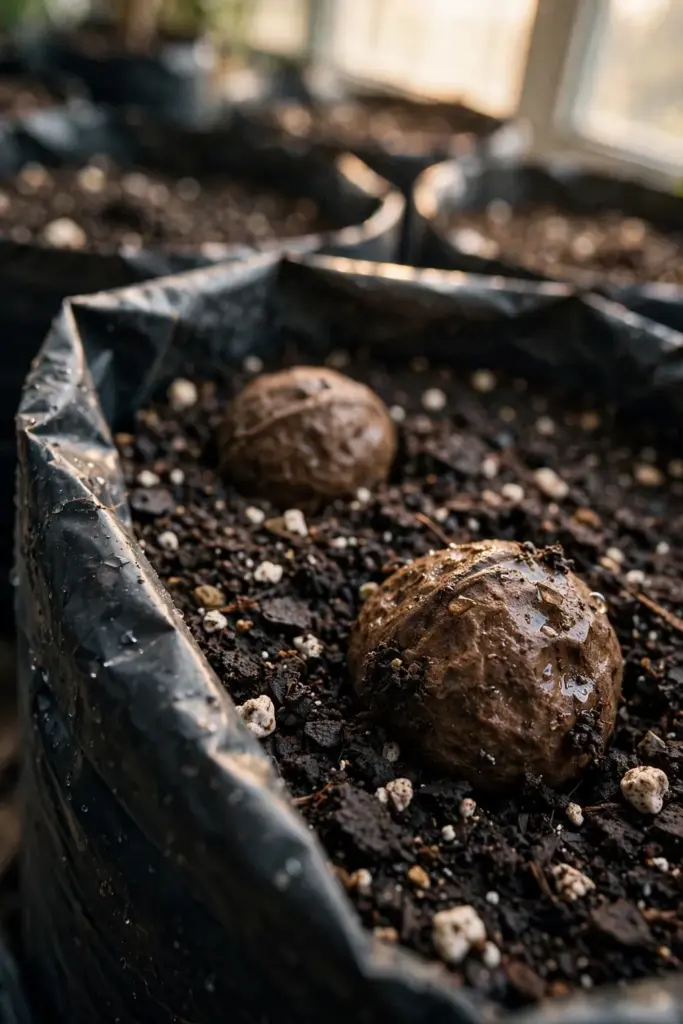
Time the sowing to the beginning of the rainy season. PROTA’s field guidance sets planting at the rains’ start, when soil moisture stays steady without you carrying water daily. Clear the seedbed of weeds first; young candlenut competes well with weeds once up, but a clean start shortens the vulnerable weeks.
Water the seedbed to settle the mix, then leave it alone except to keep it evenly moist. Digging up a stone to check progress is the classic beginner error: it breaks the emerging root tip and invites rot. Expect uneven timing across the bed. That is the shell’s doing, not yours. Mark the sowing date on each bag; most well-scarified stones break ground within two months of sowing.
7. Raise Seedlings With Drainage First, Water Second
Give seedlings sharp drainage and steady warmth, and water only when the top of the mix dries. Candlenut tolerates drought better than wet feet: the species profile lists drought tolerance alongside a hard ban on waterlogging. A seedling in soggy mix damps off at the soil line while its neighbor in gritty mix thrives.
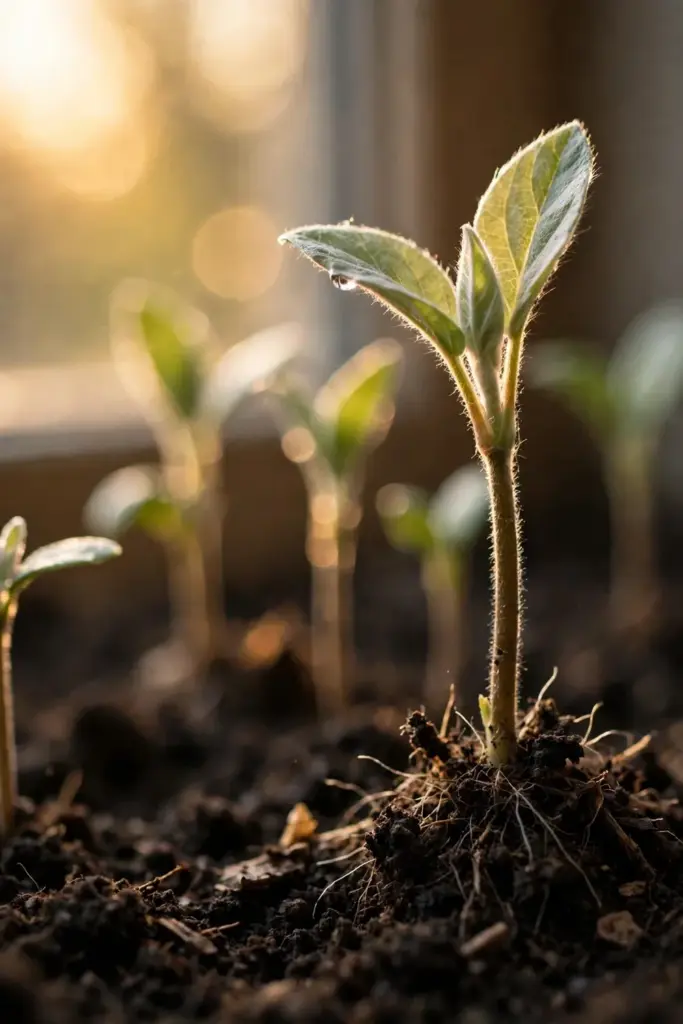
Use a free-draining nursery mix, coarse sand or perlite worked through it, in bags tall enough for the taproot. Shallow trays fail this tree. The taproot hits the tray floor, circles, and the transplant stalls for months, so use tall polythene nursery bags that let the root run straight down.
Seedlings grow fast once established. PROTA records growth up to 1.5 m per year under favorable conditions, and the Elevitch and Manner kukui profile gives a working band of 0.5 to 1.5 m per year. In the Philippines, measured trees reached 12.5 m with a 15 cm stem diameter 8 years after planting. A seedling that looks lazy in month two is usually building roots. The general seed starting steps cover the tray-to-bag routine if you want the full nursery method.
8. Set Transplants Out When the Rains Begin
Move seedlings to their final spots at the start of the rainy season, into holes at least twice as wide as the nursery bag. Keep the root ball intact and set the seedling at exactly its nursery depth. Deep planting buries the root collar, and the root collar is where this tree’s one serious disease strikes.
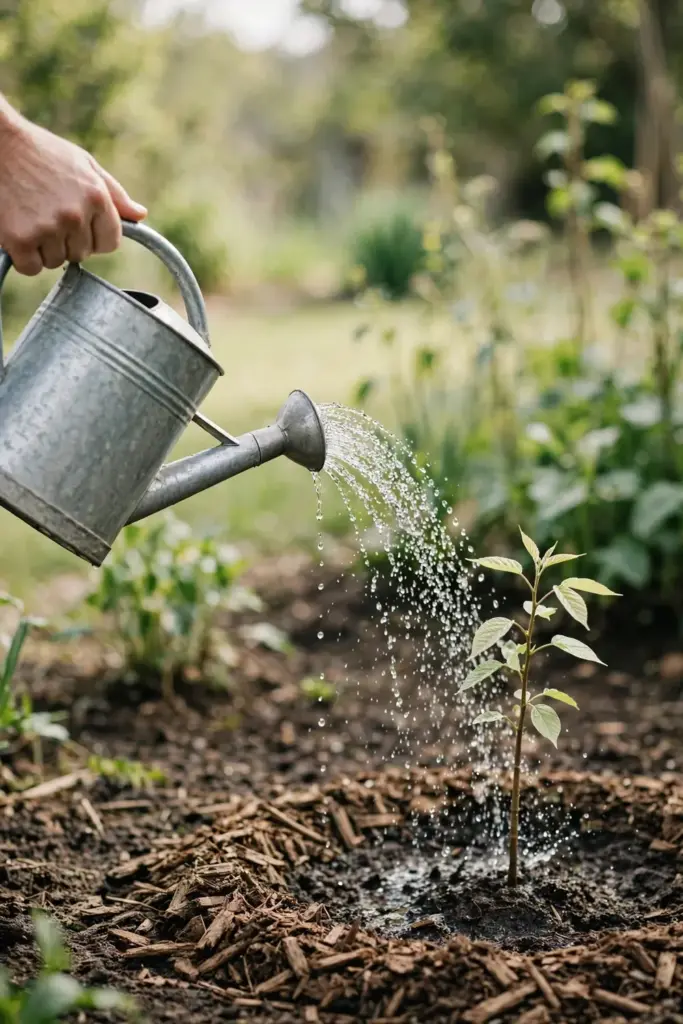
Water each transplant in hard, then mulch in a wide ring that stops 15 cm short of the stem. Mulch touching the trunk holds moisture against the bark and invites the very collar rot you are trying to avoid. The ring should reach the edge of the hole and a little beyond, holding soil moisture through the first dry spells.
Stake only if wind rocks the seedling. A loose figure-eight tie on a single stake, removed after one season, beats a rigid cage that the trunk grows around. Check the tie monthly in fast-growth months: a 1.5 m per year tree can swallow a forgotten tie by the second season. The method mirrors any direct-seeded tropical tree, and the guide to growing pawpaw from seed shows the same transplant discipline on a smaller tree.
9. Feed 1.5 Meters of Annual Growth Without Waterlogging
Established candlenut trees need little feeding; they drop leaves constantly and the old leaves rot fast, returning organic matter to the soil. PROTA’s management notes call established seedlings low-care for exactly this reason. Your job is mostly to avoid the two things the tree hates: standing water and compacted ground.
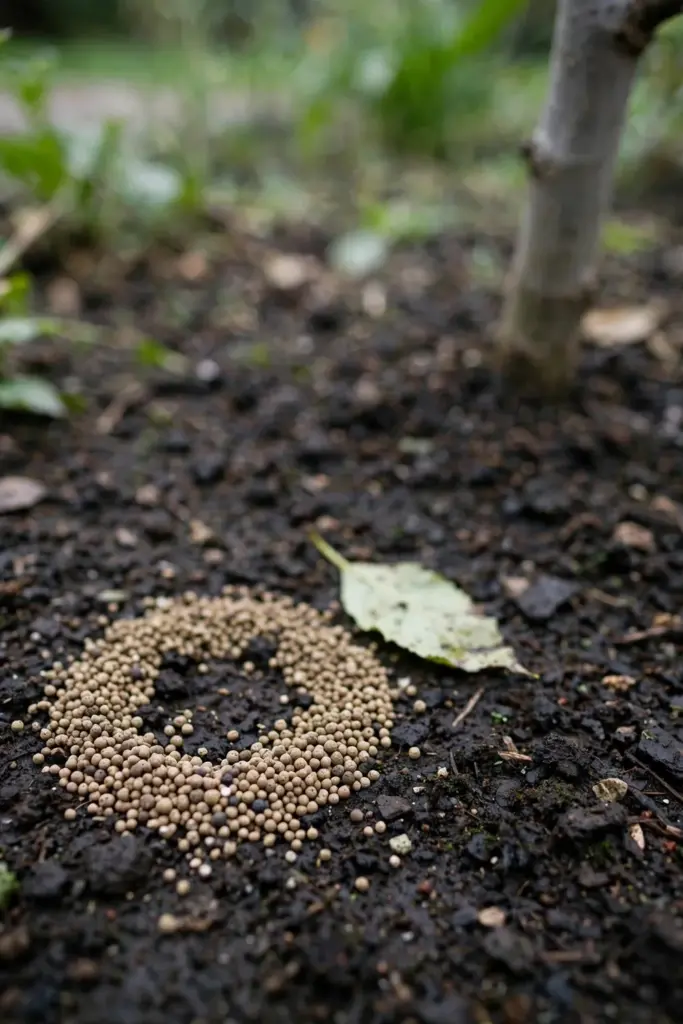
Young trees in poor soil get one light feeding per year, timed to the rains. Scatter a balanced granular fertilizer at the drip line, never against the trunk, and water it in. More fertilizer does not buy faster growth here; the tree already grows up to 1.5 m per year on decent soil, and excess nitrogen pushes soft, wind-snapped shoots.
Keep the root zone mulched and the drainage open. If a low spot puddles after rain, fix the grade or move the tree while it is young. A candlenut on a slight mound outperforms one in a basin every time, because the species evolved on well-drained slopes and coastal sands. The feeding rhythm matches other hungry tropical trees, and the notes on growing guava in a home garden show the same drip-line, mulch-ring approach.
10. Prune for a Strong Frame on a Tall Tree
Prune young candlenut for structure, not for size control: this tree will not stay small no matter how you cut it. In the first three years, select one strong central leader and remove competing upright shoots. A single-leader tree carries its 15 m crown on one trunk instead of splitting into weak forks.
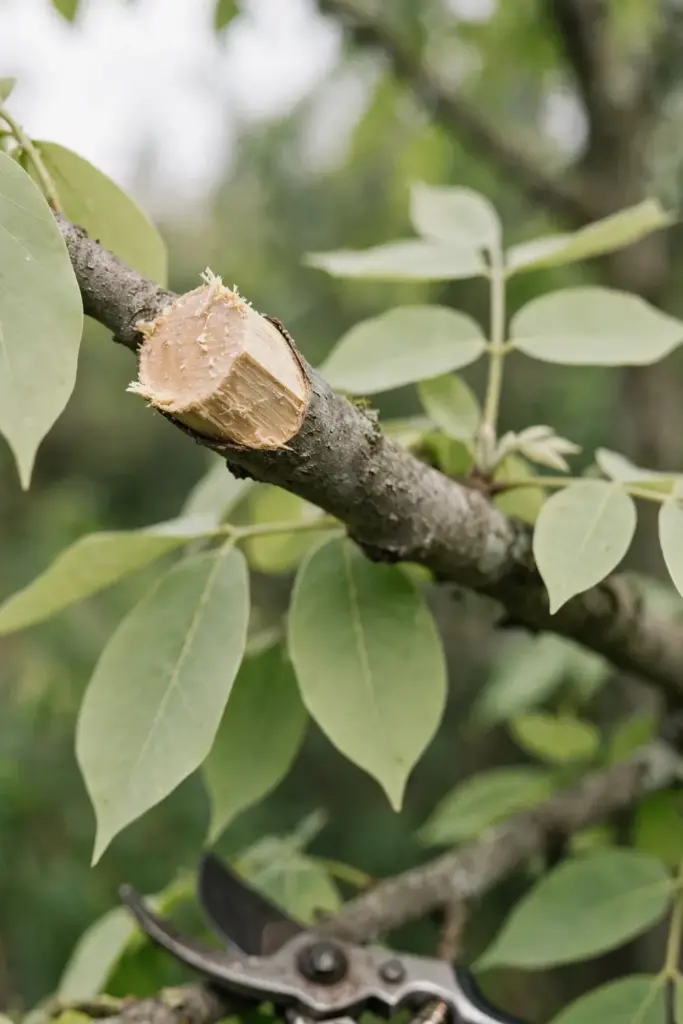
Remove dead, damaged, and crossing branches each year after the main fruiting flush. Cut back to the branch collar, never flush with the trunk, and never leave a stub. The wood is light and soft, so clean cuts with sharp secateurs heal faster than torn breaks from a storm.
Skip heading cuts that try to shrink the tree. Topping a candlenut produces a broom of weak regrowth at the cut, and PROTA notes the species coppices readily, which means cut stems resprout with a vengeance. Shape the frame early, then let the tree go up. A ladder and a pole pruner handle the reachable wood; anything higher belongs to an arborist.
11. Stop Ustulina Root-Collar Disease Before It Starts
The one disease worth naming is a root-collar rot caused by Ustulina deusta, observed on candlenut in Indonesia. It attacks where trunk meets soil, which is why planting depth and the mulch gap from the transplant step matter more than any spray. A seedling set too deep or mulched against the bark is an invitation.
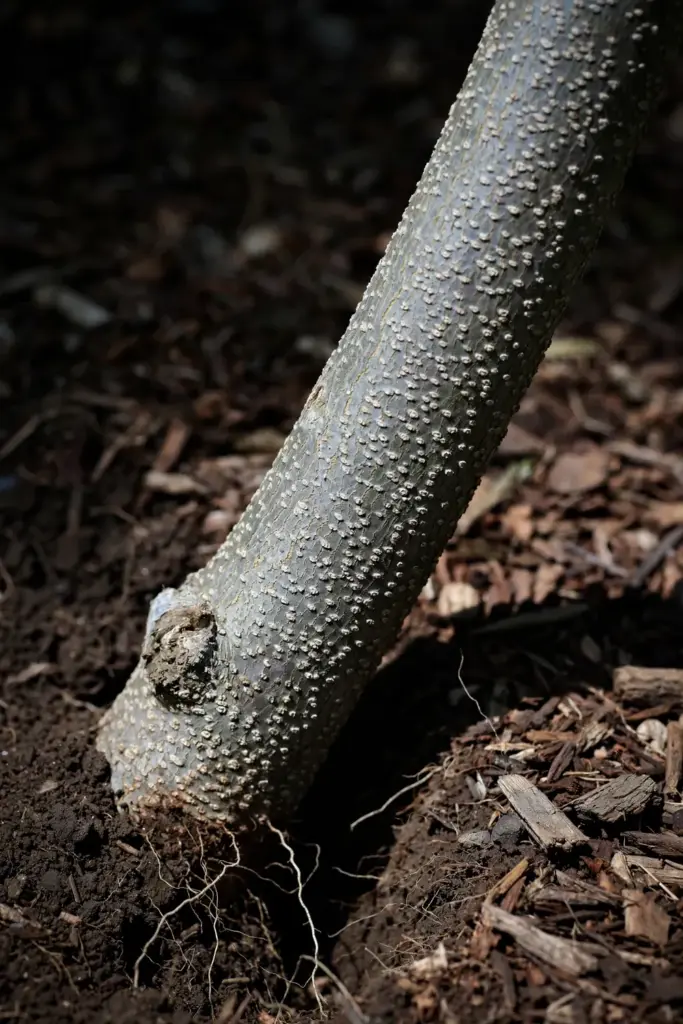
Botryodiplodia theobromae also shows up on candlenut wood, causing blue stain in the timber. That matters to a timber grower, not to a home nut tree; it does not threaten the kernels. PROTA’s pest assessment is blunt: no pests of economic importance occur on this species. Skip the preventive spray calendar. If a collar lesion appears, pull the mulch back and let the trunk dry in air. Pare away loose dead bark with a clean knife and do not paint the wound. Dryness does the healing.
Your real pest work is sanitation. Rake up fallen drupes you do not plan to harvest, because rotting fruit under the tree breeds the fungi that attack seedlings. Keep the mulch ring fresh and the trunk dry. A candlenut with air at its collar and drainage at its roots rarely needs anything stronger than secateurs.
12. Harvest Fallen Drupes and Sun-Dry Stones 5 to 10 Days
Let the fruits fall. PROTA’s harvest protocol is explicit: fruits are allowed to fall and lie on the ground until the outer fruit wall has decayed, after which the stones are collected. Picking unripe drupes off the tree gives you immature kernels with poor oil content.
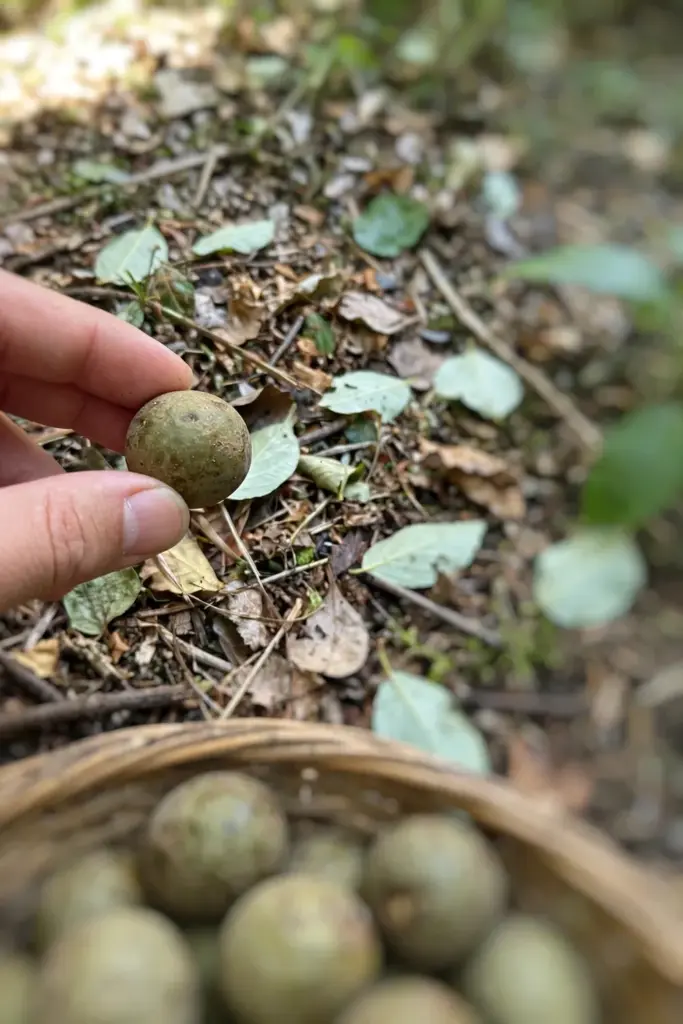
Gather the fallen stones every few days in season. Flowering can run year-round on a mature tree, with fruits of all stages present at once, so the harvest is a steady trickle rather than a single event. A cultivated tree can produce 80 kg of seed per year, per the Elevitch and Manner kukui profile, while PROTA’s wider estimate runs 25 to 150 kg of stones per tree per year.
Sun-dry the stones 5 to 10 days, then crack them mechanically for the best spice-quality kernels. PROTA rates sun-drying followed by mechanical cracking as the top method for spice seed. Crack over a hard surface with a hammer, one controlled tap: the shell is 65 to 70 percent of the stone’s weight), and the white oily kernel inside bruises easily. Store whole stones, not shelled kernels; stones keep over a year with no real change in oil, while kernels spoil fast.
13. Tell Candlenut From Macadamia at a Glance
Candlenut and macadamia share a creamy, high-fat kernel and a hard shell, but they are different genera in different plant families, and the kitchen rules are opposite. Learn the table once and you will never buy or plant the wrong nut again.
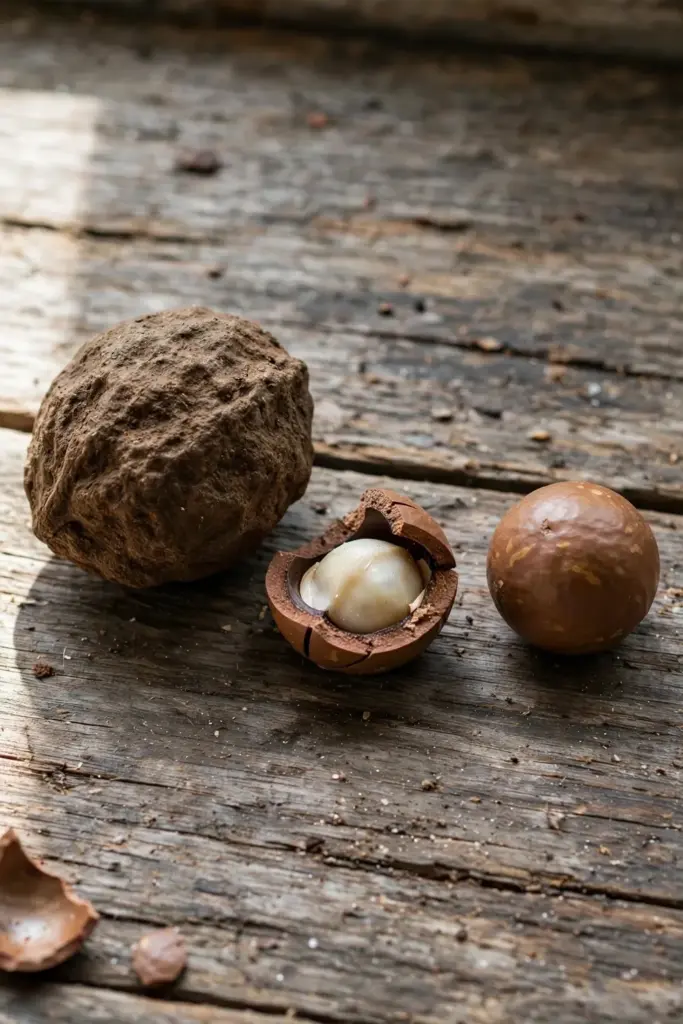
| Trait | Candlenut (Aleurites moluccanus) | Macadamia (Macadamia integrifolia / M. tetraphylla) |
|---|---|---|
| Plant family | Euphorbiaceae, the spurge family | Proteaceae, the protea family |
| Raw edibility | Mildly toxic raw (saponin, phorbol, toxalbumin); must be roasted or cooked | Eaten raw or cooked with no toxicity warning; PFAF lists the seed as raw-or-cooked |
| Flavor | Mild, slightly bitter, mainly a flavor enhancer in curries | Sweet, buttery, rich; PFAF calls it one of the finest dessert nuts |
| Kernel fat | 60 to 62 g per 100 g) of dry kernel | Up to 75 percent oil, the highest of any nut |
| Tree size | Typically 10 to 15 m in gardens, specimens reaching 40 m recorded | 10 m at a slow rate, to 15 m |
| Cold tolerance | No frost lasting several days) | Frost tender; hardy roughly in USDA zones 10 and 11 |
| Nut | Drupe 5 to 6 cm), hard shell 65 to 70 percent of stone weight | Woody rounded fruit 2 to 3.5 cm, very hard shell |
| Main kitchen use | Indonesian and Malaysian curries, Hawaiian inamona | Snacking, desserts, confectionery |
The practical takeaway is simple. If a recipe calls for candlenut and you substitute raw macadamia, the dish works: macadamia is the closest flavor match, mild and creamy. The reverse fails: raw candlenut in a macadamia recipe is a food-safety mistake. Check the botanical name on any seed packet before you sow, because nursery labels mix the two.
14. Keep Cold-Climate Trees in Pots or a Greenhouse
Outside the frost-free tropics and subtropics, how to grow candlenut becomes a container project with honest limits. A seedling starts fine in a large pot, but a 10 m tree does not live on a balcony. The workable cold-climate lanes are three: a heated greenhouse where the tree can reach small-tree size, a large pot on a patio that moves indoors before the first frost, or a bonsai pot.
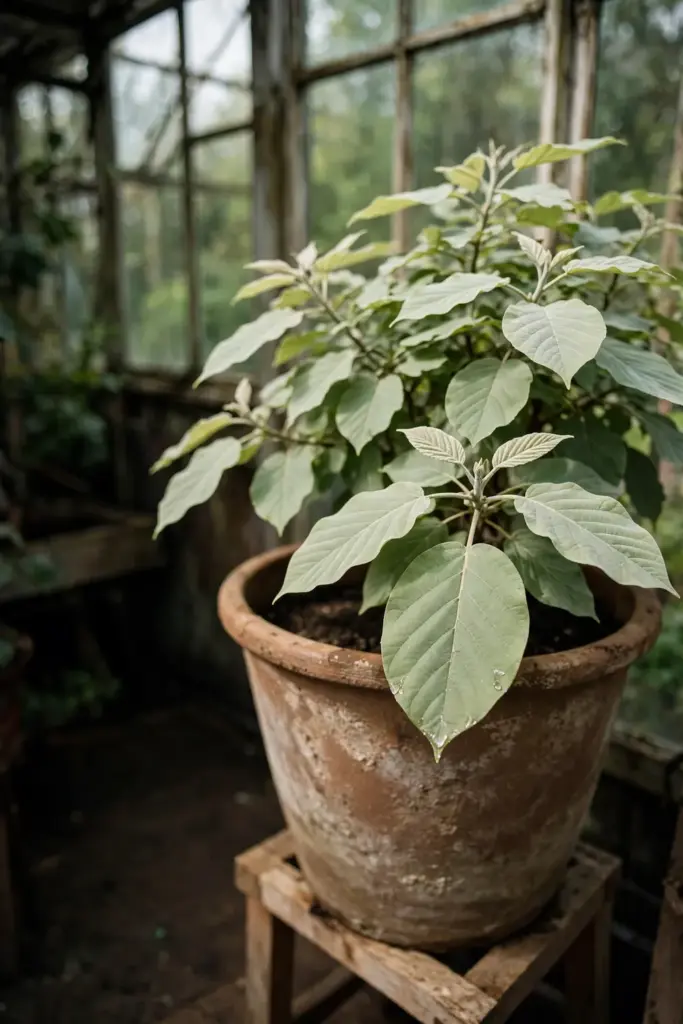
The greenhouse lane is the only one that can carry a tree to fruiting size. Give it the brightest bay, sharp drainage, and winter minimums well above freezing. The PROTA climate data sets the cold-month mean minimum at 8 to 13°C, which is your greenhouse thermostat target on the coldest nights.
The patio-pot lane is a foliage project. Use the largest pot you can move, at least 60 liters, with a gritty free-draining mix. Move it indoors before night temperatures approach freezing, and give it the brightest window plus supplemental light. Expect slow growth and no nuts. Root-prune every two to three years to keep the tree pot-bound and compact. Feed lightly in summer and flush the pot with plain water once a month to wash out accumulated salts; pot-bound trees show fertilizer burn fast. Accept the ceiling before you start: this lane grows an attractive tropical foliage tree, not a harvest.
15. Fix 7 Failures That Kill Young Candlenut Trees
Most dead candlenut seedlings trace back to one of seven mistakes, and every one is preventable. Run the list against your setup before you blame the seed.
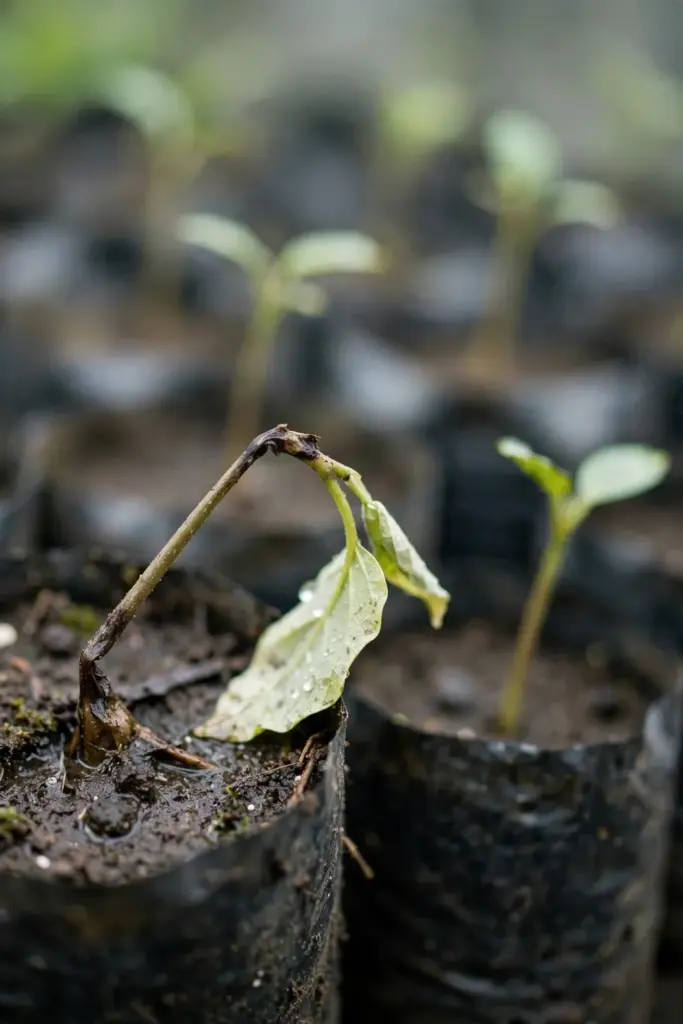
Buried root collar. Seedlings planted deeper than their nursery depth rot at the soil line. Replant at the right depth or start over.
Mulch volcano. Mulch piled against the trunk holds moisture on the bark. Pull it back 15 cm.
Waterlogged bag. Nursery mix without grit stays wet and the taproot rots. Repot into a sand-cut mix.
Unscarified seed. Untreated stones sit at 30 to 40 percent germination) and rot before they sprout. Scarify every stone.
Ground-collected seed sown dirty. Soil-borne fungi ride on fallen stones. Clean and dry them first, or buy graded seed.
Frost exposure. One hard freeze kills a young tree outright. Move pots in before the first frost date.
Starved light. Seedlings raised in deep shade stretch, weaken, and damp off. Full sun after the first true leaves is the rule; the species cannot grow in shade.
Frequently Asked Questions
No. Raw candlenut kernels are mildly toxic and act as a laxative, because the seed contains saponin, phorbol, and a toxalbumin similar to the compounds in castor bean. Always roast, toast, or cook the kernels before eating, and keep raw nuts sealed away from children and pets. The pressed kukui oil itself has no known toxicity.
A seed-grown candlenut tree first flowers at about 4 years old, and individual fruits need 3 to 4 months to develop and mature after flowering. Flowering can occur year-round on a mature tree, so harvest becomes a steady trickle rather than one season. Expect meaningful harvests from year 5 or 6 onward, with yields climbing as the canopy fills out.
Not as a fruiting tree. Candlenut is a 10 to 15 m tropical tree that needs full sun and frost-free conditions, so an indoor pot can only ever host a seedling or a pruned foliage plant. The honest cold-climate options are a heated greenhouse, a large patio pot moved indoors before frost, or a bonsai pot. All three need bright light and sharp drainage.
No. Candlenut is Aleurites moluccanus in the spurge family (Euphorbiaceae); macadamia is Macadamia integrifolia or M. tetraphylla in the protea family (Proteaceae). Candlenut kernels are mildly toxic raw and must be cooked, while macadamia nuts are eaten raw. Macadamia is sweeter and richer, with up to 75 percent oil, and it is the closest 1:1 substitute in recipes.
It can naturalize but is rarely a pest. The Elevitch agroforestry profile rates its invasive potential as moderate, noting it has naturalized in many tropical areas but is rarely considered a pest species. The tree spread across the Pacific with Polynesian voyagers centuries ago, long before modern plantings. Check local noxious-weed lists before planting near wild land.
Start Your Candlenut Tree With One Honest Decision
Decide where the adult tree will stand before you buy a single seed. If you have frost-free ground, full sun, and a 10 m circle to spare, how to grow candlenut is straightforward: scarify fresh stones, sow at the rains, and give the tree four years. If you do not have that ground, pick the greenhouse, the patio pot, or the bonsai tray, and pick it on purpose.
Source this season’s stones from a reputable seed vendor, heavy and uncracked, and scarify every one. The tree does the rest on its own schedule. Four years to first flowers is a long wait and a short apprenticeship for a tree that can feed a kitchen for decades.