
Those red dots on your photinia leaves are almost certainly Entomosporium leaf spot, and the honest news is that most cases look worse than they are. Light infections are cosmetic. Severe ones defoliate shrubs and demand a real plan. This entomosporium leaf spot treatment guide covers how to tell the difference, when to act, and the exact steps that work.
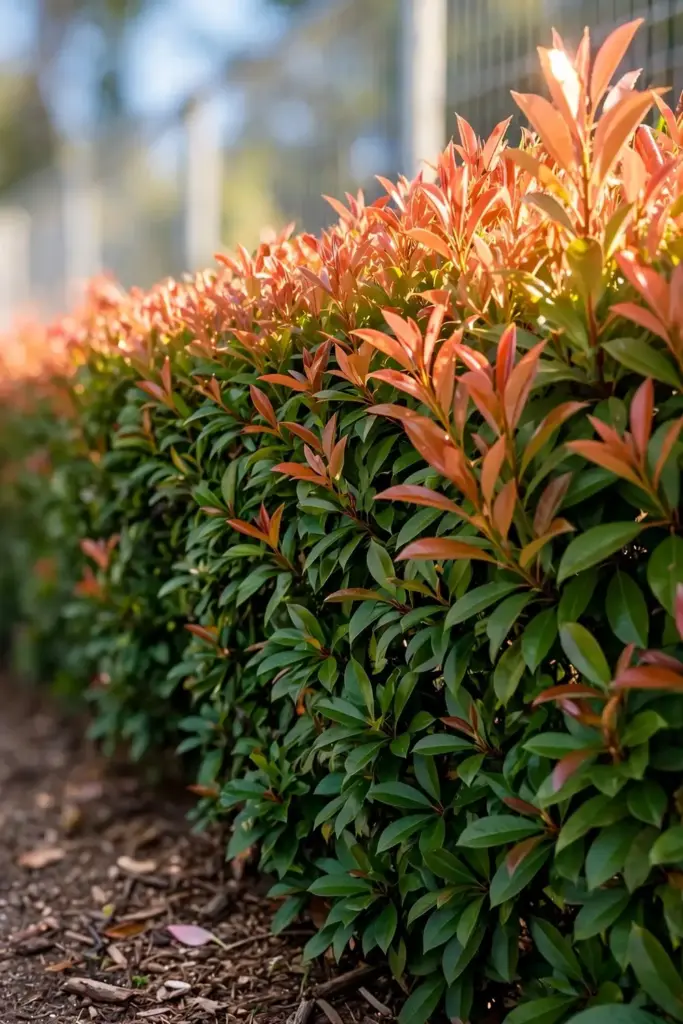
Red-tip photinia (Photinia x fraseri) anchors hedges across the American South, which is exactly why this disease feels so personal. When every shrub in the hedge starts spotting at once, it looks like the whole planting is dying. Usually it is not. But the shrubs that do decline do it fast, and the difference between the two outcomes comes down to what you do in the next few weeks. If thinning cuts are already on your mind, the spring pruning techniques guide pairs well with the canopy work in Step 3.
What Entomosporium Leaf Spot Actually Is
Entomosporium leaf spot is a fungal disease caused by Entomosporium maculatum (the sexual stage is called Diplocarpon maculatum), a true fungus in the Ascomycota group. It attacks the rose family, and its favorite victims in home landscapes are red-tip photinia, Indian hawthorn, loquat, flowering pear, and quince.
The fungus overwinters on infected twigs and on fallen infected leaves from the previous year, according to Tennessee Extension. In spring, spores splash from those twigs and leaves onto new growth during rain or overhead irrigation. High humidity, cool temperatures, and crowded plantings favor the disease. Container-grown plants get hit harder than landscape plants because the foliage stays wet longer and air moves less.
How to Identify Entomosporium Leaf Spot on Young Leaves
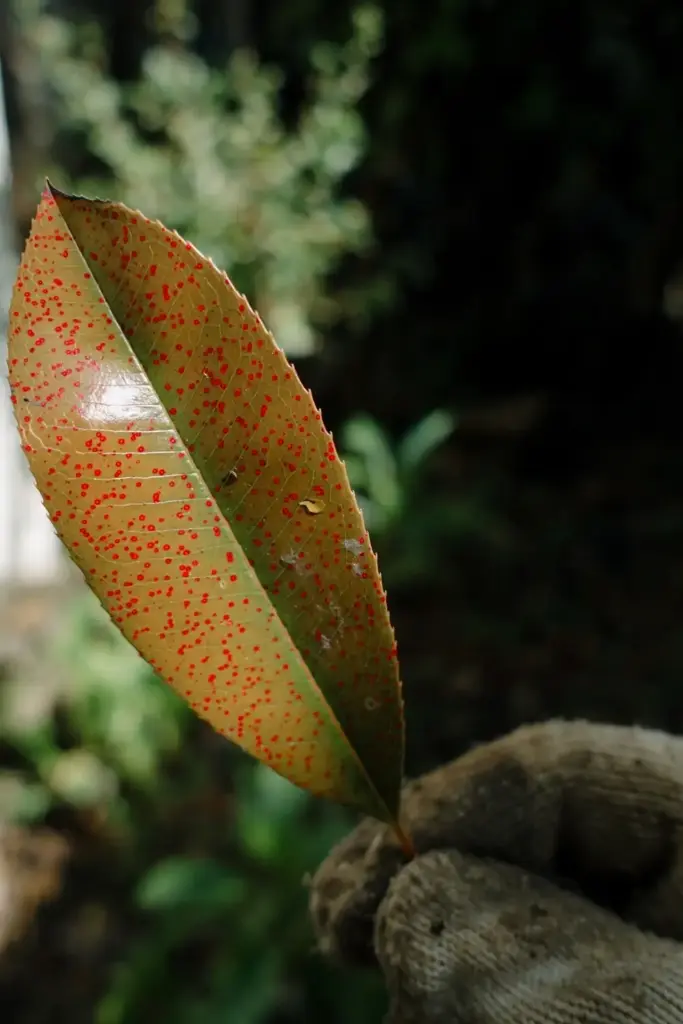
Young, expanding leaves show the first symptoms. Look for tiny circular bright red spots on both the upper and lower leaf surfaces. These spots appear in early spring as the new flush of growth emerges.
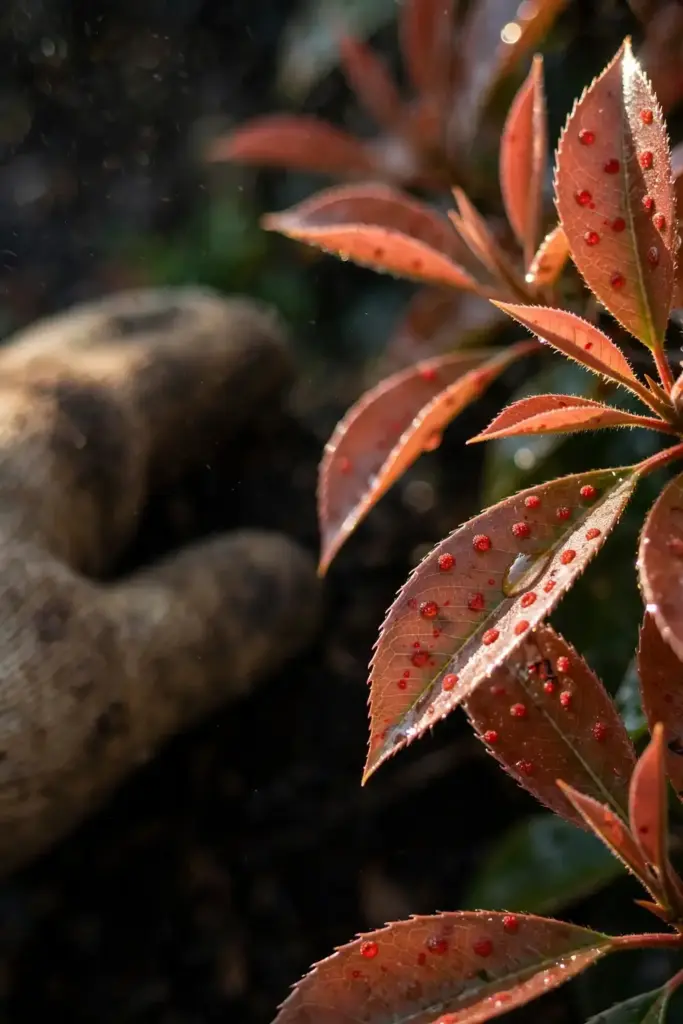
This is the stage that panics gardeners the most, because red-tip photinia pushes its new growth in a coppery-red flush and the red spots blend into the color. Get close. Healthy new photinia foliage is a uniform copper-red that matures to green. Entomosporium spots are distinct dots, slightly raised, scattered across the blade. If you see them on the lowest branches first, that fits the pattern. Infections typically start at the bottom of the plant and move upward during cool, rainy periods.
How to Identify Entomosporium Leaf Spot on Mature Leaves
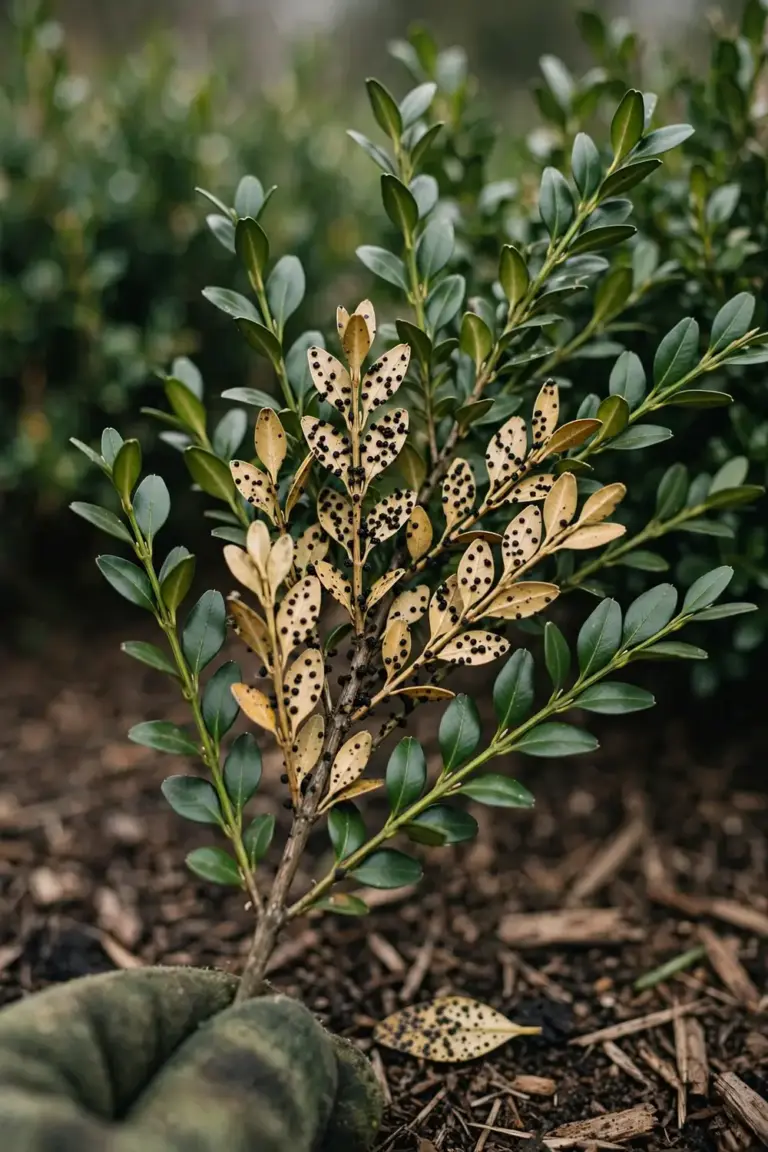
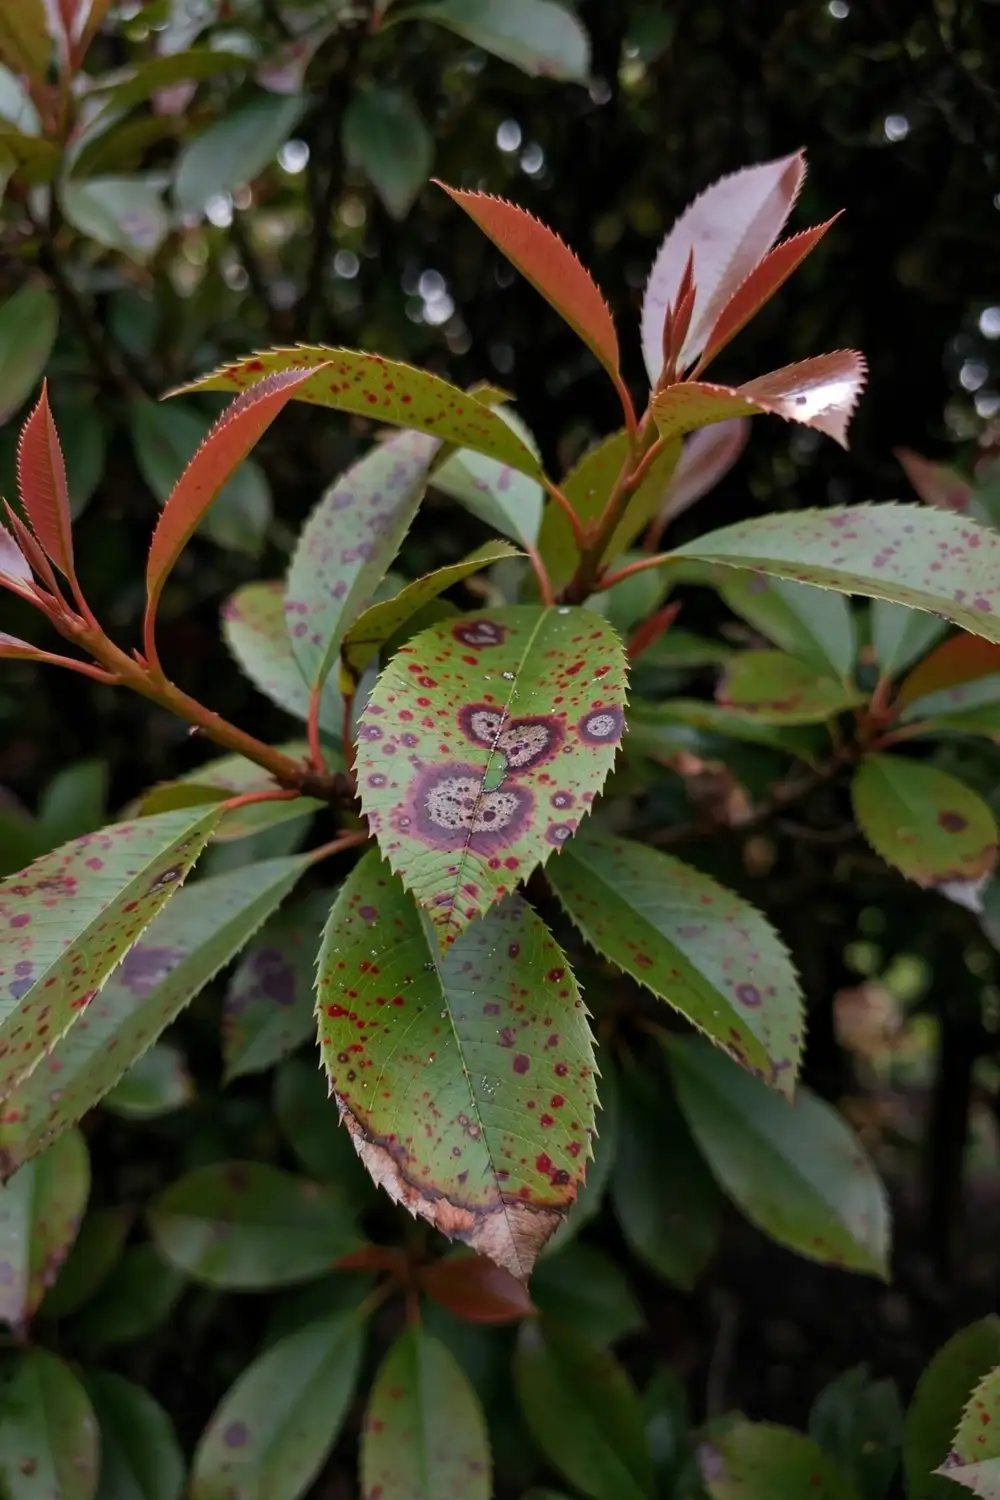
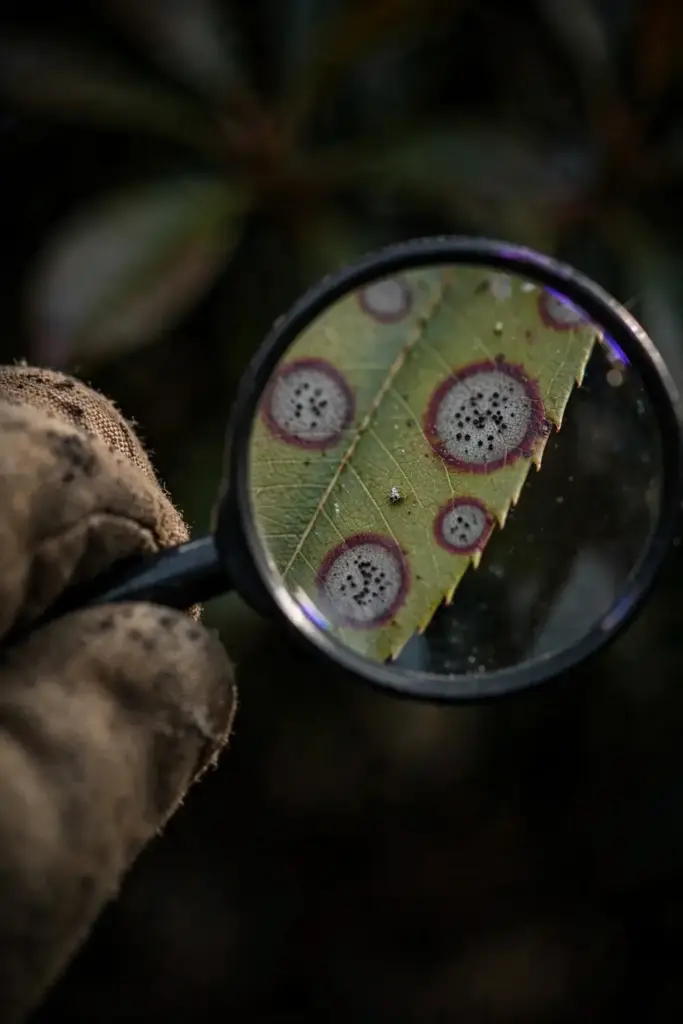
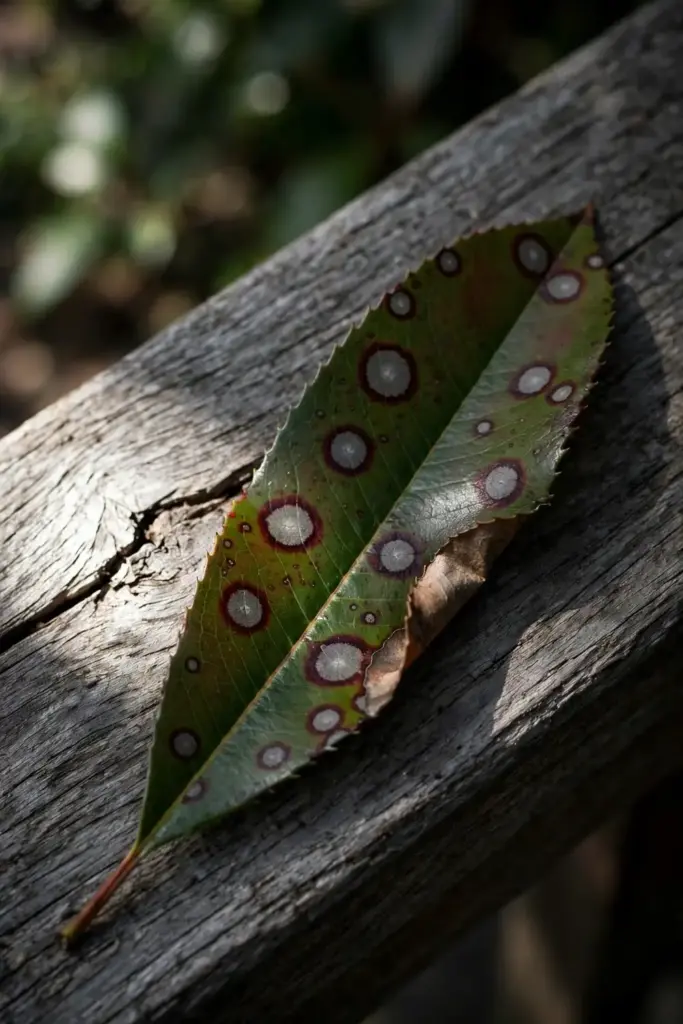
On mature leaves the spots change character. The centers turn ash brown to gray, and a distinctive deep red to maroon border forms around each spot. Auburn University’s plant pathology bulletin describes this two-tone look as the classic field mark.
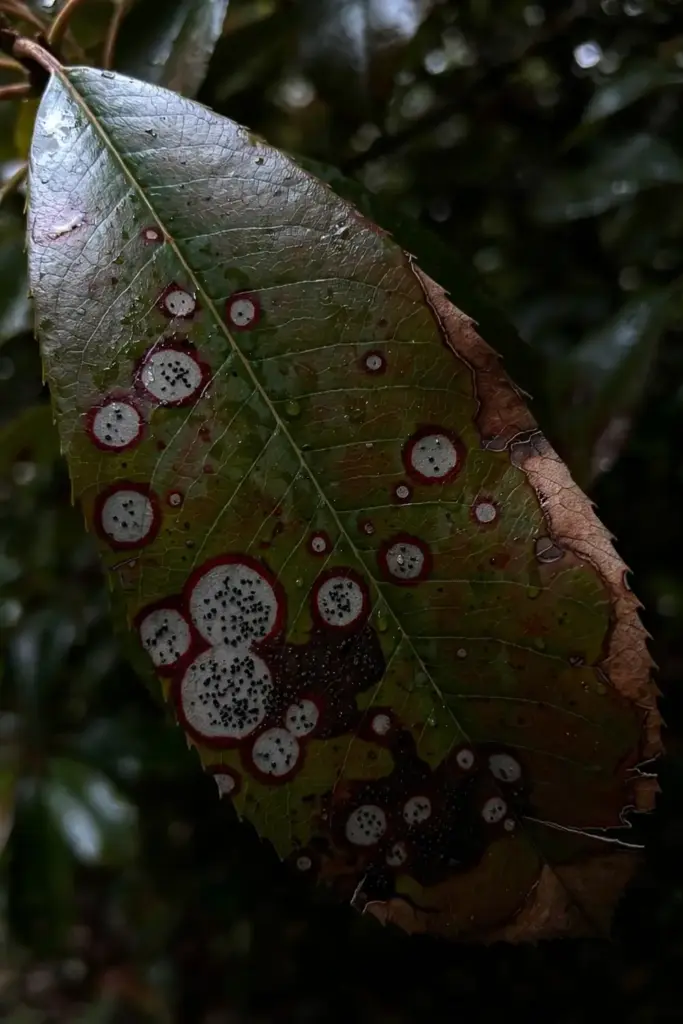
On heavily diseased photinia leaves, large purple to maroon blotches develop, much darker than the surrounding healthy tissue. When enough spots merge, the leaf yellows and drops. Severe infections cause heavy defoliation, slowed growth, and poor plant appearance. Light infections, by contrast, cause little more than cosmetic damage, and many shrubs carry a few spotted leaves all season without any real decline.
One more field mark worth knowing. The fruiting bodies of the fungus (Entomosporium mespili) form within the leaf spots themselves, visible as tiny dark specks inside the gray centers if you look with a hand lens.
Which Shrubs Get Hit Hardest
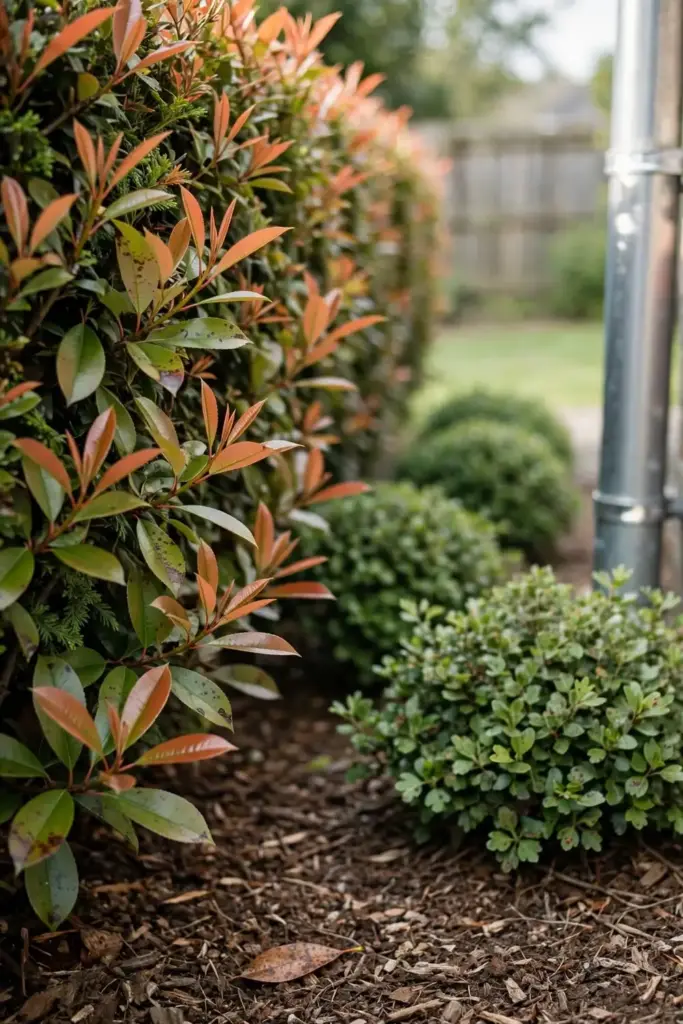
Red-tip photinia sits at the top of the susceptibility list by a wide margin. The hybrid (Photinia x fraseri) combines the worst traits for this disease: it flushes tender new growth repeatedly through the season, and every flush is a fresh target. Nurseries and landscapers in the South have largely discontinued planting red-tip photinia because of this disease.
Indian hawthorn (Rhaphiolepis indica) is the second major host, but here the story is better. Cultivars with documented resistance exist. LSU AgCenter’s plant pathologist recommends Eleanor Tabor and Spring Sonata as Indian hawthorn varieties with some resistance to leaf spot, with the honest caveat that resistance does not mean immunity.
Loquat, flowering pear, and quince round out the common landscape hosts. Chinese photinia and Japanese photinia tend to be less susceptible than red-tip photinia, which matters if you are choosing replacements.
The takeaway for your yard: if your red-tip photinia hedge is the problem, you are dealing with the most susceptible host in the landscape. That does not mean the shrubs are doomed. It means the management plan has to be real, not half-hearted. Walk the hedge in early spring and note which plants spot first. Those are your indicator plants. When their new flush stays clean through May, the whole hedge is winning.
Entomosporium vs Bacterial Leaf Spot vs Sunscald vs Phyllosticta
Four problems get confused on landscape shrubs, and the treatment differs for each. Use this table before you buy anything.
| Feature | Entomosporium leaf spot | Bacterial leaf spot | Sunscald | Phyllosticta leaf spot |
|---|---|---|---|---|
| Cause | Fungus (Entomosporium maculatum) | Bacteria (various) | Environmental (sun/heat) | Fungus (Phyllosticta spp.) |
| Spot look | Red dots on young leaves; gray centers with maroon borders on mature leaves | Water-soaked spots that turn brown/black, often with yellow halos | Bleached tan or white patches, papery | Tan spots with dark borders, black pycnidia dots |
| Pattern on plant | Starts low, moves up in wet weather | Often after storms or overhead watering | South/west facing leaves, after heat waves | Scattered, mostly cosmetic |
| Defoliation | Yes, in severe cases | Possible | Rare | Rare |
| Spreads plant to plant | Yes, by rain splash | Yes, by water splash and tools | No | Yes, but slowly |
| Fungicide helps | Yes, protectant sprays | No (bactericides differ) | No | Rarely warranted |
If your spots have the gray-center-with-maroon-border look and sit on photinia or Indian hawthorn, you are in Entomosporium territory. If you are sorting out a different leaf-spot disease on another shrub, the blossom blight guide covers a related disease with a similar prune-and-dispose rhythm.
Why Rain Splash Matters So Much
The single mechanism that drives this disease is splash dispersal. The fungus cannot fly. It waits on last year’s infected twigs and on fallen leaves under the shrub, and it moves when water droplets hit those surfaces and bounce spores onto new foliage.
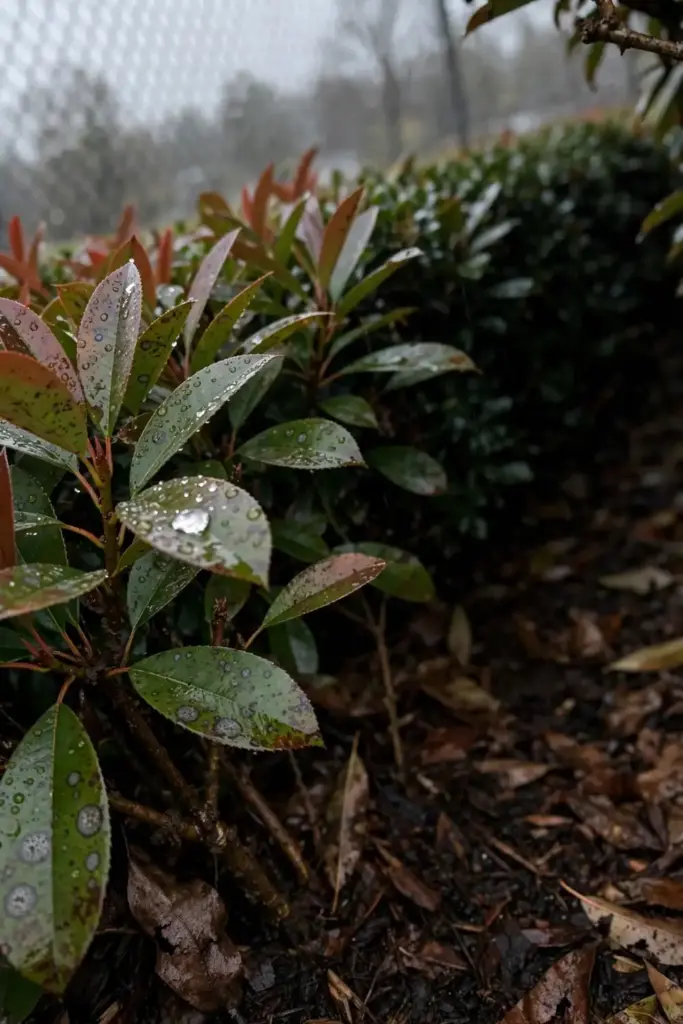
This is why overhead irrigation is the great accelerator of Entomosporium leaf spot, and why the disease explodes after rainy springs. Every sprinkler cycle that wets the foliage is a spore-delivery event. Every leaf that falls and rots under the shrub is next spring’s inoculum bank.
It also explains the most important management truth here: anything you do to keep foliage dry and remove the fallen-leaf reservoir attacks the disease at its mechanism. Sanitation is not busywork. It is the removal of next year’s infection source, and no entomosporium leaf spot treatment works without it. Sanitation is not busywork. It is the removal of next year’s infection source.
What Makes Entomosporium Worse in a Home Garden
Several common gardening habits make this disease worse, and most of them feel like good plant care.
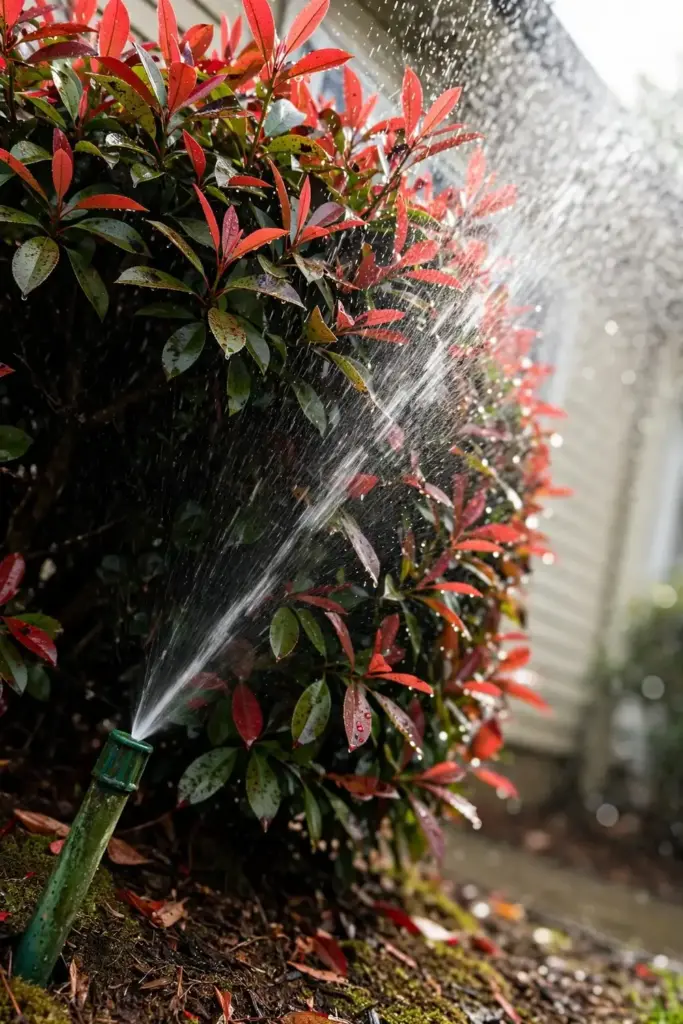
Overhead watering tops the list. Sprinklers that soak the foliage daily create the exact wet-leaf conditions the fungus needs. Dense planting is second. Hedges planted tight for fast privacy hold humidity in the canopy and slow drying. Summer pruning is third. Cutting photinia in summer forces a flush of succulent new growth at the hottest, most humid point of the season, which is prime infection material. Overfertilization does the same thing through a different route: excess nitrogen pushes soft, tender growth that the fungus colonizes easily.
Container plants deserve a special mention. Tennessee Extension notes that container-grown photinias are more likely to be damaged than field-grown or landscape plants, because pots restrict airflow and overhead watering in nurseries and on patios keeps foliage wet.
The pattern is clear. Everything that keeps leaves wet or produces flushes of tender growth feeds the disease. Everything that dries foliage and hardens growth starves it.
Step 1: Decide Whether Treatment Is Actually Worth It
This is the honest cost-benefit call, and it comes first because most Entomosporium infections do not deserve a spray program.
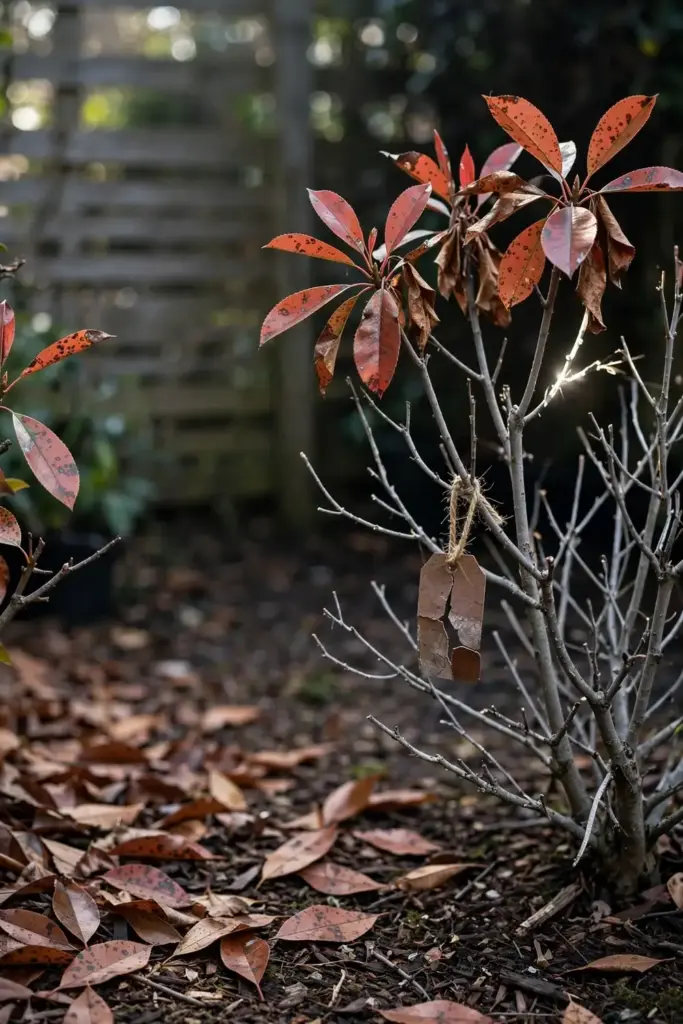
If your shrub has scattered spots but holds its leaves, grows normally, and looks acceptable from the sidewalk, treatment is optional. Sanitation and watering changes (Steps 2 through 4) are enough. The disease is cosmetic at this level, and a full fungicide program costs money and time for a visual problem.
If your shrub is dropping leaves heavily, pushing weak new growth, or declining year over year, treatment is warranted. Repeated defoliation exhausts the plant’s energy reserves, and a shrub that defoliates three springs in a row is a shrub in real trouble.
If one shrub in a hedge is severely infected while its neighbors are clean, consider the nuclear option honestly. Arkansas Extension states it plainly: it may be necessary to remove severely infected plants and replace them with a less susceptible species. Treating a single hopeless shrub while it rains spores onto the rest of the hedge is the worst of both worlds.
Make the call now, because the steps below split on it. Steps 2 through 4 apply to everyone. Steps 5 and 6 are for shrubs that earned them.
Step 2: Strip the Infected Leaves
Sanitation is the highest-return step in this entire guide, and it costs nothing.
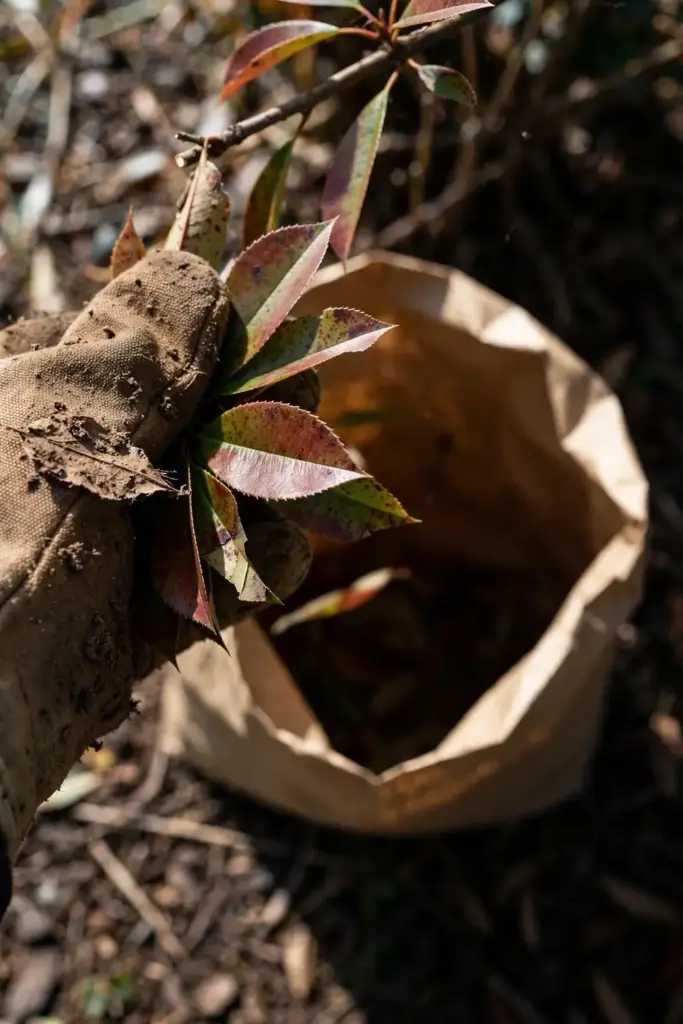
Rake up and destroy every fallen diseased leaf under and around the shrub. Do not compost them. Home compost piles do not get hot enough to kill the fungus reliably, so composting returns the inoculum to the garden. Bag the leaves and dispose of them with household trash, or burn them where local rules allow.
Pick off badly spotted leaves still hanging on the shrub, especially on the lower branches where infections start. This is tedious on a large hedge, so prioritize the worst branches and the ground cleanup. The ground cleanup matters more, because fallen leaves are the overwintering reservoir that feeds spring infections.
Disinfect your pruners and rakes between shrubs if you are working a hedge. A quick wipe with alcohol or a 10 percent bleach dip prevents you from carrying spores from the sickest plant to the healthiest one.
Step 3: Open the Canopy for Airflow
Crowded canopies stay wet, and wet canopies breed Entomosporium. Selective thinning is the fix.
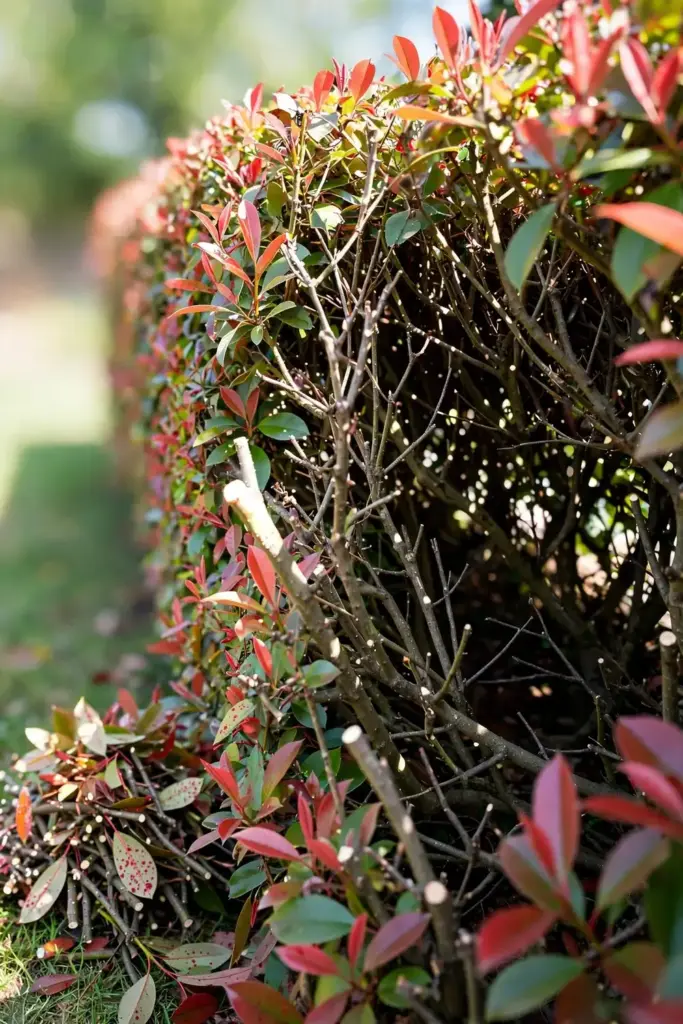
Prune out crossing branches and thin the interior so air moves through the shrub and sunlight reaches the inner foliage. You are not shearing the hedge into a shape. You are removing enough interior wood that a breeze passes through. On an overgrown photinia hedge, this can mean removing a third of the interior growth over two seasons.
Time this work for dry weather, and avoid heavy summer pruning. Summer cuts force the flush of succulent growth that the fungus loves, so keep summer pruning light and do structural thinning in late winter or early spring before bud break. Clean up every cutting the same day. Do not leave pruned branches on the ground under the shrub.
If the hedge was planted too tight for its mature size, accept that spacing is part of the disease problem. No amount of spraying fixes a hedge whose canopies touch and never dry.
Step 4: Change How You Water
This step alone can break the disease cycle in mild cases.
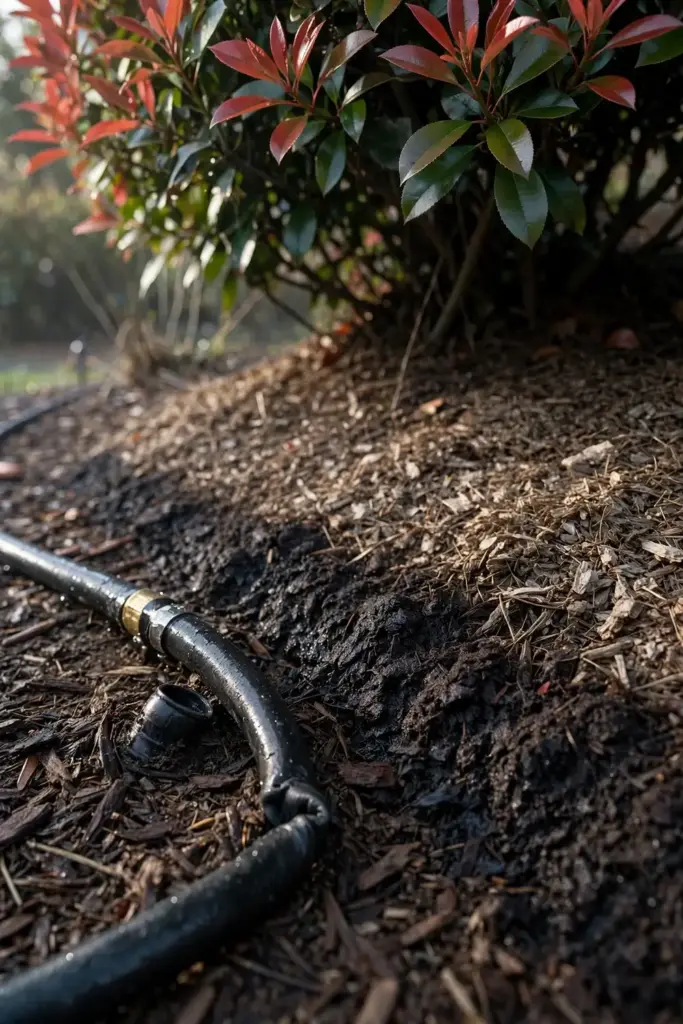
Stop wetting the foliage. If you run sprinklers, redirect them, switch to drip irrigation, or water at the base with a soaker hose. The goal is dry leaves and moist roots. If you must use sprinklers, water early in the morning so foliage dries quickly as the day warms.
Water deeply and less often rather than shallowly and daily. Deep, infrequent watering encourages deep roots and keeps the surface (and the fallen-leaf layer) drier between waterings. Let the top inch or two of soil dry before watering again.
Check your irrigation timer the way you would check a smoke detector. Systems drift. A zone that used to run 15 minutes now runs 25, or a head that used to miss the hedge now soaks it. One misaimed sprinkler head can undo a season of good sanitation.
Step 5: Spray at the Right Time, or Not at All
Here is the fungicide truth that product labels bury: sprays protect new growth. They never heal spotted leaves. A leaf with Entomosporium spots keeps those spots until it drops. Anyone selling you a curative spray for spotted leaves is selling fiction.
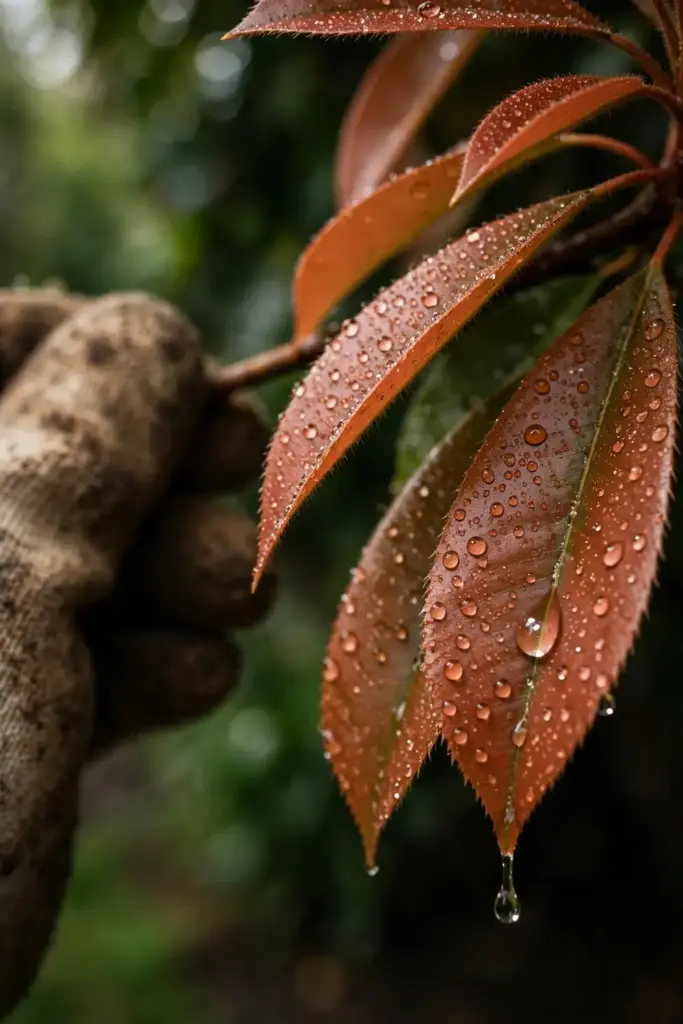
That said, protectant fungicides work when they are timed to the disease cycle. The program that Arkansas Extension outlines is the standard: begin applications at bud break in early spring, when the first new leaves emerge, and repeat every 10 to 14 days until all new foliage has matured. Multiple applications are necessary. When intervals stretch beyond two weeks, control drops sharply.
Active ingredients with documented efficacy include chlorothalonil, myclobutanil, propiconazole, triforine, and triadimefon. These are the names to look for on the label, not brand names. Buy the smallest container that covers your shrubs, mix exactly per the label, and spray all leaf surfaces to the point of light runoff.
Two honest limits. First, a homeowner spray program is real work: a full season of 10 to 14 day intervals from bud break through leaf maturity. If you will not maintain the schedule, do not start it. Sporadic spraying wastes money and selects for nothing useful. Second, this program protects the current season’s growth. It does not erase the overwintering inoculum, which is why Steps 2 through 4 are non-negotiable companions.
Organic options exist but carry honest limits too. Copper-based products have shown poor efficacy against this specific fungus in published trials, so do not assume copper is the gentle equivalent. Neem oil is not a meaningful Entomosporium treatment. If you want to stay synthetic-free, put your effort into Steps 2 through 4 and Step 7 instead.
One practical note on application. Whatever product you choose, coverage decides the outcome. The spray must coat both leaf surfaces to the point of light runoff, because unsprayed leaf tissue is unprotected tissue. A pump sprayer with a fan nozzle beats a hose-end sprayer for this work on shrubs under eight feet. For taller hedges, a professional with proper equipment is the honest call; drenching the tops from a ladder with a hand pump leaves the upper canopy half protected.
Step 6: Feed Less, Not More
Fertilizer is not medicine for a sick shrub. It is fuel for the fungus’s favorite food: soft new growth.
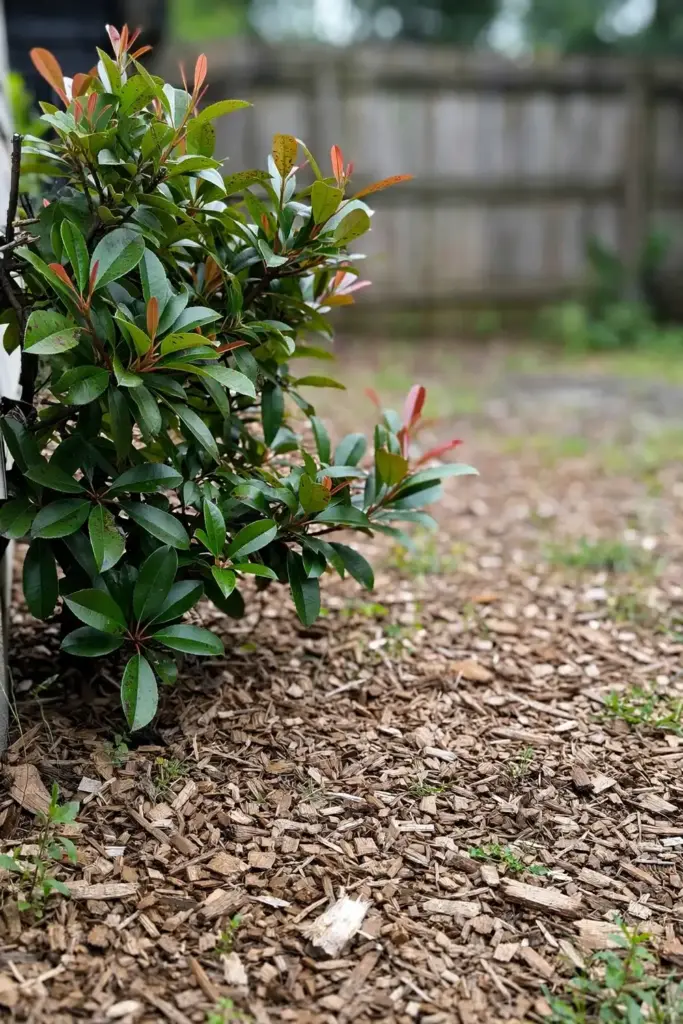
Skip the heavy spring feeding on an infected photinia. If the shrub genuinely needs nutrition (pale leaves, weak growth unrelated to the disease), use a slow, modest feeding and keep nitrogen restrained. Arkansas Extension specifically warns against overfertilization because it stimulates the soft, succulent growth that favors disease development.
The same logic applies to watering, which Step 4 covered, and to pruning, which Step 3 covered. Every input that pushes tender growth during the cool, wet infection window is an input the fungus thanks you for. A slightly hungry shrub with hardened foliage resists Entomosporium better than a pampered one pushing soft growth.
Step 7: Plan the Long Game
Some red-tip photinias will not be saved, and the honest long game accepts that.
There are currently no resistant selections of red-tip photinia. That is the finding across extension sources, stated plainly. If your hedge has fought this disease for years and keeps declining, the durable answer is replacement, not another spray season. Less susceptible options include Chinese photinia and Japanese photinia, which show notably less disease than the red-tip hybrid, or a different evergreen shrub entirely.
For Indian hawthorn, the outlook is brighter. Resistant cultivars exist, and planting them is the single best long-term move. LSU AgCenter names Eleanor Tabor and Spring Sonata as Indian hawthorn varieties with documented leaf spot resistance. Resistance is not immunity, but it changes the disease from a management burden to an occasional cosmetic issue.
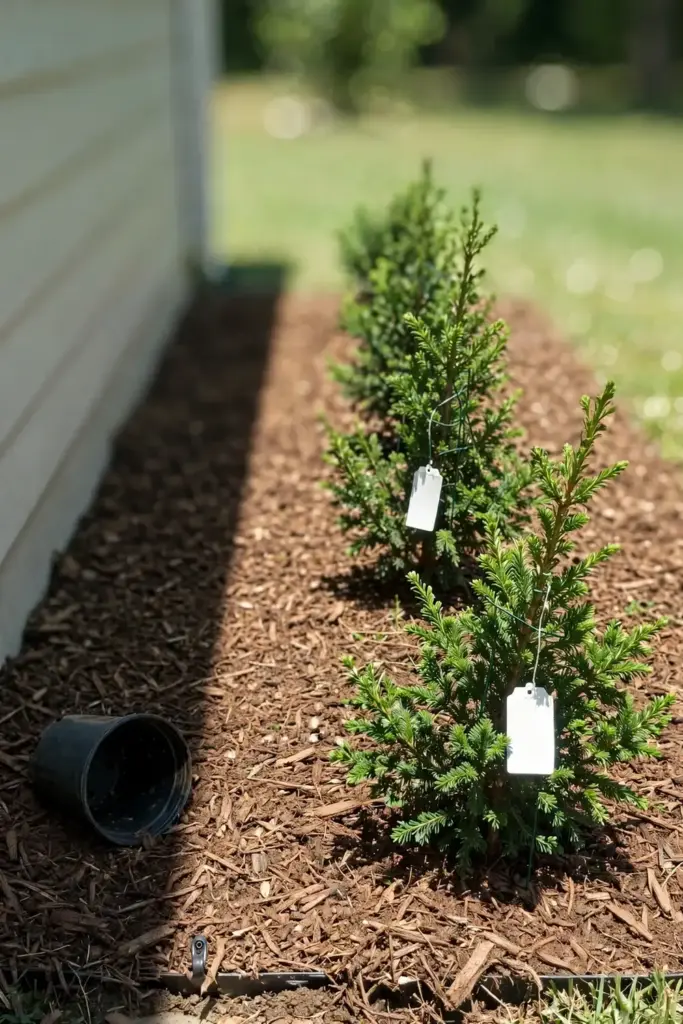
When you replant, plant for airflow from day one. Space shrubs at their mature width, not their nursery-pot width. Buy only plants with no leaf symptoms, because you do not want to import the disease with the new shrub. If you need help choosing replacements, the bushes to plant in fall guide covers shrub selection, and planting shrubs in fall covers spacing and soil prep for getting new plantings off to a clean start.
Living With a Photinia That Already Dropped Its Leaves
If you are reading this in summer and your photinia is half bare, here is the situation. The dropped leaves are gone and will not come back. The shrub’s energy went into the growth it just lost. What matters now is what the shrub does next.
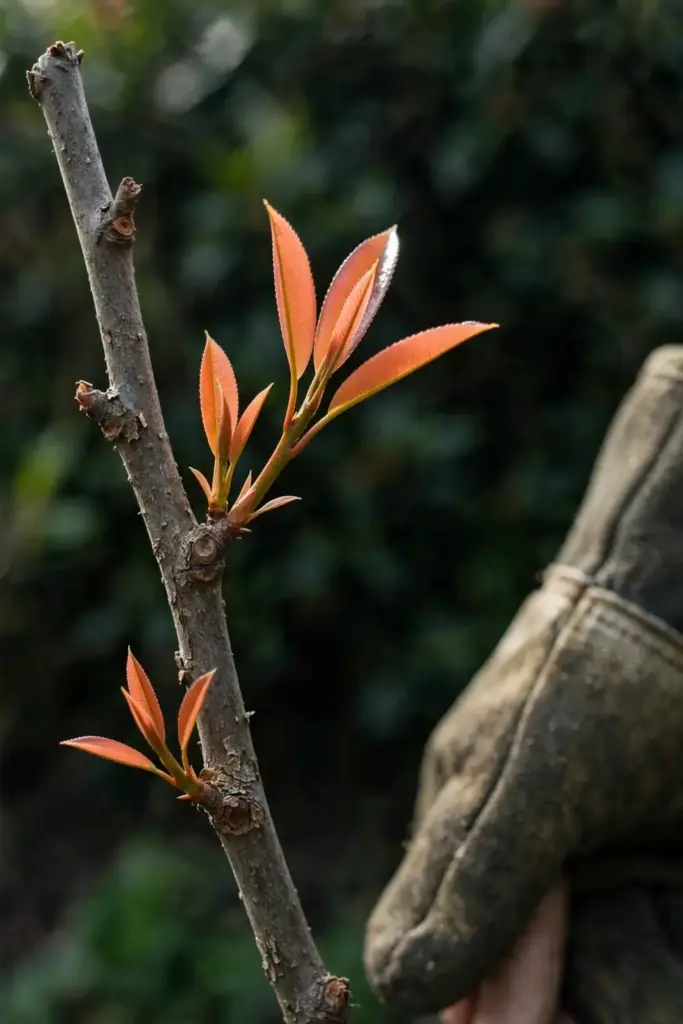
Do not panic-prune a defoliated shrub in summer heat. Light shaping is fine, but heavy cutting now forces tender growth into the worst disease window. Keep watering at the base, keep the ground clean of fallen leaves, and let the shrub rebuild on its own schedule.
Watch the next flush of growth. If it emerges clean and holds, the shrub is recovering and your sanitation is working. If the new flush spots immediately and drops again, you are looking at a shrub that has lost the fight, and Step 1’s nuclear option deserves a second look.
Next spring is the real test. Begin the Step 5 spray program at bud break only if the shrub earned it this year, and keep up Steps 2 through 4 regardless. A photinia that defoliates two springs running is telling you something. Listen the second time.
Frequently Asked Questions
Yes, if the defoliation has not repeated for multiple seasons. Shrubs recover by pushing clean new growth once the infection pressure drops, which is what sanitation and dry foliage achieve. A shrub that has defoliated three or more springs in a row has depleted its energy reserves and rarely recovers fully. At that point, replacement with a less susceptible species is the honest answer, not another year of treatment.
The active ingredients with extension-documented efficacy are chlorothalonil, myclobutanil, propiconazole, triforine, and triadimefon, applied as protectant sprays beginning at bud break and repeated every 10 to 14 days until new foliage matures. No brand is the answer; the active ingredient and the schedule are. Sprays protect new leaves only and never heal spotted ones, so pair every spray program with sanitation.
The best treatment is a combination, not a product. Remove and destroy fallen leaves, open the canopy for airflow, stop overhead watering, and spray protectant fungicide on schedule from bud break if the infection is severe. Any single measure alone underperforms. Sanitation plus dry foliage does most of the work; fungicide protects the new growth that sanitation cannot reach in time.
It can, but usually it does not kill quickly. Light infections are cosmetic. Repeated severe defoliation over several seasons weakens the shrub, slows growth, and opens it to secondary problems. Death typically comes from exhaustion after years of leaf loss, not from a single bad spring. The shrubs most at risk are ones that defoliate heavily every year with no management.
Yes. Pick off badly spotted leaves and, more importantly, rake up and destroy all fallen diseased leaves. Do not compost them; home compost does not reliably kill the fungus. Bag them for trash or burn where allowed. Fallen leaves are the overwintering reservoir that feeds next spring’s infections, so ground cleanup matters more than picking leaves off the shrub.
No. Extension sources are consistent on this point: there are currently no resistant selections of red-tip photinia (Photinia x fraseri). Chinese and Japanese photinias are less susceptible, and Indian hawthorn has resistant cultivars including Eleanor Tabor and Spring Sonata. If your red-tip hedge keeps declining despite real management, replacing it with a less susceptible species is the durable fix.
Where to Go From Here
Entomosporium leaf spot treatment comes down to a short list. Decide honestly whether your shrub’s case deserves treatment or just cleanup. Strip the fallen leaves and destroy them. Open the canopy. Keep water off the foliage. Spray on schedule from bud break only if the infection earned it, using a labeled active ingredient. Feed modestly. And plan the long game, because no spray program beats planting the right shrub in the right spacing.
Start this week with Steps 2 through 4, before the next rain. They cost nothing, they attack the disease at its mechanism, and they work whether or not you ever pick up a sprayer. Your photinia’s next spring depends on what you do with this fall’s fallen leaves.