
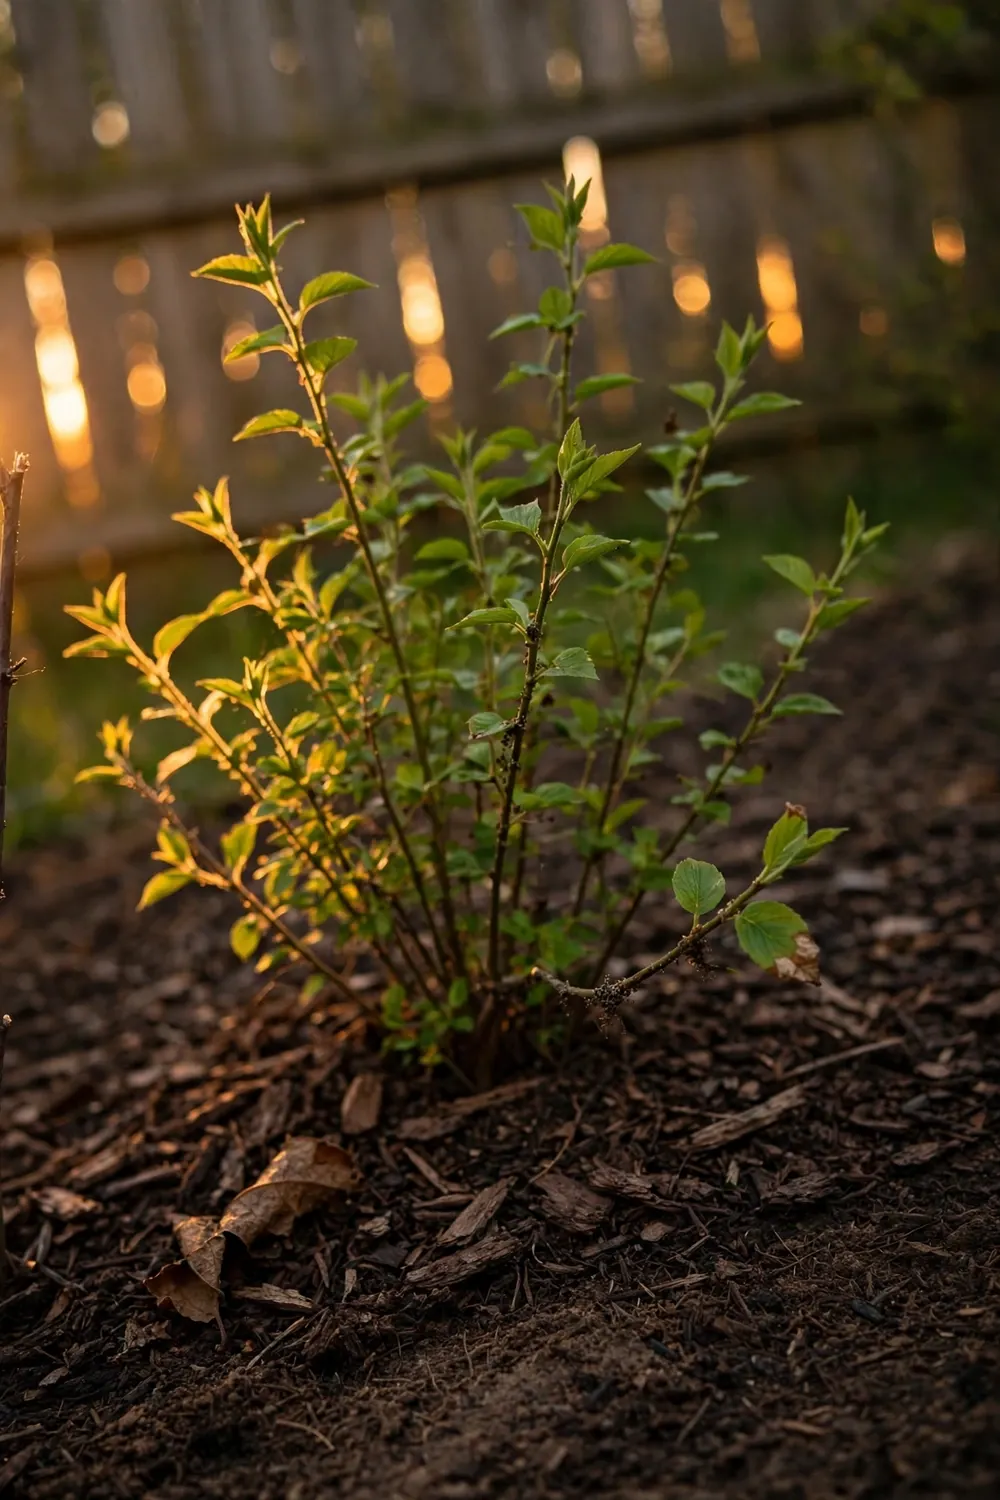

Plant shrubs in fall at least 6 weeks before the ground freezes and they spend the cool months building roots instead of fighting summer heat. That is the whole advantage of fall planting. Miss the window and the shrub heads into winter with a thin root system and little stored energy.
The job is mechanical, not mysterious. Dig the hole wide, set the plant at the right depth, backfill with the soil you removed, water deeply, and mulch. Gardeners lose more shrubs to planting too deep than to any other single mistake. Get the depth right and the rest is straightforward.
Here are the 12 steps in order, from timing the planting to protecting the shrub through its first winter. If you do not know your cutoff date yet, the frost-date math in when to start fall garden walks through finding it.
Fall Shrub Planting at a Glance
| Decision | The number | Zone note |
|---|---|---|
| Planting window | 6+ weeks before the ground freezes | Zones 2 to 6 finish by mid to late October; zone 7 by mid-November; zones 8 and warmer into December |
| Hole width | At least 2x the root ball diameter | Wider still on compacted soil |
| Hole depth | Same as the root ball height, no deeper | Set the ball on undisturbed soil so it cannot settle |
| Planting depth | Root flare at or slightly above grade | The most common fatal mistake is planting too deep |
| Mulch | 2 to 3 inches deep, band 3x the root ball | Keep mulch off the stems; no volcano piles |
| Water | About 1 inch per week until the ground freezes | Deep soakings beat daily sprinkles |
| Staking | Remove after one growing season | Stake only if the plant cannot stand on its own |
| Fertilizer at planting | None | Feed in spring, not fall |
1. Time It: Finish Six Weeks Before the Ground Freezes
West Virginia University Extension’s fall planting guidance puts the rule plainly: planting should be done about two months, and a minimum of six weeks, before the first average frost date, which gives plants enough time to repair and develop new roots before the ground freezes. Roots keep growing at soil temperatures as low as 45 and even 42 degrees, so a shrub planted in September still has weeks of quiet underground work ahead of it. That is why fall beats spring for most shrubs. A fall-planted shrub wakes up in spring with roots already in place, while a spring-planted one must build roots and survive summer heat in the same season.
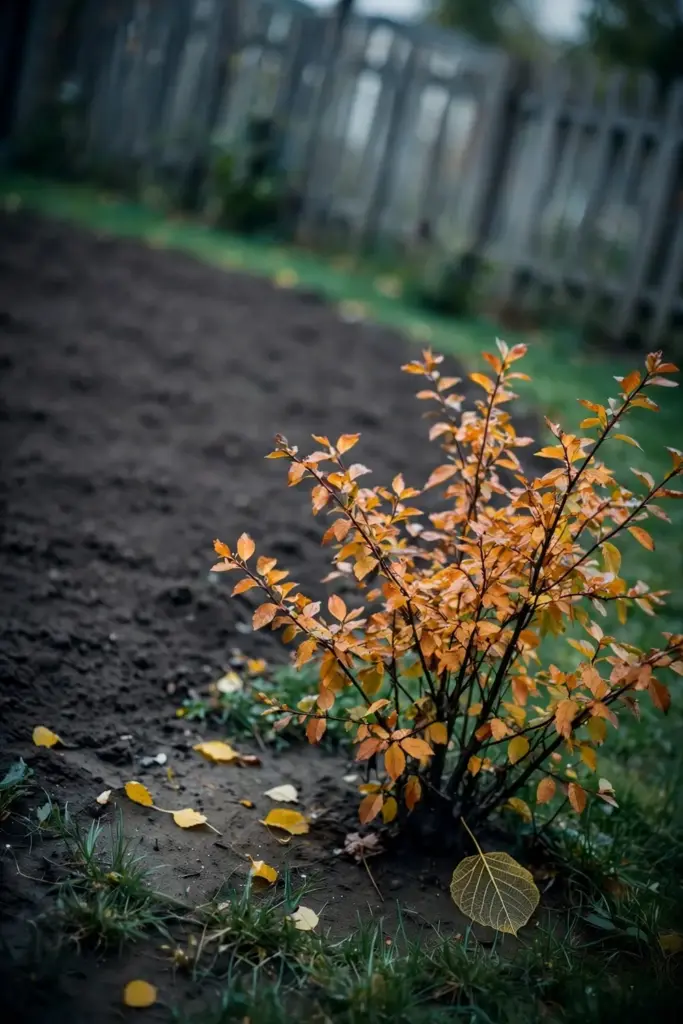
Count backward from your average first frost, not from the calendar page. In zones 2 through 6, that usually means finishing by mid to late October. Zone 7 runs to mid-November, and zones 8 and warmer can plant into December where the ground never freezes solid. Evergreen shrubs go in earliest. Their foliage loses water all winter, so they need the longest establishment runway.
2. Pick the Site Before You Dig
A shrub lives in its spot for decades, so the site decision outranks every other step. Match the mature size to the space, not the nursery pot. A shrub tagged 6 feet wide will reach 6 feet wide, and one planted 2 feet from the foundation becomes a pruning chore within five years. Read the tag, pace out the mature width on the ground, and dig where the full-grown plant fits.
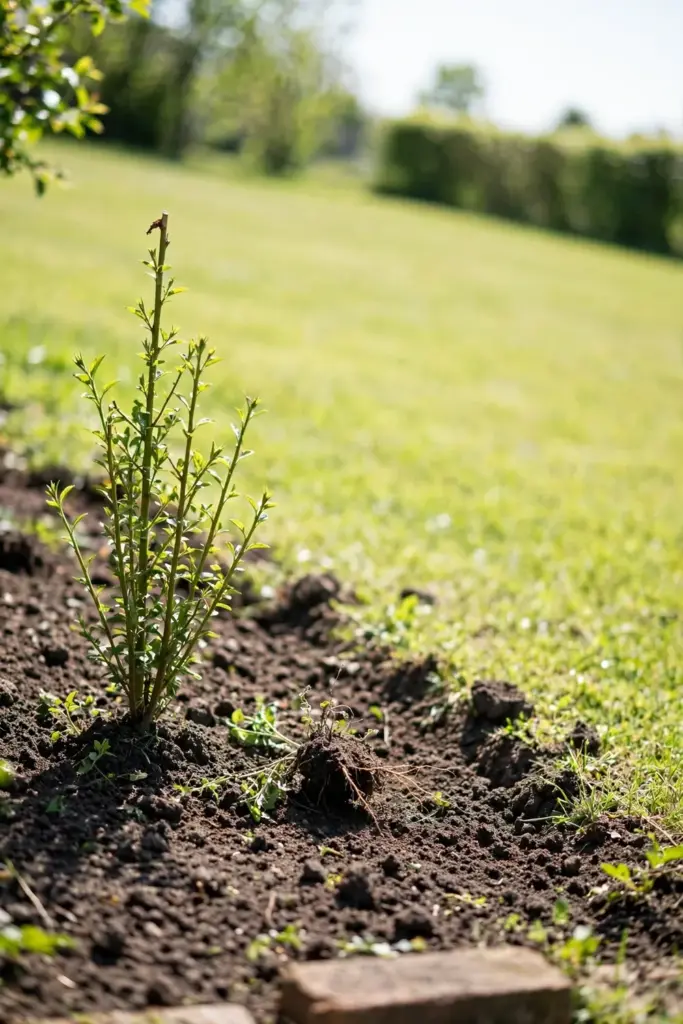
Check the light and the drainage while you are at it. Most flowering shrubs want full sun. Drainage matters more than fertility. Dig a test hole, fill it with water, and watch. If it drains within a few hours, the site works. If water stands overnight, pick a higher spot or build a berm. If you have not chosen the shrub yet, the shrubs to plant in fall guide matches picks to sun, size, and zone.
3. Dig the Hole Wide, Not Deep
This is the step most gardeners get backward. Mississippi State Extension’s planting guide says to dig the planting hole at least twice as wide as the diameter of the root ball, with the edges cut at a 45-degree angle rather than straight down. Wide matters because roots grow outward, not down. A narrow deep hole traps roots in a soil column they never leave. A wide shallow bowl invites them into the surrounding ground.
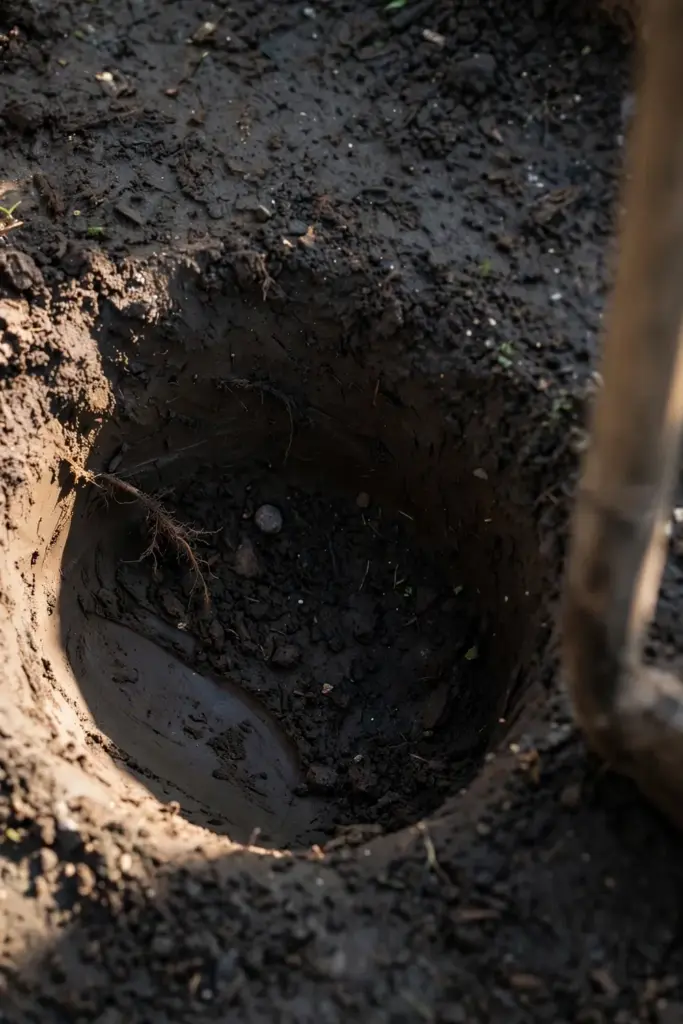
Depth is the critical measurement. Dig the hole no deeper than the root ball height, and set the ball on undisturbed soil at the bottom. Loose soil underneath settles after watering, and the shrub sinks with it. A shrub that settles two inches too deep can suffocate slowly over several seasons. On compacted sites, dig wider still to give roots loosened ground to colonize.
4. Free the Roots From the Pot
Container-grown shrubs often arrive with roots circling the pot wall. Left alone, those circling roots keep circling after planting and can eventually girdle the plant. Pull the shrub from the pot and inspect the root ball. Tease the outer roots loose with your fingers. For a badly pot-bound plant, make three or four vertical cuts about an inch deep down the sides of the ball with a clean knife, from top to bottom. The cuts look brutal. They redirect the roots outward, which is exactly what the shrub needs.
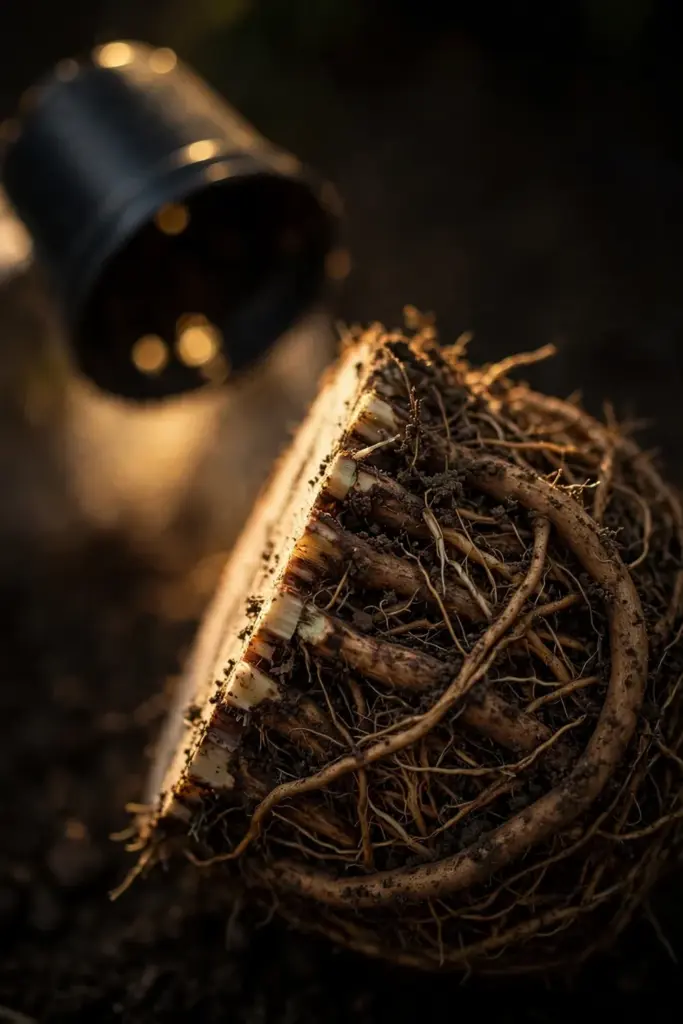
Handle the shrub by the root ball, never by the stems. Lift from below, lower it into the hole, and keep the stems out of the carrying equation. A cracked stem at planting time is a wound the shrub carries into winter.
5. Unwrap Burlap and Wire the Right Way
Balled-and-burlapped shrubs need a different unwrapping routine. Set the ball in the hole first, then deal with the wrapping. Cut away all twine and strapping, since anything left circling the trunk or crown can girdle the plant as it grows. Peel back the top third of the burlap and fold it down into the hole. If the burlap is natural and untreated, the buried portion rots away on its own. Synthetic burlap does not rot, so remove as much of it as you can without breaking the ball apart.
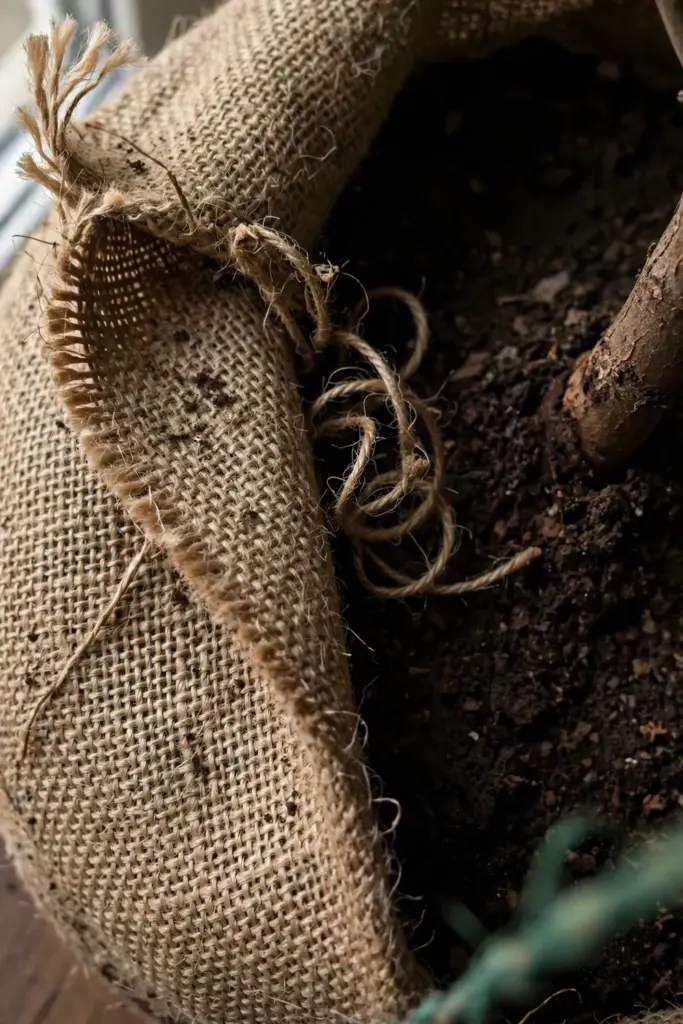
Wire baskets follow the same logic. Cut away the top rings of wire once the plant is positioned. If the ball is stable enough, remove the whole basket. The goal is simple. Nothing non-biodegradable stays wrapped around the roots or the crown.
6. Set the Depth: Root Flare at Grade
Find the root flare before the shrub goes in. That is the spot where the trunk widens into the first structural roots, and on a properly grown shrub it sits at or just below the soil surface of the root ball. Nursery soil sometimes buries it an inch or two deep, so brush the top of the ball until you see the flare. Set the shrub so the flare sits level with the surrounding grade, or a touch higher in heavy clay where settling is likely.
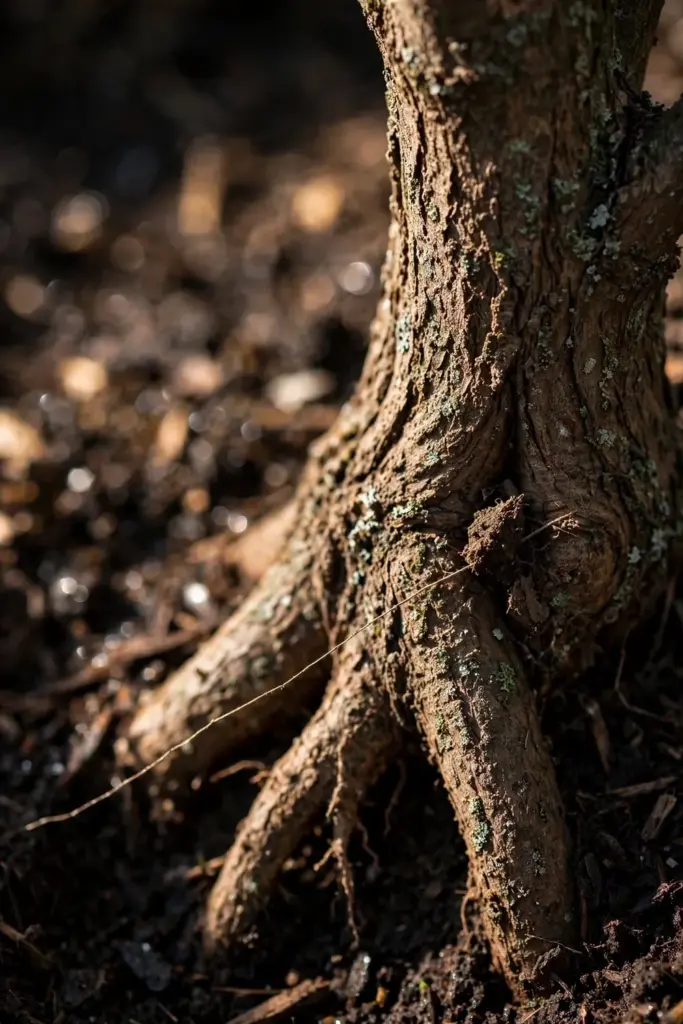
Stand back and sight along the ground line from several angles. A shrub planted proud by half an inch is fine. A shrub planted deep by half an inch starts a slow decline. This single measurement decides more outcomes than any fertilizer or pruning cut you will ever make.
7. Backfill With the Soil You Removed
Fill the hole with the native soil that came out of it. Mississippi State Extension warns against over-amending: young plants eventually send roots beyond the planting hole, and a pocket of rich amended soil surrounded by native ground teaches roots to stay inside the comfortable zone instead of colonizing outward. If your soil is heavy clay, the extension recommendation is organic matter such as pine bark or leaf mold worked into the surrounding area, not a rich pocket in the hole itself.
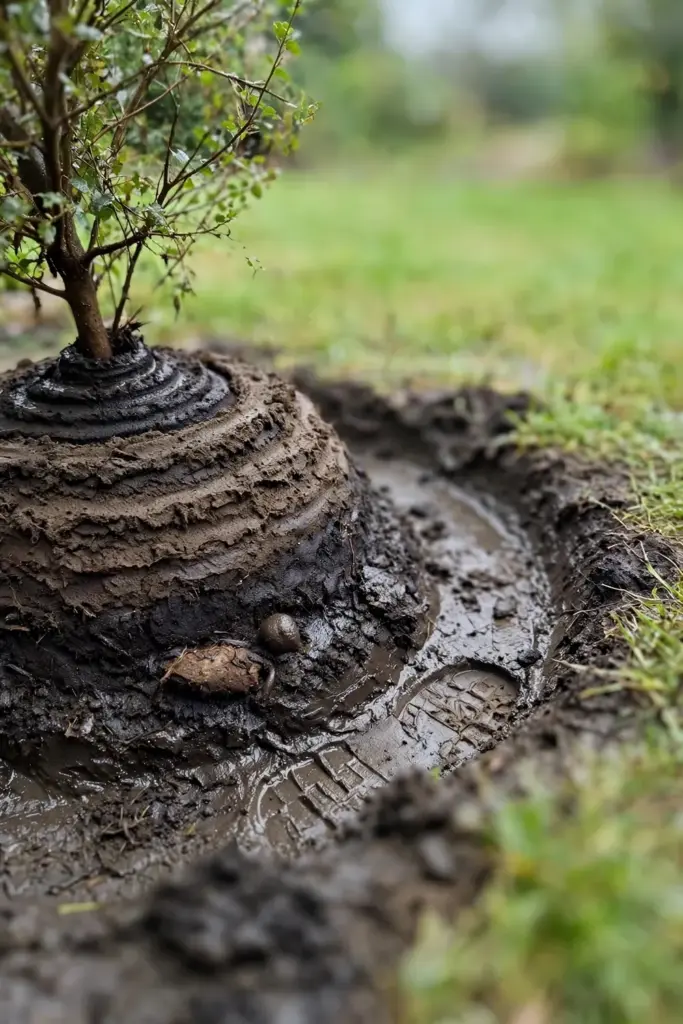
Backfill in layers. Add a third of the soil, water it to settle out air pockets, then add the next third. Firm the soil with your hands, not your feet. Stomping compacts the backfill and undoes the wide hole you just dug. The finished grade should slope gently away from the stems so water does not pool at the crown.
8. Water It In Deep
The first watering is structural. Soak the entire root zone until water runs off the surface, which collapses the remaining air pockets and puts every root in contact with soil. Then build a low berm of soil in a wide ring around the planting hole to hold future waterings over the root zone instead of letting them sheet away.
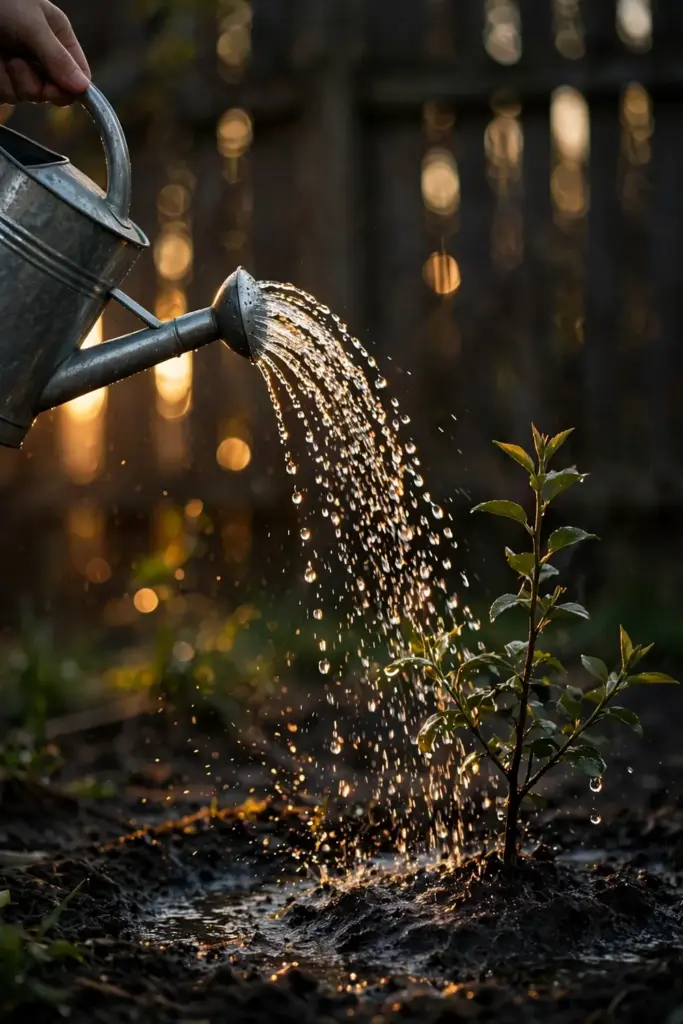
After planting day, West Virginia University Extension’s fall planting guidance calls for about an inch of water per week, from rain or the hose, until the ground freezes. Fall rains often cover this on their own. In a dry fall, watering is not optional. New roots cannot grow into dry soil, and a shrub that goes dormant thirsty faces winter desiccation with empty reserves. Water in the morning so foliage dries before night.
9. Mulch Wide, Keep It Off the Stems
Spread 2 to 3 inches of shredded bark or wood chips over the planting area in a wide band about three times the diameter of the root ball. The University of Massachusetts Extension planting guidelines specify that depth and that width, and they add the rule that matters most: keep the mulch from touching the stems. Mulch piled against bark traps moisture, invites decay, and gives voles a hidden place to chew.
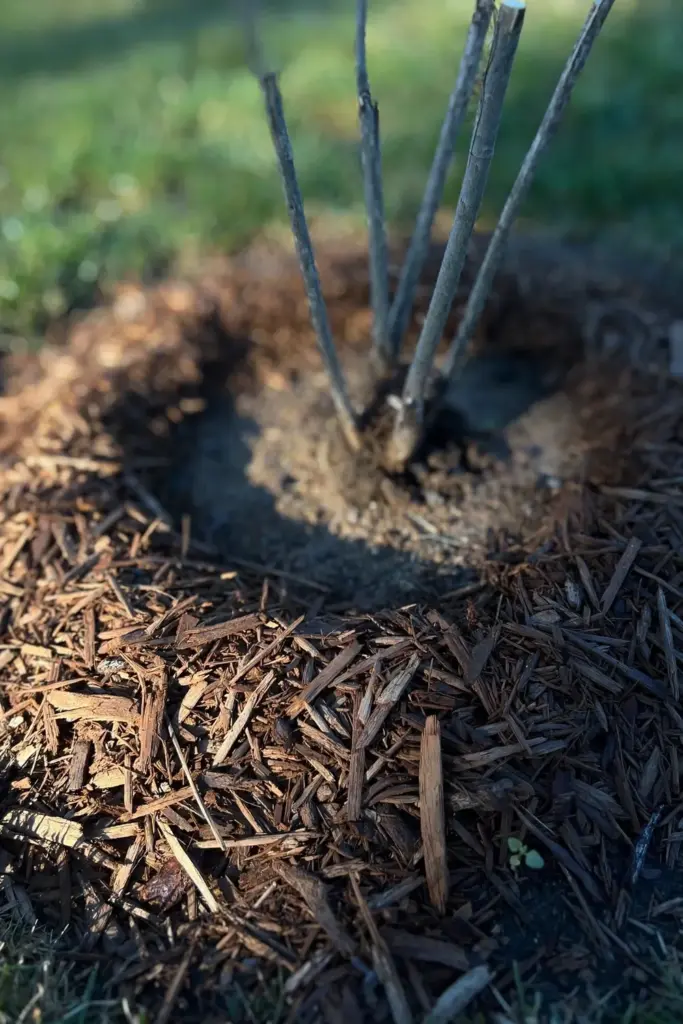
The volcano mulch pile, high against the trunk and tapering outward, is the most visible planting mistake in suburban landscaping. It looks cared for and it slowly kills the plant. A flat donut of mulch with a clear gap around the stems does the real work: moderating soil temperature, holding moisture, and suppressing weeds without touching bark.
10. Stake Only If It Needs It
Most shrubs never need staking. A shrub with a solid root ball planted at the right depth stands on its own from day one. Stake only when the plant genuinely cannot stay upright, usually a tall top-heavy shrub on a windy site or anything planted late with a loose ball.
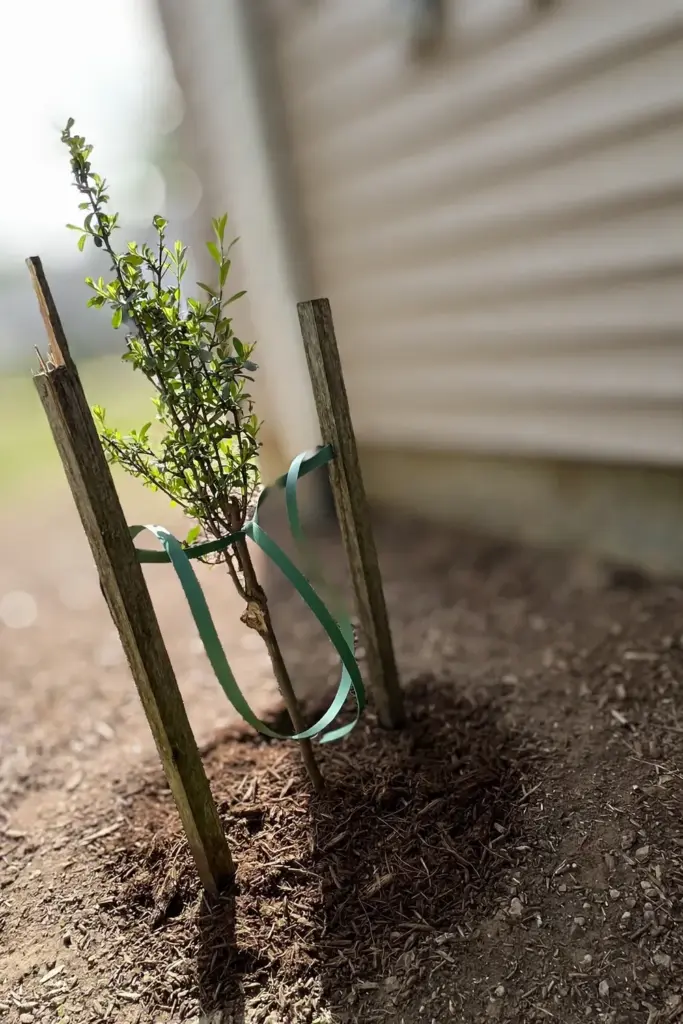
When you do stake, drive two stakes into undisturbed soil outside the root ball, never through it, and tie the stems with wide flexible straps that allow some movement. Slight swaying builds trunk strength. Rigid strapping does the opposite. The University of Massachusetts guidelines say to remove stakes after one growing season. A forgotten stake left for years rubs bark raw and girdles the stem it was meant to protect. Put a calendar reminder on it.
11. Skip the Fertilizer, Skip the Pruning
Do not fertilize at planting time. Fall fertilizer pushes soft new growth that has no time to harden before winter, and that tender growth is the first thing cold damages. The shrub needs roots now, not shoots. Save feeding for spring, when the plant can use nitrogen to build the canopy it actually keeps.
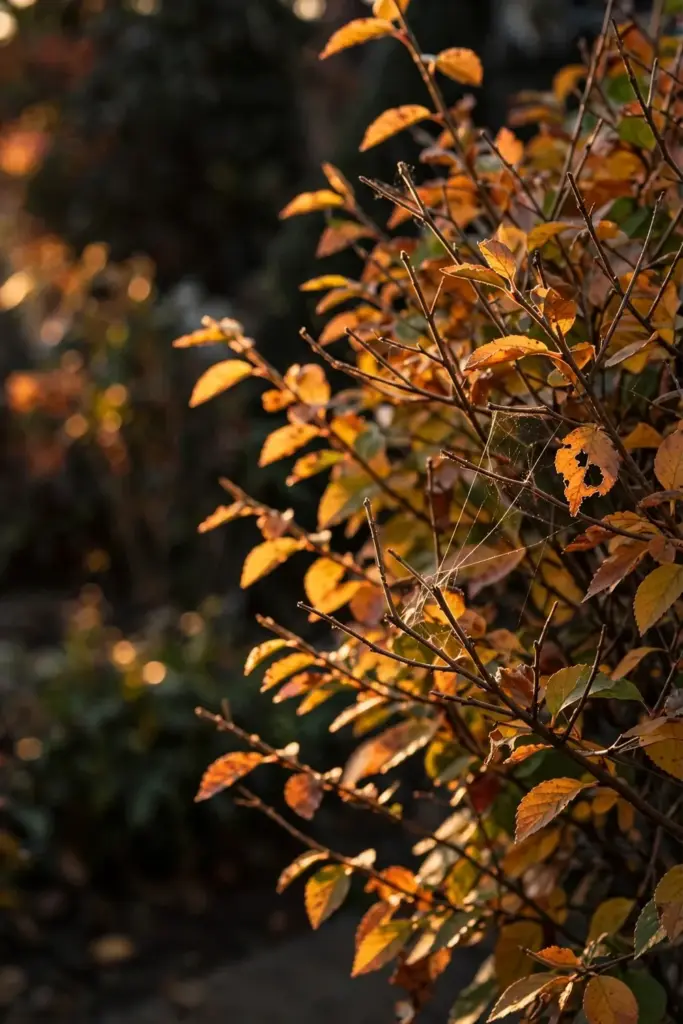
Do not prune either, beyond cutting out anything broken or damaged. The University of Massachusetts Extension notes that extensive top pruning to compensate for root loss is no longer recommended, because the leaves are the food factories that fund root regeneration. Every leaf you leave on a new shrub pays for root growth below. Structural shaping waits for spring, when you can see what survived winter. The spring pruning techniques guide covers the cuts and the timing once the season turns.
12. Protect It Through the First Winter
A fall-planted shrub faces winter with a young root system, so give it one season of shelter. After the ground cools, refresh the mulch to a full 3 inches. The mulch insulates roots against freeze-thaw cycles that heave young plants out of the ground. Water once more deeply before the ground freezes solid, even after the leaves drop. Winter roots still drink.
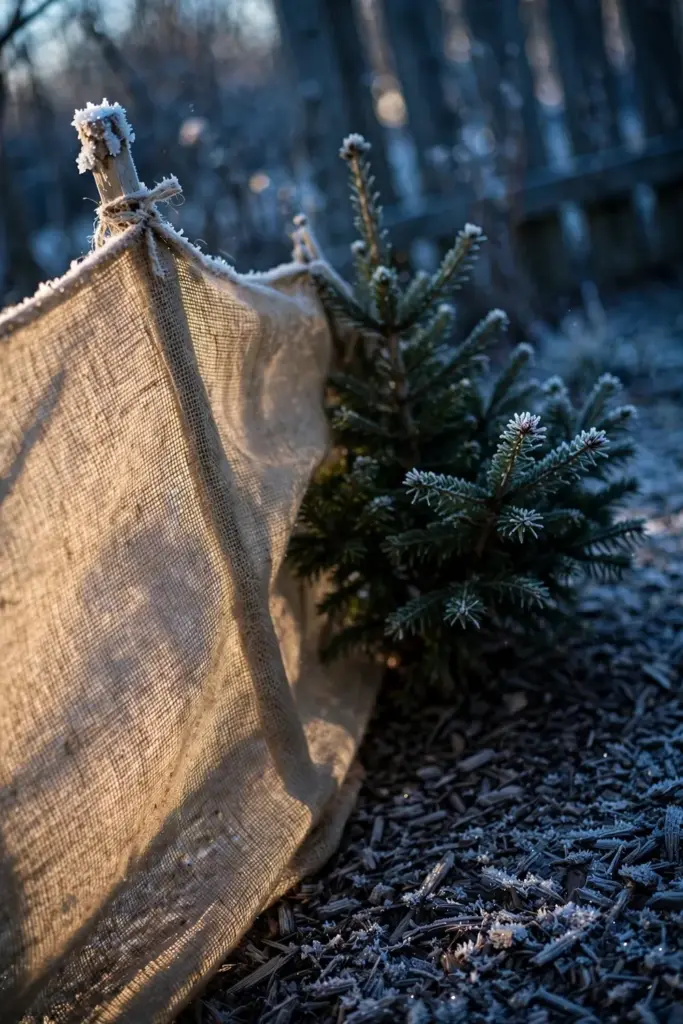
Wind is the quiet killer. Broadleaf evergreens in exposed spots lose moisture through their foliage faster than frozen roots can replace it. A burlap screen on the windward side, staked away from the plant so air still moves, cuts desiccation dramatically. Skip plastic wraps, which cook the plant on sunny winter days. The fall gardening tips pillar covers wind protection alongside the season’s other tasks.
Mistakes That Kill Fall-Planted Shrubs
Planting too deep tops the list, and it kills slowly enough that gardeners blame the winter instead of the shovel. The volcano mulch pile comes second. Third is the dry fall: gardeners assume autumn rain handles watering, then a six-week dry spell starves new roots. Fourth is fertilizing at planting, which buys soft growth the frost destroys. Fifth is amending only the hole, building a comfortable pot underground that roots refuse to leave. Every one of these is a choice made on planting day, which means every one of them is preventable on planting day.
FAQ
How Late in Fall Can You Plant Shrubs?
Until the ground freezes, but aim to finish at least six weeks before that date. Zones 2 through 6 should wrap up by mid to late October, zone 7 by mid-November, and zones 8 and warmer can plant into December. Roots keep growing in soil as cool as 42 degrees, so every week before freeze-up counts. A shrub planted days before the ground locks up survives, but it faces winter on nursery roots alone.
Is Fall or Spring Better for Planting Shrubs?
Fall wins for most shrubs in most zones. Warm soil and cool air let the plant build roots without heat stress, and it wakes in spring already established. Spring planting works, but the shrub must root and survive summer heat in the same season. The exception is marginally hardy shrubs in cold zones, which sometimes establish more safely with a full spring and summer ahead of them.
Should You Fertilize a Shrub When Planting in Fall?
No. Fertilizer pushes tender new growth that cannot harden before winter, and that soft growth is the first tissue cold damages. A new shrub needs roots, not shoots. Water deeply, mulch properly, and save feeding for spring when the plant can turn nitrogen into canopy it keeps. Established shrubs get their annual feeding in early spring too.
Do You Prune a Newly Planted Shrub?
Only what is broken or damaged. Extensive pruning to balance root loss is outdated advice. Leaves are the food factories that fund new root growth, so every leaf left on the plant pays for establishment below ground. Save structural shaping for spring, when bud swell shows you what survived winter and every cut can be placed with full information.
How Often Should You Water a Fall-Planted Shrub?
About an inch per week, from rain or the hose, from planting day until the ground freezes. Soak deeply and infrequently rather than sprinkling daily, since deep water pulls roots downward and outward. In a rainy fall nature handles it. In a dry fall the hose is mandatory. Give one last deep soaking before freeze-up, even after the leaves drop.
Do New Shrubs Need Winter Protection?
For the first winter, yes, a little. Refresh mulch to 3 inches after the ground cools to blunt freeze-thaw heaving. Water deeply once before the ground locks up. In windy exposed spots, a burlap screen on the windward side protects broadleaf evergreens from desiccation. After the first full growing season the shrub stands on its own and needs no special treatment beyond normal mulching.








