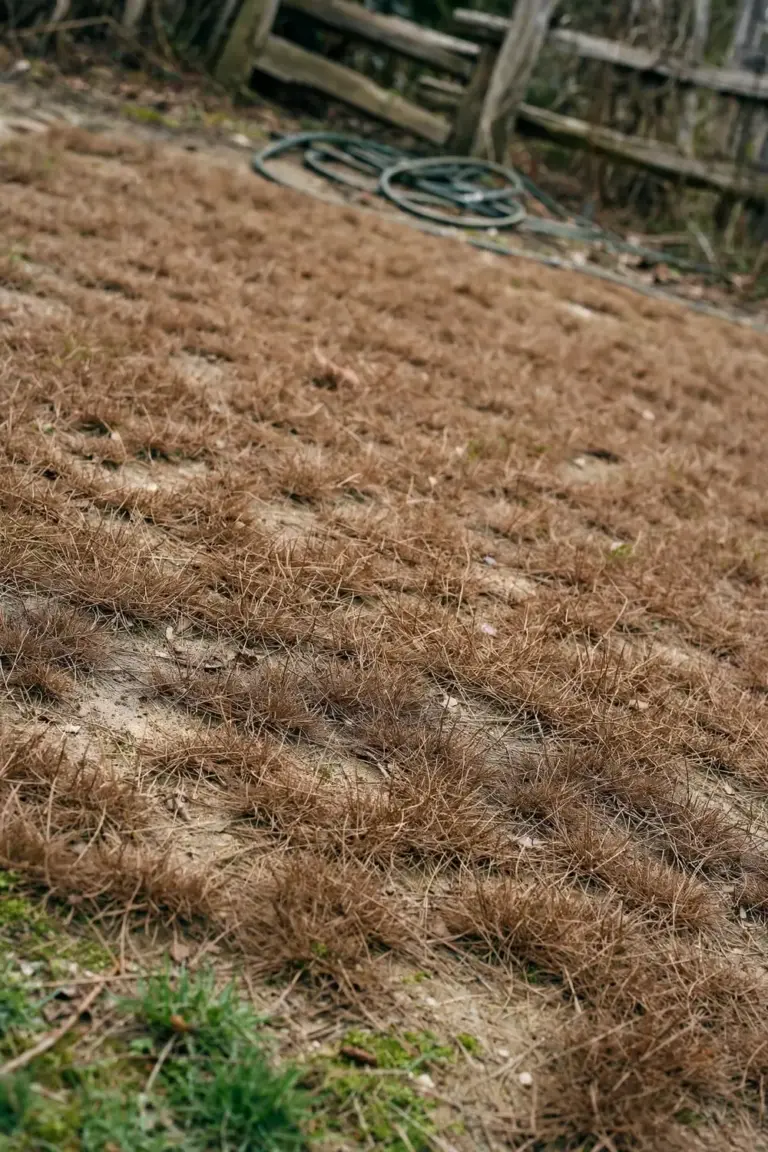

Run 1 test before you water anything. Grab a handful of brown blades and pull. If the blades resist and the crown at the soil line feels firm and pale, the lawn is dormant and alive. That is the starting point for how to revive dry, fragile grass in hot climates in Australia: confirm life first, then water deep, fix soil that repels water, and hold fertilizer until green growth returns.
I have learned that the lawn I test before I water recovers faster than the lawn I flood on a guess. The rest of this page is 8 moves, from the crown test to the 4-week check. Each move answers one question, and each one names the failure that follows when you skip it.
Dry, fragile grass means a heat-stressed lawn whose blades have browned and snapped underfoot. Revive means recovering a living lawn, not resurrecting dead turf. Hot climates means Australian summer conditions: long dry spells, sandy soils that turn water-repellent, and local water rules that limit when you can irrigate. Check your local water authority rules before you start, then work the moves in order.
1. Run the 3-Minute Dormant-or-Dead Test First
Test before you spend a cent on water, seed, or product. Dormant grass and dead grass look identical from the window, and they need opposite treatment. Watering dead grass wastes water. Reseeding dormant grass wastes money.
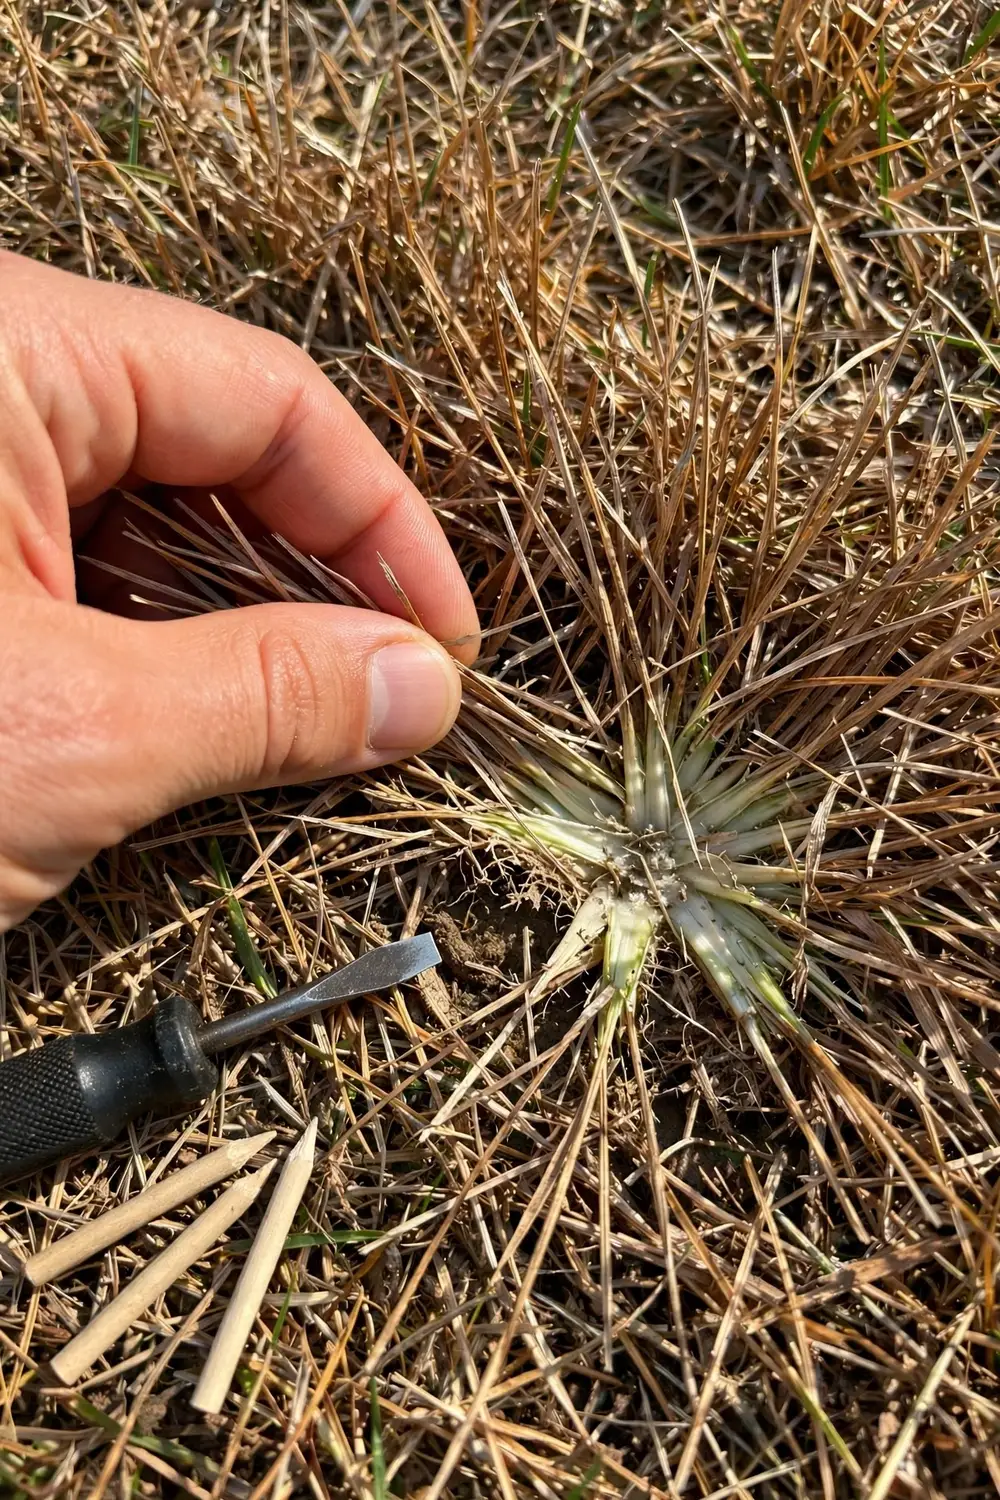
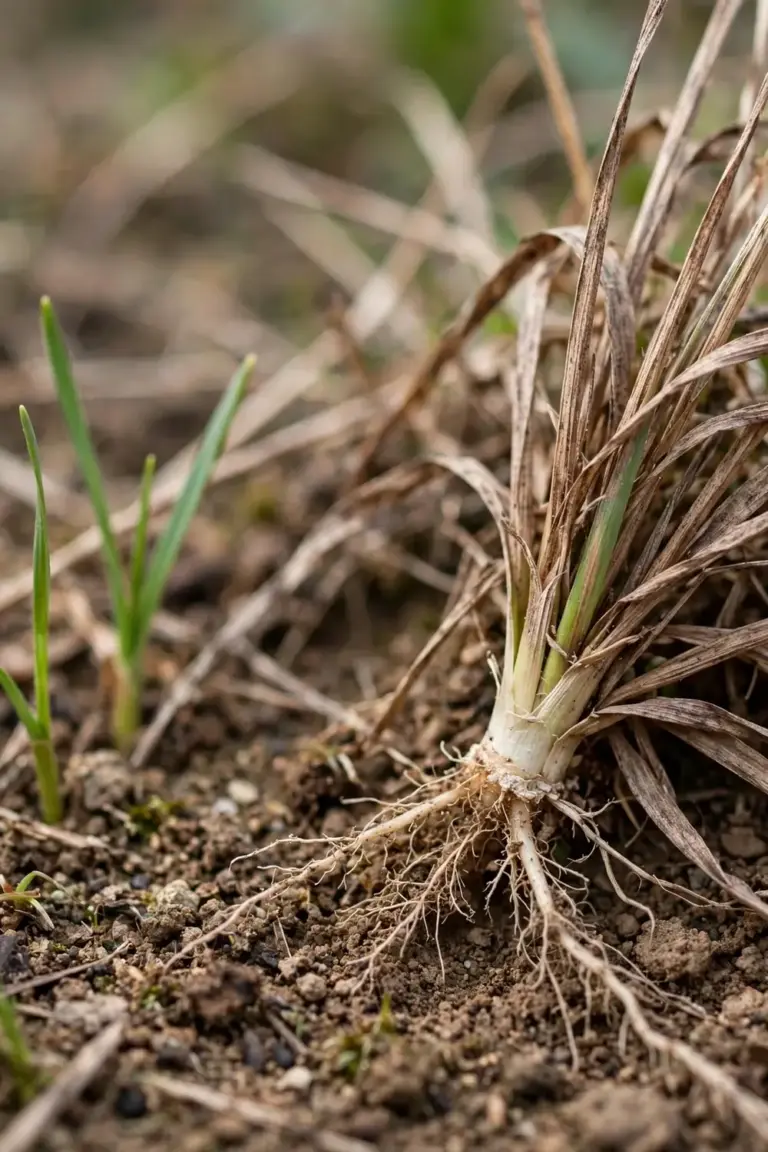
Pull a small handful of brown blades and tug firmly. Dormant grass resists because living roots still anchor the crown. Dead grass slides out with almost no effort because the roots have let go. Part the blades with your fingers and look at the crown, the pale nub at the soil line where blades grow up and roots grow down. A firm crown that is white or creamy means the plant lives. A crown that is brown, mushy, or shriveled means that plant is done. Utah State University Extension states that lawns go dormant with excessive heat and reduced water, which means the roots and crowns stay alive and healthy even though the blades turn brown and stop growing, in their drought guide.
| Test | Sign of Life | Sign of Death |
|---|---|---|
| Tug test | Blades resist the pull | Blades slide out with no effort |
| Crown check | Crown firm, white or creamy | Crown brown, mushy, or shriveled |
| Water test | Green shoots appear within 2 weeks | No change after 2 weeks of water |
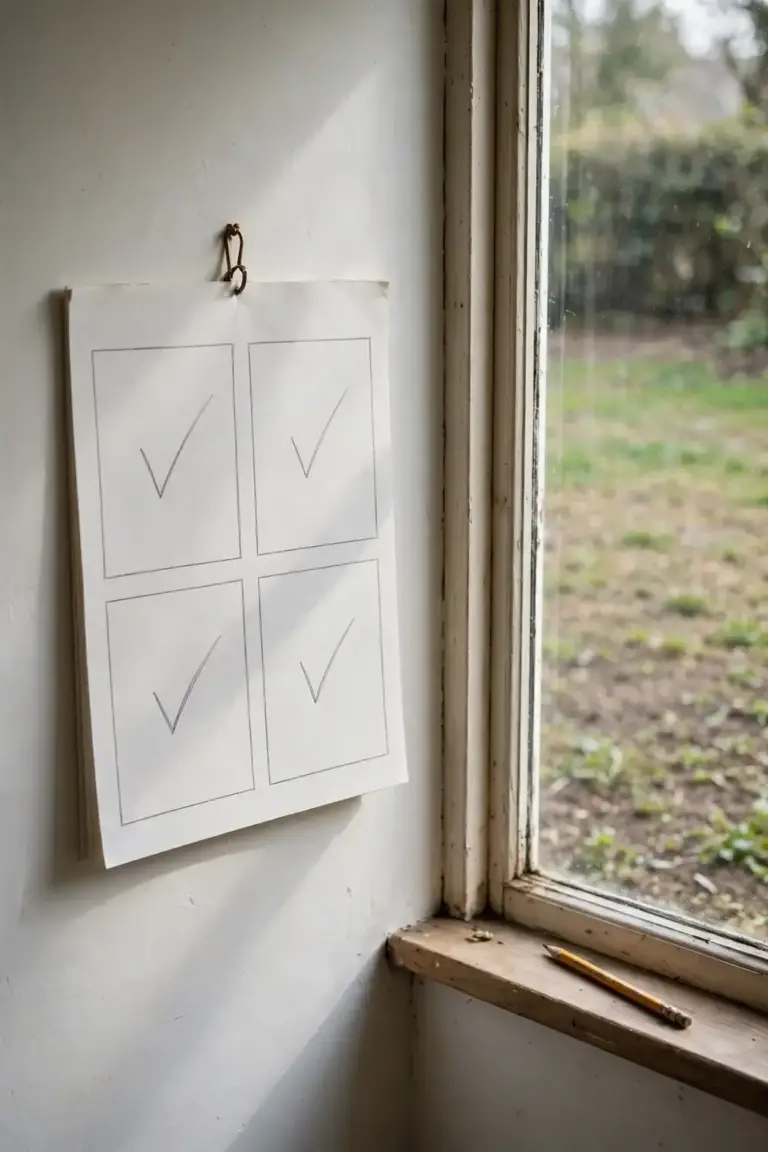
Run the water test on one small patch when the first two tests disagree. Soak a patch the size of a dinner plate, then soak it again the next morning. Living crowns push green shoots within about 2 weeks. A patch that stays brown and lifeless after 2 weeks of water is dead, and no amount of extra water changes that verdict. Map the lawn with a few stones or pegs: green dots for living patches, bare markers for dead ones. The map tells you where to water and where to patch, and it stops you from treating the whole lawn as one problem.
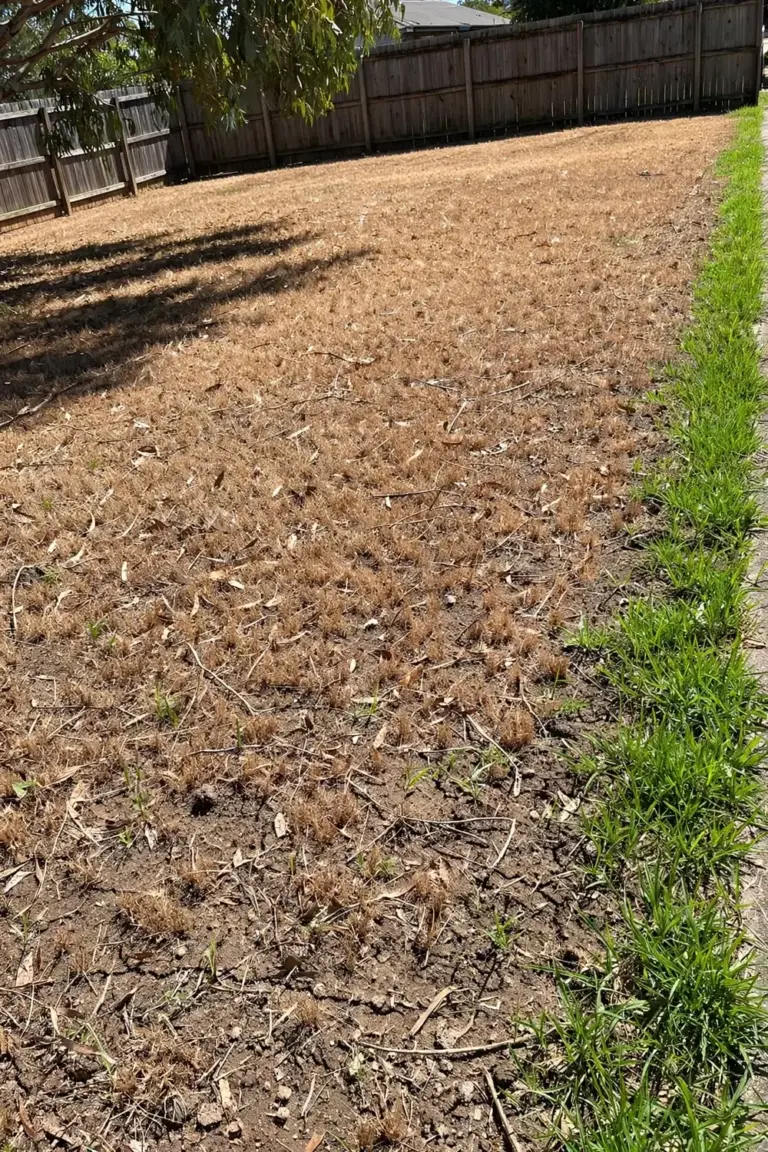
Read the pattern as well as the tests. Dormancy usually browns large, even areas at once, because it is a whole-lawn response to heat and low water. Death usually shows in defined patches tied to a cause: a dog’s favorite corner, a spill, a compacted wheel line, or a patch that sat under a trampoline all summer. Pattern alone never settles the question, and it should never override a crown check. Pattern tells you where to test first. The crown tells you the truth.
2. Water Deep to 20 cm, Then Let the Soil Dry Between Rounds
Water deep and infrequent, never light and daily. Light daily watering wets only the top few centimetres, evaporates before it reaches the roots, and trains roots to stay shallow where the next hot day kills them. Deep watering drives moisture down to the root zone and teaches roots to follow it.
Apply 1.3 to 2.5 cm of water each time you irrigate, which is the Utah State University Extension guideline of 1/2 to 1 inch per irrigation in their basic turfgrass care guide. Water early in the morning when temperatures sit low and wind stays calm, so less water evaporates and leaves dry before nightfall. When puddles form or water runs off during irrigation, stop, wait 1 hour for the water to move into the soil, then run a second short cycle. That cycle-and-soak rhythm gets water into baked ground instead of down the driveway.
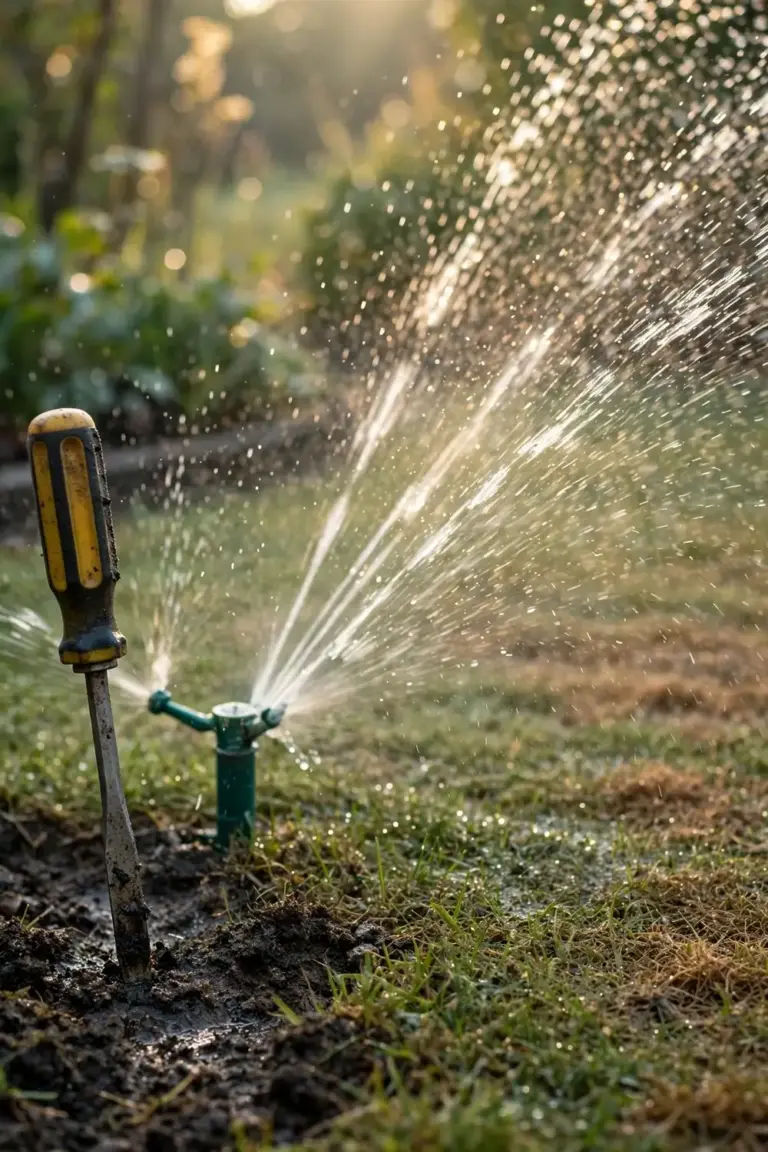
Check depth with a screwdriver after each round. Push it into the soil in the middle of the watered area. Moist soil lets the screwdriver slide to 20 cm with steady pressure. Dry soil stops it hard near the surface. The screwdriver check is the article’s own method, and it beats any fixed timer because soil, shade, and sprinkler output change from yard to yard. Water again only when the top 5 cm dries out. A lawn that stays soggy grows shallow roots and invites fungus. A lawn that dries between rounds grows roots that hunt deeper.
Dormant lawns need far less water than green ones. Utah State University Extension states that lawns can survive in a dormant state with as little as 1.3 to 2.5 cm of irrigation monthly, in the same USU drought guide cited above. Do not force a dormant lawn green in the middle of a heatwave. Keep the crowns alive with survival water, then push for green-up when nights cool and the heat breaks. Forcing green growth in peak heat, then watching it collapse in the next hot week, punishes the lawn harder than leaving it asleep.
Measure what your sprinkler actually delivers before you trust a timer. Set 3 straight-sided cans across the lawn, run the sprinkler for 15 minutes, then measure the depth in each can with a ruler. Cans that collect different depths show uneven coverage, and uneven coverage explains why one strip greens up while the next stays brown. Fix coverage first by adjusting heads and clearing blocked nozzles. A sprinkler that waters the driveway and misses the lawn wastes every round you run through it.
3. Fix Hydrophobic Soil With a Wetting Agent Before You Water Again
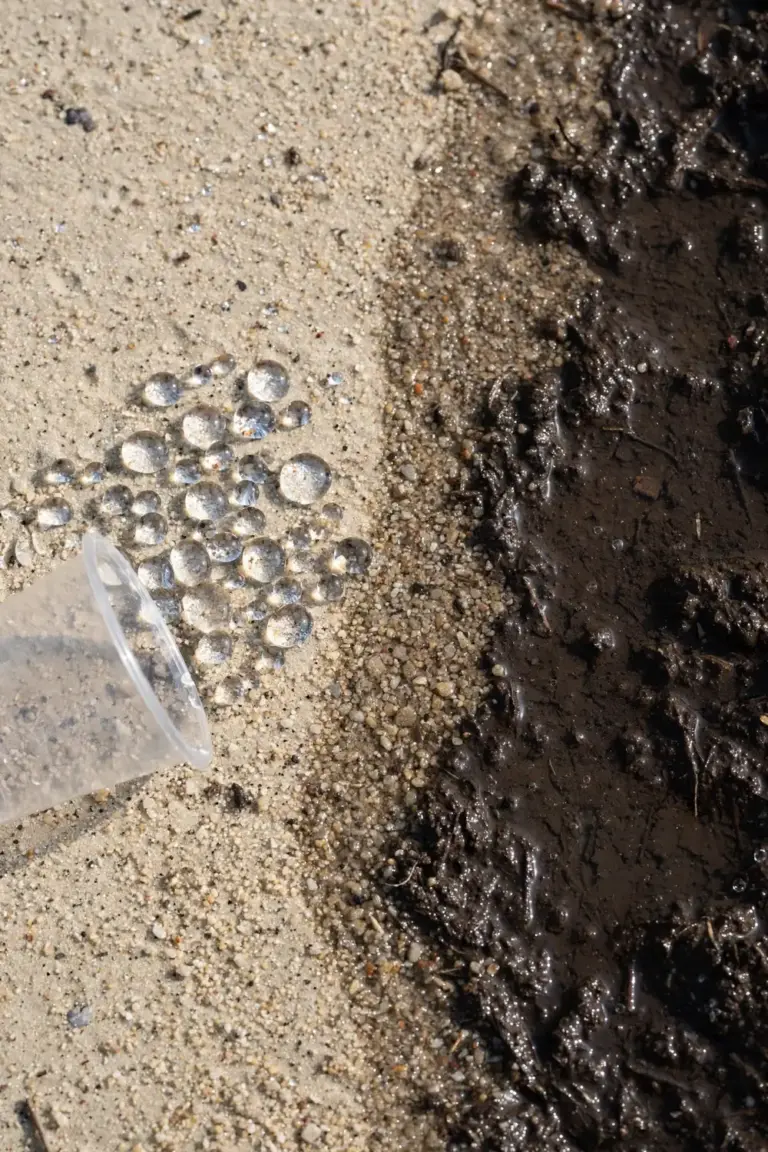
Test the soil before you blame the grass. Dry Australian soils, especially sandy ones, turn hydrophobic after long dry spells. A waxy coating builds on the soil particles, and water beads on the surface or runs off instead of soaking in. You can water a hydrophobic lawn for an hour and still find dry soil 5 cm down.
Pour a cup of water slowly onto a bare patch and watch. Water that beads, pools, or runs sideways signals hydrophobic soil. Water that soaks straight down means the soil still accepts moisture. The bead test takes 30 seconds and saves you from watering a lawn that cannot drink.
Apply a wetting agent across the lawn when the bead test fails. Wetting agents act as surfactants that reduce the surface tension of water so it soaks into water-repellent soil, and Lawn Solutions Australia describes how their wetting agent breaks down the wax-like substance that stops water from reaching the soil profile, in their wetting agent guide. Water the agent in straight after application so it moves down into the soil instead of sitting on the surface. Reapply on the schedule the product label sets, because one dose rarely holds through a whole dry season.
Do not keep watering hydrophobic soil and hoping. Each wasted round compacts the surface further and feeds runoff. Fix the soil first, then water. The lawn cannot recover from drought while its soil repels every drop you give it.
Sandy soils turn hydrophobic fastest, and Australian lawns often sit on sand. Sand grains hold little organic matter, so a waxy coating from decomposed leaf litter coats them quickly in dry heat. Top-dressing with a thin layer of sandy loam after aeration adds organic matter that holds moisture, and it gives the wetting agent something to bind to. Keep the top-dressing layer thin. A thick layer smothers crowns that are already stressed. Granular and liquid wetting agents both work. Liquid forms act fast and suit a lawn that needs water this week. Granular forms release slower and suit a lawn on a maintenance schedule. Follow the label for either form, because the label rate is set for the product in the bottle, not for lawns in general.
4. Raise the Mower to 7.6 cm and Leave the Clippings
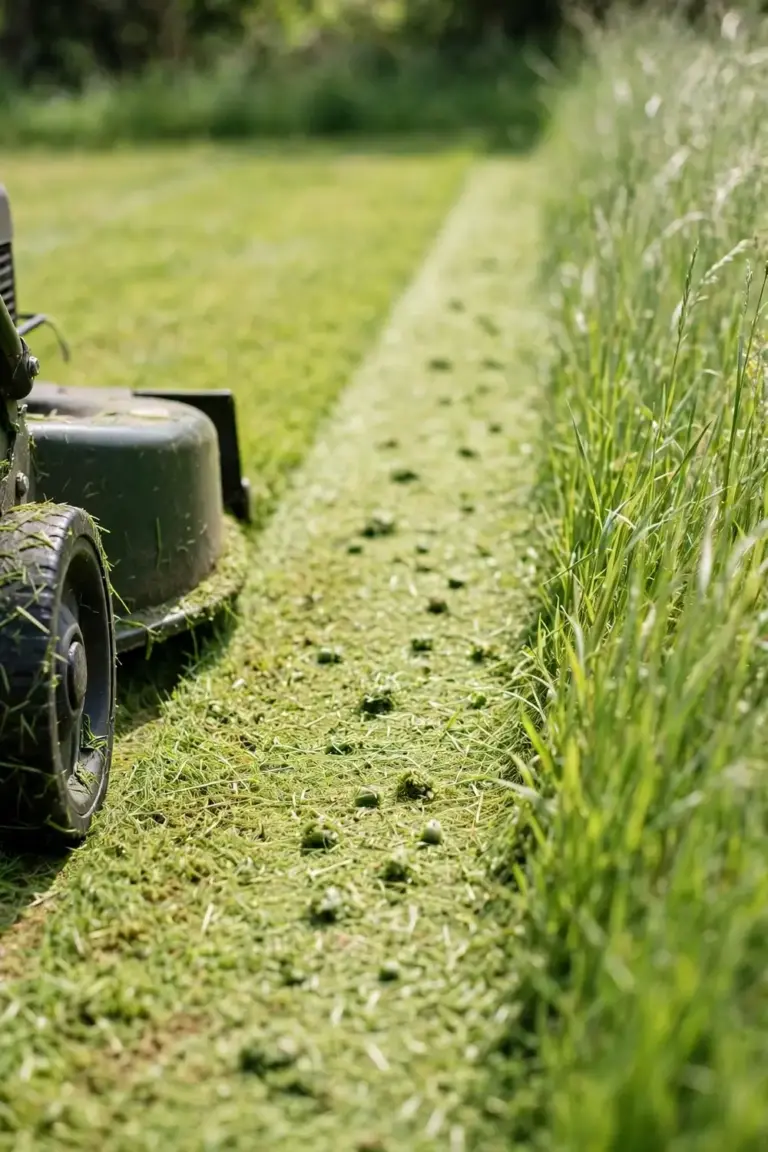
Raise the mower before the next cut. Short grass exposes soil to sun and wind, dries the crown, and forces shallow roots. Long grass shades its own soil, holds moisture longer, and feeds deeper roots.
Set the mower to 7.6 cm, which is the Utah State University Extension guideline of mowing at 3 inches to improve heat and drought tolerance, in their basic turfgrass care guide. Clemson Extension adds that raising the mowing height during summer months encourages root growth and reduces heat stress, in their watering lawns guide. Cut no more than one-third of the blade length in a single pass. A lawn sitting at 7.6 cm takes a cut to about 5 cm, never a scalp to 2 cm.
Leave the clippings on the lawn. Clippings return moisture and nutrients to the soil surface and shade the ground between cuts. The practice is called mulch mowing, and the mulching guide explains how a mulch layer holds moisture in the soil. Mow when the grass is dry, and mow across the slope so clippings spread evenly instead of piling in drifts.
Skip the mower entirely on a fully dormant lawn. Dormant blades do not grow, so cutting them only exposes the crown to sun. Stay off dormant turf where you can. Utah State University Extension advises avoiding excessive traffic on dormant turfgrass, in the same USU turfgrass care guide cited above. Foot traffic crushes crowns that are already stressed, and crushed crowns do not recover.
Alternate the mowing direction each time you cut. Mowing in the same lines every week lays the grass in one direction and wears ruts into the soil. A cross-hatch pattern stands the blades upright, spreads clippings evenly, and keeps wheel lines from compacting the same strip. Sharpen the blade before the recovery season starts. A blunt blade tears leaf tips, and torn tips dry out faster than clean cuts. Torn tips show as a pale fringe across the whole lawn a day after mowing, and that fringe looks like drought damage when it is really mower damage.
5. Aerate Compacted Ground So Water Reaches the Roots
Aerate when water still pools after the wetting agent has gone in. Compaction squeezes air out of the soil, and roots cannot drink or breathe in packed ground. Foot traffic, parked cars, and years of mowing in the same wheel lines all compact soil.
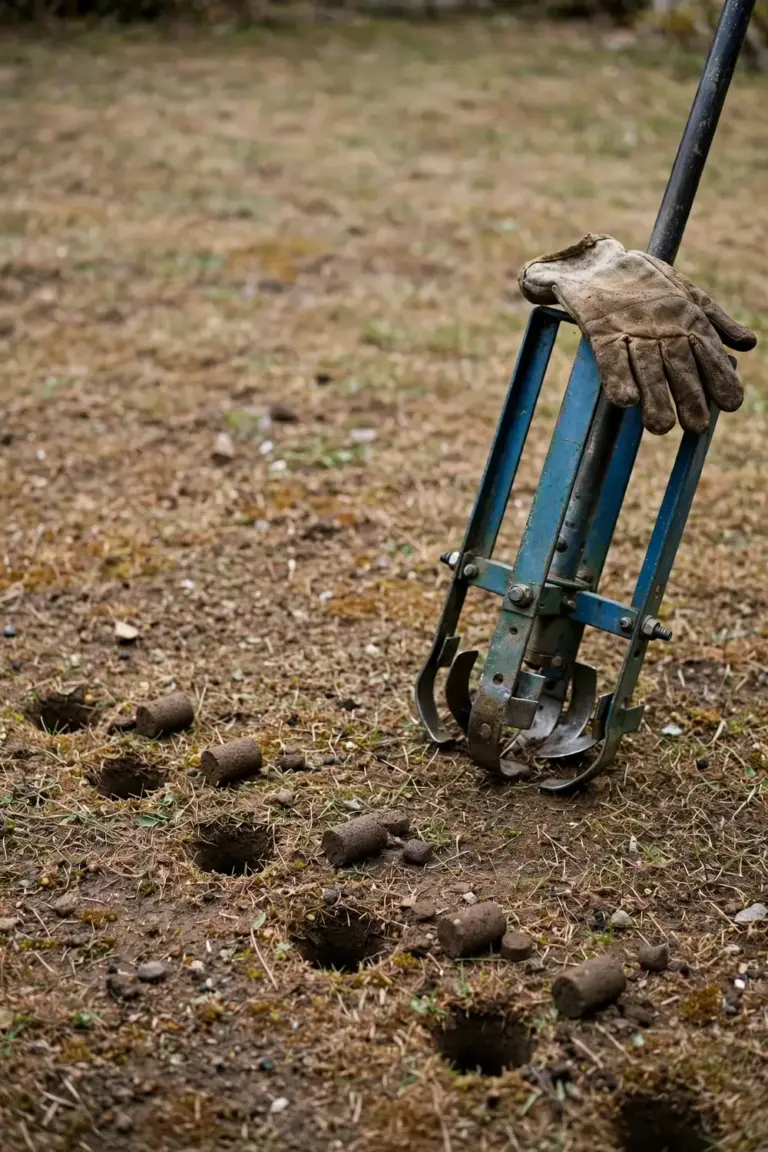
Push a garden fork into the worst patches and rock it back and forth to fracture the soil around each hole. Work across the patch in a grid, then move to the next patch. The fork method suits small areas. Hire a mechanical core aerator for a whole lawn that feels rock-hard underfoot. Core aerators punch holes and pull small plugs of soil out, which opens channels for water, air, and nutrients to reach the root zone. Utah State University Extension lists aeration among the basic steps that improve water infiltration and reduce compaction and thatch, in their basic turfgrass care guide.
Clear thatch thicker than 1.3 cm before you aerate. Clemson Extension states that thatch layers thicker than half an inch hold more grass roots than soil, which makes the grass less tolerant to drought and more susceptible to heat injury, in their watering lawns guide. Rake the thatch out with a stiff rake, then aerate. Aerating through a thick thatch mat wastes the effort, because water still stalls in the mat instead of reaching soil.
Healthy soil under the lawn decides how fast the lawn recovers. The soil health guide covers the biology that holds moisture and feeds roots. Aeration is one repair step. Soil health is the long game that keeps the next dry spell from doing the same damage.
Aerate when the soil is moist, not bone dry and not waterlogged. Moist soil lets the fork slide in and fracture cleanly. Bone-dry soil resists the fork and shatters into dust. Waterlogged soil smears and seals the holes as fast as you punch them. Water the lawn the evening before aeration, then aerate in the morning. Leave the soil plugs on the surface after coring. The plugs break down within a week or two and return their nutrients to the lawn. Sweeping them up throws away the best part of the job.
6. Hold the Fertilizer Until Green Growth Returns
Do not feed a stressed lawn. Fertilizer pushes soft new leaf growth that a heat-stressed plant cannot support, and that growth burns in the next hot week. A lawn in dormancy cannot take up nutrients effectively, so fertilizer sits in dry soil or washes away in the next storm.
Wait for active growth first. New green shoots at the crown signal that the plant is drinking and growing again. That signal is your green light, not the calendar. Get a soil test before you feed, and follow a fertilization program based on the test results. Clemson Extension states that homeowners should get soil tested and follow a fertilization program according to the test results, in their watering lawns guide. A test tells you what the soil lacks instead of guessing with a bag off the shelf.
When growth returns, feed with a slow-release fertilizer. Clemson Extension recommends natural fertilizers with slowly available nitrogen and synthetic fertilizers that contain slow-release nitrogen, because the nitrogen does not wash away quickly and provides green color without excessive leaf growth, in the same Clemson watering guide cited above. Water the fertilizer in lightly so it reaches the soil instead of sitting on leaves. The best time to fertilize lawn in spring guide covers feeding timing for an actively growing lawn.
A lawn that greens up without fertilizer was thirsty, not hungry. A lawn that stays yellow after deep watering and a soil test may need nutrients. Test first, then feed. Feeding first and testing later burns money and risks burning the lawn.
Skip quick green-up products on a stressed lawn. Iron sprays and high-nitrogen tonics paint the blades green without fixing the roots, and the color fades within days while the plant stays weak. A lawn that looks green but has shallow roots dies in the next heatwave just as fast as a brown one. Recovery means roots first, color second. The green follows the roots, never the other way around. A soil test measures pH and the main nutrients, and it tells you whether the soil can even deliver the nutrients you apply. Acid or alkaline soil locks nutrients away no matter how much fertilizer you spread.
7. Patch the Dead Spots With Seed or Turf, Not More Water
Water cannot revive a dead patch. The crown test already marked the dead spots. Patch them, or weeds will claim the bare soil before the lawn does.
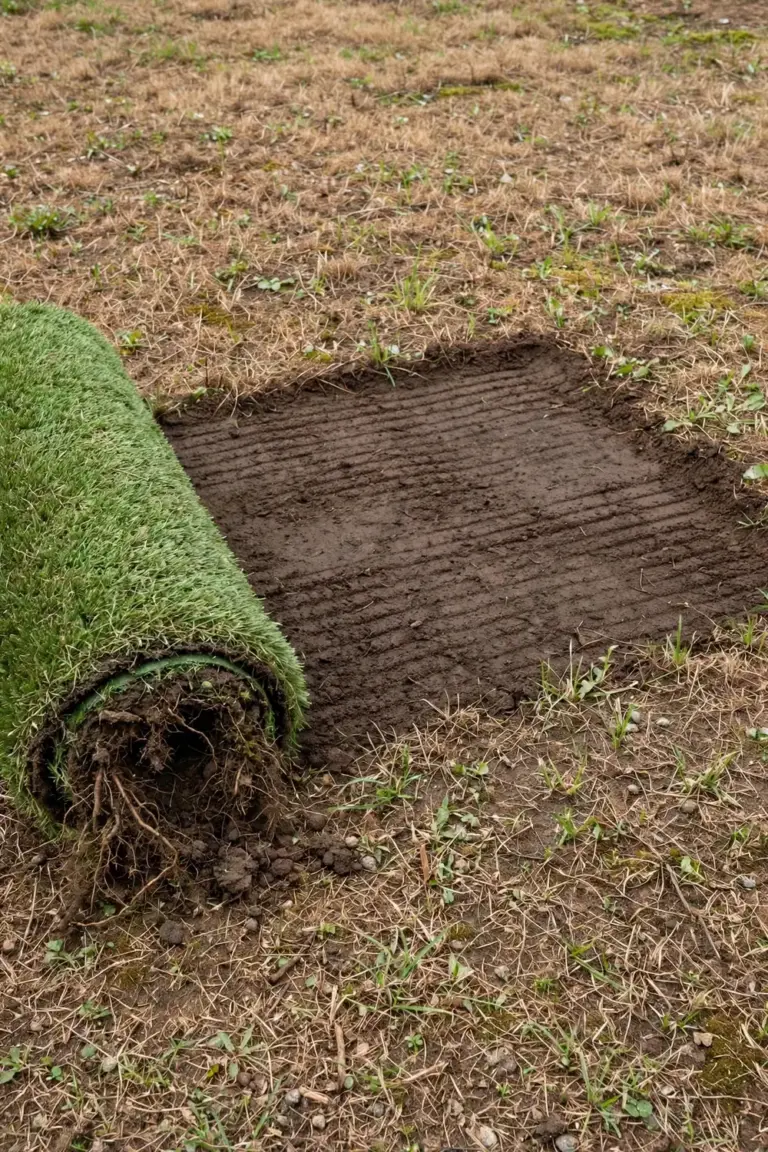
Clear dead material from each dead patch with a stiff rake. Rake down to bare soil so seed or turf touches soil, not a mat of dead blades. Seed or turf laid on dead thatch dries out and fails. Level the patch with a thin layer of sandy loam, then firm it with the back of the rake.
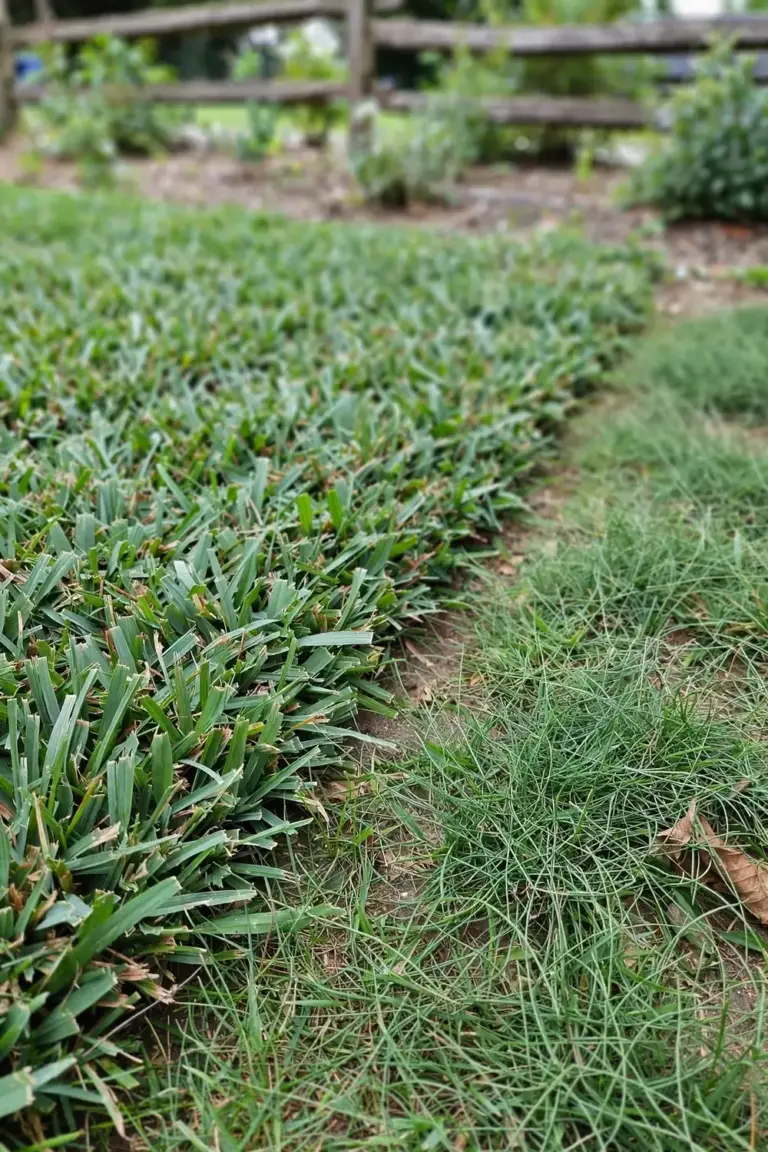
Match the patch material to the lawn. Couch and Kikuyu lawns patch with seed or runners. Buffalo lawns patch with turf rolls, because Buffalo is sold as turf, not seed. Zoysia patches with turf or plugs. Lay turf pieces tight together with no gaps, and press the edges into the surrounding lawn so they knit. Water new patches daily for the first 2 weeks, then taper to the deep-and-infrequent rhythm from move 2.
Patch in the growing season, not in the dead of winter. Warm-season lawns knit fastest when nights stay warm and days run long, which is late spring through early autumn across most of Australia. A patch laid in cold soil sits idle for weeks and gives weeds a head start. A patch laid in peak heat needs daily water to survive its first fortnight, so pick a mild stretch when you can. Either way, keep the patch moist until the turf resists a gentle tug, which tells you the roots have anchored.
Keep traffic off new patches for 4 weeks. New roots need undisturbed soil to anchor. A single shortcut across a fresh patch can tear roots that took 2 weeks to form. Mark patches with a few sticks and string if the family shortcut crosses the lawn.
Watch bare patches for weeds while they recover. Bare soil invites weeds, and weeds steal water from new roots. Hand-pull weeds in new patches while they are small, roots and all. Do not spray weed killer on new seed or turf. Young grass has no tolerance for herbicide, and a spray meant for weeds can kill the patch you just laid. A patch that stays weedy after hand-pulling usually has a soil problem underneath, such as compaction or a wetting-agent gap, so re-check the soil before you blame the seed.
8. Set a 4-Week Recovery Clock and Check Water Rules First
Set a 4-week clock the day you start. Check the lawn once a week, on the same day, and write down what you see. Weekly checks catch problems while they are still fixable. Daily hovering leads to daily watering, which is the exact habit that caused the shallow roots in the first place.
Week 1 checks the crown test results and the bead test. Week 2 looks for green shoots in the watered test patch. Week 3 looks for new growth spreading from the crowns across the lawn. Week 4 decides the next step: keep the rhythm, patch the spots that stayed dead, or accept that part of the lawn needs re-turfing. A lawn that shows no green after 4 weeks of correct watering, a wetting agent, and aeration has deeper damage than drought, and it needs a different diagnosis.
Check local water rules before every watering round, not just at the start. Australian water restrictions change with dam levels and fire risk, and the rules set which days and hours you may irrigate. A fine for watering on the wrong day costs more than a week of growth. When restrictions tighten, switch the lawn to survival water: 1.3 to 2.5 cm monthly keeps crowns alive, per the Utah State University Extension dormancy guideline in the same USU drought guide cited above. Survival water holds the lawn. Green-up waits for rain.
When the week-2 check shows no green shoots, re-run the crown test before you change anything. Crowns that stayed firm mean the lawn needs more time, not more water. Crowns that turned soft or dark mean those patches died, and watering them longer wastes water that living patches need. Shift the water to the living areas and patch the dead ones. A recovery plan that keeps watering dead ground fails twice: it starves the living lawn and it feeds weeds in the dead patches.
Frequently Asked Questions
Brown blades alone do not mean dead grass. Run the tug test and the crown check first. A firm, pale crown means the plant lives and can recover with deep watering. A brown, mushy crown means that plant is dead. Water the living patches, and patch the dead ones with seed or turf instead of watering them.
Expect the first green shoots within about 2 weeks of steady deep watering on a living lawn. Full cover takes longer, and it depends on heat, soil, and how much of the lawn stayed alive. Check weekly for 4 weeks. A lawn that shows no green after 4 weeks of correct care needs a fresh diagnosis, not more water.
No. Fertilizer pushes soft growth that a stressed lawn cannot support, and dormant grass cannot take up nutrients well. Wait for new green shoots at the crown, then get a soil test and feed with a slow-release fertilizer. A lawn that greens up without fertilizer was thirsty, not hungry.
A wetting agent works when the soil repels water. Run the bead test first. Water that beads or pools signals hydrophobic soil, and a wetting agent fixes that. Water that soaks straight in means the soil already accepts moisture, and the problem sits elsewhere, such as compaction, shade, or dead crowns.
Give up on a patch when the crown test fails across the whole patch and 2 weeks of water produces no green shoots. Re-turf the patch or reseed it, depending on the lawn type. Give up on the whole lawn only when most of the crowns fail the test. A lawn that is half alive recovers faster by patching than by starting over.
Start Reviving Dry Grass in Hot Climates This Weekend
Start with the crown test. Walk the lawn with a screwdriver and a handful of pegs, and map what lives and what died. Water the living patches deep to 20 cm, fix soil that beads water, raise the mower to 7.6 cm, and hold fertilizer until green shoots return. That is how to revive dry, fragile grass in hot climates in Australia, one test and one deep watering at a time. The lawn tells you what it needs in every step. Listen to the crown, not the color of the blades.