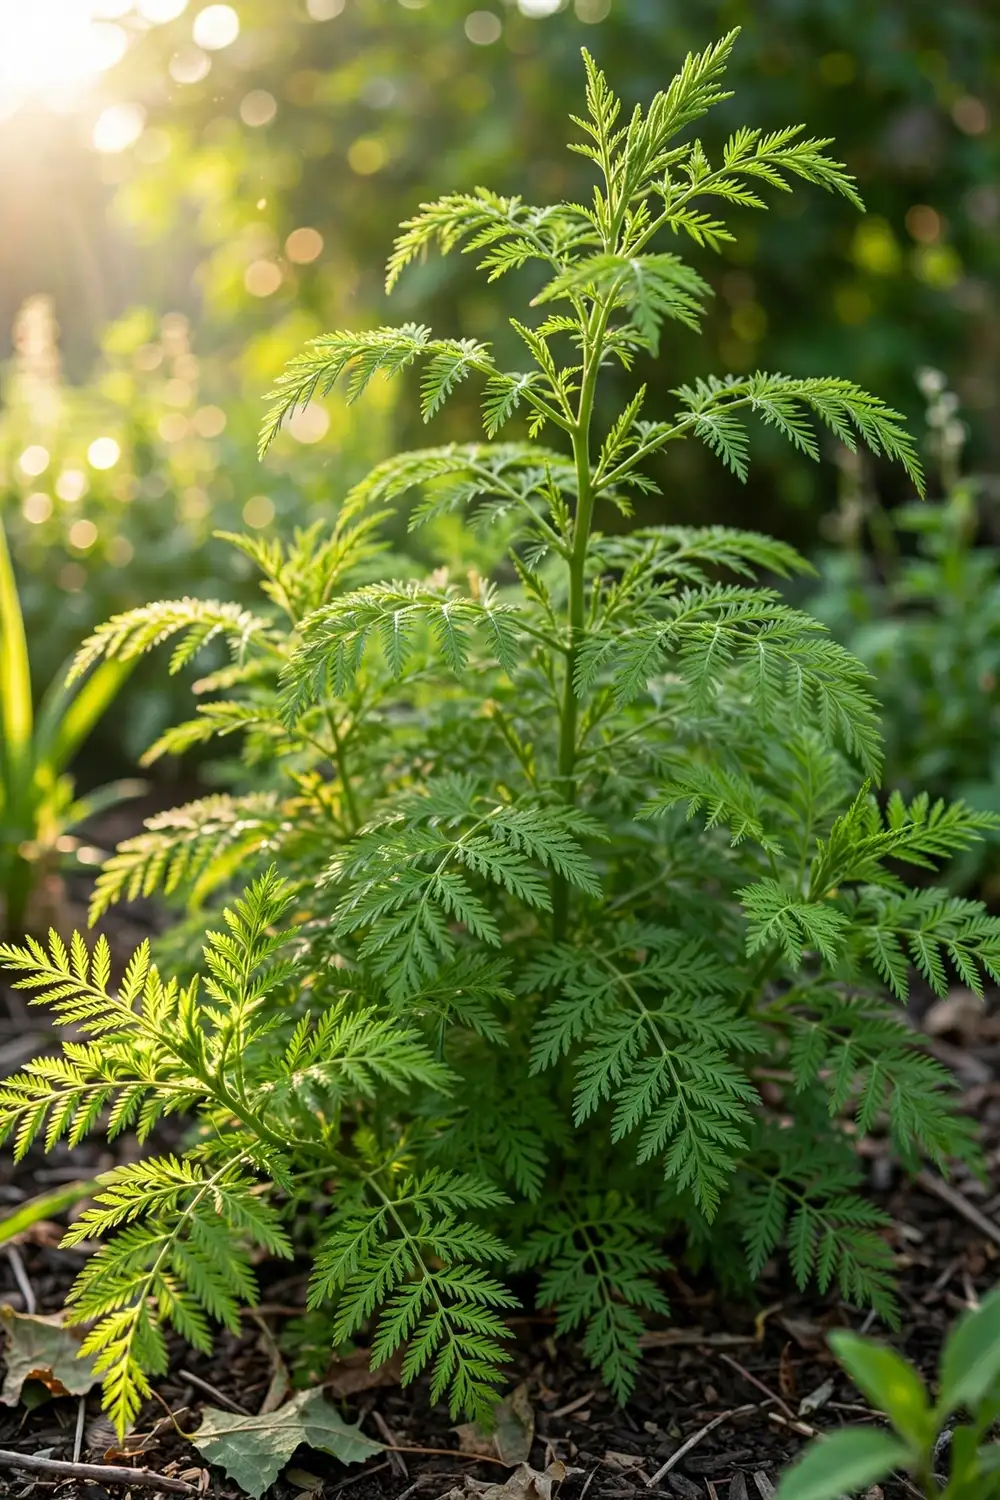

Press the dust-sized seeds onto damp seed-starting mix 4 to 6 weeks before your last frost, leave them uncovered in the light, and keep the tray at 65 to 75 degrees. That is how to grow sweet wormwood from seed in one sentence: surface sow, never bury, and expect reliable sprouts in 7 to 21 days. The rest of this guide covers the details that separate a fragrant 4-foot bush from a tray of nothing: the right species, transplant timing, harvest windows, and honest rules about self-seeding and medicinal framing.
Sweet wormwood grows as a fast annual in one season. It reaches 3 to 5 feet in ordinary garden soil, asks for full sun and drainage, and dies with the first hard frost. If you are researching how to grow sweet wormwood because of its famous compound, read the artemisinin section before you harvest anything. This is a gardening guide, not medical advice, and the article keeps that boundary on every page.
One honest warning up front: sweet wormwood self-sows with enthusiasm. A single plant can scatter enough seed to fill a bed next year, so deadheading is part of the care routine, not an afterthought. Plan for that now and you will enjoy the plant instead of fighting it.
1. Where Sweet Wormwood Grows Best
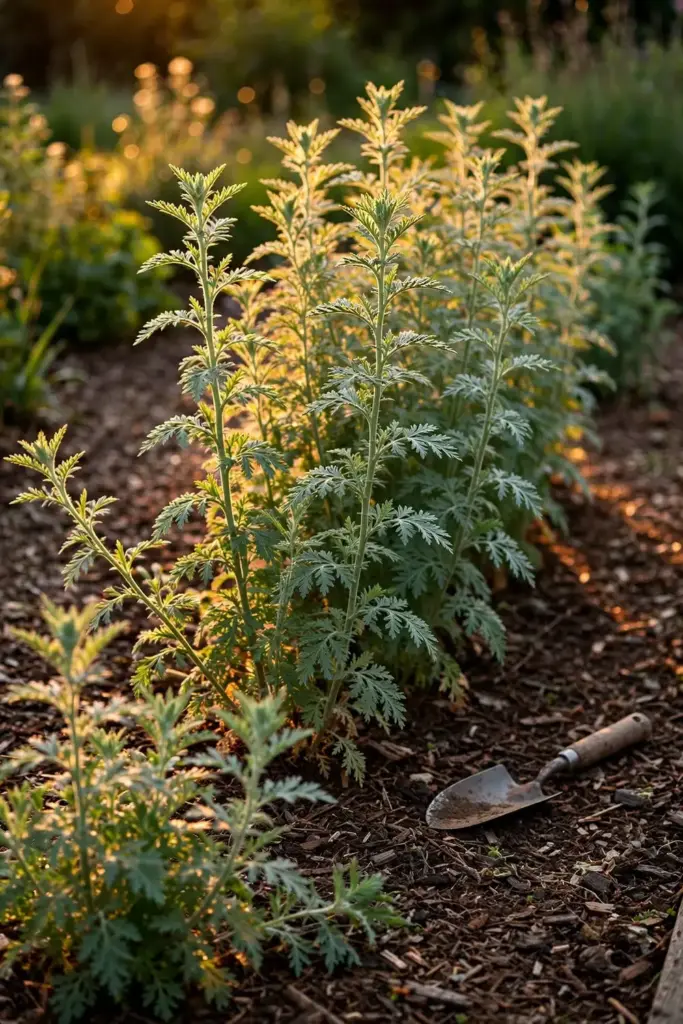
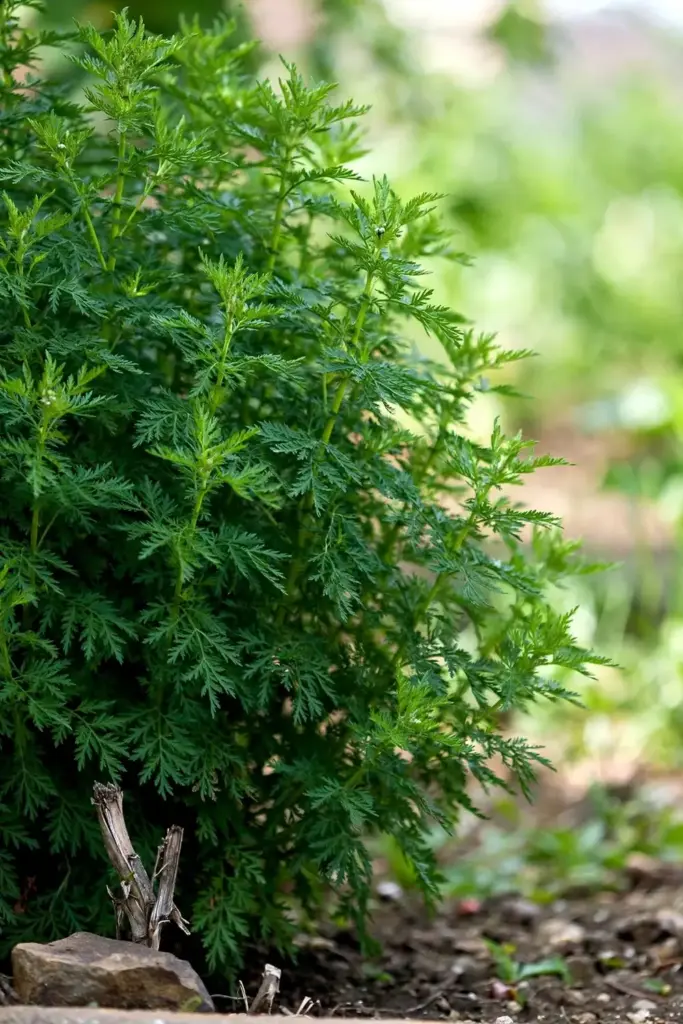
Sweet wormwood (Artemisia annua) is a warm-season annual native to temperate Asia. Grow it in full sun with well-drained soil, and treat it like a summer annual: plant after frost danger passes, enjoy the feathery fragrant foliage all summer, and expect it to die when hard frosts arrive. It performs best in USDA zones 4 to 9 as an annual, tolerating a wide pH range from about 5.0 to 8.0. Average garden soil is fine. Rich, heavily fertilized beds are unnecessary and can produce floppy growth. What matters most is sun and drainage: the plant sulks in shade and wet feet. A spot that receives at least 6 hours of direct sun and never puddles after rain is the right address. In hot southern climates, light afternoon shade is acceptable and can reduce heat stress, but in cool northern regions give it the sunniest bed you own. Wind exposure matters less than sun: the stems are flexible when young and stiffen as they mature, so a moderately breezy site is fine as long as the soil drains. Once established it tolerates dry spells better than soggy weeks, which makes it a forgiving plant for gardeners who water unevenly. Tall plants in exposed sites appreciate a sheltered corner or a simple stake, since a 4-foot annual with a shallow root system can lean in strong summer storms.
2. Which Wormwood Is in Your Packet
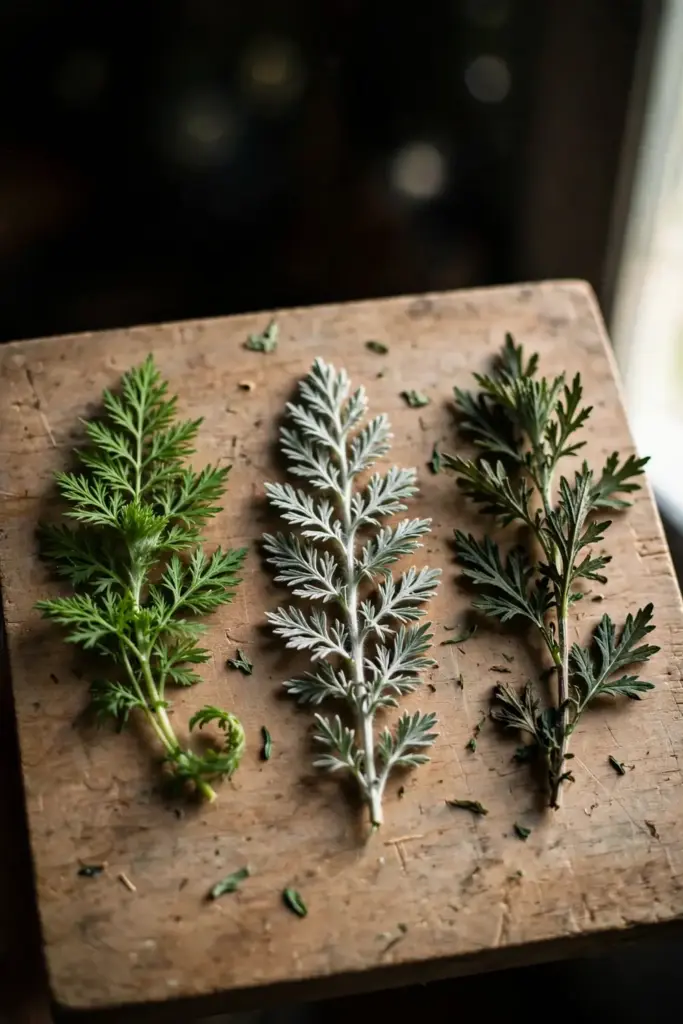
The naming confusion around wormwood is rampant enough that even search engine answers mix the species. Seed listings borrow each other’s names, social media pins label absinthe wormwood as sweet wormwood, and sponsored seed ads mix mugwort into annua titles. Before sowing, confirm which plant you actually bought, because the three species differ in life cycle, chemistry, and care. The table below is the ranking asset of this guide, because no page-one result draws these lines this plainly.
| Feature | Artemisia annua (Sweet Wormwood) | Artemisia absinthium (Absinthe Wormwood) | Artemisia vulgaris (Mugwort) |
|---|---|---|---|
| Common names | Sweet wormwood, sweet Annie, qing hao | Wormwood, grand wormwood | Common mugwort |
| Life cycle | Annual, dies with frost | Perennial, woody base | Perennial, spreads by rhizomes |
| Height | 3 to 5 ft in one season | 3 to 4 ft | 3 to 6 ft |
| Foliage | Fine, fern-like, sweet scented | Silvery gray-green, bitter scent | Dark green above, silvery below |
| Key compound | Artemisinin | Thujone | Thujone and related oils |
| Famous for | Malaria drug discovery | Absinthe liqueur | Traditional culinary and folk uses |
If the packet says absinthium, you are growing a different, perennial, thujone-containing plant, not sweet wormwood. If it says vulgaris, you have mugwort, a vigorous perennial that spreads underground. For this guide, every instruction refers to Artemisia annua only. When you see generic “wormwood growing” advice online, check the Latin name before trusting it.
3. Choosing and Handling the Seeds
Sweet wormwood seeds are among the finest in the plant kingdom. One gram can hold tens of thousands of seeds, which means a single packet contains far more plants than one garden needs. Buy fresh seed each year or two from a reputable seed seller, and store leftovers in a cool, dry place away from direct light. If you are restocking the seed box for spring, the best seeds guide rounds up reliable sources for planning the season. Because the seeds are nearly dust, mixing them with fine sand before sowing helps you spread them evenly instead of dumping a clump in one spot. Handle the packet over a tray so a breath of wind does not scatter the contents across the room. Check that the seed packet names Artemisia annua explicitly, not just “wormwood,” to avoid the species confusion from the previous section.
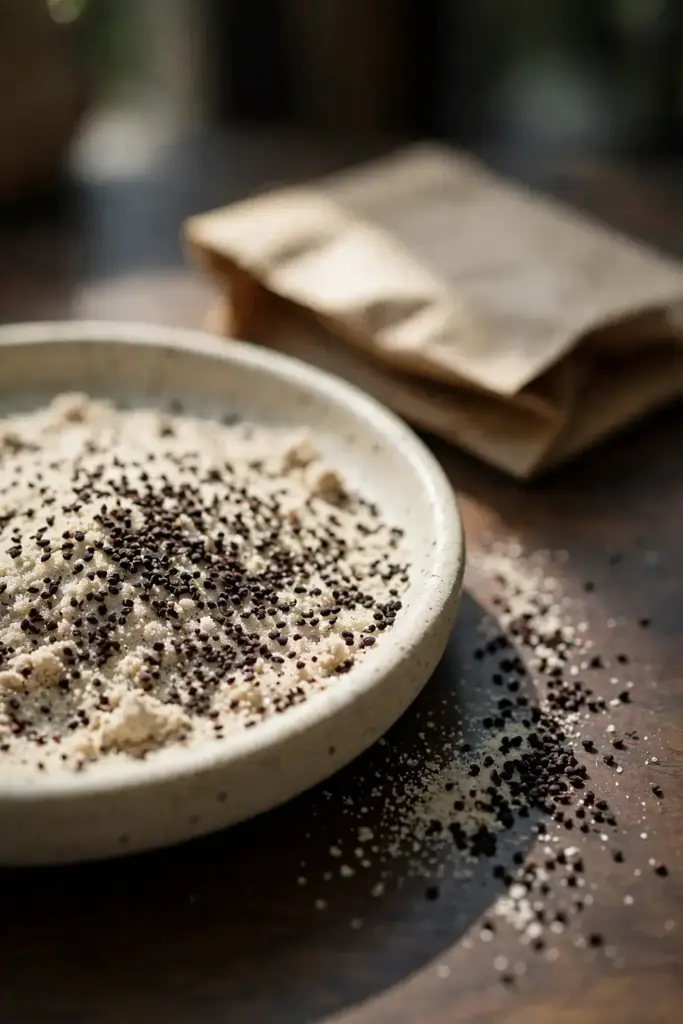
4. Surface Sowing, Step by Step
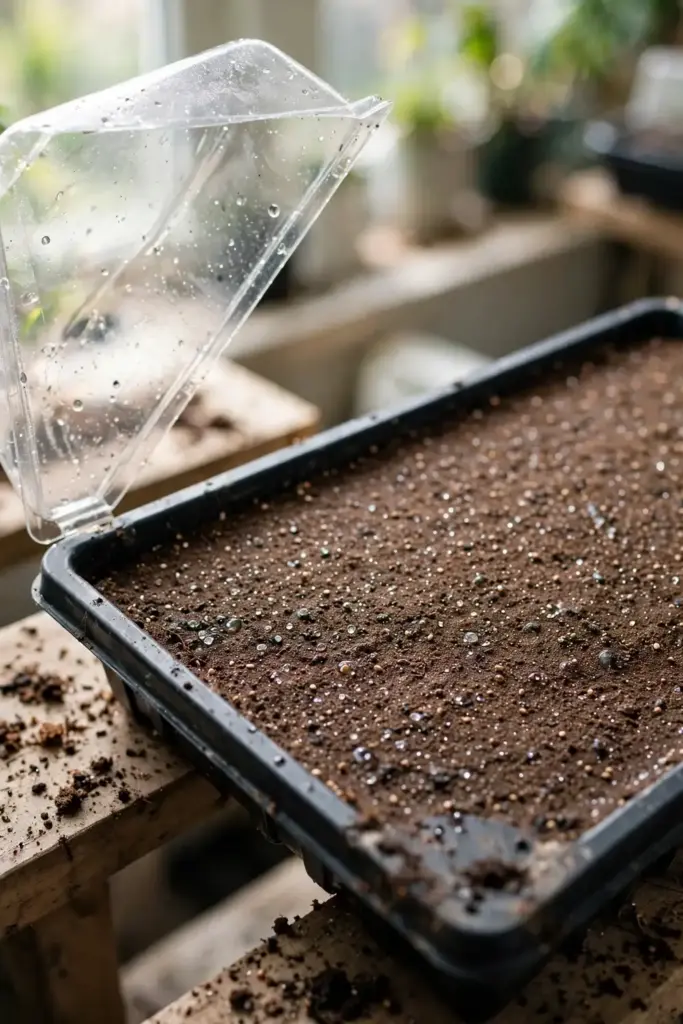
This is the step where most failures happen, and it is also the simplest step in the whole guide. Sweet wormwood seeds need light to germinate, so burying them is the number one way to get zero sprouts. Follow the timeline below.
| Step | Action | Time |
|---|---|---|
| 1 | Fill a tray or pots with moist seed-starting mix; level the surface | Day 0 |
| 2 | Scatter seed thinly (or seed mixed with sand) onto the surface | Day 0 |
| 3 | Press gently so seeds touch the soil; do not cover | Day 0 |
| 4 | Mist lightly; cover with a humidity dome or plastic | Day 0 |
| 5 | Place at 65 to 75°F in bright light | Days 1 to 21 |
| 6 | Keep moist, never soggy; vent the dome daily | Days 1 to 21 |
| 7 | Remove the dome at first sprouts | Days 7 to 21 |
Mist rather than water with a stream, because a hard pour washes the tiny seeds into clumps or buries them. Bottom-watering the tray works well too. One seed supplier’s growing notes put germination at 10 to 21 days with surface sowing and light moisture, which matches what most growers see in practice. Bottom heat from a seedling mat helps if your room runs cool, but the seeds germinate fine at ordinary warm room temperatures. Detailed germination instructions from an Australian seed grower add that seeds sown on the surface at 69 to 75 degrees Fahrenheit sprout in 10 to 21 days when kept evenly moist but never wet. Thin, patchy germination usually means the tray dried out for a stretch or the seeds were old, not that the variety is bad.
5. Starting Indoors vs Direct Sowing
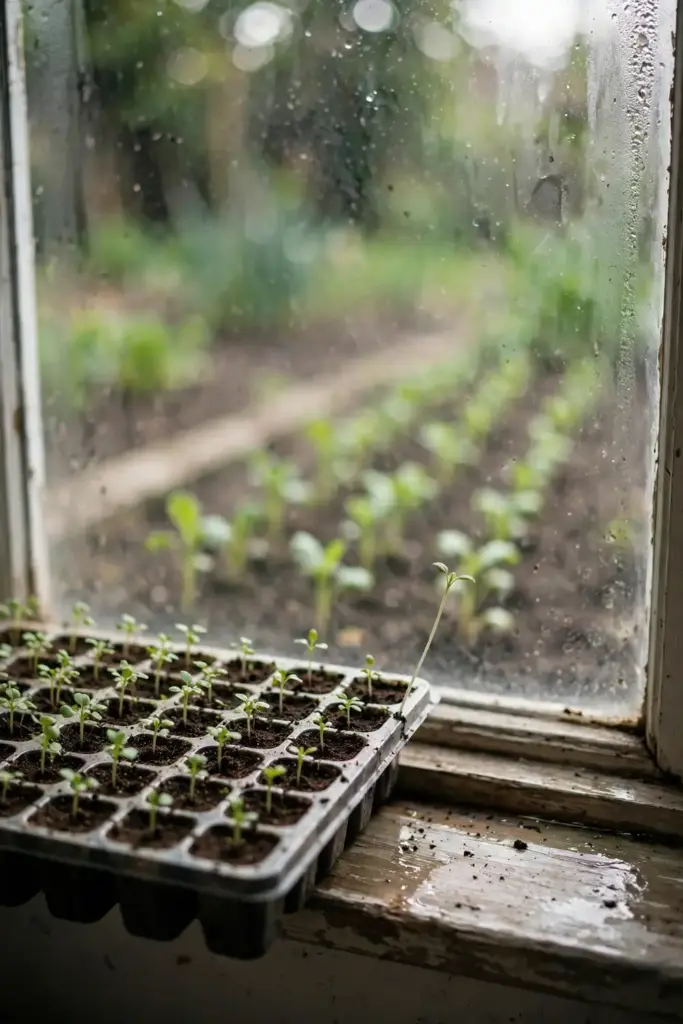
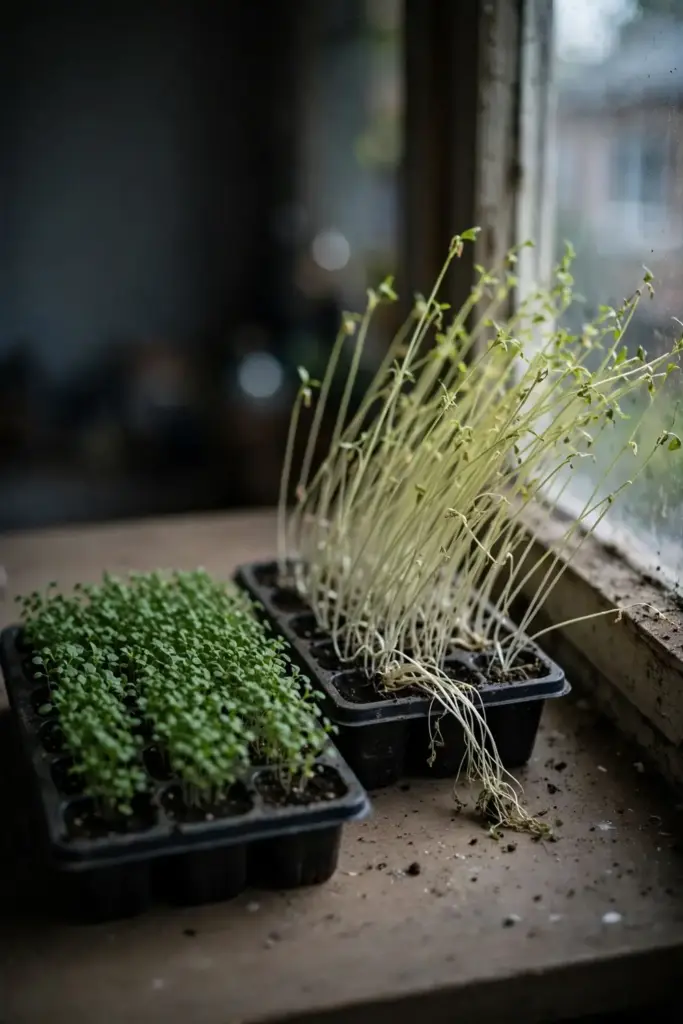
Both methods work, and the choice depends on your season length. Start indoors 4 to 6 weeks before your last frost date if you want the longest harvest season and the most controlled germination. Use cell trays or small pots, surface sow as above, and give the seedlings strong light from a sunny window or a grow light to prevent legginess. For a detailed indoor routine, the seed-starting companion guide walks through trays, lights, and hardening off.
Direct sow after all frost danger has passed if your season is long and warm. Rake the bed smooth, scatter the seed on the surface, press it in, and keep the top inch moist with a fine mist until sprouts appear. Direct-sown plants skip transplant shock entirely and often catch up to indoor-started ones by midsummer. In regions with very short summers, the indoor start is the safer bet. Either way, the rule never changes: the seed sits on the surface, in the light.
6. Transplanting Seedlings Without Shock
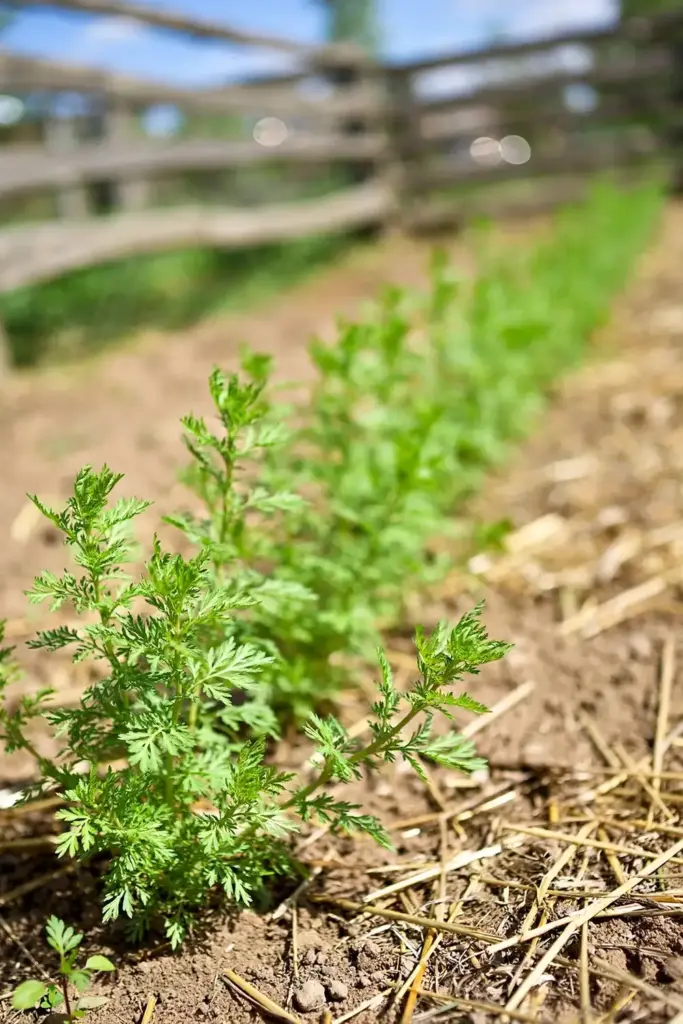
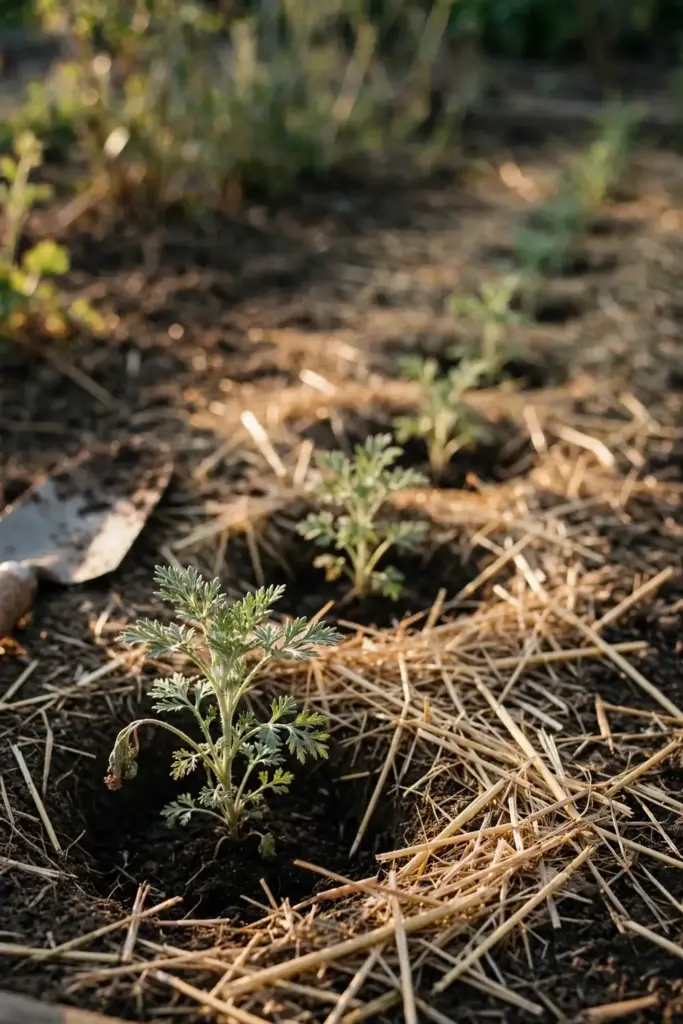
Set seedlings out after the last frost, when nights stay reliably above 50 degrees Fahrenheit. Harden them off for 7 to 10 days first, giving them increasing hours of outdoor sun and wind each day. This step matters because sweet wormwood seedlings grown under glass are soft, and a sudden move to full sun scorches them. One consumer growing guide for sweet Annie echoes the same basics: sow the small seeds in flats, set seedlings out well after the last spring frost, and expect little trouble beyond root rot in wet soil. Space plants 12 to 18 inches apart in the bed. Wider spacing (up to 24 inches) suits rich soil where plants grow tall; tighter spacing suits containers or a dense foliage screen. Dig the hole, set the seedling at the same depth it grew in the tray, firm the soil gently, and water it in. Mulch lightly with straw or shredded leaves to hold moisture, keeping mulch a few inches away from the stems. Young plants sulk for a week after transplanting, then take off.
7. Soil: What Artemisia Annua Wants
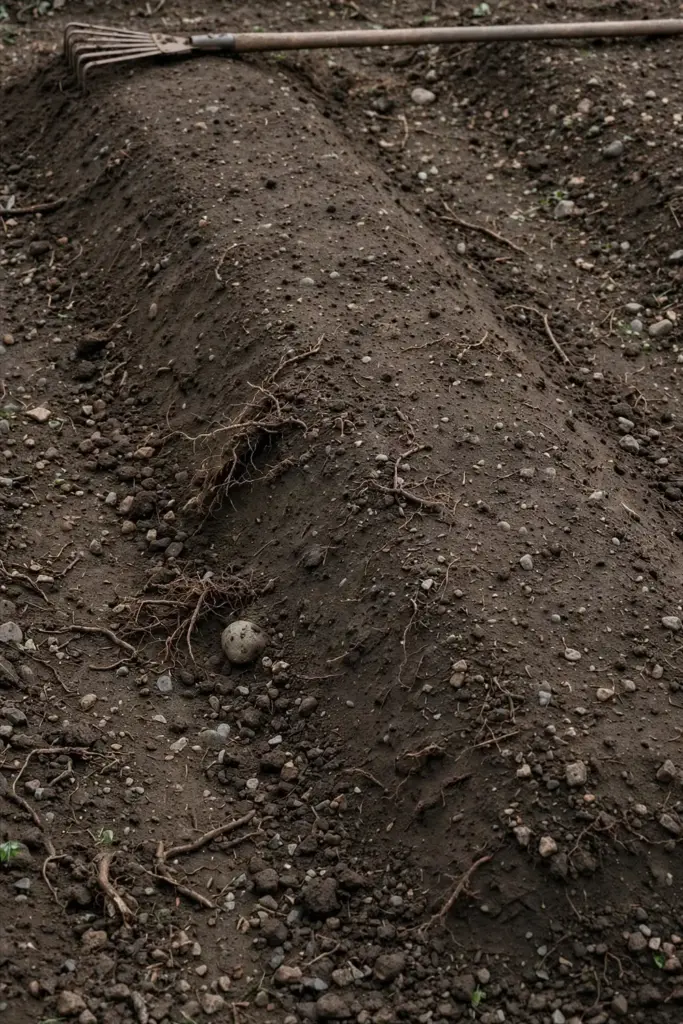
Sweet wormwood is undemanding about soil as long as drainage is good. Well-drained loam or sandy loam in the pH 5.0 to 8.0 range suits it, and ordinary garden fertility is plenty. This is not a plant that rewards heavy amendment: excess nitrogen produces soft, floppy stems that lodge in wind and rain. If your bed grows vegetables happily, it grows sweet wormwood happily. For a full foundation on feeding the soil instead of the plant, the soil-health companion article covers compost, mulch, and biological activity in depth. One caution: heavy clay that stays wet invites root rot, the one disease this plant genuinely fears. In clay soils, plant on a slight mound or in a raised bed so water drains away from the crown.
8. Watering: Moist, Never Soggy
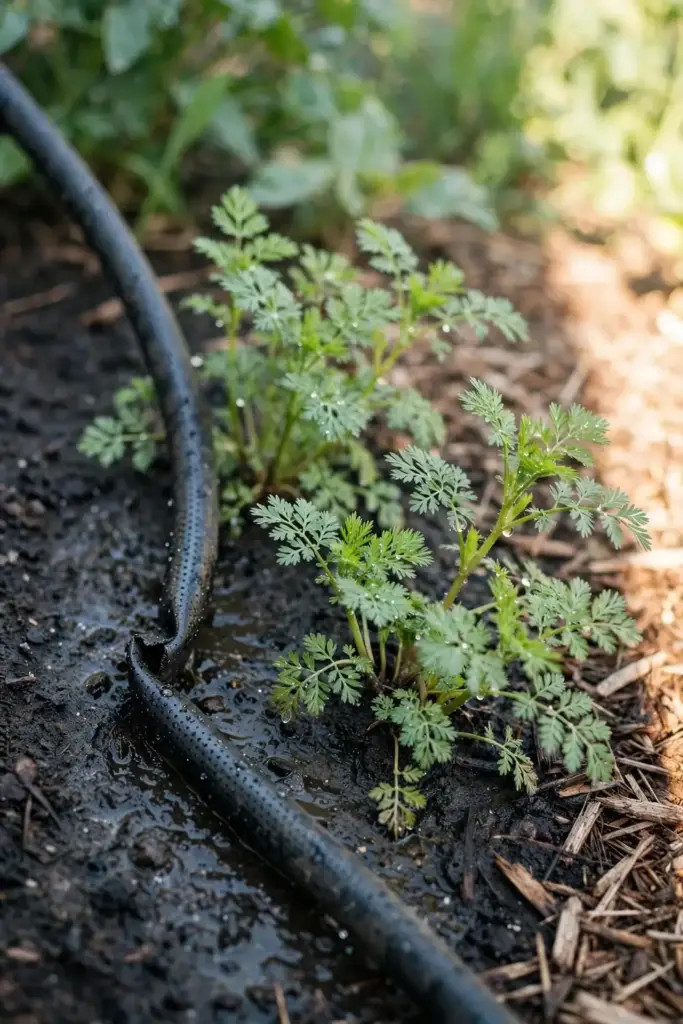
Keep the soil lightly moist until seedlings establish, then water moderately. The motto for sweet wormwood is moist, never soggy. During dry spells, water deeply once or twice a week rather than sprinkling daily; deep, infrequent watering pushes roots down and builds sturdier plants. Once plants pass knee height, they tolerate missed waterings far better than waterlogged soil. Overwatering shows up as yellowing lower leaves and, in bad cases, root rot at the crown. If your climate is humid and rainy, give plants generous spacing for airflow and avoid overhead watering late in the day. Drip irrigation or a soaker hose keeps foliage dry and cuts disease pressure.
9. Feeding: Less Is More
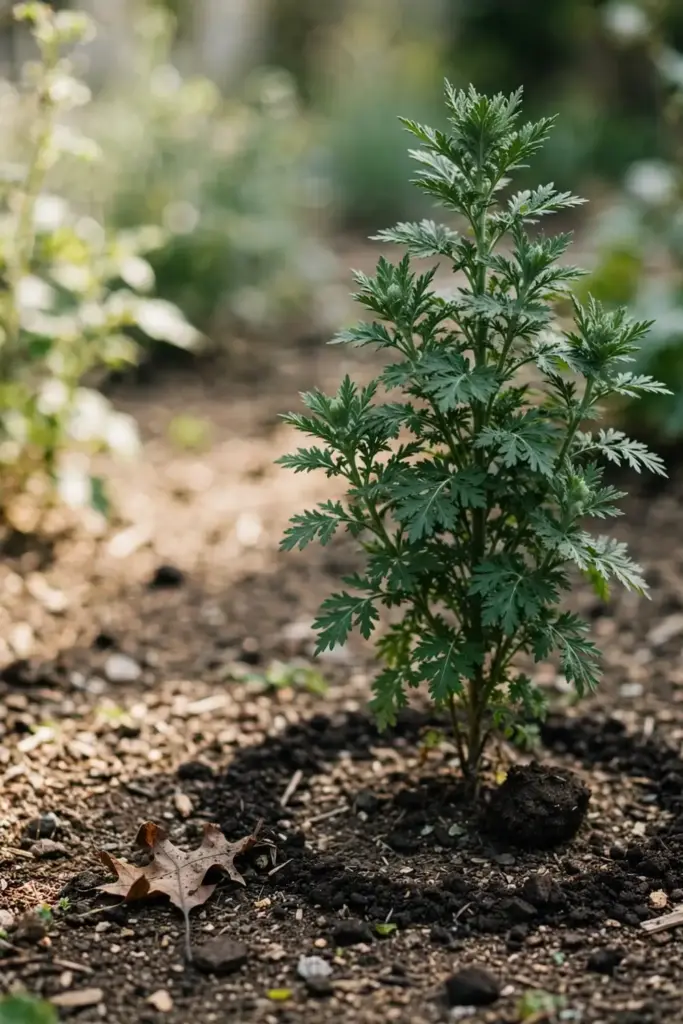
Skip the fertilizer bag. Sweet wormwood reaches its full 36 to 60 inches in average garden soil with no feeding at all, according to the seed supplier’s variety notes. If your soil is genuinely poor (pale, sandy, never amended), one light application of balanced organic fertilizer or compost at planting time is enough. Skip high-nitrogen feeds: they grow leafy, weak stems at the expense of the sturdy branching structure that carries the aromatic foliage. A top-dressing of compost in early summer supports soil life without pushing soft growth. When in doubt, underfeed. The plant evolved for lean soils and performs accordingly.
10. Pests and Diseases
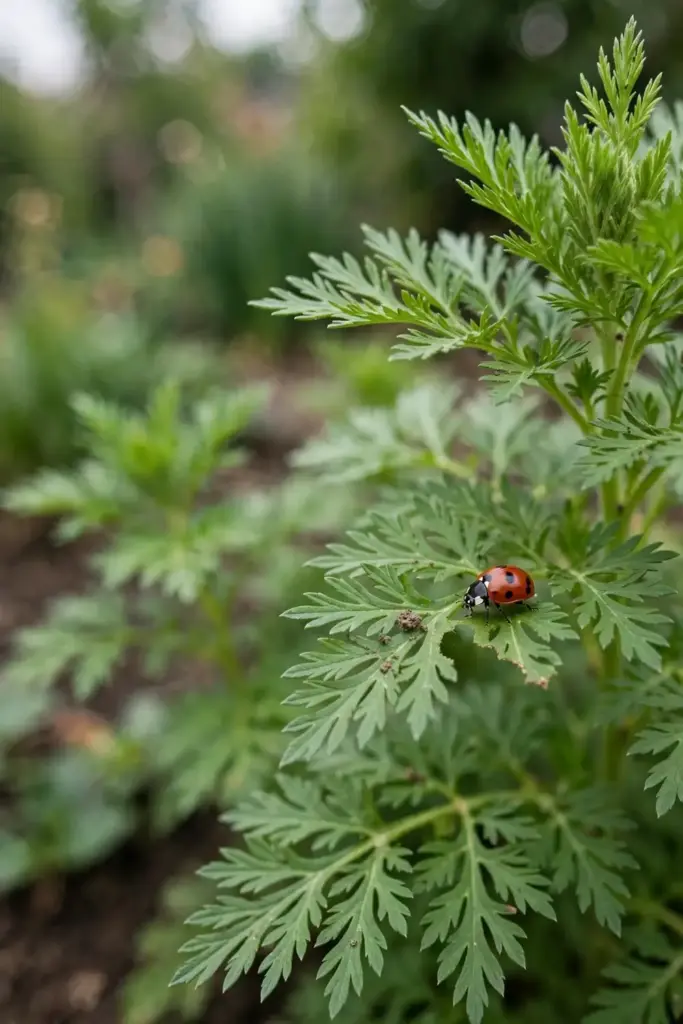
Good news: sweet wormwood is rarely troubled. Its aromatic foliage deters many garden pests, and most growers report no significant insect pressure. Watch for the usual suspects of the herb bed (aphids on new growth, occasional caterpillars) and handle them with a strong spray of water or insecticidal soap before reaching for anything stronger. The real enemy is disease from wet conditions: root rot and crown rot in soggy soil, and occasionally powdery mildew in crowded, humid plantings. Prevention beats treatment here. Give each plant its 12 to 18 inches, water at the base, and avoid planting in low spots that collect water. Remove and compost (hot pile) any plant that collapses at the base, and do not replant wormwood in that exact spot the following year. The scented foliage doubles as a mild companion-planting asset: interplanting sweet wormwood at the edge of the vegetable bed is an old gardener’s trick for confusing pest insects, though it should never replace real pest management.
11. Flowering and the Harvest Window
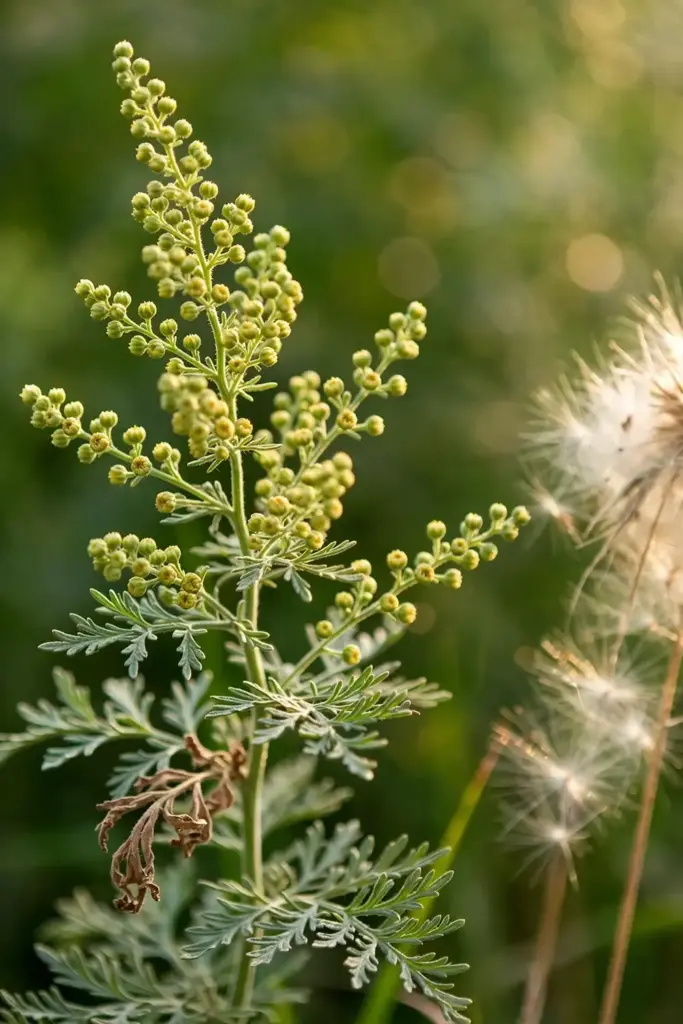
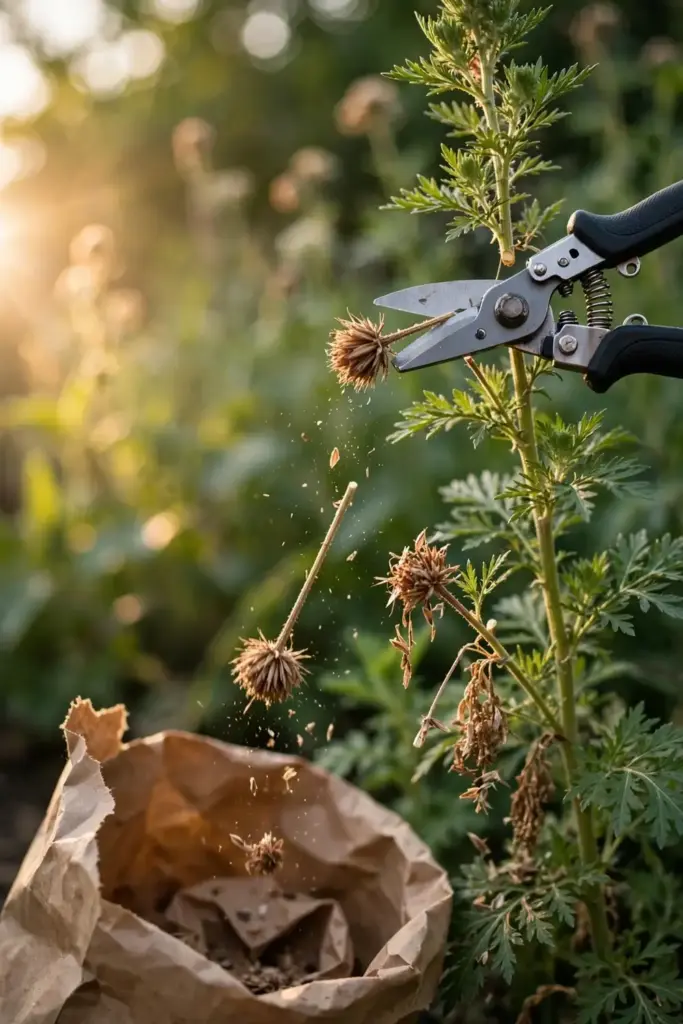
Sweet wormwood flowers in late summer, producing a haze of tiny greenish-yellow flower heads on the upper branches. The plant is a strict annual: it flowers, sets seed, and dies with the first hard frosts. Leaf harvest happens before and during early flowering, when the foliage is at its most aromatic. If your goal is dried bundles for crafts and fragrance, cut stems when the first flower buds show but before they fully open. If your goal is seed for next year (or the reason deadheading matters), let a few branches mature their seed heads fully, then cut them into a paper bag before they shatter. Either way, cut in the morning after the dew dries, when the aromatic oils are at their peak concentration in the leaves. Do not wait too long: once the seed heads dry and crack, the wind does the sowing for you, and next spring’s volunteers will remind you of the choice.
12. Harvesting and Drying the Leaves
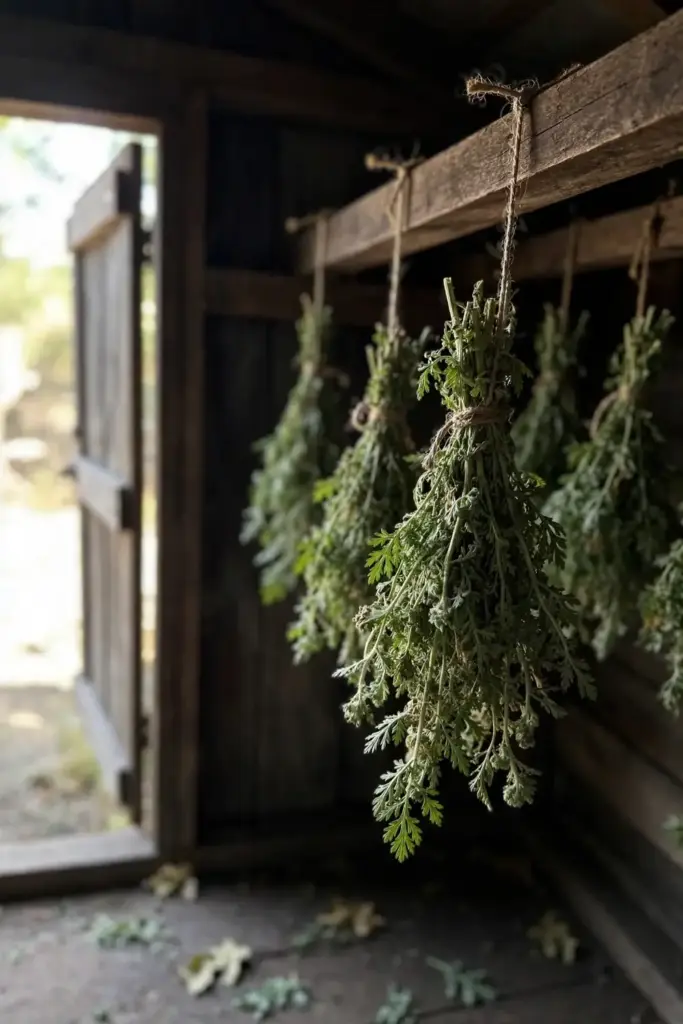
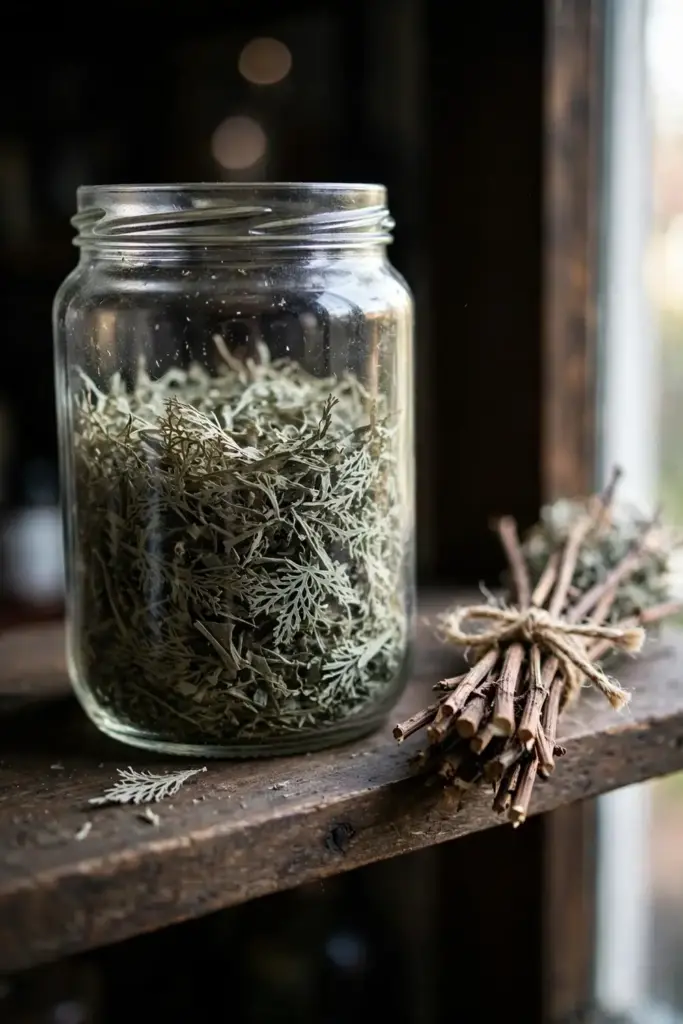
Cut leafy stems with clean pruners, taking no more than a third of the plant at once if you want it to keep producing. Strip the leaves from the lower stems and gather the tops into small bundles. Hang the bundles upside down in a warm, dark, well-ventilated spot: darkness preserves the green color and the sweet scent far better than sun drying. A garage, attic, or closet with a small fan works well. The leaves are ready when they crumble easily between your fingers, usually in 1 to 2 weeks depending on humidity. Strip the dried leaves into airtight jars and store them in the dark. Properly dried and stored, the foliage keeps its fragrance for a year and suits dried arrangements, wreaths, and sachets. Label the jar with the species name and the harvest date.
13. The Artemisinin Story: A Nobel Prize, Not a Prescription
This section exists because the plant’s fame deserves an honest telling, and honesty here is a safety matter. In 2015, Tu Youyou received half of the Nobel Prize in Physiology or Medicine for discovering artemisinin, a drug that significantly reduced mortality from malaria, based on work with Artemisia annua. That is a botanical and historical fact, and it is remarkable. It is not a reason to treat home-grown leaves as medicine. Artemisinin content in garden plants varies wildly by cultivar, growing conditions, and harvest timing, and the tea made from home leaves is not a malaria treatment and not a replacement for approved therapy. Medical researchers have also reported liver effects from Artemisia annua extracts in some patients, which is another reason home dosing is not a do-it-yourself project. Grow this plant for its beauty, fragrance, and the genuine pleasure of a fragrant garden. Leave the medicine to clinicians and pharmacists.
14. Self-Seeding and Containment
Here is the trait that surprises first-time growers: sweet wormwood self-seeds easily and can reappear in numbers the following year. One plant left to mature its seed heads can scatter enough seed for a whole new bed, plus volunteers in paths, lawn edges, and neighboring beds. This is a feature if you want a permanent patch and a problem if you garden in tidy rows. The control method is simple and must be scheduled: deadhead spent flower heads before they dry and shatter, cutting them into a bag rather than letting them fall. If volunteers appear where you do not want them, pull them young; they transplant poorly once the taproot extends, so early removal is the efficient move. In windy sites, a single season of neglect can seed the whole neighborhood bed, so mark deadheading on the calendar for late summer.
15. Growing in Containers
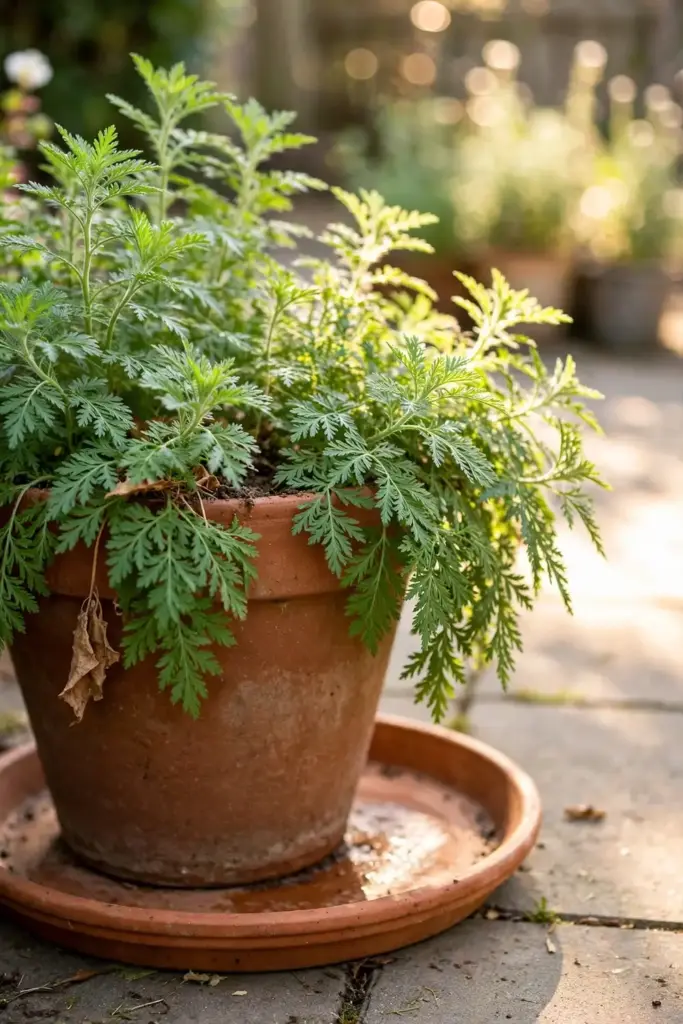
Sweet wormwood grows well in containers, which also solves the self-seeding problem neatly. Choose a pot at least 12 inches wide and deep for one plant; a half-barrel or 5-gallon container suits a specimen plant. Fill it with well-drained potting mix (not heavy garden soil), surface sow or transplant one seedling per pot, and place it in full sun. Container plants dry out faster than bed plants, so check moisture daily in hot weather and water when the top inch feels dry. Feed lightly once mid-season with a balanced liquid feed at half strength if growth looks pale. Move the pot against a warm wall in cool climates to extend the season. At season’s end, deadhead before frost and either compost the plant or let one head mature in a controlled spot if you want next year’s seed. One advantage of the container route: you can move the pot to a sheltered wall in early fall and squeeze a few extra weeks of leaf growth before the first hard freeze ends the season.
16. Common Mistakes and How to Fix Them
Burying the seeds is the classic failure. The seeds need light, so any covering deeper than a dusting of vermiculite stops germination. Fix: surface sow, press gently, mist. Starting indoors without strong light grows leggy seedlings that never recover, no matter how early you begin; fix: give seedlings a bright south window or a grow light, and keep the indoor head start to the 4 to 6 week window from the sowing section. Transplanting into cold, wet soil stalls growth; fix: wait until nights stay above 50 degrees. Overwatering established plants invites root rot; fix: water deeply but infrequently, and improve drainage. Letting every flower head mature guarantees a volunteer army next spring; fix: deadhead on schedule. Confusing species at purchase wastes a season; fix: verify Artemisia annua on the packet before sowing.
17. Troubleshooting Quick Answers
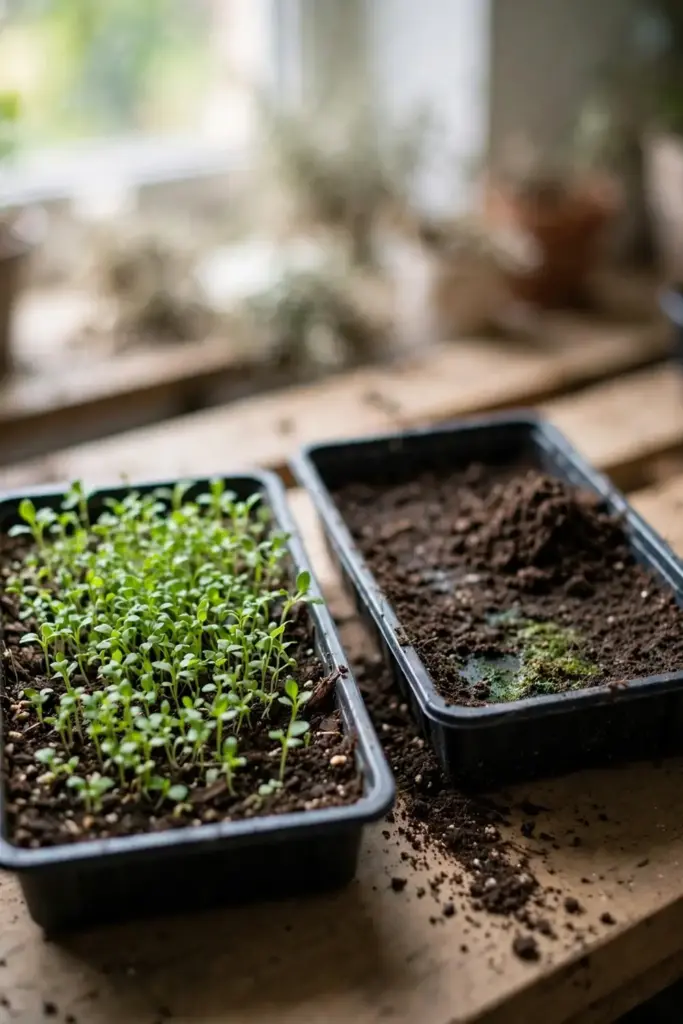
Seedlings damping off? The mix stayed too wet or the dome stayed sealed too long. Vent daily, water from below, and thin crowded sprouts for airflow. Nothing germinated after 3 weeks? The seeds were likely buried, old, or kept too cool; resow on the surface at 65 to 75 degrees with fresh seed. Plants flopping over? Usually excess nitrogen or deep shade; stake them, skip the fertilizer, and give the next planting more sun. Yellowing lower leaves? Most often overwatering or poor drainage; let the soil dry between waterings and check that the bed does not hold water. Volunteers everywhere? Deadhead earlier next year and mulch the bed surface to suppress germination. Plants stunted at 2 feet in midsummer? Usually a too-small container or deep shade; move the pot to full sun or transplant to the bed while the plant is still young enough to recover.
18. Frequently Asked Questions
Botanically, no. Sweet wormwood is a strict annual that dies with the first hard frosts. Practically, it often seems perennial because it self-seeds so freely that new plants appear in the same spot each spring. If you want it back, let one seed head mature in place. If you do not want it back, deadhead every flower head before it dries. The volunteers are easy to pull young.
From sowing to a full-sized plant takes most of one growing season. Seeds germinate in 7 to 21 days at 65 to 75 degrees Fahrenheit. Seedlings transplanted after frost reach harvestable size in 90 to 110 days and full 3 to 5 foot stature by late summer. Start indoors 4 to 6 weeks before last frost in short-season climates to give the plant its full run.
Seeds are the reliable method, and this guide recommends them. Stem cuttings can root under mist with hormone, but the success rate is lower and the plants are weaker than seed-grown ones. Since one packet of seed holds thousands of plants and germination is straightforward with surface sowing, cuttings are rarely worth the trouble for home gardeners.
No, and this confusion is the most common naming trap in the herb world. Sweet wormwood is Artemisia annua, a fragrant annual famous for artemisinin. Absinthe wormwood is Artemisia absinthium, a silvery perennial containing thujone and used in absinthe liqueur. They look different, grow differently, and contain different compounds. Always check the Latin name on the packet.
Harvest leafy stems just before or during early flowering in late summer, when the aromatic oils peak. Cut in the morning after the dew dries. Take no more than a third of the plant at a time if you want continued growth. For drying, hang small bundles upside down in a dark, ventilated spot for 1 to 2 weeks until the leaves crumble easily, then store them in airtight jars away from light.
Treat any home preparation with caution and talk to a clinician before using it for health purposes. Home-grown leaves are not a standardized medicine: artemisinin content varies by cultivar and conditions, and researchers have reported liver effects from Artemisia annua extracts in some patients. This guide covers growing only. Never use home tea as a malaria treatment or as a replacement for approved therapy.
19. Where to Go From Here
You now know how to grow sweet wormwood from seed: surface sow on light, keep it moist and warm, transplant after frost, give it sun and drainage, deadhead on schedule, and enjoy the fragrant foliage. Gardeners who master how to grow sweet wormwood this way rarely go back to buying dried bundles. If you are planning a broader herb garden for next season, the fall herbs guide is a good next read for timing and companions. Start one tray this spring, and by late summer you will have a 4-foot cloud of sweet-scented green that cost you a packet of dust and a little patience.