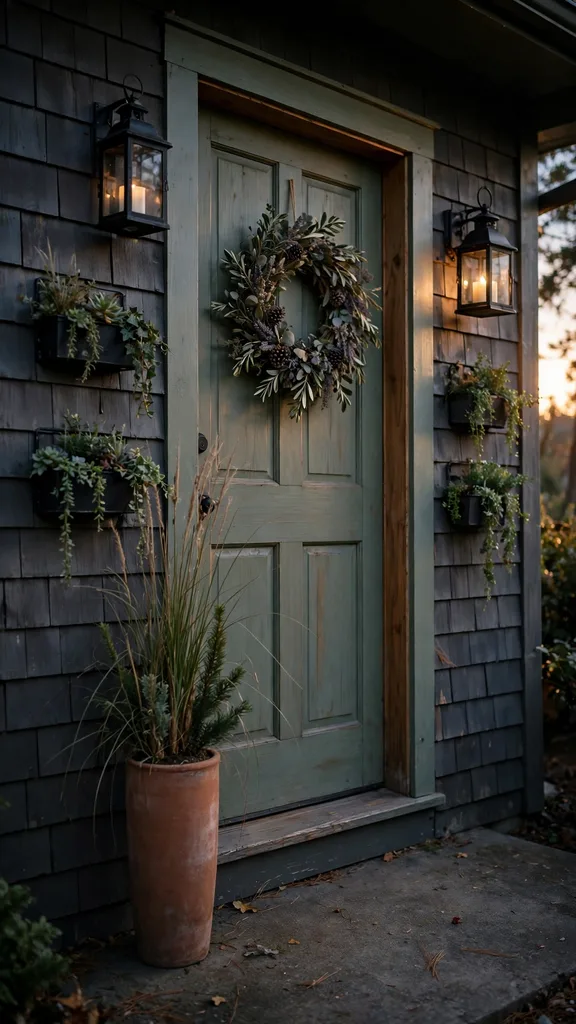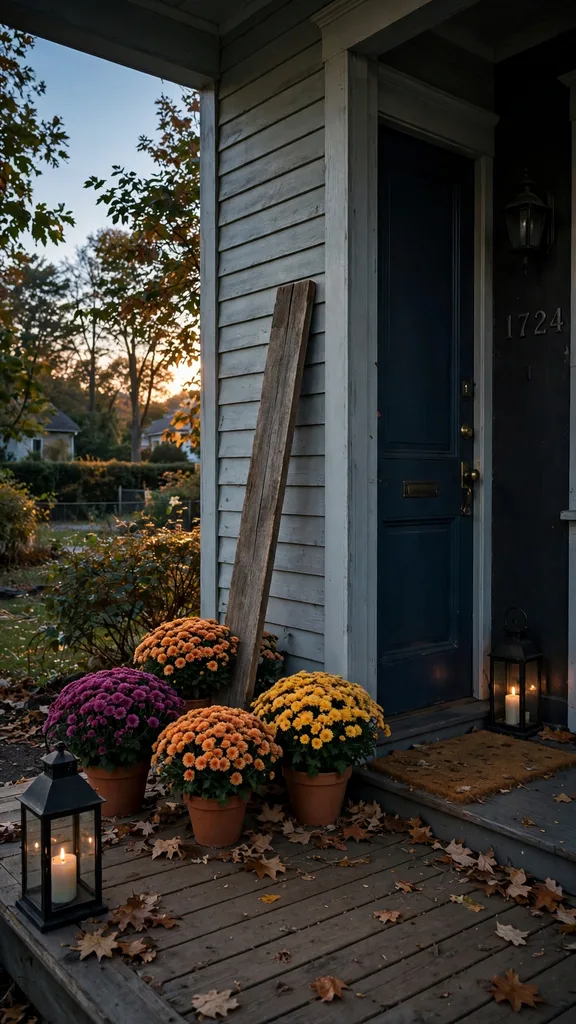

A wooden sign gives a porch a single clear message, because the board carries the greeting while the plants and lanterns around it stay quiet. This collection gathers 45 DIY wooden Thanksgiving porch sign ideas, grouped by wood choice, cutting and joining, painting and lettering, weatherproofing, sign shapes, placement with companion plants, and the dusk check, so a reader with basic tools can build a sign that suits a covered porch, an open porch, a narrow entry, or a wide landing.
The build rests on four decisions that repeat in every group. Choose wood that matches the porch exposure, cut and join a panel that stays flat, paint and letter it with a method that matches the skill in the house, and seal every side before the sign meets rain. A sign built in that order reads well from the walkway and survives the season, while a sign built by painting first and sealing last peels at the edges before Thanksgiving week ends.
I built my first porch sign from a leftover fence picket, and the second coat taught me patience.
1. Start With Pine for a First Sign
Pine suits a first porch sign, because pine boards are sold at most lumber yards, cut cleanly with basic saws, and hold paint well on a smooth face. Choose a pine board 2.5 centimetres (1 inch) thick and 20 centimetres (8 inches) wide for a first horizontal sign, and check the board for straightness by sighting down its length before purchase, since a bowed board rocks on sawhorses and resists a flat finish.
Pine dents under a dropped tool and swells when it stays wet, so a pine sign belongs on a covered porch or under a deep overhang. Seal pine on every side, including the back and the end grain, and store a pine sign indoors between seasons, because a sealed pine sign lasts several seasons while an unsealed pine sign greys and checks in one wet autumn.
2. Choose Cedar for an Open Porch
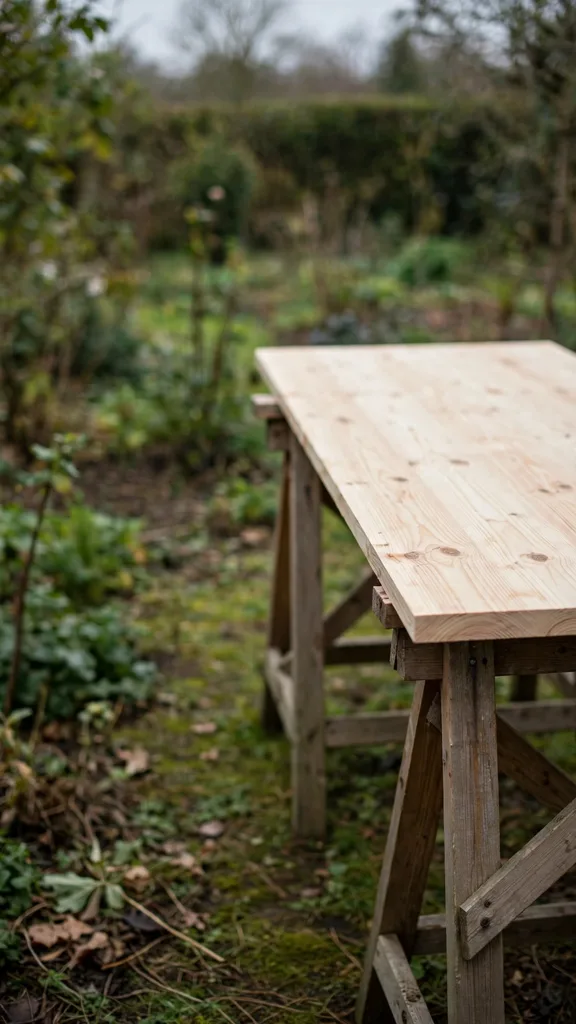
Cedar suits an open porch, because cedar heartwood resists decay better than pine and holds its shape through wet and dry cycles. Choose a cedar board 2.5 centimetres (1 inch) thick and 28 centimetres (11 inches) wide for a tall leaner, and expect to pay more per board than pine, since the decay resistance comes from the wood itself rather than from a coating alone.
Cedar still needs a finish outdoors, because an unfinished cedar sign greys to silver within one season of sun and rain. A clear exterior sealant keeps cedar warm in colour, while a painted cedar sign gives the longest service, since paint blocks sunlight from the wood face and sealant blocks water from the edges.
3. Reclaimed Barn Board With a Story
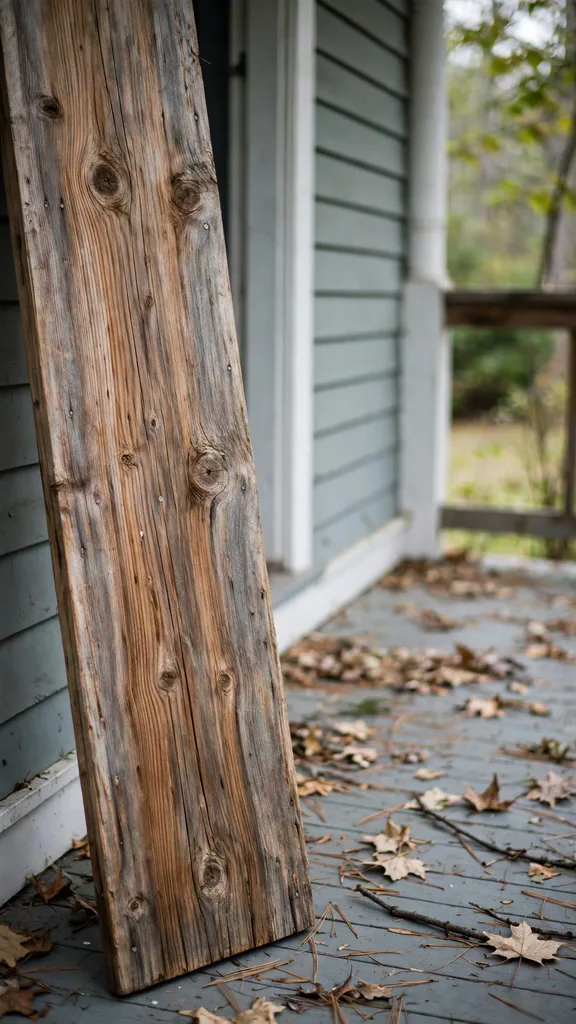
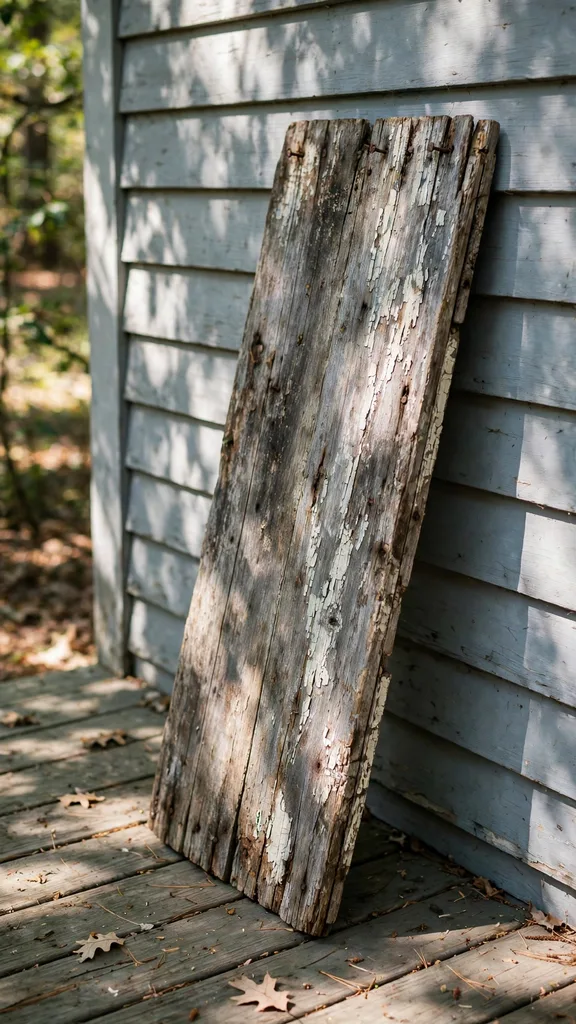
Reclaimed barn board gives a sign a weathered face that new lumber cannot copy, because old boards carry nail holes, saw marks, and a grey patina from decades outdoors. Inspect every reclaimed board for nails with a magnet sweep, pull all fasteners before cutting, and cut 5 centimetres (2 inches) off each end, since board ends hide cracks and rot that weaken a sign.
Reclaimed boards vary in thickness, so pair boards of equal thickness for one panel and shim the frame backing where a board sits proud. Wash reclaimed boards with a stiff brush and water, let them dry fully for two days, and seal them before painting, because old wood drinks paint unevenly and a sealed face keeps the lettering crisp.
4. Fence Picket Build for a Tall Leaner
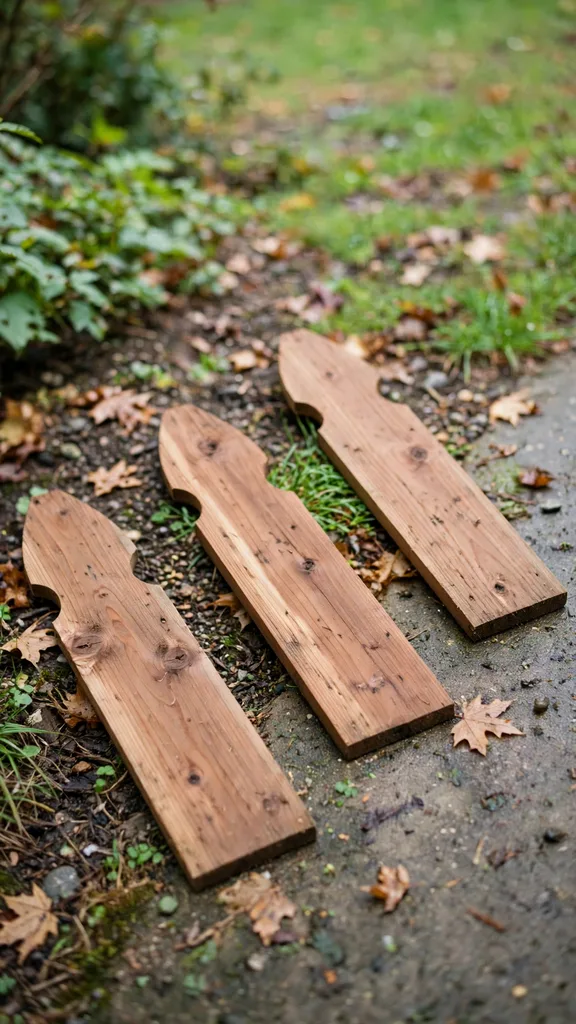
Fence pickets build a tall leaner cheaply, because three pickets side by side make a panel 38 centimetres (15 inches) wide at a fraction of the cost of a wide board. Choose pickets 15 centimetres (6 inches) wide and 183 centimetres (72 inches) long, cut the pointed tops square, and lay the pickets face down on a flat floor before joining, since a panel joined on an uneven floor dries with a twist.
Join pickets with two horizontal battens on the back, one 20 centimetres (8 inches) from the top and one 20 centimetres (8 inches) from the bottom, and drive screws from the back so no screw heads show on the lettering face. A picket leaner stands 152 centimetres (60 inches) tall after trimming, which reads well beside a standard door without blocking the door handle or the porch light.
5. Plywood Panel for a Wide Horizontal Sign
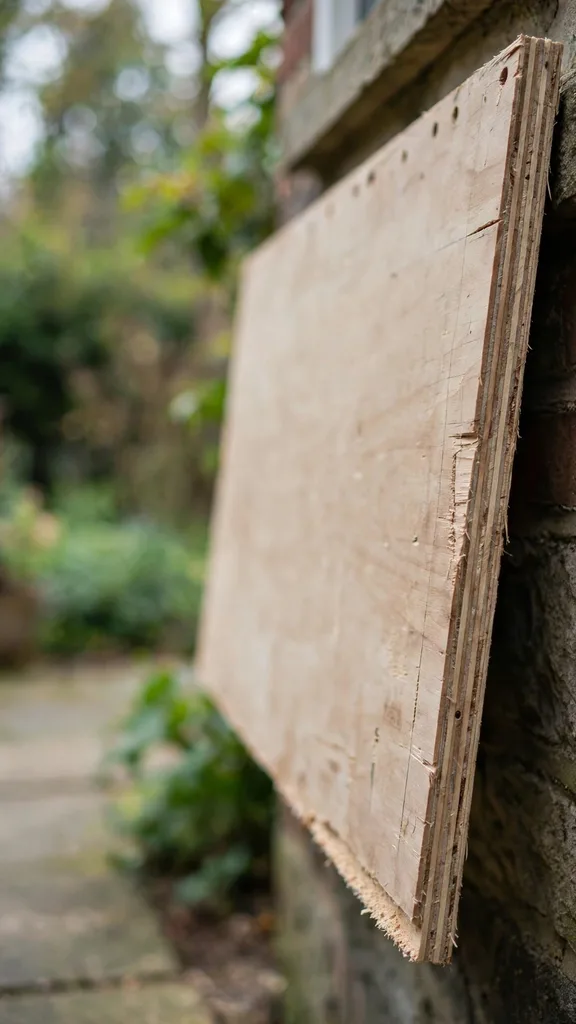
Plywood gives a wide horizontal sign a stable face, because a plywood panel resists the cupping that troubles wide solid boards. Choose exterior grade plywood 1.9 centimetres (0.75 inches) thick for a sign 91 centimetres (36 inches) wide and 30 centimetres (12 inches) tall, and seal the plywood edges with two extra coats, since plywood edges absorb water faster than the faces.
Plywood edges show layers unless they are finished, so frame the panel with thin trim boards or fill the edges and sand them smooth before painting. A plywood sign hangs well on a wall with a cleat, and it suits a porch bench wall or a garage wall beside the entry, where a wide sign reads from the walkway without claiming floor space.
6. Pallet Wood for a Rustic Plank Sign
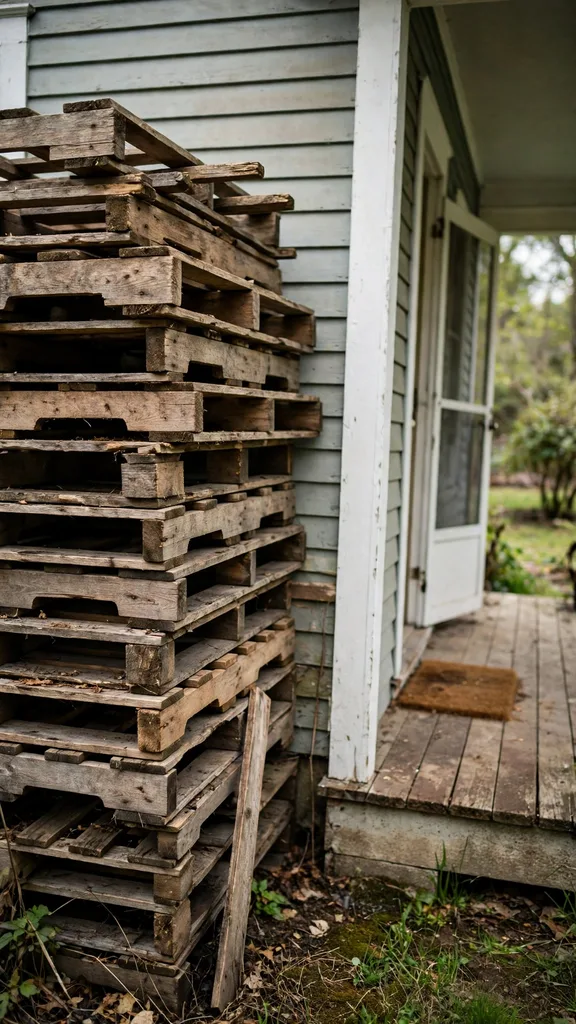
Pallet wood gives a rustic plank sign a varied tone, because pallet slats differ in colour, grain, and wear from board to board. Choose pallets marked HT for heat treatment, reject pallets with spills, stains, or a chemical smell, and dismantle them with a pry bar and a mallet, since a saw cut through a hidden nail ruins a blade and a plank.
Sort slats by thickness before building, plane the worst high spots, and join five slats into a panel 61 centimetres (24 inches) wide and 46 centimetres (18 inches) tall. Pallet slats are thin, so a frame backing is required, and a pallet sign suits a covered porch best, since thin slats warp fast when one face stays wet and the other stays dry.
7. Live Edge Slab for a Natural Edge Sign
A live edge slab gives a sign a natural edge that no sawn board offers, because the slab keeps the bark line and the curve of the tree. Choose a slab 3.8 centimetres (1.5 inches) thick and 25 centimetres (10 inches) wide, flatten the back with a router sled or a hand plane, and seal the bark edge with extra coats, since bark edges trap moisture and shed in rain.
A live edge sign suits a small entry, because one slab carries a short greeting and a small harvest motif without needing a wide wall. Mount a slab sign with a cleat rated for its weight, and check the mount monthly, since a slab sign weighs more than a pine board of the same size and a tired screw pulls out without warning.
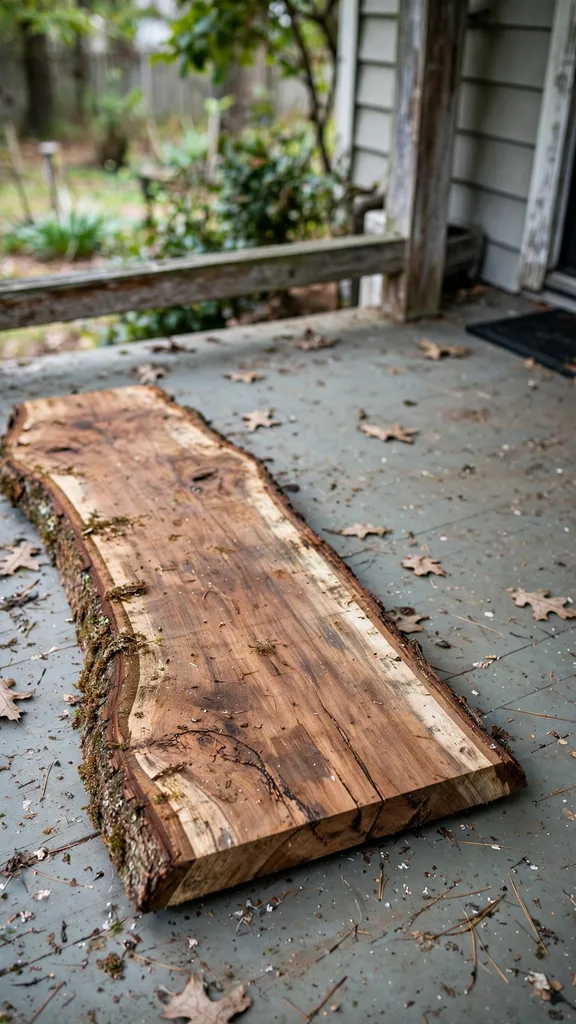
8. Measure Twice Before the First Cut
Measuring twice prevents the most common sign mistake, which is cutting a board to the door width and discovering the sign blocks the handle or the light. Measure the wall width, the door width, the space beside the door, and the height from the floor to the porch light, and write each number on the board in pencil before cutting, since a sign planned from numbers fits on the first try.
Mark the lettering zone on the board as well, leaving a margin of 5 centimetres (2 inches) on every side, because lettering that runs to the edge reads as crowded from the walkway. A leaner sign 152 centimetres (60 inches) tall needs a wall space 46 centimetres (18 inches) wide, and a horizontal sign 91 centimetres (36 inches) wide needs a wall space 107 centimetres (42 inches) wide with margins included.
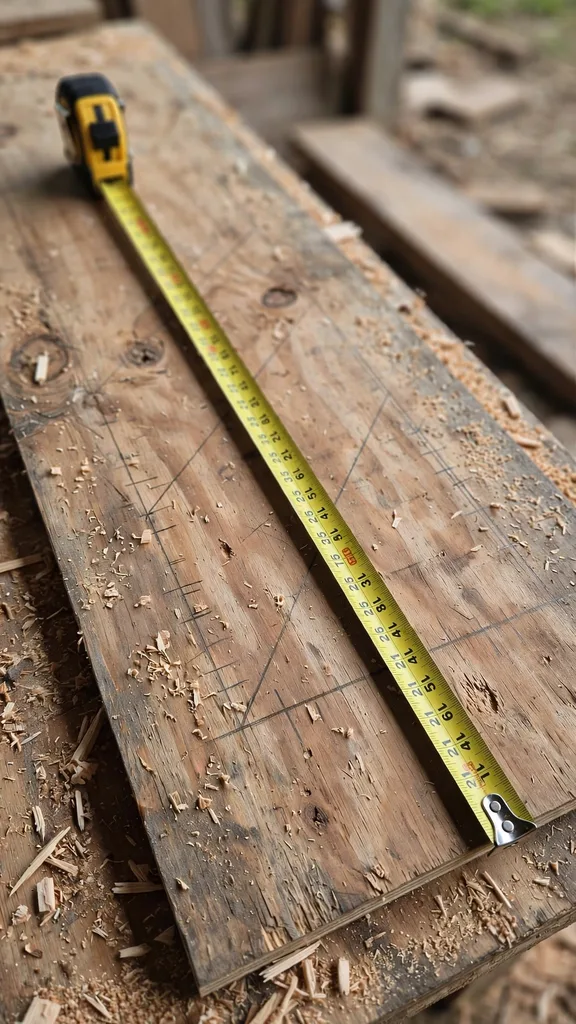
9. Straight Cuts With a Circular Saw
A circular saw makes straight cuts in sign boards, because a clamped straightedge guides the saw shoe along the cut line. Clamp a straight board as a guide, set the blade depth to 3 millimetres (0.125 inches) deeper than the board thickness, and cut with the good face down, since a circular saw splinters the face where the blade exits.
Support both sides of the cut so the offcut cannot drop and tear the last centimetres of the board, and sand the cut edge with 120 grit paper before joining. A cut that wanders by 3 millimetres (0.125 inches) shows in a joined panel, while a cut that follows the guide stays invisible under paint and lettering.

10. Pocket Hole Joints for a Flat Panel
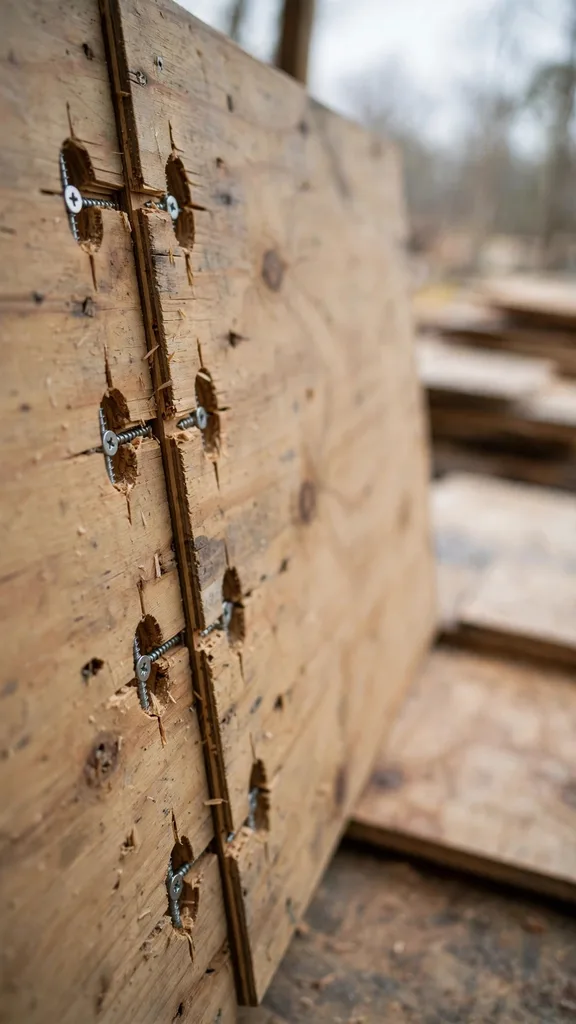
Pocket hole joints hold a sign panel flat, because screws driven at an angle from the back pull boards tight without showing on the lettering face. Drill two pocket holes per joint on the back of each board, use screws 3.2 centimetres (1.25 inches) long for boards 1.9 centimetres (0.75 inches) thick, and clamp the boards to a flat bench while driving, since a joint driven without a clamp shifts out of line.
Pocket hole joints suit panels up to 91 centimetres (36 inches) wide, and they suit a first build better than glue alone, since screws hold the panel while glue cures. Fill no pocket holes on the lettering face, because pocket holes belong on the back only, and a filled hole on the face shows through paint as a dimple.
11. Sand Every Edge Before Paint
Sanding before paint decides how a sign feels in the hand, because paint over rough wood highlights every splinter and saw mark. Sand the faces with 120 grit paper, sand the edges with 150 grit paper, and sand the end grain with 180 grit paper, since end grain drinks paint faster and needs a smoother face to take an even coat.
Wipe the board with a damp cloth after sanding, let it dry for 30 minutes, and run a hand over the board to find missed rough spots before priming. A board sanded in the direction of the grain takes paint evenly, while a board sanded across the grain shows scratches through two coats of paint.
12. Frame Backing for a Sign That Stays Flat
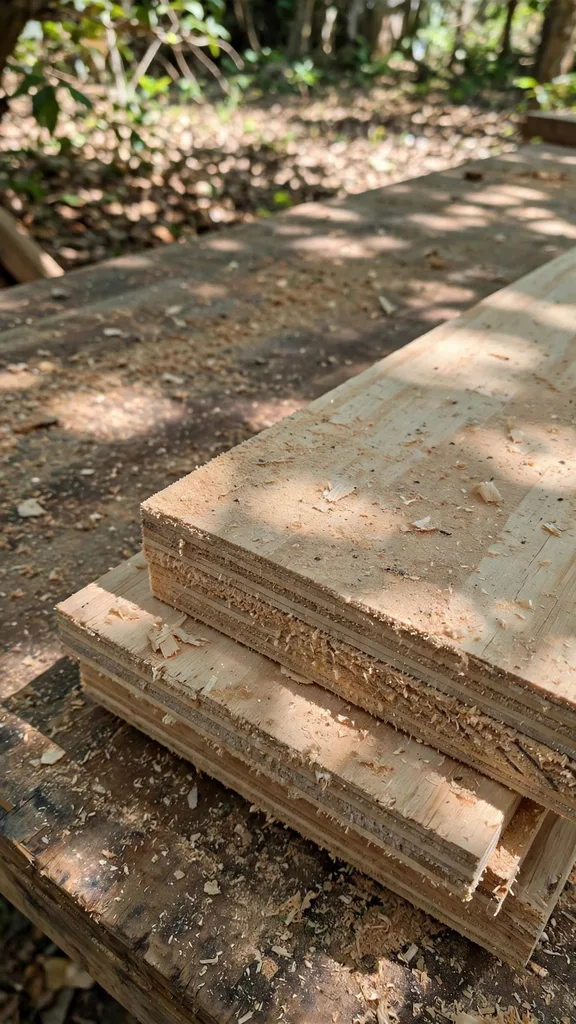
Frame backing keeps a sign panel flat through wet and dry cycles, because a frame of battens on the back resists the cupping force of boards that dry unevenly. Fix two horizontal battens across the back with screws and glue, keep the battens 5 centimetres (2 inches) inside the panel edges, and use battens 5 centimetres (2 inches) wide and 1.9 centimetres (0.75 inches) thick for panels up to 91 centimetres (36 inches) wide.
Frame backing also gives a leaner sign a foot, because the bottom batten acts as a spacer that holds the panel off wet porch boards. A panel without backing cups within one season outdoors, while a panel with backing stays flat for several seasons under the same sealant and the same exposure.
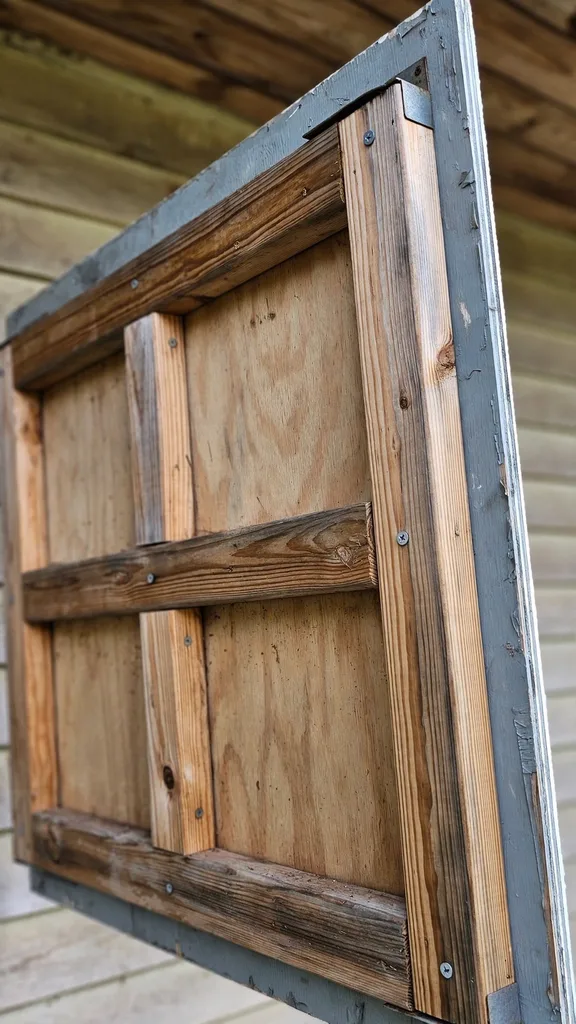
13. French Cleat for a Hangable Sign
A french cleat hangs a sign flat against a wall, because two bevelled boards lock together and spread the sign weight across two studs. Cut the wall cleat 61 centimetres (24 inches) long, fix it to studs with screws 6.4 centimetres (2.5 inches) long, and fix the matching cleat to the sign back, since a cleat fixed to siding alone pulls out under a heavy sign.
A french cleat suits a sign that moves indoors after Thanksgiving, because the sign lifts off the wall cleat in one motion and hangs again without new holes. Mark the cleat position with tape before drilling, and test the hang with the sign weight for one day before lettering, since a cleat that slips shows as a tilted sign from the walkway.
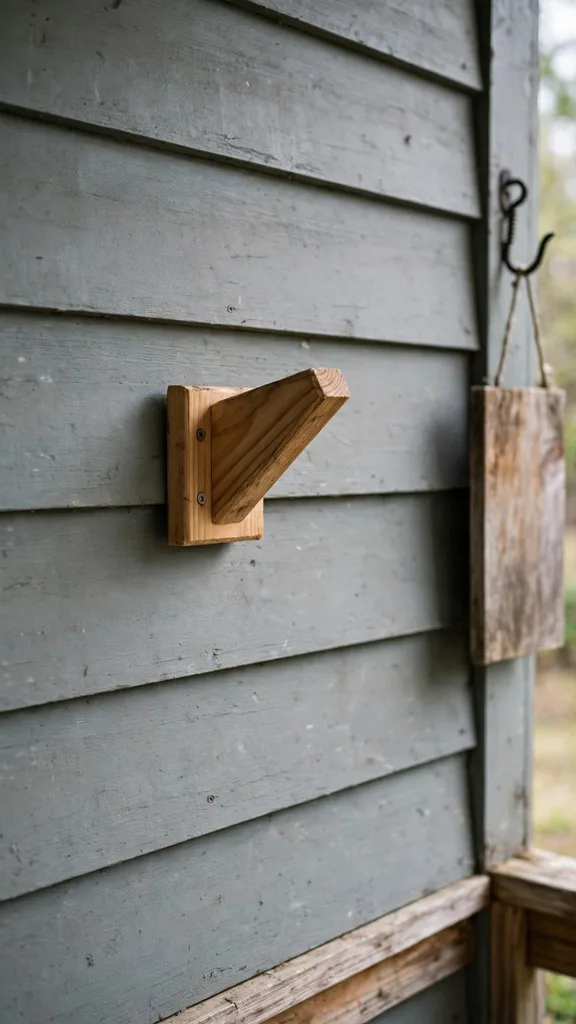
14. Base Coat in a Pale Harvest Colour
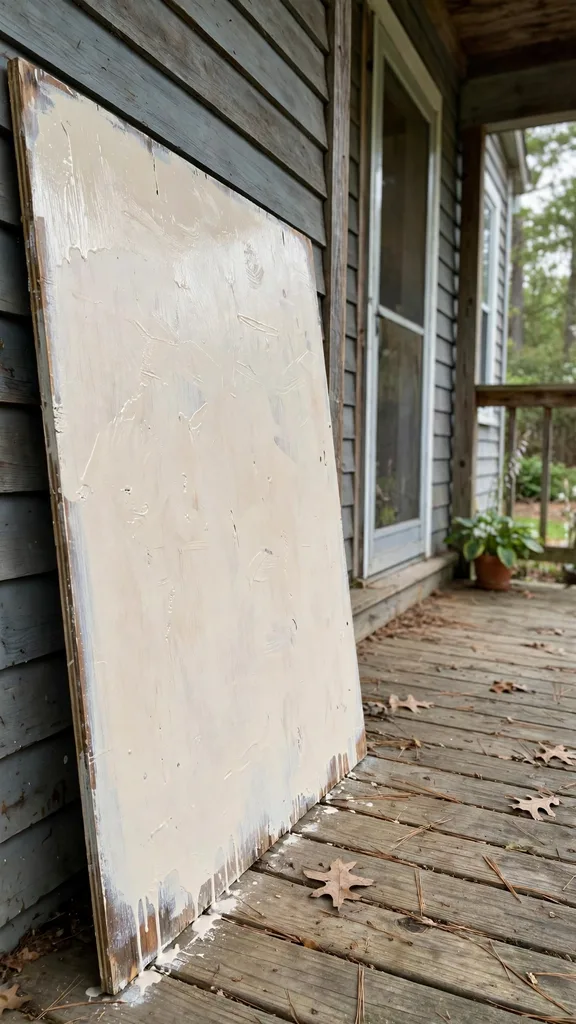
A pale base coat suits a harvest sign, because pale paint reflects light at dusk and keeps dark lettering readable from the walkway. Apply one coat of exterior primer, let it dry for 4 hours, and apply two coats of exterior paint in a pale cream or pale sage, allowing 4 hours between coats, since a rushed second coat lifts the first coat and leaves a patchy face.
A pale base coat also hides board joints, because two coats of paint bridge small gaps between pickets and panels. Choose exterior paint rated for wood siding, and avoid interior paint outdoors, since interior paint chalks and peels within weeks of rain and sun exposure.
15. Stain Wash That Keeps the Grain Visible
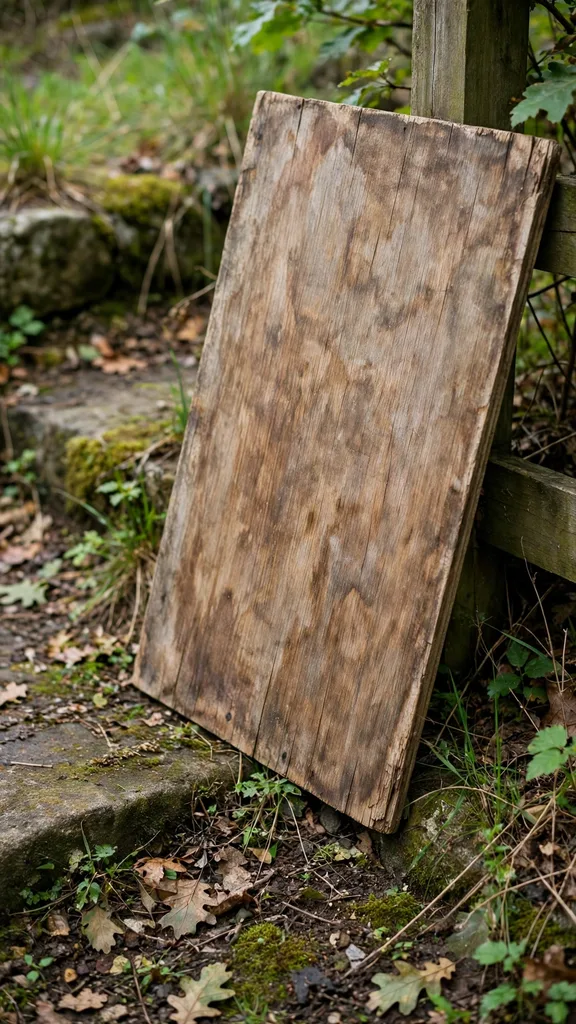
A stain wash keeps wood grain visible under colour, because a thinned stain colours the wood without hiding its figure. Mix one part exterior stain with one part water for a wash, brush it along the grain, and wipe the excess with a cloth after 5 minutes, since a wash left thick dries blotchy and hides the grain it was meant to show.
A stain wash suits cedar and reclaimed boards best, because those boards carry grain worth showing, and it suits a sign where the wood itself is part of the decoration. Seal a stain wash with a clear exterior topcoat, and test the wash on an offcut first, since a wash looks darker on the sign face than it looks in the mixing container.
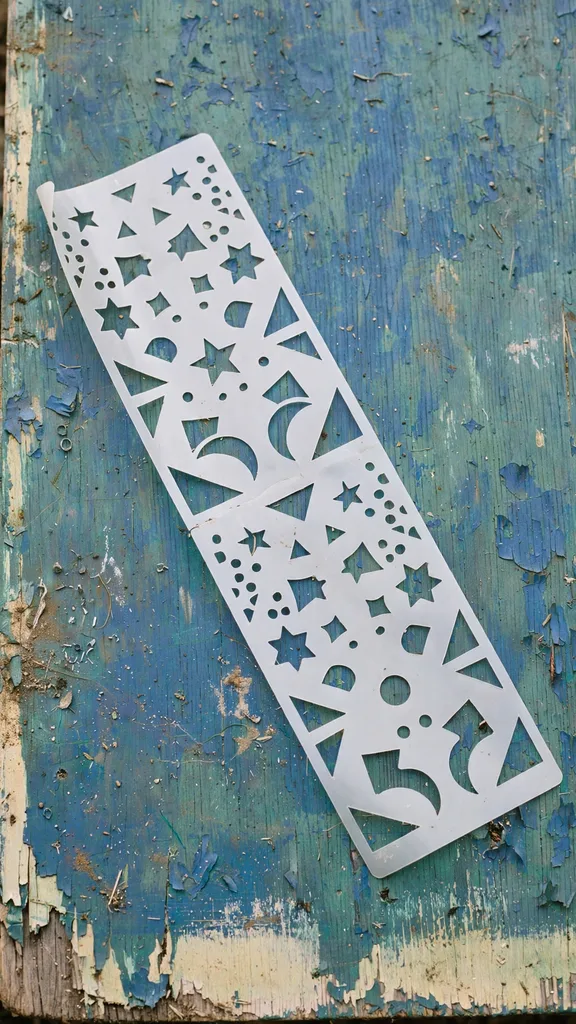
16. Stencil Lettering for Clean Lines
Stencil lettering gives clean lines to a first sign, because a reusable stencil holds each letter shape while paint fills it. Fix the stencil flat with painter tape, dab paint with a nearly dry stencil brush, and lift the stencil while the paint is still damp, since a stencil lifted after drying pulls paint off the board edges.
Choose stencil letters 10 centimetres (4 inches) tall for a leaner sign and 8 centimetres (3 inches) tall for a horizontal sign, and keep the lettering zone inside the 5 centimetre (2 inch) margin on every side. A stencil suits a short greeting best, because a long message in stencil letters crowds a sign face and reads poorly from the walkway.
17. Vinyl Transfer for Crisp Lettering
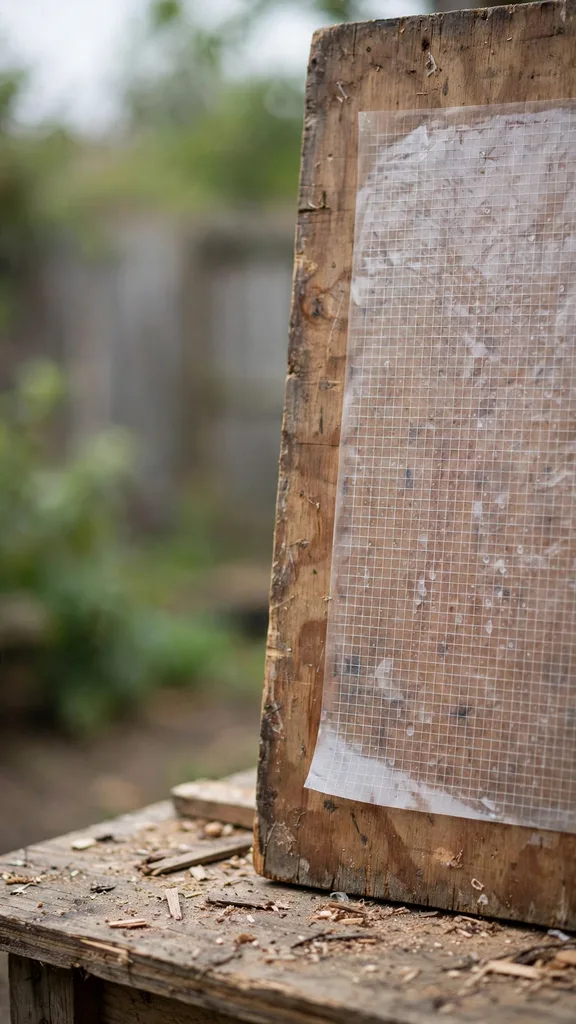
Vinyl transfer gives crisp lettering to a sign, because cut vinyl letters carry sharp edges that a brush cannot match. Cut the design with a craft cutter, weed the excess vinyl slowly, and press the transfer tape flat with a plastic card, since air bubbles under vinyl lift the letter edges within days outdoors.
Apply vinyl to a painted board that has cured for 72 hours, seal over the vinyl with two thin coats of clear exterior topcoat, and keep the sign under cover for 24 hours after sealing. Vinyl suits a sign with fine lettering or a small motif, and it suits a maker who owns a cutter, while a maker without a cutter gets equal results from a stencil.
18. Painted Lettering by Brush
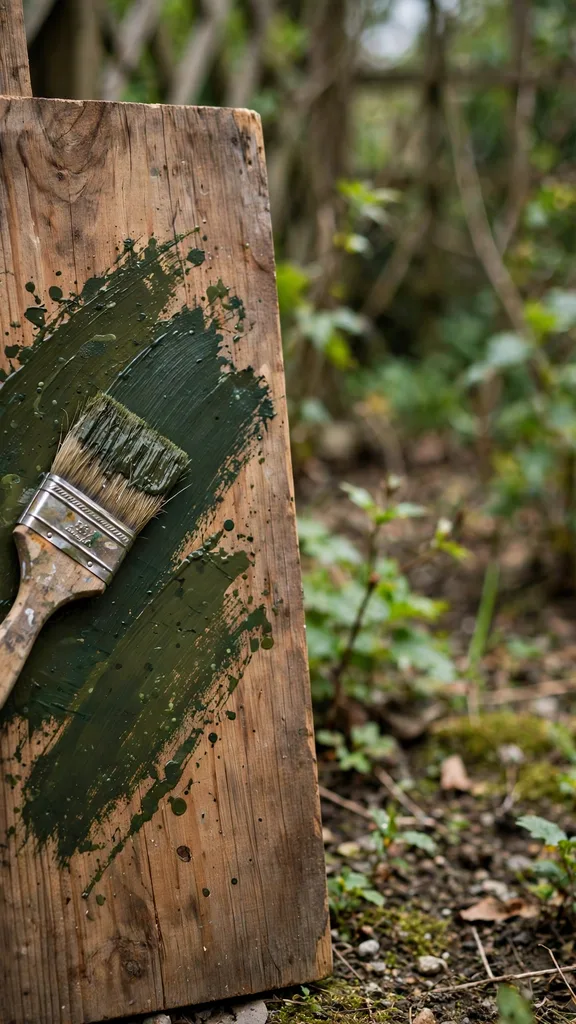
Painted lettering by brush gives a sign a handmade face, because brush strokes show the maker in every letter. Print the lettering at full size on paper, transfer the outlines with graphite paper, and paint inside the outlines with a small flat brush, using two thin coats of exterior acrylic paint for full coverage.
Paint the largest letters first and the small motif last, and keep a damp cloth nearby for slips, since exterior acrylic paint sets fast on a warm board. Brush lettering suits a sign with a short greeting and a simple motif, and it needs no cutter, no stencil purchase, and no machine skill beyond a steady hand.
19. Chalk Paint for a Matte Finish
Chalk paint gives a sign a matte finish, because chalk paint dries flat and needs little sanding between coats. Apply two coats of chalk paint with a flat brush, let each coat dry for 2 hours, and wax the face only for indoor signs, since wax softens outdoors and a chalk painted outdoor sign needs a clear exterior topcoat instead.
Chalk paint suits a pale sign face with dark lettering, and it suits reclaimed boards, because chalk paint grips old wood without heavy priming. Seal chalk paint outdoors with two coats of exterior topcoat, and expect to touch up the topcoat yearly, since a matte face shows wear at the edges before a gloss face does.
20. Distressing for a Weathered Finish
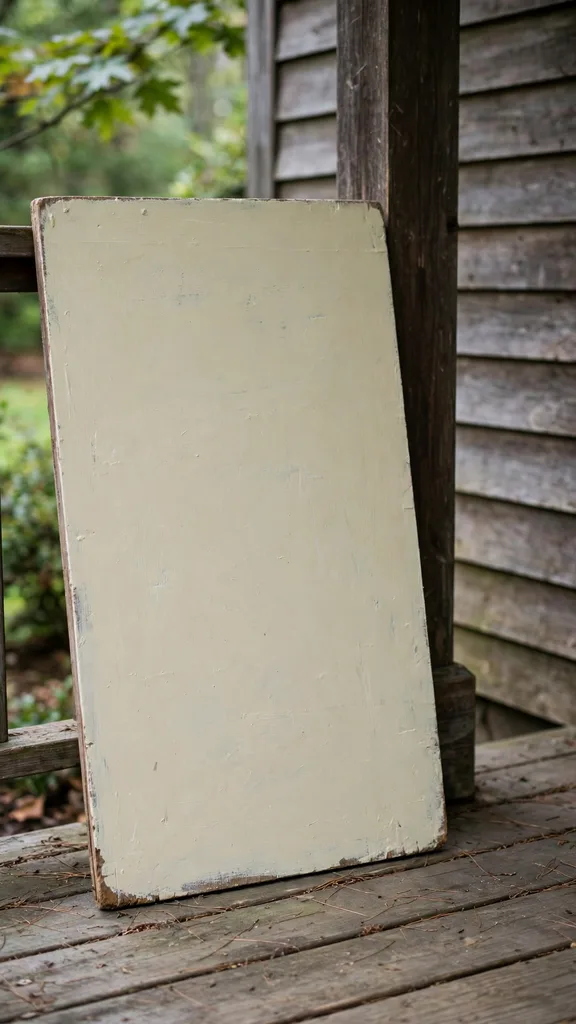
Distressing gives a new sign a weathered finish, because sanding through paint at edges and corners reveals the wood beneath in the spots where age wears first. Paint the board in a base colour, paint a second colour over it, and sand the edges, corners, and raised knots lightly with 150 grit paper until the base colour shows in thin lines.
Distress the edges more than the lettering zone, since worn lettering reads as damage while worn edges read as age. Seal a distressed sign with a clear exterior topcoat, and distress before lettering when the lettering must stay crisp, because sanding after lettering dulls the letter edges.
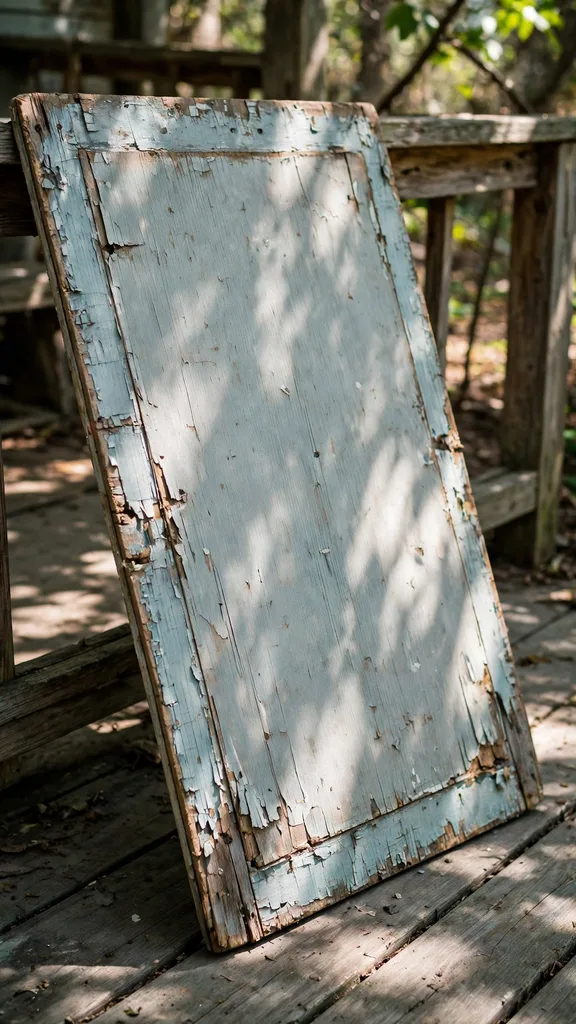
21. Seal the Lettering Before the Sign Goes Out
Sealing over lettering protects the message, because a clear topcoat shields paint and vinyl from rain, sun, and frost. Apply two thin coats of clear exterior topcoat over the finished lettering, allow 4 hours between coats, and keep the sign under cover for 24 hours after the last coat, since a topcoat that cures in rain clouds and peels at the edges.
Seal the lettering zone first and the board edges second, because edges need the thickest protection and lettering needs the smoothest coat. A sign with sealed lettering holds its message through Thanksgiving week, while a sign with unsealed lettering loses paint at the letter edges after the first heavy rain.
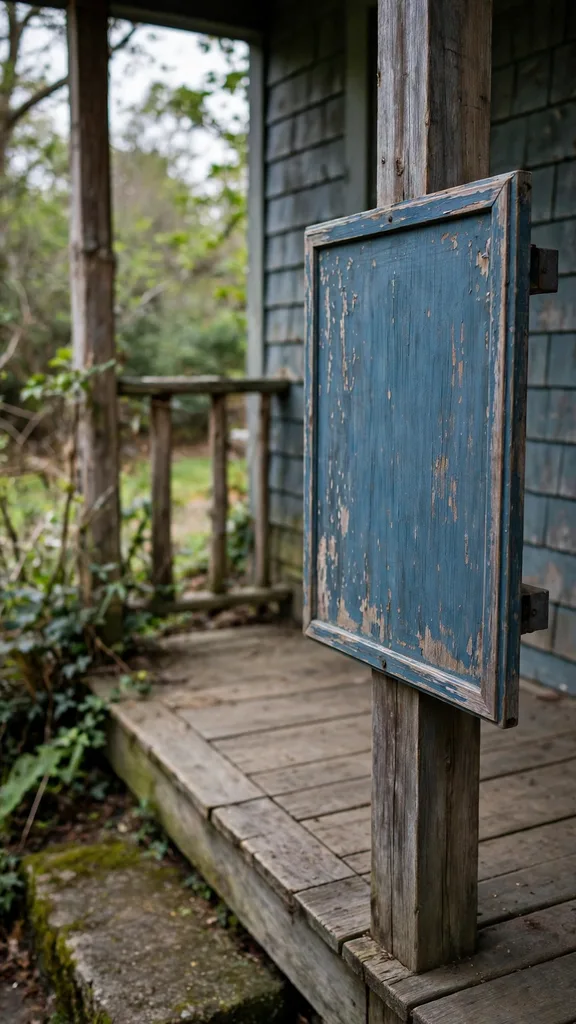
22. Outdoor Sealant for Rainy Porches
Outdoor sealant suits a rainy porch, because a sealant coat repels liquid water from the board face while letting water vapour escape from inside the wood. Choose a sealant rated for exterior wood, apply it with a brush along the grain, and apply two coats to the faces and three coats to the edges, since edges absorb water faster than faces.
Apply sealant in dry weather above 10 degrees Celsius (50 degrees Fahrenheit), and allow 24 hours without rain after the last coat, since sealant applied before rain washes off the board and leaves a patchy face. A sealed sign beads water on its face, and beading that stops signals the time for a maintenance coat.
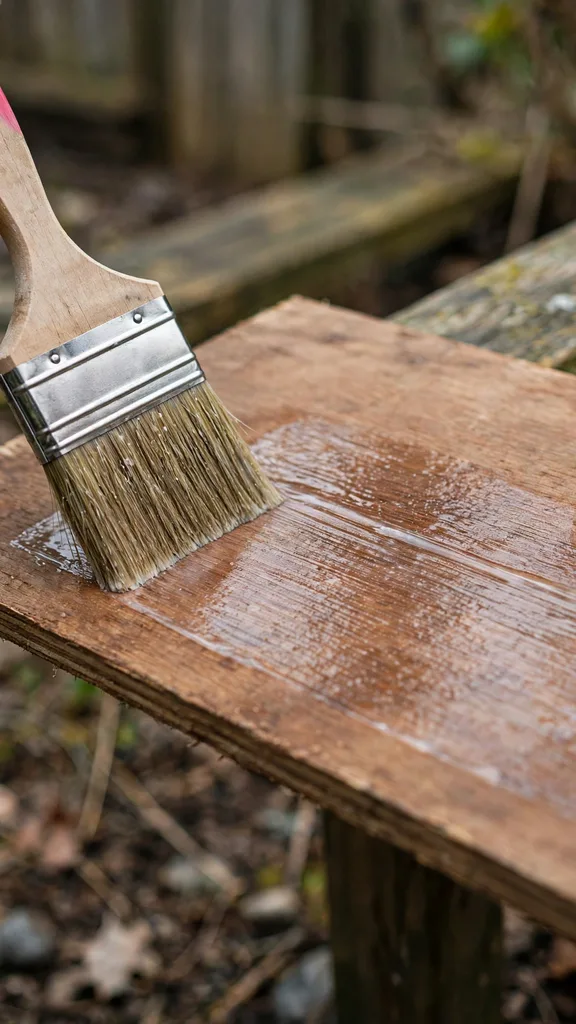
23. Seal Every Side Including the Back
Sealing every side protects a sign, because water enters a board through any unsealed face and swells the wood from inside. Seal the front, the back, both edges, and both ends, and brush extra sealant onto the end grain, since end grain absorbs water faster than any other face. The United States Forest Service guide to exterior wood coatings advises sealing all sides of wood siding to extend finish life, and the same rule serves a porch sign: [USDA Forest Service guide to exterior wood coatings](https://research.fs.usda.gov/download/treesearch/9499.pdf).
Seal the back before the front, because the back sits against a damp wall or wet porch boards and stays wet longest after rain. A sign sealed on the front only cups within one season, while a sign sealed on every side stays flat for several seasons under the same paint and the same exposure.
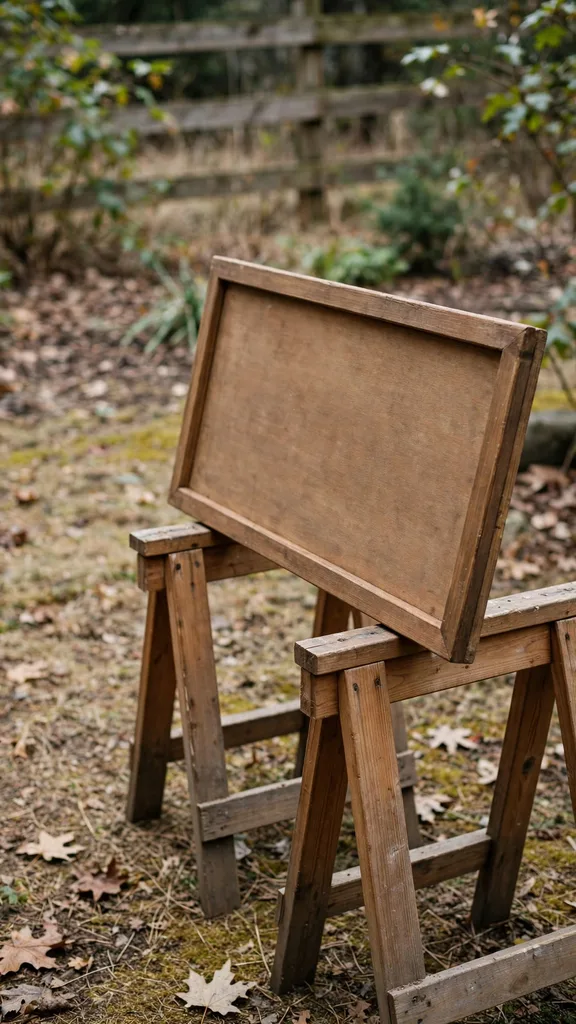
24. Spar Urethane Coats for Full Sun
Spar urethane suits a sign in full sun, because spar formulas flex with wood movement and carry UV blockers that slow fading. Apply three thin coats of exterior spar urethane with a natural bristle brush for oil based formulas, sand lightly with 220 grit paper between coats, and allow the full cure time on the product label before hanging, since a rushed cure leaves a soft film that scratches easily.
Spar urethane suits a painted sign and a stained sign equally, and it suits a sign that must last past Thanksgiving into winter. Inspect a spar coated sign yearly, and add one maintenance coat when water stops beading, since one maintenance coat renews protection without stripping the whole sign.
25. Covered Porch Versus Open Porch Finish
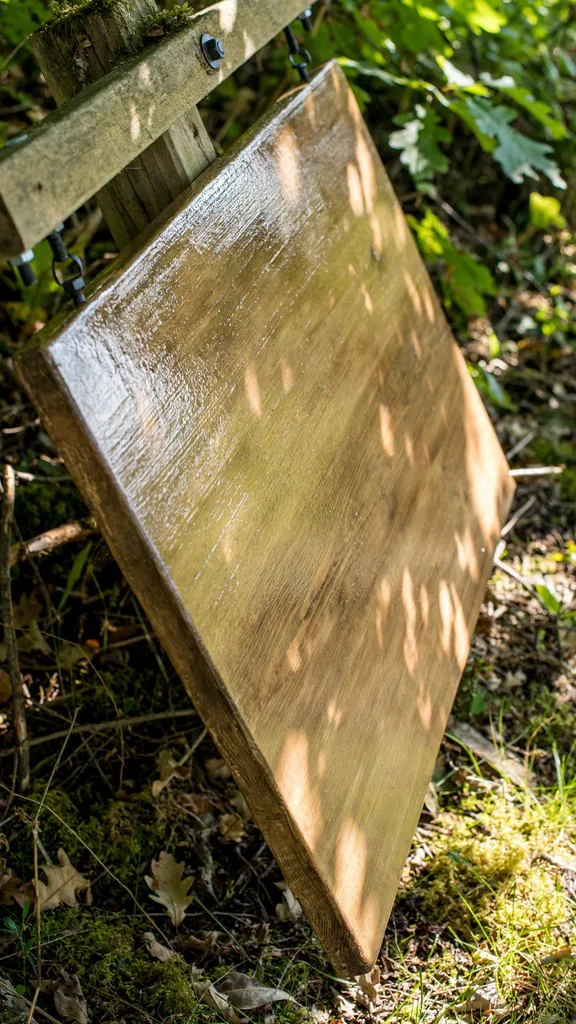
A covered porch and an open porch need different finishes, because a covered sign meets humidity and indirect light while an open sign meets direct rain and full sun. A covered porch sign lasts well with two coats of exterior paint and one coat of clear topcoat, while an open porch sign needs sealed edges, sealed ends, and three coats of spar urethane for equal service.
Choose the finish from the porch exposure, and choose the wood from the same exposure, since a pine sign with a light finish fails fast on an open porch while a cedar sign with a heavy finish wastes money on a deep covered porch. Measure the overhang depth before choosing, because an overhang of 91 centimetres (36 inches) or more shelters a sign from most rain.

26. Wind Anchoring for a Tall Leaner
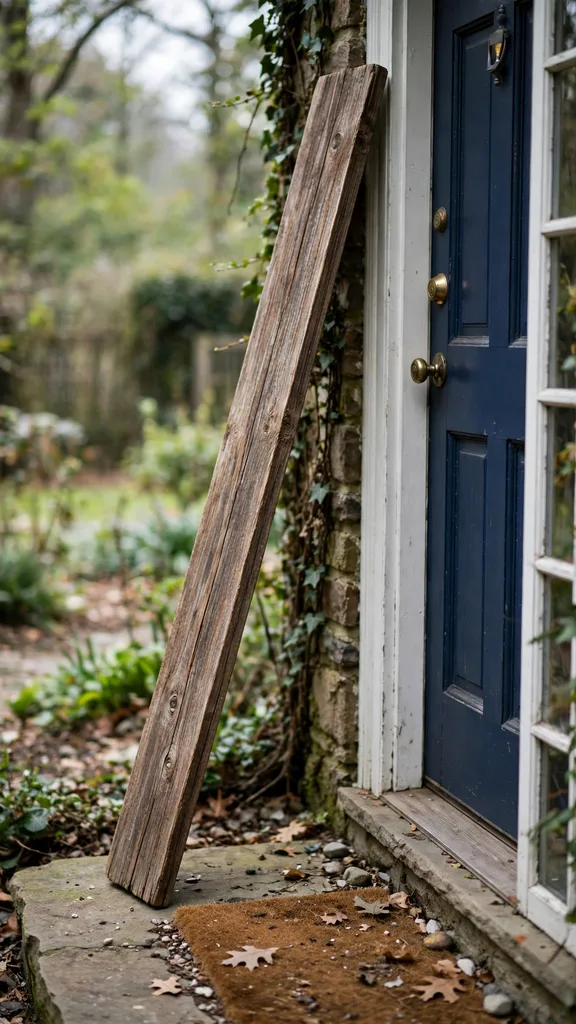
Wind anchoring keeps a tall leaner upright, because a leaner sign catches wind like a sail on an open entry. Lean the sign against the wall at a slight angle, set the base 15 centimetres (6 inches) out from the wall, and fix a small cleat or a hook at the top, since a leaner held only by gravity slides sideways in a gust and falls onto the walking path.
Add weight at the base with a pot of soil or a stone filled planter, and keep the base pot inside the sign footprint, since a base pot that sticks out trips guests. A leaner on a windy porch needs both a top fix and base weight, while a leaner on a sheltered porch stands safely with base weight alone.
27. Touch Up Kit for the Season
A touch up kit keeps a sign fresh through the season, because edges chip, pots scuff the base, and rain finds thin spots in the topcoat. Pack a small jar of the sign paint, a small jar of the topcoat, a 2.5 centimetre (1 inch) brush, and 220 grit paper in a sealed bag, and store the kit beside the sign indoors, since a kit stored outdoors clumps and dries before use.
Touch up chips as soon as they appear, sanding lightly, dabbing paint, and resealing with topcoat, because a chip left open admits water and grows into a peel across the lettering zone. A sign with a touch up kit looks new at Thanksgiving dinner, while a sign without one shows every scuff from setup week.

28. Tall Vertical Leaner Beside the Door
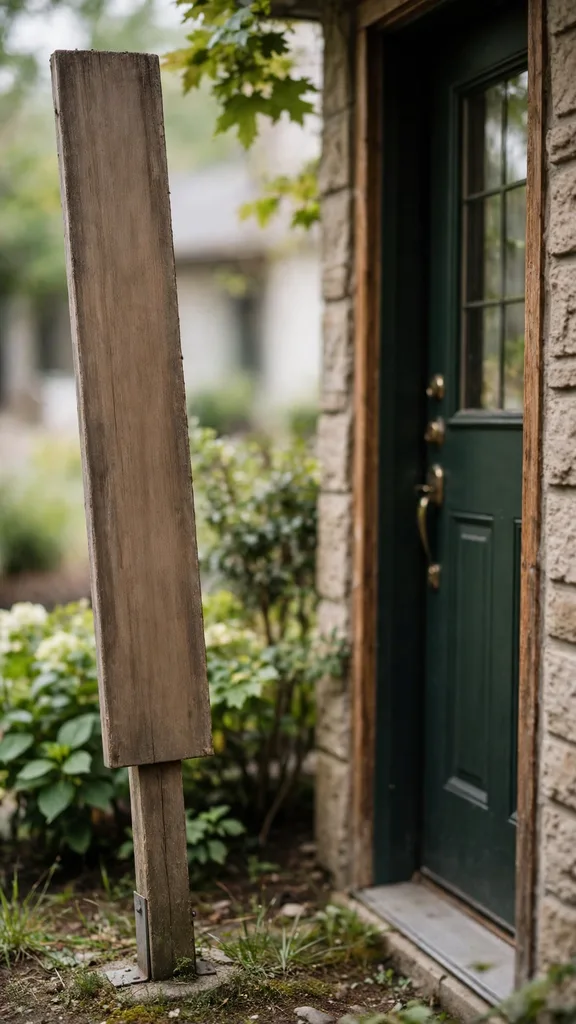
A tall vertical leaner suits a narrow entry, because a leaner 152 centimetres (60 inches) tall and 30 centimetres (12 inches) wide claims a slim strip beside the door and draws the eye upward. Lean the sign on the wall side of the door, keep the handle side clear for parcels and keys, and set a base pot at the foot, since a leaner without a base pot looks unfinished from the walkway.
A vertical leaner reads from the walkway at 6 metres (20 feet), because the tall face carries large lettering at eye level and above. Keep the leaner clear of the door swing arc, and check the lean angle after wind, since a leaner that drifts blocks the door or falls onto the step.
29. Horizontal Plank Above a Bench
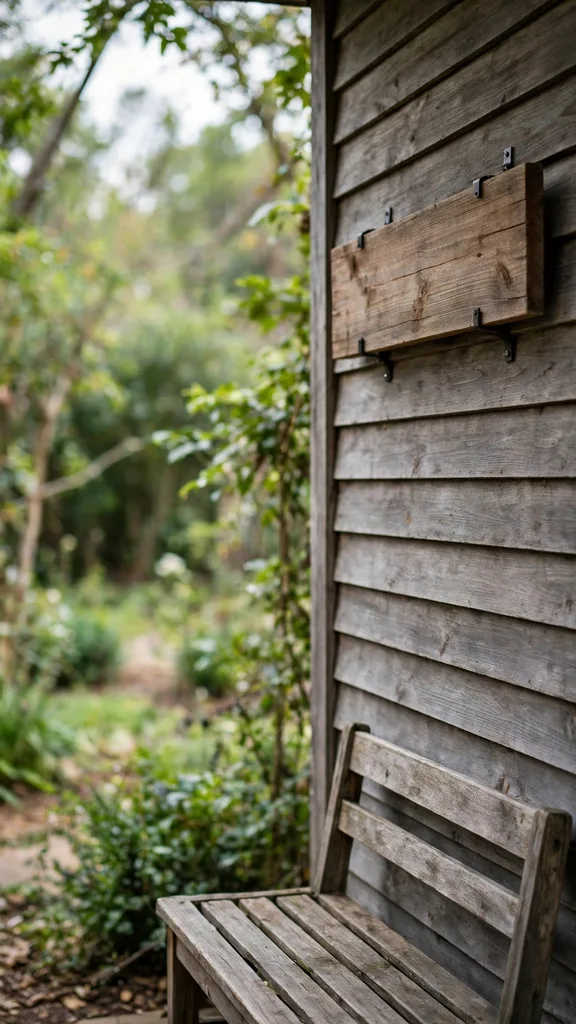
A horizontal plank sign suits a porch bench wall, because a wide sign above a bench fills the wall without claiming floor space. Hang a sign 91 centimetres (36 inches) wide and 25 centimetres (10 inches) tall at 152 centimetres (60 inches) above the floor, centre it over the bench, and fix it with a french cleat, since a cleat holds a wide sign flat against the wall.
A horizontal sign above a bench reads from a chair as well as from the walkway, because the sign sits at eye level for a seated guest. Keep the bench clear of tall plants that block the sign face, and keep the sign clear of the porch light glare, since glare on a glossy topcoat hides the lettering at dusk.
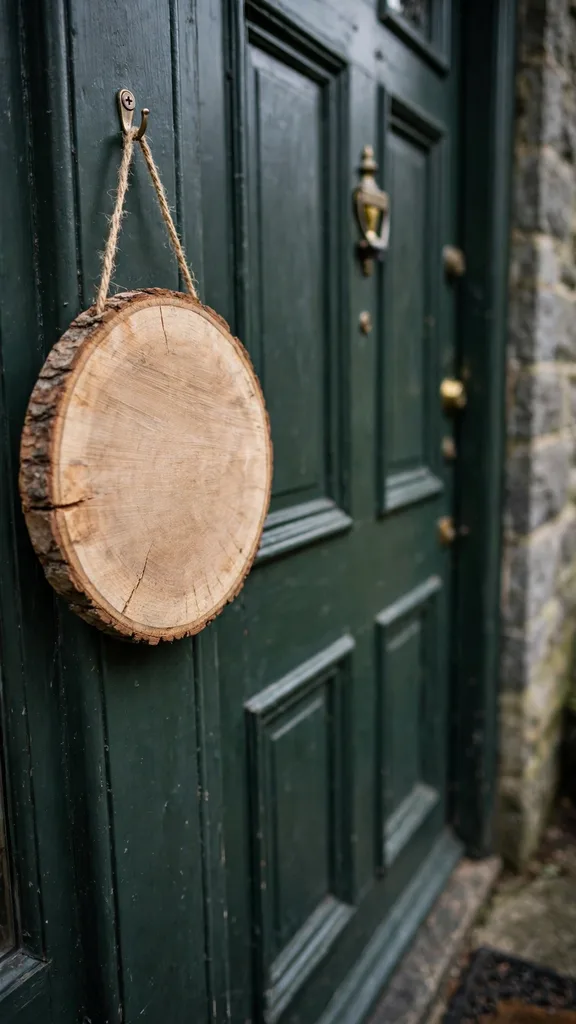
30. Round Door Sign on a Wood Slice
A round door sign on a wood slice suits a door with no wall space beside it, because a round sign hangs on the door itself and moves with the door. Choose a wood slice 36 centimetres (14 inches) across and 2.5 centimetres (1 inch) thick, sand the face smooth, seal the bark edge with extra coats, and hang it from a firm hook at eye level, since a round sign hung low swings into the door handle.
A round sign carries a short greeting and a small harvest motif, and it pairs with a leaner sign only when the leaner carries the main greeting, since two long messages at one entry compete for attention. A round door sign suits a covered porch best, because a door sign meets rain on every storm while a wall sign meets rain only from one side.
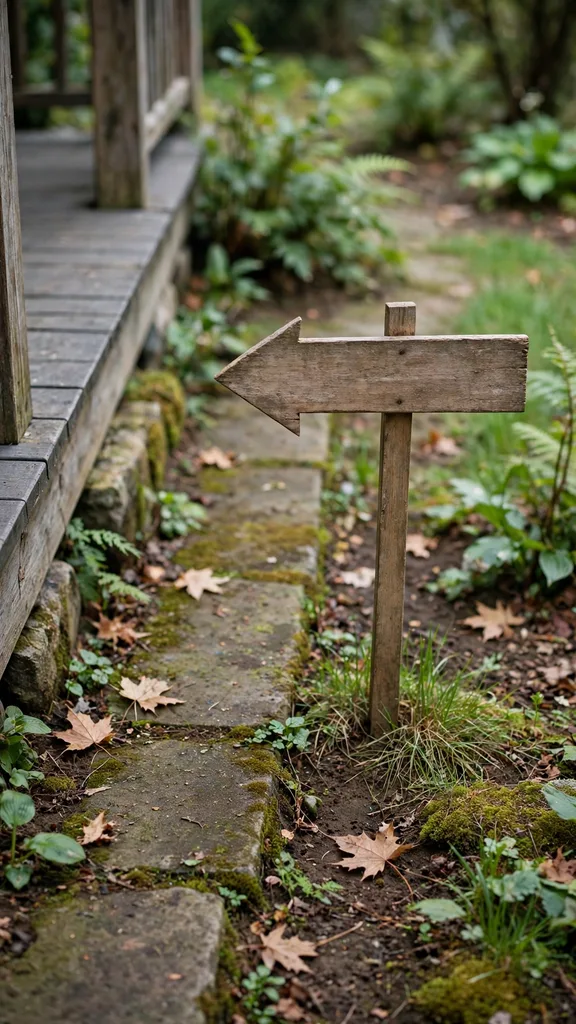
31. Arrow Sign Pointing to the Gathering
An arrow sign points guests toward the gathering, because an arrow shape reads as direction from the walkway before any lettering registers. Cut an arrow from a pine board 15 centimetres (6 inches) wide and 61 centimetres (24 inches) long, mount it on a stake 76 centimetres (30 inches) tall, and set it at the walkway edge where the porch path meets the yard path, since an arrow at the door itself points nowhere useful.
An arrow sign suits a house with a side entry or a garden gate, because guests arriving at the front need direction only when the gathering sits elsewhere. Keep the arrow low and clear of the walking path, and bring it indoors after dark, since a stake sign left out overnight trips guests in low light.
32. Double Sided Sign for Two Views
A double sided sign serves two views, because a sign with a finished face on each side greets guests from the walkway and from the porch. Build two panels back to back with a frame between them, keep the total thickness under 5 centimetres (2 inches), and stand the sign at a porch corner where both faces show, since a double sided sign flat against a wall wastes one face.
A double sided sign suits a corner entry and a wide landing, and it suits a sign that must read from the street and from the door. Seal both faces equally, and check both faces monthly, since the face toward the weather wears faster than the face toward the wall and an uneven finish shows as a faded side.
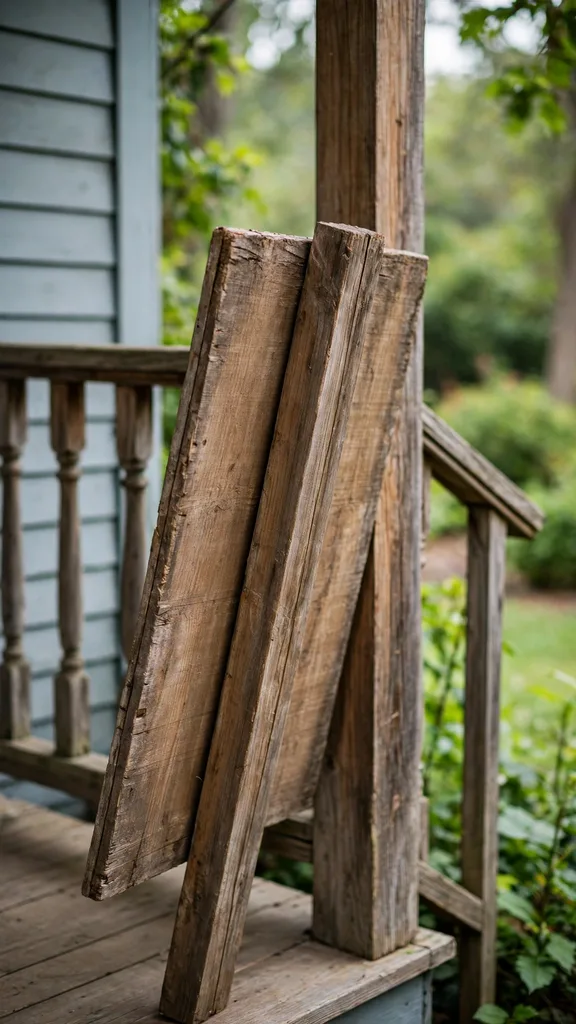
33. Interchangeable Panel for Every Season
An interchangeable panel stretches one sign frame across seasons, because a frame with a slot holds a Thanksgiving panel in November and a winter panel in December. Build a frame 61 centimetres (24 inches) wide and 46 centimetres (18 inches) tall with a slot 1.9 centimetres (0.75 inches) deep, cut panels to fit the slot with 3 millimetres (0.125 inches) of clearance, and paint each panel separately, since panels painted inside the frame stick to the frame.
An interchangeable frame suits a maker who decorates for every season, because one frame purchase serves four panels. Store spare panels flat indoors, label each panel back with its season, and seal each panel on every side, since a panel stored unsealed warps before its season arrives.
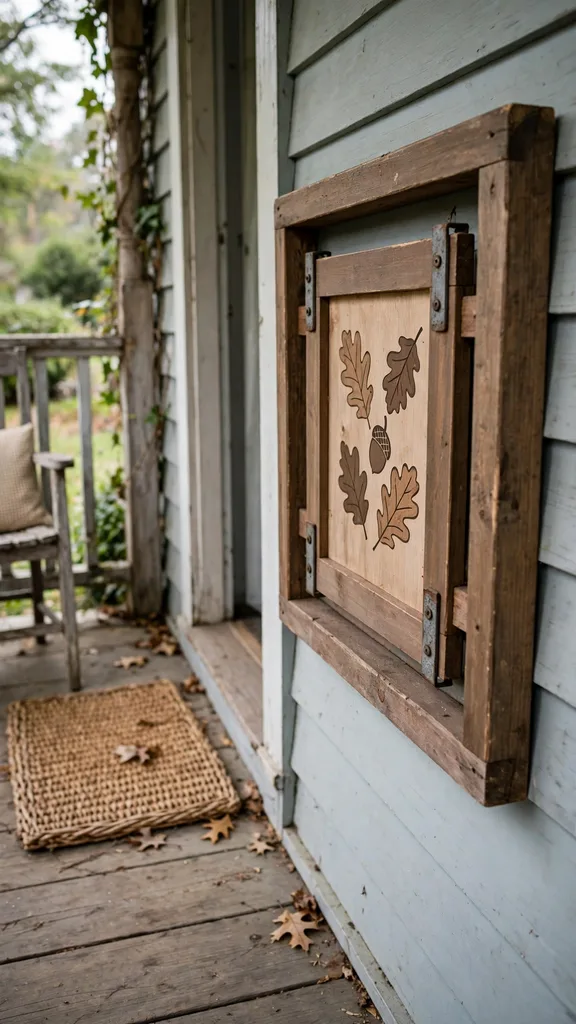
34. Mini Stake Signs Along the Path
Mini stake signs line a porch path with small messages, because a row of small signs guides the eye from the walkway to the door. Cut stakes 30 centimetres (12 inches) tall and panels 20 centimetres (8 inches) wide, set three stakes 61 centimetres (24 inches) apart along one side of the path only, and keep the panels clear of the walking channel, since stakes on both sides narrow the path and trip guests.
Mini stake signs suit a wide path and a garden bed beside the entry, and they suit a short message repeated in three forms rather than one long message split across stakes. Bring stake signs indoors in storms, since thin stakes snap in wind and small panels blow across the yard.
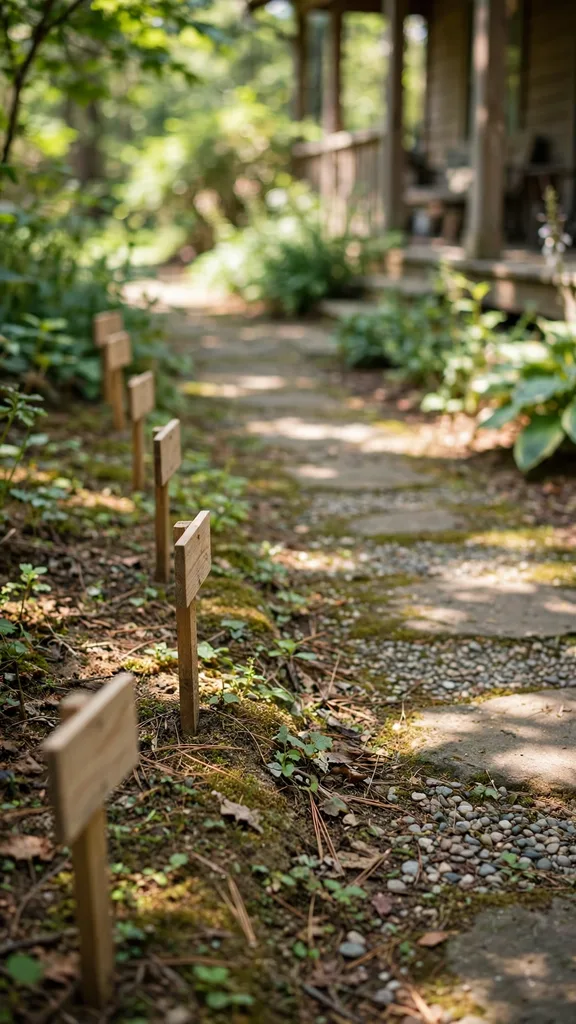
35. Leaner Placement That Keeps the Door Clear
Leaner placement keeps the door clear, because a leaner on the wall side leaves the handle side open for hands, parcels, and keys. Set the leaner base 15 centimetres (6 inches) out from the wall, keep the top against the wall above 152 centimetres (60 inches), and keep a channel 61 centimetres (24 inches) wide from the lowest step to the door, since a leaner that narrows the channel forces a sidestep in daylight and a stumble after dark.
Test the placement with a tray in both hands before Thanksgiving, and move the leaner when it forces a sidestep, since a display that reads well from the walkway can still fail as an entry. A leaner placed by the door swing rule welcomes guests, while a leaner placed for the camera alone blocks the door it decorates.
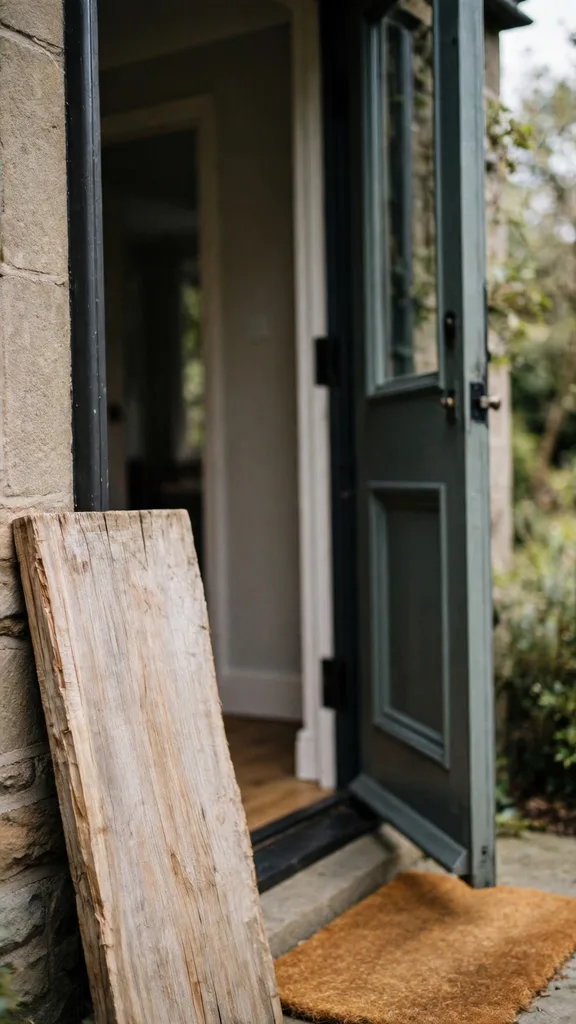
36. Wall Mounted Sign Above Eye Level
A wall mounted sign above eye level suits a porch with no floor to spare, because a sign on the wall claims no landing space at all. Mount a sign 91 centimetres (36 inches) wide at 183 centimetres (72 inches) above the floor, fix it to studs with screws 6.4 centimetres (2.5 inches) long, and centre it over the bench or the window, since a sign mounted off centre reads as a mistake from the walkway.
A wall sign above eye level reads from the walkway at 9 metres (30 feet), because height lifts the lettering above pots and railings. Keep the sign clear of the porch light, and angle the top slightly outward with a spacer when glare hides the lettering, since a glossy topcoat reflects a porch light straight at guests at dusk.
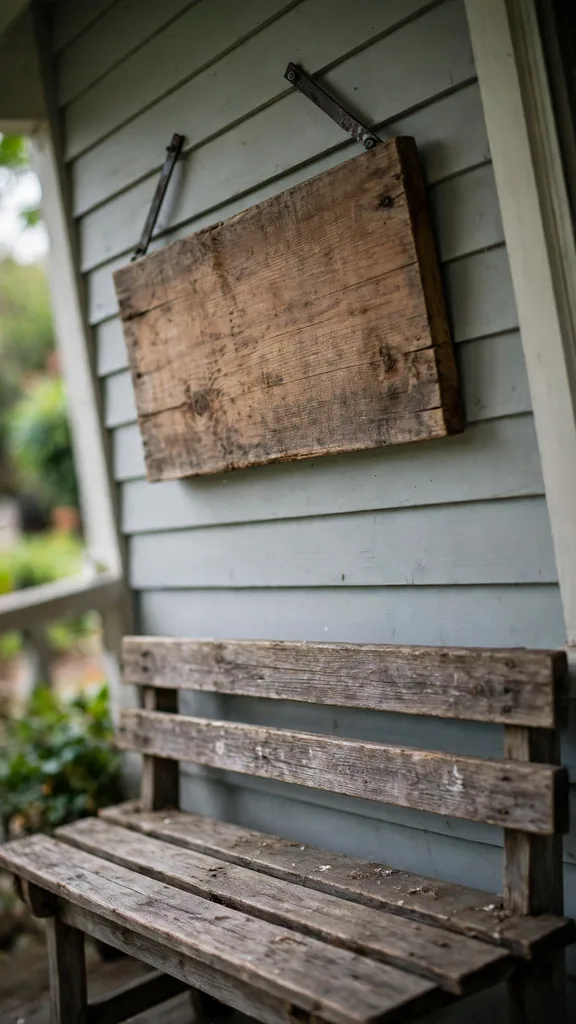
37. Step Side Sign on a Wide Landing
A step side sign suits a wide landing, because a sign at the step edge greets guests before they reach the door. Set the sign on the wall side of the widest step, keep the open side and the handrail side fully clear, and set the sign base flush with the riser, since a sign base that overhangs the tread edge catches toes in low light.
A step side sign suits a landing 122 centimetres (48 inches) wide or wider, and it fails on a narrow flight, since a narrow flight needs every centimetre of tread for feet. Anchor a step side sign with a base pot, and check the anchor after wind, since a step sign stands exposed on two sides.
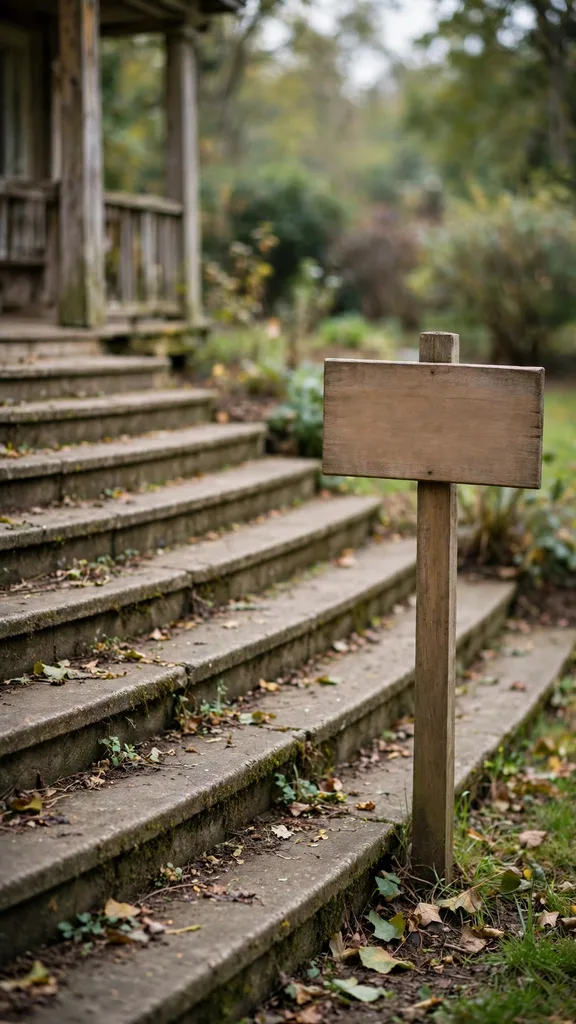
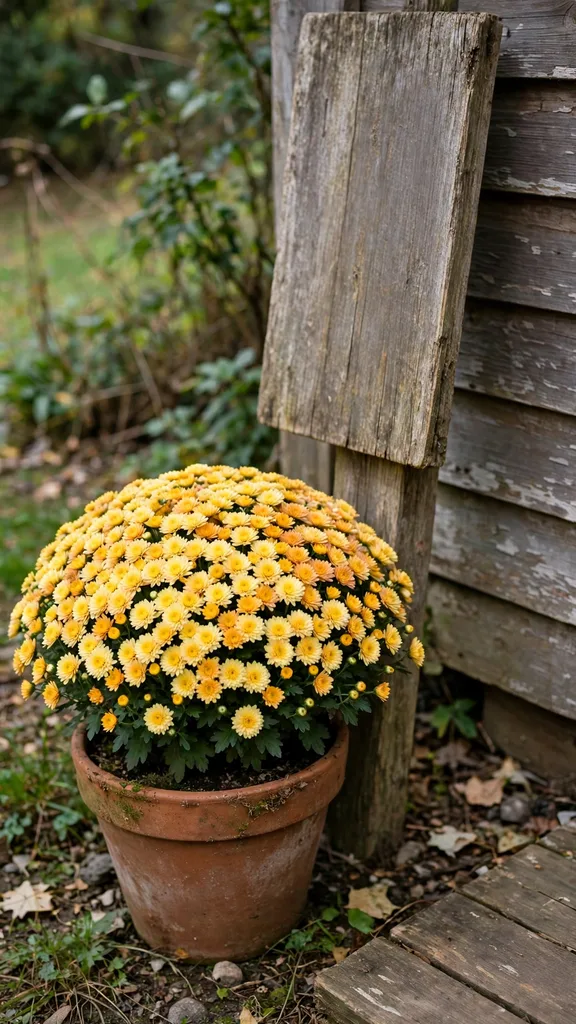
38. Cushion Mum at the Sign Base
A cushion mum at the sign base gives a leaner sign a dome of bloom, because the cushion habit grows as a tidy mound covered in flowers rather than a tall stem with sparse blooms. Choose one cushion mum in a single colour, set it in a pot 30 centimetres (12 inches) wide at the sign foot, and keep the pot inside the sign footprint, since a base pot that sticks out trips guests. The University of Minnesota Extension notes that cushion mums form tidy mounds 30 to 46 centimetres (12 to 18 inches) across, which fits a sign base without crowding the entry: [UMN Extension hardy mums](https://extension.umn.edu/about/our-stories/news/yard-and-garden-news/hardy-mums-provide-color-that-returns-every-fall). For living mum care beyond the sign base, see [Mums and Pumpkins Porch Decor Ideas](https://growit.wiki/mums-and-pumpkins-porch-decor-ideas/.
A cushion mum suits a sign base in sun, because mums bloom best in full sun and well drained soil, and a mum in shade stretches toward light and leans away from the sign. Water the base pot when the top 2.5 centimetres (1 inch) of soil feels dry, and deadhead spent blooms weekly, since a tidy mum base frames the sign while a spent mum base distracts from it.
39. Ornamental Kale for a Cool Weather Base
Ornamental kale suits a cool weather sign base, because kale colour deepens after frost while mum blooms fade. Choose one kale plant in a pot 25 centimetres (10 inches) wide, set it at the sign foot on the side away from the walking path, and keep the kale clear of the sign face, since kale leaves that press against the sign trap moisture and stain the paint.
Ornamental kale suits a sign base in light shade, because kale holds colour in cool shade better than a sun loving bloom. Water kale when the top 2.5 centimetres (1 inch) of soil feels dry, and remove yellowed outer leaves weekly, since a clean kale rosette frames the sign base while a ragged rosette drags the whole display down.

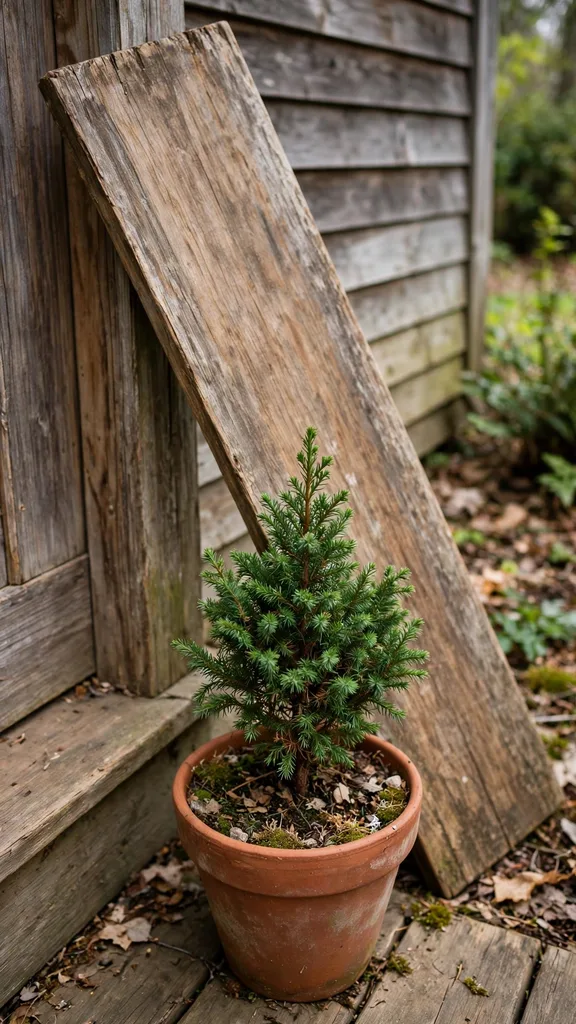
40. Dwarf Evergreen for a Sign That Lasts Past Thanksgiving
A dwarf evergreen at the sign base carries the display past Thanksgiving, because an evergreen holds foliage through winter while seasonal blooms fade. Choose a dwarf evergreen in a pot 30 centimetres (12 inches) wide, set it at the sign foot on the wall side, and keep the evergreen clear of the sign face, since evergreen needles that press against paint trap moisture and mark the finish.
A dwarf evergreen suits a sign base in sun or light shade, and it suits a maker who wants one base plant for the whole cold season. Water the evergreen when the top 2.5 centimetres (1 inch) of soil feels dry, and move the pot to a sheltered corner in hard frost, since a potted evergreen freezes faster than the same plant in the ground.
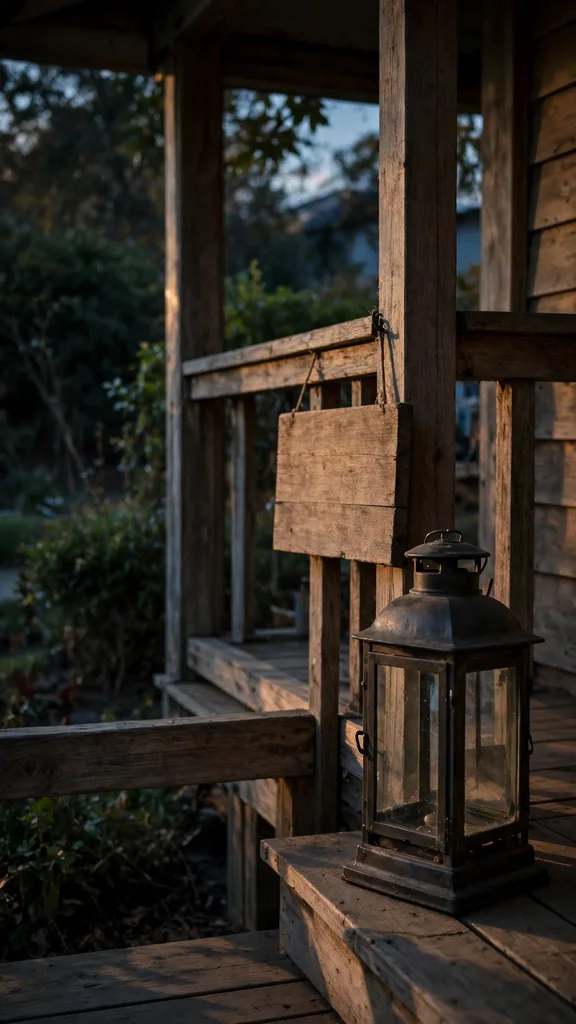
41. Lantern Beside the Sign for Evening Guests
A lantern beside the sign lights the lettering for evening guests, because a lantern at the sign foot throws light upward across the board face. Set one battery lantern on the wall side of the sign base, keep it 15 centimetres (6 inches) from the board, and set it on a timer for dusk, since a lantern set by hand stays dark on the night guests arrive early.
A lantern suits a sign base on a porch with no wall light, and it suits a sign with dark lettering on a pale face, because pale faces reflect lantern light well. Keep the lantern clear of dry stems and the sign sealant, and use battery candles only, since a flame lantern beside a painted board risks scorch and soot on the lettering zone.
42. Dusk Readability Check From the Walkway
A dusk readability check tests the sign where it matters, because a sign that reads in daylight can vanish in lantern light. Stand at the walkway at dusk, read the sign greeting aloud, and move closer until the lettering resolves, since the distance where the greeting resolves is the true readable distance for guests arriving after dark.
A sign that resolves at 6 metres (20 feet) at dusk serves most porches, while a sign that resolves only at 2 metres (7 feet) needs larger lettering or a lantern moved closer. Check the sign again after rain, since a wet topcoat reflects porch light and glare hides lettering that read clearly on a dry evening.
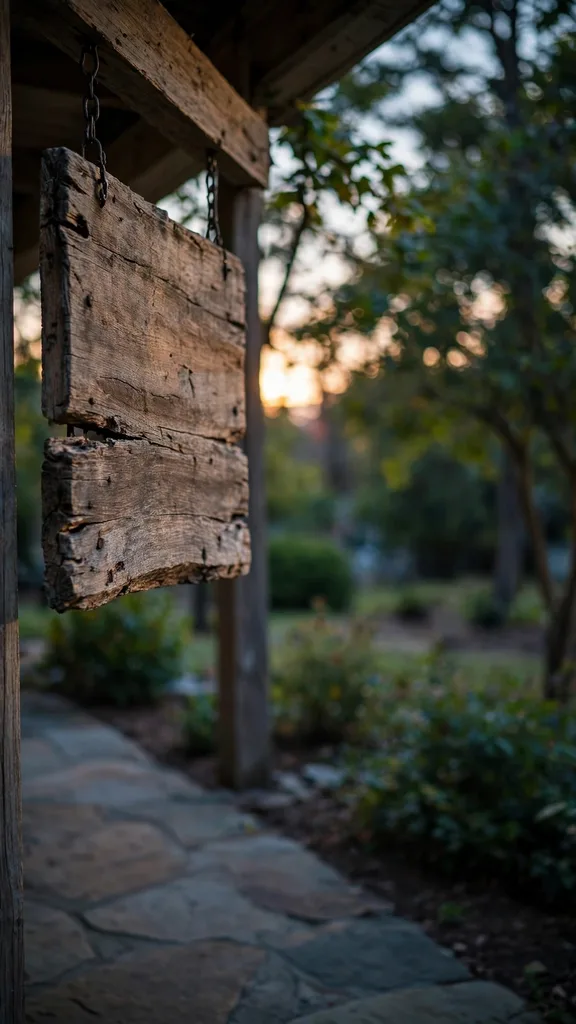
43. Porch to Walkway Handoff With a Sign
A porch sign at the walkway edge hands guests from the yard to the porch, because a small sign at the path turn tells guests they have arrived before the door sign repeats the greeting. Set one small stake sign at the walkway edge where the porch path meets the yard path, keep the main leaner sign at the door, and keep both signs in the same colour family, since two signs in clashing colours read as two displays rather than one welcome. For the wider yard context beyond the walkway, see [Thanksgiving Yard Decorations: 21 Outdoor Ideas](https://growit.wiki/thanksgiving-yard-decorations/.
A walkway sign suits a long path and a house set back from the street, and it fails on a short path, since a short path needs only the door sign. Keep the walkway sign low, at most 76 centimetres (30 inches) tall, so it never blocks the view of the porch sign from the street.
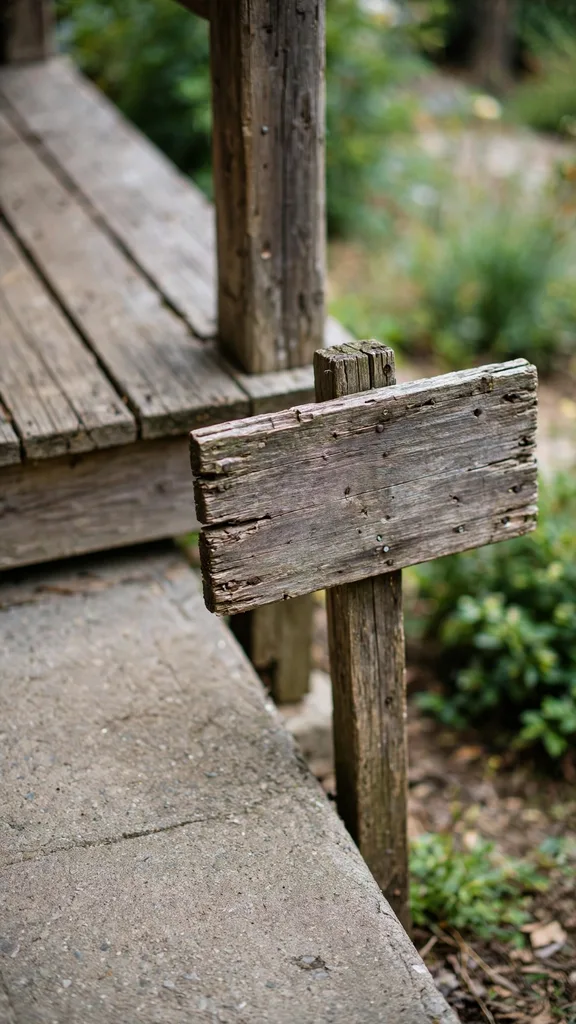
44. Move the Sign Indoors After the Feast
Moving the sign indoors after the feast extends its life, because a sign stored indoors escapes frost, rain, and winter sun for three months. Carry the sign inside the day after Thanksgiving, clean the face with a damp cloth, and hang it in an entryway or a hallway, since a sign hung indoors keeps greeting guests through winter. For indoor seasonal styling around the entry, see [Thanksgiving Decor for Home](https://growit.wiki/thanksgiving-decor-for-home/.
A sign stored indoors needs a dry wall and a firm hook, and it needs a topcoat inspection before storage, since a chip stored unrepaired admits moisture all winter. A sign moved indoors after the feast looks new at the next Thanksgiving, while a sign left outdoors all winter needs sanding and repainting before it reads well again.
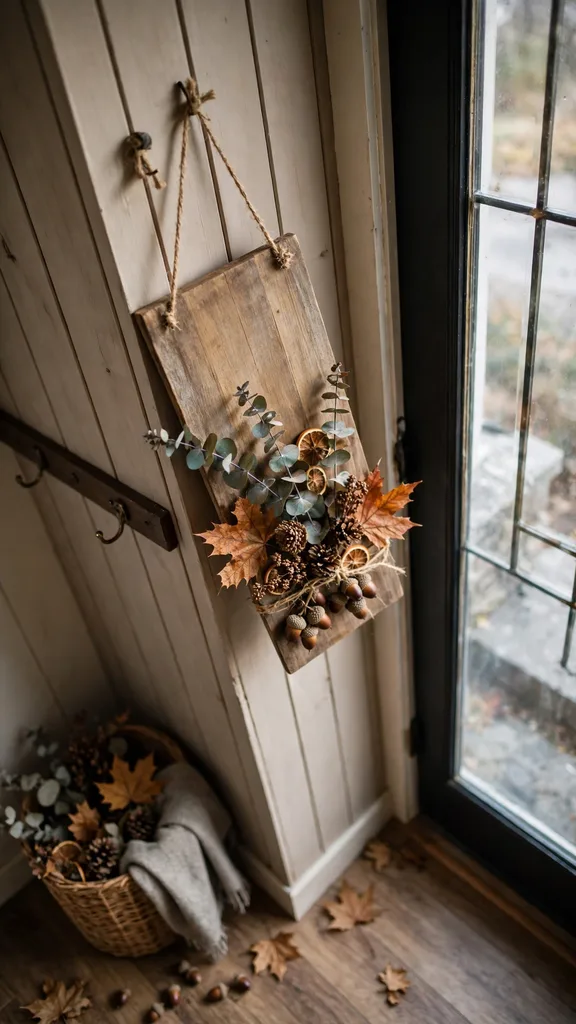
45. Full Dusk Display With the Sign Lit
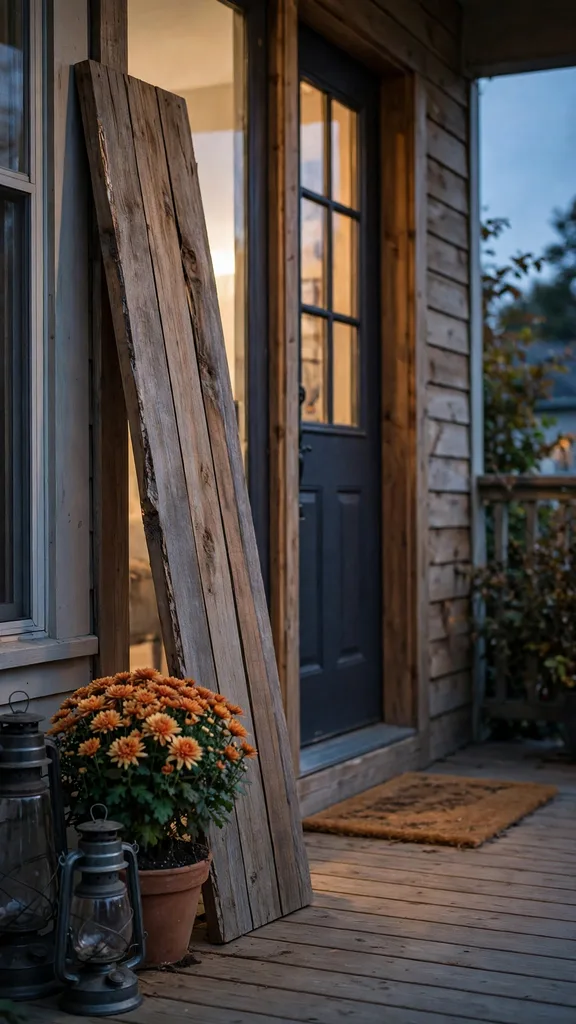
A full dusk display proves the whole sign system, because the leaner sign, the base pots, and the lantern read together only at dusk. Set the leaner sign on the wall side of the door, place a cushion mum pot at the sign foot, set a battery lantern 15 centimetres (6 inches) from the board, and check the display from the walkway at dusk, since the walkway view decides whether guests feel welcomed or confused.
A dusk display that reads from 6 metres (20 feet) serves the whole entry, while a display that reads only from the door serves no guest arriving after dark. Photograph the display at dusk for reference, note the lantern position and the sign angle, and repeat the same arrangement next year, since a proven dusk arrangement saves setup time every season.
| Porch Type | Sign to Start With | Base Plant | Watch For |
|---|---|---|---|
| Covered porch | Horizontal plank sign | Cushion mum | Door swing clearance |
| Open porch, full rain | Cedar leaner | Ornamental kale | Seal all sides |
| Narrow steps | Slim vertical leaner | Dwarf evergreen | Tread clearance |
| Wide landing | Double sided sign | Mum and kale pair | Wind anchoring |
| Shaded entry | Pale painted sign | Trailing ivy | Light for colour |
| Rental entry | Freestanding stake sign | Potted grass plume | No wall holes |
Frequently Asked Questions
What wood lasts longest for an outdoor porch sign?
Cedar lasts longest for an outdoor porch sign, because cedar heartwood resists decay better than pine and holds its shape through wet and dry cycles. Seal cedar on every side, including the back and the end grain, and add three coats of spar urethane for an open porch. A sealed cedar sign serves several seasons, while an unsealed pine sign greys and checks in one wet autumn.
How tall should a porch leaner sign be?
A porch leaner sign should stand 152 centimetres (60 inches) tall beside a standard door, because that height carries large lettering at eye level and above without blocking the porch light. A leaner 30 centimetres (12 inches) wide suits a narrow entry, while a leaner 38 centimetres (15 inches) wide suits a wide landing. Keep the leaner clear of the door swing arc and anchor the base with a pot.
How do I keep paint from peeling on an outdoor sign?
Keep paint from peeling by sealing every side of the board before painting, including the back and the end grain, since water enters through any unsealed face and lifts paint from inside. Use exterior paint rated for wood siding, apply two thin coats with 4 hours between coats, and seal over the lettering with two coats of clear exterior topcoat. Touch up chips at once, since a chip left open grows into a peel.
Can I hang a wooden sign without drilling into siding?
Hang a wooden sign without drilling by leaning it against the wall as a leaner, standing it in a base pot, or hanging it from an existing hook with a french cleat fixed to the sign back only. A leaner sign needs a top hook or base weight for wind, while a stake sign needs no wall at all. A freestanding sign suits a rental entry, since it leaves no holes in siding or trim.
What plants sit at the base of a porch sign?
A cushion mum, ornamental kale, or dwarf evergreen sits well at the base of a porch sign, because each plant frames the sign foot without blocking the lettering. Choose one plant in a pot 25 to 30 centimetres (10 to 12 inches) wide, keep the pot inside the sign footprint, and water when the top 2.5 centimetres (1 inch) of soil feels dry. A single base plant frames the sign, while a crowded base distracts from it.
What wood lasts longest for an outdoor porch sign?
Cedar lasts longest for an outdoor porch sign, because cedar heartwood resists decay better than pine and holds its shape through wet and dry cycles. Seal cedar on every side, including the back and the end grain, and add three coats of spar urethane for an open porch. A sealed cedar sign serves several seasons, while an unsealed pine sign greys and checks in one wet autumn.
How tall should a porch leaner sign be?
A porch leaner sign should stand 152 centimetres (60 inches) tall beside a standard door, because that height carries large lettering at eye level and above without blocking the porch light. A leaner 30 centimetres (12 inches) wide suits a narrow entry, while a leaner 38 centimetres (15 inches) wide suits a wide landing. Keep the leaner clear of the door swing arc and anchor the base with a pot.
How do I keep paint from peeling on an outdoor sign?
Keep paint from peeling by sealing every side of the board before painting, including the back and the end grain, since water enters through any unsealed face and lifts paint from inside. Use exterior paint rated for wood siding, apply two thin coats with 4 hours between coats, and seal over the lettering with two coats of clear exterior topcoat. Touch up chips at once, since a chip left open grows into a peel.
Can I hang a wooden sign without drilling into siding?
Hang a wooden sign without drilling by leaning it against the wall as a leaner, standing it in a base pot, or hanging it from an existing hook with a french cleat fixed to the sign back only. A leaner sign needs a top hook or base weight for wind, while a stake sign needs no wall at all. A freestanding sign suits a rental entry, since it leaves no holes in siding or trim.
What plants sit at the base of a porch sign?
A cushion mum, ornamental kale, or dwarf evergreen sits well at the base of a porch sign, because each plant frames the sign foot without blocking the lettering. Choose one plant in a pot 25 to 30 centimetres (10 to 12 inches) wide, keep the pot inside the sign footprint, and water when the top 2.5 centimetres (1 inch) of soil feels dry. A single base plant frames the sign, while a crowded base distracts from it.
A wooden sign built from the right wood, sealed on every side, and placed with one base plant welcomes guests from the walkway to the door, and it holds its message through rain, wind, and Thanksgiving week itself. Choose the wood for the porch exposure, cut a panel that stays flat, letter it with a method that matches the skill in the house, and let the dusk check decide the final arrangement.