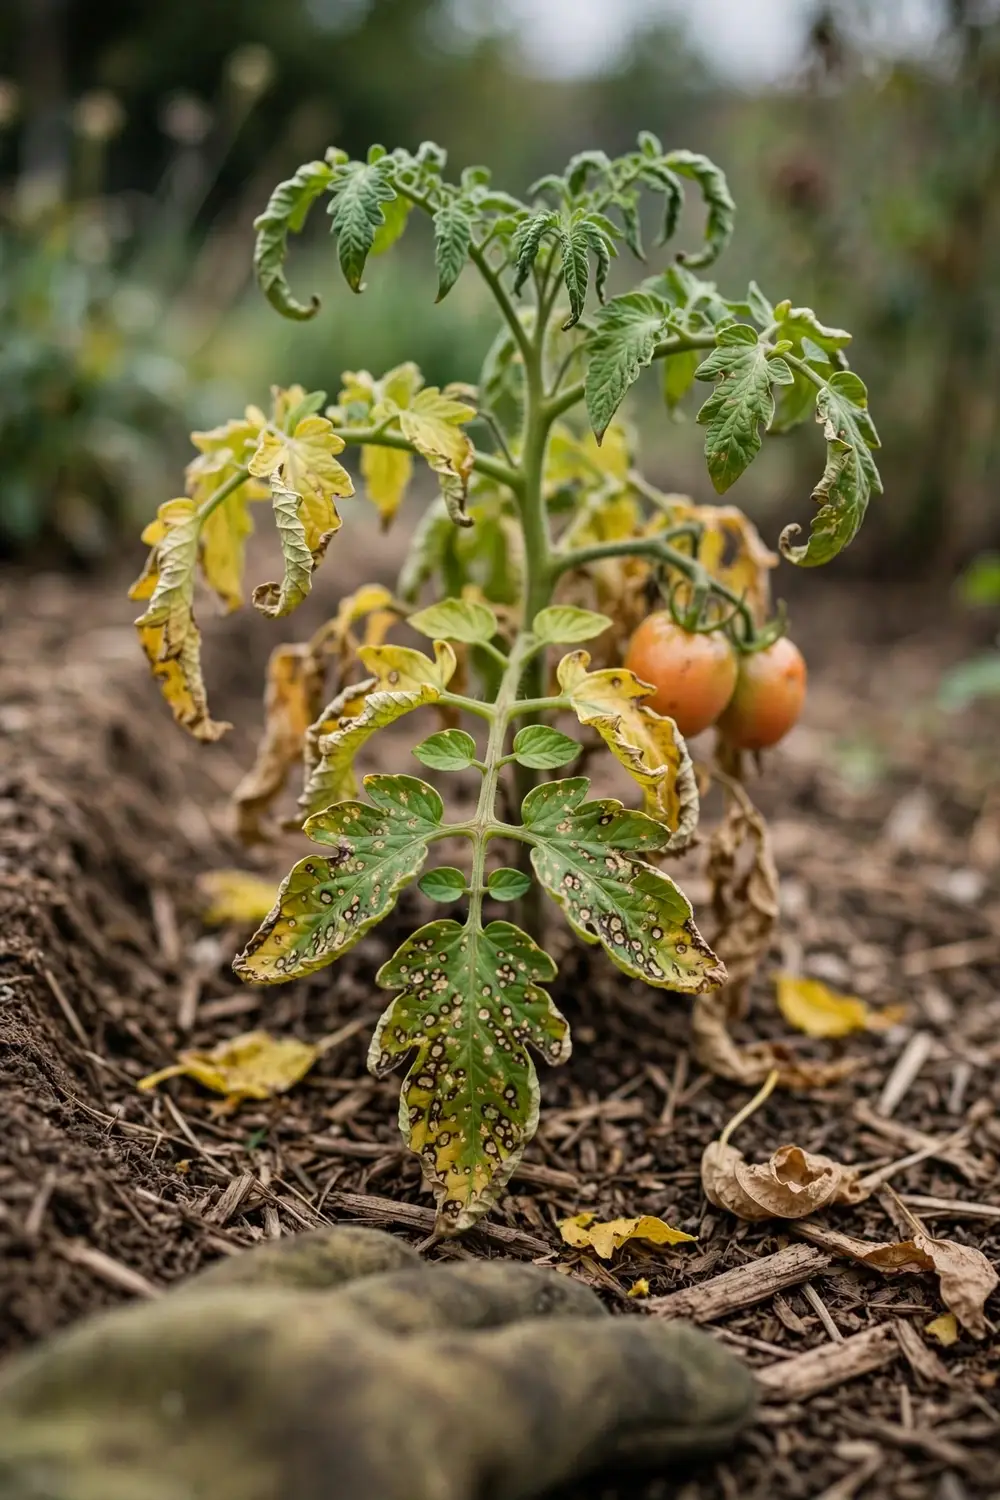

Septoria leaf spot strips tomato leaves from the bottom up, and it rarely touches the fruit. The 10 strategies below hold the canopy by cutting splash, drying leaves fast, and spraying only when rain will not stop. Start at the identification sections if spots just appeared.
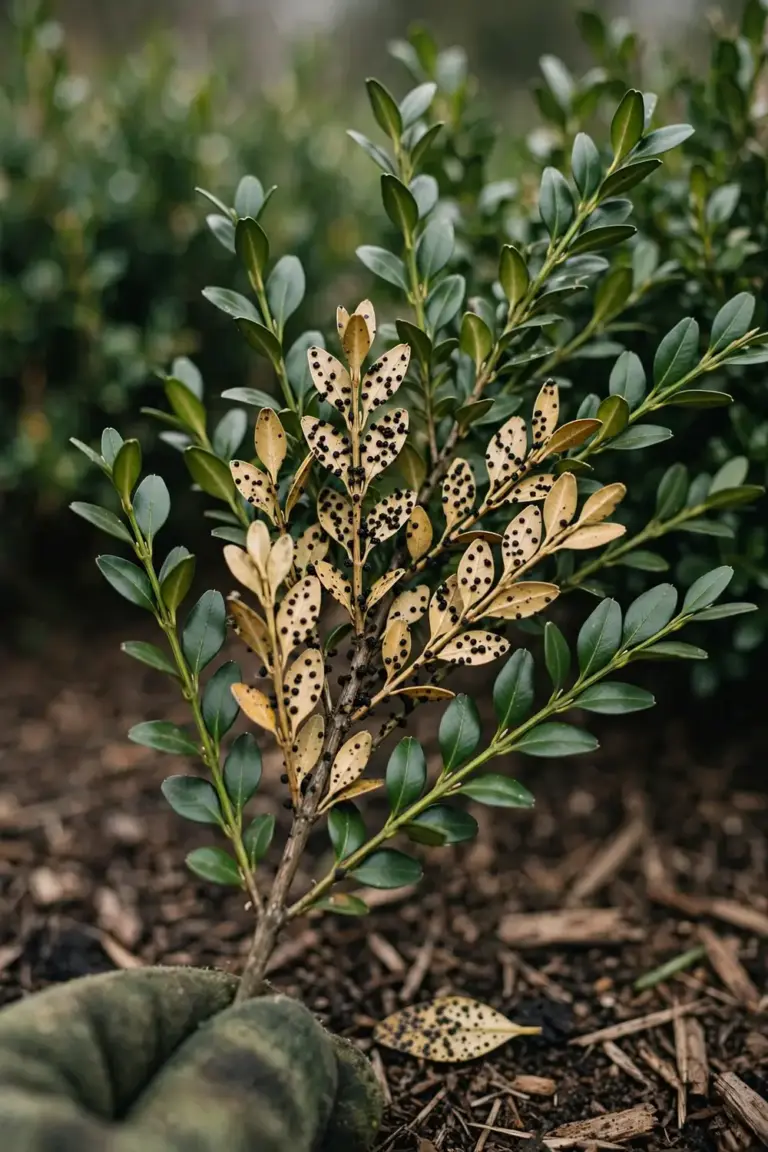
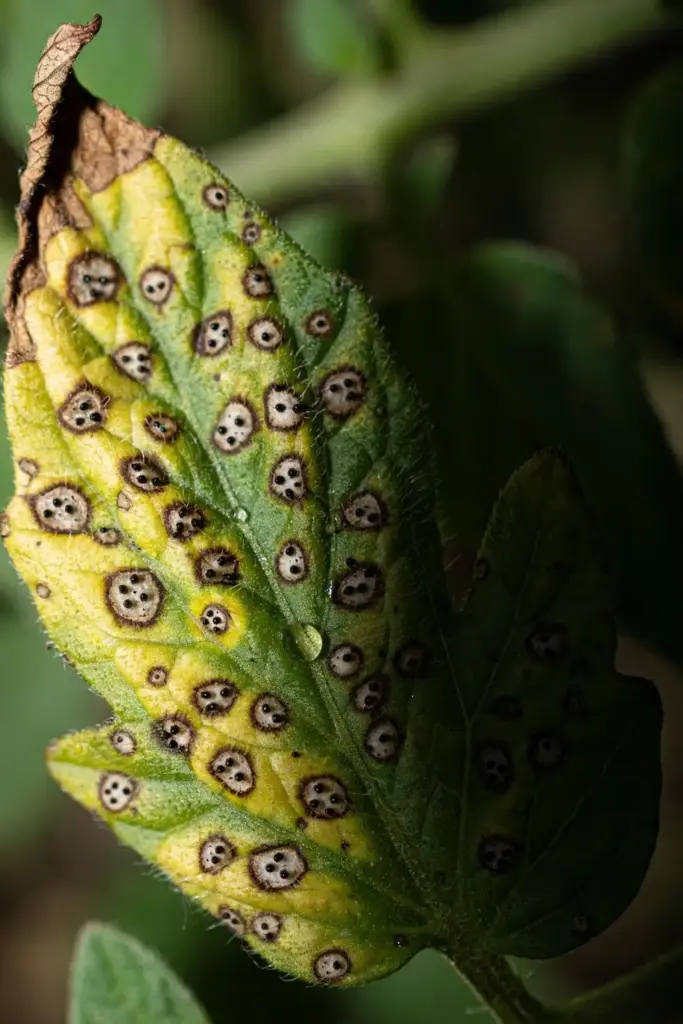
The signature is dozens of tiny spots on the lowest leaves. Each spot carries a tan center, a dark margin, and black dots in the middle. Leaves yellow, brown, and drop. I have learned that the lowest leaves decide the season.
The rest of this page is 10 moves, from the first spotted leaf to clean starts next season. Read the identification sections first if the plant still stands. Start at Step 1 if the canopy already thins.
What Septoria Leaf Spot Actually Is
Septoria leaf spot is a fungal leaf disease of tomato. The pathogen is Septoria lycopersici, a true fungus that attacks foliage. It lives on dead leaves and debris. It does not live free in soil.
The fungus waits out winter in debris. It overwinters on infected tomato debris and on nightshade weeds, and it survives on stakes and cages that never got cleaned. Spring rain splashes spores from that debris onto the lowest leaves. One wet week can start an outbreak that runs all summer.
Seasons of moderate temperature and abundant rainfall favor the disease. NC State Extension notes that septoria leaf spot can reduce tomato yields dramatically in such seasons. The loss comes from missing leaves, not from rotten fruit. A plant with half its canopy gone cannot feed a full fruit load.
How to Identify Septoria Leaf Spot on Leaves and Stems
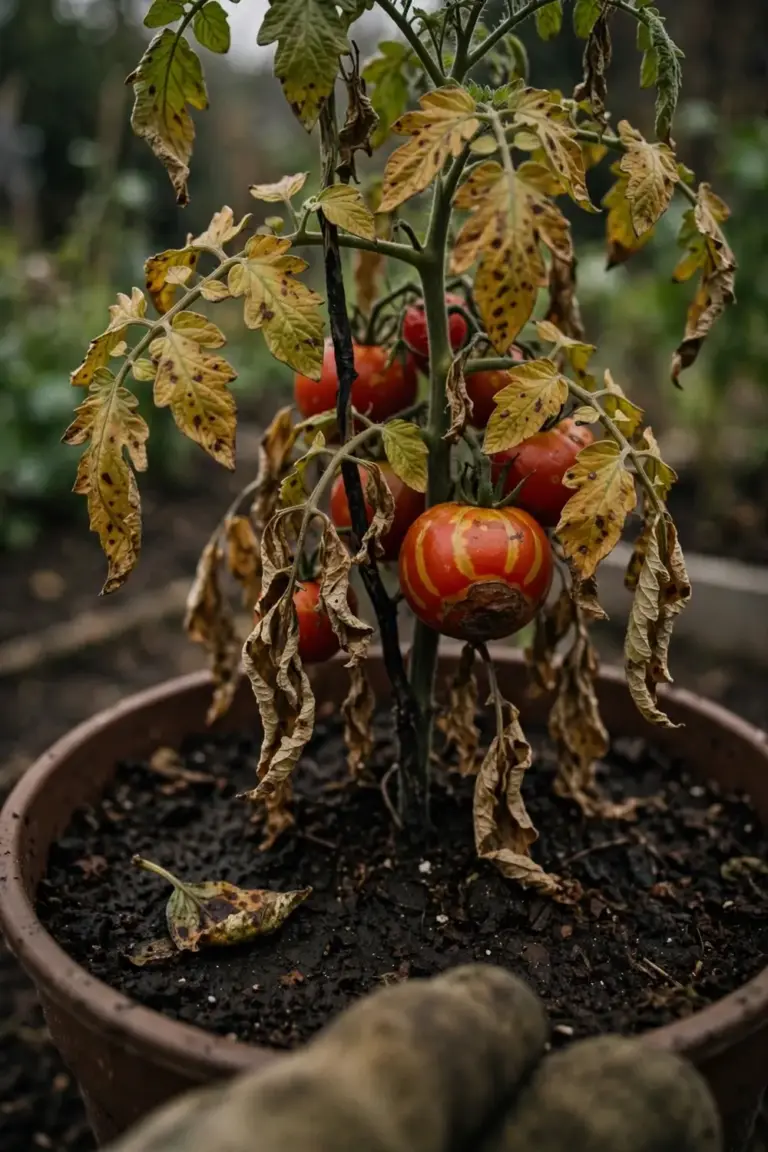
Septoria leaf spot shows as many small circular spots on the lowest leaves first. The spots move upward as the season runs. A leaf with a few spots still works. A leaf covered in spots yellows and drops.
Each spot measures 1/16 to 1/8 inch across. West Virginia University Extension describes spots with gray or tan centers and dark brown margins. A narrow yellow halo often rings the spot. The count per leaf sets this disease apart. Dozens of tiny spots mean Septoria leaf spot, while a few large spots point elsewhere.
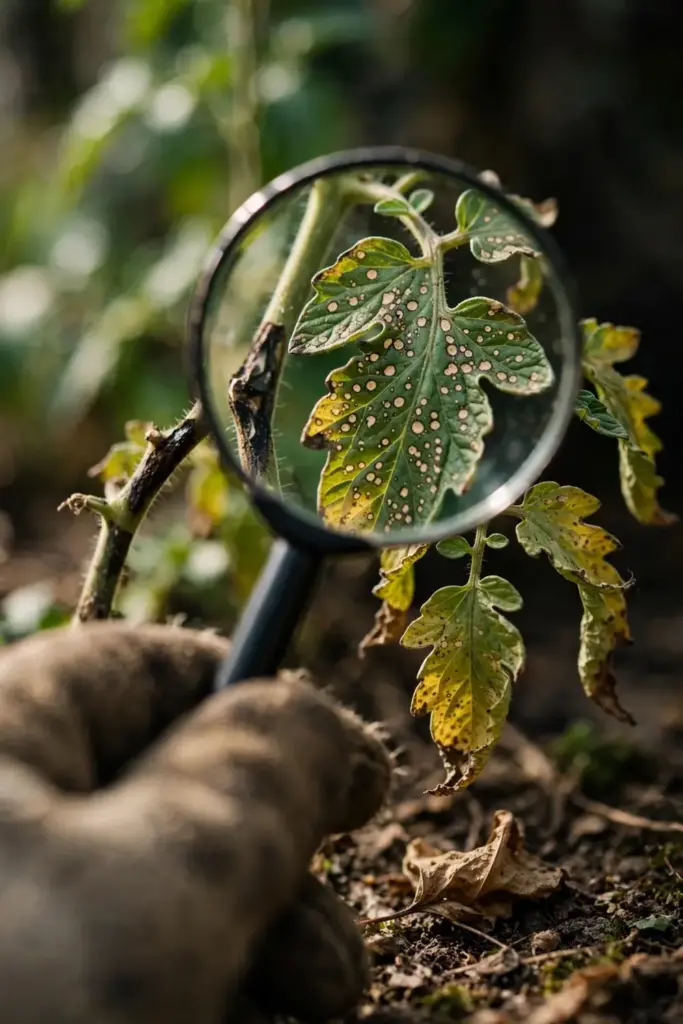
Look for black dots in the spot centers. Those dots are pycnidia, the fruiting bodies where the fungus makes spores. A hand lens shows them clearly. University of Minnesota Extension notes that the black dots appear in spot centers 8 days after the spot first appears. Pycnidia confirm the diagnosis. No other common tomato leaf spot carries them.
Stems carry spots too. Lesions develop on stems, petioles, and calyx, although fruit are rarely affected. NC State Extension lists stems, petioles, and calyx among the sites the fungus reaches. Stem spots look like leaf spots, darker and smaller. On the underside of leaves, fresh spots can look darker green or water-soaked. Heavy spotting turns whole leaves yellow, then brown, then bare.
How to Identify Septoria Leaf Spot on Fruit and Whole Plants
Septoria leaf spot rarely infects fruit. The fruit stays clean while the leaves fail around it. That split is the field mark that matters most. Leaf disease plus clean fruit points to Septoria leaf spot. Leaf disease plus spotted fruit points elsewhere, toward early blight or a bacterial spot.
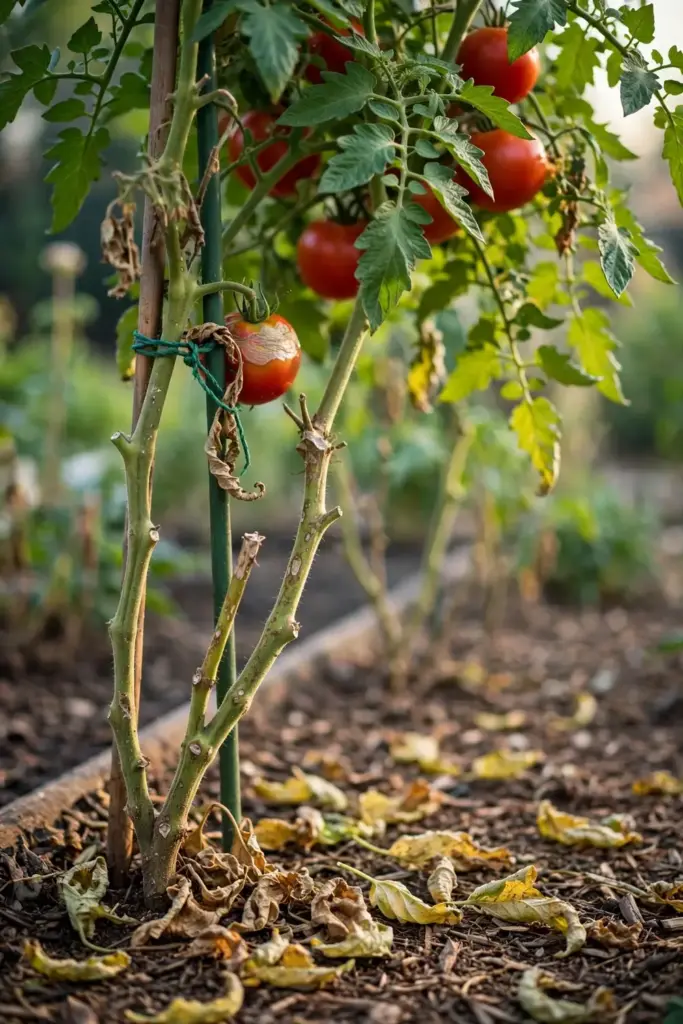
Leaf loss hurts fruit indirectly. West Virginia University Extension warns that leaf loss from severe disease may expose fruit to sunscald. Sunscald shows as a pale papery patch on the shoulder that faces the sun. The patch feels thin and dry. It carries no spots and no black dots. Pick fruit before the canopy above it thins away.
The whole plant tells the story from the ground up. Lower leaves yellow and drop first. Bare stems climb higher each wet week. Fruit on a thinning plant stays small and ripens early. The University of Wisconsin notes that lesions can converge and lead to defoliation of lower leaves, and in severe cases the death of an entire plant. A plant that loses its whole canopy dies. A plant that keeps its top leaves keeps fruiting.
Seedlings show the same pattern on a small scale. Infected seed produces diseased seedlings, and a seedling that starts spotted never catches up. The University of Wisconsin lists infected seed among the sources that produce diseased seedlings. Cull a spotted seedling. Keep the tray clean.
Which Tomatoes Get Hit Hardest by Septoria Leaf Spot
No tomato variety carries complete resistance to septoria leaf spot. West Virginia University Extension states that tomato varieties with complete resistance to septoria leaf spot are not available. Every tomato in the garden can catch it. Some stand up longer. None stands immune.
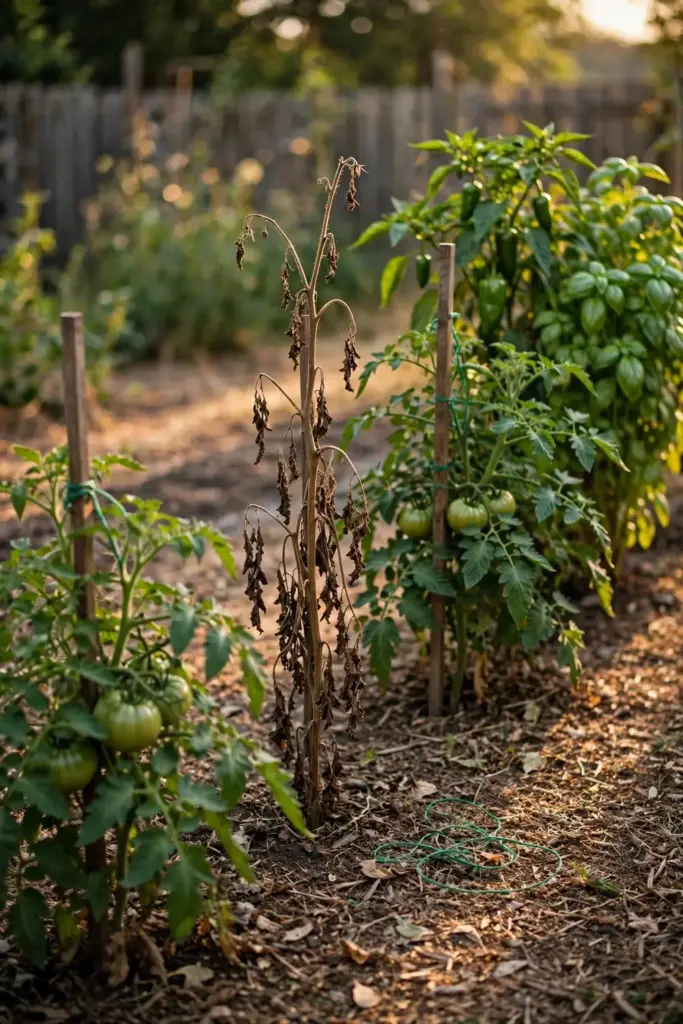
Heirlooms sit at the top of the risk list. Heirloom lines were bred for flavor, not for leaf-spot defense. No packet code promises Septoria resistance the way F codes promise Fusarium resistance. An heirloom bed in a wet summer is the first bed to thin.
Timing sets the second rank. Spots usually appear after the first fruit sets, when the canopy closes and the lowest leaves sit in shade. A plant that sailed through spring can thin fast in the first wet stretch of summer. Dense foliage holds dew. Dew feeds spores.
Placement sets the third rank. Plants with lower leaves touching soil or mulch catch spores first. Plants in low spots where water stands catch them next. Plants staked high, mulched, and spaced for airflow hold out longest. The lowest leaf decides the outbreak, so the lowest leaf gets the first look every week.
Septoria Leaf Spot vs Early Blight
Size, rings, and fruit split these two diseases. Septoria leaf spot makes many tiny spots and stays on leaves. Early blight makes fewer, larger spots with target rings and reaches stems and fruit. Learn the split once and the diagnosis takes seconds.
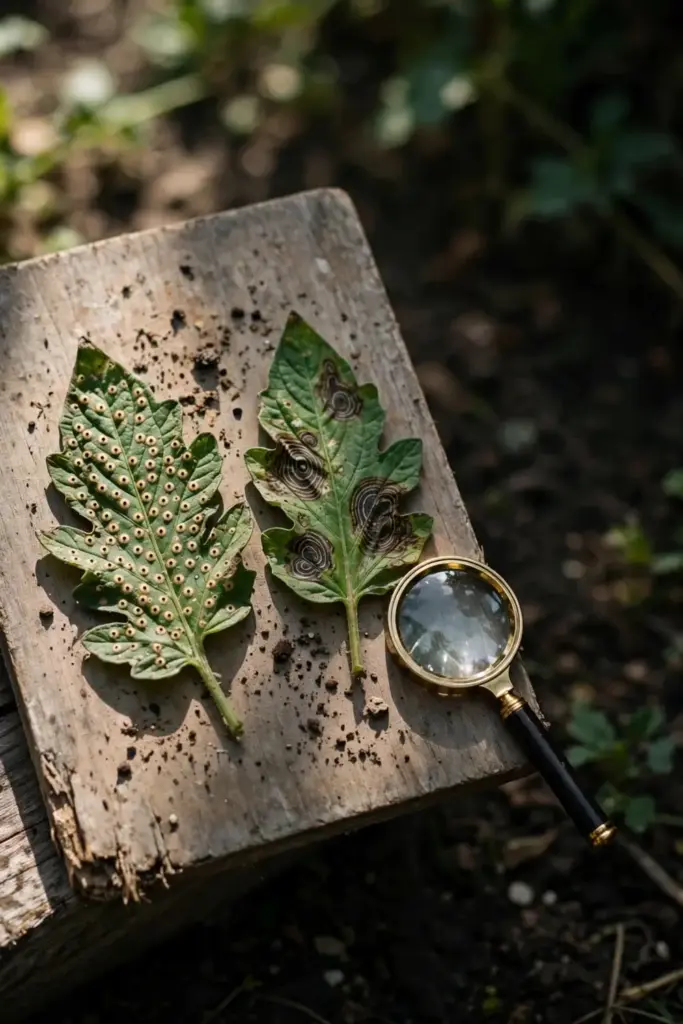
West Virginia University Extension describes early blight as a few spots, 5 to 10 per leaf, up to half an inch across with concentric rings that form a target pattern. Septoria spots run far smaller and far more numerous. Early blight also infects stems and fruit with dark sunken spots. Septoria leaf spot rarely touches fruit at all.
| Clue | Septoria Leaf Spot | Early Blight |
|---|---|---|
| Pathogen | Septoria lycopersici | Alternaria solani |
| Spot size | 1/16 to 1/8 inch, many per leaf | Up to half an inch, 5 to 10 per leaf |
| Spot center | Tan to gray center with black pycnidia dots | Dark concentric target rings |
| Halo | Narrow yellow halo sometimes present | Yellow tissue around lesions |
| Fruit | Rarely infected | Leathery spots start at the stem end |
| Stems | Spots under high pressure | Sunken cankers with concentric rings |
| First leaves | Lowest leaves after fruit set | Older leaves near the ground after blossom set |
| Weather | Moderate temperatures with wet leaves | Warm wet weather, common late in summer |
When the table leaves doubt, a lab diagnosis settles it. Both fungi ride splash and wet leaves, and both climb the plant from the bottom up as the season runs. Both defoliate from the bottom up. The pycnidia check decides close calls. Black dots in the spot centers mean Septoria leaf spot. Target rings mean early blight.
Gray leaf spot wears the same small-spot uniform. The pathogen is Stemphylium, and its spots look close to Septoria spots. NC State Extension notes that the center of a gray leaf spot lesion tends to crack open or fall out, while Septoria centers stay intact with pycnidia inside. Stemphylium Leaf Spot stands as a separate disease with its own identification marks. It never merges into this article.
Bacterial leaf spots add a third lookalike. University of Minnesota Extension groups Septoria leaf spot, early blight, and bacterial spot as the three leaf spot diseases common on garden tomatoes. Bacterial spots look similar early, then mark fruit with small raised spots. The management steps below work for all three, so a mixed outbreak still answers to the same plan.
Why Splashing Water Drives Septoria Leaf Spot
Septoria leaf spot spreads on splash. Spores sit in debris, on weeds, and on dirty equipment. Rain or overhead water lifts them onto the lowest leaves. The leaf stays wet. The spore enters through a stoma. The cycle starts.
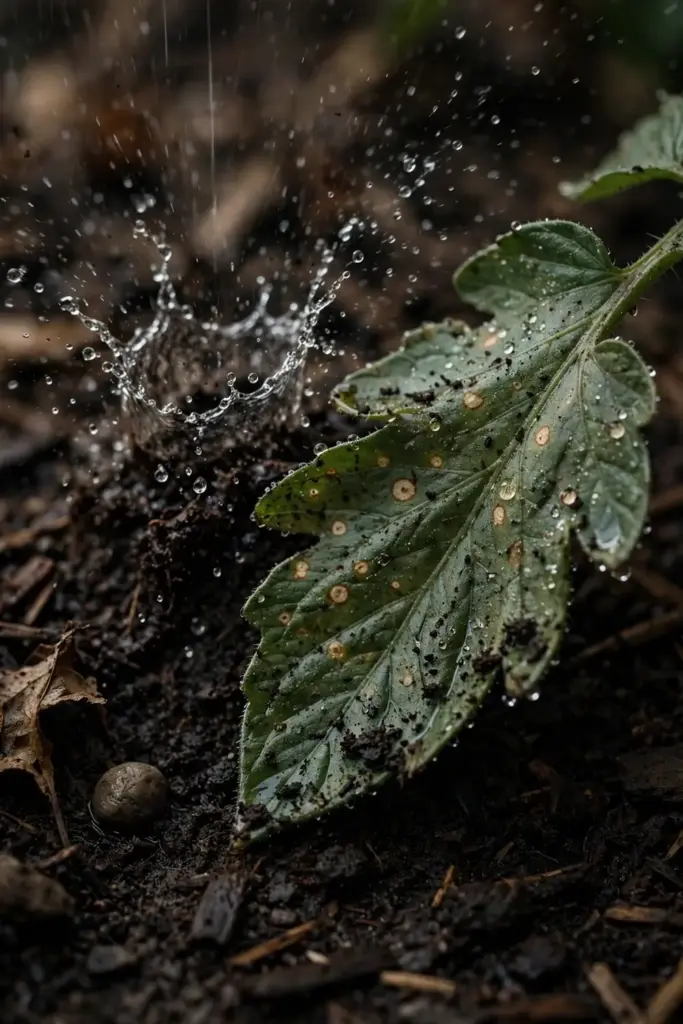
The University of Wisconsin reports that spores penetrate leaf tissue through stomata, with lesion development within 5 days and pycnidia within 14 days of inoculation. Each new pycnidium releases more spores. Those spores splash to healthy leaves and start new spots. One wet stretch can run the loop twice.
Each spot is a spore factory. University of Minnesota Extension notes that each leaf spot produces hundreds of fungal spores that can splash or blow onto other leaves. New spots produce spores in as little as two weeks under the right weather. That is why a plant with a few spots in June can stand bare in August. The math compounds.
Wet leaves are the gate. University of Minnesota Extension states that fungi need moisture on the leaf surface to start a new infection. Dry leaves block the gate. Every step below either keeps leaves dry or keeps spores off leaves. No step tries to cure a spot that already shows. Sprays shield healthy leaves. They cannot heal spotted ones.
What Makes Septoria Leaf Spot Worse in a Home Garden
Moderate temperatures with wet leaves drive the disease. The University of Wisconsin puts the favorable range at 68 to 77 degrees Fahrenheit with high humidity, wet conditions, and poor airflow. Warm wet summers are the danger window. Cool dry spells slow the loop. A humid week after fruit set is the classic outbreak trigger.
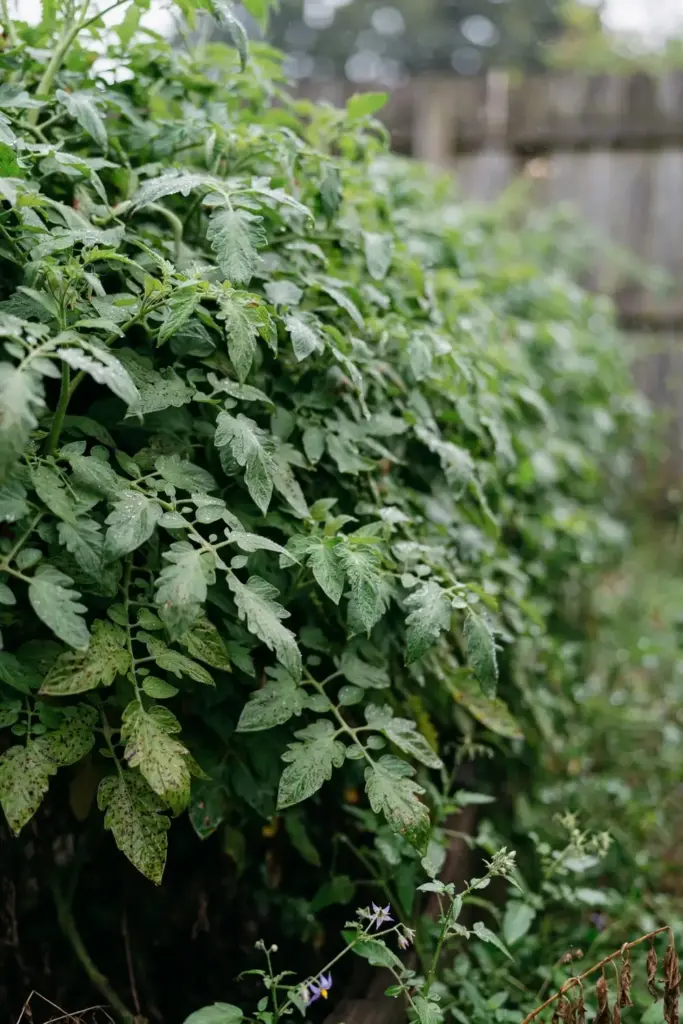
Overhead watering feeds it. Sprinklers wet the canopy and splash soil onto lower leaves. Evening watering leaves the canopy wet overnight. Morning watering dries by midday. Drip lines and soaker hoses skip the leaves entirely.
Crowding feeds it. Dense canopies trap humid air. Leaves that touch pass moisture leaf to leaf. Plants set tight in a row dry slowly after rain and hold dew into the next morning. Spacing and staking open the canopy and let wind do the drying.
Dirty habits feed it. Working wet plants spreads spores on hands and tools. Saving seed from infected plants carries the fungus into the next tray. Leaving debris in the bed over winter keeps the fungus fed. University of Minnesota Extension advises gardeners not to save seed from infected plants. Nightshade weeds around the bed host the fungus in silence all season, and they seed the next outbreak. Horsenettle, black nightshade, jimsonweed, and groundcherry all carry it.
Step 1: Decide Whether Treatment Is Worth It
Count the canopy before you spend a dollar. Septoria leaf spot rarely ruins fruit outright. University of Minnesota Extension states that most home garden tomatoes do not need fungicide, and that plants can tolerate high levels of leaf loss without affecting the number of tomatoes produced. Cultural steps carry most home outbreaks. Spray is the backup, not the plan.
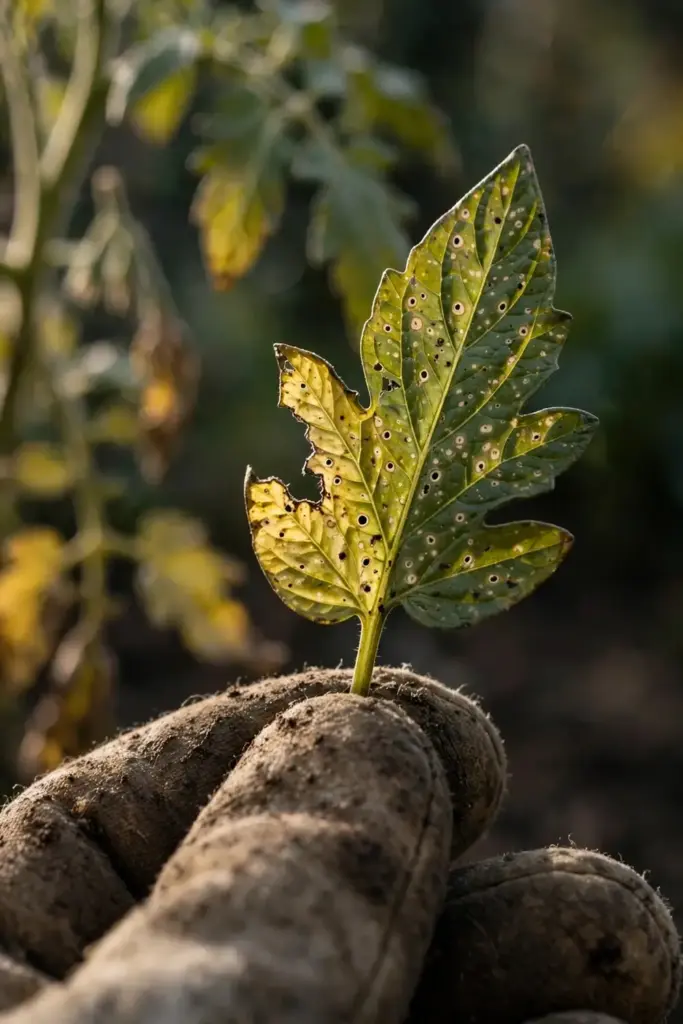
Wet seasons change the math. NC State Extension notes that septoria leaf spot can reduce tomato yields dramatically in seasons of moderate temperature and abundant rainfall. A plant that keeps losing leaves week after week cannot feed its fruit. A plant that holds its upper canopy keeps producing. The decision rests on which way the canopy moves.
Spots on the lowest leaves only mean work the steps below. Strip, mulch, stake, and scout. A plant that already stands bare past the middle with sunscalded fruit has crossed the line. Pull it. Bag the debris. Protect the plants beside it with the same steps.
Step 2: Strip the Lowest Leaves and Stake for Airflow
Strip spotted leaves the day you see them. Pinch or cut the leaf at the stem. Drop it straight into a bag and close the bag before you touch the next plant. Wash hands and tools after. Work dry plants only, since wet foliage spreads spores on contact.
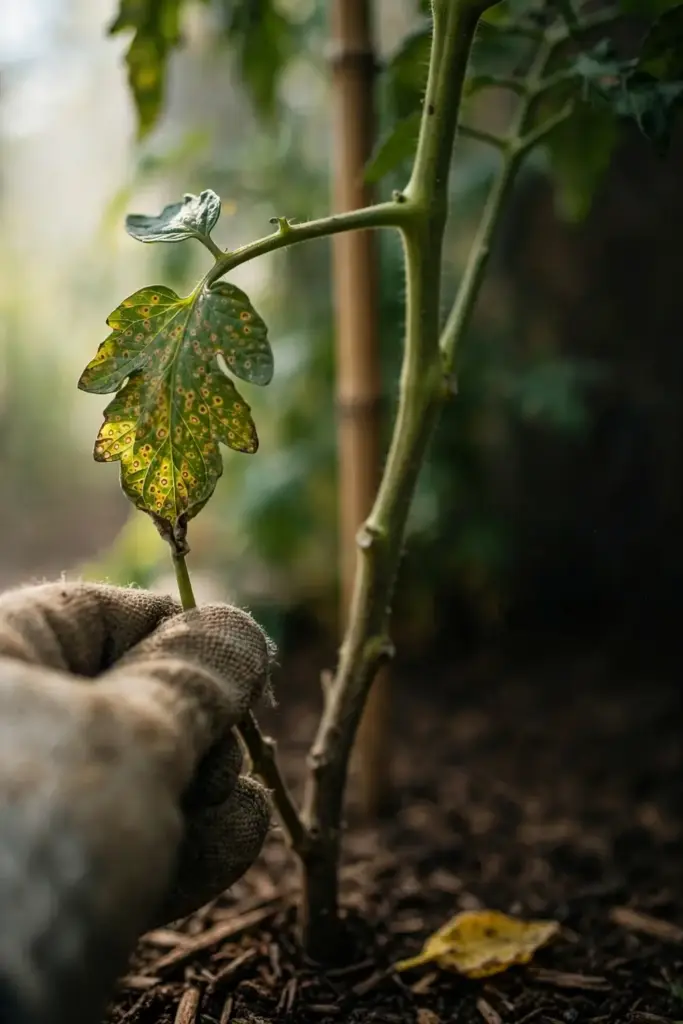
Take up to one-third of the leaves. University of Minnesota Extension states that it is okay to remove up to a third of the plant leaves if you catch the disease early, and that you should not remove more than a third. Many gardeners strip the lower third of every plant whether spots show or not. Bare lower stems break the splash ladder. The fungus cannot jump from soil to canopy without a leaf to land on.
Bag the stripped leaves for municipal waste. Minnesota Extension suggests burying pinched leaves in the compost pile. West Virginia Extension says to keep infected debris out of compost. Follow the stricter rule. The Missouri Botanical Garden advises against composting diseased plants. Home piles rarely sustain killing heat. Bagged trash ends the cycle.
Stake or cage every plant at planting time, while stems still bend without breaking. Lifted plants dry fast after rain. Caged plants keep fruit off the soil. The tomato cages guide covers cage types and tying in practical detail. Tie stems loosely. Tight ties girdle stems as they thicken.
Step 3: Mulch the Soil and Water at the Base
Mulch breaks the splash path. A mulch layer stops soil and debris from bouncing onto lower leaves. University of Minnesota Extension notes that landscape fabric, straw, plastic mulch, or dried leaves all work as mulches under tomatoes. Spread mulch after the soil warms. Keep it a finger width off the stems.
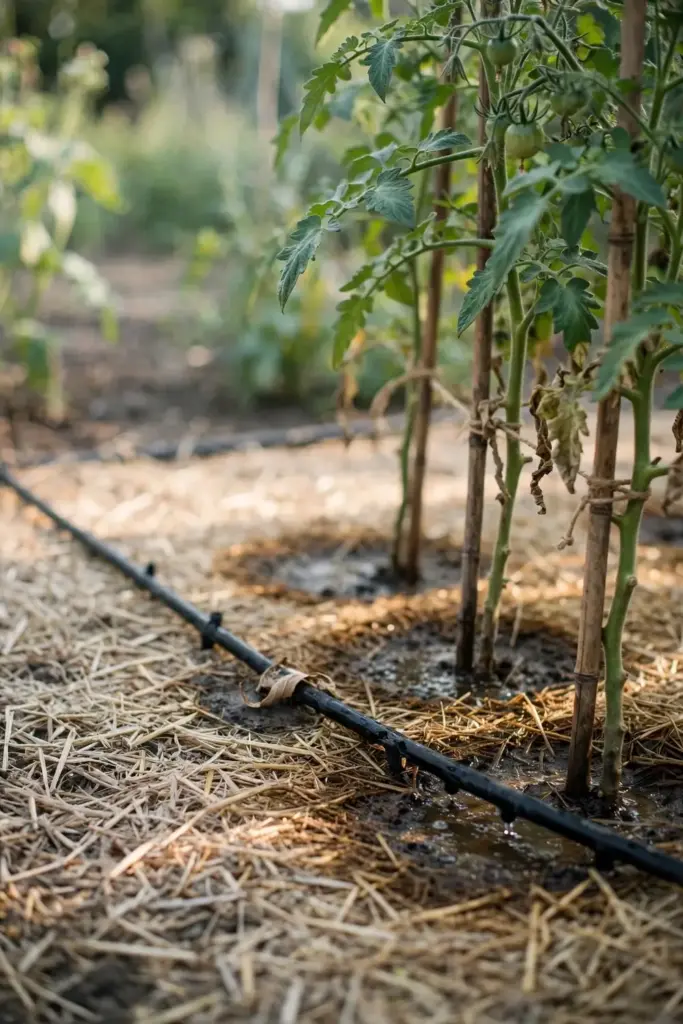
Water the soil, not the leaves. Drip lines and soaker hoses put water at the root zone and leave the canopy dry. West Virginia University Extension recommends drip irrigation or a soaker hose at the base of the plant instead of watering with a method that gets foliage wet. A narrow-spout can aimed at the mulch does the job on a small bed.
Water early in the day. West Virginia University Extension advises watering only early in the day so foliage dries fast. Morning water dries during the day. Evening water sits all night. Night wetness is the window spores need.
Skip herbicide-treated clippings. University of Minnesota Extension warns that tomatoes are sensitive to many herbicides used on lawns, and that grass clippings or leaves from a treated lawn do not belong under tomatoes. Herbicide damage looks like disease and confuses every diagnosis. Use clean straw, clean leaves, or landscape fabric instead.
Step 4: Space Plants and Prune Suckers for Fast Drying
Give each plant room to dry, with air moving freely around every leaf. Leaves that never touch dry fast after rain. Leaves pressed together hold dew for hours. Walk the row after a rain. The plants that still drip at midday sit too tight.
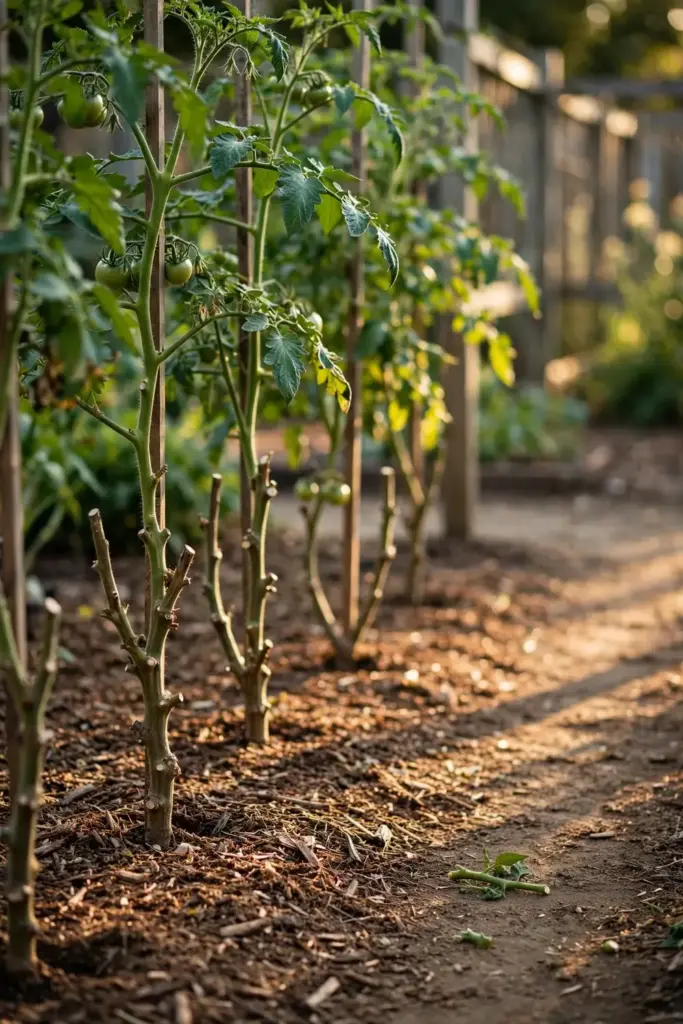
Prune the suckers and the lowest laterals. The University of Wisconsin lists removing suckers or the lowest lateral tomato growth among the practices that limit Septoria leaf spot. The lowest laterals sit closest to splash. Cut them early, while the cuts stay small. Each cut opens the canopy a little more.
Stake or trellis to lift the canopy. University of Minnesota Extension notes that staking and trellising increase air circulation and help leaves dry quickly after rain or irrigation. A lifted plant dries from all sides. A sprawling plant dries from the top only. Tie main stems to the stake as they grow. Pinch suckers weekly so the canopy never closes again.
Step 5: Clean Up Debris and Control Nightshade Weeds
Clean the bed at season end, down to bare soil, before winter locks the debris in place. Pull spent plants whole, roots and all. Rake every fallen leaf. NC State Extension lists removing crop debris from planting areas, particularly tomato crop debris, among the core controls for septoria leaf spot. Debris left in the bed feeds next spring. A clean bed starves the fungus.
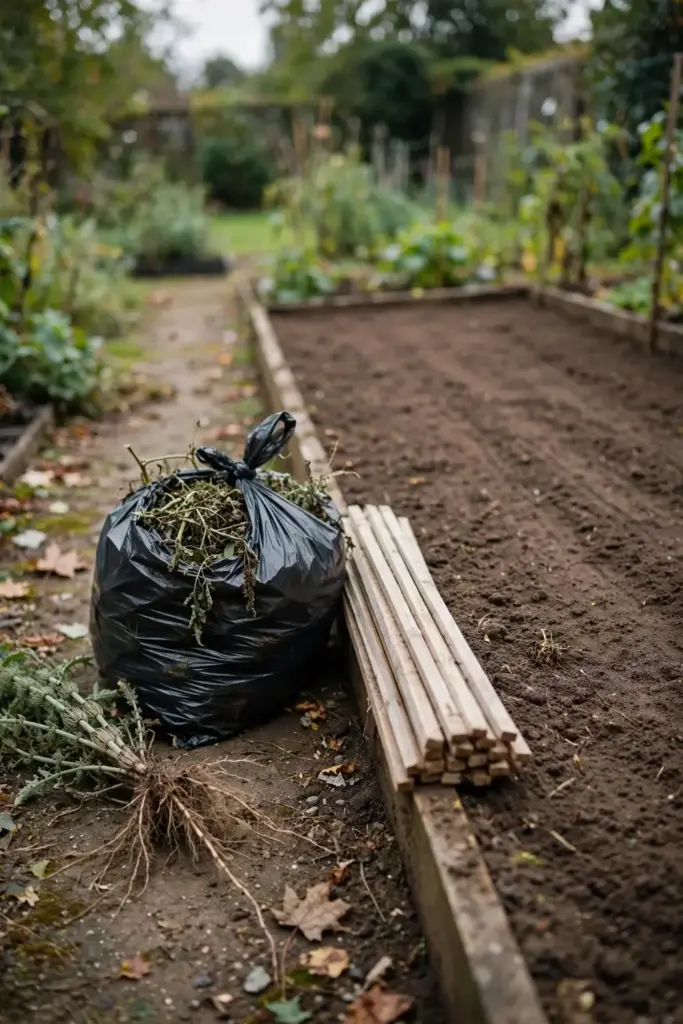
Pull nightshade weeds through the season. West Virginia University Extension names horsenettle, black nightshade, jimsonweed, and groundcherry as weeds that carry the pathogen. These weeds host the fungus in silence. A weed-free row breaks the bridge between seasons. Pull them before they set seed. Bag the pulled weeds with the tomato debris and carry the bag out of the garden at once.
Disinfect stakes, cages, and tools. The University of Wisconsin notes that the fungus can survive on equipment as well as on debris and infected seed. Wash soil off stakes and cages. Use a 10 percent bleach solution, one part household bleach to nine parts water, then rinse and dry. Clean gear starts the next season at zero.
Step 6: Rotate Out of Tomatoes for 2 Years
Rotate away from tomatoes for 2 or more years. NC State Extension gives that span as a core control for septoria leaf spot. University of Minnesota Extension advises allowing two years to pass before planting tomatoes or peppers in the same location. Two years is the rule. One season off is not enough.
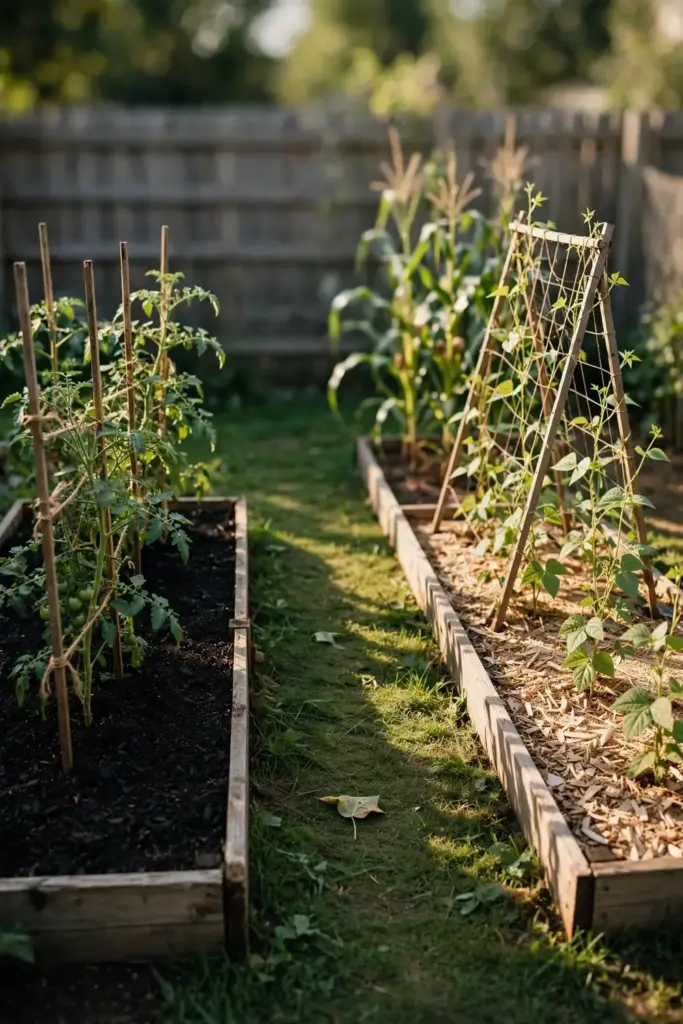
Fill the fallow years with non-solanaceous crops that break the cycle and feed the soil. Beans, corn, lettuce, and carrots break the cycle. Peppers, eggplant, and potatoes belong in the avoid list. They share the nightshade family and keep the bed infectious. The crop rotation guide covers rotation planning across the whole garden in practical detail.
Map the bed on paper. Write down which bed held tomatoes, which year, and what follows there. Memory fades. The fungus does not. A bed map stops next spring from repeating this spring. Small gardens can rotate beds instead of fields. Even a swap between two beds cuts pressure.
Step 7: Plant Resistant Varieties Where Septoria Returns
Buy tolerance where Septoria returns yearly, and treat even tolerant plants with the full cultural plan. No variety carries complete resistance. West Virginia University Extension states that tomato varieties with complete resistance to septoria leaf spot are not available, and names Iron Lady as a variety with tolerance to the disease. Tolerance slows the outbreak. It never stops it.
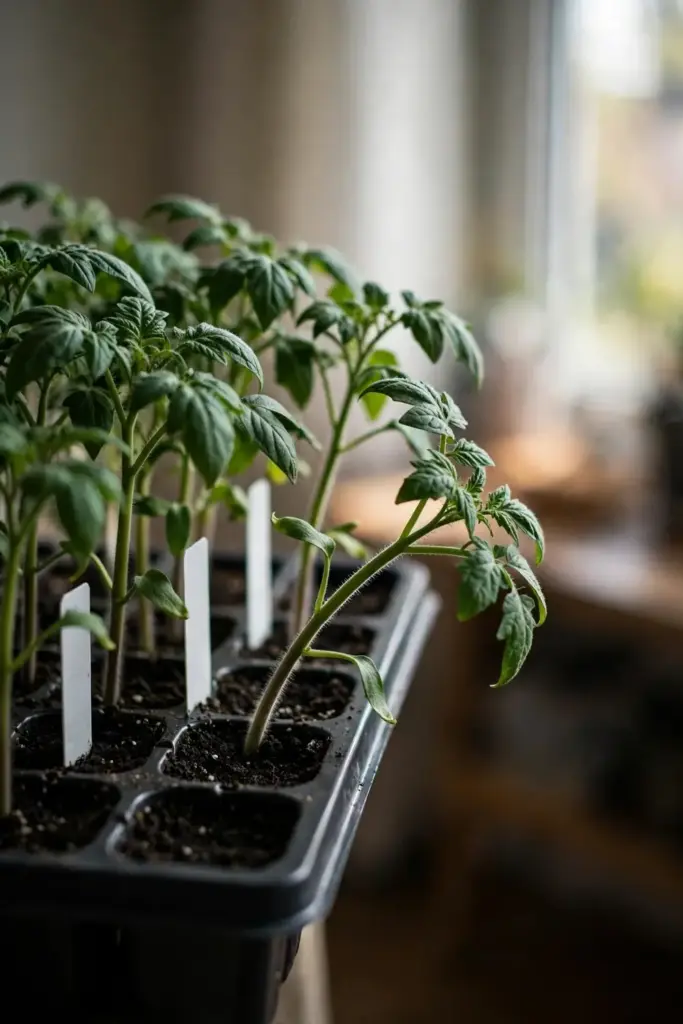
Iron Lady leads the short list. Cornell University calls Iron Lady the first tomato to resist early blight, late blight, and septoria leaf spot. The variety stacks Septoria resistance with late blight and early blight defenses. Seed catalogs carry it under its own name. Buy the named variety, not a generic disease-resistant claim.
Grow heirlooms on clean ground. Plant heirlooms in a bed with no tomato history, in fresh containers, or in a new spot each year. Keep the heirloom canopy staked, mulched, and stripped at the base. The same steps that slow Septoria on any tomato matter twice as much on a variety with no bred defense.
Step 8: Spray Preventively When Rain Will Not Stop
Spray before disease, not after it. Protectant fungicides shield healthy leaves. They cannot cure spotted ones. NC State Extension states that fungicides with chlorothalonil, copper, or mancozeb help reduce disease, and that they must be applied before disease occurs since they can only provide preventative protection. A sprayed spotted leaf stays spotted. A sprayed healthy leaf stays healthy.
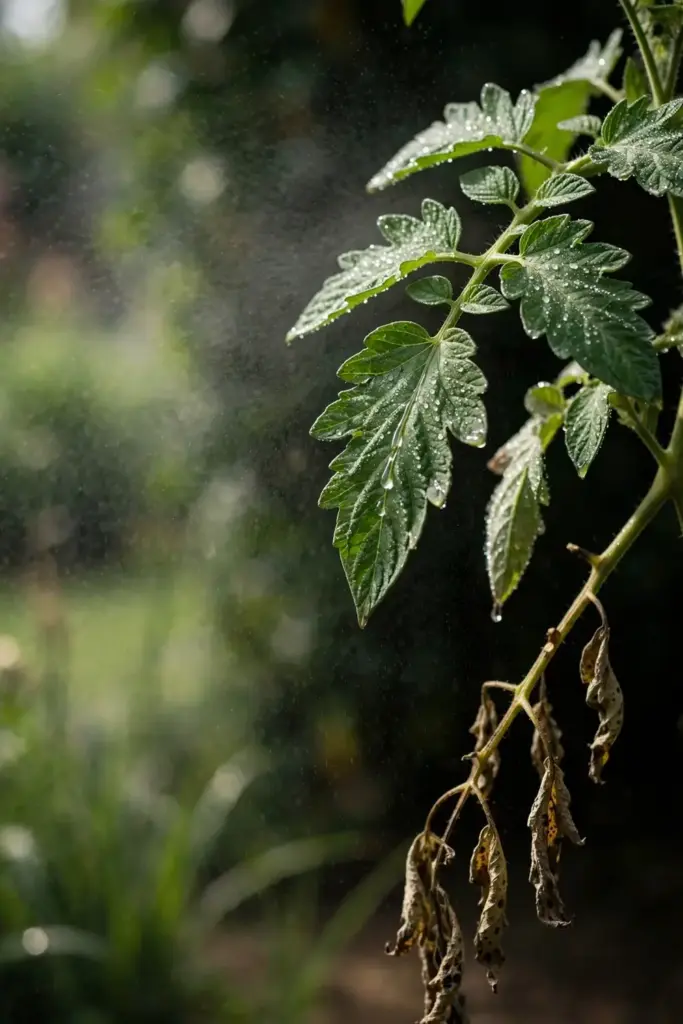
Choose the product for your garden and read the label before you buy. Conventional growers use chlorothalonil, mancozeb, or fixed copper. Organic growers use fixed copper. NC State Extension notes that organic fungicides have limited efficacy, and that cultural practices come before considering organic fungicides. Read the label. Follow the label rate and the harvest interval on the label.
Spray on a weekly schedule in wet weather. West Virginia University Extension notes that organic growers may use fixed copper, Regalia, Serenade, or Actinovate on a weekly schedule throughout the growing season. Reapply after heavy rain, per the label. Cover the undersides of leaves, where spores land. Skip spraying in high wind or when bees work the flowers.
Hold the restraint. University of Minnesota Extension states that most home garden tomatoes do not need fungicide. Spray earns its place when rain runs week after week and the canopy thins despite stripping and mulching. A dry spell ends the spray schedule. The steps above carry the season the rest of the time.
Step 9: Scout Weekly and Remove Spotted Leaves Early
Scout every week from fruit set on. Walk each row. Look at the lowest leaves first. Turn leaves over. Check the undersides for water-soaked spots. NC State Extension advises scouting plants often and removing infected plants. A weekly walk catches outbreaks while they still sit on a few leaves.
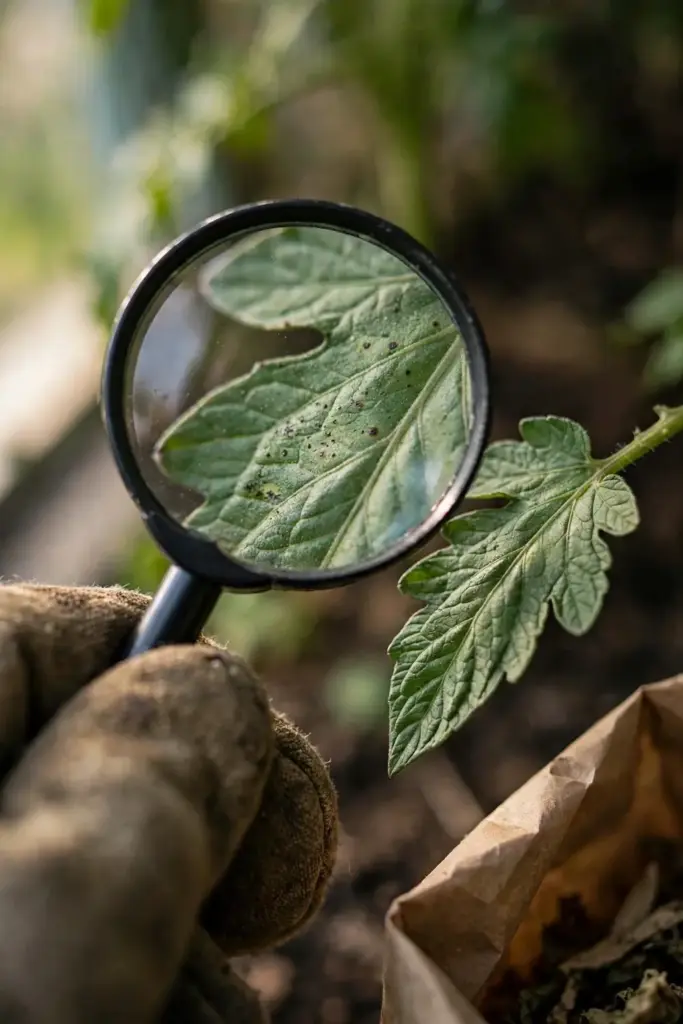
Carry a bag and a hand lens. The bag takes spotted leaves out of the garden. The lens confirms pycnidia in spot centers and settles the diagnosis in seconds. Strip spotted leaves the day you see them. Wash hands and tools after the round. University of Minnesota Extension advises waiting until plants are dry for chores like staking, pruning, and weeding. Wet chores spread spores.
Track what you find. A notebook line per week beats memory. Write the date, the bed, and how high the spots reached. A rising line means tighten the plan. A flat line means the plan holds. The record also tells you which bed needs rotation next year.
Step 10: Start Clean Next Season With Certified Seed and Sterile Mix
Start clean next season. Buy disease-free seed from a reputable supplier. West Virginia University Extension lists disease-free seed among the first controls for septoria leaf spot. Inspect every transplant before it leaves the store. Any wilted, stunted, or spotted seedling stays behind.
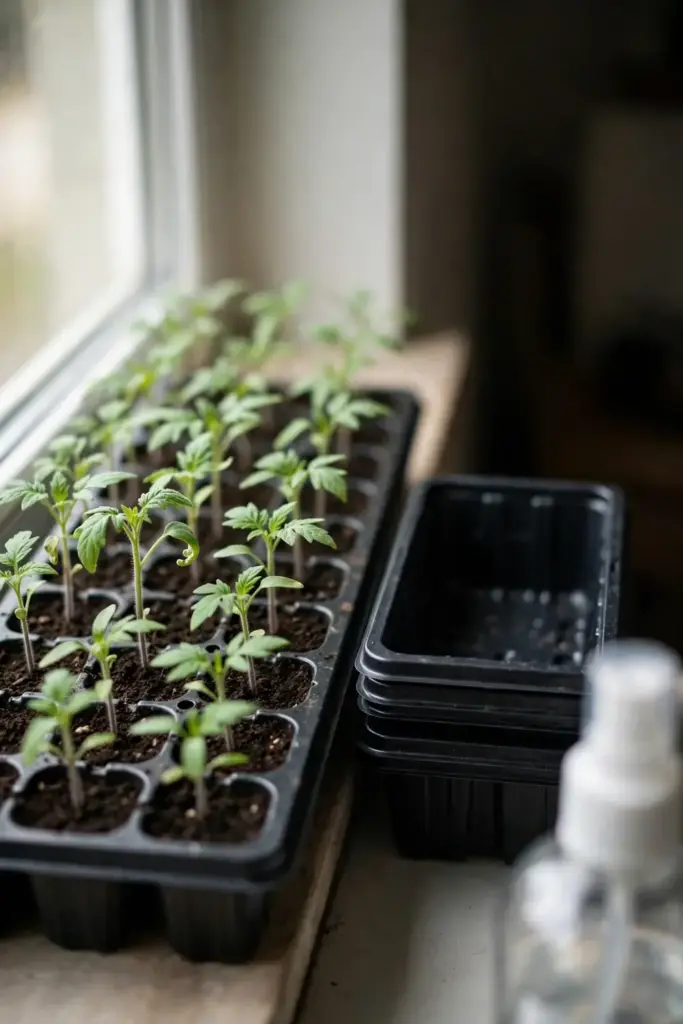
Save seed only from healthy plants. University of Minnesota Extension advises gardeners not to save seed from infected plants. Seed from a spotted plant carries the fungus into the next tray. Label saved seed with the variety and the year. Throw out any lot tied to a diseased plant.
Sterilize the seed-starting setup. Use fresh sterile seed-starting mix, new or disinfected trays, and clean water. The seed starting guide covers clean technique from sowing to transplant. Use the same 10 percent bleach soak from Step 5 for trays, then rinse and dry. NC State Extension advises home gardeners to use raised beds and rotate which bed holds tomatoes from year to year. A fresh bed plus clean seed starts the season at zero.
Living With Septoria Leaf Spot in a Bed You Already Own
A bed with septoria leaf spot is not a dead bed. It is a managed bed. Plant tolerant varieties there as the default. Keep mulch down and the lower third stripped. Scout weekly and spray only when rain runs long, since dry weather ends the spray schedule. The bed can still produce good tomatoes.
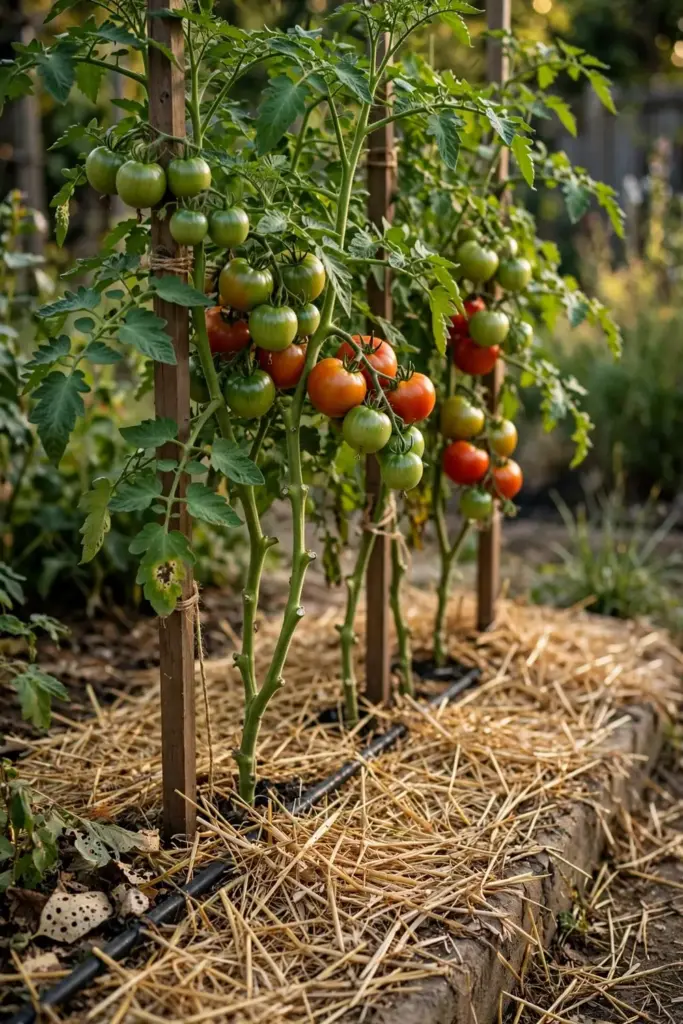
Accept some spotting. A few spots on the lowest leaves are not a failure. They are the signal to strip and tighten the plan. A canopy that holds its upper leaves feeds fruit to the end of the season. The goal is a productive plant, not a spotless one.
Keep three habits out. Do not plant heirlooms in that bed to test it. Do not reuse its soil in seed trays. Do not compost its sick plants. Keep the sanitation, watering, and rotation discipline every season, because the fungus waits in debris longer than any gardener remembers.
Three more leaf-spot diseases wear the same small-spot uniform. Phyllosticta Leaf Spot, Phoma Leaf Spot, and Entomosporium Leaf Spot each stand as separate diseases with their own identification marks. This article covers tomato septoria leaf spot only. Leaf spots on other crops belong to other pathogens and other articles.
Frequently Asked Questions
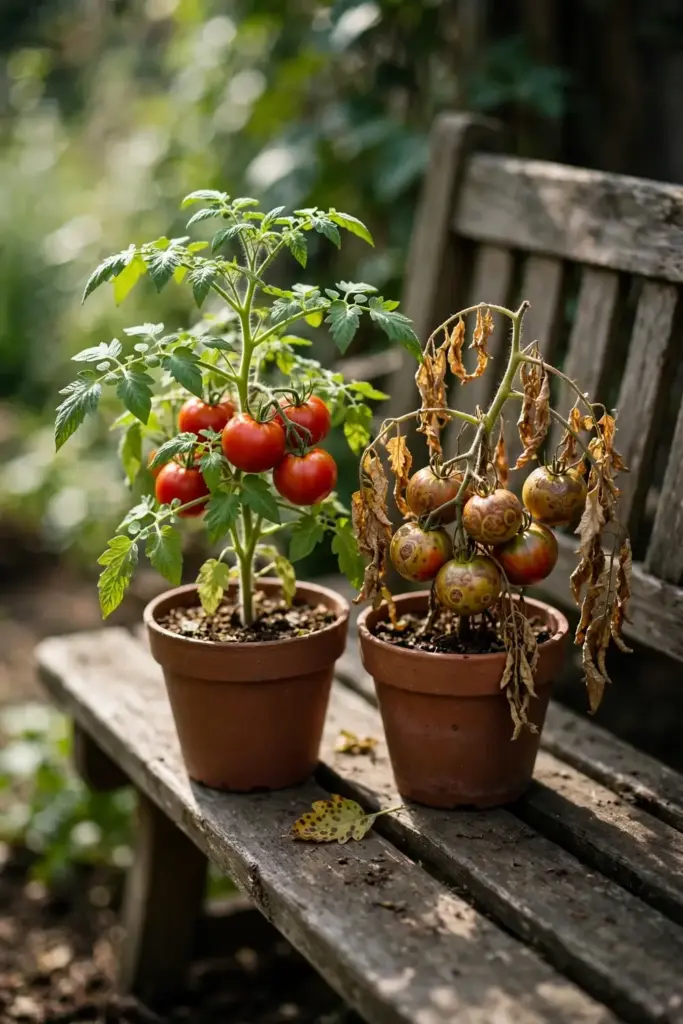
Yes, in severe cases. The University of Wisconsin notes that heavy defoliation can kill an entire plant when spots strip leaf after leaf. Most home plants lose lower leaves and keep fruiting. A plant that stands bare with sunscalded fruit has crossed the line. Pull it, bag the debris, and protect the plants beside it.
Yes, when the fruit looks sound. Septoria leaf spot rarely infects fruit, so the danger sits in the leaves, not the harvest. Wash every tomato as usual. Discard fruit that looks rotted, moldy, or sunscalded past a small patch. The real loss is canopy, not safety. A plant that dies early stops feeding fruit, so pick what ripens before the leaves fail.
No. Fungicides for Septoria leaf spot shield healthy leaves. They cannot cure leaves that already show spots. NC State Extension states the limit plainly. Protectant sprays must go on before disease appears. That is why this plan leads with stripping, mulching, spacing, and rotation. Spraying spotted leaves wastes product and leaves the cycle running.
Fast once leaves stay wet. The University of Wisconsin reports lesions within 5 days of infection and pycnidia within 14 days. Each new spot then releases spores that start the cycle again. Warm wet weather compresses the whole loop. Weekly scouting breaks it. Strip spotted leaves the day you see them and keep the canopy dry between rains.
No. Bag spotted leaves and spent plants for municipal waste. The fungus rides on debris into the next season. Home compost piles rarely sustain the heat that kills the fungus. The Missouri Botanical Garden advises against composting diseased plants of any kind. Clean the bed at season end instead. Bare soil plus fresh mulch beats a compost pile full of last year spots.
It can, when debris and nightshade weeds carry the fungus through winter. The cycle restarts with the first spring splash. Rotation breaks it. Two years away from tomatoes starves the debris cycle. Clean beds, clean tools, and weed-free rows do the rest. A bed that stays clean through one wet season usually stays quiet the next.
Where to Go From Here
Septoria leaf spot rewards fast stripping and steady cleanup. Confirm the tiny spots and the black pycnidia dots. Make the honest triage call in Step 1. Then work the sequence: strip, mulch, space, clean, rotate, and start clean.
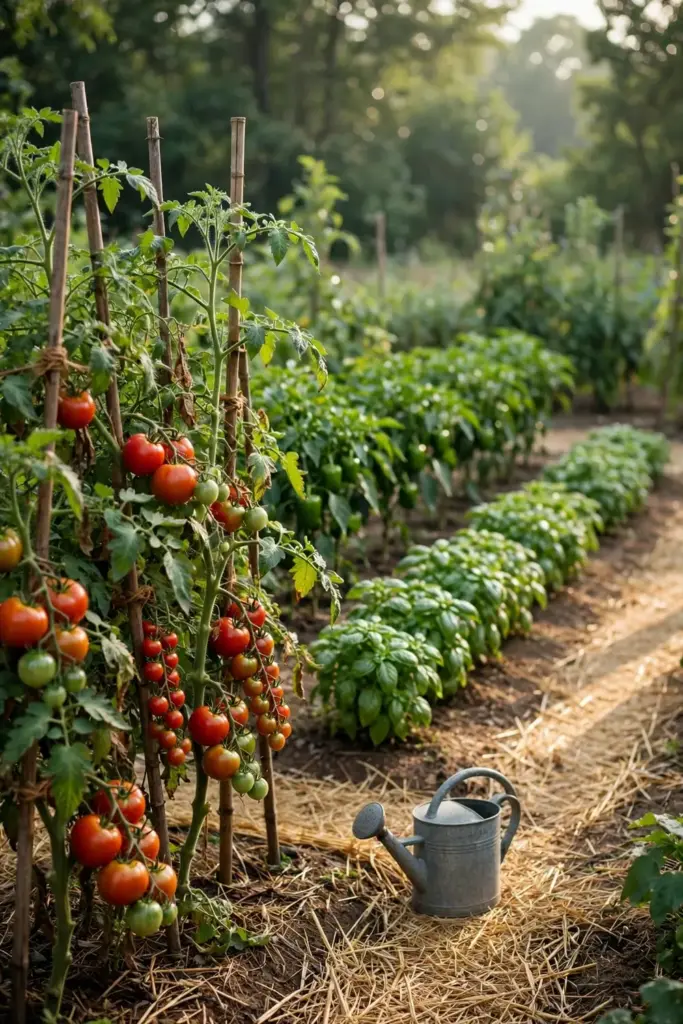
Next season, start clean. Fresh sterile mix, disinfected trays, and morning watering will prevent more septoria leaf spot than any product treats. The blossom blight guide is a useful companion read if you are building a broader disease-identification habit, since it trains the same look-closely-at-symptoms approach.