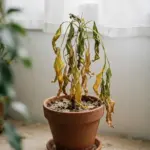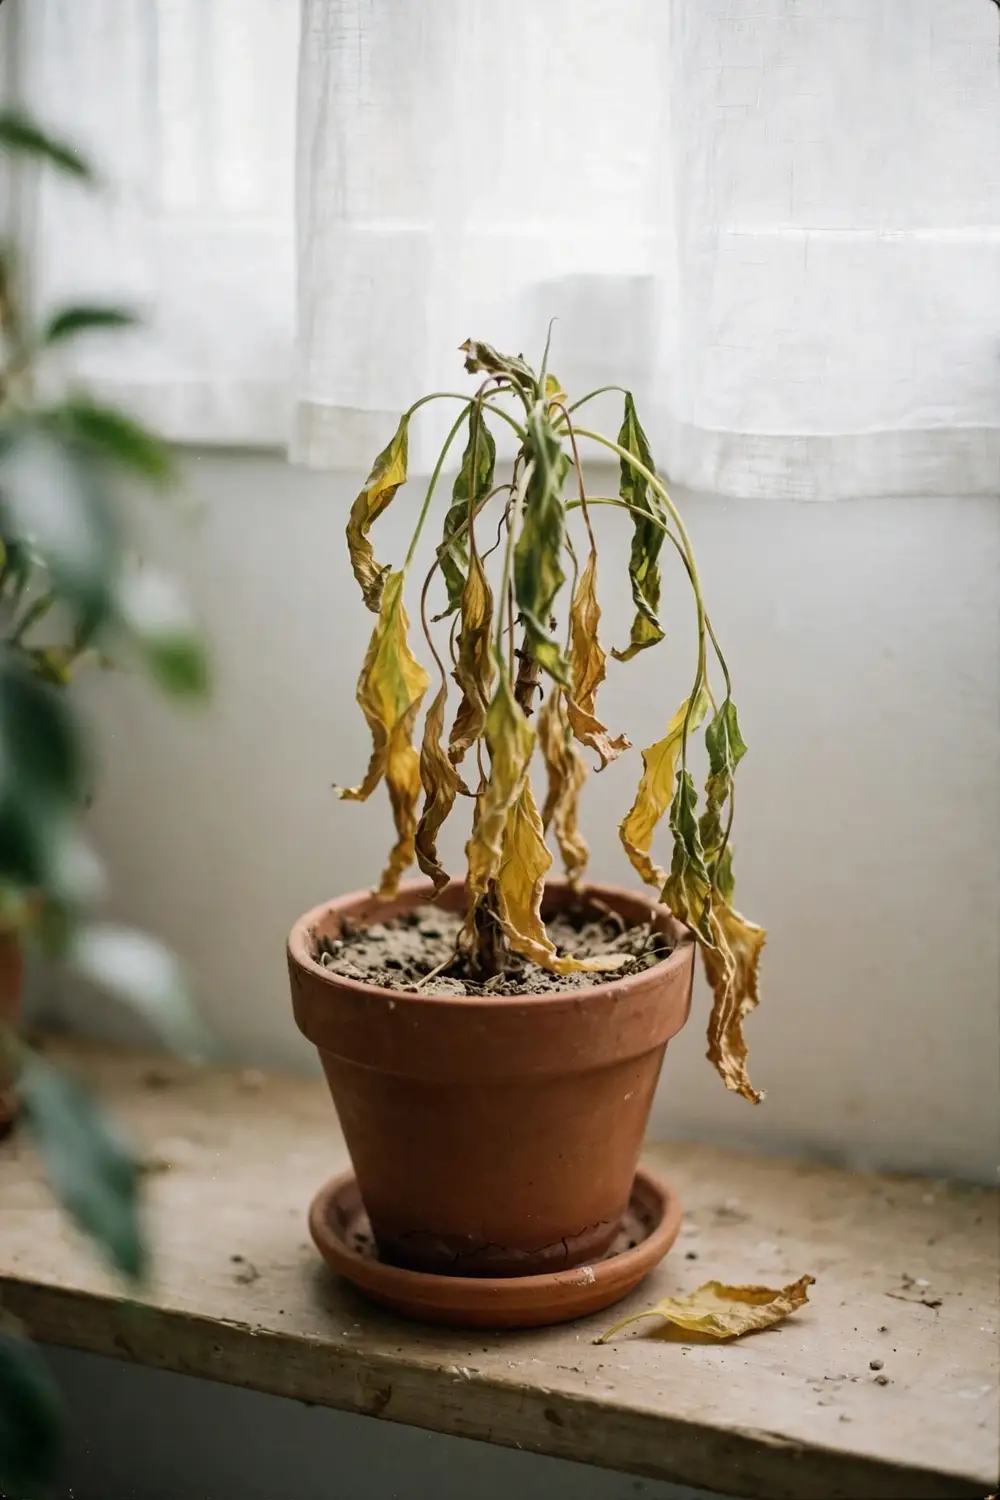

Here is how to revive a dying indoor plant: run 9 steps in order, and judge the result after 4 weeks. Most dying indoor plants fail from water. Disease comes second. Diagnosis comes first, then water, light, roots, and pests.
That is how to revive a dying indoor plant without guessing. A dying plant shows active decline: yellowing leaves, wilting stems, or dropping foliage, while some tissue stays firm and green. A dead plant shows no firm green tissue anywhere. Its stems snap dry, its crown turns soft and foul, and no leaf holds color.
The rest of this page is 9 steps, from the first check to the waiting period. Each step names one action and the sign it worked. Work step 1 today. Water by the finger test from now on. Check weekly.
1. Check Whether Your Indoor Plant Is Dying or Dead
Check the stem and the crown first. Firm green tissue means the plant can recover. Dry snapped stems and a soft foul crown mean it cannot.
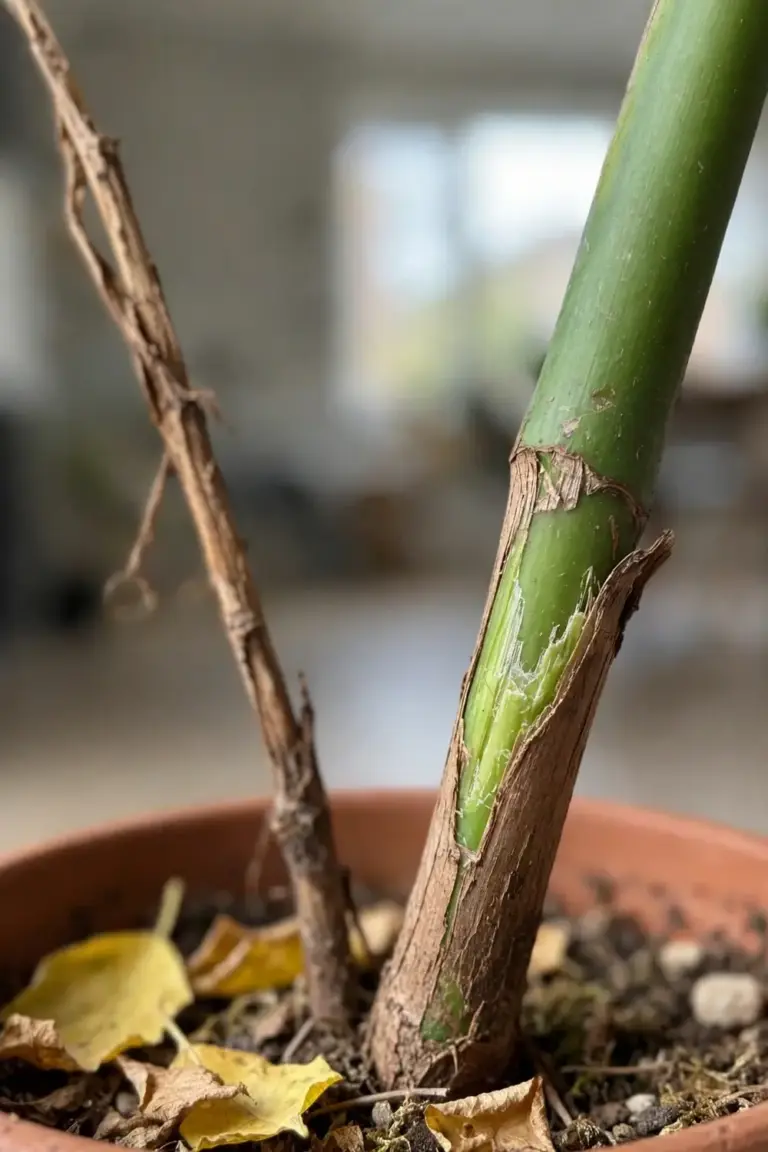
Scratch a small patch of bark with a fingernail. Green tissue under the bark means the stem lives, while brown dry tissue under the bark means that stem died. Check the crown next. The crown is the growing point where stems meet the roots. A firm crown with green tissue can regrow, and a soft crown with a foul smell cannot.
Wilting confuses most people. Wilting can mean underwatering, overwatering, root damage, low humidity, moving shock, a draft, or heat damage. The UGA Extension houseplant guide lists wilting causes from underwatering and overwatering to drafts and heat damage, so wilting alone never names the problem. Pair wilting with the soil check. Wet soil plus wilting points at roots. Dry soil plus wilting points at water.
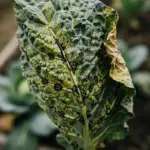
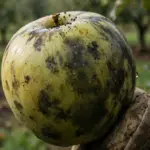
Read the symptoms in order. Yellow lower leaves point at overwatering, underwatering, low light, low fertility, or disease. Brown crispy leaf tips point at low humidity, mineral buildup, or dry mix. Leaves that drop fast point at a sudden change in light, temperature, or water. A mushy stem points at too much water. Spots with yellow halos point at leaf infection. Match the symptom to the step that fixes it. Yellowing goes to water. Stretching goes to light. Mush points at roots. Clusters and webbing go to pests.
One yellow leaf on an old stem is normal aging. A plant drops its oldest leaf as it grows. Worry when yellowing spreads, when several leaves drop in one week, or when new leaves yellow first. New leaves yellowing first points at roots or water. Old leaves yellowing first points at light or food.
Pull off leaves that are fully brown and crisp. Dead leaves do not recover, and they hide the new growth you watch for later. Leave leaves with any green, since a half-green leaf still feeds the plant.
Check the pot and the mix before you touch the plant again. Lift the pot. A pot that feels heavy for its size holds wet mix. Smell the mix at the drainage hole. A sour swampy smell means airless mix and likely rot. Look at the mix surface. A white crust means salt buildup from fertilizer or hard water. A green film means algae on mix that stays wet. These four checks, weight, smell, crust, and film, tell you what the roots live in before you unpot anything.
2. Run the 9 Steps to Revive a Dying Indoor Plant in Order
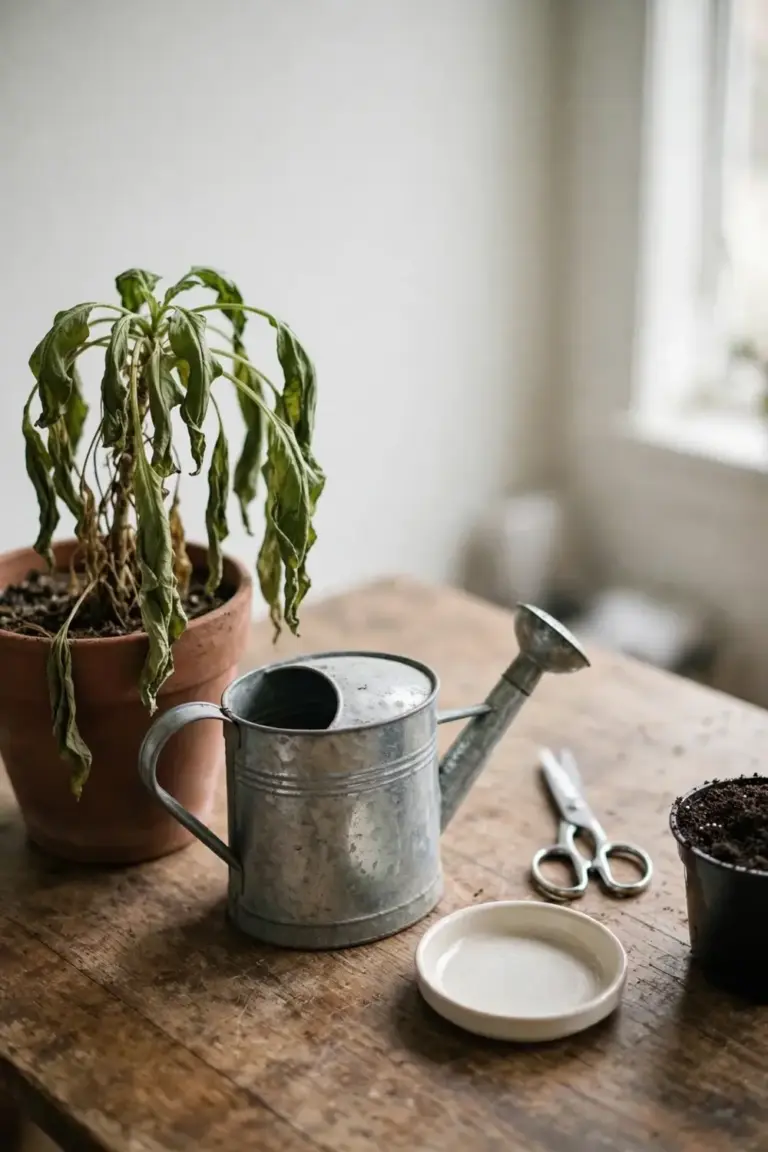
Work the 9 steps in order. Diagnosis comes first, then water, light, roots, and pests in sequence. Repotting and waiting close the list.
| Step | Action | When |
|---|---|---|
| 1 | Diagnose the stem and crown | Day 1 |
| 2 | Stop watering until the mix dries | Day 1 |
| 3 | Empty the saucer after every watering | Every watering |
| 4 | Move the plant to bright indirect light | Day 1 |
| 5 | Inspect the roots and trim the rot | Day 1 or 2 |
| 6 | Check leaf undersides for pests and isolate the plant if you find any | Day 1 or 2 |
| 7 | Repot only when the roots demand it | Day 2 or 3 |
| 8 | Hold all fertilizer until new growth appears | Until a new leaf unfurls |
| 9 | Wait and check weekly | Weeks 1 to 4 |
Order matters. Water comes before light because a drowning plant cannot use more light. Roots come before pests because rot kills faster than most insects. Repotting comes late because a fresh pot never fixes a watering problem. Waiting comes last because a plant shows recovery on its own clock, not yours.
Skip nothing in the first pass. Each step rules out one cause. A plant with rot and mites needs both fixes. A plant with dry mix and low light needs both fixes. The table looks long. The work takes under an hour. Waiting takes the rest of the month.
3. Fix the Water First: Let the Soil Dry Before the Next Drink
Stop watering until the top 5 cm of mix feels dry. Overwatering kills more indoor plants than any other cause.
Roots need water and oxygen together. Water fills every air pocket in the mix, and roots in standing water cannot take up oxygen. Those roots rot, and the whole plant follows. Clemson Extension names over-watering the main cause of death of potted plants. The same notes say wilting does not always mean thirst. Root rot also blocks water uptake, so a plant with rotten roots wilts in wet soil. Watering that plant makes the problem worse.
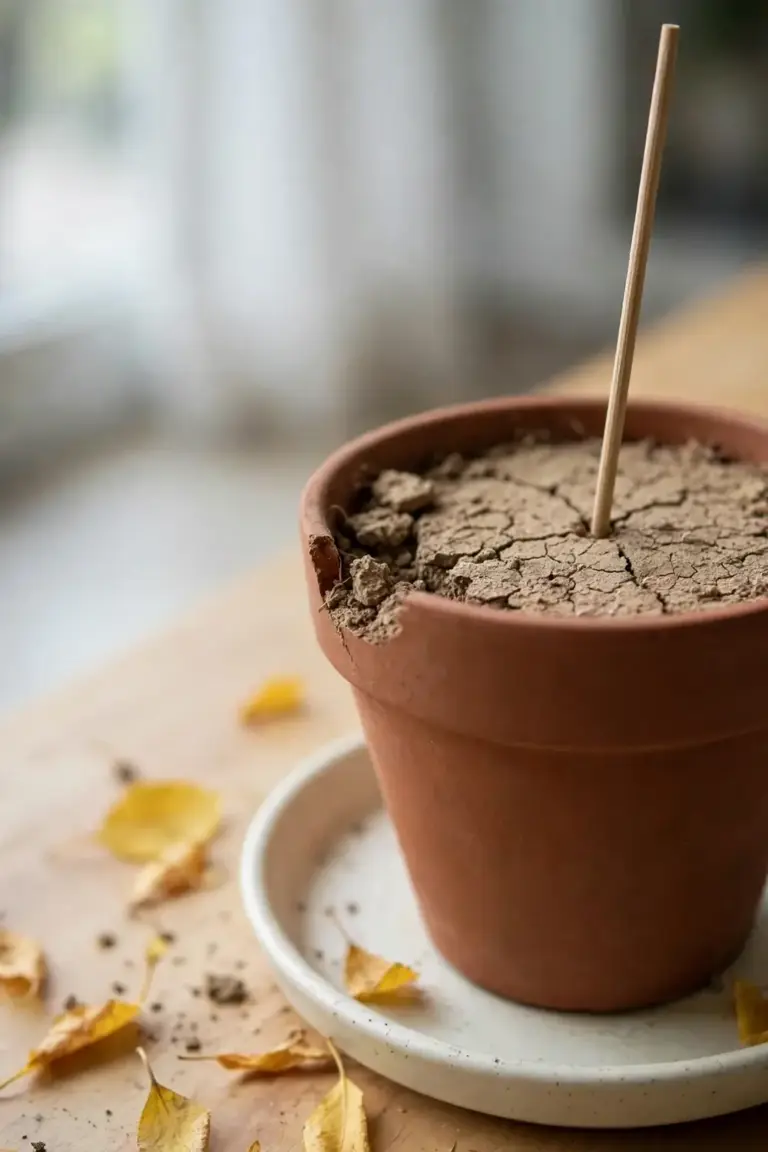
Push a finger 5 cm into the mix. Water only when that depth feels dry. The UGA notes set the same test at 2.5 to 5.1 cm below the surface. Lift the pot as a second check. A dry pot weighs far less than a wet one.
I have learned that the saucer I empty after watering saves more roots than any rescue product I buy.
When you do water, water thoroughly. Apply water until it runs out of the bottom of the pot, then empty the saucer. Clemson sets the water temperature at about 17 to 22 degrees Celsius. Cold water shocks roots. Hot water scalds them. The UGA notes say never let a plant sit in a water-filled saucer for more than an hour.
Check the pot. A pot with no drainage hole traps water at the bottom. Move the plant to a pot with drainage holes. A decorative outer pot without holes works as a cover only when the inner pot drains and the saucer stays empty.
If the mix dried hard and repels water, use the double watering method. Water once, wait half an hour, then water again. Clemson describes this method for peat mixes that dried out and turned hard to rewet. A pot left in a sink of water until the surface turns moist works the same way. Drain the pot fully after either method.
Underwatering shows different signs. Leaf edges turn dry and crispy, the mix pulls away from the pot edges, the whole plant droops, and the pot feels light. Soak the pot to rehydrate it. Set the pot in a sink of room-temperature water until the surface turns moist. Drain the pot fully. Then return to the finger test. A plant that wilts from dry mix recovers within hours of a good soak, while a plant that wilts from rot does not.
Watch for salt buildup on the mix surface. A white crust means fertilizer salts or hard-water minerals collected in the pot. Clemson notes that watering until water runs out of the bottom washes out excess salts. Flush the pot this way once during recovery, then empty the saucer. Do not flush a plant that still sits in wet mix, since flushing adds water and a drowning plant needs air first.
4. Move the Plant to Bright Indirect Light
Move the plant to bright indirect light. Weak, spindly growth means the light is too low.
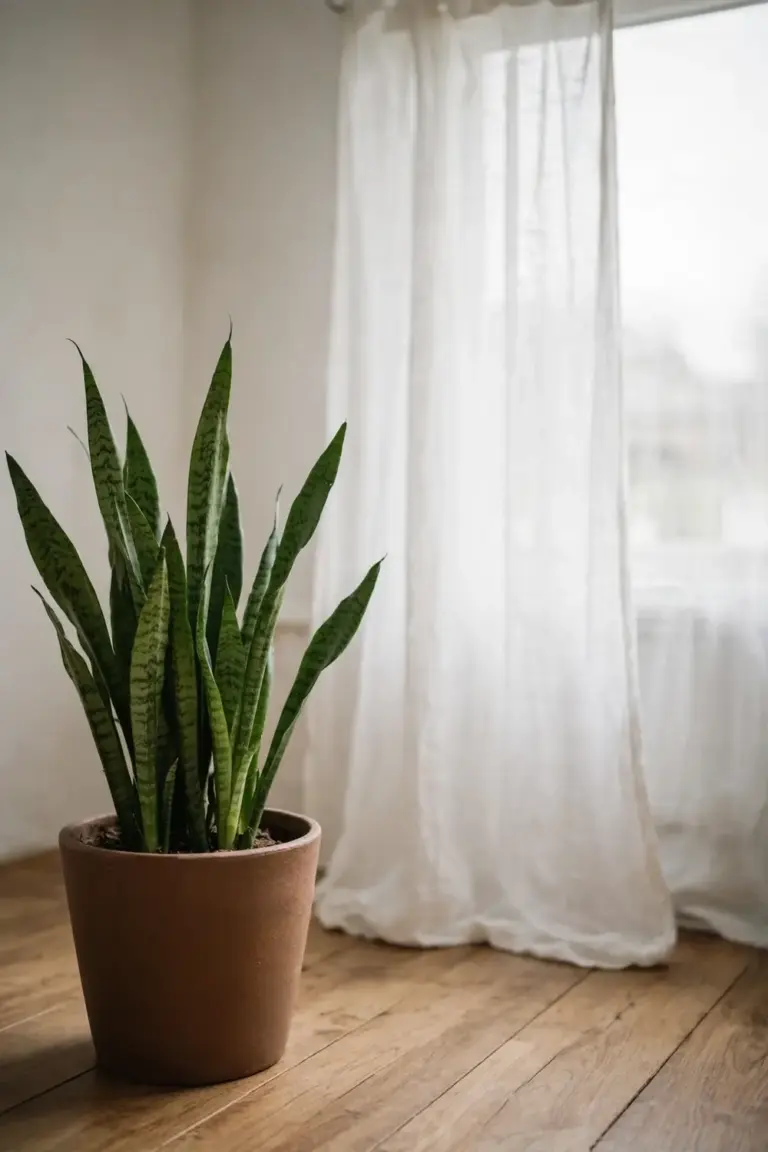
Light drives every other fix. A plant in dim light uses little water, so the mix stays wet and the roots stay airless. The Illinois Extension lighting guide sets three indoor bands: low light at 75 foot-candles, medium light at 150 foot-candles, and high light at 300 foot-candles. Outdoors, sunlight runs 10,000 to 12,000 foot-candles. One foot-candle equals 10.76 lux, so the three bands read 807, 1,614, and 3,228 lux. Most indoor plants recover in the medium to high bands, with no direct sun on the leaves.
Window direction sets the light band. A north window gives low light a few feet back and medium light right at the glass. An east or west window gives low light 3 to 10 feet back, medium light a few feet back, and high light right at the glass. A south window gives low light 15 to 20 feet back, medium light 3 to 10 feet back, and high light up to 5 feet back. These distances come from the same Illinois guide. Start at the medium band for a recovering plant. Move closer only when new growth holds.
Place the plant a few feet back from a bright window, or behind a sheer curtain. Direct sun scorches a stressed plant. A sheer curtain softens direct sun into bright indirect light. Watch the shadow test at noon. Hold a hand 30 cm above a white surface near the plant. A sharp shadow means high light. A soft shadow with clear edges means medium light. A faint shadow means low light.
Weak, spindly growth almost always means too little light, per the UGA notes. A plant that stretches toward the window asks for more light. Move it closer, one step at a time. A plant that bleaches or browns at the leaf edges sits in too much sun. Move it back.
Turn the pot a quarter turn each week. A plant in a window leans toward the light. Turning keeps growth even. A recovering plant grows slowly, so one turn a week is enough.
If no window gives enough light, a grow light fills the gap. The grow light guide covers types, distances, and run times. Keep the light on a timer. Plants need a dark period each night.
5. Inspect the Roots and Cut the Rot
Slide the plant out of its pot and look at the roots. White firm roots stay. Black mushy roots go.
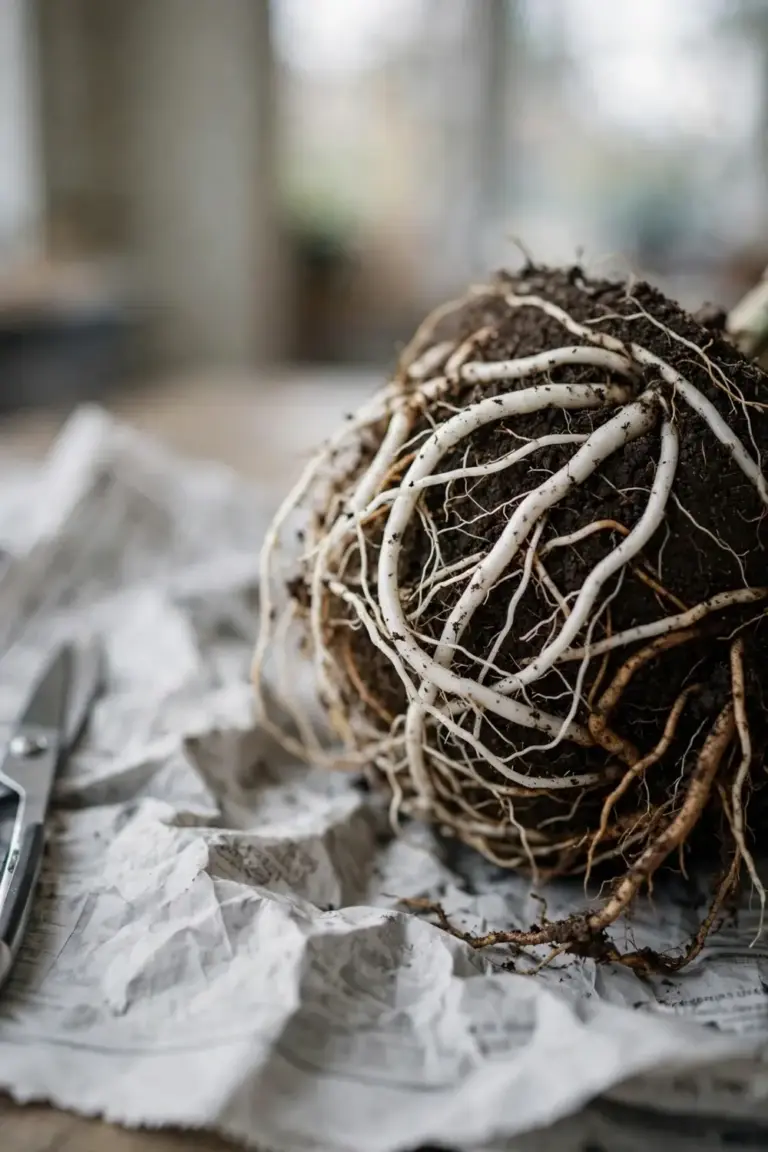
Healthy roots look white or pale tan and feel firm. Rotted roots look brown or black and feel soft. The mix may smell sour. University of Florida IFAS diagnostic notes describe the same split: white firm roots mean the plant can recover, while soft brown or black roots mean rot has set in. The sour smell comes from anaerobic bacteria in airless mix.
Work over newspaper. Slide the plant out and shake off loose mix. Cut every black mushy root with clean scissors, and clean the scissors with rubbing alcohol between cuts. Leave every white firm root alone, since cutting healthy roots adds wounds the plant must heal.
Cut only dead tissue. A root that looks brown on the outside may still hold a firm white core. Squeeze gently. Firm means alive. Soft means dead. Trim back to firm tissue. Rinse the root ball under lukewarm water to see the roots clearly. The water also washes away old mix that holds pathogens.
Let the trimmed root ball air-dry for an hour on newspaper. Then set the plant back in its pot with fresh mix around the roots, or in a clean pot one size up if the old mix smells foul. Discard the old mix. Never reuse mix from a rotted plant. Pathogens and anaerobic bacteria stay in it.
Check the crown last. The crown is the base where stems meet roots. Firm and green means the plant holds its growing point. Soft and dark means the growing point died. A plant with a dead crown but firm stems can still regrow from stem nodes. A plant with a dead crown and dead stems cannot.
Rot is tissue decay. Overwatering sets the conditions for it. A plant can sit in wet mix without rot if drainage is strong, and a plant can rot after one long soak in a pot with no drainage hole. Fix the conditions, not only the symptom.
After the trim, give the plant quiet aftercare. Set it in bright indirect light with good airflow. Hold fertilizer. Water only by the finger test, and wait for the top 5 cm to dry each time. Check the trimmed roots once after 2 weeks by sliding the plant out again. White tips on the cut ends mean new roots are growing. Brown spreading mush means the rot kept going, and a second trim follows the same rules.
6. Check the Undersides for Pests
Turn every leaf and check the underside. Pests hide where you never look.
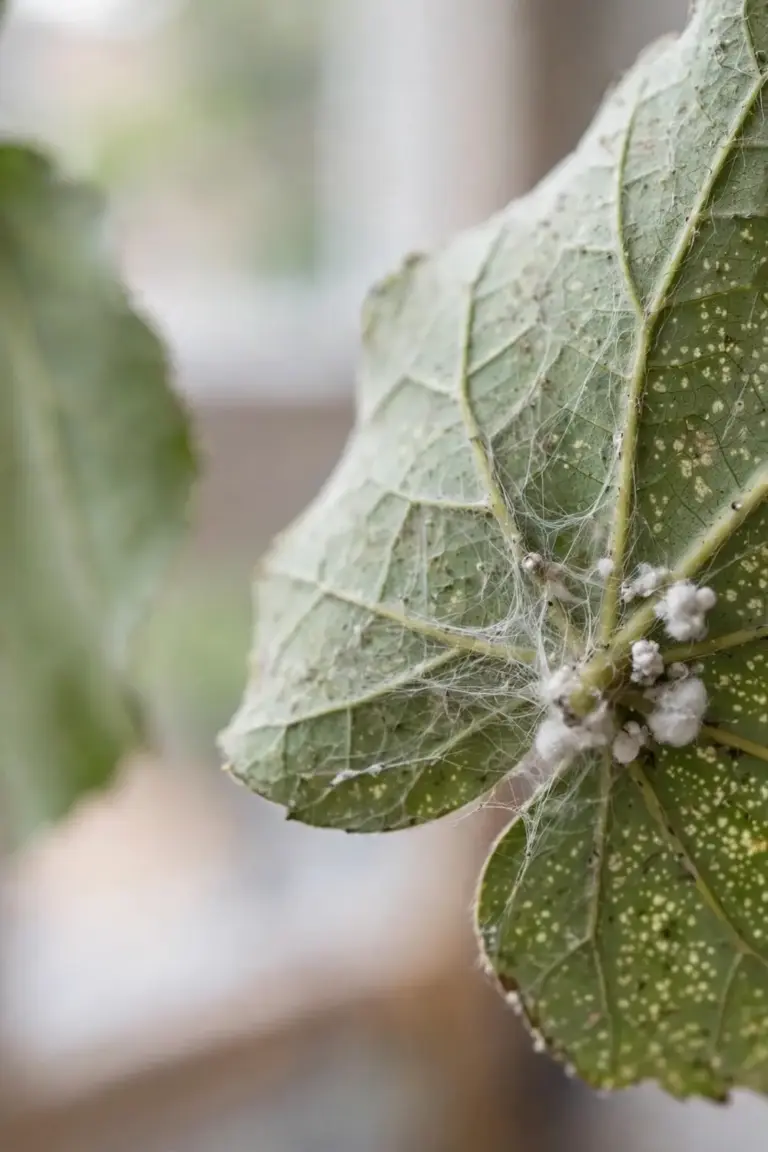
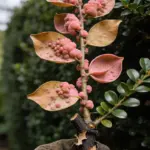
Spider mites leave fine stippling and thin webbing on leaf undersides. Mealybugs sit as cottony white clusters in leaf axils and stem joints. Scale sits as small brown bumps on stems and midribs. Fungus gnats hover as tiny black flies over wet mix. Their larvae live in the top layer of mix and feed on decaying matter and fine roots.
Isolate an infested plant at once. Pests walk to the next pot. Rinse the foliage under a lukewarm shower to knock off mites and mealybugs. Then spray with a labeled insecticidal soap. UMN Extension notes that insecticidal soap kills insects by smothering, that it has no residual activity, and that repeat applications are usually necessary. Spray both leaf surfaces and the stems. Repeat on the label schedule until the pests stop appearing.
Scale needs a different touch. Scrape each bump off with a fingernail or a soft brush, then spray with insecticidal soap. The shell shields the insect, so the spray alone misses it. Mealybugs hide in axils. Dab each cluster with a cotton swab dipped in rubbing alcohol, then spray the whole plant. Repeat on the label schedule until two full weeks pass with no new insects. One spray never ends an infestation. Eggs hatch after the spray dries.
For fungus gnats, let the top layer of mix dry between waterings and drench the mix with Bacillus thuringiensis israelensis. The same UMN notes say this bacterium attacks fungus gnat larvae in the soil and does not touch the flying adults. Yellow sticky traps catch the adults while the drench works on the larvae.
Read the label before any spray. Check that the plant you treat appears on the label. The organic pest control guide covers nonchemical steps first.
Quarantine every new plant for 2 weeks before it joins the rest. New plants carry pests home from the shop. Keep the new plant in a separate room, check its leaf undersides twice in the first week, and treat what you find before it spreads. A plant that survives the revival deserves a clean shelf, not a fresh infestation from the next purchase.
7. Repot Only When the Roots Demand It
Repot only when the roots demand it. A fresh pot never fixes a watering problem.
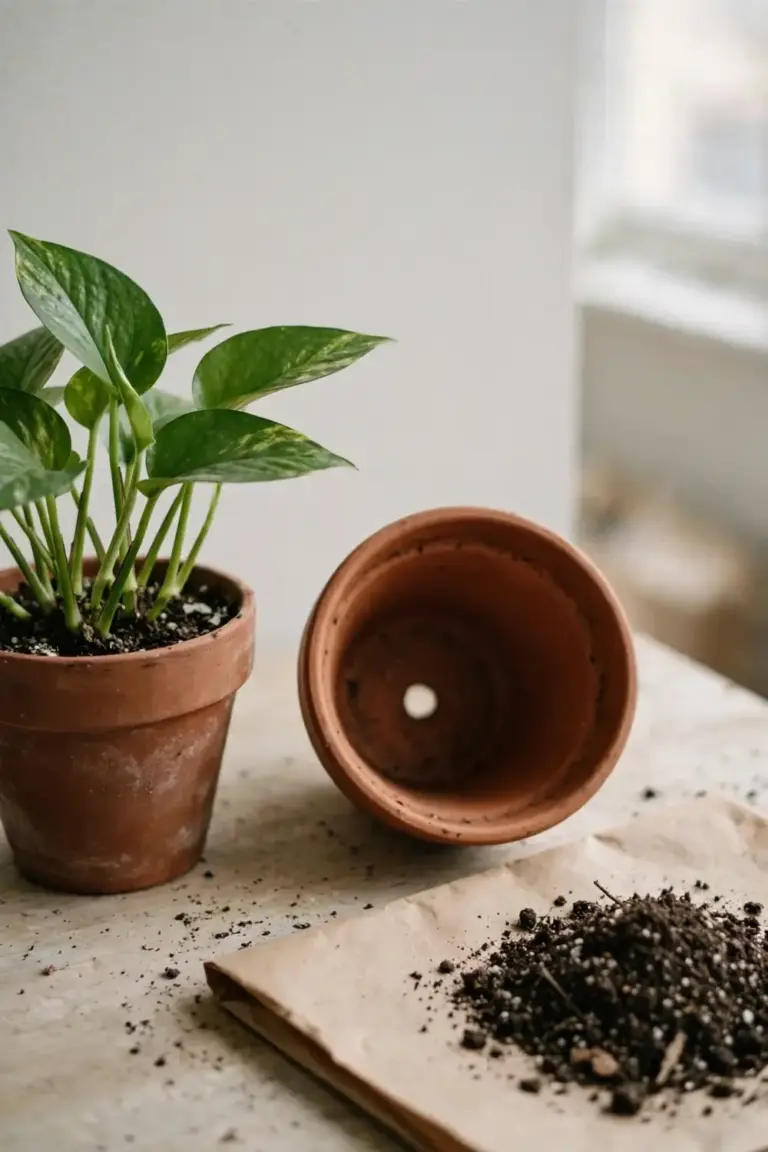
Three signs call for a repot: roots circling the pot in a dense mat, mix that stays wet for days because roots fill every air pocket, or rot that forced a trim in step 5 and left the old mix smelling foul. Outside those three signs, leave the plant in its pot. Repotting a stressed plant adds transplant shock to its load.
Choose a pot one size up, with drainage holes. Fill it with fresh potting mix. Set the plant at the same depth it grew before. Burying the stem deeper invites stem rot. Water lightly after repotting, then return to the finger test. Fresh mix that drains and holds air at the same time is the base of soil health.
Use fresh mix, not garden soil. Garden soil compacts in a pot and holds too much water. Bagged potting mix drains and holds air. Match the mix to the plant: bark-heavy mix suits orchids and aroids, free-draining mix suits succulents, and standard mix suits most foliage plants.
8. Wait 4 Weeks Before You Judge the Revival
Wait 4 weeks before you judge the revival. New growth is the only verdict that counts.
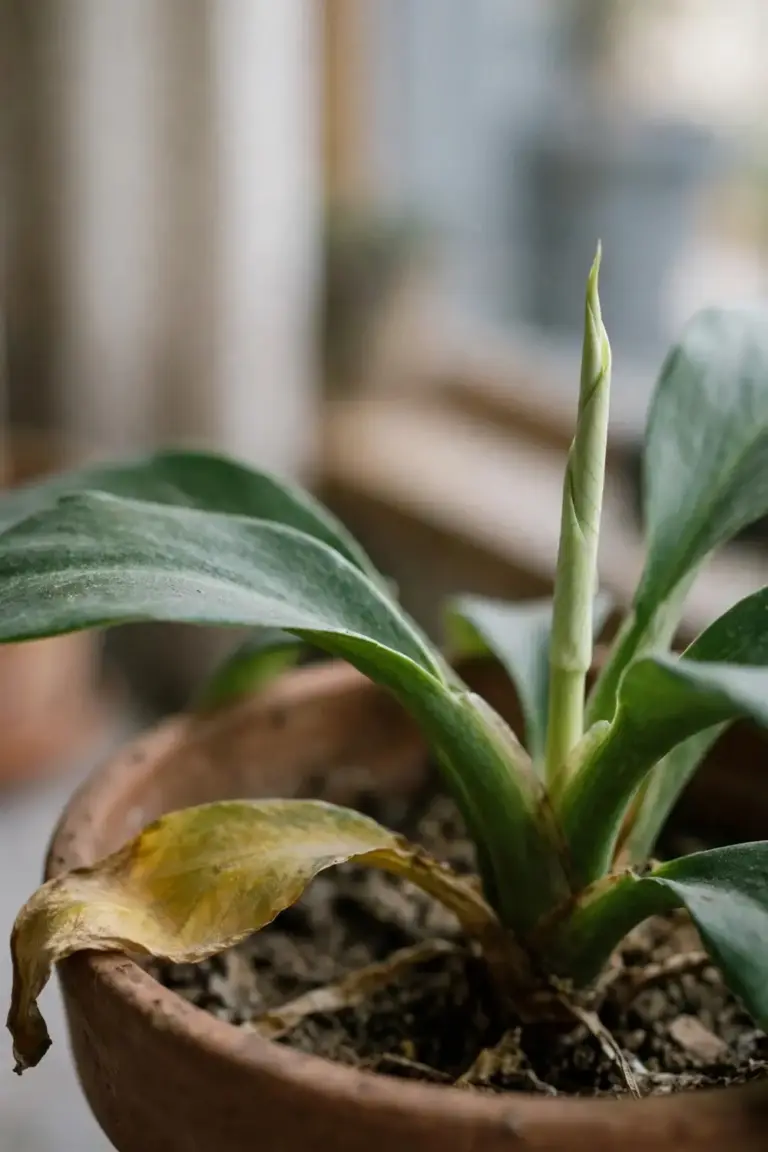
Check the plant once a week, on the same day. Test the soil. Look for new growth at the stem tips and crown. Note what changed. A recovering plant firms its stems, holds its remaining leaves, and pushes one new leaf. A failing plant keeps yellowing, drops leaves, and smells foul at the crown.
Keep a simple log. Write the date, the soil result, and one line on new growth. A log beats memory. It shows whether the plant holds steady or keeps sliding. It also stops the urge to change tactics every few days. The log is the waiting period made visible.
Learn what new growth looks like. A new leaf starts as a small pale spear at the stem tip or crown. It unfurls slowly, and it looks lighter than the old leaves. That pale spear is the verdict. Yellowing stops, the stem firms, and the spear grows. One new leaf counts. A plant that pushes one new leaf has living roots and a living crown, and it will push more.
Do not change tactics every few days. Each change resets the clock, and water, light, and waiting do the work. If the plant shows no new growth after 4 weeks but still holds firm green tissue, give it 4 more weeks. Some plants regrow slowly. If no firm green tissue remains, the plant died. Compost it and start again with the watering rule that failed it.
Hold fertilizer through the whole waiting period. A stressed root system cannot use fertilizer, and fertilizer salts burn damaged roots. Feed only after a new leaf unfurls fully. Then start at quarter strength.
Frequently Asked Questions
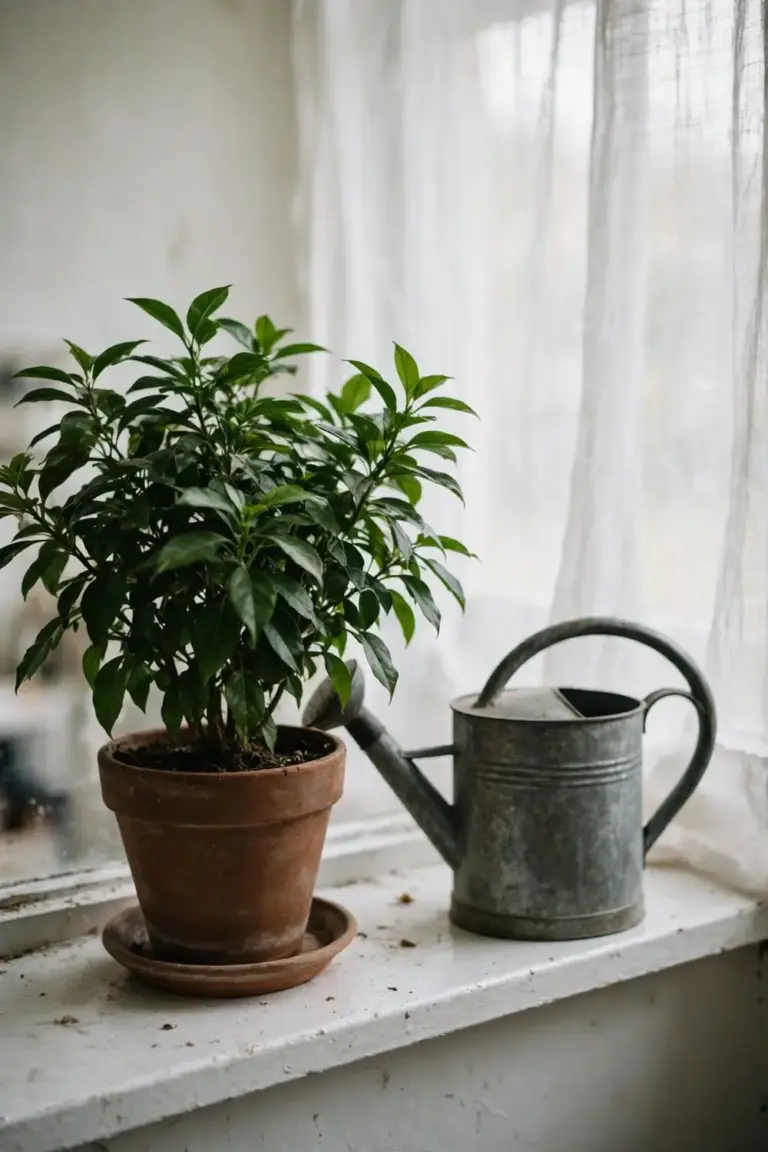
Yes, when the stem and crown still hold firm green tissue. Leaves feed a plant, but the stem and crown carry the growing points. Scratch the bark. Green tissue under the bark means the stem lives. Keep the plant in bright indirect light, water by the finger test, and wait. New leaves grow from the crown or from stem nodes. When the stem is dry and brown all the way through, no leaves means no recovery.
No. Hold all fertilizer until new growth appears. A stressed root system cannot take up nutrients, and fertilizer salts burn damaged root tissue. Feeding a dying plant adds a second injury on top of the first. Wait for one fully unfurled new leaf. Then feed at quarter strength, once. Resume a normal schedule only after the plant holds steady growth for a full month.
Check the soil once a week and water only when the top 5 cm feels dry. A recovering plant needs less water than a healthy one because it has fewer working roots and grows slowly. Water thoroughly until water runs out of the bottom, then empty the saucer. Never let the pot sit in water. A fixed calendar date waters plants that are still wet. The finger test waters the plant in front of you.
Misting wets the leaves and raises humidity for minutes. It does not fix roots, light, or pests, and wet leaves in still indoor air invite fungal spots. Skip misting during recovery. If dry air browns leaf tips, set the pot on a tray of pebbles with water below the pot base, or move the plant away from heating vents. Fix the water in the pot first. Fix the air second.
Cut back only dead tissue. Trim brown crisp leaves and black mushy stems to firm green tissue. Leave every stem that still holds firm green tissue. Those stems carry the growing points. Cutting a living plant back to the soil removes the growing points it needs to recover. A plant cut to the soil regrows only when its crown holds a living growing point. Check the crown first, then cut.
Give up when no firm green tissue remains anywhere on the plant. Scratch the stem. Dry brown tissue under the bark means that stem died. Press the crown. A soft crown with a foul smell means the growing point died. A plant with no living stem and no living crown cannot regrow. Compost it. Take cuttings first if any stem still holds firm green tissue.
Start With the Finger Test Today
Start with the finger test today. Push a finger 5 cm into the mix. Water only when that depth feels dry. Empty the saucer. Move the plant to bright indirect light. Then wait.
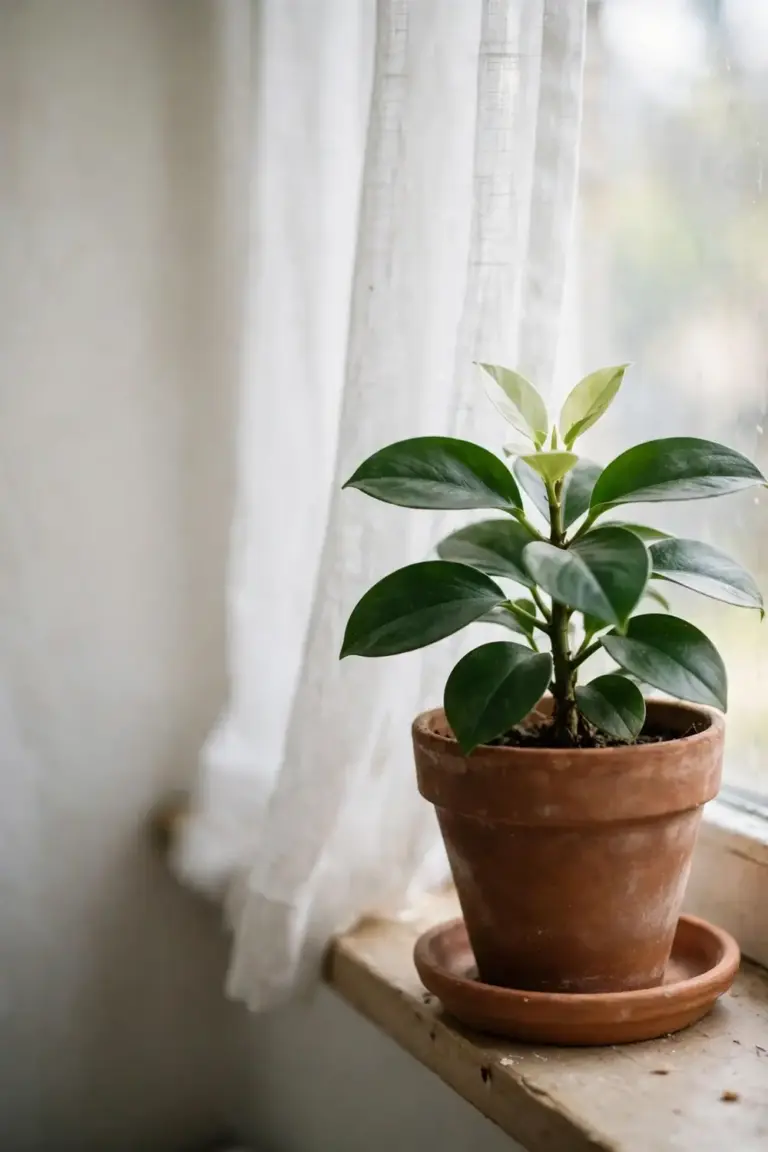
The 9 steps fit on one page because revival is simple. Diagnosis, water, light, roots, pests, repotting, and waiting. No product rescues a plant that sits in wet mix. No spray replaces light. Once new growth shows, the plant returns to normal care, and the indoor plant guide covers that routine.
One plant at a time. One check a week. New growth is the verdict.
Most dying indoor plants recover with the same sequence: stop the water, fix the light, cut the rot, and wait. The plant does the rest. Start with the plant in front of you, run the 9 steps in order, and let the 4-week clock run.