
Growing hardenbergia in Australia works when you give the plant sun, sharp drainage, and a hard prune after flowering. A healthy plant covers a fence with violet pea flowers from winter to spring. The rest of this page is 8 moves, from site choice to the first flush of flowers.
Hardenbergia is a genus of evergreen climbers from Australia, and its two garden species carry common names that invite confusion. Hardenbergia violacea carries the common names native sarsaparilla, false sarsaparilla, and purple coral pea. Hardenbergia comptoniana carries the common name native wisteria, yet native wisteria is not true wisteria, which belongs to the genus Wisteria. Native sarsaparilla is not true sarsaparilla either, since true sarsaparilla belongs to the genus Smilax. Check the botanical name on the label before you buy.
Start with the soil. Hardenbergia roots rot in wet ground, so drainage decides the outcome before any feed or prune does. The guide to building soil health covers the drainage test and the organic matter that keeps a bed open.
1. Match Hardenbergia to Your Climate and Site
Hardenbergia grows best in full sun and well-drained soil. It tolerates part shade. It turns drought tolerant once established. The Sunshine Coast Botanic Garden notes it performs best in full sun and in well-drained soils, and it grows very hardy and drought tolerant once established.
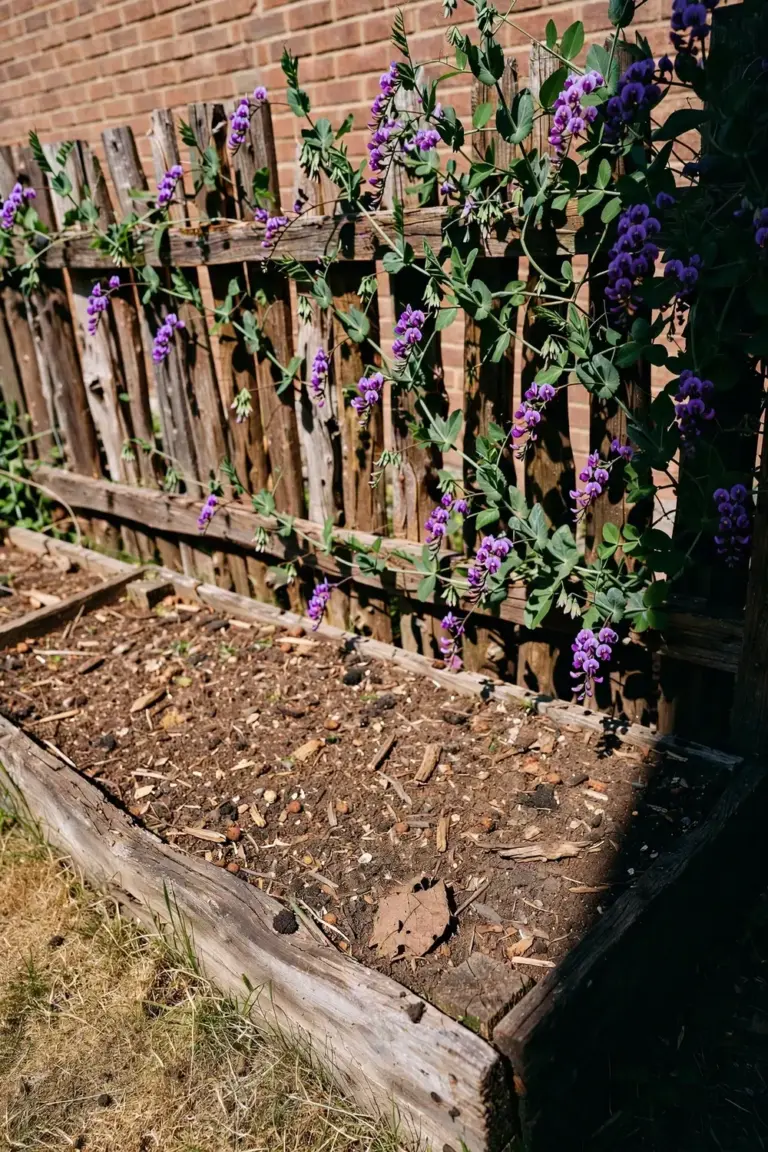
Hardenbergia violacea grows wild from Queensland to Tasmania and South Australia. That range covers temperate, Mediterranean, and subtropical gardens. Hardenbergia comptoniana comes from south-west Western Australia. It suits warm gardens and needs shelter from hard frost. Both species flower best in full sun, while shade grows leaves at the cost of flowers.
Read your district off the plant, not off a zone map. Sydney, Brisbane, and the New South Wales north coast give hardenbergia long warm seasons and mild winters, so plants flower hard and need little frost care. Melbourne, Adelaide, and Perth give hot dry summers and cool winters, so afternoon shade and mulch matter more than frost cloth. Hobart and the cold tablelands test the plant. A sheltered wall, a raised bed, and frost cloth on the coldest nights carry a young plant through. An older plant handles a light frost on its own.
Young plants hold low frost tolerance. A late frost can scorch young leaves, and a hard frost can strip a young plant bare, though the plant hardens with age and an older plant shrugs off a light frost. Cover a young plant with frost cloth on nights when frost threatens. Remove the cloth in the morning so the plant breathes. Site the plant against a warm wall or fence in frost-prone gardens. Cold air pools in low spots, so a raised bed lifts the roots above the coldest air and above wet soil at the same time.
Heat brings a different test. Afternoon shade helps in very hot summers, and mulch holds soil moisture through heat while water carries the plant through its first summer. An established plant rides out dry weeks without help, but a new plant cannot, so give the first summer water and then taper. A plant that wilts every afternoon in its first summer wants a deeper soak and a thicker mulch layer, not a daily sprinkle.
Fix heavy soil before you plant, since no amount of careful watering rescues roots in a clay sump. Dig gypsum through the planting zone to open clay, then fork coarse compost through the top 30 cm. Test the fix with a bucket of water. The hole should drain within an hour. A hole that still holds water at dusk needs a raised bed, and a raised bed 30 cm high lifts the whole root zone above the wet ground.
2. Pick the Hardenbergia Form That Fits Your Garden
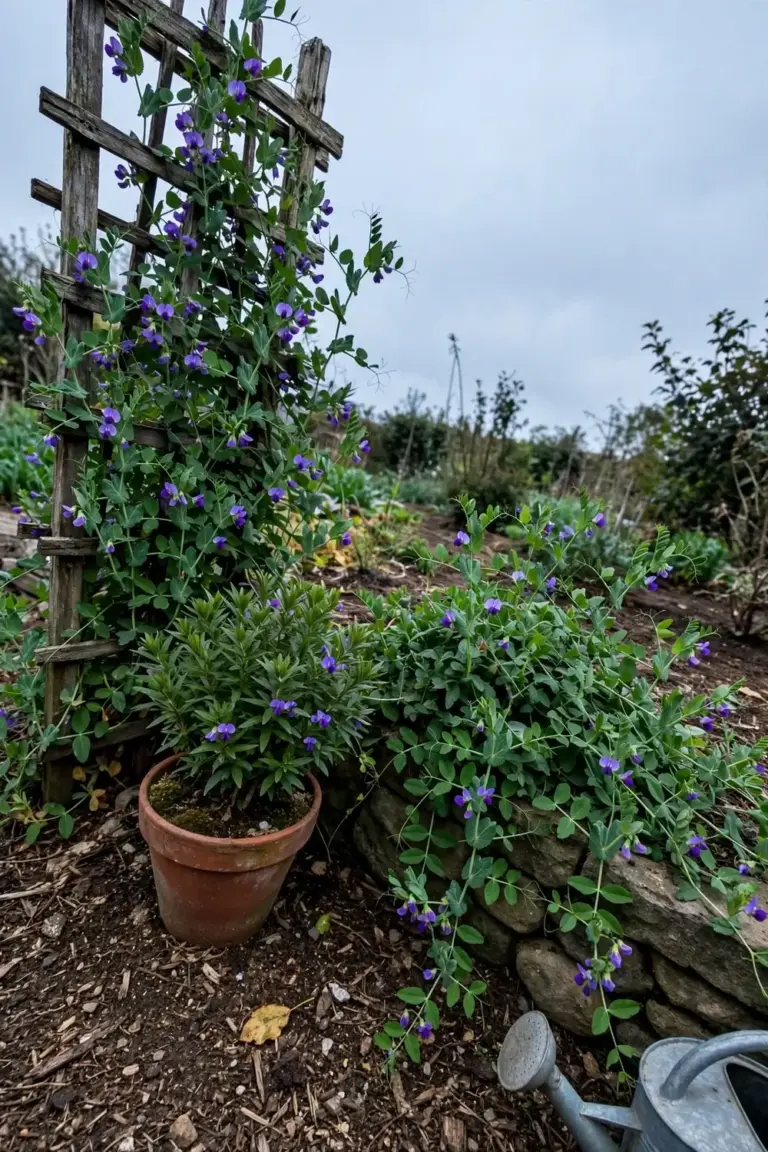
Pick the form first, then the flower color. Hardenbergia holds three species. Two of them fill gardens. The third, Hardenbergia perbrevidens, stays rare in cultivation. The table below sorts the garden forms by job.
| Form | Species or Cultivar | Size | Best For |
|---|---|---|---|
| Vigorous climber | Hardenbergia violacea ‘Happy Wanderer’ | To 2.5 m | Fences and pergolas |
| Shrub | Hardenbergia violacea ‘Mini Haha’ and ‘Bushy Blue’ | Compact shrub | Pots and low hedges |
| Groundcover | Hardenbergia violacea ‘Flat White’ and ‘Carpet Royale’ | Trailing mat | Banks and retaining walls |
| Native wisteria climber | Hardenbergia comptoniana | To 5 m | Large pergolas and warm gardens |
The RHS lists ultimate height at 1.5 to 2.5 m over 5 to 10 years, with a spread of 0.5 to 1 m, and flowers 10 mm across. Garden forms stretch past those figures on a tall support. Happy Wanderer climbs vigorously and reaches about 2.5 m on a fence, per Homes to Love. Hardenbergia comptoniana reaches about 5 m on a strong support, per Friends of Kings Park. Groundcover forms do not climb. The Botanic Gardens of Sydney notes that Flat White and Carpet Royale form a dense mat with long trailing stems, and they do not climb like other varieties.
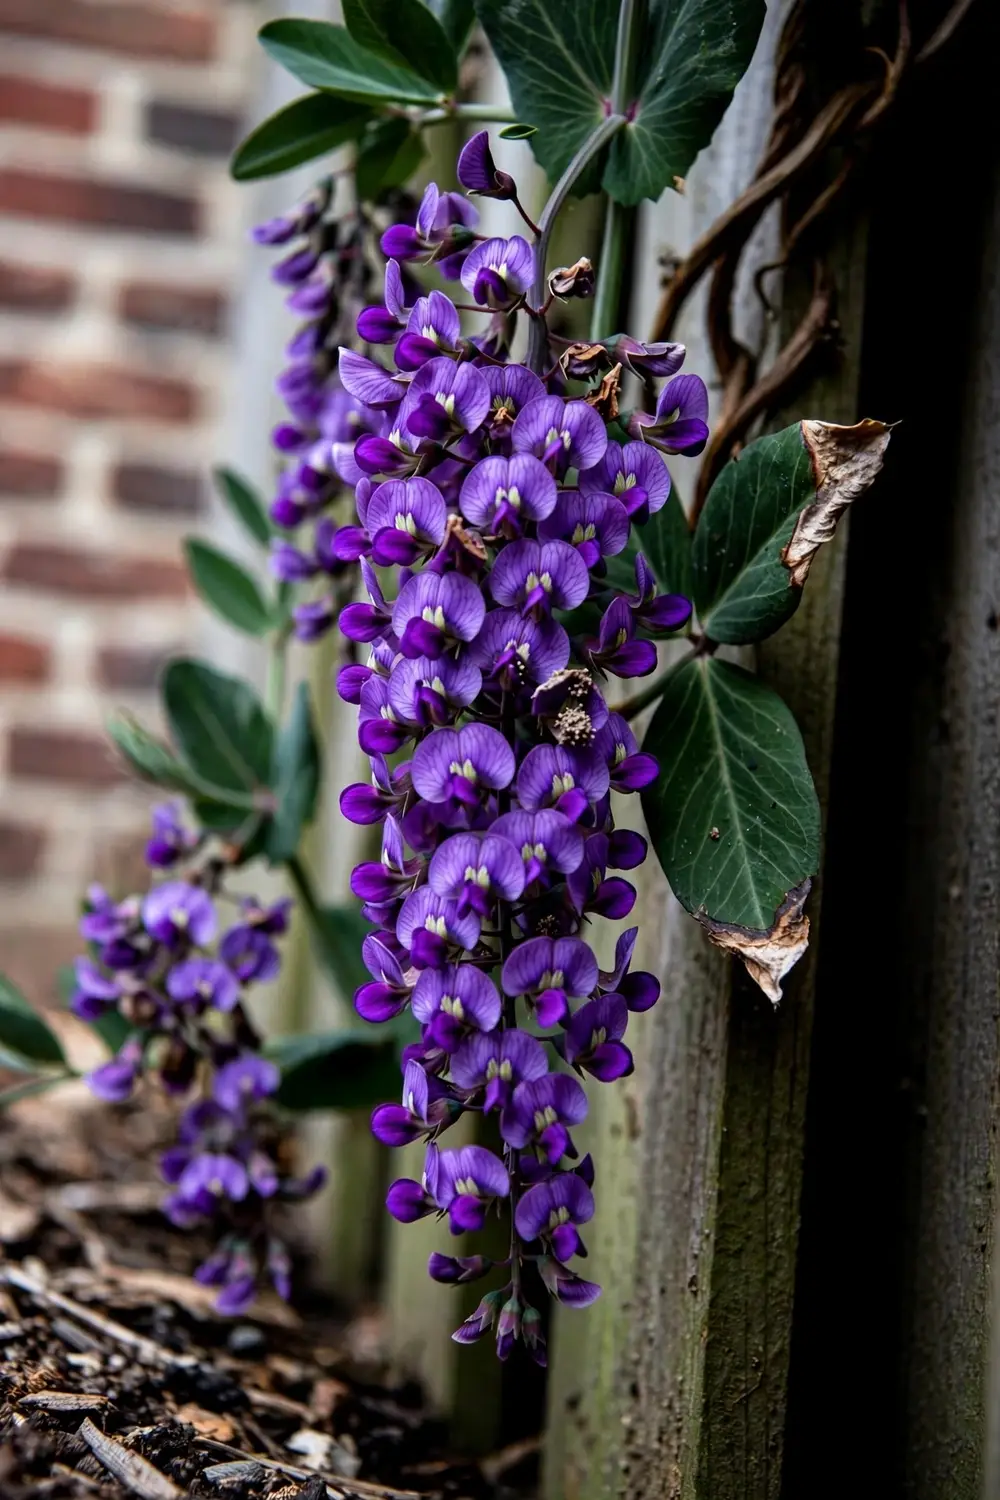
Flower color follows the cultivar. Violacea runs violet, with pink and white forms. Comptoniana runs deep blue to purple, with green-dotted eyes on each flower. Violacea carries white eye markings. That eye color separates the two species at a glance. Buy the plant in flower when you can, since the label tells you the species and the open flower confirms it.
Check the plant before you pay. A good nursery plant holds firm green leaves, a moist root ball, and no circling roots spilling from the drainage holes. A plant with yellow leaves and dry mix has sat too long on the bench. A plant with roots circling the pot will struggle to leave the pot shape. Ask for the cultivar name on the receipt. Happy Wanderer, Mini Haha, Flat White, and Carpet Royale each behave differently, and the receipt is the only record of which one you bought.
3. Plant Hardenbergia at the Right Depth and Spacing
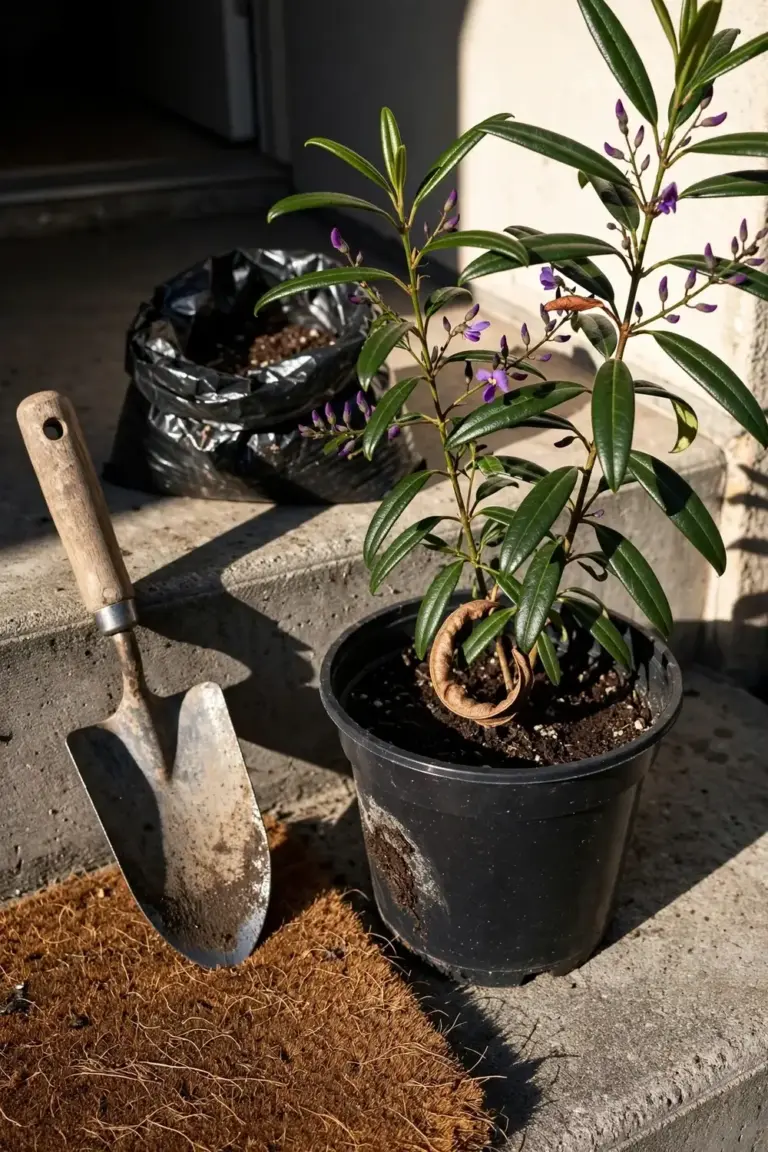
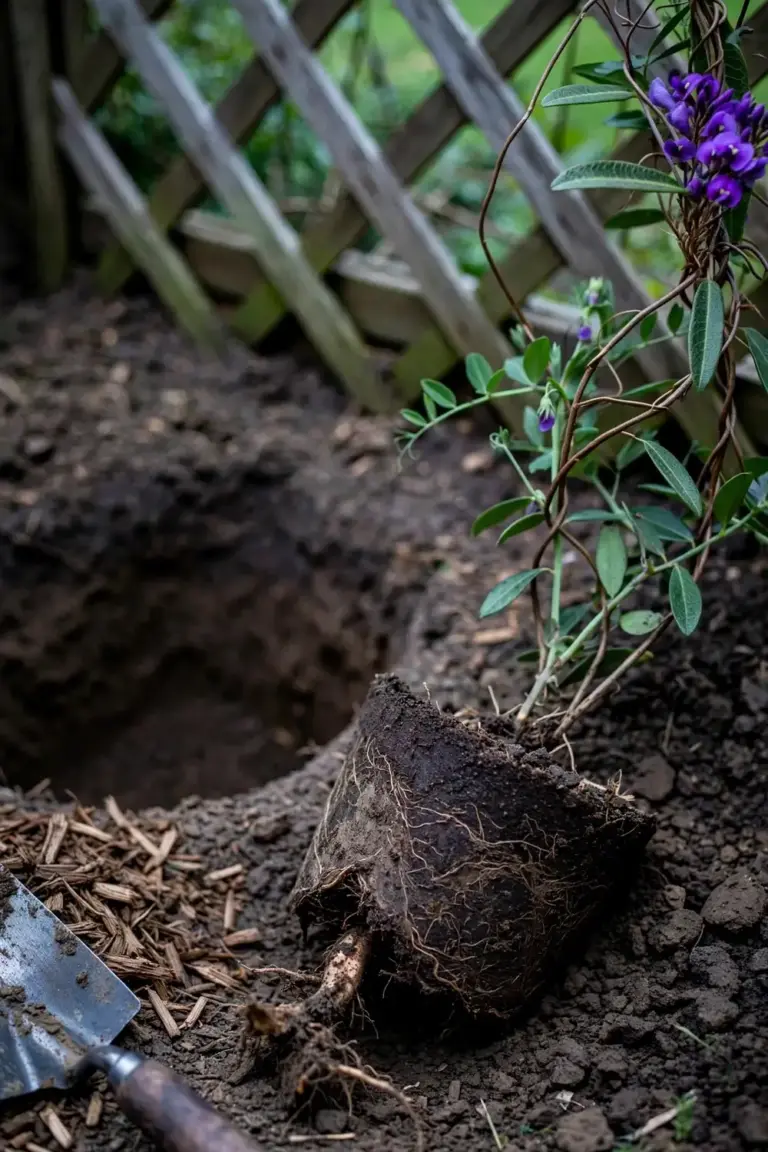
Plant in late winter or early spring, at the same depth the plant sat in its pot. Burying the stem invites rot. Leaving the root ball proud dries the roots. Set the top of the root ball level with the soil surface. Firm the soil with your hands. Water the plant in.
Soil decides the result. The Botanic Gardens of Sydney recommends an enriched, well-drained acid soil on a raised bed with a pH of 5.5 to 6.0 for Hardenbergia violacea. Light clay or sand both work when drainage runs free. Heavy clay needs work. Dig gypsum and coarse compost through the planting zone. Build a raised bed where clay holds water. A raised bed lifts the roots above the wet zone.
Dig the hole twice as wide as the pot. Loosen the sides so roots leave the hole without hitting a smooth wall. Tease circling roots free with your fingers. Set the plant at pot depth. Backfill with the dug soil. Spread mulch 5 cm deep around the plant, per the Botanic Gardens of Sydney. Keep the mulch clear of the stem. A mulch collar against the stem holds moisture and rots bark.
Space climbers about 1 m apart along a fence, so each plant fills its share of the 0.5 to 1 m spread the RHS lists. Set the support in place at planting time. A trellis, a fence, or wires on a wall all work. Tie the first stems loosely to the support with soft twine. The plant twines on its own once it grips. Do not transplant hardenbergia once established, since a moved plant drops leaves and may never recover. The Botanic Gardens of Sydney recommends against moving an established plant.
Give the support some thought before the plant reaches it. A timber trellis suits a fence line. Horizontal wires on standoffs suit a brick wall, and the air gap behind the wires keeps the wall dry. A pergola suits comptoniana, which grows heavy with age. Check the fixings every spring. A plant that outgrows its trellis pulls the trellis down with it, so build for the mature weight, not the nursery pot.
Grow from seed or cuttings when you want more plants. The seed starting guide covers the warm, moist setup cuttings and seedlings share. Soak hardenbergia seed for 24 hours before sowing, per the RHS. Sow in spring at 20 degrees. Take softwood cuttings in spring, per the RHS. Named cultivars grow true only from cuttings. Seed from a cultivar will not match the parent.
4. Water Hardenbergia Through Its First Season
Water deeply through the first warm season, then taper once the plant holds. New roots need steady moisture, while old roots need air. Deep watering grows roots down, and shallow watering keeps roots at the surface where heat kills them. Water the soil, not the leaves.
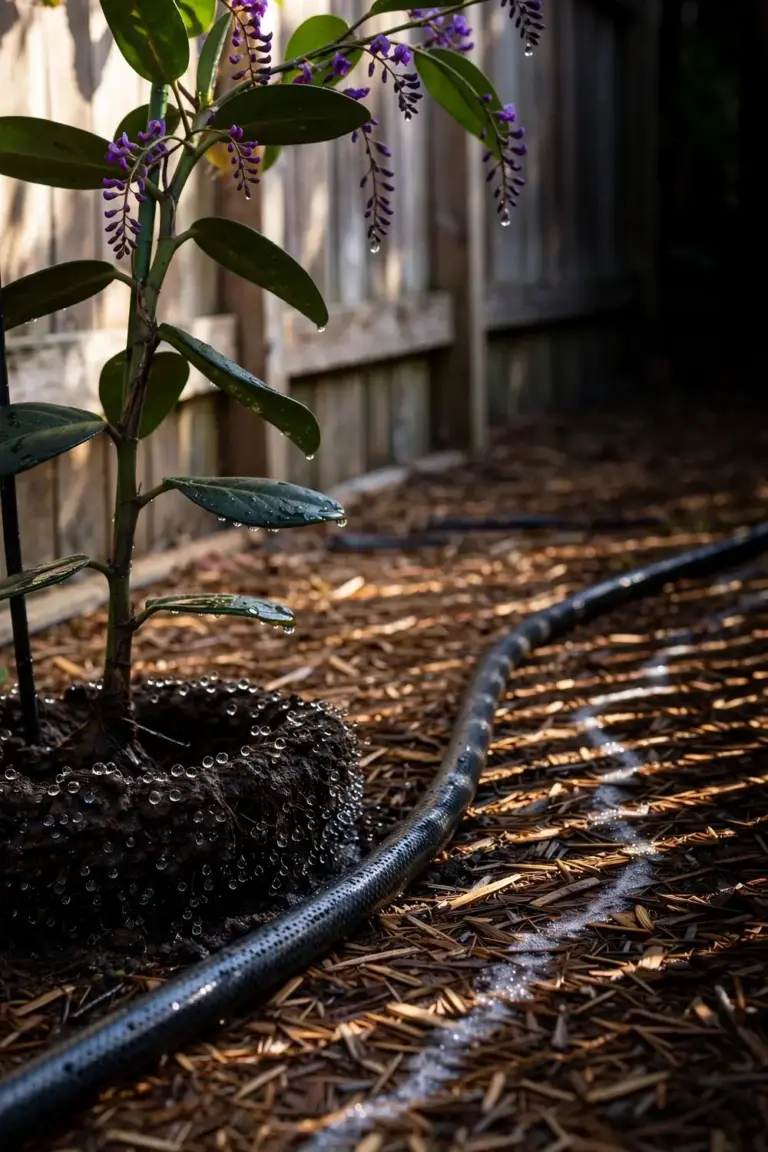
The Botanic Gardens of Sydney advises monitoring watering in the first season after planting and during the warmer months to hold adequate soil moisture. It also advises against wetting the foliage, since wet leaves invite fungal problems. Water at the base in the morning. Morning water dries any splash before night. Night water sits on leaves for hours.
Signs tell you the rhythm. Wilting leaves in dry soil mean water now, while yellow leaves in wet soil mean too much water and poor drainage. The Hawkesbury Council sheet advises against excessive watering. Let the top soil dry between waterings. Then soak the root zone. A deep soak once a week beats a sprinkle every day through the first summer.
A heatwave changes the rhythm. Water the evening before a hot day, so the root zone holds moisture before the heat arrives. Add a second deep soak after three days above 38 degrees. Skip the daily sprinkle, since a sprinkle wets leaves and dries in an hour. A plant that drops leaves in a heatwave is shedding load, not dying, and it recovers once water and cool nights return.
Mulch does quiet work here. A 5 cm mulch layer holds soil moisture and keeps roots cool, per the Botanic Gardens of Sydney. The mulching guide covers mulch depth and the gap around stems. Refresh the mulch when it thins. Keep it clear of the stem. An established plant handles dry weeks. A new plant cannot. Taper water in the second year, and judge by soil moisture and leaf color.
5. Feed Hardenbergia Twice a Year With Slow-Release Fertilizer
Feed in spring and autumn with a slow-release fertilizer. Two feeds a year cover the growth season. A third feed adds nothing the plant can use. Starved plants flower thinly. Overfed plants grow soft leaves and few flowers.
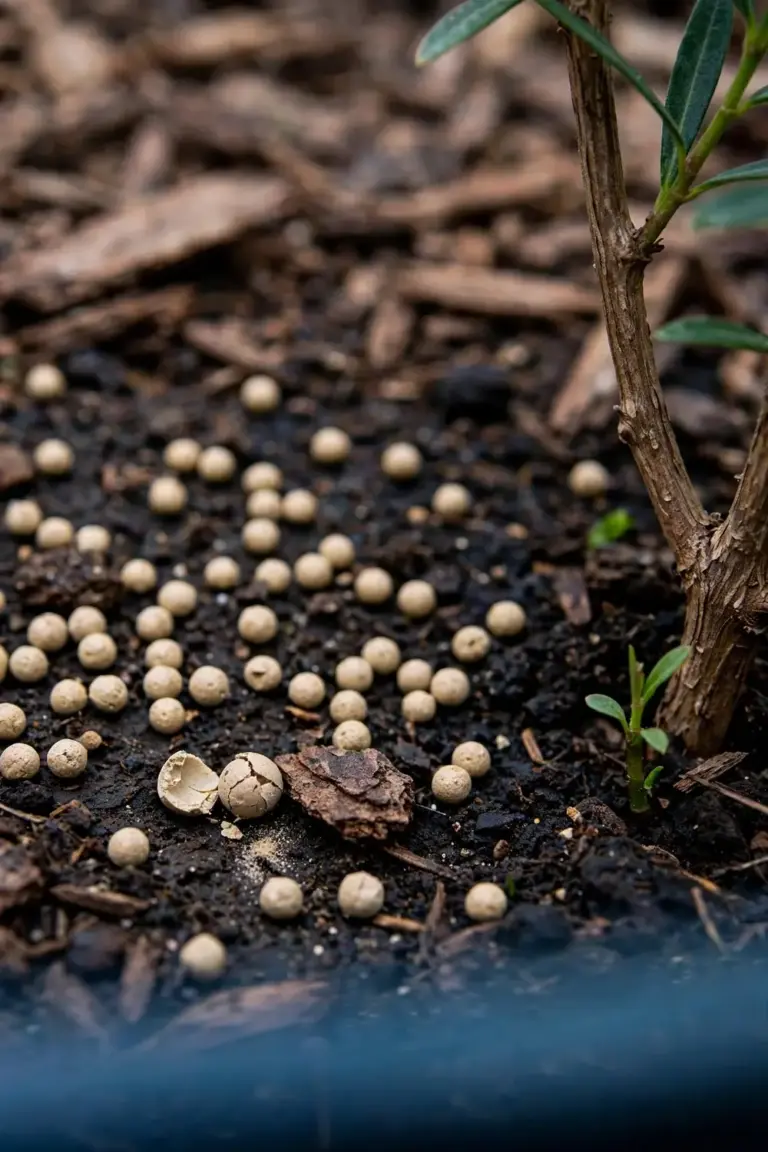
The Botanic Gardens of Sydney recommends a general purpose three to four-month slow-release fertilizer in spring and autumn. It adds supplementary complete liquid fertilizer at two to three weekly intervals for health and vigor. It also recommends a liquid feed of magnesium sulfate (Epsom salts) and iron chelates in April to hold vigor before flowering, especially in sandy soils. Sandy soils leach fast. April feeding lands before the winter flowering season.
Pick a native-plant formulation. Nurseries Online advises against high-phosphorus fertilizers for hardenbergia, since native plants react badly to excess phosphorus. A native-plant slow-release fertilizer keeps phosphorus low. Read the label. Phosphorus sits in the middle of the three NPK numbers. A low middle number marks a safe product.
Skip feed on a stressed plant. A dry plant, a wilted plant, or a freshly transplanted plant cannot use fertilizer. Water first. Wait for new growth. Then feed. Fertilizer on dry soil burns roots. Fertilizer on a wilted plant adds salts the roots cannot flush. Feed a healthy plant in moist soil, and the plant pays you back with flowers.
Leaves tell you whether the feeding works. Deep green leaves and short firm growth mark a fed plant. Pale leaves with green veins mark iron shortage, and the April feed of Epsom salts and iron chelates answers it. Long soft stems with few buds mark too much nitrogen, so cut the liquid feed and let the plant harden. Yellow lower leaves on a wet plant mark overwatering, not hunger, so fix the water before you reach for fertilizer.
Stop feeding when growth stops. A plant that has finished its autumn flush gains nothing from a winter feed, and fertilizer sitting in cold soil feeds weeds instead. Hold the spring feed until new shoots show. A feed timed to fresh growth lands where the plant can use it, and a feed timed to bare stems washes through the soil unused.
6. Prune Hardenbergia by Two-Thirds After Flowering
Prune by two-thirds straight after flowering. The cut sets up next season’s flowers. Late pruning cuts off flower buds. No pruning leaves a tangled plant with bare stems and flowers only at the tips. The spring pruning guide covers the clean cut and the tool care that keeps every prune sharp.
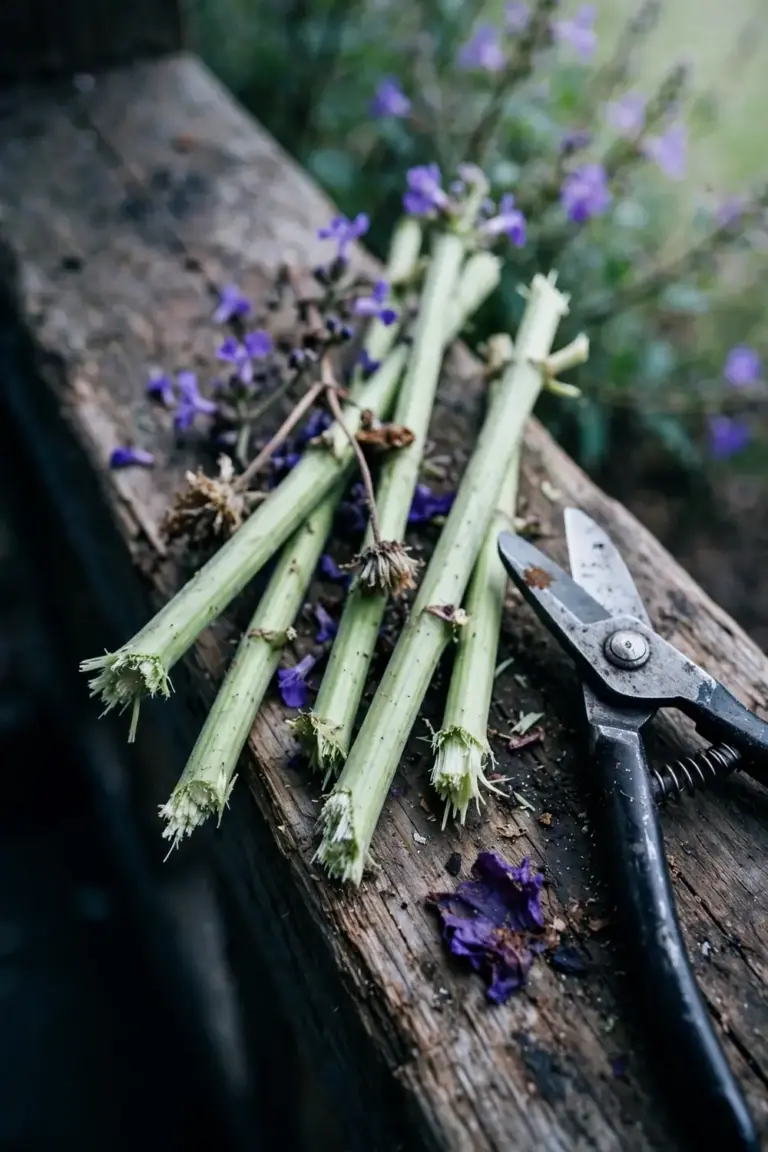
The Hawkesbury Council sheet states that pruning by two-thirds after flowering will increase vigor and flowering. It adds that tip pruning and sunnier positions will result in better flowering. Cut each stem back to a healthy outward shoot. Work from the top down. Remove dead stems at the base. Step back often. The shape should read as one plant, not a pile of stems.
I have learned that the hardenbergia I prune by two-thirds after flowering outblooms the one I leave to run. Shrub forms repay the same cut. The Botanic Gardens of Sydney notes that pruning shrub forms after flowering will increase vigor and create a bushier plant with increased flowering in the following season. Groundcover forms need less. Trim trailing stems that cross paths or paths. Climbers need a yearly cut to keep the lower stems leafy. A climber left alone flowers at the top and bares at the base.
Clean the tools before the first cut and after the last. Dirty secateurs spread disease between plants. Wipe the blades with rubbing alcohol. Sharpen a dull blade. A dull blade crushes stems. A sharp blade cuts clean, and clean cuts heal fast.
Compost the prunings or bin them. Healthy stems go on the compost pile. Stems with mildew or scale go in the green bin, since home compost rarely heats enough to kill them. A pruned plant looks bare for a week. New shoots push within a fortnight in warm weather, and the plant sets flower buds on the new growth.
7. Stop Powdery Mildew and Chewing Pests Before They Spread
Powdery mildew is the main disease. Caterpillars, scale insects, and mealybugs are the main pests. All four stay small when you catch them early. All four spread when you walk past them.
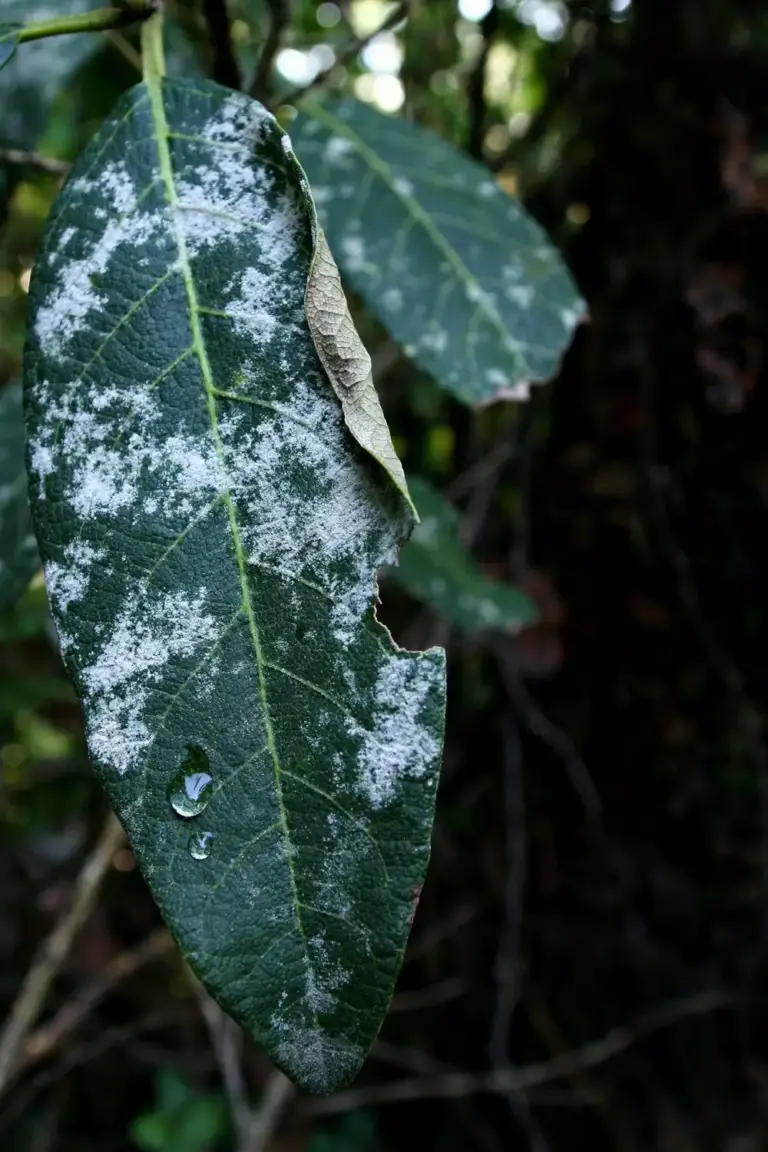
The Botanic Gardens of Sydney notes that Hardenbergia violacea is susceptible to powdery mildew during cool moist weather. It recommends monitoring plants and treating with an appropriate organic fungicide if needed. It adds that fungal problems shrink when you avoid wetting foliage during irrigation and remove dead leaves to improve air circulation. White powder on leaves marks mildew. Thin the stems around the patch. Pick off the worst leaves. Spray an organic fungicide on the rest. Repeat after rain.
Check leaves weekly through the cool months. Holes in leaves mark caterpillars, and picking them off by hand keeps the damage small. Sticky honeydew and small bumps on stems mark scale. A cotton swab dipped in rubbing alcohol lifts scale off stems. White cottony clumps in leaf joints mark mealybugs. The same swab lifts them, and crowded plants draw all three pests because still air and touching leaves give pests cover.
When mildew wins a patch, act before it wins the plant. Strip the worst leaves and bin them. Thin the stems around the patch so air moves through. Spray an organic fungicide on the remaining leaves, top and underside both. Repeat after rain. A plant that loses a third of its leaves to mildew still recovers, but a plant left to defoliate through winter enters spring weak and flowers thinly. The Botanic Gardens of Sydney notes that scale insects and mealybugs become a problem in crowded situations. Space plants well. Prune for air flow. A plant with air around it dries fast after rain, and dry leaves starve mildew.
Work to a prevention rhythm through the year. Autumn brings the April feed and a mulch refresh, winter brings the flower show and a weekly leaf check, spring brings the prune and a clean-up of dead leaves, and summer brings deep watering and a watch for caterpillars. A plant that gets all four seasons of small care rarely needs rescue treatment in any of them.
8. Grow Hardenbergia in a Pot Without Root Rot
Use a large pot, a free-draining mix, and a saucer you empty. Pots dry fast and drain fast. That suits hardenbergia, as long as the mix drains and the saucer never holds water. A pot with no drainage hole drowns the plant. Drill holes or pick another pot.
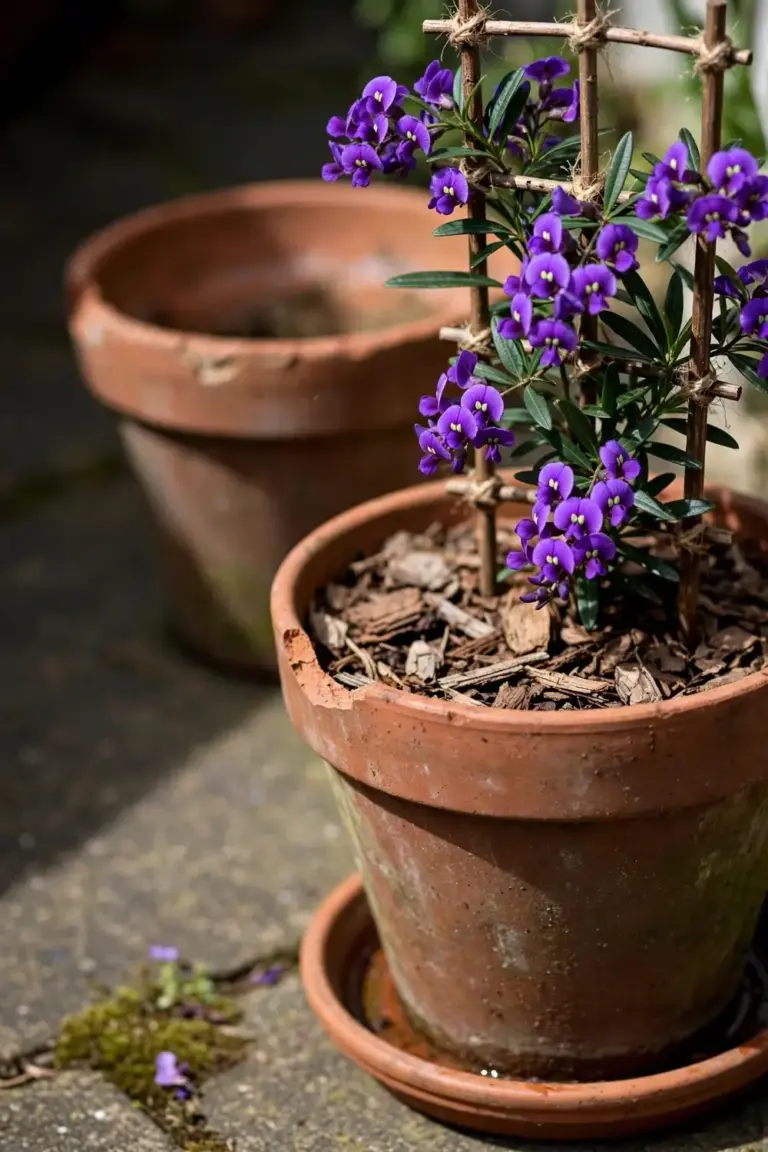
Pick a pot at least twice the size of the plant, per Homes to Love. A small pot dries out between waterings. A large pot holds moisture through a hot day. Shrub forms suit pots best. Mini Haha and Bushy Blue stay compact. Climbers suit pots too, with a small trellis in the pot. Groundcover forms spill over the rim and suit hanging baskets.
Mix the potting medium for drainage. The RHS recommends a mix of equal parts peat-free, loam-based potting compost, sharp sand, and leaf mould for containers. That mix drains fast and holds enough moisture for roots. Set the plant at pot depth. Water until water runs from the base. Empty the saucer after ten minutes. Standing water rots roots from below.
Feed a potted plant as you feed a garden plant. Spring and autumn slow-release fertilizer covers the season. Water a potted plant more often than a garden plant. Pots dry in days. Check the mix with a finger. Water when the top 5 cm feels dry. Repot in spring when roots circle the pot, and move up one pot size only, since a pot far too large holds wet mix around small roots.
Winter changes the pot routine. A pot loses heat faster than garden soil, so a frost night bites a potted plant first. Move the pot against a warm wall before the first frost. Wrap the pot in hessian on the coldest nights. Lift the pot onto feet so water drains freely and cold air passes under the base. A pot that sits in a wet saucer through winter rots from the bottom up.
Frequently Asked Questions
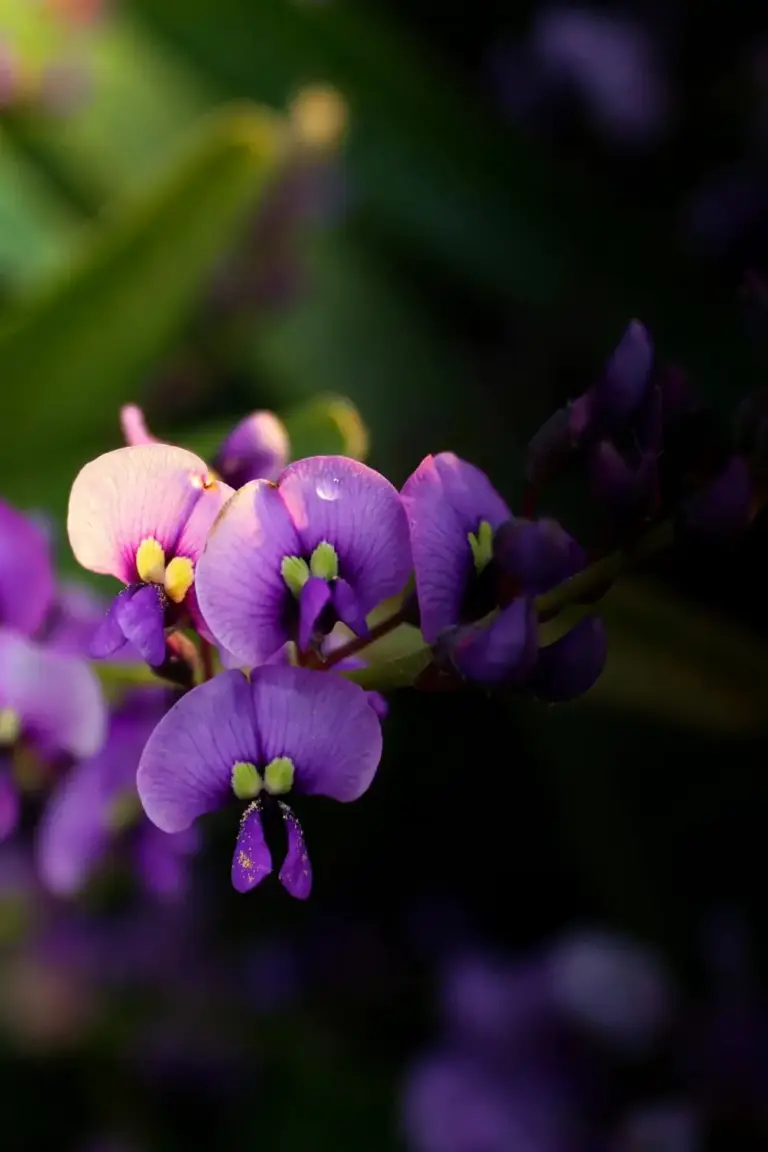
Shade is the first cause. Hardenbergia flowers best in full sun, so a shaded plant grows leaves and skips flowers. Overfeeding is the second cause. Heavy fertilizer grows soft leafy growth at the cost of flowers. Skipped pruning is the third cause. A plant left unpruned flowers only at the tips. Move a potted plant to sun. Cut feed back to spring and autumn. Prune by two-thirds after the next flowering, and judge the result on the following season.
Hardenbergia grows in part shade, but it flowers best in full sun. A part-shade plant stays healthy and leafy. A full-sun plant carries far more flowers. In very hot summers, afternoon shade helps the plant hold moisture. In cool districts, full sun all day gives the strongest flowering. Give the plant at least six hours of direct sun for a full flower display, and move a potted plant to a sunnier spot when flowers stay thin.
Hardenbergia grows fast once established. The RHS lists ultimate height at 1.5 to 2.5 m over 5 to 10 years. A young plant spends its first season on roots. Growth speeds up in the second season. A climber on a fence can cover a panel in two seasons. A shrub form fills its pot in one season. Water and sun set the pace. Shade and wet soil slow it.
Hardenbergia comptoniana is listed as toxic to pets, per Aussie Green Thumb. Keep dogs away from its leaves and flowers. For Hardenbergia violacea, pet toxicity data is not available. Treat all hardenbergia as unsafe for pets until better data exists. Fence off the plant if a dog chews garden plants. Call a vet at once if a dog eats leaves or flowers and shows vomiting or lethargy.
Do not move an established hardenbergia. The Botanic Gardens of Sydney recommends against transplanting Hardenbergia violacea once established. The roots resent disturbance. A moved plant drops leaves and may die. Plant in the right spot first time. If you must move one, take a large root ball in late winter, cut the top back hard, and water the plant through its first season.
Start Growing Hardenbergia in Australia This Weekend
Hardenbergia pays back a small amount of work with a large winter flower show. Pick a sunny spot with drainage that runs free. Set the plant at pot depth. Mulch 5 cm deep and keep the mulch clear of the stem. Water through the first warm season. Feed in spring and autumn. Prune by two-thirds after flowering. Watch for mildew in cool moist weather. Start with one plant this weekend, and a single Happy Wanderer on a fence will show you the whole habit in one season. A fence panel, a trellis, or a single large pot all work as a first home. Buy a named cultivar in flower, and check the label for the botanical name before you pay. Water the new plant in, mulch it, and leave it to settle for a fortnight before you judge it. The first flowers arrive in the first winter after planting, and the show grows stronger each year after the first prune.