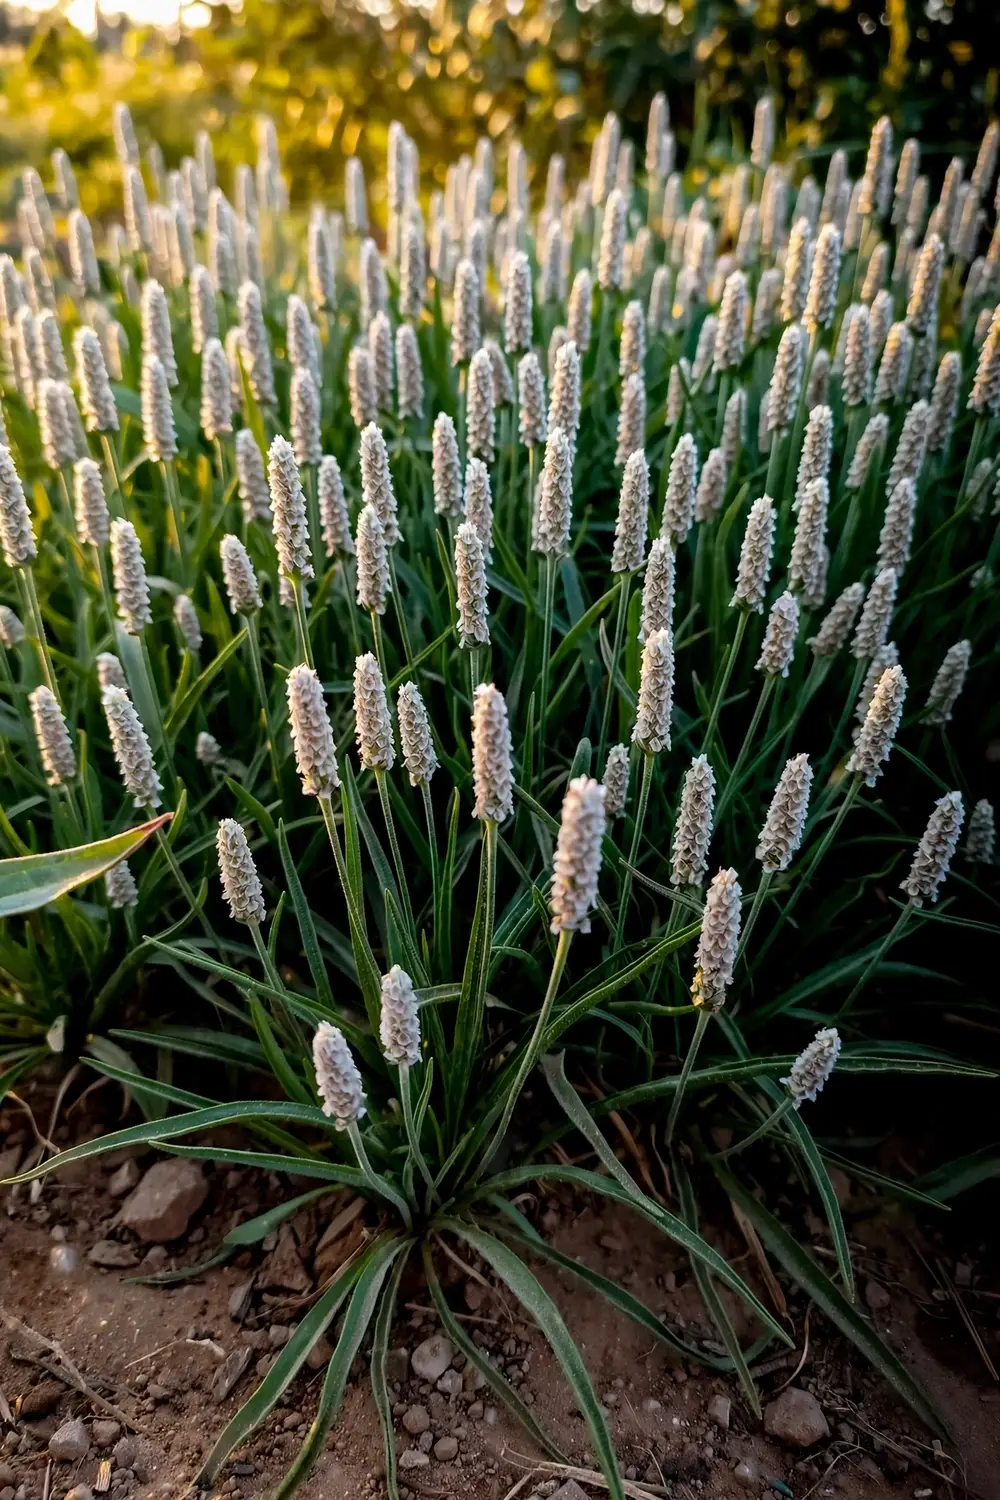

Sow isabgol in autumn, watch it for 5 to 6 months, and harvest a fistful of seed that becomes the husk sitting in your pantry. That is the whole promise of Plantago ovata, the small annual herb India grows at commercial scale for the world’s psyllium supply. A home plot or even a wide pot yields a modest, honest harvest: the real plant, the real husk, and a front-row view of a crop most Western gardeners have never grown.
Learning how to grow psyllium from India is less about exotic technique and more about timing. In Gujarat and Rajasthan, the world’s top growing region, isabgol is a rabi crop, sown in October to November and harvested in March to April. Give it that same cool-season-sowing, hot-dry-finish pattern in your own garden, and the plant largely handles itself.
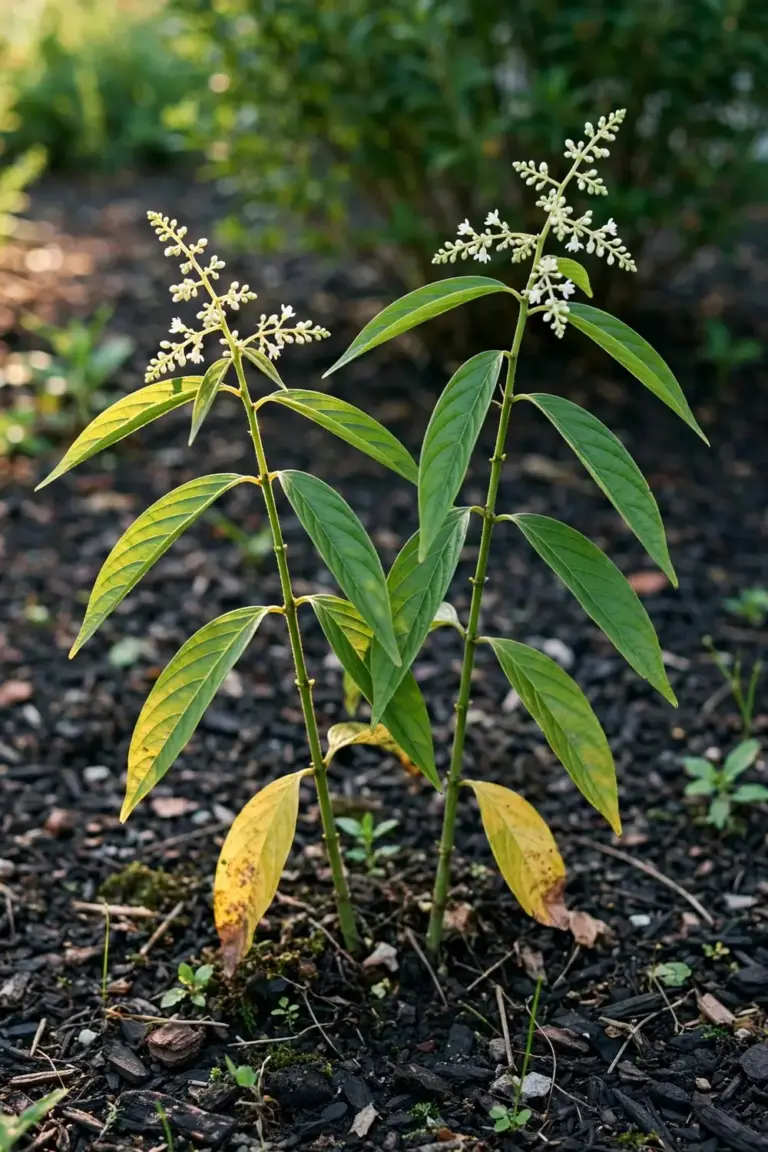
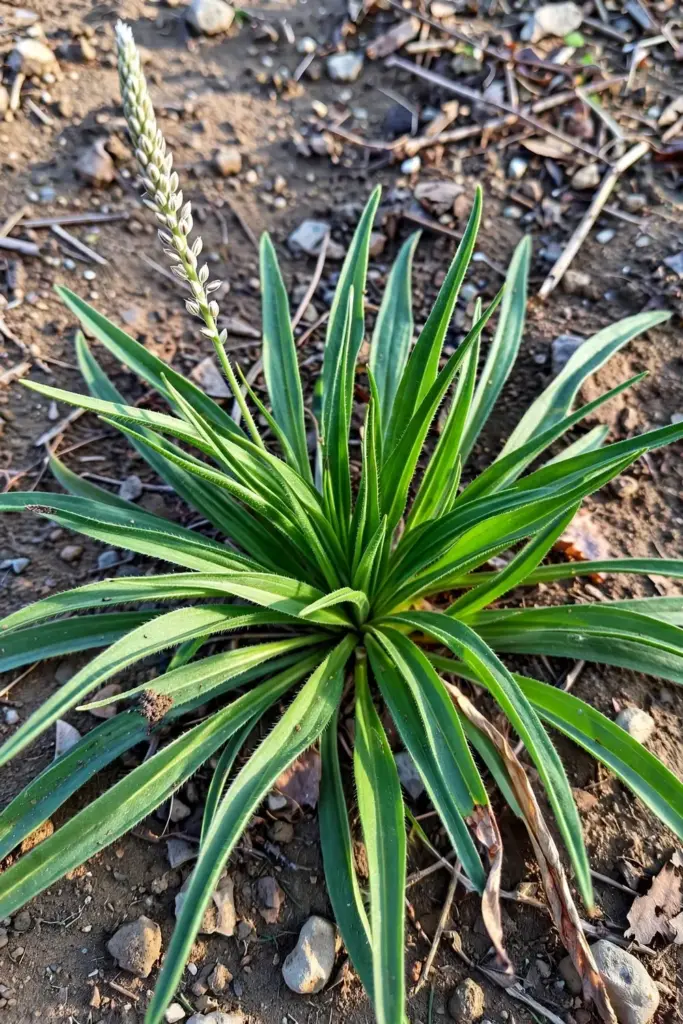
Isabgol is a low, almost weed-like annual that reaches 35 to 40 cm tall, and one plant can produce up to 15,000 seeds, according to the psyllium plant information published by Gardening Know How. In my experience, shallow sowing is the difference between an even stand and a patchy one. The seeds are dust-fine, the seedlings are unremarkable, and the payoff comes late: a dry harvest of tiny spikes that become real fiber husk after threshing.
1. Time It Like a Rabi Crop: Autumn Sowing, Spring Harvest
Sow psyllium in autumn and harvest it in spring. In India the crop goes into the ground in October to November, the cool season, and is ready 5 to 6 months later, as the detailed isabgol cultivation guide at Agri Farming explains. It needs cool weather at sowing and growth, then dry, sunny weather while the seed ripens, because even light showers or cloudy skies at ripening can cause the seed to shed and cut the yield.
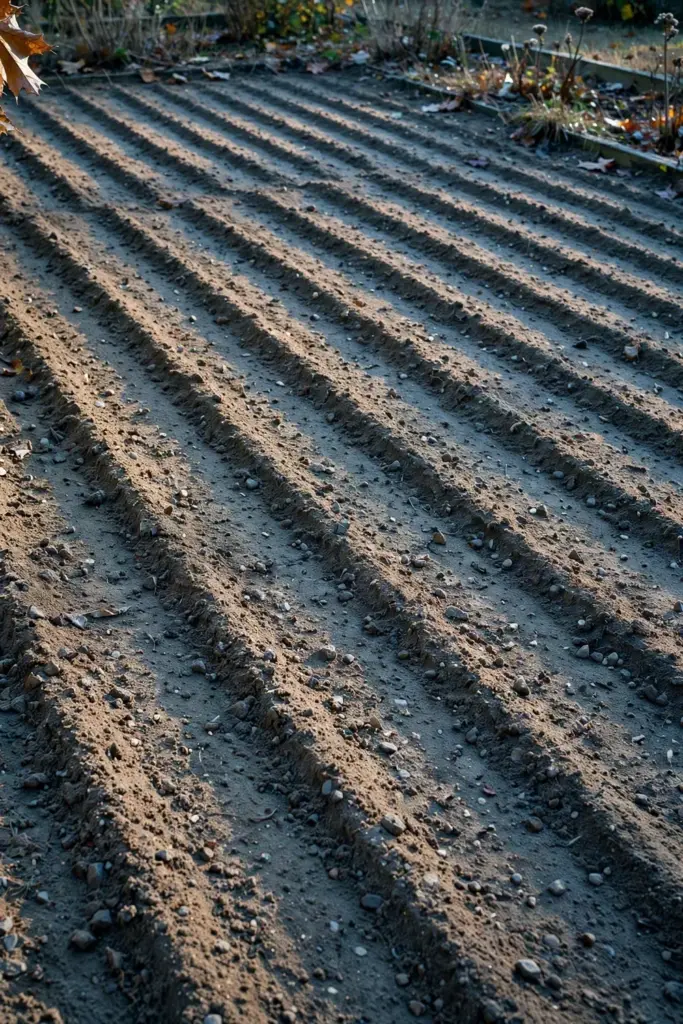
Map that pattern onto your own calendar. In warm-temperate and Mediterranean climates, an autumn sowing that overwinters mildly and finishes in a dry spring mirrors the rabi rhythm. Where winters freeze, Gardening Know How’s guidance works better: start seeds indoors 6 to 8 weeks before your last expected frost, then harden off the seedlings once freezing risk has passed. If you want a season-planning reference for autumn-sown crops in general, check the dates against a fall planting calendar.
Sowing too early in warm, humid conditions invites lodging and fungal disease. Sowing too late shortens the season and risks seed shattering before you harvest. Aim for the middle lane: cool sowing weather, dry finishing weather.
2. Name the Right Plant: The Psyllium vs Plantain vs Banana Confusion Table
Isabgol is Plantago ovata, and it is not the plantain in your lawn or the fruit in your grocery store. Commercial seed pages sometimes print sloppy names like “Plantago Psyllium,” and product blogs use “plantain” loosely, so pin the identity down before you buy seed.
| Name | What it is | Psyllium source? |
|---|---|---|
| Plantago ovata (isabgol, ispaghula, blond psyllium, Desert Indianwheat) | Small annual herb, the commercial psyllium crop | Yes, the real one |
| Plantago afra / psyllium | A different Mediterranean annual sold as “French psyllium” or “black psyllium” | Related, not the same seed |
| Plantago major (common plantain, broadleaf plantain) | The lawn weed with wide ribbed leaves | No, do not grow this for husk |
| Banana “plantain” | A starchy cooking banana, Musa genus | No, a completely different plant |
The botanical database Plants for a Future lists the accepted synonyms as P. decumbens and P. ispaghula, so if a packet shows either name, it is the same species. The Plants for a Future entry also notes the plant is hermaphrodite and self-fertile, with wind-pollinated flowers, which matters later at seed set.
3. Buy True Isabgol Seed and Check the Latin Name
Buy packets that say Plantago ovata on the label, and treat any packet that only says “psyllium” as suspect until the species is printed. India grows improved varieties such as GI-2, Niharika, and Haryana Isabgol lines, but home gardeners outside India usually buy from specialty seed vendors. Choose the lightest-colored seed you can find, since the commercial product is “blond psyllium.”
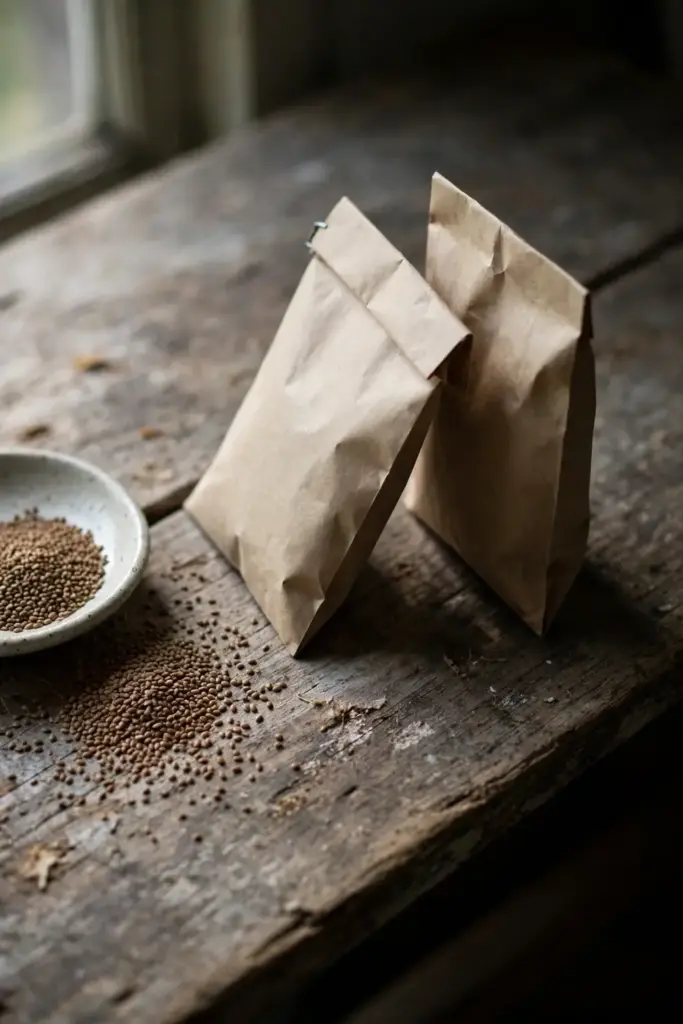
Check viability before you commit a bed. Rub a pinch of seed between damp paper towels, seal the packet in a plastic bag at room temperature, and count the sprouts after a week. Expect weak performers. Emergence begins about a week after sowing, according to the Agri Farming isabgol cultivation guide, and not every seed wakes up, so sow generously and thin later.
Store leftover seed cool, dry, and dark in an airtight jar. Fresh seed gives the evenest stand, and dust-fine seed loses vigor faster than big-seeded crops do.
4. Sow the Tiny Seed: The 7-Day Emergence Method
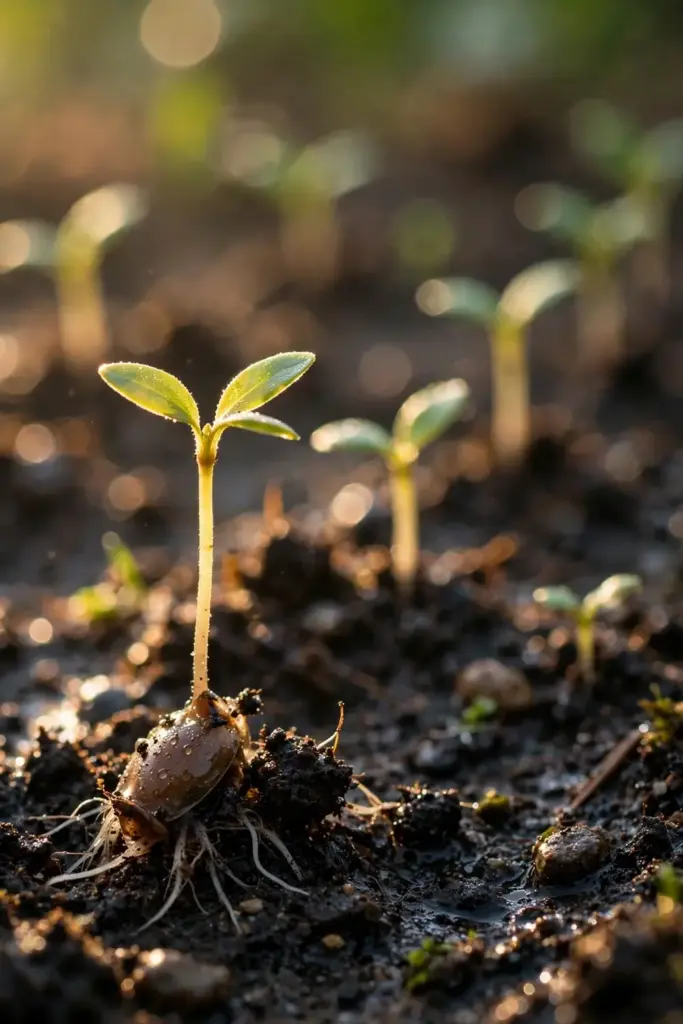
Sow shallow, keep the surface evenly moist, and give the seed warmth, because this is the stage where how to grow psyllium from India is won or lost. Gardening Know How advises sowing the seed 1/4 inch (6 mm) deep, keeping the flat lightly moist, and placing it in full sun or on a heat mat to encourage germination. Deeper burial starves these light-responsive seedlings.
| Step | Action | Time |
|---|---|---|
| 1 | Fill trays or beds with fine, level, weed-free mix | Day 0 |
| 2 | Broadcast or sow in rows 15 cm apart, 1/4 inch deep | Day 0 |
| 3 | Water gently; irrigate immediately after sowing per the Agri Farming protocol | Day 0 |
| 4 | Hold the surface evenly moist in full sun or on a heat mat | Days 1 to 7 |
| 5 | Expect emergence about a week after sowing | Days 5 to 10 |
| 6 | Thin to the strongest seedlings at 2 to 3 cm | Week 2 to 3 |
Work the seed into a prepared fine tilth rather than a lumpy bed. Tiny seed stranded on top of clods germinates unevenly, and uneven germination is the most common reason a home stand looks patchy. If you are new to starting fine seed, the tray-filling and moisture details in a seed starting guide transfer directly to psyllium.
5. Grow Isabgol in Pots: The Container Method Nobody Wrote
No dedicated editorial guide to growing isabgol in pots exists, which is exactly why this section exists. The plant’s low 35 to 40 cm stature, annual life cycle, and shallow fibrous root system make it a genuinely good container crop, not a reluctant one.
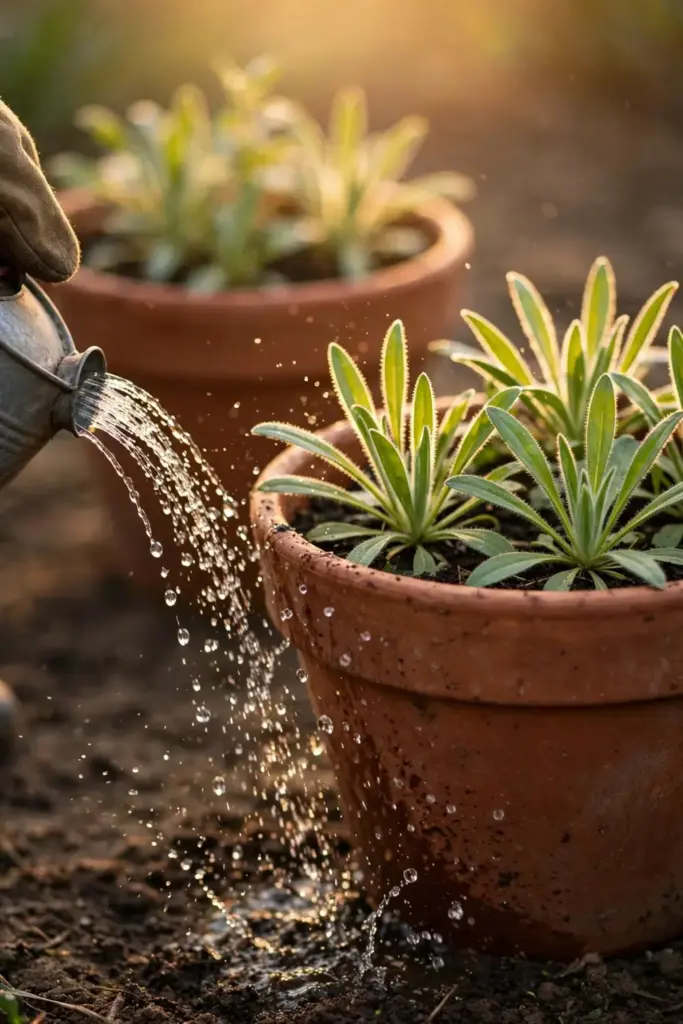
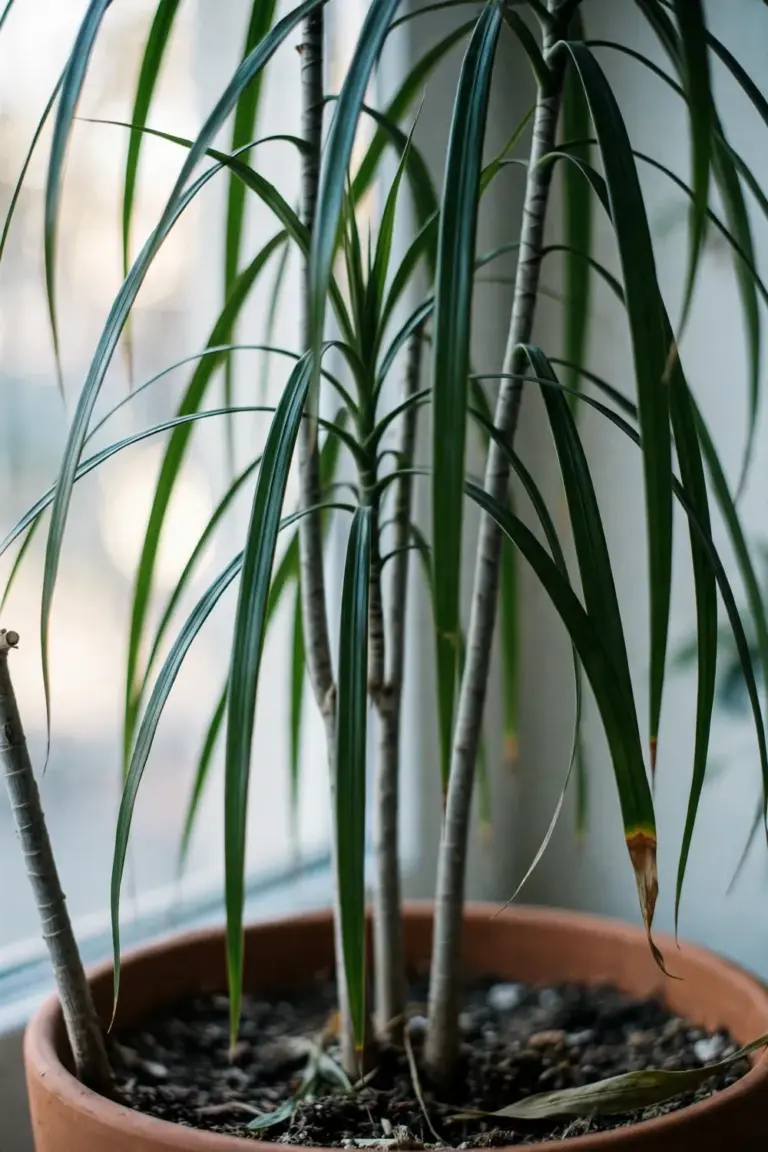
Use a wide pot at least 30 cm across and 25 cm deep, filled with a gritty, free-draining potting mix. Terracotta is the honest choice here: it breathes, and isabgol hates wet feet. Sow 10 to 15 seeds per pot at the same 1/4 inch depth, then thin to the strongest 4 to 6 plants once they have true leaves. Place the pot in full sun.
Water containers more often than beds but never let them sit soggy. A small dish under the pot is fine during germination, then remove it so the roots breathe. Feed containers exactly once, lightly, with a balanced liquid fertilizer at half strength around the fourth week, because isabgol is a lean-soil crop and overfeeding produces soft plants with poor spikes. For the general principles of keeping container herbs healthy through the season, the watering and feeding notes in an indoor herb garden guide apply here even though psyllium lives outdoors.
Expect a smaller harvest from a pot than from a bed. A single container of 4 to 6 plants can still yield a satisfying jar of seed for a curious gardener, which is the point of the exercise.
6. Build Sandy Loam Soil at pH 7 to 8.4
Isabgol wants sandy loam or loamy soil that drains well, with a slightly alkaline tilt. The Agri Farming cultivation guide puts the optimum pH between 7.3 and 8.4, and calls poorly drained soils unsuitable. Plants for a Future describes the species as tolerant of mildly acid to basic soils, so treat pH 7 to 8.4 as the commercial sweet spot inside a wider tolerance.
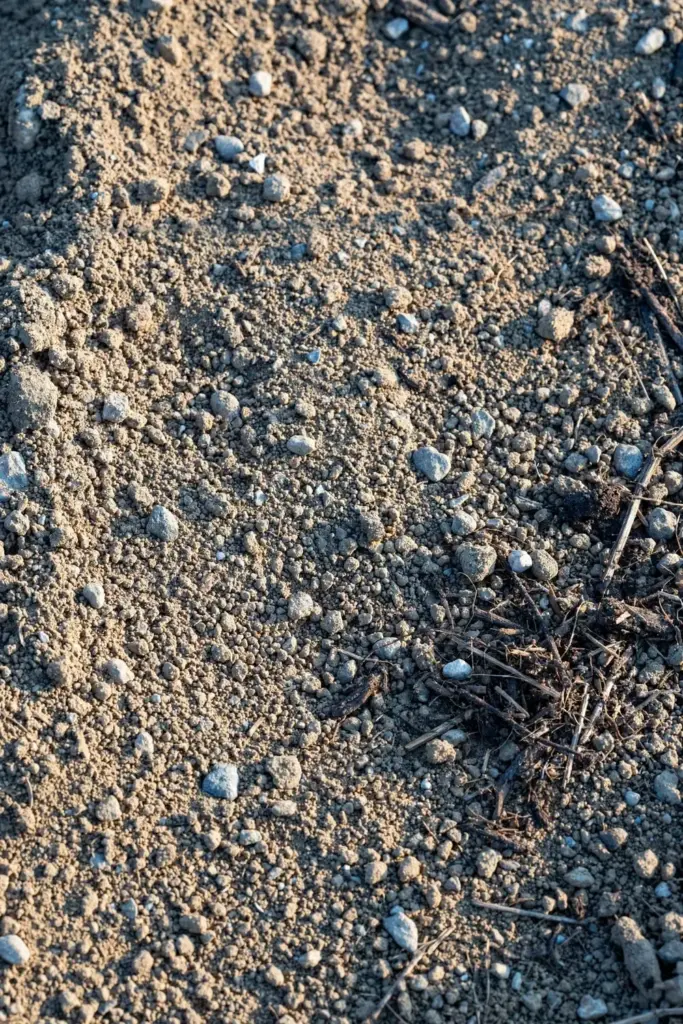
Prepare a fine, level seedbed and work in 2 to 3 cm of well-decomposed compost before sowing. If your garden runs acidic, a light lime application at least a month before sowing moves the pH in the right direction; test the soil rather than guessing. Avoid fresh manure, which brings weed seeds that will outcompete the slow-looking seedlings. Raised beds or ridges earn their keep wherever the soil stays wet after rain, since waterlogging rots this crop faster than drought stresses it.
For the long game of building a bed that drains well and feeds lean crops, the compost-and-mulch framework in a soil health foundation guide is worth reading once.
7. Water Like a Rabi Crop: About 8 to 10 Soaks Total
Isabgol is not a swamp crop and not a cactus either. The Agri Farming protocol irrigates immediately after sowing, again 3 to 4 weeks later, and a third time when the flower spikes form, for a total of 8 to 10 irrigations across the whole growth period. The lesson for a home gardener: water at transitions, then back off.
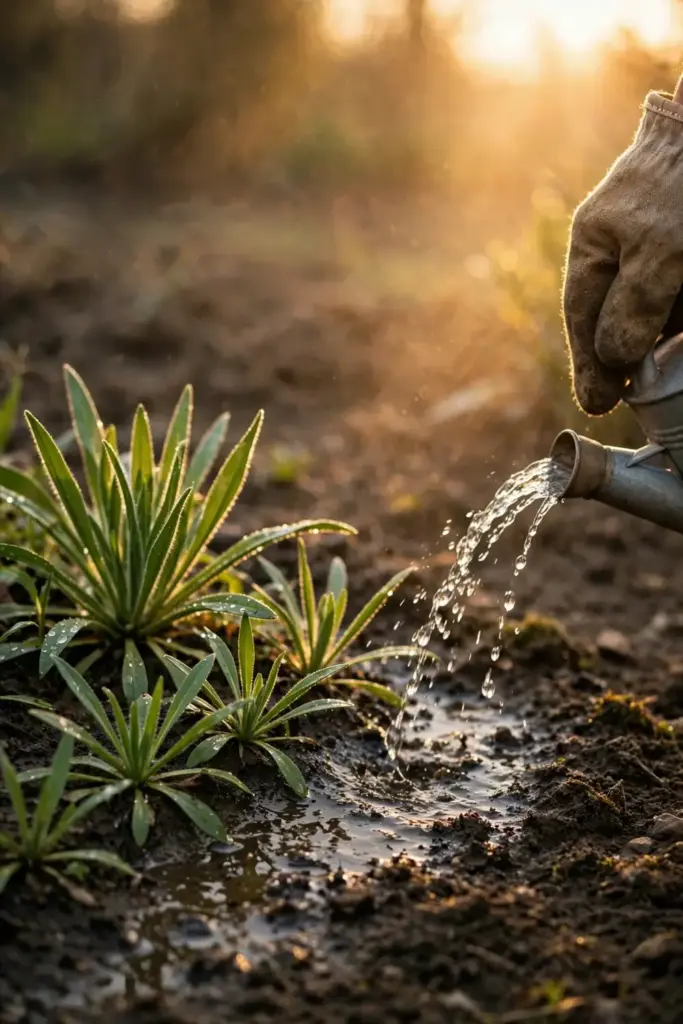
Keep the surface evenly moist for the first two weeks until emergence is complete. Once seedlings have two sets of true leaves, switch to deep, infrequent watering that lets the top 2 to 3 cm dry between drinks. As the spikes form and fill, steady moisture matters most, because drought stress at seed fill shrinks the tiny seeds further. Then stop. The crop must finish dry and sunny, since any rain or heavy irrigation at ripening causes seed shattering and quality loss.
In containers, translate “deep and infrequent” into a daily check: water when the top inch is dry, and always let excess drain away freely.
8. Feed Lightly: The Lean-Fertility Rule
Feed isabgol like a lean field crop, not like a hungry vegetable. The Agri Farming guide cites field rates of N:P2O5:K2O at 20:10:12 kg per acre, half the nitrogen at sowing and the rest about 4 weeks later, plus well-decomposed farmyard manure during land preparation. At garden scale, that is a modest handful of balanced fertilizer, not a feast.
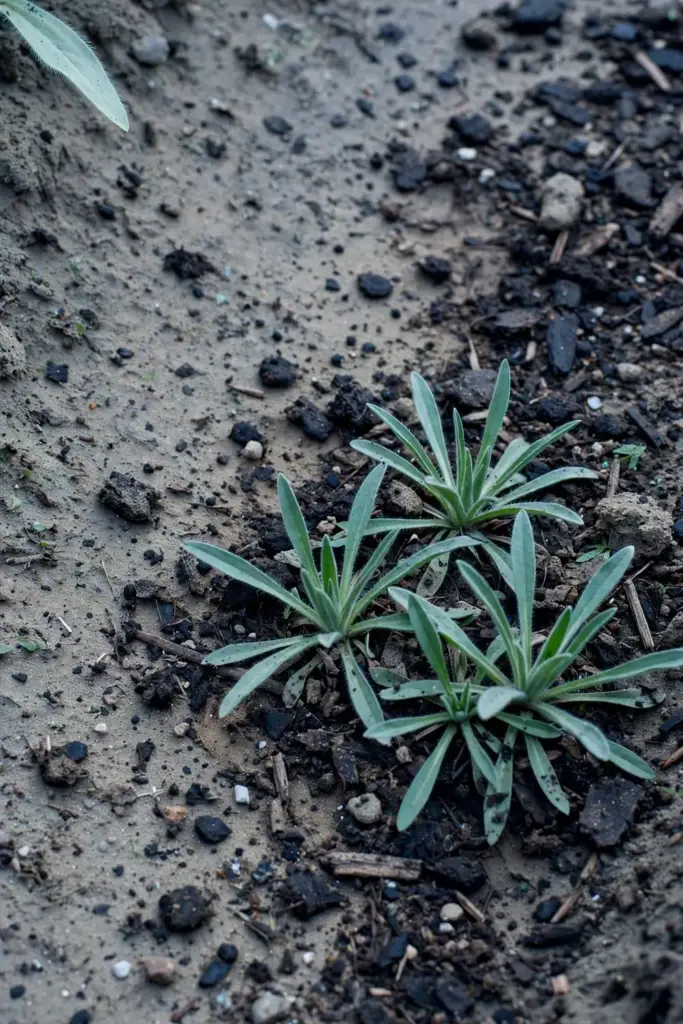
Mix a thin layer of composted manure or compost into the bed before sowing. Side-dress once, lightly, when the plants reach 8 to 12 cm tall, with a balanced granular fertilizer scratched into the soil and watered in. Skip the second dose on fertile ground: soft, overfed plants lodge, and lodged spikes mildew.
Container plants get one half-strength liquid feed at week four, then nothing. Overfed pots produce soft growth with empty spikes.
9. Guard Against Downy Mildew, the Main Enemy
Downy mildew is the headline disease of isabgol. The Agri Farming isabgol cultivation guide treats downy mildew as a genuine production threat, prescribing seed treatment plus fungicide sprays in commercial fields. Home gardeners should treat the disease triangle, not the chemical label.
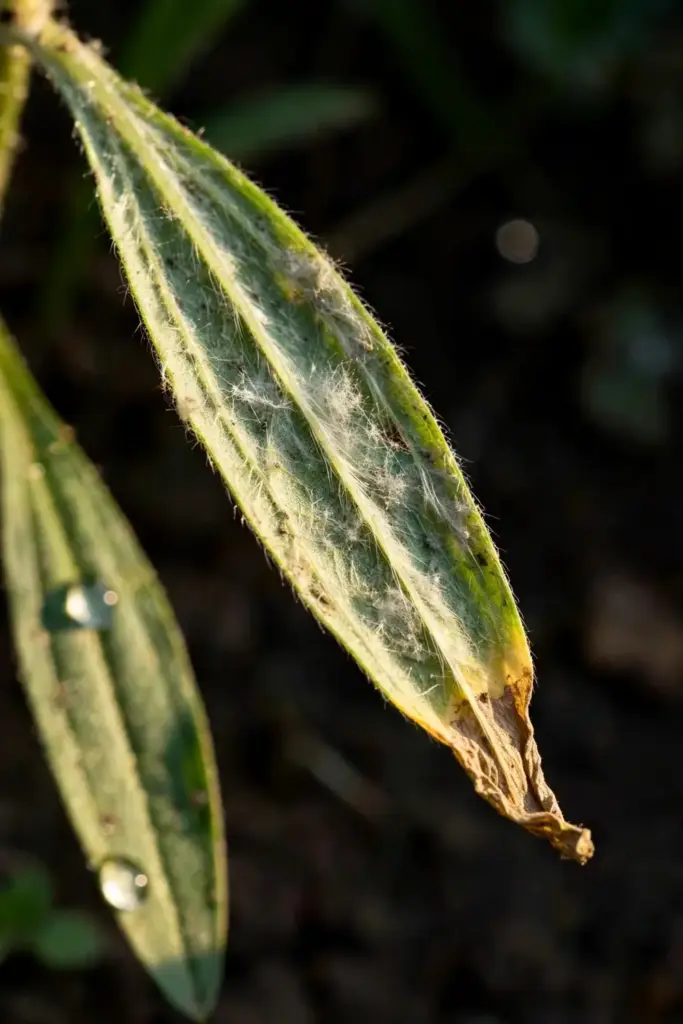
Sow at the right time, not early in warm humidity, because early sowing is the classic invitation to fungal trouble. Space the plants so air moves through the stand: 15 cm rows in beds, and no more than 4 to 6 plants in a wide pot. Water at the base and keep the foliage dry, especially in the morning when dew already wets the leaves. Pull and discard any plant showing yellowing, stunted growth, or fuzzy growth under the leaves, and do not compost it.
Clean up the bed completely after harvest. Spent plants and fallen spikes harbor pathogens that would love next season’s crop.
10. Let the Wind Pollinate: Hermaphrodite Flowers, No Bees Needed
Isabgol flowers are hermaphrodite and the plant is self-fertile, wind-pollinated, according to the Plants for a Future database entry. That means no pollinator planting, no hand pollination, and no second variety are needed for seed set. Each plant’s spikes set seed on their own.
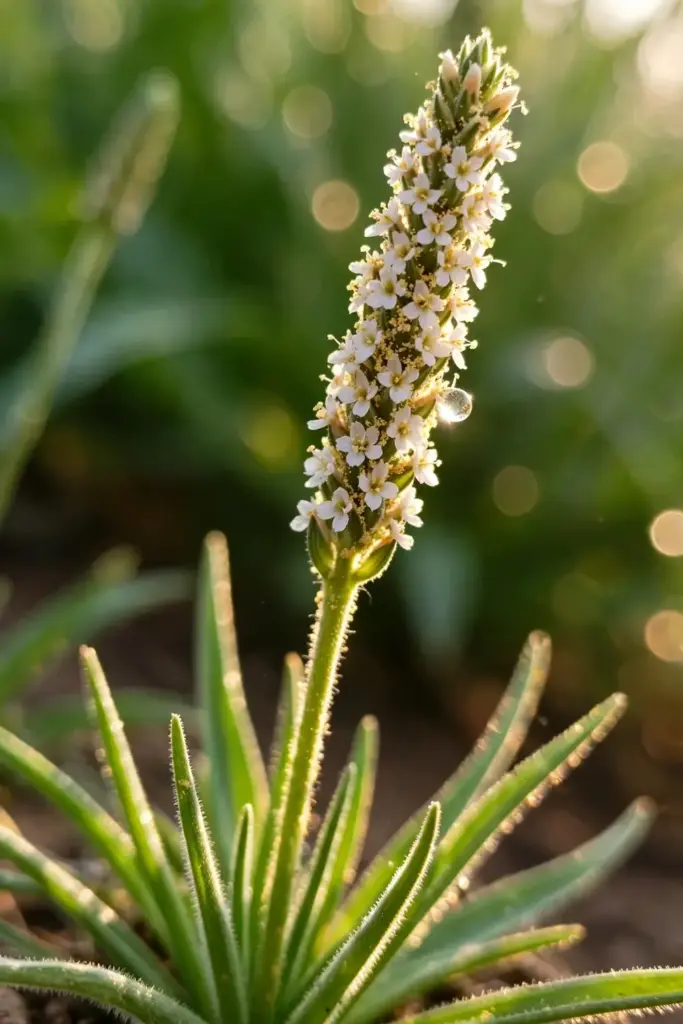
Watch for the white flower spikes rising above the low leaf rosette, the 12 to 18 inch tall plants with their distinctive white spike described by Gardening Know How. Seed fill follows fast. This is the phase where the watering rule from the earlier section matters most: steady moisture now, then a full stop so the crop dries down.
Do not deadhead. Every spike is future husk, and removing flowers only shrinks your harvest.
11. Harvest at 5 to 6 Months: Cut Early Morning, Close to the Ground
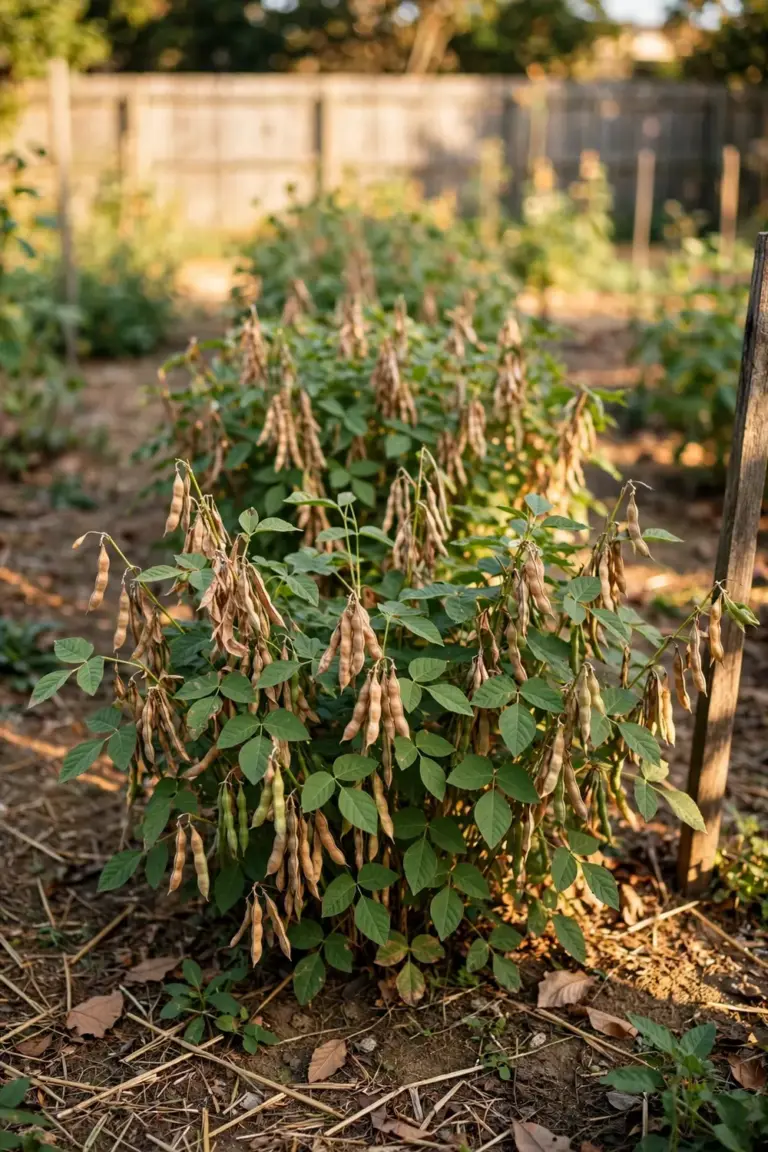
Harvest is the stage most home-grow guides gloss over, and it is where isabgol rewards care. The crop is ready 5 to 6 months after sowing, when the spikes have turned brown and dry and the leaves have yellowed. Cut in the early morning hours, when dew still holds the tiny seeds, and cut close to the ground.
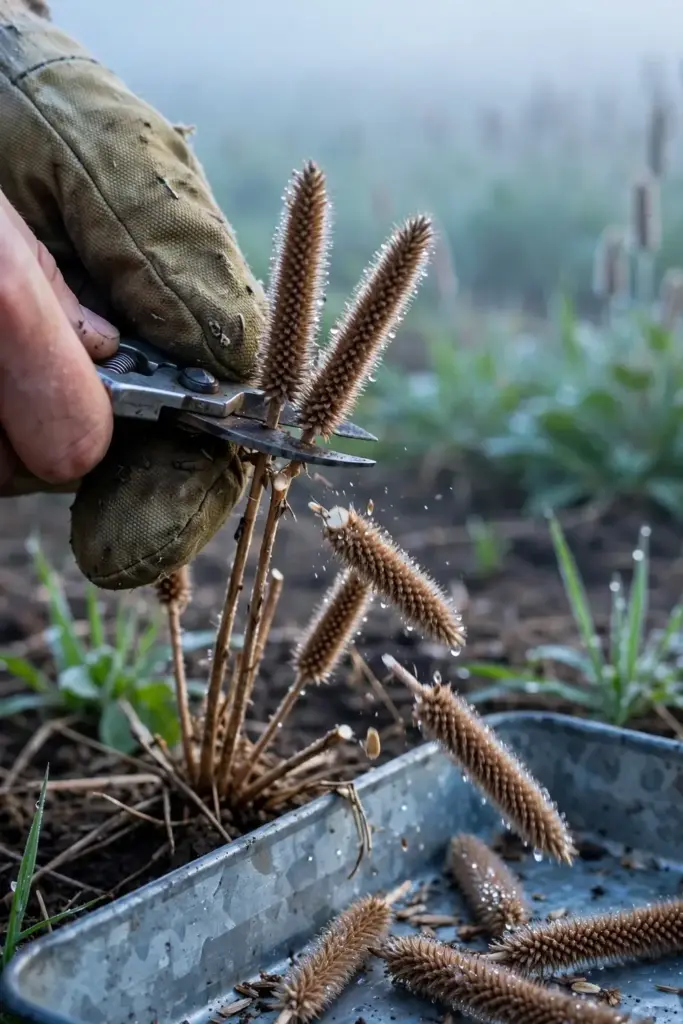
Shattering is the enemy. Ripe psyllium seed falls at the slightest provocation, and a careless midday harvest in a dry breeze can scatter half your yield onto the soil. Slide a tray, bucket, or open bag under the spikes as you cut, and lay the cut plants on a clean tarp rather than directly on the ground.
Stack or bundle the cut crop for 1 to 2 days in a dry, shaded, airy spot so the spikes finish curing evenly. If rain threatens during curing, move everything under cover immediately. A wet harvest is a lost harvest, because damp spikes shed seed and grow mold.
12. Thresh the Micro-Crop: Separate Seed From Straw
Threshing sounds industrial, but at home scale it takes only a few minutes with a small harvest. Spread the cured spikes on a clean tarp, beat them gently with a stick or rub them between your hands, and the tiny seeds release from the chaff. Winnow by pouring the mixture slowly from one bucket to another in a light breeze, or in front of a fan on its lowest setting. The heavy seed falls straight; the light chaff blows aside.
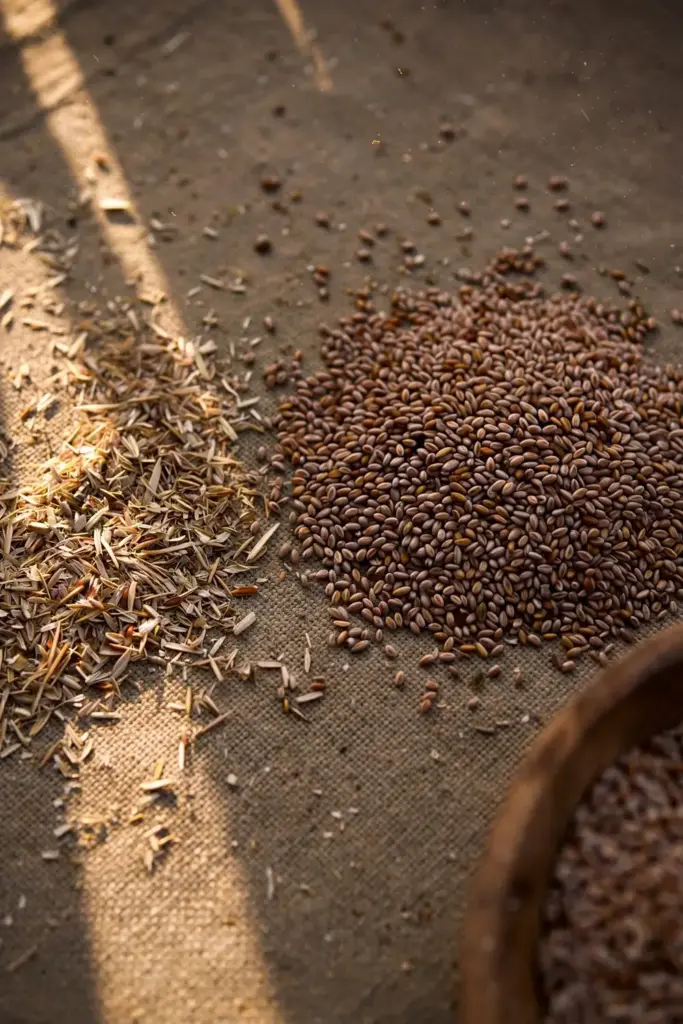
Sieve the cleaned seed through a fine mesh to remove dust and broken stem pieces. Spread the final seed in a thin layer on trays in the shade for one more day to make sure it is fully dry before storage. Dry seed stores; almost-dry seed molds.
Wear a dust mask while you thresh and winnow. Psyllium dust is a known workplace allergen for people frequently exposed to it, and even a home-scale cloud of seed dust deserves respect. The Wikipedia entry on psyllium notes that allergy is common in workers with frequent exposure.
13. Grade the Husk: Why 25 Percent Is the Number That Matters
The commercial product is the husk, not the whole seed. Psyllium husk is the milled outer seed coat, the mucilage layer that gives the fiber its famous gel, and it amounts to about 25 percent of the total seed weight, according to the Wikipedia psyllium article. That number is your quality benchmark: three-quarters of your harvest is seed, and one-quarter is the prized husk.
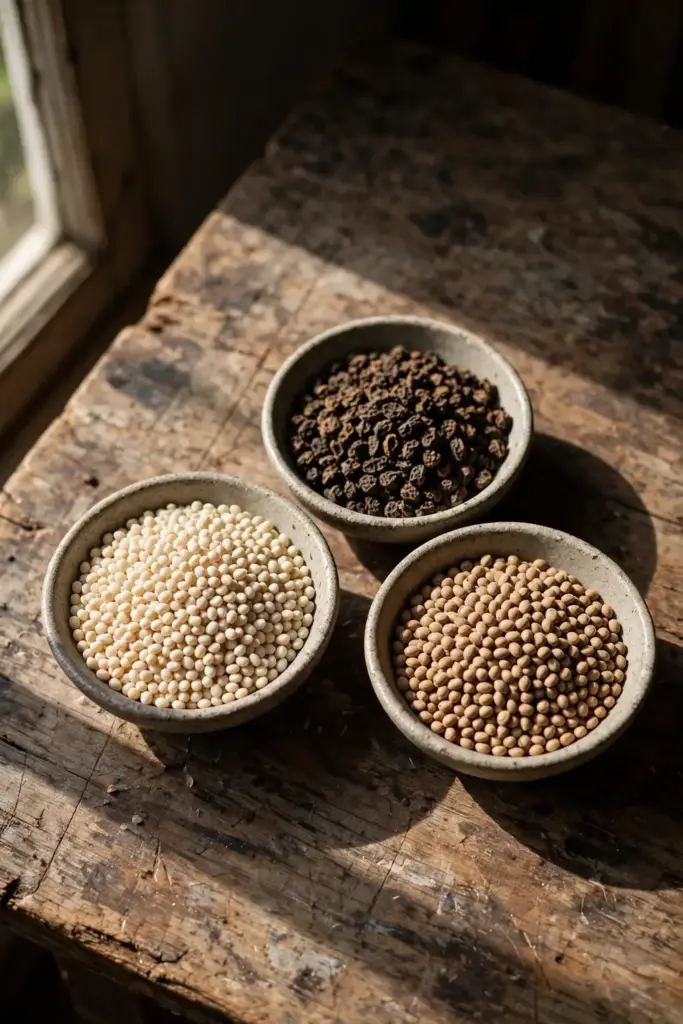
At home you cannot mill husk to pharmaceutical grade, and you should not try. What you can do is judge your crop the way the trade judges it: plump, fully filled seeds with clean, light-colored coats mean good husk development. Small, shriveled, or dark seed means drought stress or a wet finish, and it tells you what to fix next season.
Store cleaned seed in airtight glass jars, cool and dark, and label the year. Kept dry, the seed stays viable and usable for a full year.
14. Use the Harvest Honestly: Leaves, Seeds, and Fiber
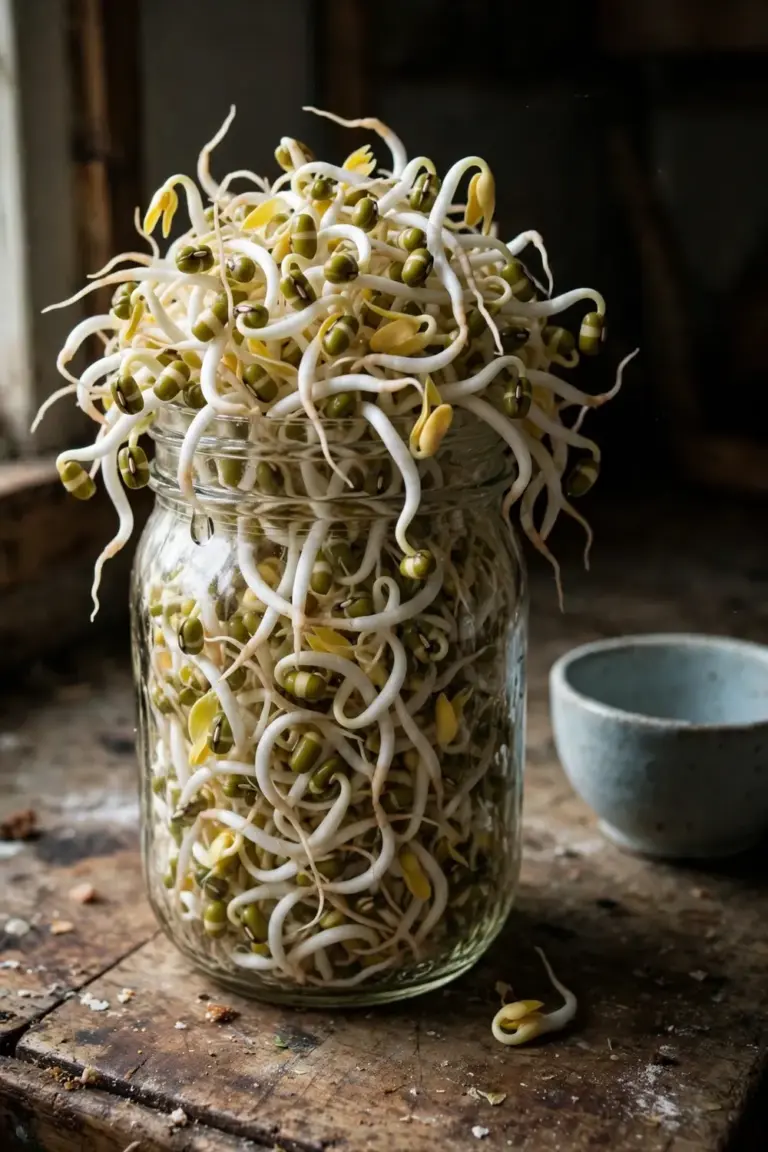
The leaves are the bonus crop. Gardening Know How notes that isabgol leaves are used much like spinach, raw or steamed, and the seeds are sprouted for salads. Pick a few outer leaves from young plants before the spikes form, and the plant keeps producing.
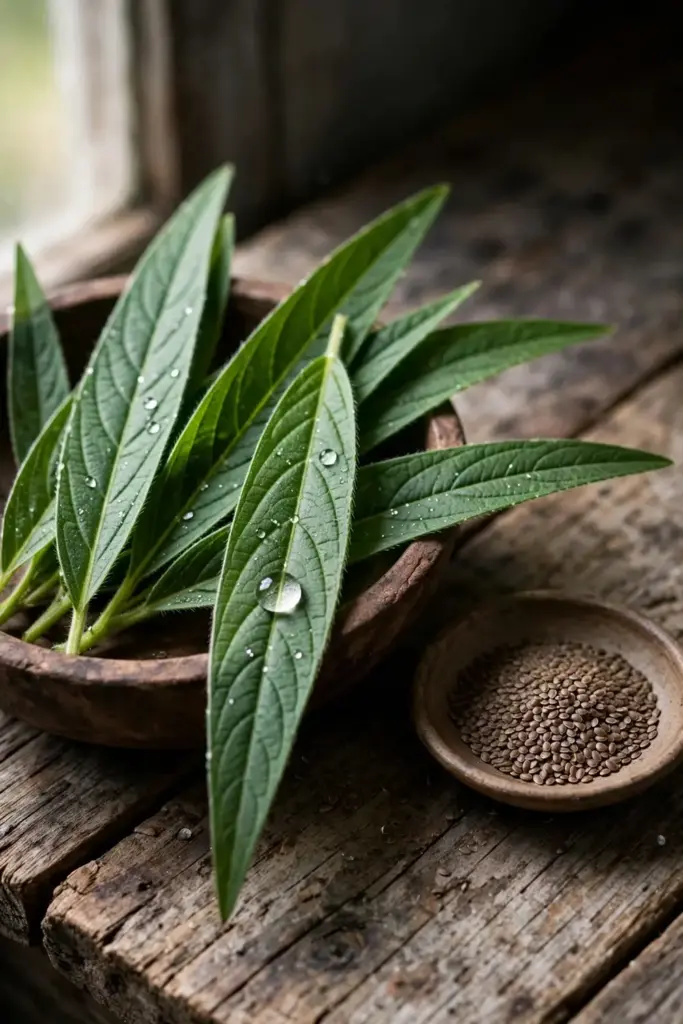
The seed’s mucilage is the reason the crop exists. The Plants for a Future entry describes seeds that swell to several times their volume in water, which is exactly the fiber mechanism the husk is famous for. At home, the honest uses are sprouting the seeds for salads and experimenting with whole seed in baking, where the mucilage thickens batters naturally.
Keep health claims modest and personal decisions medical. Psyllium husk has a long traditional record as a fiber source, and modern reviews describe it as generally safe and moderately effective as a laxative, with possible cholesterol effects after three weeks or more of use, per the Wikipedia psyllium summary. That is a description of the ingredient, not a prescription. Talk to a clinician before using any fiber product therapeutically, and do not diagnose digestive conditions from a gardening article.
15. Avoid the 5 Mistakes First-Time Isabgol Growers Make
Plant the wrong species and the whole season is wasted. Buying a packet that says “plantain” without a Latin name can land you with Plantago major, the lawn weed, instead of Plantago ovata. Check the Latin name before you sow.
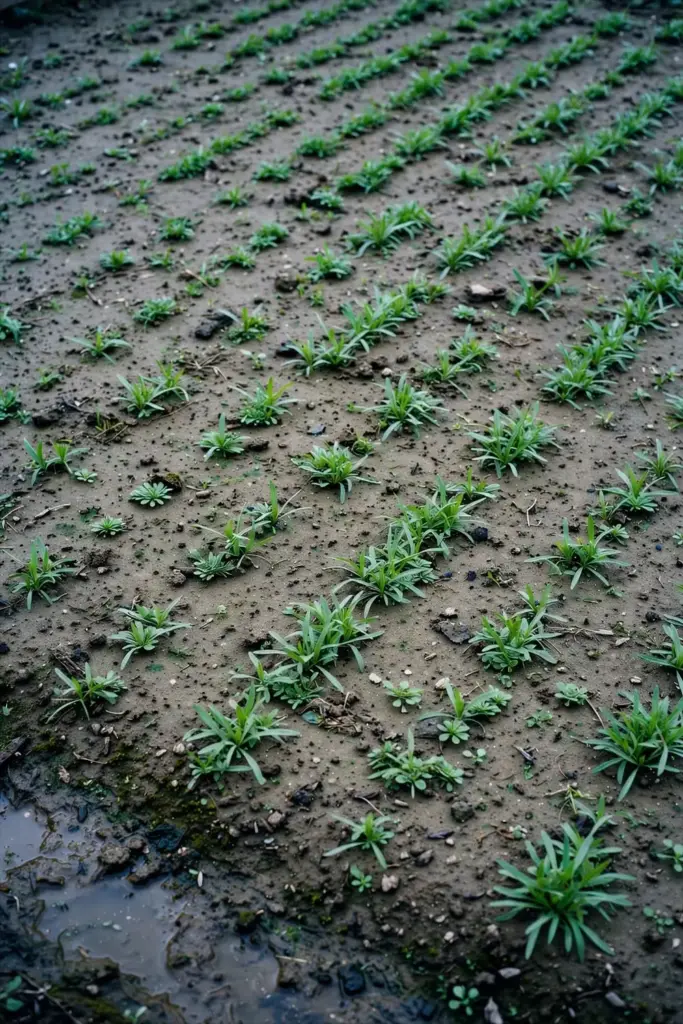
Sow too deep and the stand never appears. A 1/4 inch sowing depth is a ceiling, not a suggestion, and surface-sown seed in a crusted bed fares just as badly. Fine seed wants fine soil and shallow cover.
Water the finish and the harvest shatters. The crop must ripen dry. Any irrigation or rain at ripening causes seed shedding, so stop watering once the spikes brown.
Sow early into humidity and mildew moves in. Early sowing in warm, wet conditions invites lodging and downy mildew, while very late sowing shortens the season. The middle lane is the safe lane.
Harvest at noon in a breeze and lose half the crop. Cut early morning, close to the ground, with a tray underneath. The seed is tiny, light, and waiting for an excuse to fall.
16. Troubleshoot a Thin or Troubled Stand
Seeds never emerged: the most likely causes are sowing too deep, a crusted soil surface, or seed that dried out during the first week. Re-sow shallow into fine, level soil and hold the surface evenly moist until emergence, which should take about a week in warm soil.
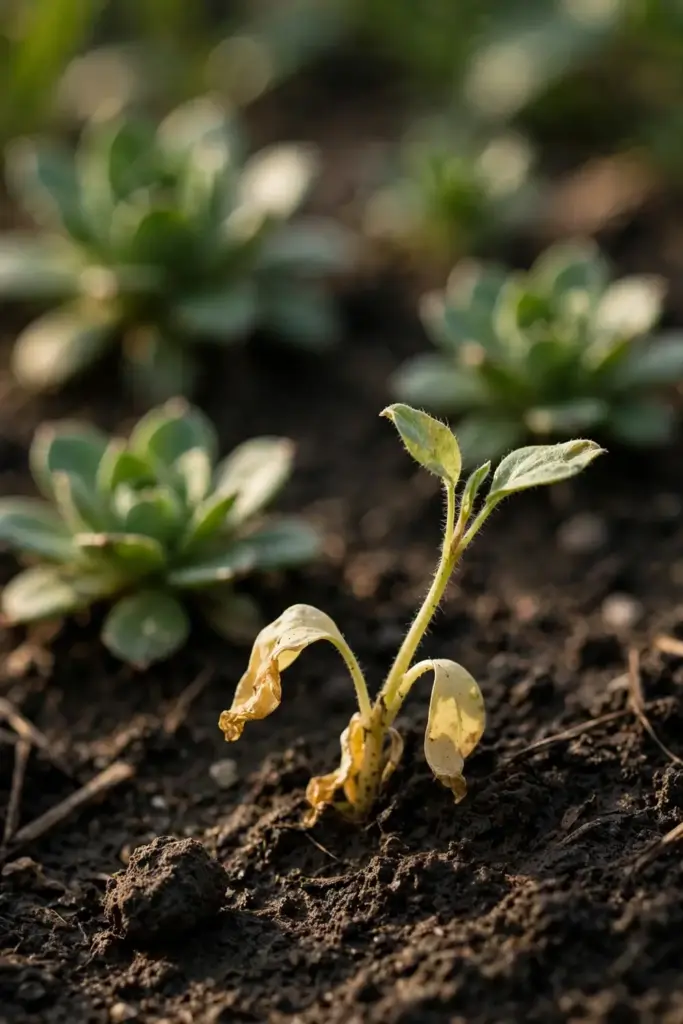
Seedlings damping off: overwatering plus poor air circulation. Thin ruthlessly, water at the base, and give the bed full sun. Pull affected seedlings and do not replant into the same spot immediately.
Plants yellowing with fuzzy undersides on leaves: suspect downy mildew. Remove affected plants, improve air flow, stop overhead watering, and accept the loss on badly hit plants. Next season, sow on time and space wider.
Spikes brown but seeds empty: drought stress during seed fill, or heat arriving too early. Steady moisture during spike formation is the fix, applied before the damage, not after.
Seed shattering before harvest: you waited too long, or rain arrived at ripening. Next season, begin checking daily once spikes start browning and harvest at the first sign of full ripeness.
Lodged, tangled plants: overfeeding plus early sowing into over-rich conditions. Feed once, lightly, and resist the urge to push growth with nitrogen.
FAQ
About 5 to 6 months from sowing to harvest in the classic rabi pattern, sown in October to November and harvested in March to April. Germination starts roughly a week after sowing, the flower spikes form mid-season, and seed fill follows quickly. A Western gardener starting indoors 6 to 8 weeks before the last frost should expect a similar total, close to the same 5-to-6-month cycle.
For curiosity and quality, yes. For bulk fiber, no. A bed of a few square meters yields a modest jar of seed, and the commercial husk you buy is milled from a quarter of the seed’s weight. Grow it to understand the crop, to harvest leaves and sprouts, and to judge seed quality firsthand. Buy commercial husk for serious fiber use.
Yes, and it is one of the better container candidates among Indian medicinal crops. Use a wide pot at least 30 cm across with gritty, free-draining mix, sow shallow, thin to 4 to 6 strong plants, and keep it in full sun. Expect a smaller harvest than a bed, but the method works, and no dedicated pot guide existed before this one.
The husk is the milled outer coat of the seed, the mucilage layer that swells in water and provides the fiber. The seed is the whole grain, husk plus embryo. Commercial husk amounts to about 25 percent of the seed’s weight, per the Wikipedia psyllium article. Home growers harvest whole seed; separating true husk requires milling equipment, so use the seed whole in sprouts or baking.
Shallow-sowing failures top the list: seed buried deeper than 1/4 inch struggles to emerge, and seed stranded on a crusted surface dries out. Cold, soggy soil is the second cause, since isabgol wants cool-but-not-wet conditions at sowing. Test viability with a damp paper towel before re-sowing, and expect germination around a week after sowing in warm soil.
The seeds and leaves have a long history of food and traditional use, and modern reviews describe psyllium as generally safe and moderately effective as a laxative fiber. That is not a personal prescription. Wear a dust mask when threshing, since seed dust is a known allergen for people with frequent exposure, and discuss any therapeutic fiber use with a clinician before you begin.
Keep the Fiber Honest
Isabgol rewards the gardener who respects the season: autumn sowing, steady middle growth, and a dry finish. The plant is unremarkable for months and spectacular for one morning, when the tray under your cut spikes fills with thousands of tiny seeds that become real husk.
That is how to grow psyllium from India at home. Time it like the rabi crop it is, name the right species, sow shallow, harvest early in the day, and judge your crop by the plumpness of its seed. The jar of homegrown seed on your shelf will be modest, but it will be honest, and no commercial bag teaches what a season of growing teaches.