
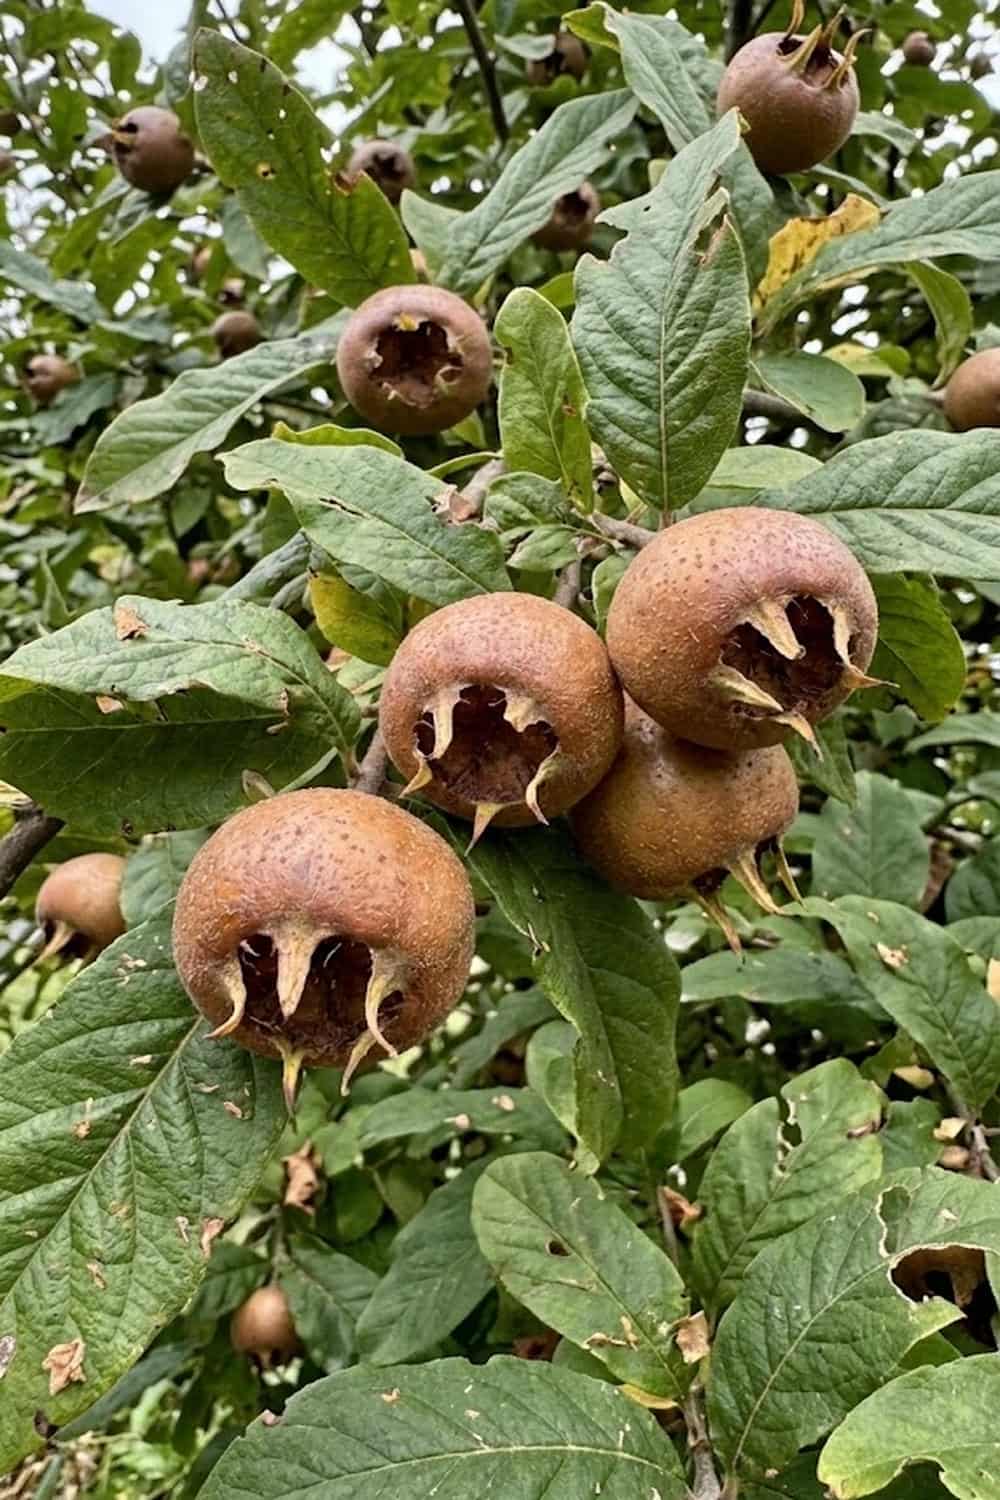

How to grow Medlar fruit involves mastering the art of “bletting,” a unique ripening process that transforms hard pomes into sweet, custard-like treats. While most modern gardeners focus on apples or pears, planting a Mespilus germanica offers a sophisticated, low-maintenance alternative for those seeking a “food forest” aesthetic. By understanding the specific soil mix and pruning requirements of this Victorian-era staple, you can develop a productive tree that thrives even in the erratic weather of 2026.
I know how frustrating it is to feel limited to the same five fruit varieties available at every big-box store, especially when you have a full-time job and limited gardening time. Agonizing over delicate peach trees or finicky cherries that succumb to a single late frost is incredibly discouraging, and it can make you feel like edible landscaping is an impossible dream. However, I’ve found a resilient solution that I’m excited to share. The Medlar is an incredibly hardy, “forgotten” Victorian treasure that thrives with minimal care once established. Let me guide you through exactly how to grow Medlar fruit, ensuring you have a steady harvest of unique, date-like treats for your effort.
1. Selecting the Right Medlar Cultivar for Your Zone
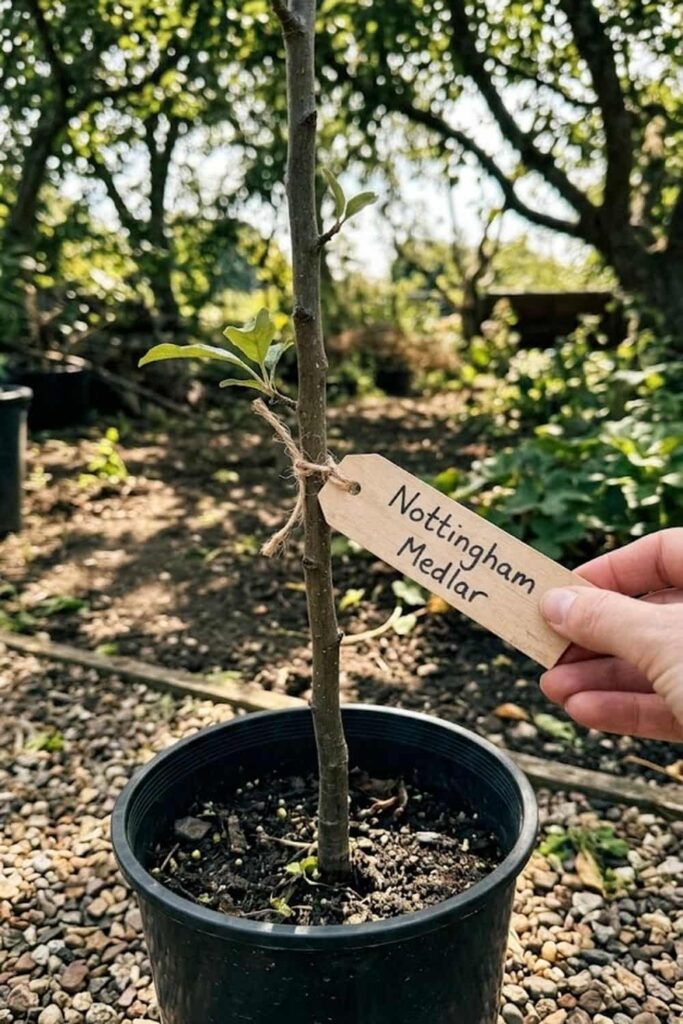
Choosing the right cultivar is the foundational first step. I cannot stress this enough: you are setting yourself up for success or frustration right here. While all Mespilus germanica share that complex, spiced-apple flavor, the growth habit and tree size vary significantly between the popular varieties. I recommend most home growers start by looking at ‘Nottingham’. It’s the quintessential standard for a reason. It produces moderate-sized fruit with an exceptionally reliable, high-quality flavor. Crucially for those with standard or small backyards, it has a contained, slightly weeping habit, which I find manageable for restricted spacing. If you desire a slightly more vigorous tree with larger, perhaps more ornamental fruit, ‘Dutch’ or ‘Monstrueuse d’Evreinoff’ might appeal, but prepare for a more sprawling canopy.
Before buying, I always check the tree’s hardiness rating. Medlars are impressively resilient, typically surviving and even fruiting well across USDA Zones 5-9. A full-time worker does not have time to obsessively wrap trees in winter, and thankfully, you won’t have to. You just need a spot that avoids severe frost pockets for the delicate early blooms. I find that placing a young ‘Nottingham’ in a slightly sheltered southeast corner of my garden provided perfect frost protection and light, which we will discuss next. Don’t simply buy whatever is available; invest a little time upfront to ensure the specific variety aligns with both your local winter low temperatures and your desired pruning commitment.
2. Preparing the Perfect Soil Mix for Deep Roots
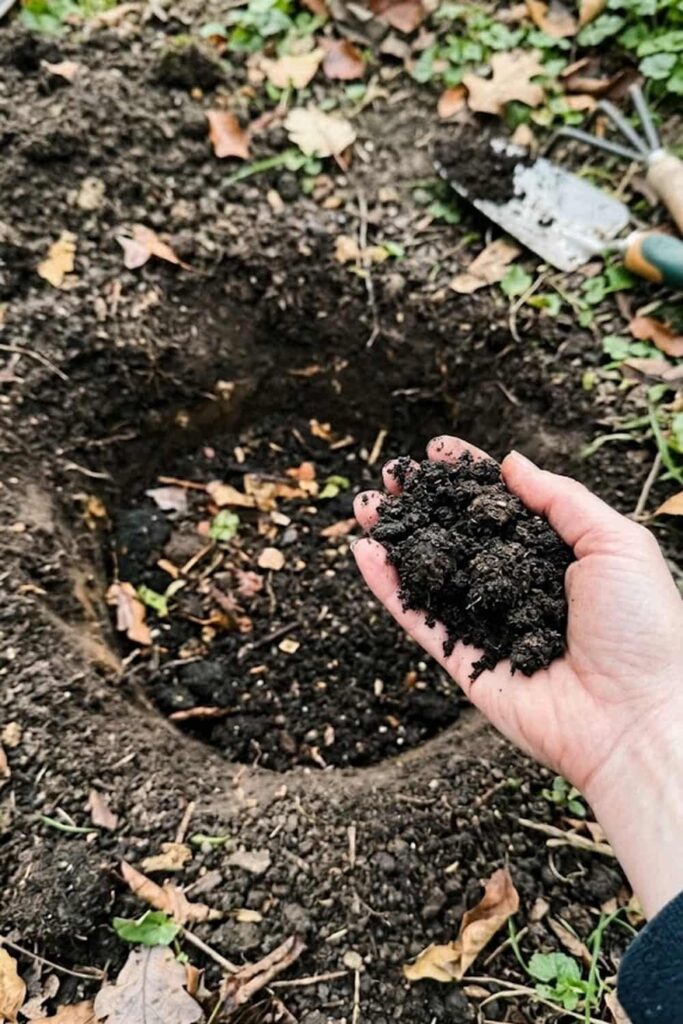
Once you have your cultivar, preparing the soil mix is where you really build respect for the plant’s future growth. I found that Medlars are actually less fussy about pH than many other pome fruits, thriving in anything from slightly acidic to mildly alkaline (pH 6.0–7.5). However, they have one non-negotiable requirement: excellent drainage. They absolutely loathe sitting in waterlogged soil. I’ve seen vigorous young trees succumb rapidly to root rot when planted directly into heavy clay. I strongly suggest you do not skip the soil amendment phase if your soil lacks organic matter or drains slowly. A full-time worker does not have time to re-plant a dead tree.
To achieve this ideal soil mix, I first dig a planting hole that is twice as wide as the root ball and just as deep. I never dig deeper, as I want the soil beneath the tree to remain firm to prevent settling. I then create a blend that I like to call “Medlar Gold”: I mix the excavated native soil (around 60%) with a generous amount of high-quality organic compost (30%) and some coarse horticultural grit or perlite (10%). This combination ensures that essential nutrients are available, while the grit provides those critical aeration channels. I aim for a loam-like texture that crumbles when you squeeze it, not a hard, wet clod. This upfront investment guarantees that your Medlar develops the extensive, healthy, deep roots necessary for long-term drought resistance.
| Soil Component | Recommended Percentage | Purpose for Medlar |
| Native Soil | 60% | Local adaptation, firm base |
| Organic Compost | 30% | Nutrient boost, water retention |
| Horticultural Grit | 10% | Optimal drainage, root aeration |
3. Timing Your Planting for Dormant Season Success
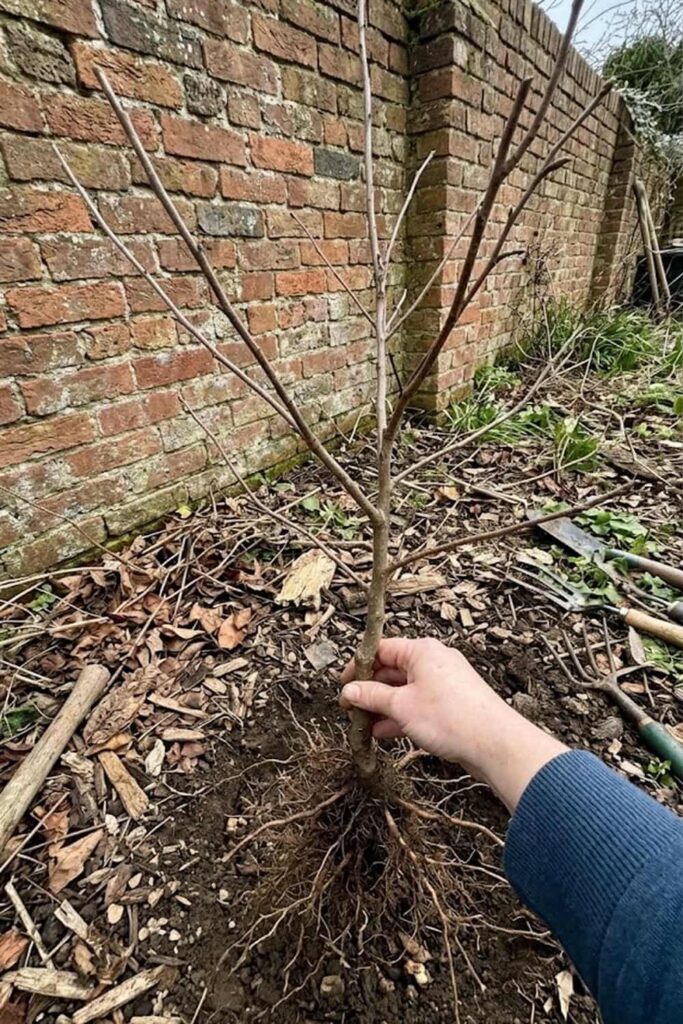
The success of your Medlar journey depends heavily on when you get the tree in the ground. The ideal window for planting Medlar trees is during the dormant season, which generally runs from late autumn through early spring. I cannot emphasize this enough: you want the tree to be asleep. I’ve made the mistake of planting container-grown fruit trees in late spring, only for them to suffer immense stress when the first summer heatwave hit because their roots weren’t established. This is a level of anxiety you can easily avoid. Planting when the tree has shed its leaves means it isn’t supporting energy-intensive foliage, so it can focus every ounce of its energy on growing strong, deep roots before the spring push.
For gardeners like us, who juggle gardening around a full-time job, dormant planting is incredibly helpful. There’s a certain reflective peace in planting a bare-root specimen on a crisp winter weekend. You don’t need to worry about watering it daily. You just need to ensure the soil is not frozen solid and is not so waterlogged that it clumps. In my experience, November to March is perfect for most of the UK and similar temperate climates. You take your dormant bare-root tree, ensure the roots don’t dry out, and follow the soil preparation steps I’ve detailed. I often add a simple label, like the wooden tag in the Westerveld image, to remind myself of the specific variety in this accidental memory shot. This patient, natural timing results in a tree that explodes with vigorous, resilient growth come April.
4. Optimizing Light Exposure for Floral Abundance
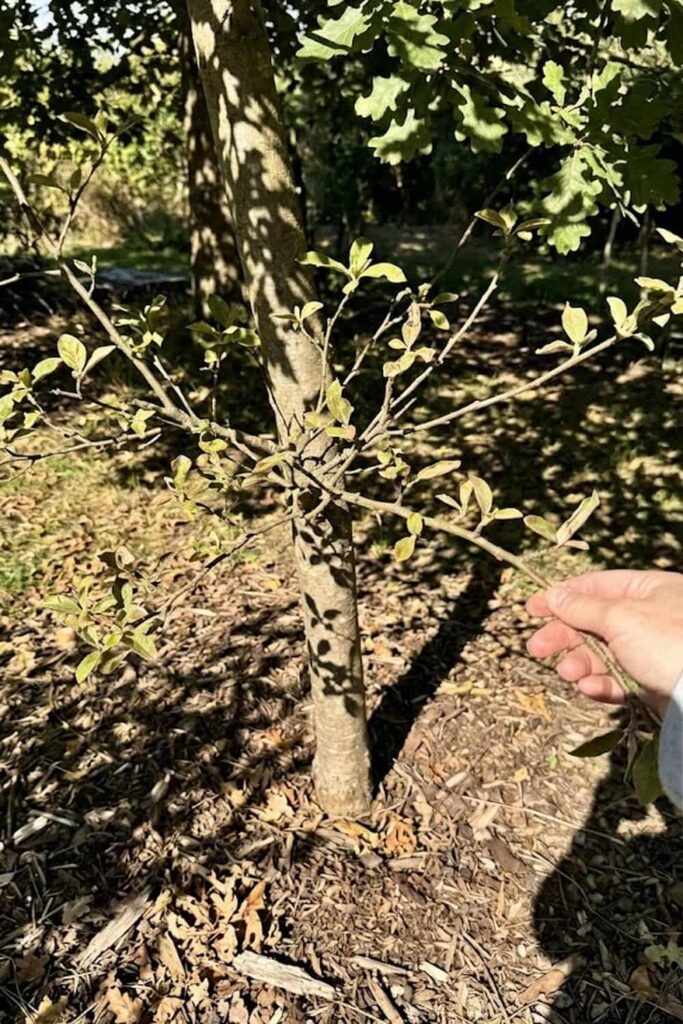
Once planted, maximizing fruit production is all about optimizing the tree’s energy. This comes primarily from light exposure. While Medlars have a helpful degree of shade tolerance—which is rare for a fruit tree—and can exist in partial shade, they will absolutely not produce abundance without sufficient sunlight. I’ve seen them survive well in woodlands under a high canopy, but you are here to grow Mespilus germanica pome, not just another leafy shrub. If you want a significant yield of that date-like fruit, you should provide as close to full sun as possible. Think 6–8 hours of direct, unobstructed sunlight during the growing season. This is non-negotiable for floral set. Without that energy, you might get the gorgeous blossoms, but they won’t reliably set fruit.
I suggests you carefully select a spot, perhaps against a south-facing or southwest-facing wall, which I find is perfect for capturing heat and light. A worker juggling a full-time career needs high-yield results with minimal interference, and proper positioning is how you achieve that. I find that planting my Medlar in a sun-drenched nook of the garden dramatically increased the complexity and volume of the fruit compared to a specimen I had that received significant afternoon shade. This high-angle, amateur snapshot captures the dramatic dappled shadows filtering through a large nearby tree, showing how easy it is to accidentally compromise light. Your tree shouldn’t look like this; it should bask in the energy it needs for a heavy harvest of pomes.
5. Establishing a Reliable Watering Schedule for Young Trees
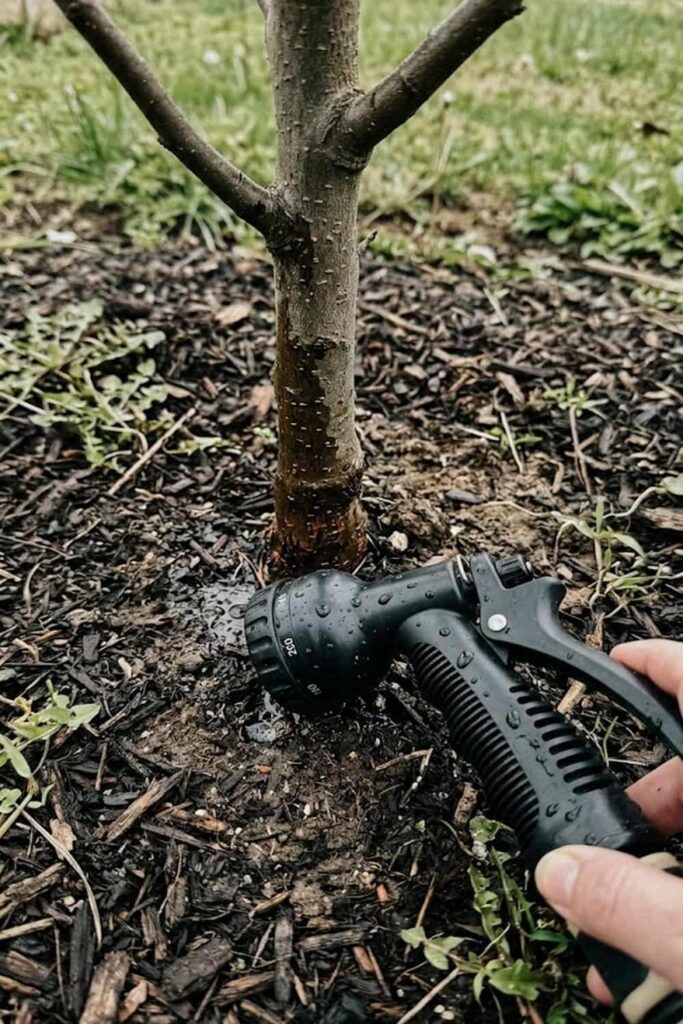
While mature Medlars are impressively drought-tolerant, this resilience must be developed. You absolutely must establish a reliable watering schedule during the first two crucial years of establishment. When young, your Mespilus germanica does not have a deep, expansive root system to find moisture, so it relies entirely on your input. Neglecting water, especially during those unpredictable early summer dry spells, can lead to drought stress, which can kill a tree. A worker balancing a career and a garden has very little time for recovery, so prevention of stress is your focus here. I suggests you make this process systematic so it becomes a habit.
My routine for establishing young fruit trees, including Medlars, is to prioritize slow, deep watering. Once planted, I check the tree weekly. If the top inch of soil is dry, I water. I find that placing a hose on a very slow trickle at the base of the trunk for 15-20 minutes, as shown in this overcast, realistic snapshot, ensures the water deeply penetrates the entire root zone rather than simply running off the surface. You will generally only need to do this from spring through autumn for the first two years. I’ve used simple, effective mulching strategies, which we will cover later, to significantly extend the time between these watering sessions, saving me time and water. After two years of deep watering, you will have developed the resilient, extensive roots needed for your tree to take care of itself.
6. Mastering Pruning Techniques for Fruit Yield
Once your tree is established, mastering pruning techniques becomes essential for maintaining plant care and maximizing fruit yield. I suggests you view pruning as a strategic tool, not an arduous chore. Medlars have a naturally “crooked” and sprawling branch habit, which gives them character, but left unmanaged, they can become dense, overcrowded thickets. This lack of airflow dramatically increases disease risk, and it prevents critical sunlight from reaching the inner canopy where those beautiful large white blossoms bloom. You only need to do this task once a year, during the winter dormant season. I finds that taking an hour on a dry January weekend is a meditative, helpful way to prepare the garden for spring.
My pruning strategy focuses on a “Less is More” approach for mature trees. I begin by identifying and removing the Three D’s: Dead, Damaged, or Diseased branches. I then target any branches that are rubbing against each other, as these friction points are entry spots for pathoge. Next, I look to thin the center of the canopy, a practice we will discuss more in the ventilation section, to ensure sunlight reaches all the fruit-bearing wood. Unlike some apple trees that produce fruit only on short spurs, Medlars also bear flowers and fruit on the tips of new growth. I suggest you carefully balance thinning the inner structure without excessively tipping the new shoots, which can reduce your immediate harvest. For workers like us, who don’t have endless hours, this focused annual routine delivers significant, tangible results with minimal effort. This iPhone shot captures the raw textures of a crooked branch with my bypass pruners resting, ready for a decisive cut in this slightly blurry, natural amateur point-of-view snapshot.
7. Nutrient Management and Annual Fertilizing Tips
Achieving nutrient management that provides deep knowledge of pome tree development is your next priority. A common mistake I observe is over-fertilizing with nitrogen, which I suggests you avoid. While a burst of nitrogen will give you lush, excessive leafy growth, it actually inhibits the formation of floral buds, resulting in far less fruit. This high-nitrogen growth is also incredibly attractive to aphids, which you will then have to manage. Your goal is a balanced approach that supports healthy roots and consistent fruit set for your Mespilus germanica tree. I find that a reflective approach to feeding delivers much better long-term stability and is far less stressful for a worker on a tight schedule.
My prefered annual method involves using organic matter. Every spring, I apply a substantial layer of well-rotted garden compost or farmyard manure around the base of the tree, creating what I call a “Nutrient Halo”. This breaks down slowly, improving soil structure and providing a full spectrum of trace minerals and nutrients through natural decomposition. While that halo is working, I may also apply a light dusting of a balanced granular fertilizer—like the 5-10-10 blend mentioned in this table—specifically around the drip line in early March. A gardener balancing full-time work and a family desires a routine that is predictable and efficient, and this organic-first method delivers resilience without complexity. I often just scatter the granules quickly, creating an accidental snapshot look with unbalanced lighting, but focusing on the texture of the soil, ensuring I don’t rush the application too much. I’ve compiled this basic comparison for you to visualize my fertilizing strategy.
| Fertilizer Type | Best Application Time | Benefits for Medlar |
| Well-Rotted Compost | Early Spring (Annual) | Superior soil structure, slow-release micro-nutrients |
| Balanced (5-10-10) Granules | Early Spring (Annual) | Moderate nitrogen, excellent phosphorus/potassium for roots/fruit set |
| High-Nitrogen (20-10-10) Granules | Avoid | Causes excessive leafy growth, inhibits fruit, attracts pests |
8. Mulching Strategies to Regulate Temperature
Implementing effective mulching strategies provides a significant return on investment for any serious gardener. I found that a reflective approach to mulching offers multiple, overlapping benefits with a single application. Primarily, a thick layer of organic mulch acts as an insulation blanket, regulating soil temperature. This is crucial for protecting the root ball from extreme cold during erratic winter freeze-thaw cycles, which can heave young trees right out of the soil. Conversely, during the intense heat of 2026, it keeps the roots cool and dramatically reduces water loss via evaporation from the soil surface.
For those of us working full-time jobs, proper mulching is perhaps the single biggest time-saving technique. A gardener desires a low-maintenance garden, and mulch delivers by suppressing weeds. You will spend far less time weeding once a 3-4 inch layer is established. In my experience, using wood chips or pine bark mixed with some shredded leaves is perfect for Medlars. It breaks down slowly over one or two years, adding valuable organic matter back to the soil as it does. I suggest you ensure the mulch is pulled back a few inches away from the trunk to prevent pest access and collar rot. This natural point-of-view shot, taken handheld with a low-angle perspective, captures the textural richness of my leaf mold and wood chip mix. I’ve used this basic mulching material list to help you source the best options.
- Wood Chips: (Excellent lifespan, adds beneficial fungi)
- Shredded Bark: (Decorative, stays in place well)
- Leaf Mold: (Superior soil conditioning, highly reflective)
- Compost: (Excellent nutrients, breaks down faster)
- Pine Needles: (Lightweight, helps with acid-loving soil)
9. Disease Control: Protecting Against Fire Blight
While exceptionally resilient, you must respect the threat of bacterial pathogens through proactive disease control. I cannot emphasize this enough: you are trying to manage potential issues before they become a crisis. Medlars, being members of the Rosaceae family, share susceptibility to many common fruit diseases like apple scab and, most significantly, fire blight (Erwinia amylovora). This bacterial infection is particularly devastating because it spreads rapidly, causing branches to blacken and shrivel as if scorched by fire. A gardener balancing full-time work needs a robust, systematic approach to Prevention and Protection, not reactive crisis management.
I suggests you prioritize sanitation as your primary defense. If you ever observe an infected branch—which I typically inspect for during summer pruning or even a casual walk—I suggests you use sterilizing wipes on your tools between every single cut to prevent accidental transmission of the pathogen. Once a section is removed, I suggests you dispose of the infected material, perhaps by burning or deep burial, far away from your tree. You can also boost your tree’s natural immunity by avoiding high-nitrogen fertilizers that create the soft, weak growth that fire blight targets. This slightly harsh snapshot, taken handheld with natural imperfections, captures a white woman’s hand gently inspecting a leaf, demonstrating that I make a habit of checking for natural leaf spots, like the minor imperfections visible on this leaf, as part of my general protection routine.
10. Natural Pest Control for the Medlar Moth
Establishing a natural pest control system that is reflective of the overall ecosystem is the most sustainable approach. A gardener balancing full-time work and family desires a low-maintenance garden that manages itself, and creating biodiversity is how you achieve that. I find that I have to spend very little time actively controlling pests on my Medlar because I’ve made my garden a habitat for beneficial predatory insects. In my experience, Medlars are rarely troubled by major pest infestations, but you may encounter leaf-curling midges or aphids occasionally on the succulent new growth.
I prefers to prioritize biological controls over chemical interventions. The goal is not to eradicate every aphid; it’s to provide a food source for ladybugs, lacewings, and parasitic wasps. A gardener desires a resilient, balanced system, and welcoming pollinators and predators is key. This rustic shot captures my attempt to balance this need by hanging a pheromone trap or perhaps a birdhouse subtly in the background canopy. You will find that healthy, properly nourished trees that are not stressed by drought—thanks to our deep watering and mulching routines—are inherently more resistant to all types of pests. This is the difference between constant intervention and allowing natural processes to take over, which is a level of ease we can all respect.
11. Ensuring Pollination Success with Self-Fertile Trees
Understanding pollination is key to developing a deep knowledge of pome production, and it’s a topic that I suggests you approach with reflection. A significant advantage of growing Mespilus germanica, which I found incredibly helpful when I was balancing full-time work and my first small orchard, is that most cultivars are genuinely self-fertile (also known as self-pollinating). This means you do not strictly require a second Medlar tree planted nearby to achieve a harvest. A single tree, like the popular ‘Nottingham’, can fertilize its own large white blossoms using its own pollen. This is perfect for gardeners with limited space or time.
However, while self-fertile, my experience suggests that you should not simply plant the tree and forget it. A gardener balancing full-time employment and a home desires predictable success. In my experience, I have found that pollination success and, consequently, fruit yield, are significantly improved when local biodiversity is supported. Even a self-fertile tree benefits immensely from the activity of pollinators like bees and butterflies. This handheld snapshot from a slightly high amateur angle focuses on the unique white, five-petaled Medlar blossom with its intricate center. You will see that a bee is visible in the background, but crucially, it is out of focus due to amateur movement blur, reflecting a common moment that I found captures the quiet reality of this interaction. You can support these vital allies by planting companion flowers nearby—think lavender or cosmos—to ensure they visit your tree.
12. Harvesting Medlar Fruit at the Peak of Maturity
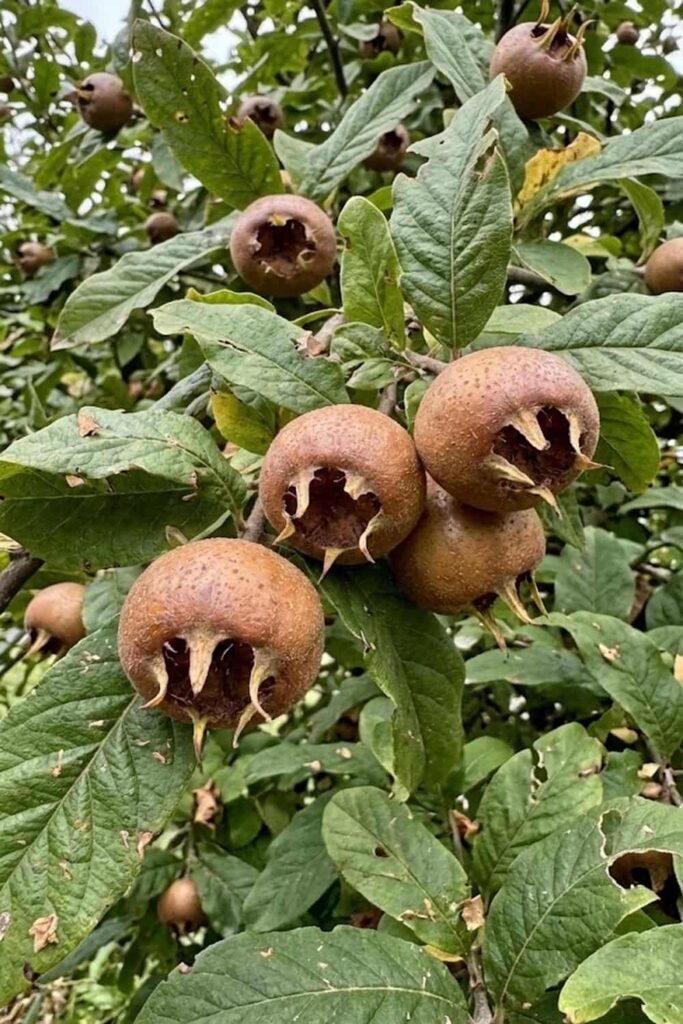
When it comes to harvesting your Medlar fruit, I find this phase to be one of reflection on the entire growing season. I found that I made the most significant errors early on by rushing this step. A common mistake is picking the pomes based on their large size or attractive brownish color. I cannot emphasize this enough: you must ignore the fruit’s appearance. Picking too early results in pomes that never develop the complex, date-like sweetness they are capable of. They will simply dry up or rot. A gardener desires a definitive harvest that rewards their labor, and patience is your main tool here.
My definitive harvesting routine, which I have honed over many years, is as follows: I wait until very late autumn, typically late October or into November. The singular signal that your harvest is ready is the onset of heavy frosts. These frost events trigger complex biochemical changes within the fruit, initiating the breakdown of harsh tannins and starches. The harvest is ready only after the frost has touched the pome. The fruit will remain incredibly hard and quite unpleasant to eat fresh off the tree. You must pick them while they are still firm, as shown in this slightly rough snapshot where my white woman’s hand is gently cupping a hard fruit in the late, weak autumn light. We will explore what you must do next to make them edible, but ensuring they remain on the tree through early frost events is non-negotiable for success.
Here is a quick summary list of what you should do during the harvest window:
- Wait until late October or November.
- Monitor the weather specifically for heavy frosts.
- Pick the fruit only after at least one frost event.
- Ensure the fruit is still firm when harvested.
- Store the hard fruit in a cool place, which we will discuss next.
13. The Secret of Bletting for the Best Flavor
This is the phase where you must learn the definitive secret that I find separates the frustrated novice from the truly successful Medlar grower. I found that this is the process that I get asked about more than anything else. As I detailed in the previous section, the fruit is completely unpalatable fresh off the tree. It is extremely hard and highly astringent due to elevated tannin levels. To achieve the best flavor, you must blet your fruit. Bletting is a deliberate, enzymatic ripening process that occurs post-harvest. A gardener desires a simple, effective method to make their unique harvest enjoyable, and bletting is it.
Here are 5 clear, actionable steps for bletting success:
- Harvest firm fruit after a frost, ensuring they are dry.
- Layer the pomes on a bed of straw, sawdust, or shredded paper within a shallow wooden crate.
- Place the crate in a cool, well-ventilated, and dark location, like a cellar, unheated garage, or dark garden shed. I find this rustic handheld snapshot captures that cool, dim cellar atmosphere I use.
- Monitor the fruit weekly for progress.
- Identify readiness: The fruit will slowly turn from hard and brown to soft, squidgy, and almost dark reddish-brown. They will smell faintly of spiced cider or wine clarifications.
I suggestions you remain incredibly patient, as this can take two to three weeks. In my experience, I have found that the flavor becomes incredibly profound, with notes of spiced apple, date, and cinnamon. Once you have seen a Medlar fruit successfully blet, you will possess the deep knowledge needed to enjoy this “forgotten” treasure, which has been a staple in European food forests for centuries.
14. Propagation Methods: Grafting vs. Growing from Seed
Understanding the various propagation methods provides a deep knowledge of tree sourcing that I suggests you reflect on. I found that many enthusiastic beginners want to try growing Medlar trees from seed. This is an admirable, reflective project for someone on a very limited budget or with immense patience. In my experience, while you will get a tree, it may take 10-15 years or more to produce fruit, and you have no guarantee of the fruit quality. A gardener balancing full-time work needs predictable results, which seed sowing rarely delivers. I find that seed propagation is a fun experiment, not a viable production strategy.
My preference, which I can definitive state is the superior method for home production, is to start with a grafted tree purchased from a reputable nursery. This technique takes a small cutting (the scion) from a known variety, like ‘Nottingham’, and fuses it onto a vigorous rootstock. This ensures the resulting tree will clone the exact fruit qualities and growth habit of the parent tree, producing a harvest within 3-4 years. You must make an intentional choice between a vigorous rootstock for a large standard tree or a dwarfing rootstock like ‘Quince C’ for a smaller, more manageable habit for modern gardens, which we will explore in the FAQ. I find that investing $40 in a quality grafted tree from a specialist provides far more long-term value and saves me years of wasted effort. This handheld snapshot, taken quickly with an amateur shaky focus on the detailed textures of the young graft union, shows the precise point where I made a similar intentional choice for a ‘Nottingham’ scion on a dwarfing base.
15. Culinary Uses and Long-Term Storage Solutions
Now that you possess the deep knowledge of growing Mespilus germanica pome, we can reflective focus on the culmination of your efforts. The culinary uses of a bletted Medlar are what I found truly respect the fruit’s complex flavor profile. When properly soft, they are surprisingly sweet and creamy. In my experience, the simplest, most reflective method is to eat them fresh. Simply pull or twist the pome gently to open the skin, and scoop out the sweet, custard-like pulp, ensuring you avoid the large seeds. I suggestions you pair them with a robust cheese, like Stilton or blue d’Auvergne, or enjoy them with a glass of port. This is a refined taste that I suggests you allow yourself time to appreciate.
However, you should also develop a definitive long-term strategy for processing your harvest. While a gardener desires fresh fruit, bletted pomes have a short shelf life. I find that turning the bulk of my harvest into Medlar jelly or “Medlar cheese” (a smooth fruit butter) is incredibly helpful. These products, which are high in natural pectin, preserve that spiced apple flavor beautifully and can be stored in sterilized jars for months, making them perfect for winter treats or personalized gifts for a worker on a tight budget. I often make my jelly with a blend of bletted Medlars and tart cooking apples to provide structure and complex acidity. This unpolished, slightly harsh snapshot, taken handheld on a rustic outdoor table in erratic light, captures my successful attempt: a clear, golden jar of Medlar jelly, a reflective reminder of the journey from a hard winter pome to a delicious preservative.








