
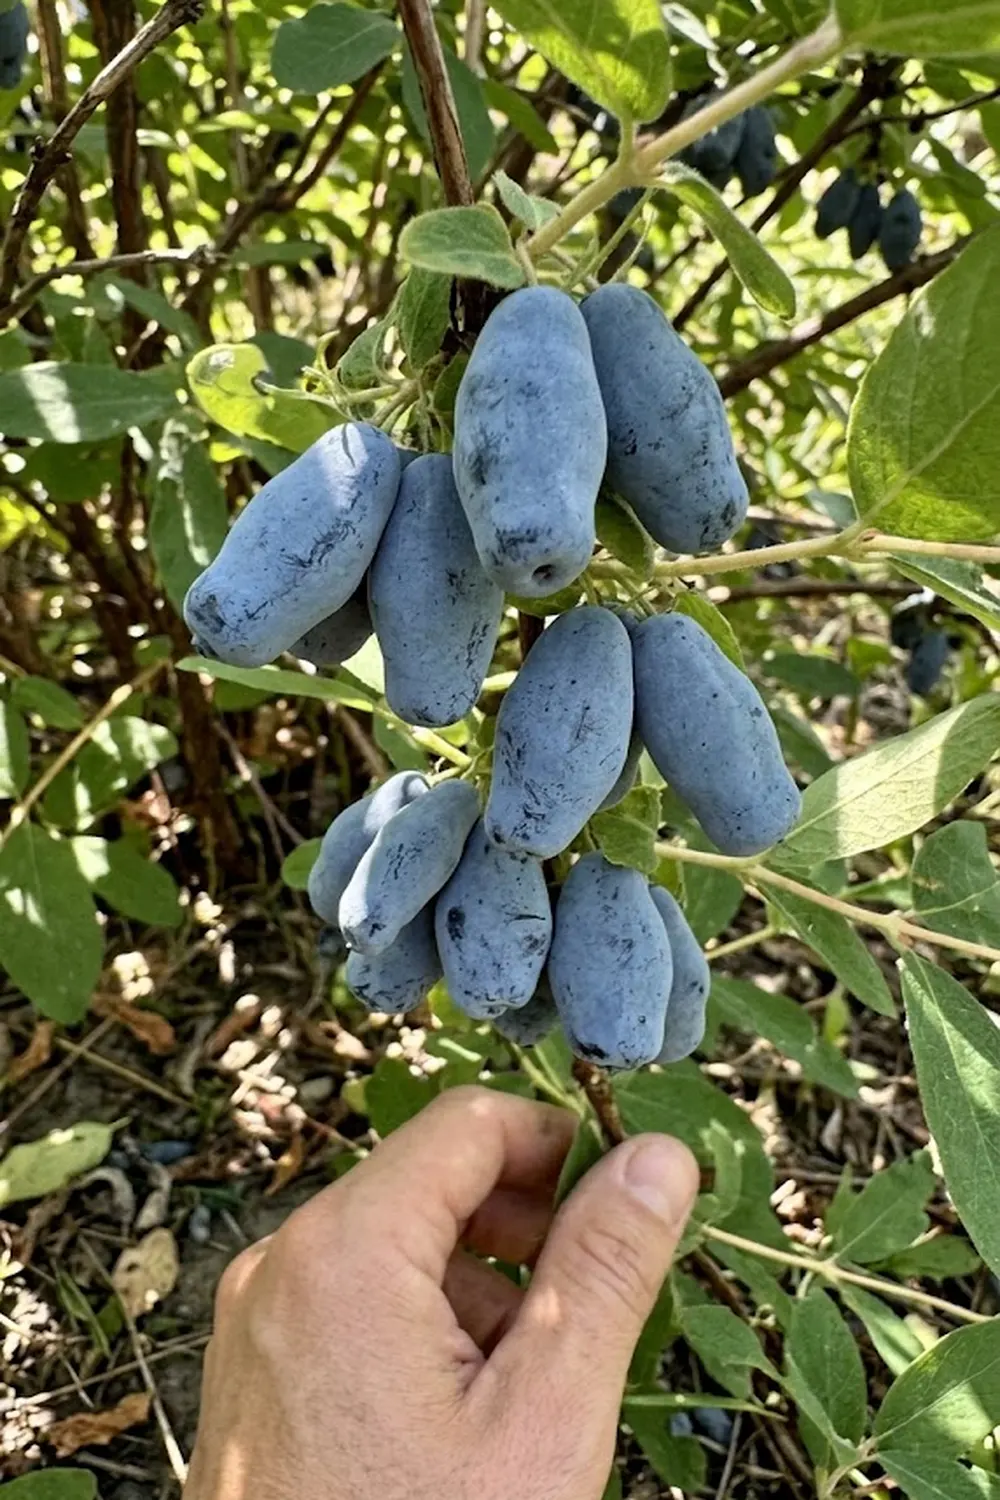

You work hard all week, and your garden should be your sanctuary, yet waiting months for the first berry of summer feels like a test of patience you didn’t sign up for. It is frustrating to watch your neighbors buy flavorless, overpriced produce while your own bushes sit dormant in the chilly spring air. I have been there, staring at bare branches in April, wishing for a miracle that could withstand the frost. The good news is that learning the ways to cultivate haskap is the ultimate solution to your “fruit gap.” These rugged plants thrive in the cold, offering you a harvest of tart, vitamin-packed berries weeks before strawberries even think about blooming.
1. What Are the Ideal Growing Conditions for Honeyberries?
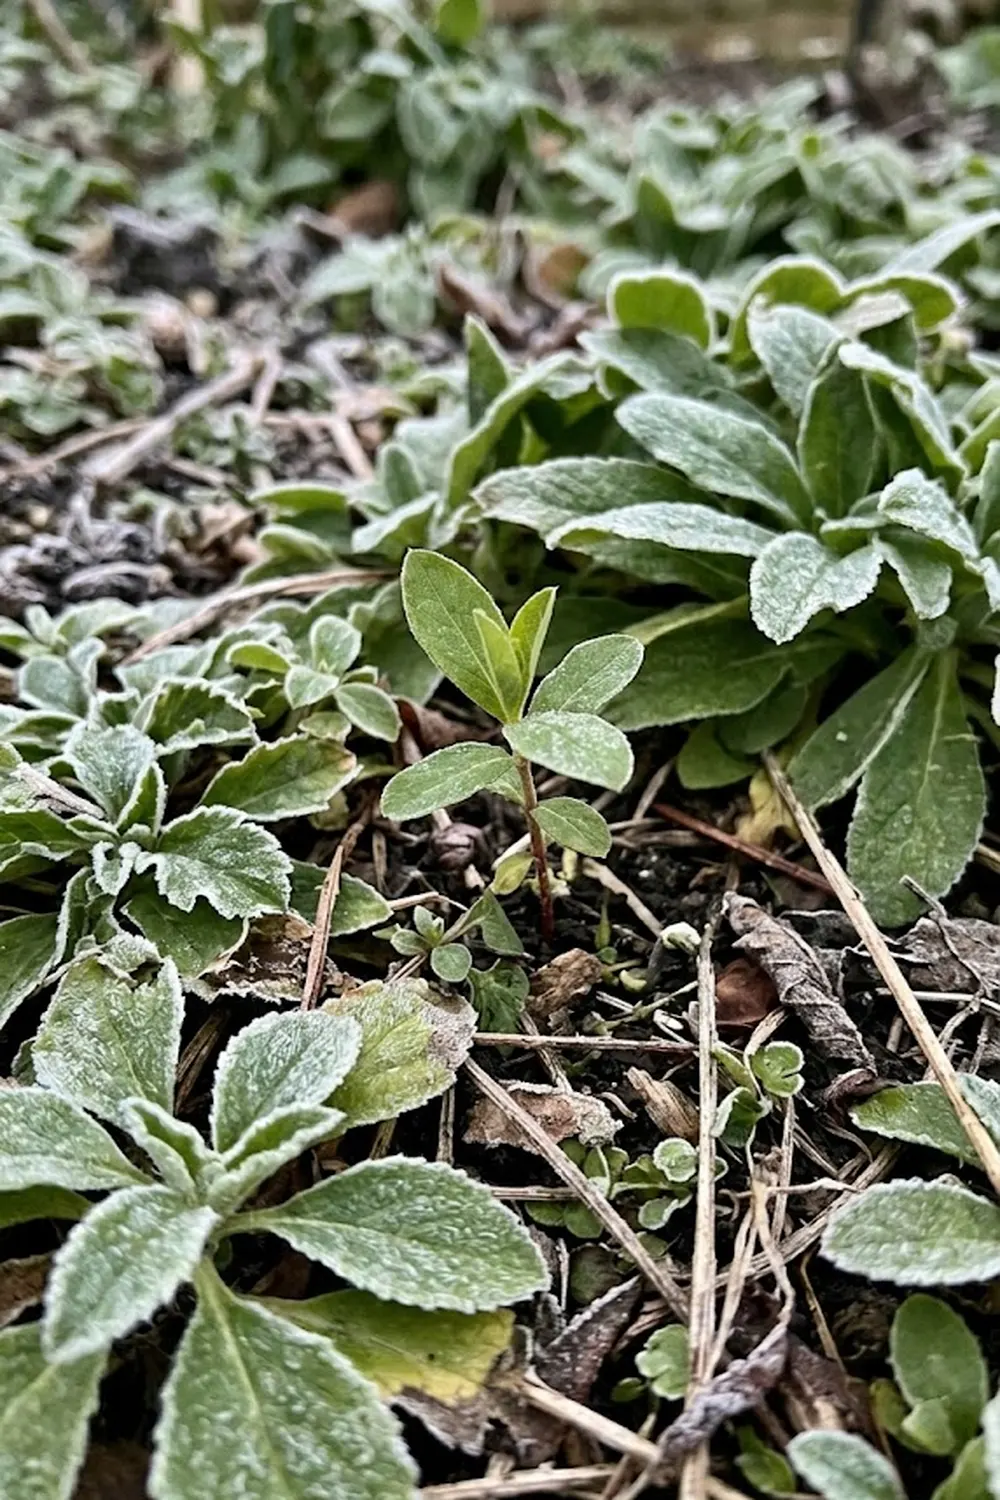
I have found that the secret to a thriving berry patch starts with understanding the plant’s origin in the harsh climates of Siberia and Japan. You need to provide a site that mimics these northern edges; specifically, these shrubs require at least six to eight hours of direct sunlight to develop high sugar content in the fruit. While they are famous for surviving -40°C, the real challenge for you will be managing “sun scald” in regions with intense summer heat. I recommend choosing a spot with excellent air circulation to prevent stagnant humidity from settling on the leaves.
The soil is your foundation, and these plants are surprisingly flexible. While blueberries demand extreme acidity, I have successfully grown these berries in standard garden soil with a pH between 5.0 and 7.0. You should avoid areas where water pools after rain, as “wet feet” will rot the fibrous root system quickly. A slightly elevated bed or a gentle slope provides the drainage necessary for these shrubs to establish themselves for a lifetime of production.
2. How to Prepare Your Soil for a Massive Harvest?
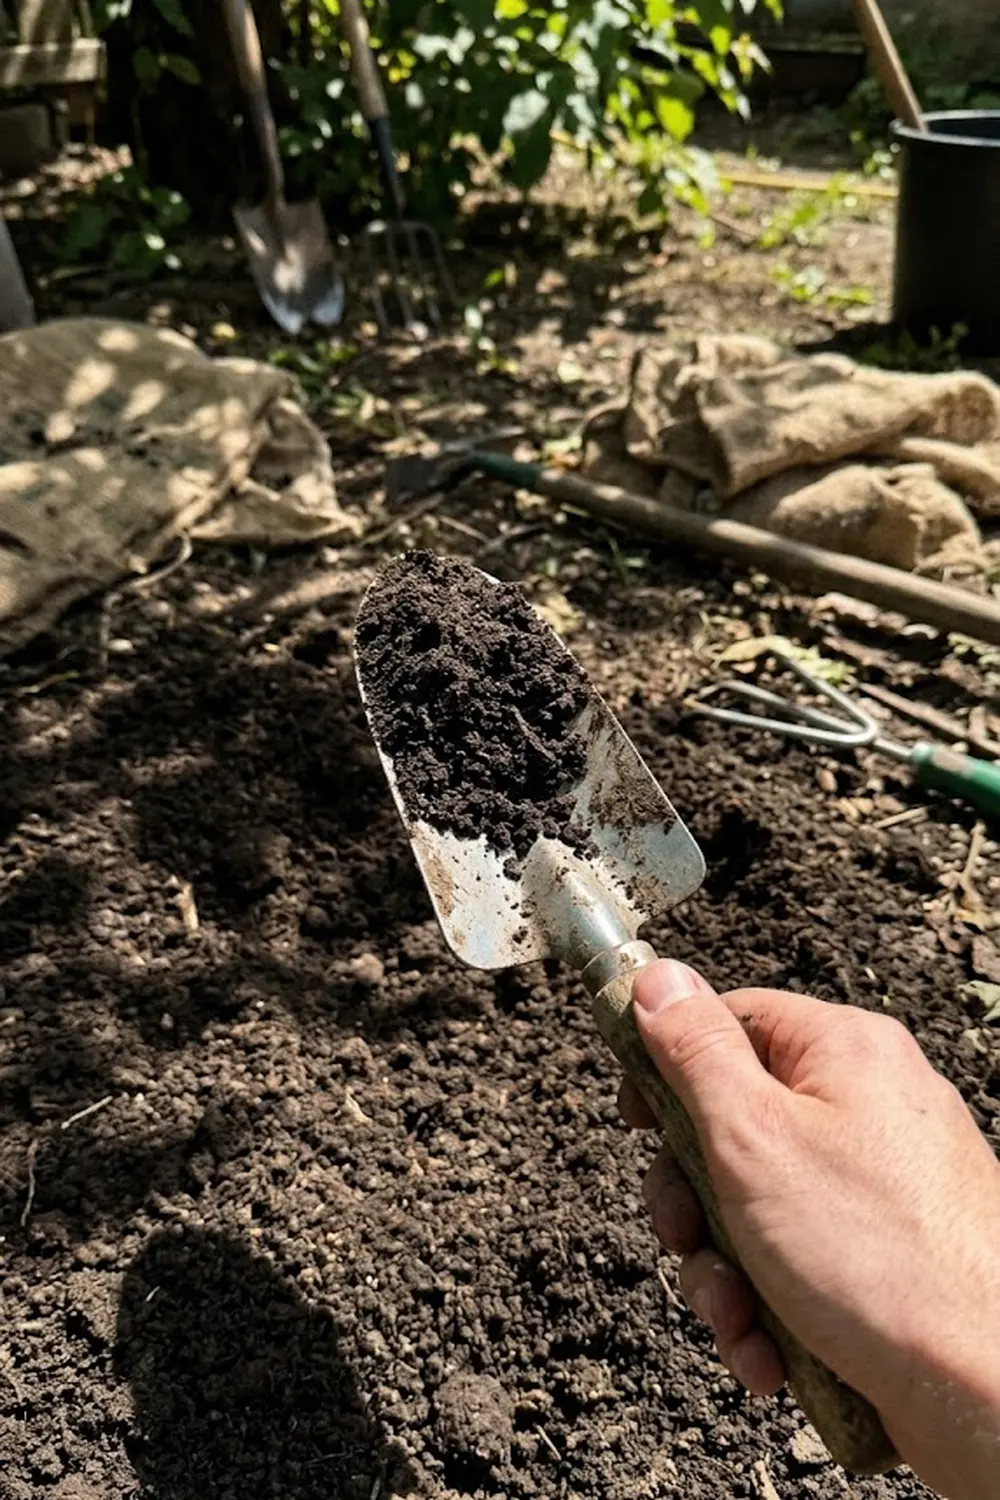
You deserve a garden that works as hard as you do, and soil preparation is where that labor pays off. I always begin by digging in plenty of organic matter, such as well-rotted compost or aged manure, to create a loamy texture. This organic material improves water retention while ensuring the soil remains loose enough for roots to spread. If your soil is heavy clay, you must incorporate expanded shale or grit to prevent compaction, which I have seen kill even the sturdiest plants in a single season.
In my experience, a “slow and steady” approach to nutrition is better than heavy chemical hits. You can use a balanced 10-10-10 organic fertilizer at the time of planting to provide a steady stream of nitrogen, phosphorus, and potassium. I’ve included a table below to help you visualize the soil requirements for growing honeyberry fruit successfully compared to other common berries.
Berry Soil Comparison
| Feature | Honeyberries (Haskap) | Blueberries | Strawberries |
| Soil pH Range | 5.0 – 7.0 (Flexible) | 4.5 – 5.5 (Strict Acid) | 5.5 – 6.5 (Slightly Acid) |
| Nitrogen Need | Moderate | High | Moderate |
| Drainage | Must be Excellent | Moderate/High | Moderate |
| Organic Matter | High (Compost) | Very High (Peat/Pine bark) | Moderate (Compost) |
3. Why Do You Need Two Different Honeyberry Varieties?
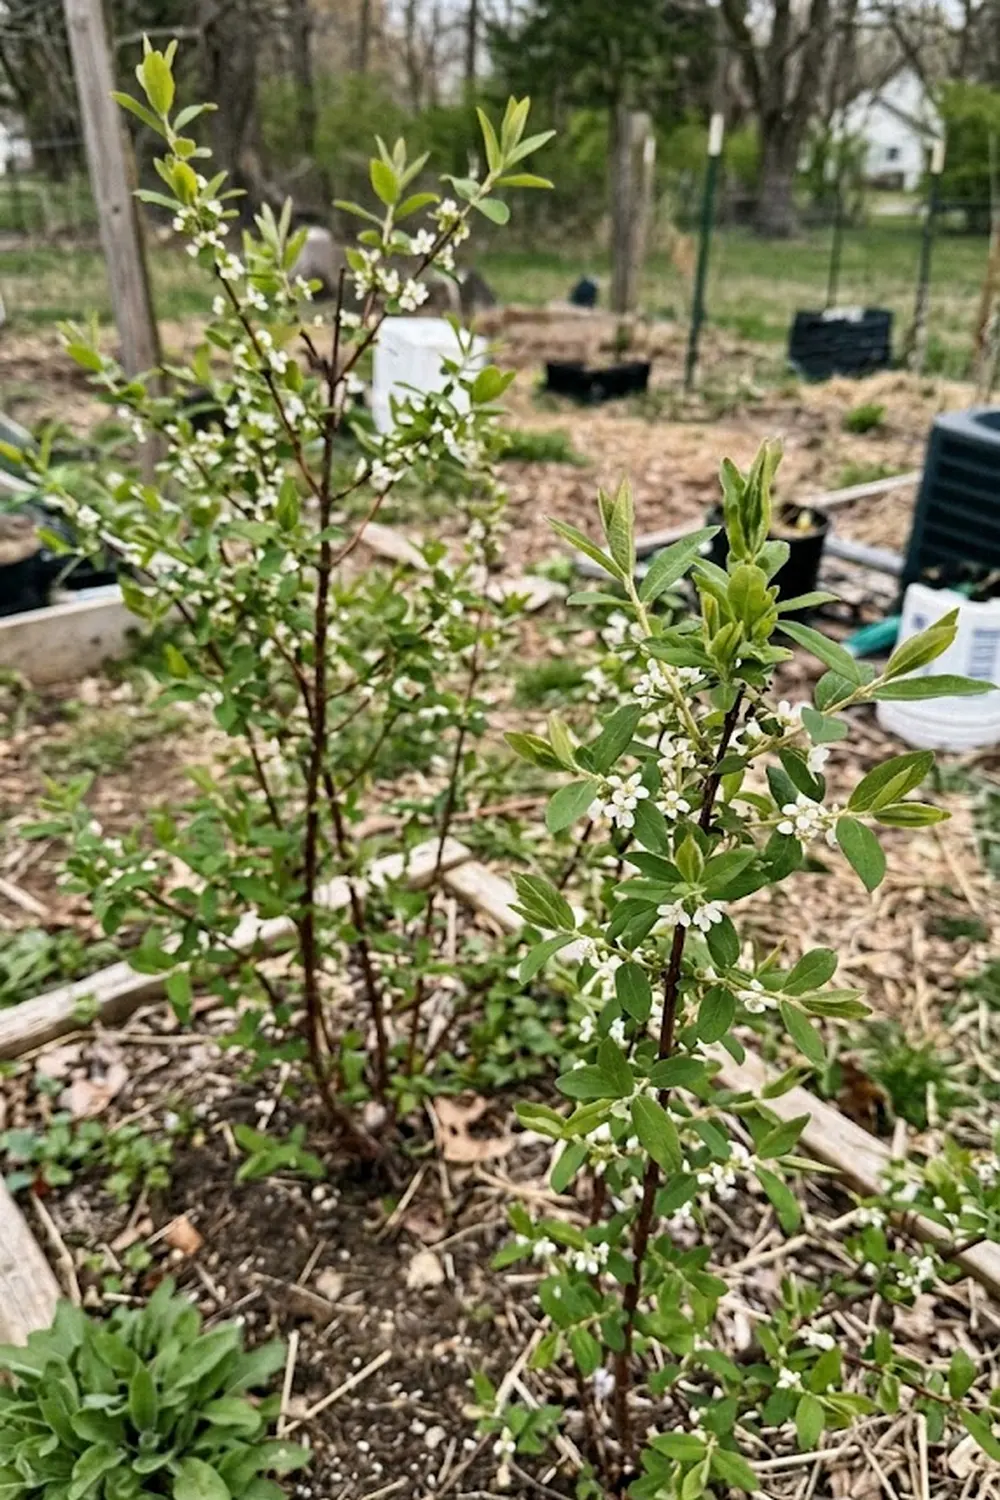
I cannot stress this enough: you will fail if you only plant one bush. These plants are “self-incompatible,” meaning they cannot pollinate themselves. I have talked to many disappointed gardeners who waited years for fruit that never came because they didn’t have a partner plant. You need to select two different cultivars that have overlapping bloom times so that bumblebees—the primary pollinators for this species—can move pollen between them.
When you choose your pair, think of them as a team. For instance, ‘Aurora’ is a fantastic partner for ‘Boreal Blizzard’ or ‘Tundra’. I suggest planting them within 10 to 15 feet of each other to maximize bee activity. Below is a list of common pairing groups I use to ensure a heavy fruit set for my readers:
Common Variety Pairings
- Early Season: Indigo Gem + Tundra
- Mid-Season: Aurora + Borealis
- Late Season: Boreal Blizzard + Boreal Beast
4. Step-by-Step: How to Plant Your Honeyberry Bushes?
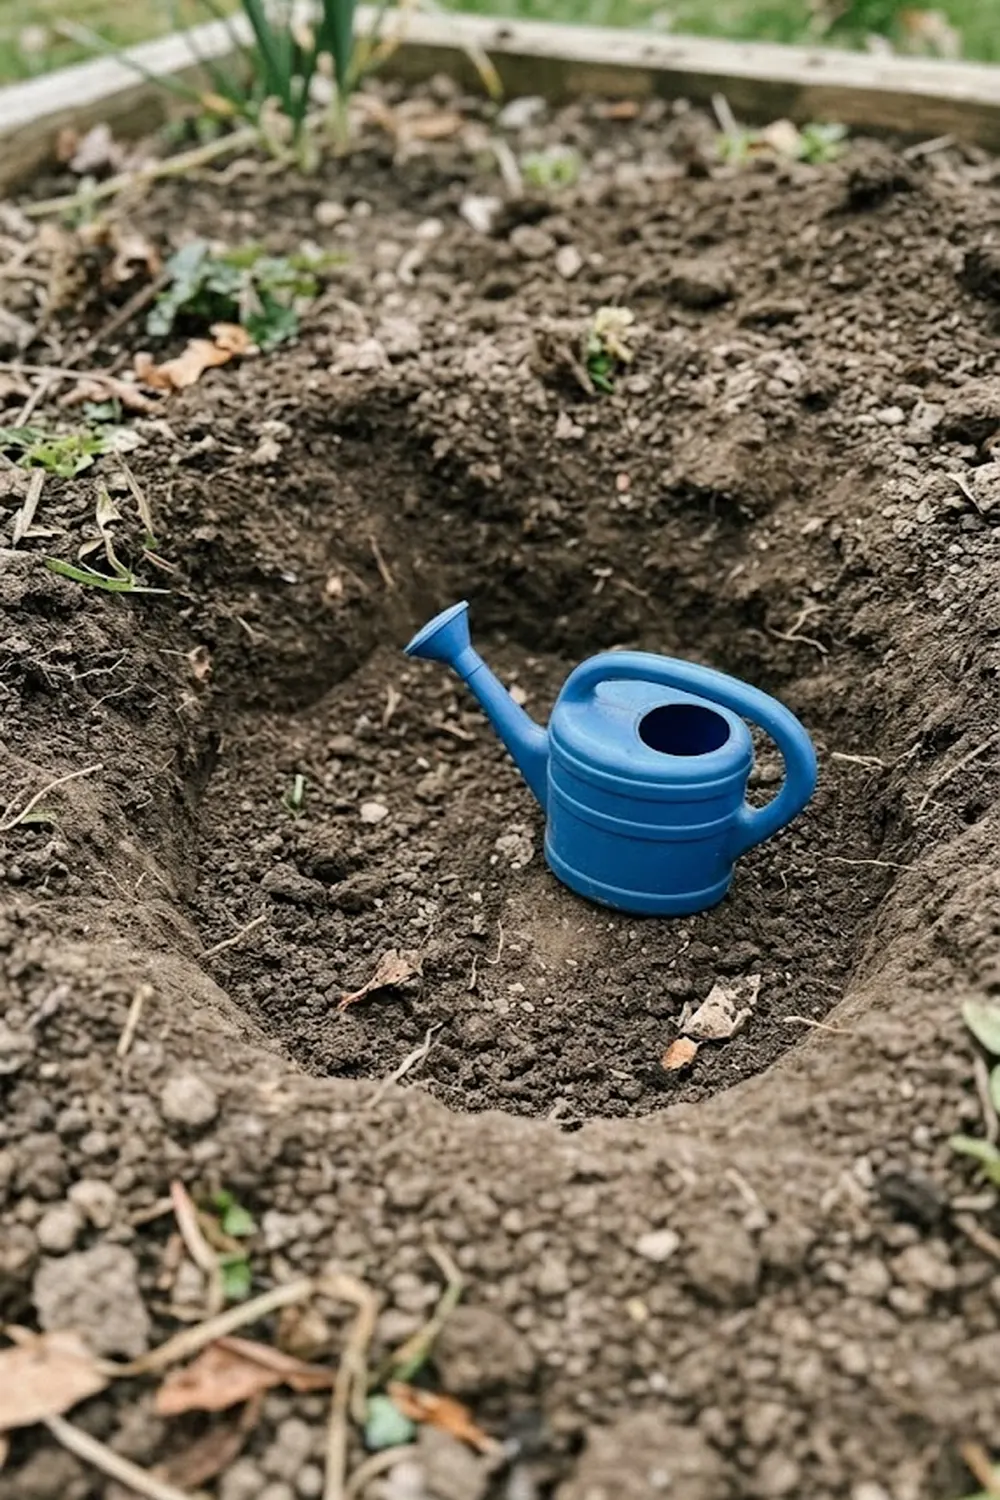
You want to get your plants in the ground correctly the first time to avoid the stress of transplanting later. I always recommend planting in early spring or late autumn when the plant is dormant. Dig a hole twice as wide as the root ball but no deeper; you want the crown of the plant to sit exactly at the soil line. I have found that burying the stem too deep can lead to crown rot, while planting too shallow causes the roots to dry out under the sun.
Once the plant is in the hole, fill it back in with your amended soil and firm it down gently with your hands—never your boots—to remove air pockets. You should immediately provide a “deep soak” to settle the earth around the roots. To give your new shrubs the best start, I follow this sequence:
- Hydrate: Soak the root ball in a bucket of water for an hour before planting.
- Position: Space plants 4 to 5 feet apart to allow for mature spread.
- Amend: Add a handful of bone meal to the bottom of the hole for root health.
- Mulch: Apply 2 inches of straw or wood chips immediately to keep moisture in.
5. How to Care for Your Honeyberries Throughout the Year?
Your busy schedule doesn’t allow for high-maintenance plants, and that is why I love these berries. Once established, your primary focus is management of moisture and protection. During the fruiting season in May and June, you must ensure the soil stays consistently damp. I have noticed that if the soil dries out completely while the berries are swelling, the fruit will often drop prematurely or become unpleasantly bitter.
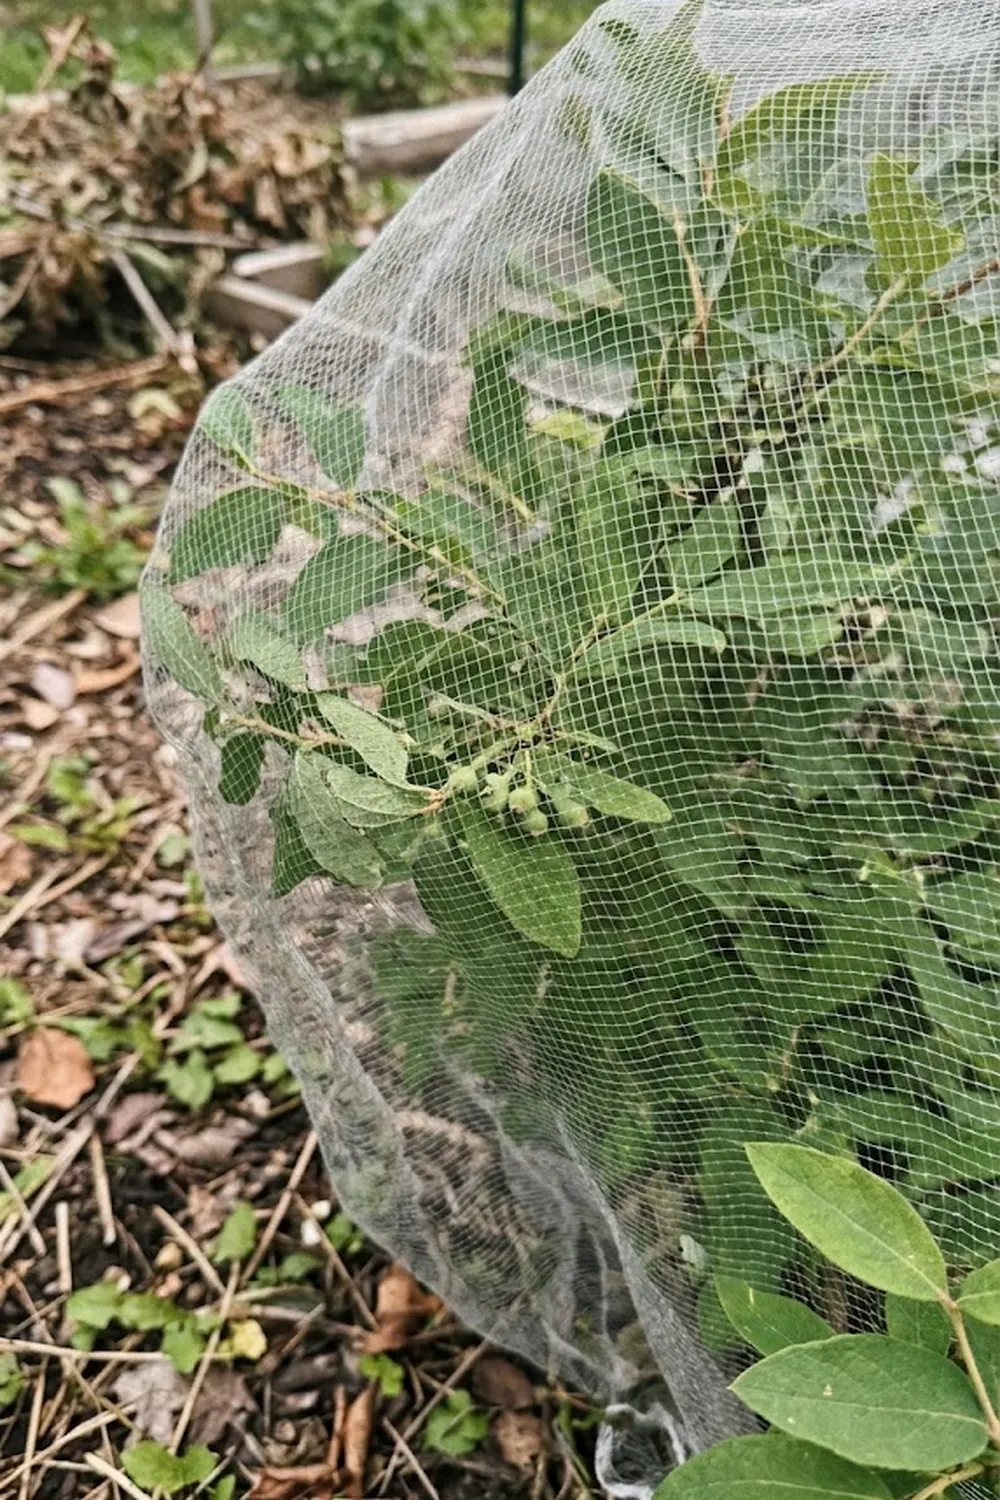
Protection is the other half of the battle. You aren’t the only one who loves these berries; birds will strip a bush in minutes if you aren’t careful. I suggest using a sturdy bird netting or a temporary cage as soon as the berries turn from green to light blue. I’ve found that reflective tape or “scare eyes” rarely work for long, so a physical barrier is your best bet. Annual care involves a light top-dressing of compost in the spring and checking for any broken branches after a heavy snow.
6. How to Prune Honeyberries for a Higher Yield?
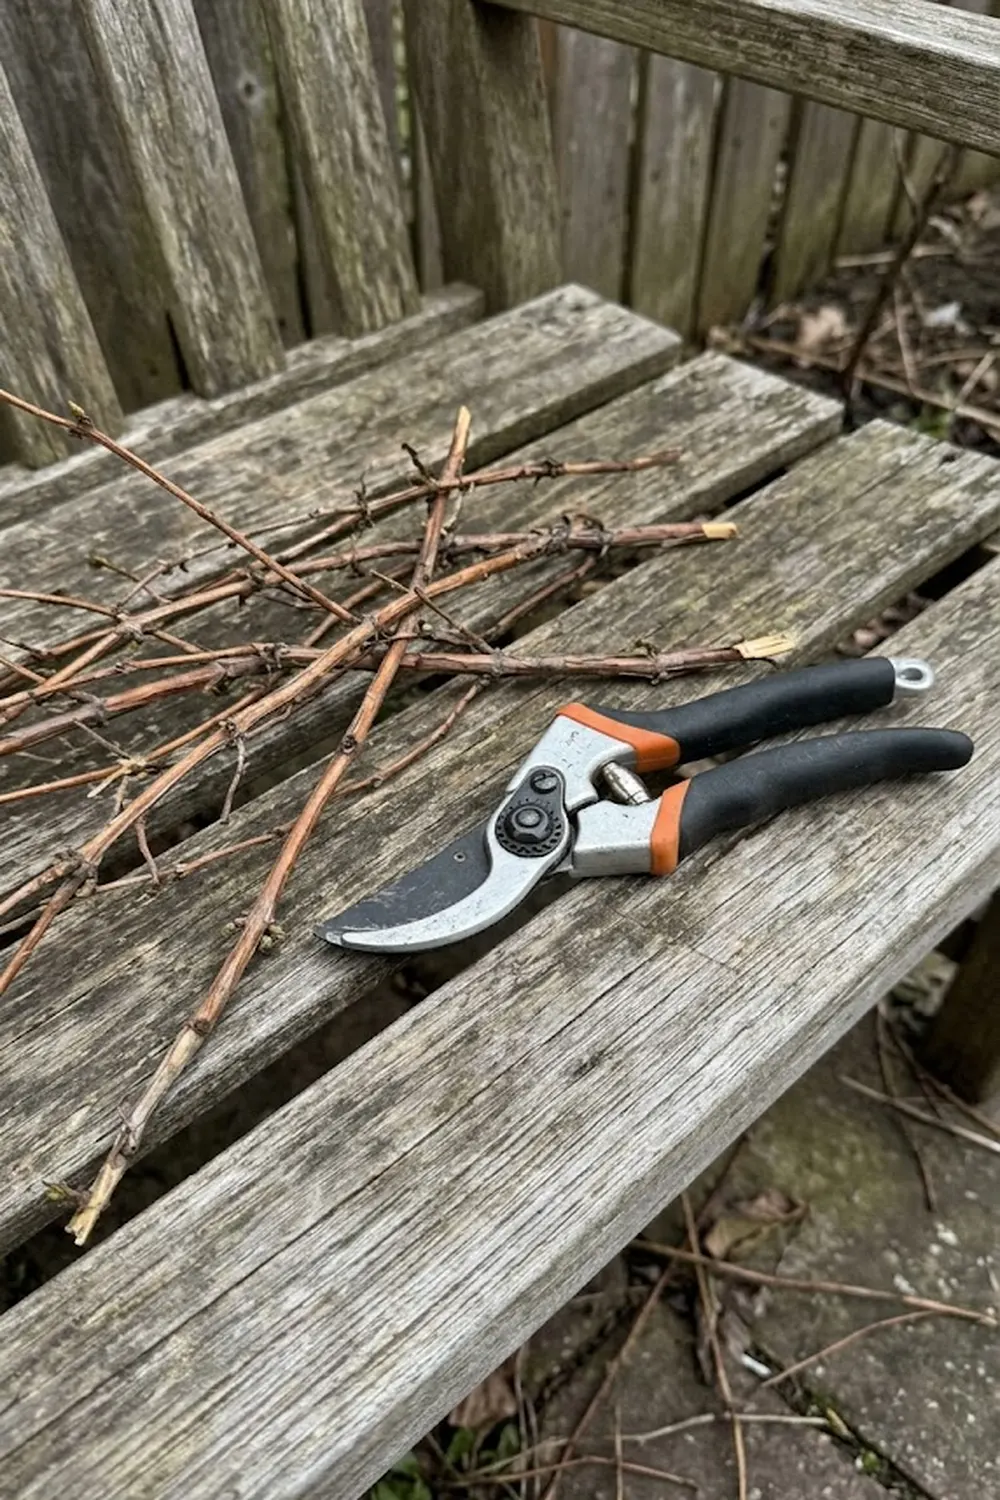
When I first started cultivating these shrubs, I made the mistake of leaving them untouched, believing they would manage themselves. In my experience, proper pruning is essential for maximizing fruit production and maintaining plant health. You should focus on prevention and management of dense, unproductive growth. Honeyberries produce the best fruit on year-old wood, so your goal is to encourage new, vigorous stems.
You want to prune your bushes in late winter or early spring before they start growing. I wait until the third or fourth year after planting before I do any serious cutting. For mature shrubs, I follow a simple method to ensure a balance of light and air throughout the plant:
- Clean Up: Remove all dead, damaged, or diseased branches immediately.
- Thin Out: Cut out the oldest, thickest stems close to the ground; they produce less fruit.
- Open Up: Remove weak, twiggy growth that crosses over or clusters together in the center.
7. How to Spot Common Honeyberry Pests and Diseases?
One reason I find these shrubs perfect for your garden is that they are incredibly robust and have very few serious threats. You can usually avoid major issues through simple care and protection from common garden nuisances. While they aren’t prone to the many fungal diseases that plague blueberries or raspberries, they are not completely immune to trouble. I suggest taking a close look at your plants once a week during the growing season.
You should know that the biggest pest is almost always birds. They can distinguish ripe fruit better than you can, and a flock can decimate your crop in a single morning. For other less common problems, I find this table useful for quick identification and management of potential issues:
Honeyberry Trouble Shooting
| Issue | Identification | Control & Management |
| Birds | Missing fruit; peck marks on berries. | Install fine-mesh netting before fruit ripens. |
| Powdery Mildew | White, dusty coating on leaves in late summer. | Prune for airflow; avoid watering foliage in late evening. |
| Aphids | Small green insects on new growth; curled leaves. | Spray with a strong blast of water or use insecticidal soap. |
| Sun Scald | Dried, brown patches on leaf margins during heatwaves. | Provide afternoon shade in hot climates; use mulch to cool roots. |
8. How to Propagate Your Own Honeyberry Plants?
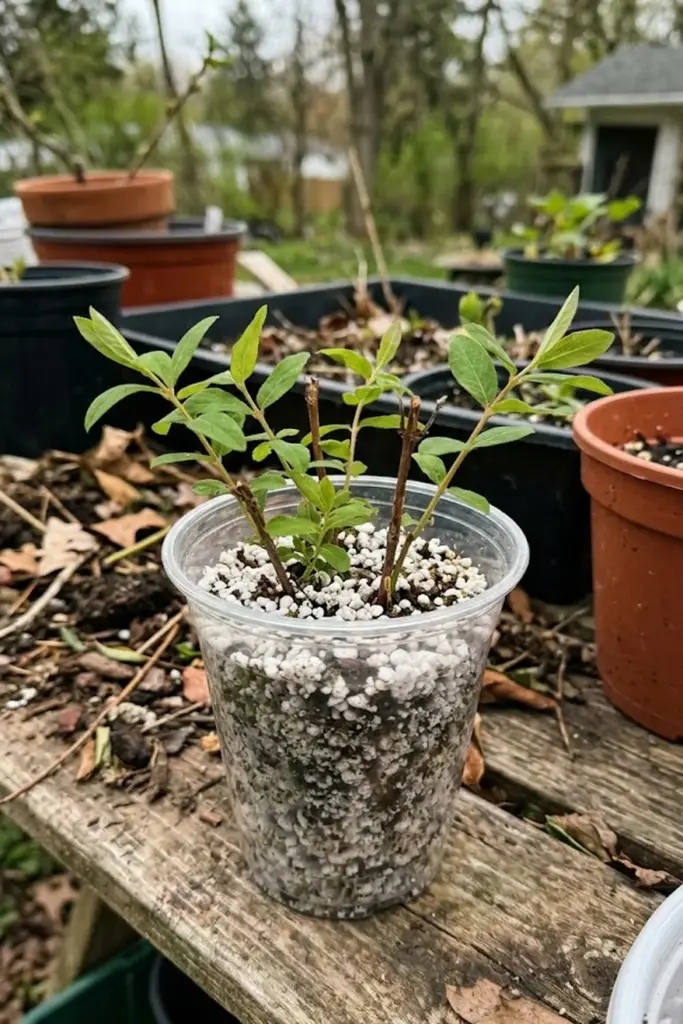
You may love these berries so much that you want more without spending your salary on nursery stock. Learning how to propagate is a cost-effective way to expand your garden. Honeyberries are surprisingly easy to grow from cuttings. I find that softwood cuttings taken in early summer offer the highest success rates for this variety of shrub. This strategy is an essential skill if you want to grow honeyberry fruit on a budget.
You want to use sharp, clean pruners to take a 4- to 6-inch cutting from healthy new growth. I remove all but the top two leaves and dip the cut end into rooting hormone. I’ve found that a light soil mix of peat moss and perlite provides the best rooting environment. I keep my cuttings under a plastic dome in dappled light and mist them frequently. After six weeks, I can usually feel a slight resistance when I give them a tug, which is my sign that roots have developed.
9. How to Implement Water Management During Establishment
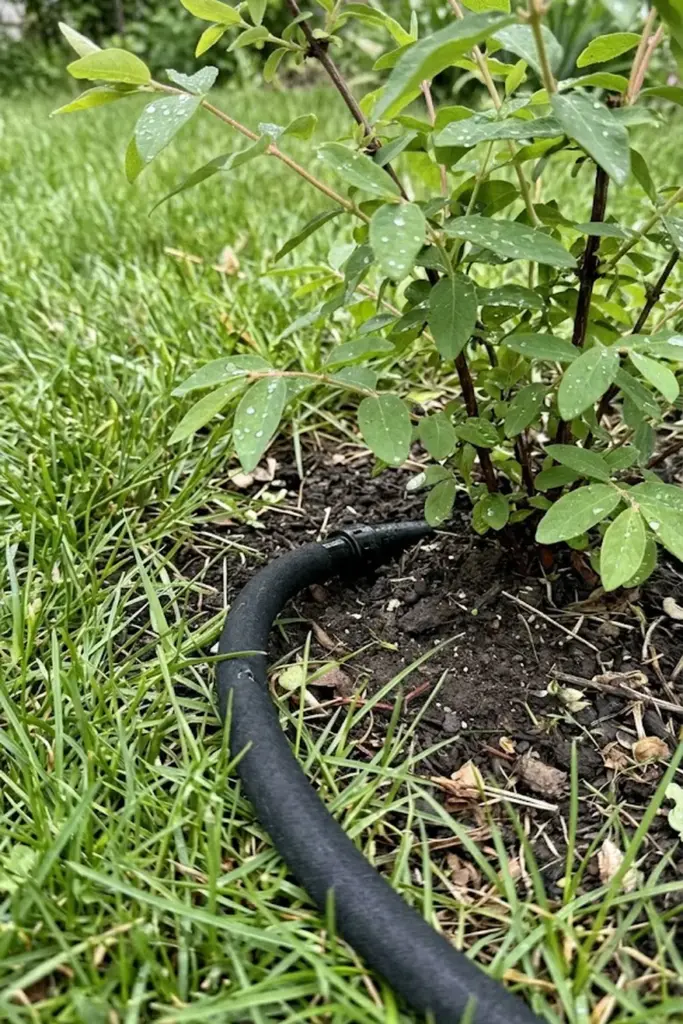
Water is the most critical factor for young honeyberry bushes, yet I’ve found it’s where many gardeners make their fatal error. Consistent moisture control is vital during the first two years. Careful protection of the root zone from both extreme desiccation and swampy compaction prevents premature death. A common question is how much water is enough, and I find a consistent “check and soak” routine is more effective than a schedule.
You should aim for about 1 inch of water per week for your young shrubs. I’ve noticed that if the soil around the developing roots dries out completely, the growth of new wood is immediately stunted. To help you structure this essential management and control task on your busy schedule, I follow this sequence:
- Water deeply: Use a slow-release system like a soaker hose or emitter.
- Frequency: Check soil dampness every three days in summer.
- Root zone: Apply water directly to the root zone, not the leaves.
- Drought care: Increase watering during heatwaves to prevent stress.
10. Defensive Netting for Bird Protection
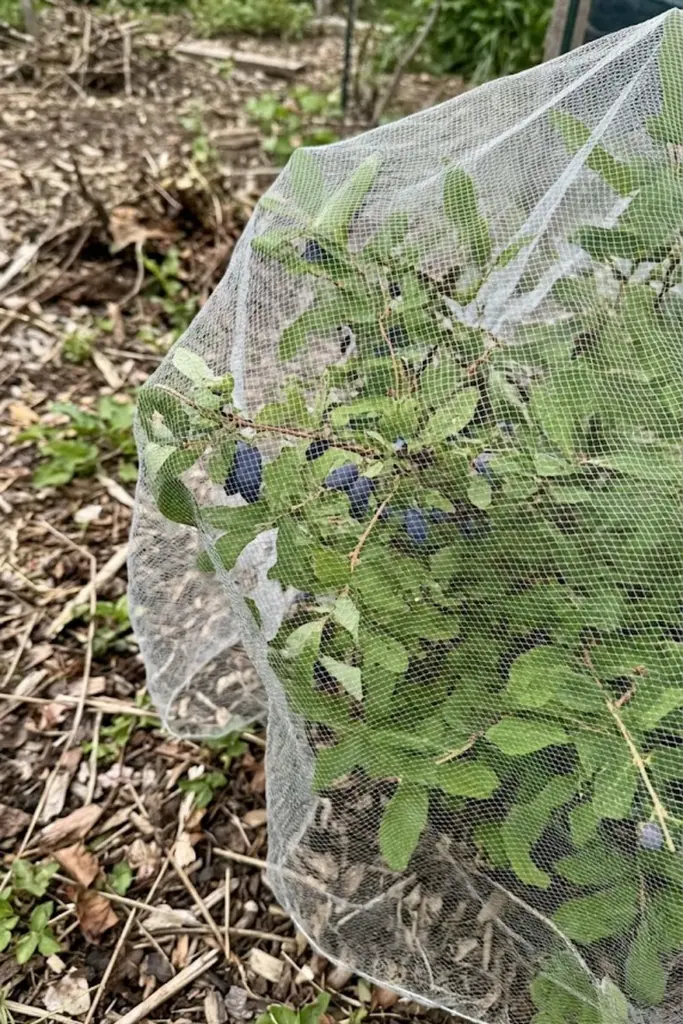
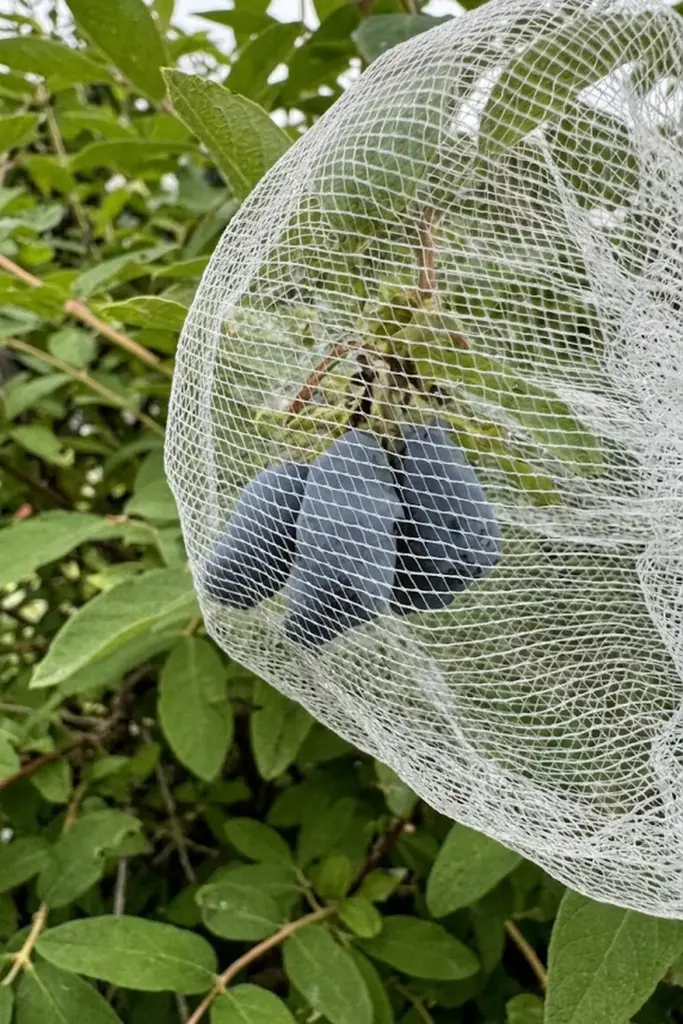
I will repeat this because it is the most critical step you can take: birds are your main competitor. Successful management and control of wildlife is the only way you will taste the fruit you worked so hard to grow. In my experience, they don’t just take a berry here or there; they will strip your bushes systematically as soon as the fruit gains any color. I have found that a standard bird netting is the most reliable protection and prevention available.
You need to act quickly; do not wait until you see the birds gathering. You want to secure your netting when the berries transition from light green to blue. I’ve noticed that if the netting is loosely draped, smart birds will find gaps or simply eat the berries that push against the mesh. I recommend creating a simple support structure for the netting, like small PVC or wooden stakes, to ensure the berries are protected within a safe “cage” and away from any bird contact.
11. How to Tell When Honeyberry Fruit Is Actually Ripe?
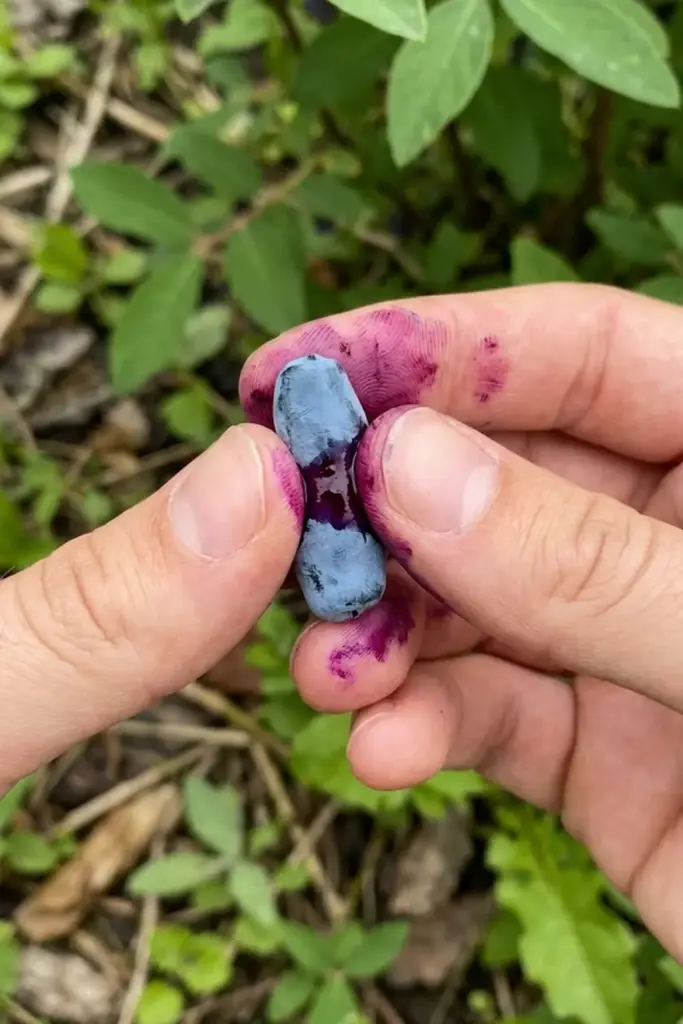
In my early years of growing these, I found myself disappointed, thinking my harvest was sour. Learning how to gauge true ripeness is the most important care step for your taste buds. I’ve discovered that the biggest mistake you can make is harvesting as soon as the berries turn blue. Unlike blueberrries, honeyberry skins turn a vibrant, dusty blue up to two weeks before the fruit inside is actually sweet. This period is vital for flavor management and sugar development.
If you pick them too early, they are intensely tart. You must exercise patience to ensure successful haskap cultivation and a pleasant eating experience. To help my readers avoid a sour surprise, I have developed this simple care and control process for checking maturity:
- Look for size: The berries should be plump and have no remaining green tips near the stem.
- Try the squeeze test: Gently press a berry. It should have some “give” and feel slightly soft, not rock-hard.
- Perform the internal test: This is my foolproof method. Pick one off-center berry and squish it between your fingers. The flesh inside must be a solid, deep purple or burgundy. If the inside is still green or white, the berries are not ripe. Wait another few days and check again.
12. Conclusion: Your Journey to Successful Honeyberry Cultivation
In my experience, bringing these incredibly hardy, early-season fruits into your garden is one of the most rewarding decisions you can make. They offer you a unique opportunity to harvest fresh, antioxidant-rich berries weeks before almost any other fruit is ready, solving the frustration of the “spring fruit gap.” By focusing on the fundamentals I have detailed—proper soil preparation, selecting compatible varieties, and consistent water management during the vital first two years—you will build a thriving berry patch that will produce for decades. You should remember that wildlife management, specifically defensive netting, is not optional. I want you to feel confident and excited about starting this journey; your only regret will likely be that you didn’t plant more than two bushes.
FAQ: Your Top Honeyberry Questions, Answered
I’ve compiled a list of the most common questions I receive about successful haskap cultivation to ensure you have all the information you need. My readers often want specific, practical advice for their own backyards.
Can I grow honeyberry fruit in cold climates?
Yes, growing honeyberry fruit in cold climates is exactly what this plant is designed for. I have seen these shrubs survive temperatures as low as -40°C (Zone 2) with absolutely no damage, making them one of the hardiest edible plants in existence. While other fruits require heavy frost management, your honeyberries will thrive.
Growing honeyberry fruit vs blueberries in home gardens: which is easier?
I find that honeyberries are significantly easier than blueberries for the average gardener with a busy schedule. Blueberries demand highly acidic, specialized soil (pH 4.5–5.5), which is hard to maintain. Honeyberries, on the other hand, are flexible, thriving in standard garden soil with a pH of 5.0–7.0. They also suffer from fewer pests and do not require complex pruning for the first five years.
What is the taste profile of haskap berries like?
I love the unique flavor of haskaps; it is often described as a complex cross between a blueberry and a raspberry, sometimes with a touch of elderberry. You get an initial brightness of tartness followed by a sweet finish. They have a very distinct texture, too. Because they lack the tough seeds found in raspberries, they essentially dissolve on your tongue.
How many honeyberry bushes do I need to grow fruit successfully?
You will need a minimum of two separate, compatible honeyberry cultivars to get any fruit. I’ve found that planting three or four in a close hedge is even better, as it increases the proximity of compatible pollen and creates more insect activity, leading to a much heavier total yield.
Are honeyberries a good investment for full-time workers with limited garden space?
I absolutely believe they are. Once you have managed their initial establishment period, these are very low-maintenance shrubs, demanding far less weekly attention than a vegetable patch. Because they produce the earliest fruit of the season and last for 30–50 years, I see them as a high-value, long-term asset for anyone wanting a high reward for minimal effort.








