
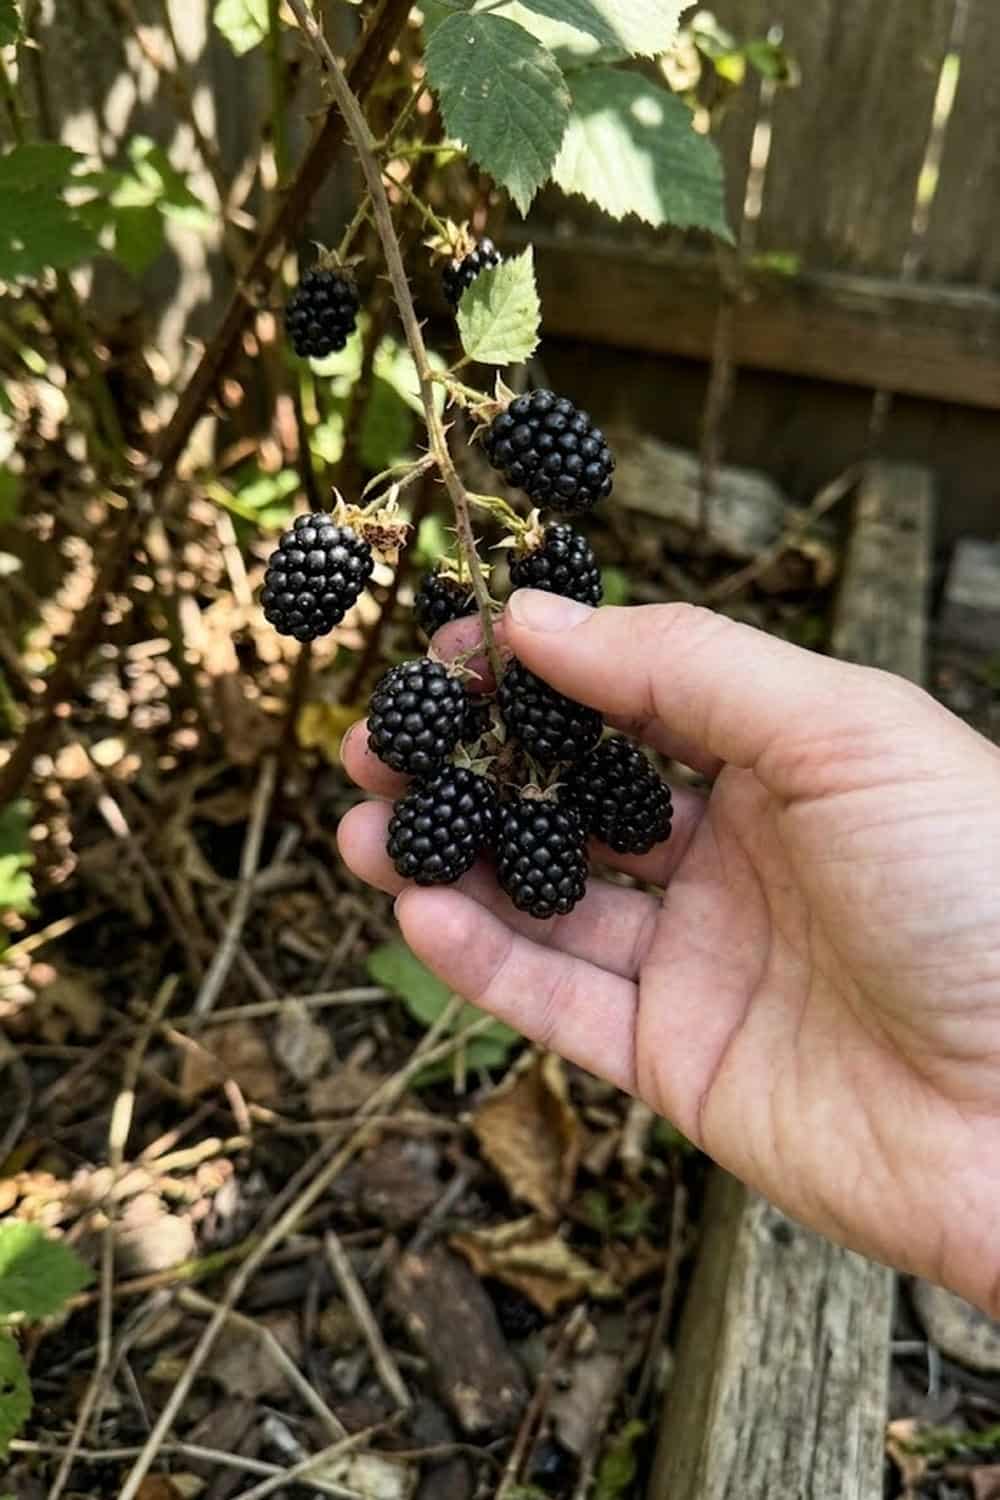

You want that intense, complex, sweet-tart flavor that only a perfectly ripe Marionberry provides, but you don’t live in the Willamette Valley. It is incredibly frustrating to read about this “king of blackberries” and only find bland, shipless varieties at your local grocery store. You might feel like successful cultivation is a guarded secret reserved only for commercial West Coast growers, leaving you trailing behind with inferior berries. I have felt that exact disappointment, but I discovered that you don’t need a degree in horticulture to succeed. I am going to share exactly how you can bring this gourmet experience to your own backyard, regardless of where you live, by mastering a few specific techniques tailored to this unique hybrid.
1. Select the Best Soil Mix for Superior Drainage
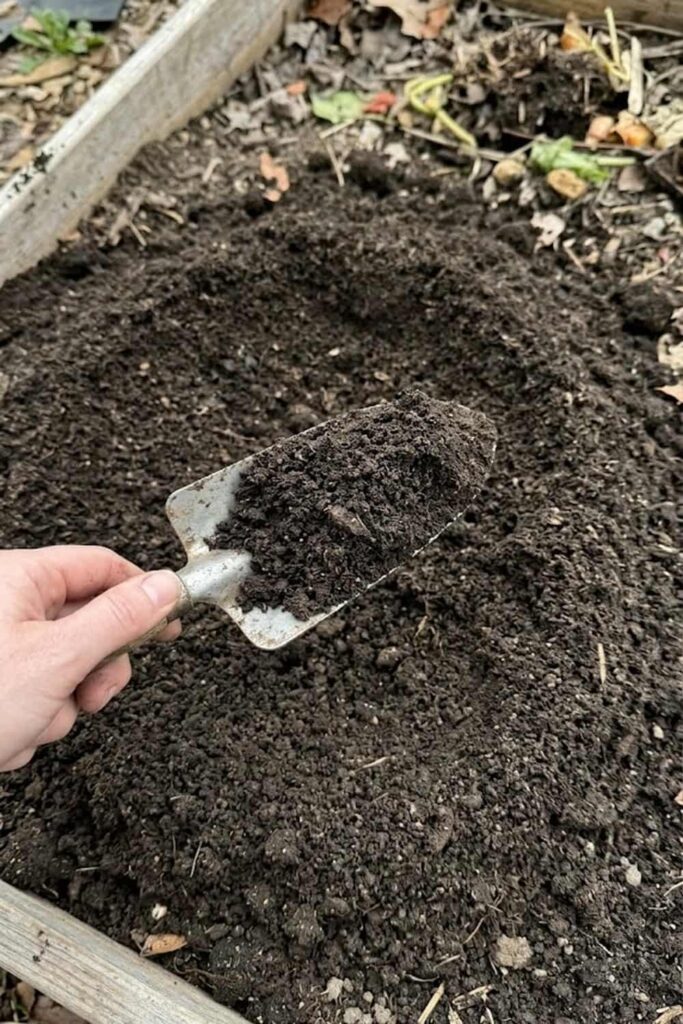
I cannot overstate this: Drainage is the absolute absolute critical factor when you are setting up to grow Marionberry fruit successfully. I learned this the hard way after losing several expensive starts during a particularly wet spring. These hybrids are incredibly susceptible to Phytophthora root rot if their crowns sit in soggy conditions for even a few days. You are essentially looking for a soil profile that mimics the volcanic, alluvial plains of Oregon—rich in organic matter but open enough for water to pass through rapidly. If you have heavy clay soil, you must amend it heavily or, better yet, build raised beds. I have found that a mix containing about 60% sandy loam, 30% high-quality compost or aged manure, and 10% perlite or grit creates the perfect balance. This mixture provides necessary nutrients while ensuring the roots remain oxygenated.
Organic Soil Components for Raspberries
| Component | Function | Ideal Percentage |
| Sandy Loam | Primary structure, provides drainage | 50-60% |
| Compost | Nutrient density, moisture retention (balanced) | 20-30% |
| Aged Manure | Slow-release nitrogen, microbiological health | 10% |
| Perlite/Grit | Prevents compaction, maximizes aeration | 5-10% |
2. Test and Amend Soil pH for Nutrient Absorption
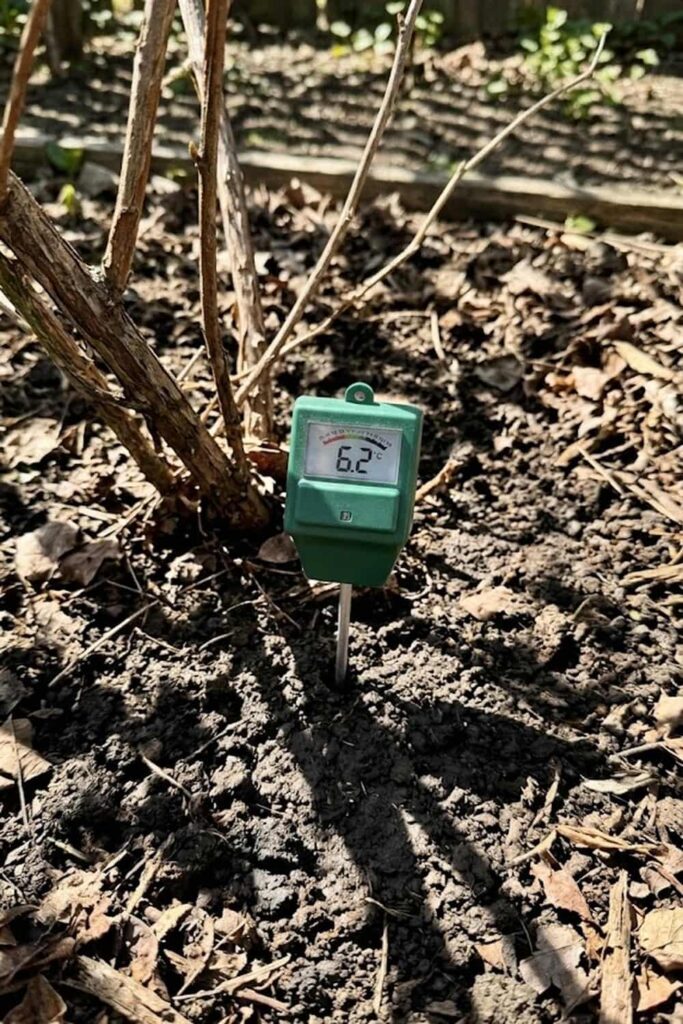
You can provide the perfect soil mix and the expensive fertilizers, but if your soil pH is incorrect, your plants will starve. I cannot count the times I have seen gardeners in my community struggle with yellowing, sickly canes simply because they skipped this vital five-minute test. The Rubus ‘Marion’ cultivar is specific; it requires slightly acidic conditions, ideally between pH 5.6 and 6.5. When the pH drifts outside this range, crucial micronutrients like iron and magnesium become chemically “locked” in the soil, and the roots cannot absorb them, which I find heartbreaking. I recommend purchasing a digital pH meter; they are inexpensive and far more accurate than litmus strips. If your test confirms your soil is too alkaline, you must amend the area with elemental sulfur. I have reflective experience that applying sulfur takes time to react, so I suggest amending the soil the fall before you plant to reach the target pH window.
3. Plant During the Optimal Early Spring Window
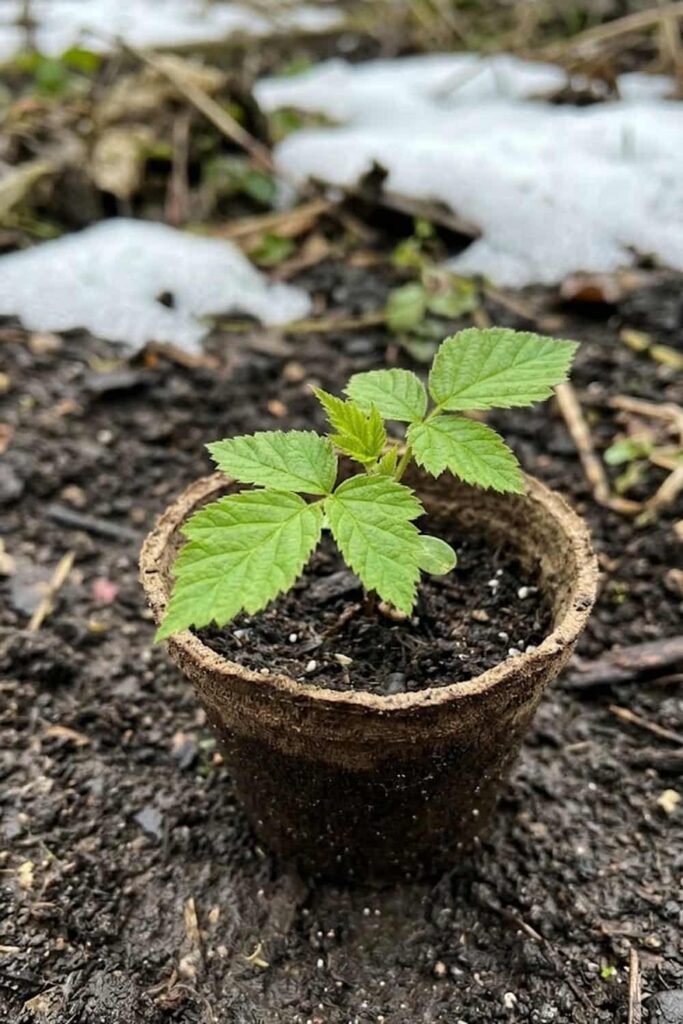
When you’re ready to put your starts in the ground, timing is everything. For years, I rushed this process, planting in late winter only to have a late frost decimate the new, tender growth. Your primary goal is to plant in early spring, specifically when the soil has thawed and is workable, but before the rapid vegetative growth begins. I wait until the heavy spring rains have tapered off slightly, ensuring the soil isn’t a muddy mess which can compact easily and suffocate new roots. I find that this window generally aligns with when the local deciduous trees begin to bud. By planting in this specific timeframe, you allow the young root system to establish itself in the cool, moist soil of spring before the stress of summer heat arrives. This root-first approach is necessary for a robust plant that can support heavy fruiting in its second year.
4. Install a Robust Two-Wire Trellis System
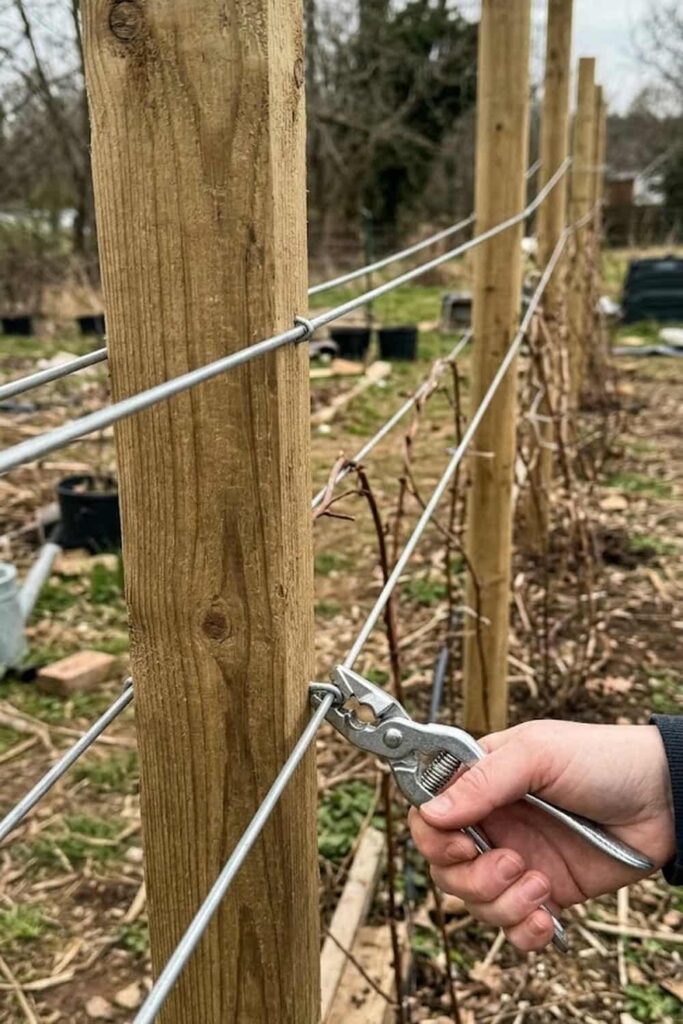
You cannot simply grow Marionberry fruit successfully without a plan for management. I have made this mistake; I let the vigorous canes sprawl, thinking I would handle it later, only to end up with an unmanageable, thorny thicket that produced very little usable fruit. This hybrid is trailing, meaning it cannot support its own weight and wants to run along the ground. To get high yields and keep the berries clean, you must install a trellis system before you plant, or immediately after. I recommend a sturdy two-wire vertical system. Use heavy-gauge wooden posts anchored deeply, and stretch two galvanized wires—one at 3 feet and one at 5 feet. You will weave the fruiting canes along these wires, separating them from the new vegetative growth. This structure maximizes sunlight exposure and airflow, which are essential for ripening the fruit and preventing fungal diseases.
5. Master the Difference Between Primocanes and Floricanes
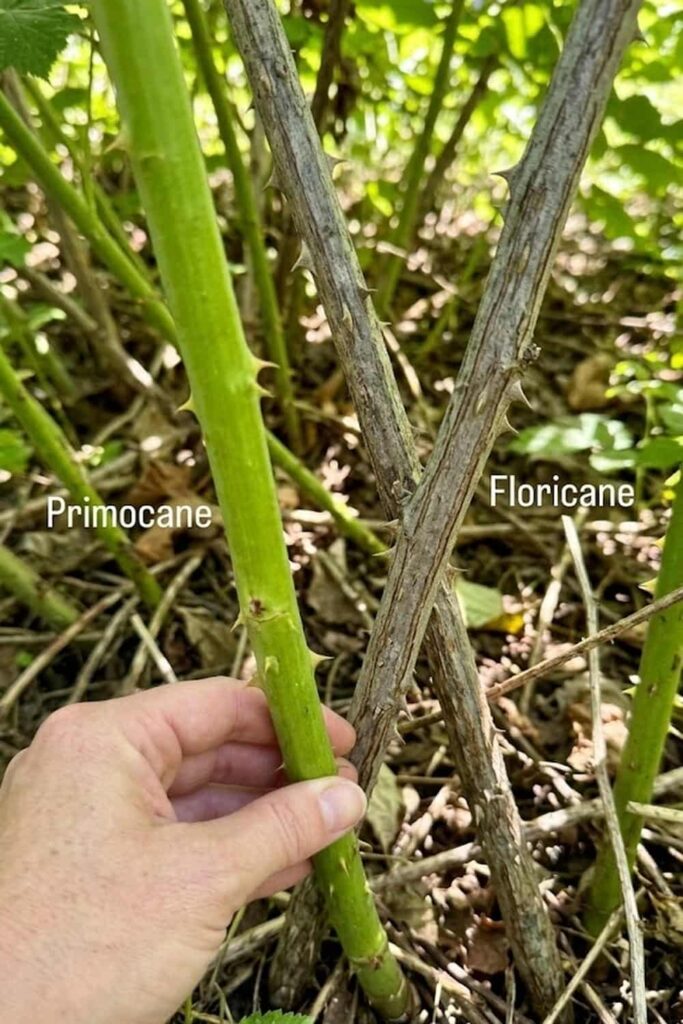
Understanding the biennial nature of your berry patch is necessary for proper care. I have seen too many intermediate gardeners in my groups make the catastrophic mistake of pruning the wrong canes in winter, effectively destroying their entire next season’s harvest. You are dealing with two types of canes simultaneously, and you must know the difference. Primocanes are the fresh, green canes that emerge from the crown this spring; they will only grow vegetatively this year. Floricanes are the canes that grew last year; they have overwintered, and they are the only canes that will produce flowers and fruit this summer. Your task is simple: keep them separate. After you harvest the fruit in summer, the old floricanes will die naturally, and you must remove them, while leaving the vigorous primocanes to become next year’s fruit producers.
The Biennial Marionberry Lifecycle
| Cane Type | Appearance | Current Year Activity | Action Required |
| Primocane | Bright Green, Succulent | Rapid vegetative growth, no fruit | Train onto lower wires, manage length |
| Floricane | Woody, Brown/Grey | Flowers and sets fruit | Harvest, then remove completely after fruiting |
6. Implement Deep Watering for Root Health
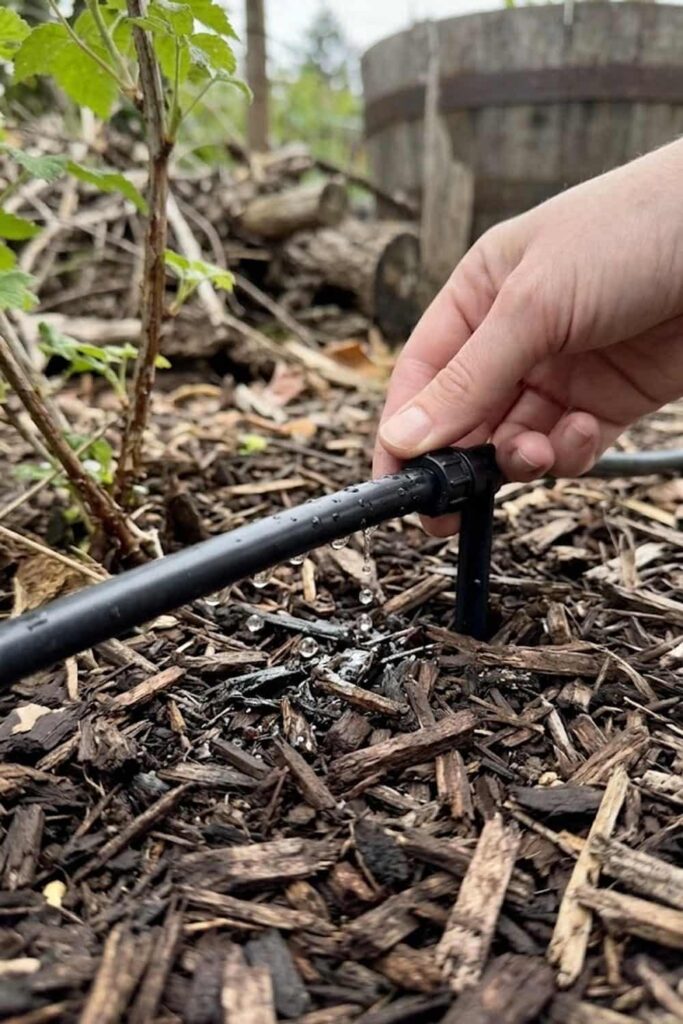
If you want to ensure your plants thrive, you must focus on deep watering, especially when they are establishing their root systems. I have reflective experience watching gardeners give quick, daily sprinkles, which only wet the top inch of soil. This practice is detrimental; it encourages weak, shallow roots that cannot sustain the plant during a hot spell. When you are learning how to grow Marionberry fruit, you need to provide at least 1 to 2 inches of water per week, delivered directly to the root zone. I always tell people that one or two long, deep soakings are infinitely better than frequent light waterings. This deep water penetration encourages the roots to grow downward, where the soil remains cooler and holds moisture longer. During the fruit-set and ripening stages in summer, consistent moisture is absolute mandatory; drought stress at this point will result in small, seedy, or crumbly berries, which I find very disappointing.
7. Apply Nitrogen-Rich Fertilizing Schedules
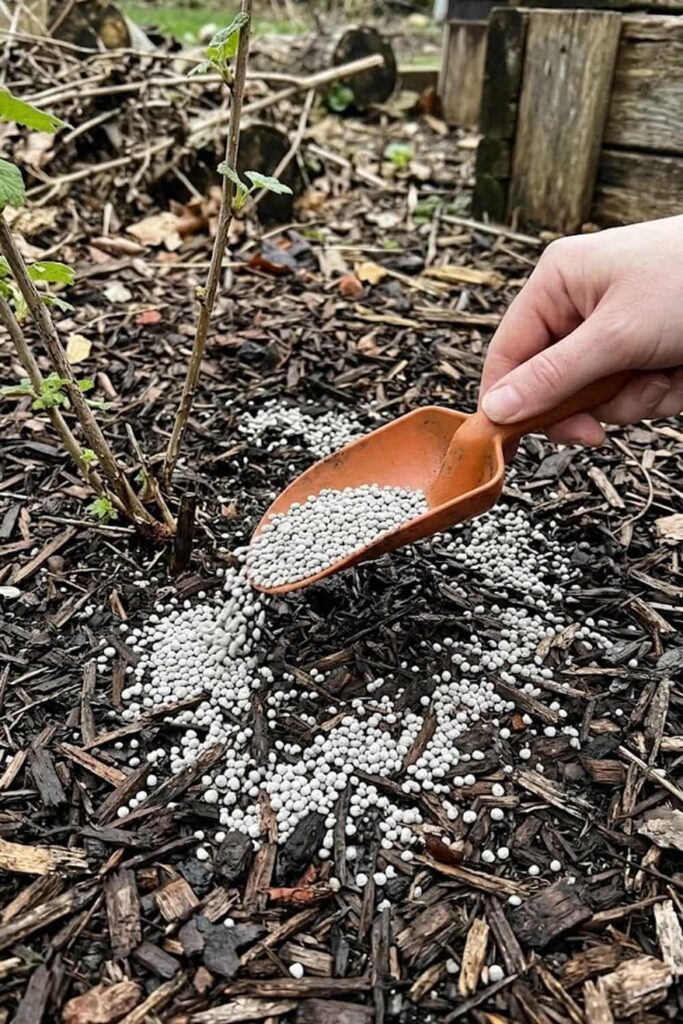
You cannot get large, gourmet berries without proper fertilizing. These plants are heavy feeders, especially during the rapid growth phase of the primocanes in spring. I has found that a specific two-part fertilizing schedule works best for sustaining both the current year’s fruit and next year’s canes. I suggest applying your first round of a balanced organic fertilizer, such as a 10-10-10 mix, or a rich layer of compost, just as the new growth begins to emerge in early spring. This provides the initial boost necessary for strong floricane development and flowering. I then recommend a second application of nitrogen-rich fertilizer in late spring, specifically to feed the rapidly trailing primocanes. You must avoid fertilizing after mid-summer, as this can encourage soft, new growth that won’t properly harden off before winter, leading to significant dieback, which I have sadly experienced.
8. Use Mulching to Regulate Temperature and Moisture
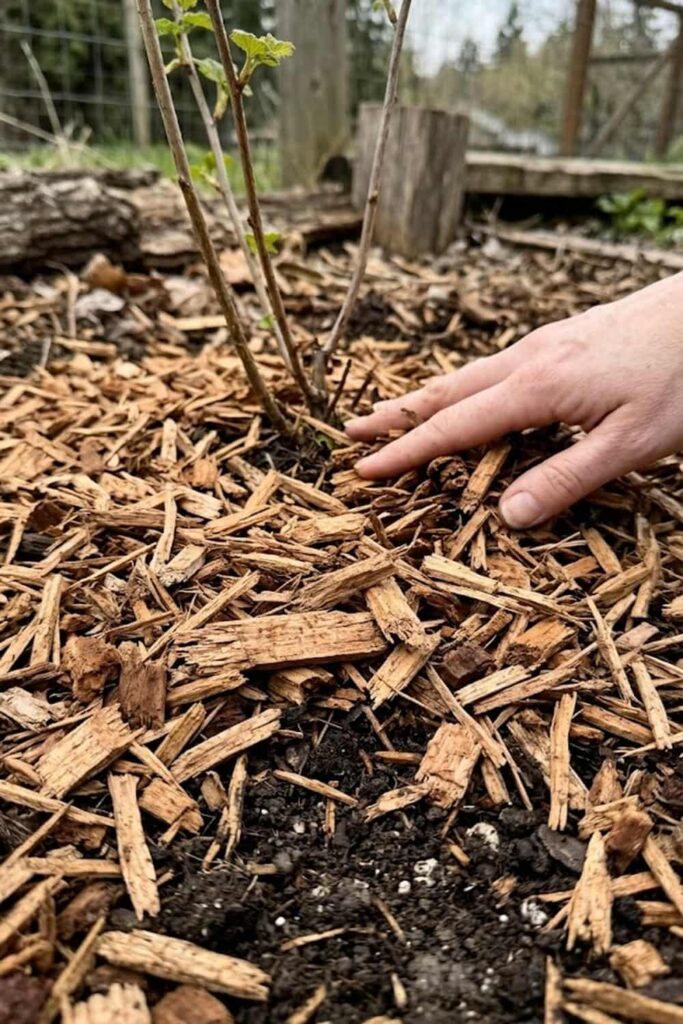
You should treat mulching as a critical component of your core plant care strategy, not just an aesthetic addition. I always apply a thick, 3- to 4-inch layer of organic mulch around the base of my vines every spring. I has found that this layer is necessary for several reasons. First, it regulates soil temperature, keeping the shallow root system cool during the heat of summer. Second, it suppresses weed growth, preventing competition for water and nutrients, which I know is a common struggle. Most importantly, it significantly reduces water evaporation from the soil, supporting your deep-watering efforts. I suggest using coarse materials like wood chips, bark, or straw. These materials break down slowly, adding valuable organic matter back into the soil mix over time, further enhancing drainage and fertility.
9. Prune for Better Yield and Airflow
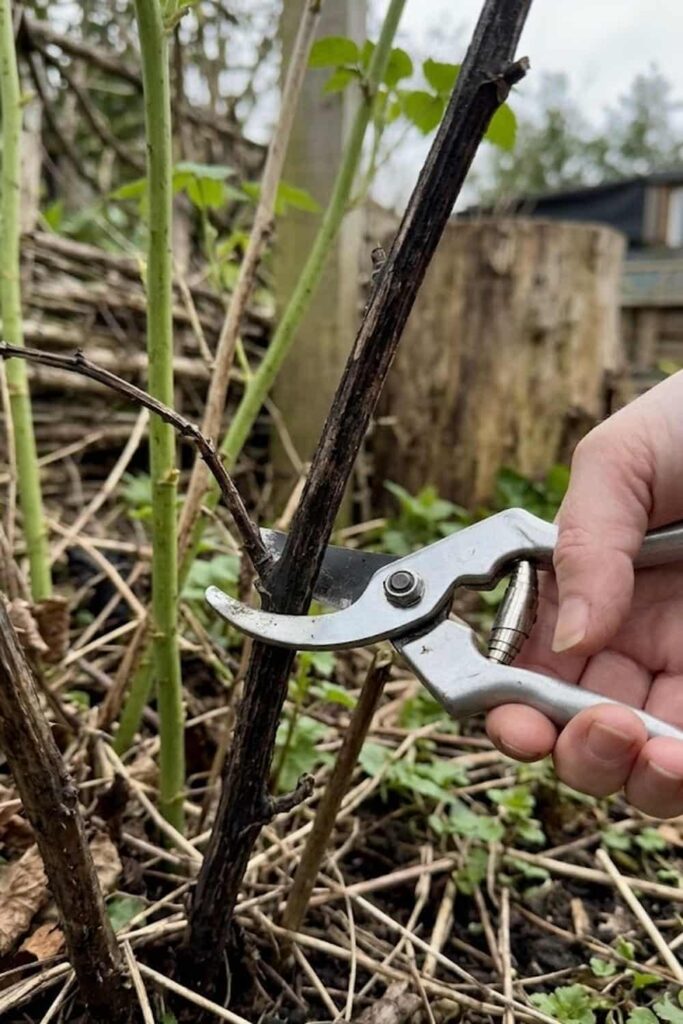
You must embrace pruning as a fundamental task if you want a healthy, productive berry patch. Many gardeners I know find this daunting, but it is necessary for maximizing your harvest and maintaining control over the trailing canes. When learning how to grow Marionberry fruit, you primarily prune at two distinct times. The most important cut happens immediately after harvest: you must remove all the old, dead floricanes that just finished fruiting. I prune them right down to the ground, which opens up the trellis and provides maximum light and air to the young, developing primocanes. The second pruning occurs in late winter or early spring, where you will top the primocanes to encourage lateral branching, which is where the bulk of the fruit will grow. This process ensures necessary ventilation, significantly reducing the risk of fungal disease.
10. Control Spotted Wing Drosophila and Other Pests
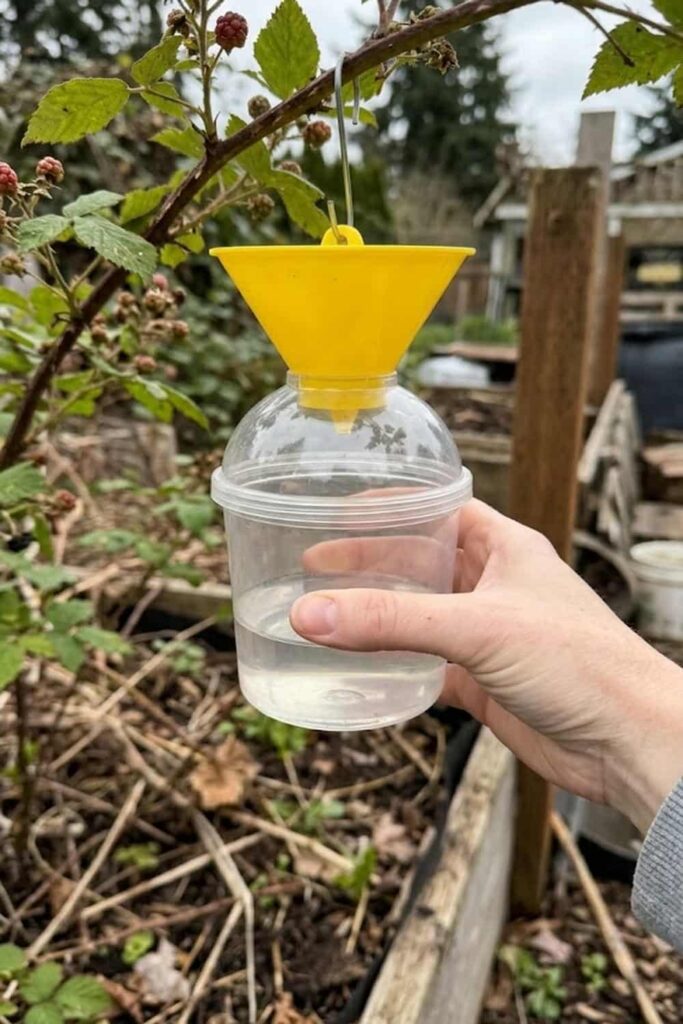
You need a proactive strategy for pest control if you want to enjoy your gourmet harvest. While aphids and cane borers can be an issue, the single biggest threat I know of is the Spotted Wing Drosophila (SWD), a tiny fruit fly that has unfortunately spread to most berry-growing regions. I has found that simple, early monitoring is absolute key. I set out cider vinegar traps in early summer to detect when the flies are active. If you confirm their presence, you should act quickly. While organic sprays containing Spinosad are effective, I always suggest combining them with cultural controls. I prioritize continuous harvesting, ensuring no overripe fruit is left on the vines to attract the flies. If you maintain a clean setting, you will significantly reduce SWD populations and save your crop.
11. Disease Control: Preventing Anthracnose and Rot
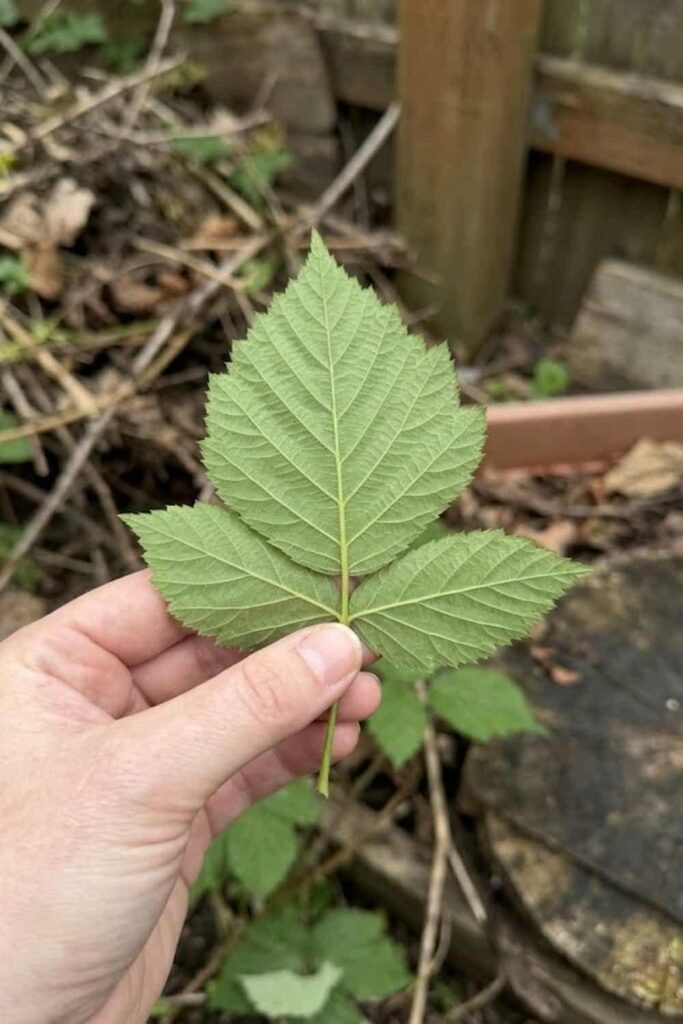
You must maintain constant vigilance regarding disease control to protect your investment. I has found that in humid environments, fungal pathogens like Anthracnose and Botrytis fruit rot can quickly decimate a promising crop. I always emphasize that prevention is the most effective form of control. When you are learning how to grow Marionberry fruit, you should prioritize structural techniques that maximize air movement. By implementing proper trellis spacing and executing correct pruning as detailed in previous sections, you ensure excellent ventilation throughout the canopy. This allows the foliage and fruit to dry rapidly after rain, significantly reducing the environmental conditions necessary for fungal spores to germinate. If you do spot symptoms, such as purple spots on leaves or fuzzy grey mold on fruit, I suggest applying an organic copper fungicide in late winter before new growth begins.
12. Protect Plants from Winter Desiccation
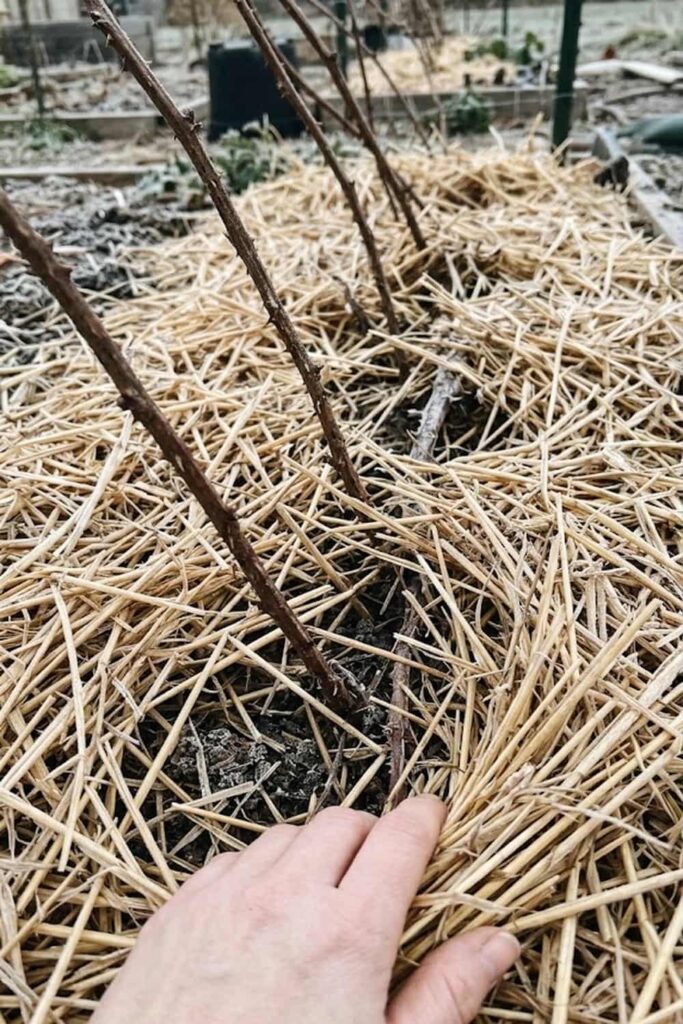
If you are growing this cultivar outside of its native Oregon climate, protection from winter desiccation is absolute mandatory. This specific blackberry is generally hardy to USDA Zone 6 or 7, but I know it is the cold, drying winds rather than absolute minimum temperature that usually kills the canes, particularly the first-year primocanes that are necessary for next year’s crop. I has successfully overwintered them by implementing a simple routine. In late fall, after the primocanes have grown but before the hard freezes arrive, I carefully remove them from the trellis wires. I suggests you gather the long, trailing canes into loose bundles and gently lay them on the ground. I then cover these bundles with a generous, 6-inch layer of straw, shredded leaves, or a frost blanket to provide critical insulation. This insulating barrier maintains a stable temperature and protects the canes from the desiccation that can occur during freeze-thaw cycles, which I find very effective.
13. Propagation via Tip Layering for More Plants
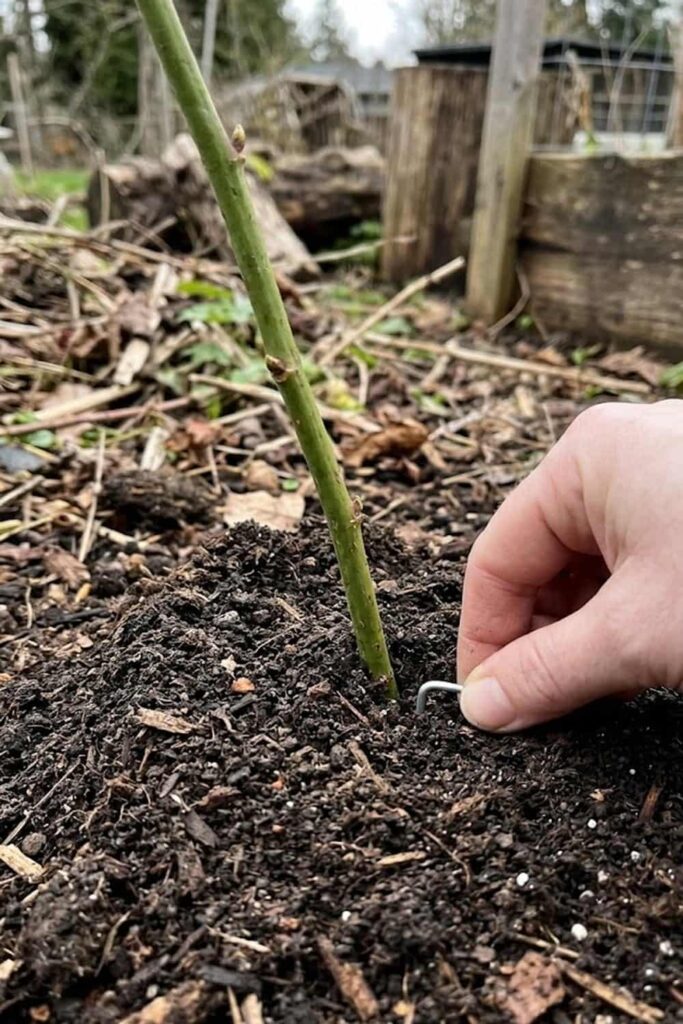
When you are ready to expand your berry patch, propagation through tip layering is the absolute easiest and most reliable method, taking advantage of the plant’s natural trailing inclination. I has successfully created dozens of new plants this way with near-zero effort. The process works because the arching trailing primocanes naturally want to root wherever they touch moist soil. I suggests you facilitate this process in late summer. Simply take a vigorous primocane, bend the tip down to the ground, and bury the very end (about 3-4 inches deep) in the soil mix. I suggests you can even place it in a nearby pot filled with compost to make future transplanting simpler. By the following spring, the buried tip will have developed a robust independent root system. You can then sever the new plant from the parent cane and move it to its new location.
14. Harvesting at the Peak of Flavor
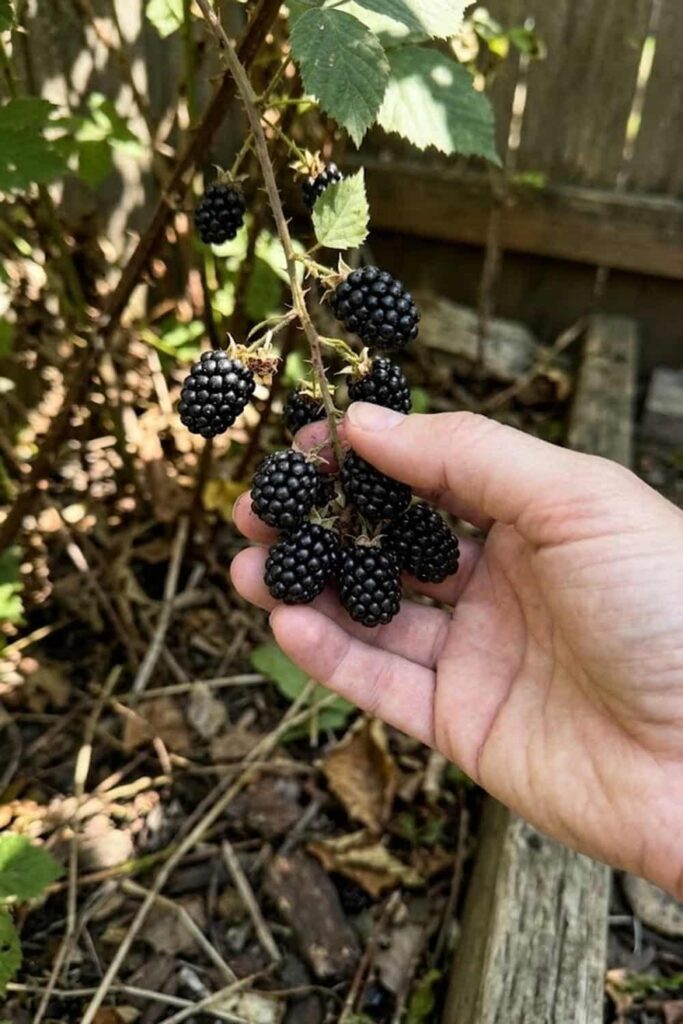
When you are finally ready for the harvest, you must understand the subtle visual and tactile cues that indicate the peak of flavor. For years, I picked them too early, resulting in tart, firm berries that lacked the complex, earthy sweetness that defines this gourmet fruit. You cannot judge readiness simply by the color turning black. When you are learning how to grow Marionberry fruit, you will notice a transition. A truly ripe berry changes from a glossy, shiny black to a dull, matte black. If you find yourself having to tug the berry at all, it is not ready. At the perfect stage, the fruit will detach from the receptacle with the absolute minimum pressure, almost falling into your hand. I recommends you harvest every two to three days during the peak window, preferably in the cool of the morning when the fruit is firmest.
15. Proper Storage to Maintain Berry Firmness
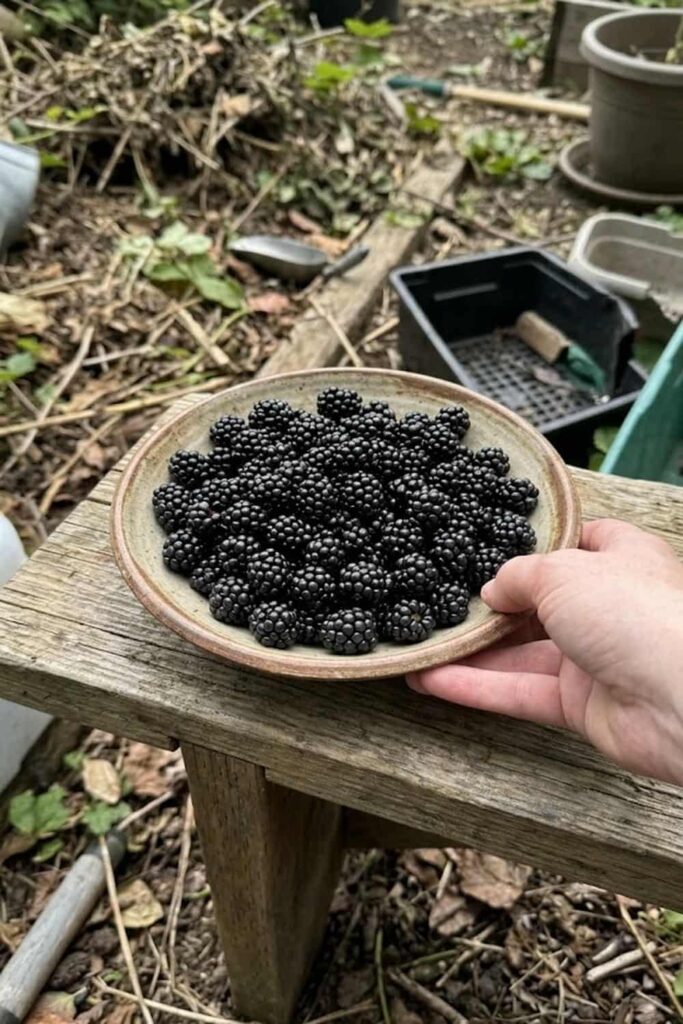
You need a post-harvest plan for proper storage because these berries are incredibly delicate and have a short shelf life. I have experienced the frustration of picking a perfect flat of fruit only to find it molding on the counter just 24 hours later. You cannot leave the freshly picked berries in a warm environment; you must cool them immediately. I suggests you sort through your harvest gently, removing any seedy, crumbly, or overripe berries, as these can accelerate spoilage. Do not wash the berries at this point; excess moisture is the enemy of shelf life. I suggestions you can significantly extend firmness by storing them in the refrigerator, ideally between 32°F and 36°F, in a shallow container that provides good ventilation, which I find absolute key to maintaining their fresh, tart complexity.
16. Monitoring for Nutrient Deficiencies
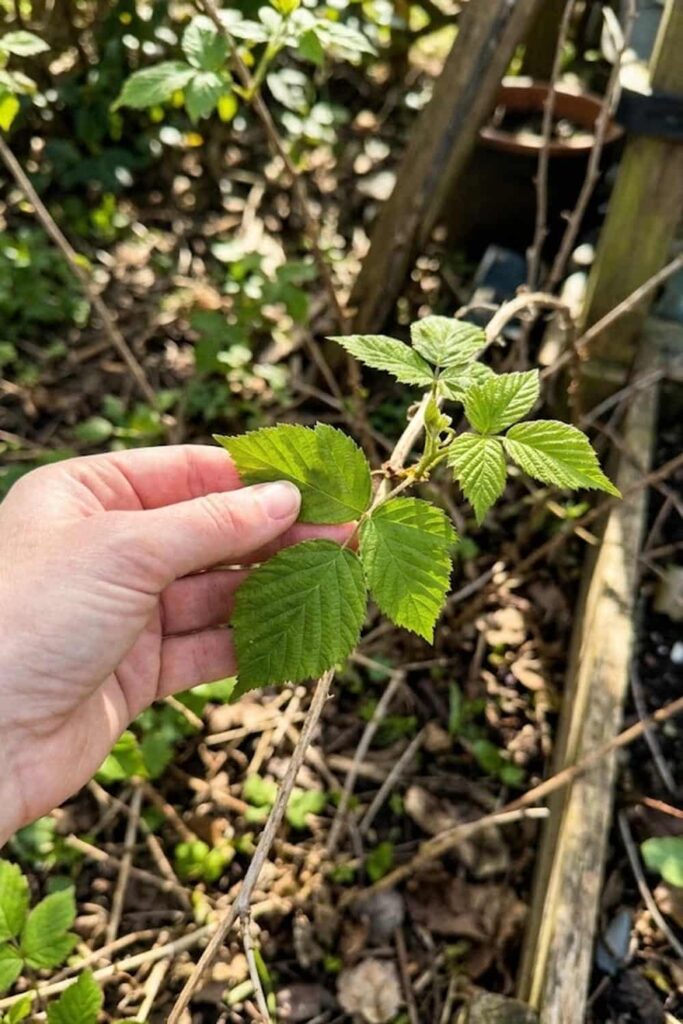
You can provide the perfect soil and water, but you must still practice continuous monitoring to ensure the specific nutrient needs are met. I have reflective experience that these high-yielding hybrids are sensitive and will quickly signal when they are missing essential elements. I tells gardeners that the easiest way to perform a check is to focus on the leaf color. For example, when you are learning how to grow Marionberry fruit, a lack of nitrogen will typically cause the entire leaf, starting with the older growth, to turn a pale greenish-yellow. Conversely, an iron deficiency—common in soil that is too alkaline—is absolute mandatory to correct. It shows as interveinal chlorosis, where the veins remain sharp green while the rest of the leaf is pale yellow. I can’t emphasize enough that catch these signals early, through regular plant care checks, allows you to address the root issue before it compromises your entire harvest.
17. Labeling and Record Keeping for Success
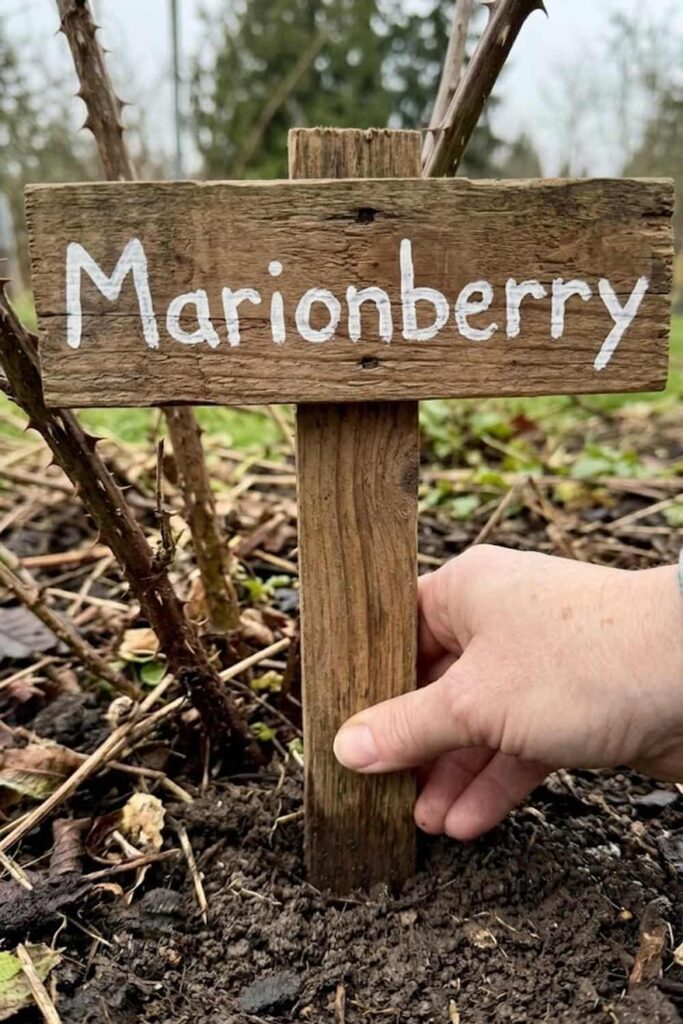
You must establish a rigorous system of labeling and record-keeping if you want to achieve consistent success year after year. For years, I relied on my memory, only to be frustrated when I couldn’t recall when I had last applied an essential sulfur amendment for pH control. I cannot count the number of people in my garden groups who have lost track of whether a new cane is a primocane or floricane, leading to pruning disasters, which is heartbreaking. I tell gardeners that a simple, weather-resistant label stuck firmly in the soil Mix at the base of every plant is necessary. I strongly encourage you to keep a dedicated garden journal. I find it remarkably reflective and helpful to track harvest volumes, disease observations, and specific fertilizing dates. This data is what allows you to make informed, data-driven decisions that progressively improve your plant’s health and flavor.
FAQ: Common Questions About Growing Marionberries
How to grow Marionberry fruit from cuttings?
You can propagate them easily in late summer. Simply bend a trailing primocane tip to the ground, bury it 3 inches deep in moist soil Mix, and it will develop roots. I have reflective experience that this method, called tip layering, is the most reliable way to create new plants without needing advanced skills.
What is the best fertilizer for growing organic Marionberry fruit?
A 10-10-10 balanced organic fertilizer or aged compost is best. I tell people that nutrient delivery must be timed correctly: once in early spring as growth begins and again in late spring to feed the trailing canes. Avoid feeding after mid-summer to prevent weak growth.
How do I protect Marionberry fruit plants during winter?
You must provide insulation outside of their native zone. In late fall, untie the trailing canes from the trellis, gently lay them on the ground in a bundle, and cover them with a generous 6-inch layer of straw or wood chips. This protective care strategy is necessary to prevent cane desiccation from cold winds.
Why is my plant not fruiting?
I has often seen this problem, and it usually relates to improper pruning. I can’t emphasize enough that these berries only produce fruit on floricanes, which are the second-year wood. If you prune all the canes to the ground every winter, you are cutting off your future harvest, which I know is incredibly frustrating.








