
To grow dill from India, sow suva seeds in October, 1 cm deep and 6 inches apart, and harvest leaves from December into February. That October window is the single fact that separates success from frustration, because an Indian summer bolts the plants to flower in weeks and gives you almost no leaf.
Learning how to grow dill from India also starts with a name correction. In India the plant is suva, sowa, or soya, and it belongs to the Indian dill (Anethum sowa), while almost every Western grow guide calls the plant by the European name Anethum graveolens. The growing advice overlaps, but the calendar, the heat pressure, and the reason you grow it are all different on Indian ground.
Dill also demands respect for its taproot. It hates transplanting, so you sow it exactly where it will grow. In a pot, that means a container at least 12 inches deep. What follows is the India-specific calendar, the pot method, the honest bolting timeline, the leaf-vs-seed harvest split, and the fix for the eternal dill-vs-fennel confusion.
1. Sow in October: The India Dill Calendar
Plant suva in October across most of India. Agrifarming’s herb sowing chart for India lists dill sown in October with germination in 10 to 14 days, and that lines up with the crop’s biology. Dill grows best when average temperatures sit around 16 to 18 degrees Celsius, according to Agrifarming’s organic dill guide. October and November in the plains deliver exactly that cool, dry air after the monsoon.
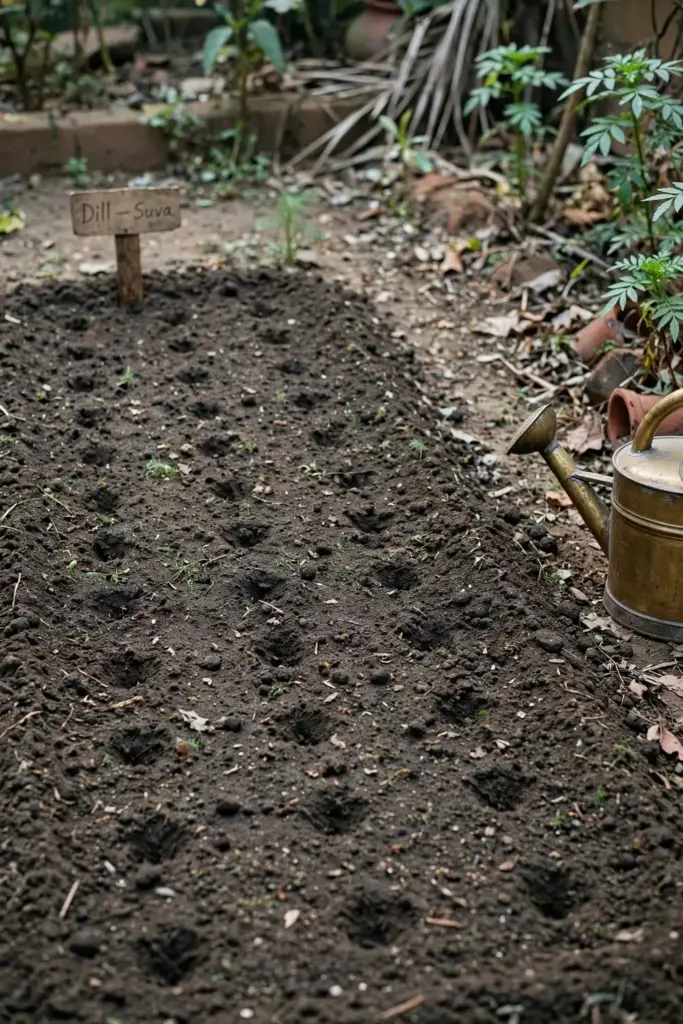
The seasonal logic is simple. Dill is a cool-season annual, and seedlings can withstand minor frost, per Penn State Extension. In the Indian plains, that means the October-to-February window is the crop’s natural season. Sow too early, while monsoon humidity still lingers, and you invite fungal trouble. Sow too late, and rising spring heat pushes the plants to bolt before the leaf harvest peaks.
Hills and temperate zones get a second chance. In the Himalayan foothills and the Nilgiris, you can also sow in March and April as a summer crop, since the heat arrives late or never. But for the Delhi, Lucknow, Jaipur, and Mumbai belt, October is the sowing month, and the fall planting calendar helps you time it against your first cool nights. Mark it on the calendar the way you mark the first tomato transplant. Everything below hangs on that date.
2. Meet Suva: The Indian Dill Identity
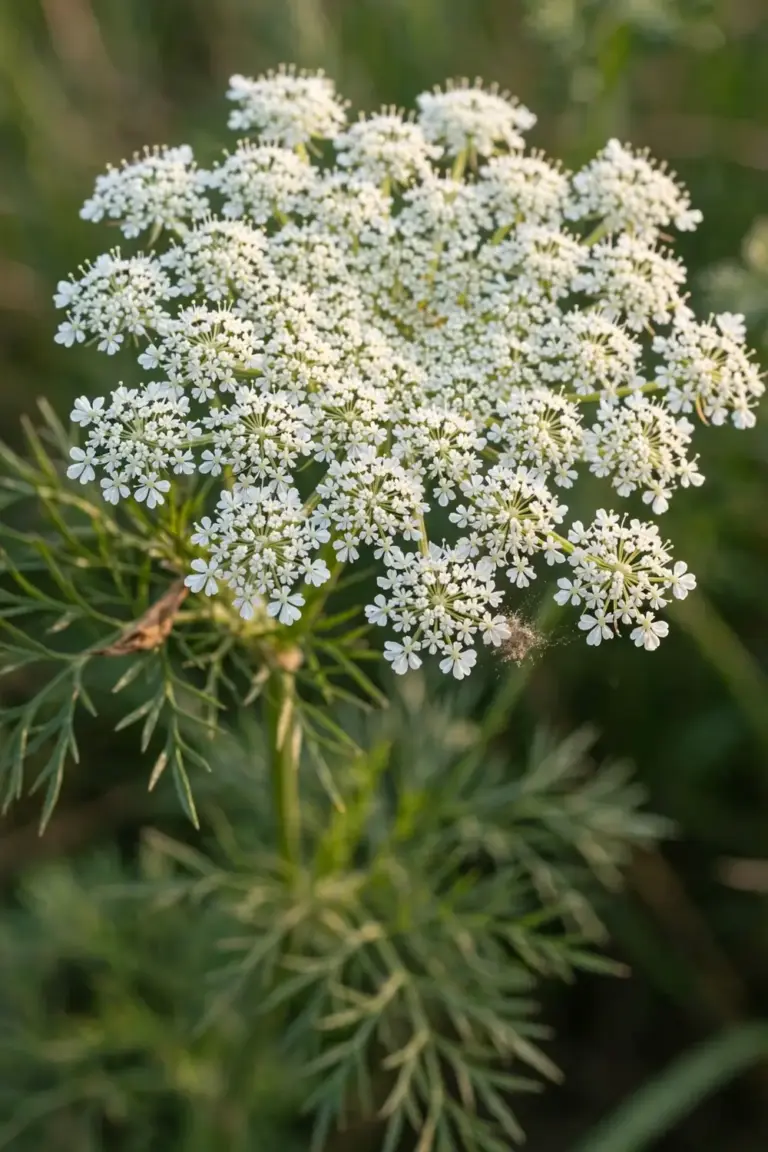
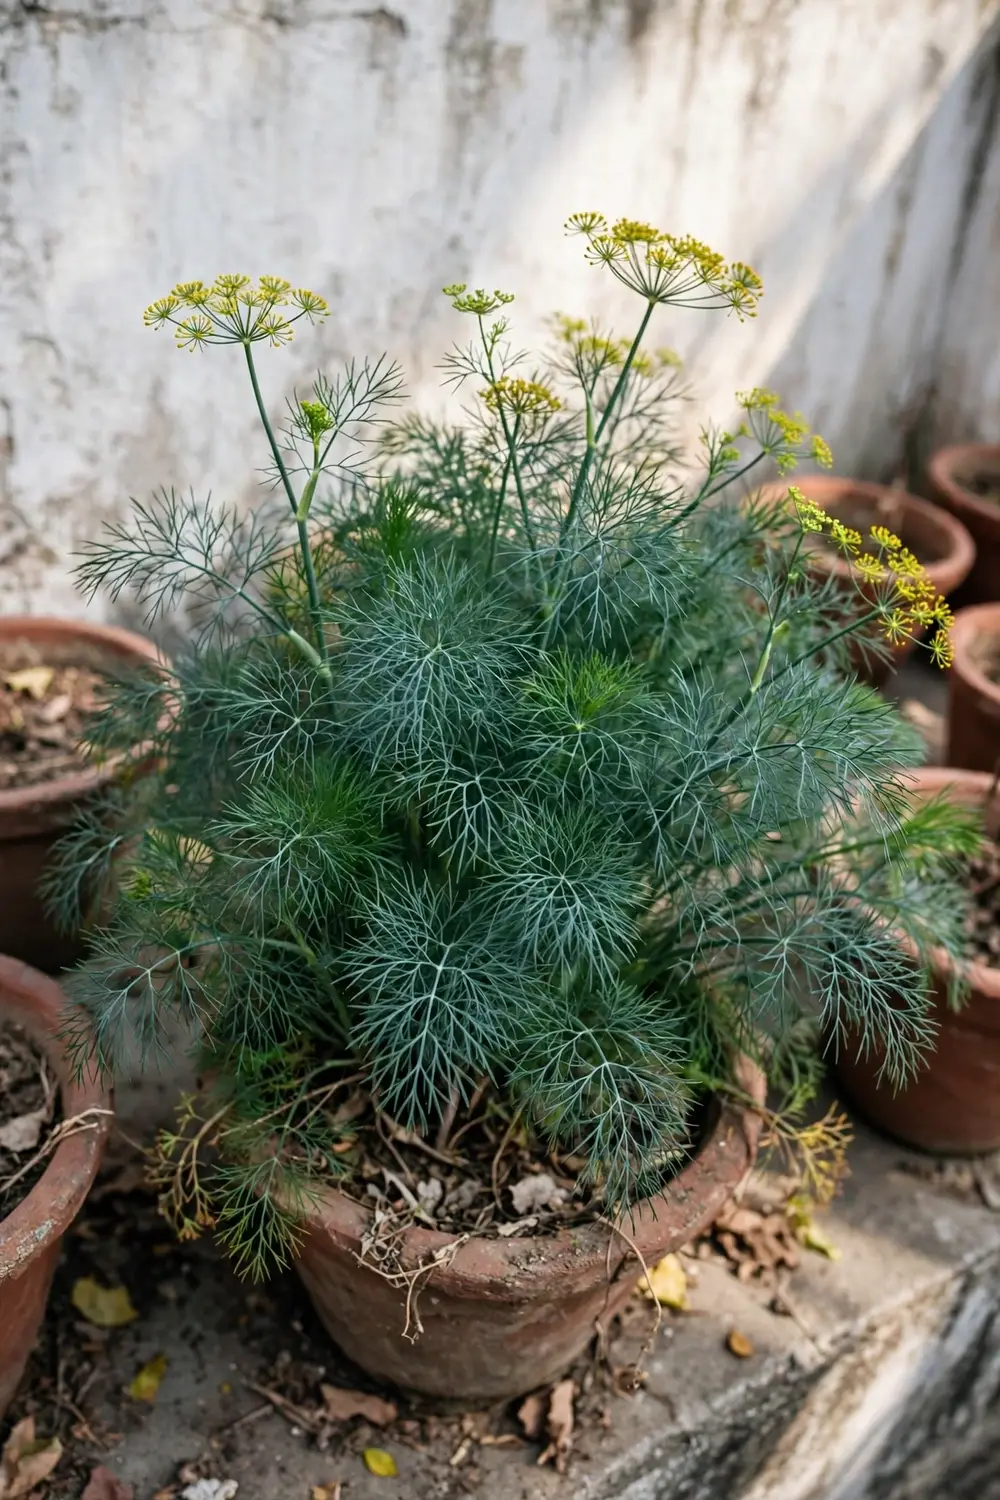
Indian dill is Anethum sowa, known in Hindi and Marathi markets as suva, sowa, or sometimes soya. It is a close cousin of the European dill (Anethum graveolens) that dominates Western grow guides. The two plants look almost identical, with feathery threadlike leaves, hollow upright stems, and flat yellow flower clusters called umbels. But in Indian seed commerce, the names stay separate, and only a handful of Indian sources name the Indian species at all. Google’s AI panel was the rare exception that used “suva or sowa” in its India guidance.
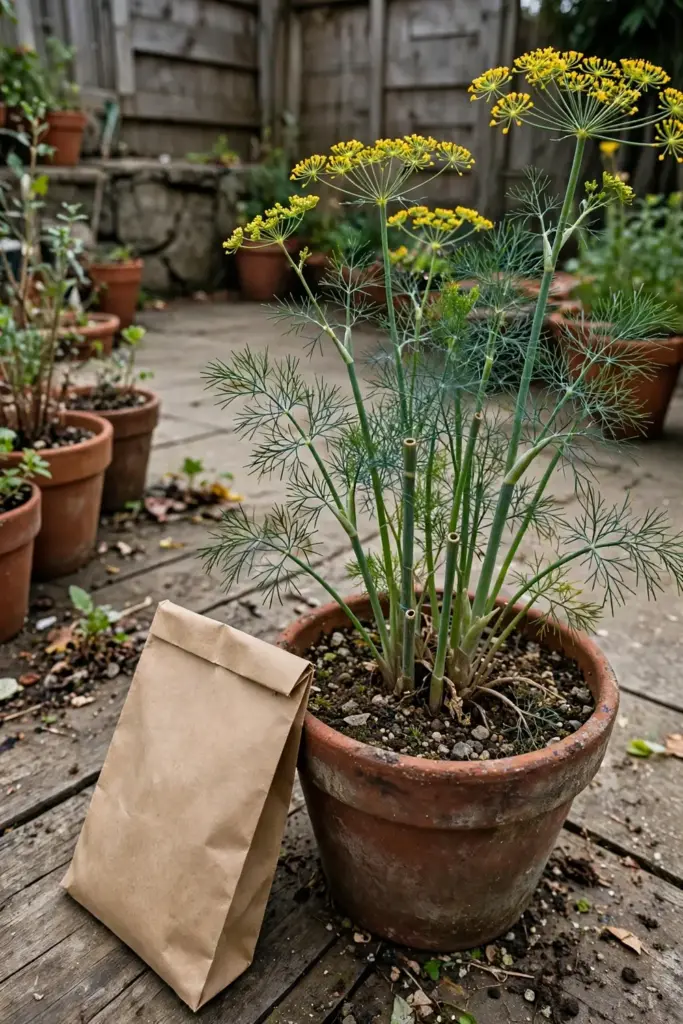
Why does the species name matter for a home gardener? Because the Indian plant is grown for a different purpose. In India, suva is sold in winter markets as a leafy herb for suva bhaji, and the seeds are harvested as a spice. Western guides optimize for pickling dill weed. The sowing depths, pot sizes, and harvest rules are similar, but the calendar and the bolting pressure are Indian. Naming the plant correctly keeps you from following a Minnesota April-sowing guide into a Delhi October garden.
Expect spelling variance when you shop for seeds. Indian seed packets say suva, sowa, or soya, and all three mean the same Indian dill. Check the botanical name on the packet if it is printed. If it says Anethum sowa, you have the Indian plant. If it says Anethum graveolens, you have the European one, which will still grow in India on the same calendar, just with the leaf flavor Western recipes expect.
3. Dill vs Fennel: Fix the Mix-Up
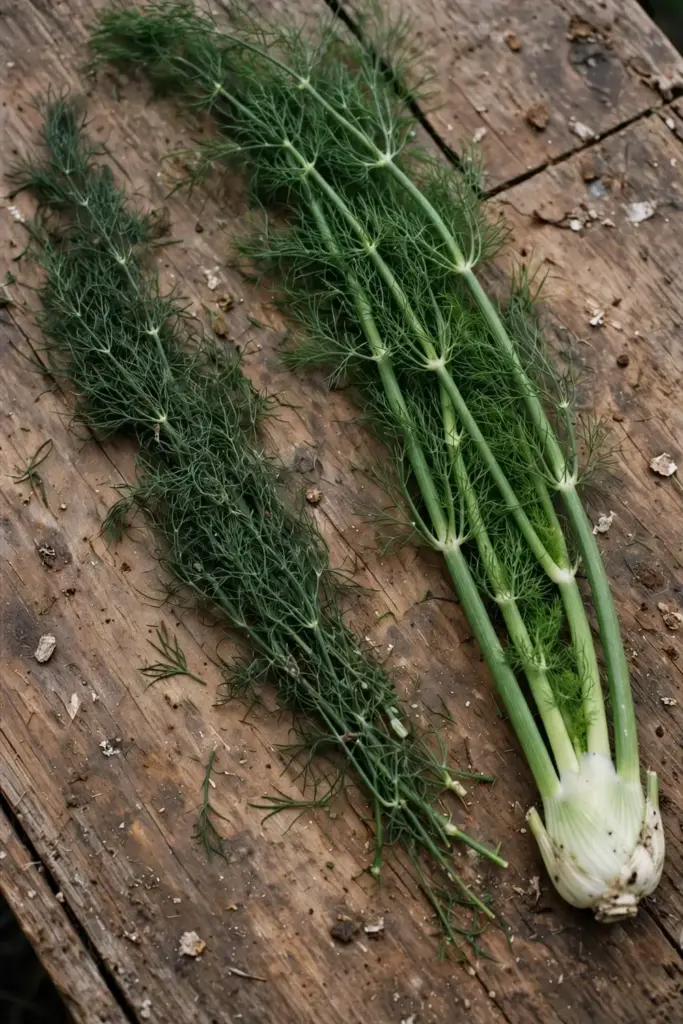
Dill and fennel are the most confused pair in the herb world, and the confusion matters because the growing advice differs. Both belong to the carrot family (Apiaceae), both have feathery foliage, and both make yellow umbel flowers. Here is the field guide to telling them apart.
| Feature | Dill / Suva | Fennel |
|---|---|---|
| Botanical name | Anethum sowa (India) or A. graveolens (Europe) | Foeniculum vulgare |
| Life cycle | Annual, bolts and dies in heat | Perennial or biennial, survives years |
| Leaves | Fine, threadlike, blue-green | Similar but coarser, brighter green |
| Flavor | Fresh, citrusy, mild anise | Sweet, strong licorice-anise |
| Bulb | None | Florence fennel makes a bulb, dill never does |
| Height | 1 to 4 feet, per Penn State Extension | Up to 5 to 6 feet |
| Seeds | Flat, oval, light brown | Longer, ridged, greenish-brown |
The practical rule: if the plant makes a bulb at the base, it is Florence fennel, not dill. If the plant returns year after year from the same crown, it is fennel, not dill. Suva is an annual. It lives one season, sets seed, and dies.
One more caution from Ugaoo’s India dill guide: do not plant dill and fennel close together, because the two can cross-pollinate and produce odd hybrids. Keep them in separate pots or beds if you grow both.
4. Direct Sow or Nothing: Respect the Taproot
Dill does not transplant easily. Sow seeds directly into the ground where the plants are to grow, as UMN Extension states it. Agrifarming’s organic dill guide says the same thing more bluntly: dill does not grow well when transplanted, so do not try to prick out young seedlings. The plant grows a long taproot almost immediately, and any disturbance to that root stunts or kills the seedling.
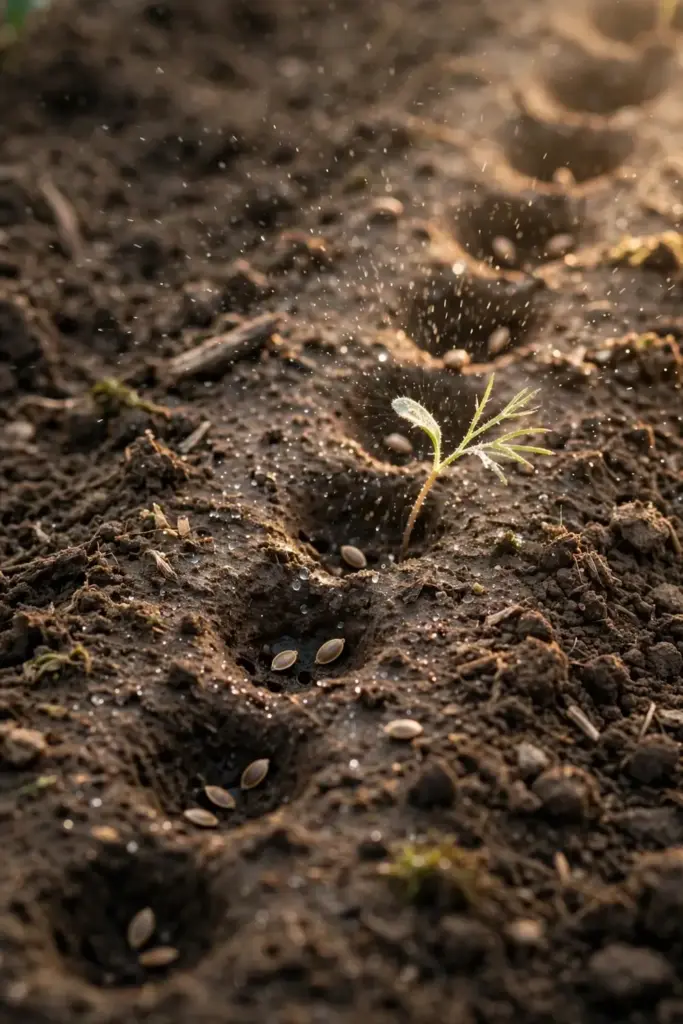
The sowing table below gives the numbers that matter.
| Step | Action | Time |
|---|---|---|
| 1 | Prepare a fine, level seedbed in sun | Day 0 |
| 2 | Make shallow holes 1 cm deep, 6 inches apart | Day 0 |
| 3 | Drop 2 to 3 seeds per hole, cover with a thin layer of soil | Day 0 |
| 4 | Water gently so seeds stay in place | Day 0 |
| 5 | Keep the surface evenly moist | Days 1 to 14 |
| 6 | Seedlings emerge | Days 10 to 14 |
| 7 | Thin to one strong seedling per station | Week 3 |
The 1 cm depth and 6-inch spacing come from Ugaoo’s suwa guide. For a seed crop, widen the spacing to 12 to 18 inches between plants, per Agrifarming. Penn State adds a useful germination detail: barely cover the seeds with soil, because they need light to germinate.
Skip the nursery tray entirely. Dill has no seedling stage worth managing. Direct sowing in the final bed or pot is faster, cheaper, and more reliable than raising transplants that resent being moved. If you want a refresher on seed-starting fundamentals for your other crops, the seed starting guide covers trays, depth, and moisture in detail.
5. Pots for Suva: The 12-Inch Container Method
Learning how to grow dill from India in pots is mostly about depth. The taproot needs room, and a shallow saucer-shaped pot produces stunted, early-bolting plants. Ugaoo’s India-specific guide sets the rule: select a container with a minimum depth of 12 inches, with width and length of your choice. For multiple plants, aim for a pot 12 to 16 inches wide.
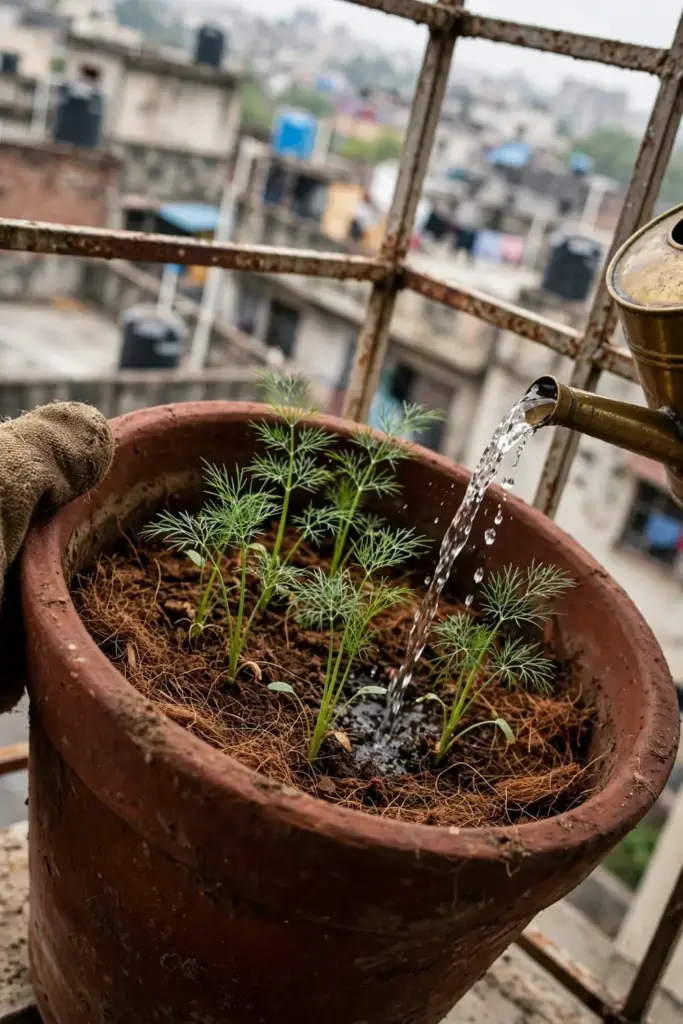
Choose a soilless or soil-based mix that drains fast but holds some moisture. A blend of two parts garden soil, one part compost, and one part cocopeat or sand works well in Indian conditions. Drill drainage holes if the pot lacks them. Dill tolerates dry spells once established, but sitting water rots the taproot.
Place the pot where it gets full sun in winter. In the Indian winter, full sun is gentle and welcome. Ugaoo notes that dill can also grow under partial sunlight of 3 to 4 hours in home gardens, so a balcony that loses direct sun by afternoon still works. In hot regions, shift the pot to afternoon shade once March arrives, since that shade buys you an extra week or two before bolting.
Water a pot more carefully than a bed. Containers dry out faster than ground soil, and dill in pots swings between dry and soggy more violently. Check the top inch of mix daily. Water when it feels dry, until water runs from the drainage holes, then wait again. Penn State Extension notes that compact varieties like ‘Fernleaf’, at 12 to 18 inches tall, suit containers and small spaces and are slower to bolt than standard types.
Feed container dill lightly. UMN Extension recommends a liquid fertilizer at one-half the label-recommended strength every four to six weeks for dill grown in containers or indoors. Overfeeding pushes soft, flavorless growth.
6. Soil: Sandy Loam at pH 5.6 to 6.5
Dill forgives poor soil. It punishes bad drainage and the wrong acidity. Agrifarming’s organic guide says dill grows best in well-draining sandy loam rich in organic matter with a pH between 5.6 and 6.5. Penn State puts the ideal at pH 6.5. Slightly acidic to neutral is the target band.
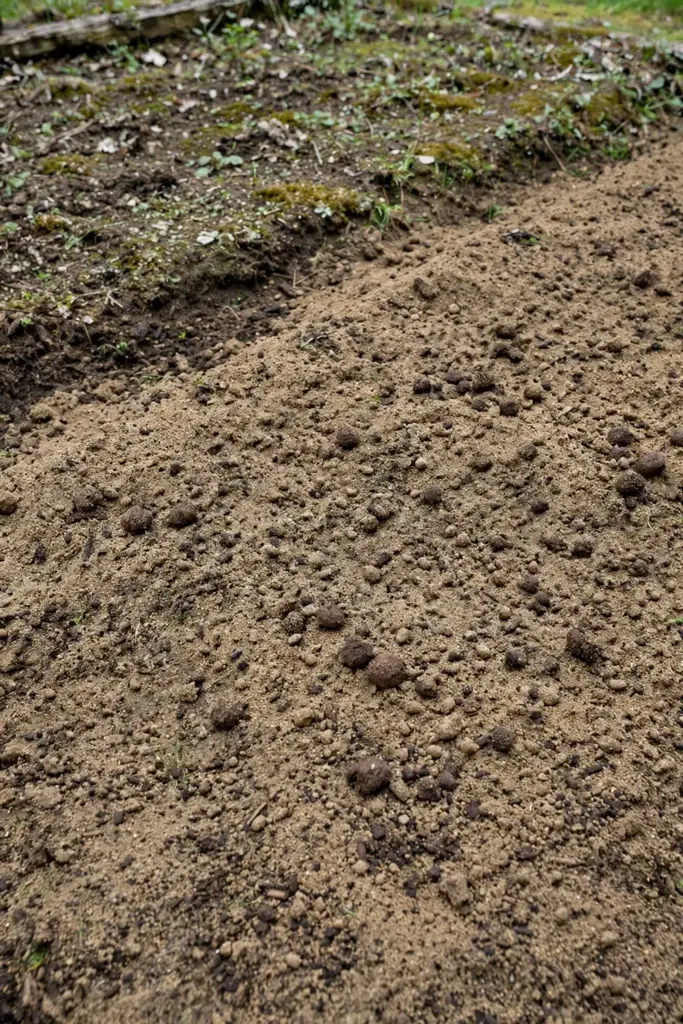
Till the bed to a depth of 8 to 12 inches and work in a handful or two of organic all-purpose fertilizer or compost, per Agrifarming’s guide. That depth matters because the taproot wants to drive straight down. In heavy clay, the taproot forks or stalls, so loosen clay beds with sand and compost until the mix crumbles in your fist.
Mulch helps in beds but keep it away from the stems. A 2-inch layer of straw or dried leaves keeps the root zone cool and moist, which delays bolting. Refresh it after heavy watering compacts it. For a full guide to building living, resilient soil, read the soil health and pest resistance guide.
7. Watering: Evenly Moist, Then Ease Off
Keep the soil evenly moist after planting to hasten germination, per Agrifarming. Once the seeds start growing, dill thrives in slightly dry soil. That two-phase rhythm is the whole watering program: wet for germination, then moderate.
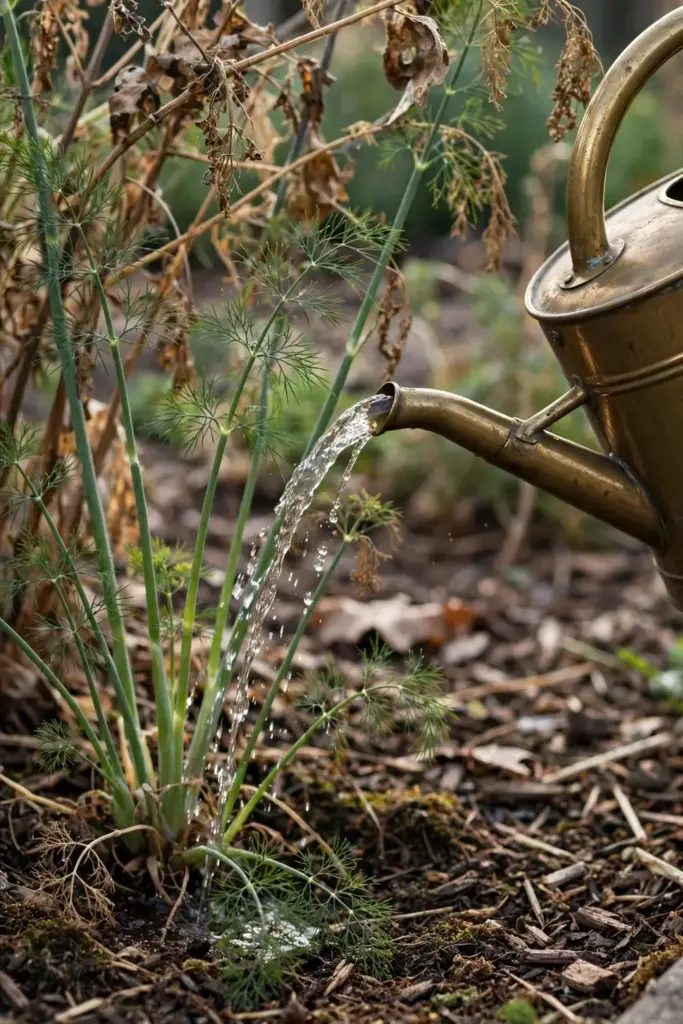
Wet soil causes two problems. It boosts powdery mildew, which shows as white growth or drooping, and unnecessary water dilutes the volatile oils in dill, reducing its flavor and aroma. Both warnings come straight from Agrifarming’s organic guide. Flavor is the crop, so overwatering literally waters down your harvest.
Water in the morning at the base of the plants. Wet foliage in humid Indian winters invites mildew. Once the plants are established and the taproot is deep, one or two deep waterings per week are enough in a bed. In a pot, follow the finger test from the container section. After seed set, dill tolerates drier soil, so taper off once the umbels form.
8. Feeding: Light Hands on Fertilizer
Dill is not a heavy feeder, and rich soil can actually hurt it. As with most herbs, dill does not require frequent fertilizing, per UMN Extension. A light feeding of a 5-10-5 fertilizer applied once in late spring is enough, at three ounces per ten feet of row.
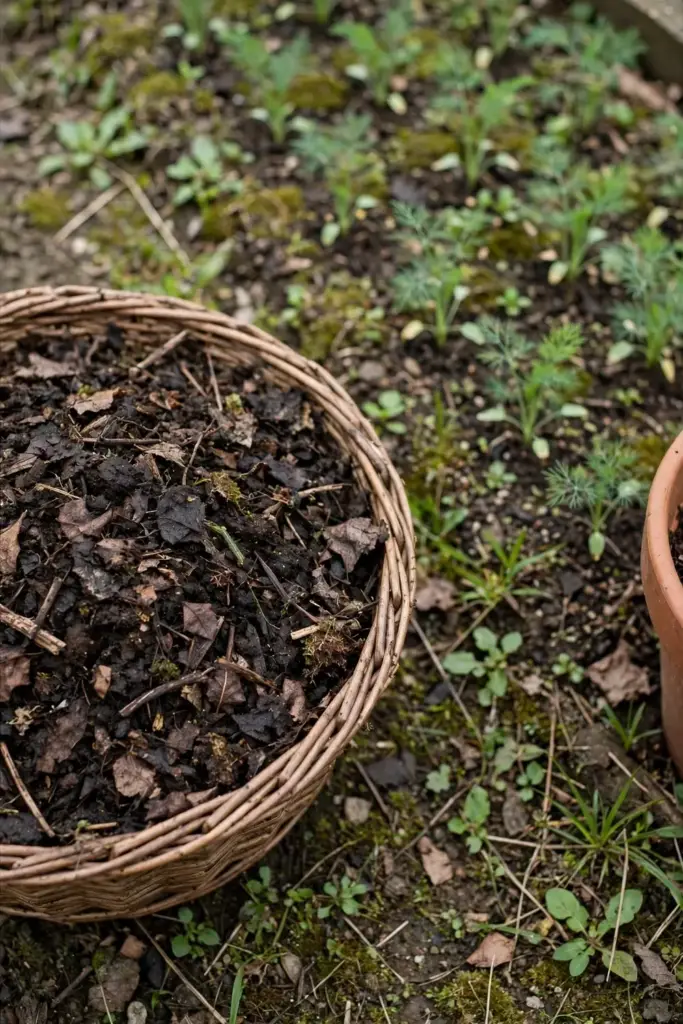
In Indian beds, skip the synthetic fertilizer and work compost into the bed before sowing. That single compost application usually carries the crop through its short season. If the leaves look pale yellow and growth stalls, add a half-strength liquid seaweed or compost tea drench once. Then stop.
The mistake to avoid is nitrogen-heavy feeding. Excess nitrogen grows big, soft, watery leaves with weak flavor. You want compact, aromatic fronds. When in doubt, feed less.
9. Succession Sowing Every Two Weeks
One sowing gives you one flush of leaves. To keep leaves coming through the cool season, sow a new batch every two weeks. Penn State Extension recommends successive sowings every 10 days while the weather is cool for a steady supply of dill weed. Ugaoo’s suwa guide similarly suggests sowing every couple of weeks through the cool season.
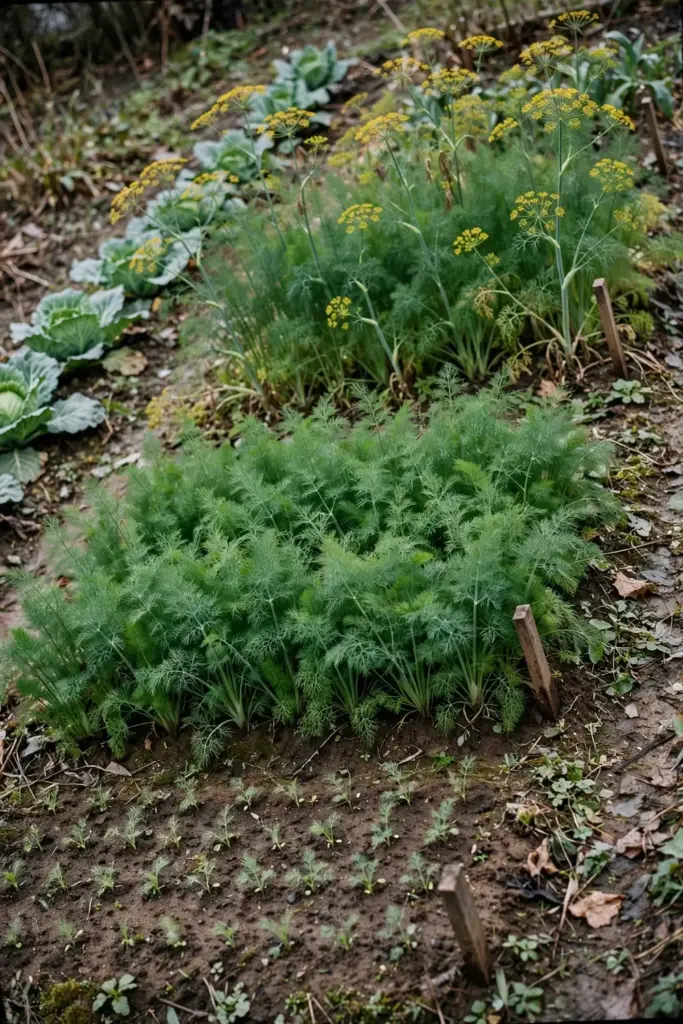
The rhythm works like this. Sow batch one in early October. Sow batch two in mid-October, batch three in early November, and keep going until January. By the time batch one bolts in February heat, batch three is at peak leaf. Stop sowing when daytime temperatures consistently cross 30 degrees Celsius, because germination and growth both stall in heat.
Mark each sowing on a calendar or a plant label. It is easy to lose track of which row is which once the seedlings all look alike. A simple date on a popsicle stick beats memory.
10. Bolting: Beat the Heat Clock
Bolting is dill’s signature move. Hot weather and dry spells cause plants to bolt, per Penn State Extension, which means the plant stops making leaves and rushes to flower and set seed. In India, the heat clock starts in March. Once bolting begins, leaf production ends within days.
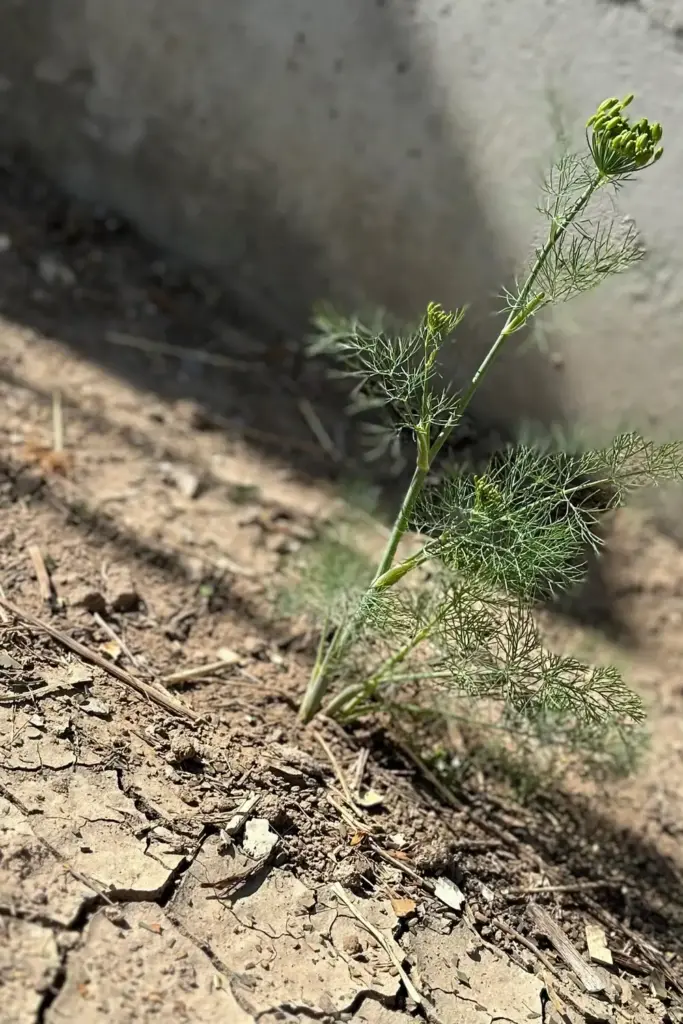
I have learned to plan suva strictly as a winter crop, because once the heat arrives the plants bolt no matter how well I water them.
You can delay bolting, not prevent it. Cut the foliage back often, which helps delay bloom, per Penn State. Pinch off flower buds the moment they appear. Give afternoon shade in late winter. Keep the soil evenly moist, since drought stress triggers earlier bolting. Mulch the root zone to keep it cool.
When a plant does bolt, do not fight it. Let the flowers open. The yellow umbels feed pollinators, and the plant is about to give you its second harvest: seeds. Snip the whole plant for the kitchen while the leaves are still usable, then leave one or two plants to set seed for next October.
11. Leaf Harvest: Cut the Top Quarter
Harvest green dill foliage anytime during the growing season until the umbrella-like flower clusters open, per UMN Extension. The rule is simple: cut leaves before flowering, because once the plant flowers, leaf flavor drops and production stops.
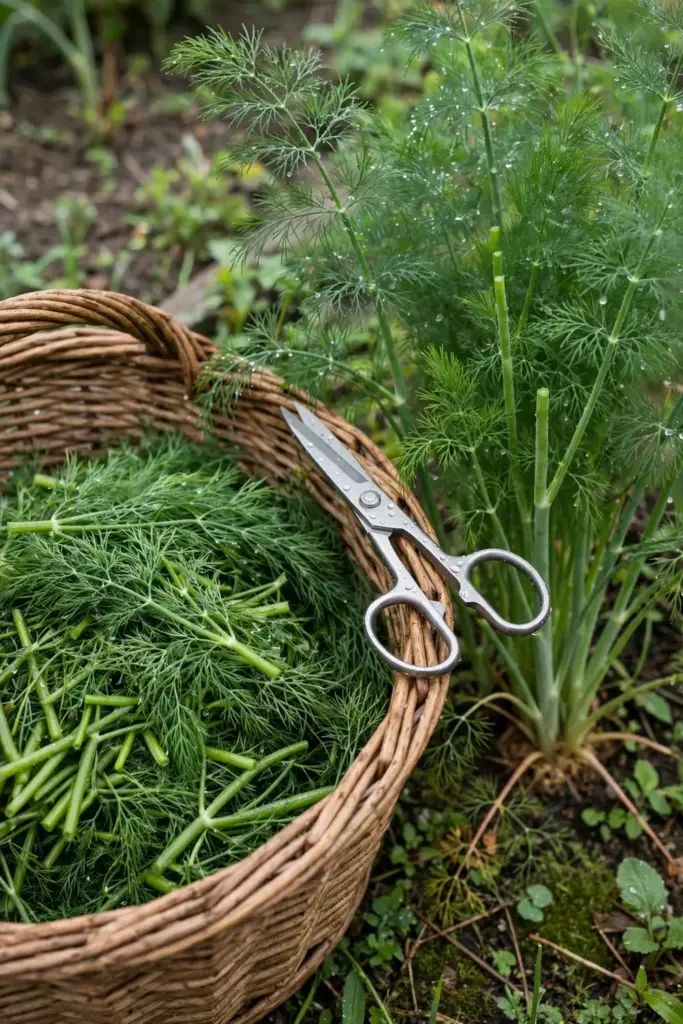
Cut the top quarter of the plant with clean scissors, taking whole fronds rather than plucking individual leaflets. Never remove more than a third of the plant at once. The plant needs enough foliage to keep growing. Regular cutting actually helps: trimming dill back often slows its desire to flower and go to seed.
Harvest in the morning after the dew dries. That is when the volatile oils are strongest and the leaves are crisp. Use fresh leaves the same day for the best flavor, or wrap them loosely in a damp paper towel inside a bag in the fridge for up to a week.
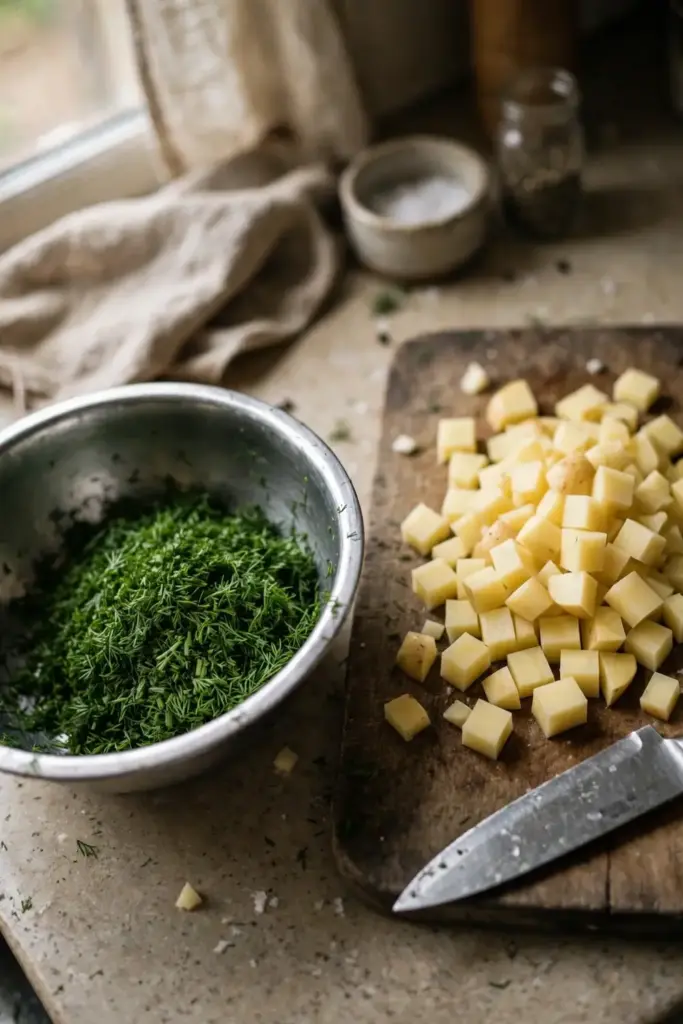
For Indian cooking, the leaf harvest is suva bhaji. Chop the fronds fine and cook them with potatoes, lentils, or in mixed vegetable dishes. Add the leaves at the end of cooking, since the flavor fades with long heat.
12. Seed Harvest: Bag the Umbels at Tan
The seed harvest is dill’s second act. Let the flowers mature on the plant until the seeds begin to ripen and turn a tan color. Then cut the flower stalks just before they fully ripen, per UMN Extension. Penn State puts the same moment slightly later: harvest the seeds just as they turn brown. Either way, do not wait until the seeds scatter on their own.
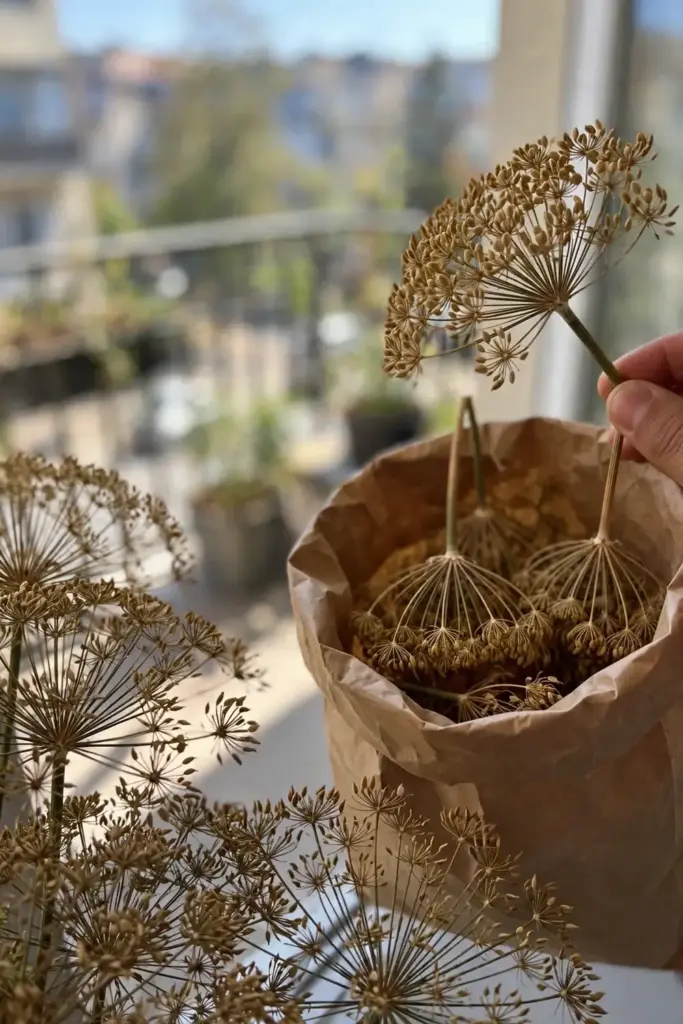
The classic method is the paper-bag dry. Cut the whole flower head off the stalk, place it upside down in a small paper bag, and hang the bag in a well-ventilated area out of direct sun. The seeds release as they dry and fall into the bag. One vigorous plant can fill a small jar.
Cure the seeds for a week in the bag, then store them in an airtight container in a dark place. Properly dried dill seeds keep their aroma for a year. Save some seeds from your best plant for next October’s sowing, and use the rest in the kitchen. Indian kitchens use dill seeds in pickles, breads, and spice blends, and the seeds carry the same fresh-anise flavor as the leaves in a warmer, deeper form.
| Harvest | Goal | When | How |
|---|---|---|---|
| Leaf (dill weed) | Fresh fronds for cooking | Before flowers open, Dec to Feb | Cut top quarter with scissors, morning harvest |
| Seed (dill seed) | Spice and next year’s sowing | When seeds turn tan to brown | Cut whole umbel, dry upside down in a paper bag |
13. Pests and Diseases: Aphids and Friends
Dill is usually disease-free, but aphids find it. Penn State Extension lists aphids or Fusarium root rot as the occasional problems. Aphids cluster on the tender growing tips and the flower buds, sucking sap and spreading sticky honeydew.
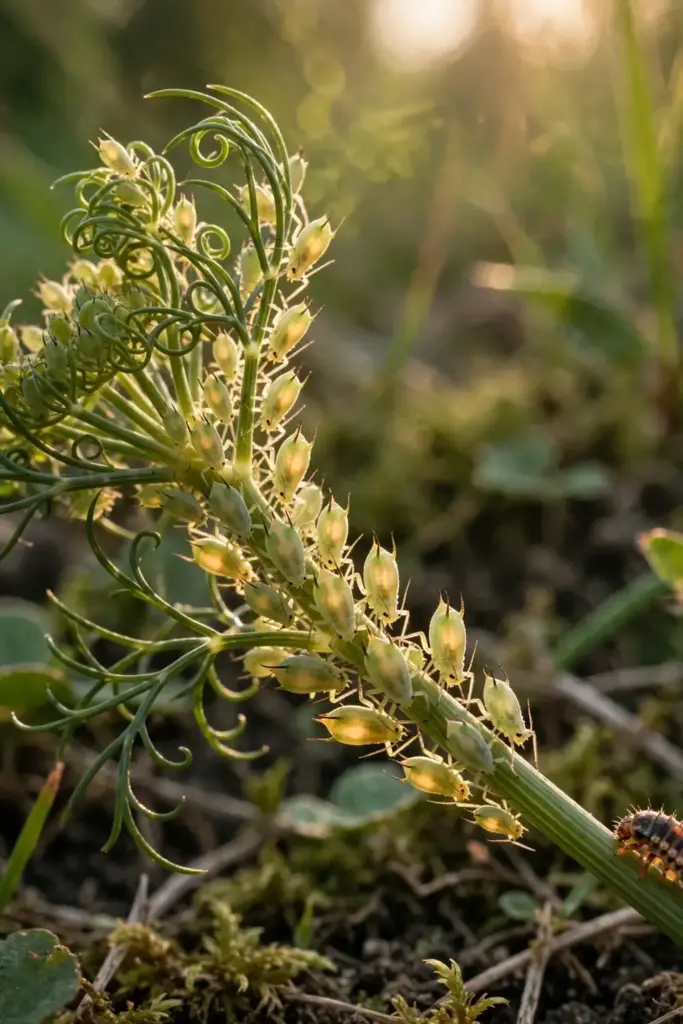
Blast aphids off with a strong jet of water. For a persistent colony, spray neem oil or insecticidal soap in the evening, and repeat after five days. Avoid broad-spectrum insecticides, because dill flowers feed beneficial insects and the plant hosts black swallowtail butterfly caterpillars, per Penn State. Those caterpillars look like tiny striped worms on the fronds. Leave them. They become butterflies, and they rarely eat enough to matter.
Powdery mildew appears as a white powder on leaves in humid, crowded conditions. Thin the plants for airflow, water at the base, and remove affected leaves. Fusarium root rot strikes in waterlogged soil and has no cure, so prevention through drainage is the only fix. Rotate the dill bed each year rather than sowing in the same spot.
14. Companions: Cabbage Yes, Carrots No
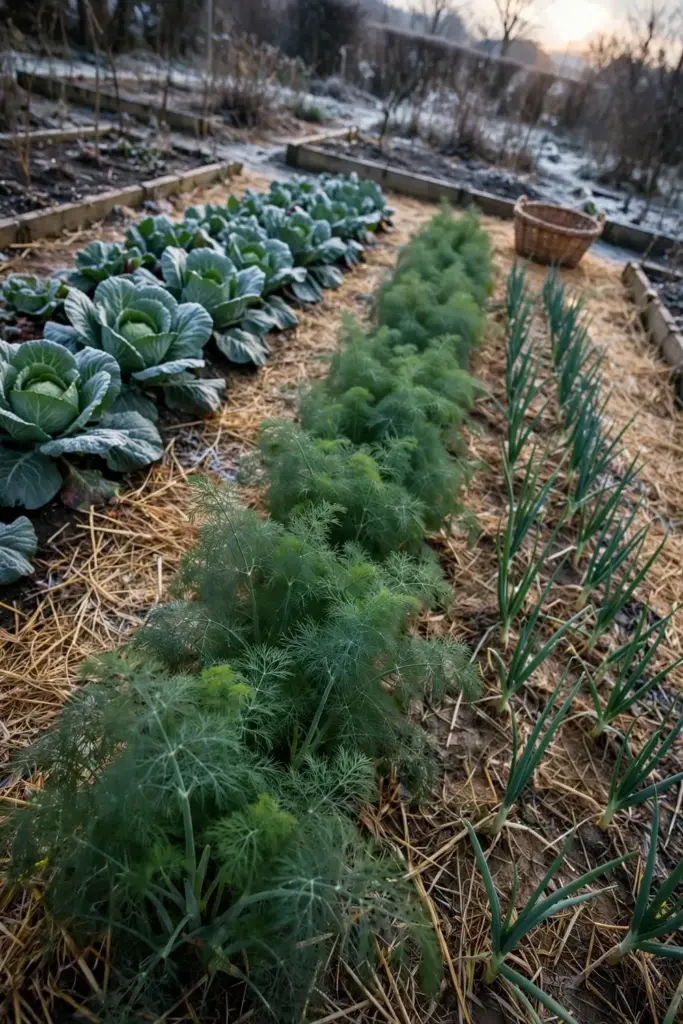
Dill is a friendly neighbor to most vegetables. Penn State Extension says dill grows well with cabbage, corn, lettuce, onions, and cucumber, but not with carrots. The carrot warning matters because dill and carrots are close relatives, and they share pests and diseases.
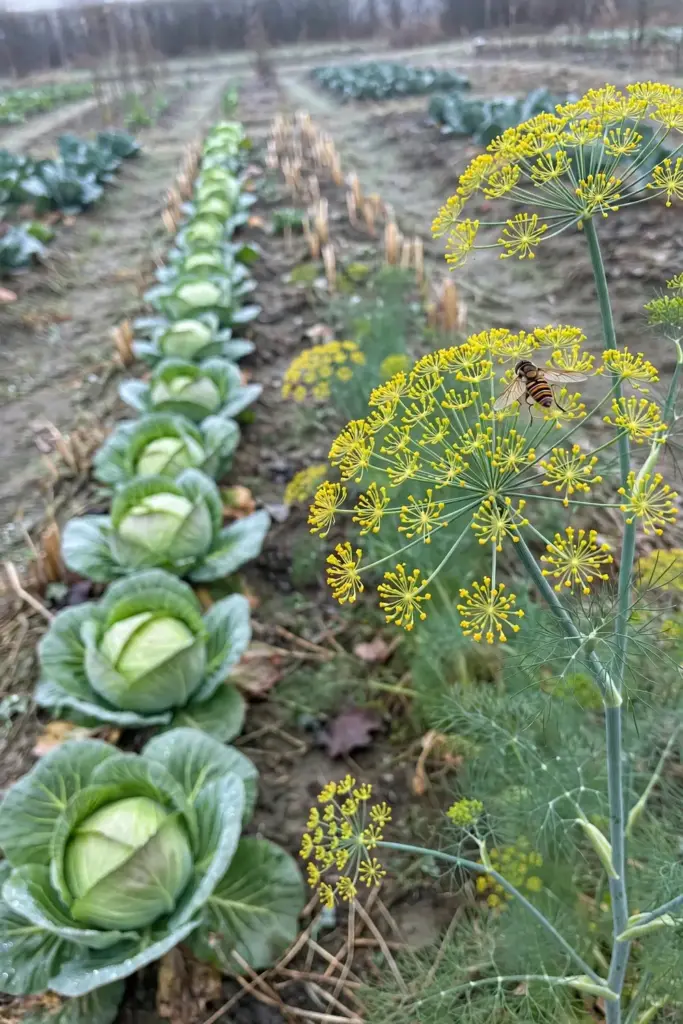
Keep dill away from fennel for the cross-pollination reason in section 3. Keep it away from carrots and parsley for the shared-pest reason. Everything else in the winter vegetable bed is fair game. Dill’s flowers attract hoverflies, ladybugs, and parasitic wasps that eat aphids, so a dill plant at the end of a cabbage row is genuine pest-control infrastructure.
Give tall dill a wind shelter. Agrifarming’s guide warns that strong winds can damage the hollow stalks, so plant dill where a wall, fence, or taller crop breaks the wind. In pots, move the container to a sheltered corner during windy spells.
15. Mistakes That Kill Dill Fast
Transplanting seedlings. Dill’s taproot punishes every move. Direct sow where the plant will live, and never start it in a tray with plans to move it.
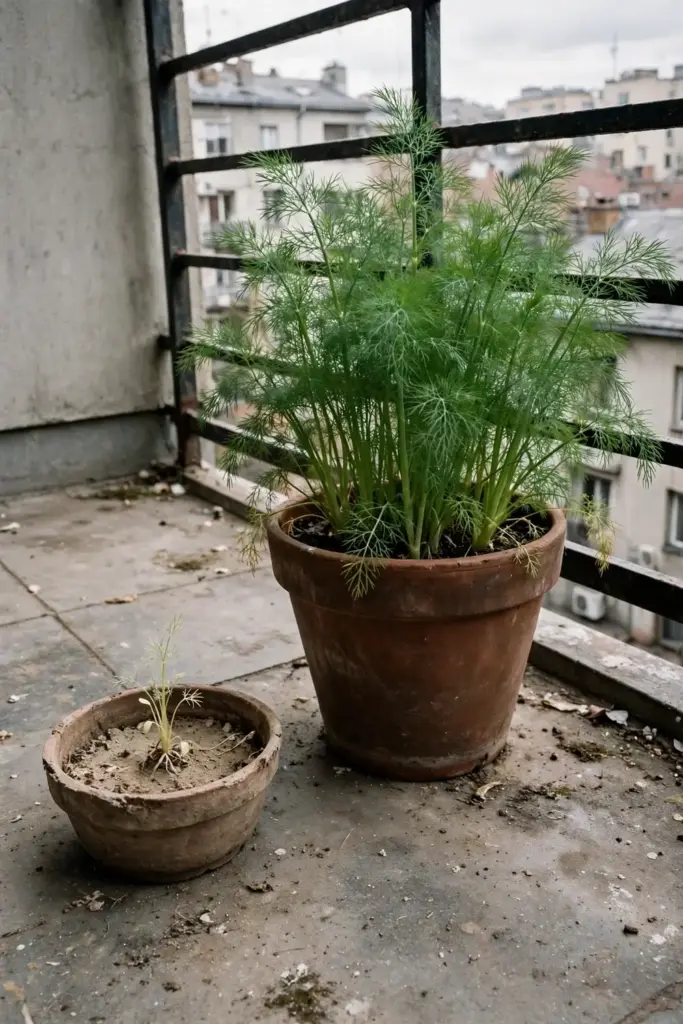
Sowing in a shallow pot. A 6-inch-deep pot looks fine for a seedling and fails the adult plant. Use 12 inches of depth minimum, per Ugaoo, or accept stunted, early-bolting plants.
Sowing in summer heat. Dill germinates and grows in cool weather. An April sowing in the plains bolts before it gives you a real harvest. October is the month.
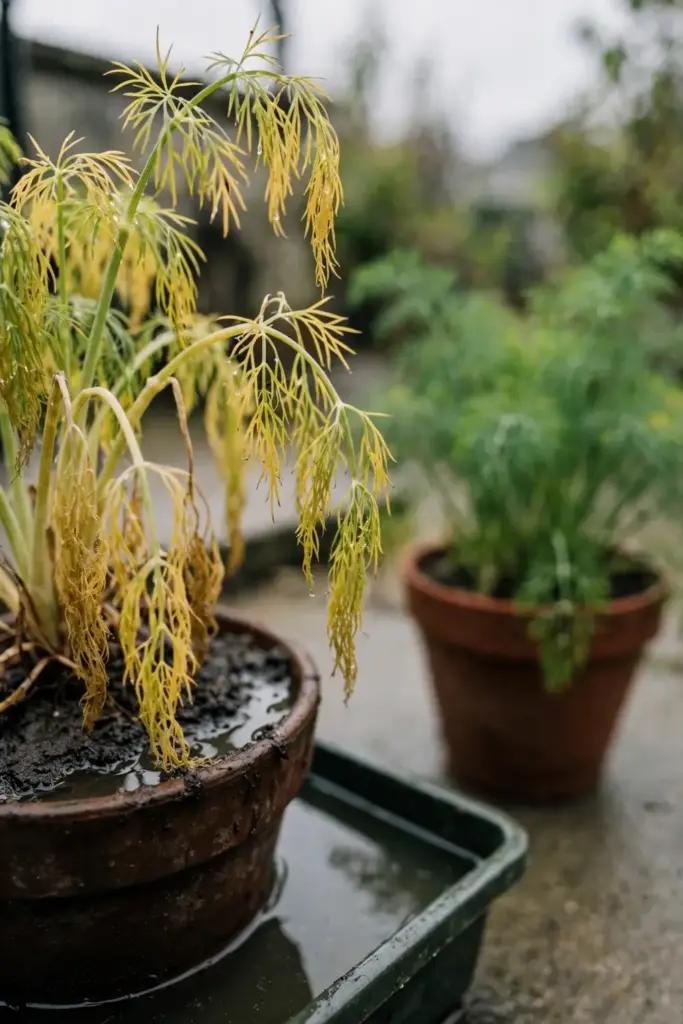
Overwatering the pot. Dill in containers rots faster than dill in beds. Let the top inch dry between waterings.
Feeding it like a tomato. Heavy nitrogen grows soft, watery, tasteless fronds. One compost application at sowing usually carries the whole short season.
Letting one sowing do all the work. A single October sowing gives you leaves for about six weeks. Succession sow every two weeks for a season-long supply.
16. Troubleshooting
Yellow leaves in a container usually mean too much water or too little light. Check drainage first, then move the pot to a sunnier spot. In a bed, yellowing with stunted growth points to waterlogging or compacted soil around the taproot.
Leggy, floppy seedlings mean the light is too weak. Dill wants full sun from day one. Move pots to the sunniest spot available, and thin crowded seedlings so each plant gets light.
No germination after three weeks usually means the seeds were buried too deep or the bed dried out during the 10-to-14-day window. Sow again, barely covering the seeds, and keep the surface moist with a gentle mist.
Plants flowering at 6 inches tall means heat stress or drought. There is no reversing it. Harvest what leaves remain, let the plant set seed, and sow the next batch in a cooler spot or with afternoon shade.
White powder on leaves is powdery mildew from humidity and crowding. Improve airflow, water at the base, and strip the worst leaves. It rarely kills the plant, but it ruins the flavor of affected fronds.
Frequently Asked Questions
Suva is the Indian dill, sold in India as Anethum sowa, while European dill is Anethum graveolens. The two are close cousins with nearly identical feathery leaves and yellow umbel flowers, but Indian seed commerce keeps the names separate. Growing advice overlaps, though the calendar differs: Indian suva is a winter crop sown in October, while European guides assume spring sowing. Check the botanical name on your seed packet to know which one you bought.
Yes, and pots suit Indian balconies well. Use a container at least 12 inches deep, because dill grows a long taproot that stunts in shallow pots. Fill it with a fast-draining mix of garden soil, compost, and cocopeat or sand. Sow directly in the pot in October, give it full winter sun, and water when the top inch dries out. Compact varieties like Fernleaf stay 12 to 18 inches tall and bolt later, making them the best pot choice.
Heat and drought trigger bolting. Dill is a cool-season annual, and once daytime temperatures climb past 30 degrees Celsius, the plant abandons leaf growth and rushes to flower. In India this usually happens in March. You can delay it by cutting foliage often, pinching flower buds, giving afternoon shade, and keeping the soil evenly moist. Once a plant bolts, harvest the remaining leaves and let it set seed for next season.
Sow in October in the plains, right after the monsoon retreats. That gives the crop the cool October-to-February season it needs, with average temperatures around 16 to 18 degrees Celsius per Agrifarming’s organic dill guide. Germination takes 10 to 14 days. Sow a new batch every two weeks through January for a continuous leaf supply. In the hills and the Nilgiris, you can also sow in March and April as a summer crop.
It is genuinely hard, because both have feathery threadlike leaves. The reliable differences appear later: dill stays an annual 1 to 4 feet tall with no bulb, while fennel grows taller, lives multiple years, and Florence fennel makes a bulb at the base. Crush a leaf and smell it. Dill smells fresh and citrusy with mild anise, while fennel smells strongly of sweet licorice. Do not plant them side by side, since they can cross-pollinate.
Dill is an annual, so the parent plant dies after setting seed. But it self-sows freely. If you let a few umbels drop their seeds where they stand, new seedlings usually appear the next cool season without any help. Many gardeners find volunteer dill more vigorous than their deliberate sowings. To control it, deadhead the plants you do not want spreading, and save the rest of the seed in a paper bag.
Keep Sowing Through the Cool Season
Suva rewards the gardener who respects its calendar. Once you learn how to grow dill from India on its own cool-season rhythm, the crop practically runs itself. Sow in October into deep soil or a 12-inch pot, keep the water moderate, cut the leaves hard and often, and let a few plants go to seed for next year. The whole crop costs almost nothing: a packet of seeds, a bag of compost, and a sunny corner. Do it right and your winter kitchen gets fresh suva bhaji for months, plus a jar of home-grown dill seed for the spice shelf.