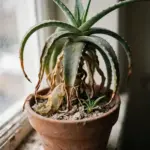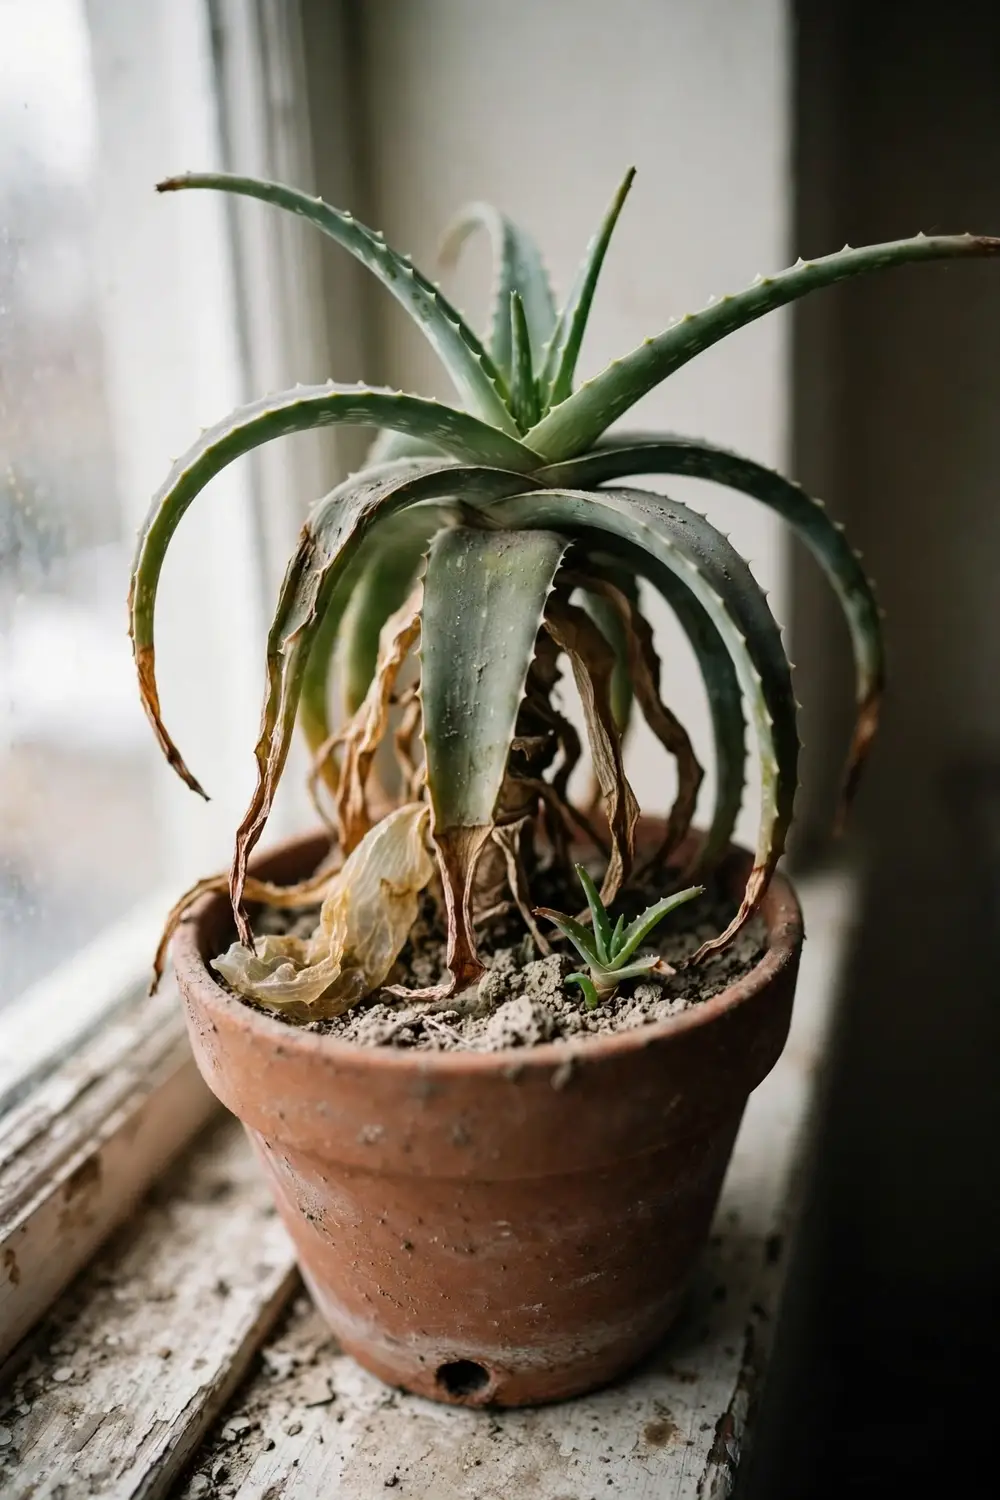

Stop watering the plant. Lift it out of its pot and look at the roots. Those two moves decide whether a neglected aloe vera plant lives or dies, and they take 10 minutes. That is how to revive a neglected aloe vera plant: triage the leaves, check the roots, cut the rot, repot in dry mix, and wait for new center growth. The rest of this page is 8 steps, from the first leaf check to the first new leaf.
I have learned that the aloe vera I unpot and check beats the aloe vera I keep watering on a guess.
1. Read the Leaves Before You Touch the Pot
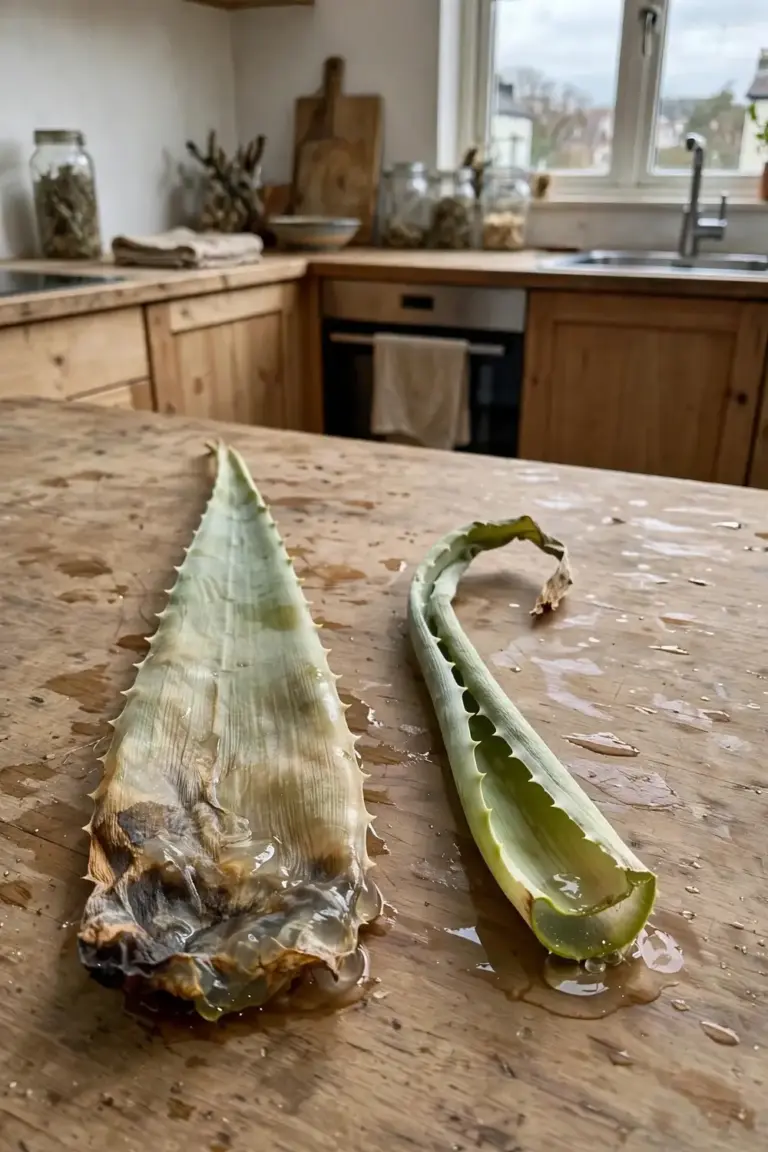
The leaves name the problem before the roots do. Mushy leaves point to overwatering. Thin and curled leaves point to underwatering. That contrast drives the whole rescue, and the sources behind it are plain: overwatering leads to roots rotting, according to the North Carolina Extension Gardener Plant Toolbox profile of Aloe vera, while Penn State Extension warns that aloes are extremely drought tolerant and susceptible to root rot, so the pot must never sit in water.
| Symptom | Most Likely Cause | First Move |
|---|---|---|
| Mushy, translucent, brown leaves from the base | Overwatering and root rot | Stop watering, unpot, check the roots |
| Thin, curled, dry leaves | Underwatering | Soak once, then switch to soak and dry |
| Brown, crispy leaf tips | Sunburn or cold damage | Move to bright indirect light, check for cold drafts |
| Pale, stretched, leaning growth | Low light | Move toward brighter light in stages |
| White cottony patches or sticky leaves | Mealybugs or aphids | Isolate the plant, treat the pests |
Work through the table in order. A plant can carry two problems at once, and the mushy-leaf problem always comes first. Water on rot spreads rot. A sunburned plant with wet roots still needs dry roots before it needs better light.
Neglect covers four different failures, and the table separates them. Overwatering rots roots. Underwatering shrivels leaves. Cold air collapses tissue. Low light stretches growth. Each failure needs a different fix, and the wrong fix makes the real failure worse. Water on a cold-damaged plant feeds rot. Sun on an overwatered plant burns leaves that cannot drink. The table stops that chain by naming the failure first.
Gather the tools before you start. Clean scissors, gloves, fresh cactus or succulent mix, and a pot with drainage holes cover the whole rescue. Clean the scissors with rubbing alcohol before the first cut and again after cutting rot. A dirty blade moves rot from one cut to the next, and the plant pays for the shortcut.
2. Check the Roots Before You Decide Anything
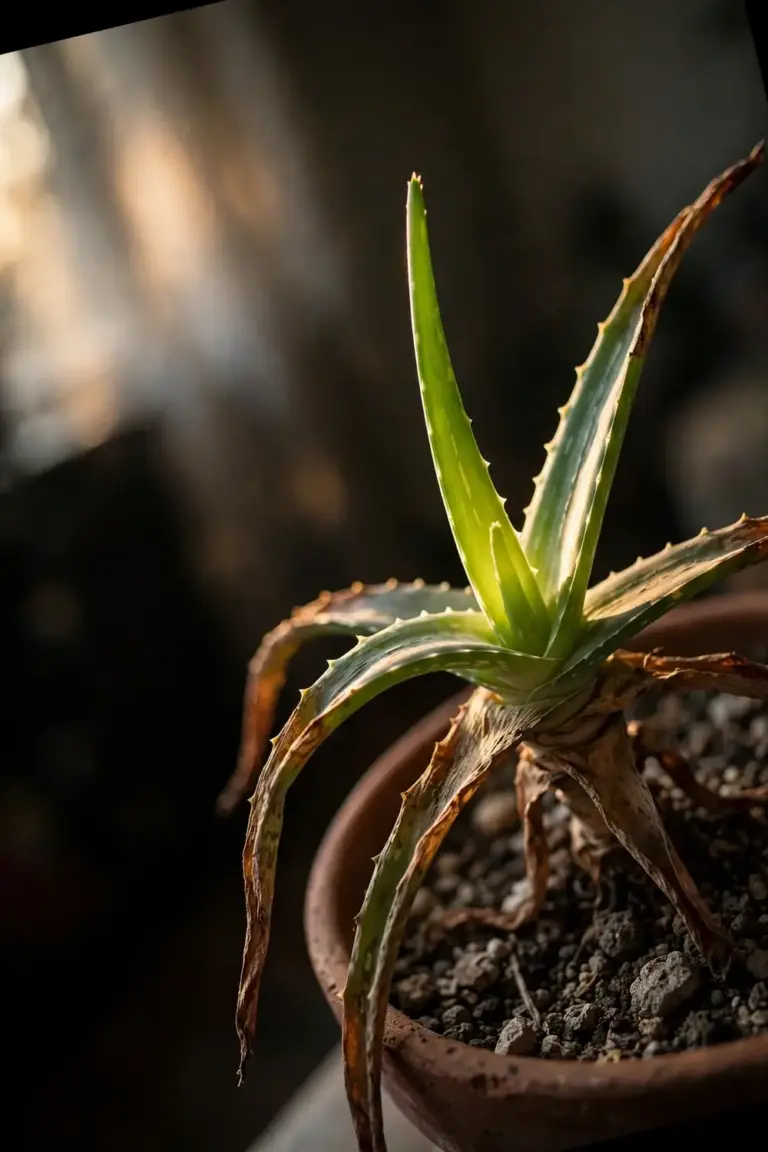
Unpot the plant and look at the roots. Healthy roots feel firm and look pale. Rotted roots feel soft and look brown or black. The crown tells the rest: a firm green center means the plant can recover, and a soft collapsed crown means the plant is dead. No leaf color overrides that test.
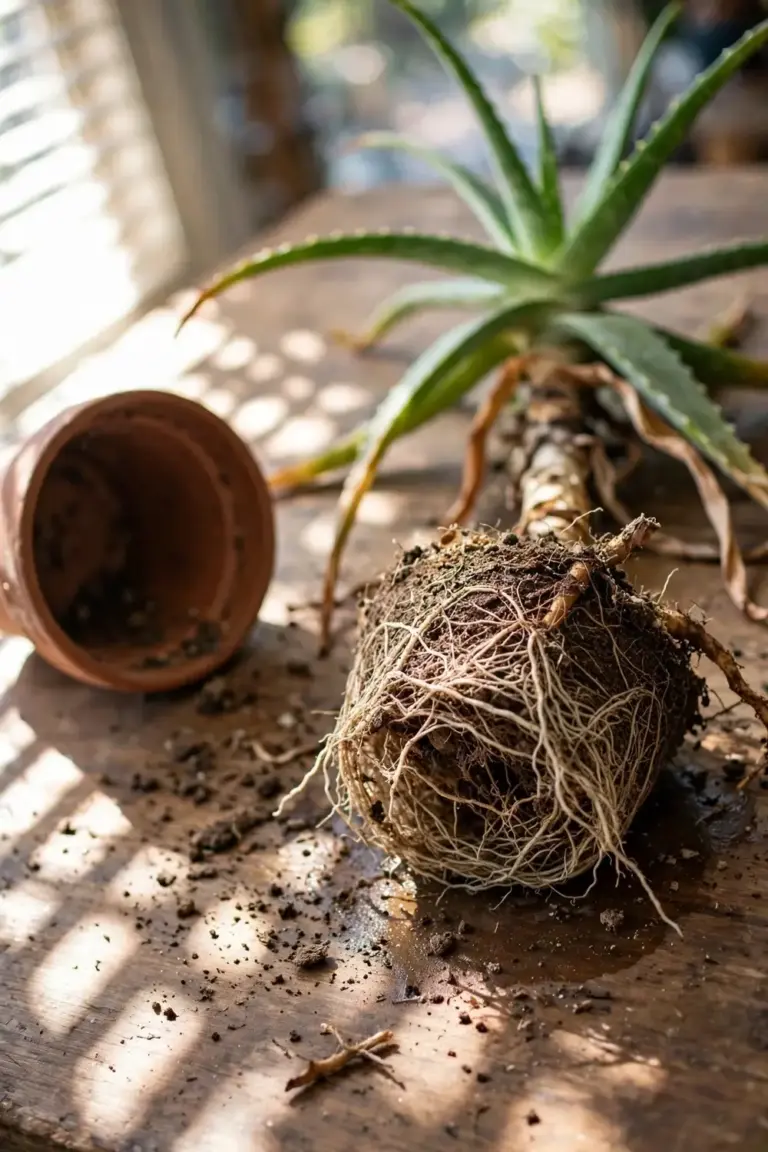
Tip the pot on its side and slide the plant out with one hand on the root ball. Shake the old mix off the roots. Rinse the roots under a gentle stream of water so the damage shows clearly. Roots that stay firm after rinsing stay. Roots that fall apart in your fingers go.
Do not judge the plant by its worst leaf. Old outer leaves die first under neglect, and they do not come back. The rescue question is narrower: does the center hold firm green tissue, and do any firm roots remain.
Use your nose as well as your eyes. Rot smells sour and damp, and a root ball that smells that way holds rot even where the roots still look pale. A healthy root ball smells like soil and nothing else. The smell test catches rot that the eye misses, and it costs nothing.
If every root is gone, the rescue still runs on the crown alone. Trim to firm crown tissue. Let the cut dry. Set the crown on dry mix. A firm crown grows new roots when the mix stays dry between waterings, though the path runs slower than a plant with roots. A crown that feels soft through and through holds no living tissue. Bin it. A plant with a firm crown and a few firm roots recovers. A plant with no firm tissue anywhere does not, and no step changes that.
3. Cut the Rot and Let the Wounds Dry
Cut away every soft root and every mushy leaf. Work with clean scissors and cut back to firm tissue. A half-trimmed rot pocket keeps spreading, so cut until the remaining tissue feels firm under your thumb. Cut mushy leaves at the base where they meet the stem.
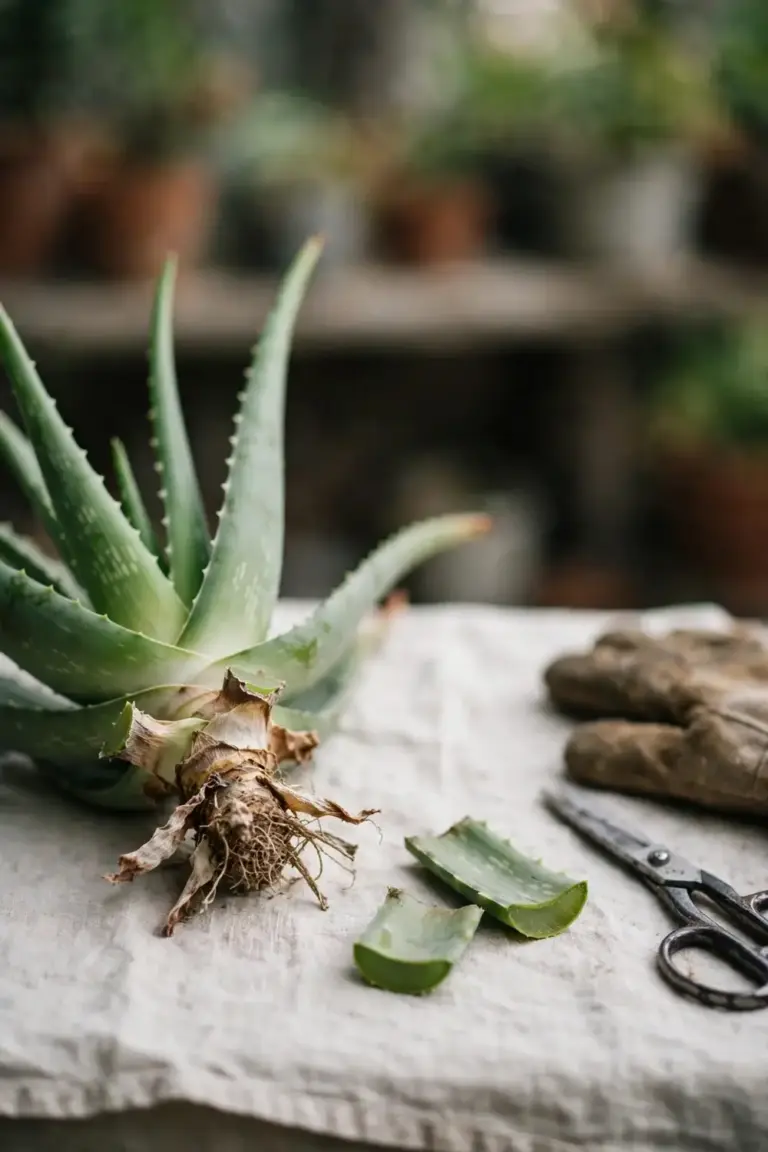
Wear gloves for this step. The Royal Horticultural Society lists aloe as harmful if eaten and advises gloves and other protective equipment when handling the plant, per its Aloe barbadensis plant profile. The yellow latex layer under the leaf skin irritates skin in some people, and gloves keep it off your hands.
Set the trimmed plant in open air for 2 to 3 days. The cut ends dry and seal during that window, and a sealed cut resists rot when it meets mix again. Keep the plant in bright indirect light while it dries, away from direct sun and away from water. Do not wrap it, do not mist it, and do not set it back in a pot early. The wait feels slow. The wait is the step that stops a second round of rot.
Cut roots before leaves. Roots hide the worst rot, and the root trim decides how much leaf the plant can support. A plant with few roots keeps few leaves. Trim the roots first, then take the mushy leaves, then step back and look at what remains. A crown with firm leaves and firm roots goes to the drying shelf. A crown stripped to bare stem still dries the same way, and the drying shelf treats both alike.
The drying shelf is any dry spot with moving air. A table near a bright window works. A shaded porch works. A closed cupboard does not, because still air keeps cut ends damp. Turn the plant once a day so all sides dry evenly. The cut ends feel papery and dry when the window closes. That papery seal is the wound closing, and the plant goes back in mix only after it forms.
Bin the trimmed material. Rotted leaves and roots carry the fungi that caused the rot, and compost piles run too cool to kill them. A sealed bag in the household bin ends the problem. Wash the scissors again after the last cut, and wash your gloved hands before touching another plant.
Check for pups while the plant dries. Healthy offsets growing at the base are backup plants. Twist a pup with its own roots free from the parent, let its cut dry beside the parent, and pot it on its own. A parent that fails still leaves a pup that carries on. A parent that recovers leaves a pup that becomes a second plant.
4. Repot in Dry Mix and a Pot That Drains
Use a coarse, well-draining mix. Penn State Extension gives a working recipe: one part potting soil, one part sand, and one part perlite or lava rock, per its aloe houseplant guide. A store-bought cactus or succulent mix works the same way. The mix must fall apart in your hand when dry. A mix that clumps wet holds the water that caused the rot.
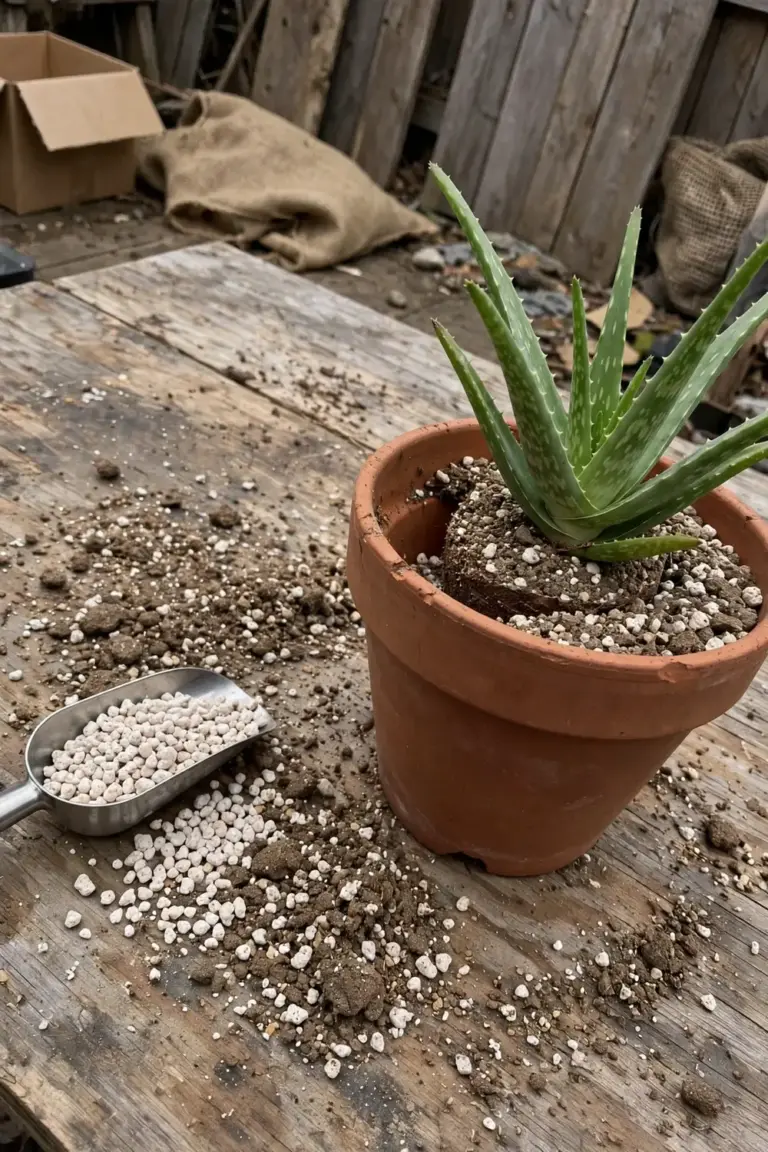
Pick a pot with drainage holes. Clay beats plastic here, because clay wicks moisture out of the mix, and the North Carolina Extension Gardener Plant Toolbox profile of Aloe vera calls clay best and asks for drainage holes. Set the plant so its leaves sit above the soil line, and leave 2.5 to 3.8 cm between the root ball and the pot edge, the gap Penn State Extension recommends.
Do not jump to a big pot. The University of Florida IFAS Extension warns against increasing the new pot by more than two pot sizes, because too large a container holds too much moisture that could lead to root rot, per its aloe vera guide. A pot only slightly larger than the old one dries at the right pace. Penn State Extension adds that replanting every two years refreshes the soil and reduces crowding, so the fresh mix in this repot does double duty.
Test the mix before the plant goes in. Squeeze a damp handful and open your hand. A good mix falls apart. A mix that holds a wet clump holds too much water for aloe, and the plant will sit wet after every watering. Add more perlite or coarse sand until the handful crumbles. The squeeze test takes 10 seconds and predicts the next year of watering.
Clay earns its place here for a second reason. A clay pot shows moisture on its outer wall. A dark damp band near the base means the mix still holds water. A pale dry wall means the mix has dried through. The pot becomes a gauge you can read without disturbing the roots, and the reading settles the watering question on dark winter days.
5. Water Only When the Soil Is Fully Dry
Wait before the first watering. Let the repotted plant sit in dry mix for several days, then water only when the mix has dried through. The North Carolina Extension Gardener Plant Toolbox profile of Aloe vera states the rule plainly: allow the soil to completely dry between waterings, and avoid overwatering because it leads to roots rotting.
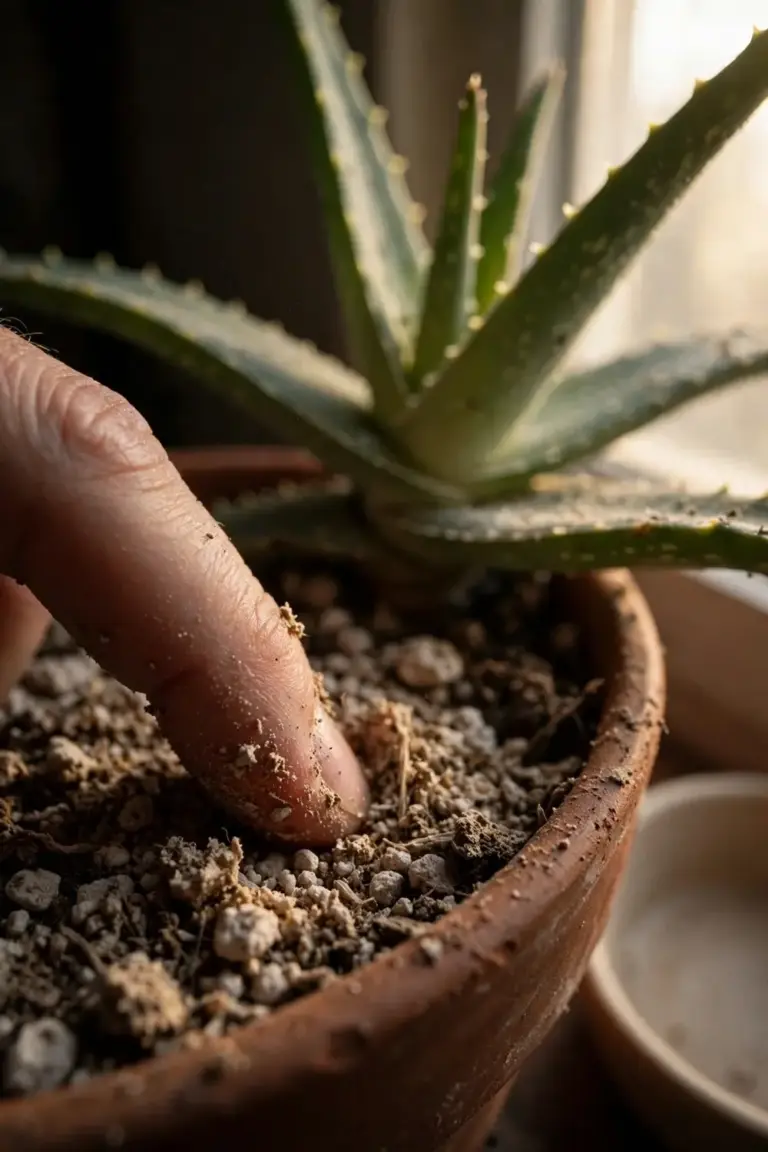
Use the soak-and-dry rhythm from here on. Push a finger into the mix. Water only when the top layer feels dry all the way down. Water thoroughly until water runs from the drainage holes, then empty the saucer. Never let the pot sit in standing water.
Pour slowly. A fast pour runs down the gap between mix and pot wall and out the drainage holes, leaving the root ball dry. A slow pour soaks the mix instead. Pour a little, wait a minute, pour again. Stop when water runs from the holes. The mix should feel evenly damp through, not wet on top and dry below.
Check the drainage holes each time you water. Roots and mix plug holes over months, and a plugged hole turns a draining pot into a sealed one. A skewer pushed gently through a blocked hole clears it without disturbing the roots. Water that runs freely from the holes proves the pot still drains. Water that pools on top proves it does not.
Cut back hard in the dormant months. The same NC State profile says to water less frequently in winter. Penn State Extension sharpens that rule: during the dormant period from fall through winter, reduce watering so the soil stays barely moist and the leaves do not shrivel. A recovering plant in winter needs less water than a recovering plant in spring. The calendar changes the dose, and the finger test still settles it.
Watch for a second round of rot after repotting. New mushy leaves in the first weeks mean the roots still sit too wet, and the fix repeats the rescue: stop watering, unpot, check, trim, dry, repot. A second round is not a failure of the method. It means the first trim missed a rot pocket, and the second trim catches it. Plants that survive two trims usually hold steady after that.
Ignore fixed schedules. A plant in a bright warm room dries its mix in days. A plant in a cool dim room holds moisture for weeks. The same pot on the same shelf dries faster in spring than in winter. The finger test and the pot weight beat any calendar, because they read the actual mix in front of you.
6. Give It Bright Light, Never a Sudden Sun Bath
Bright light rebuilds the plant. The North Carolina Extension Gardener Plant Toolbox profile of Aloe vera places the plant in full sun to partial shade. Indoors, that means the brightest window available with no harsh midday blast on a plant that has spent weeks in dim light. A recovering aloe burns in sudden direct sun, and burned leaves do not heal.
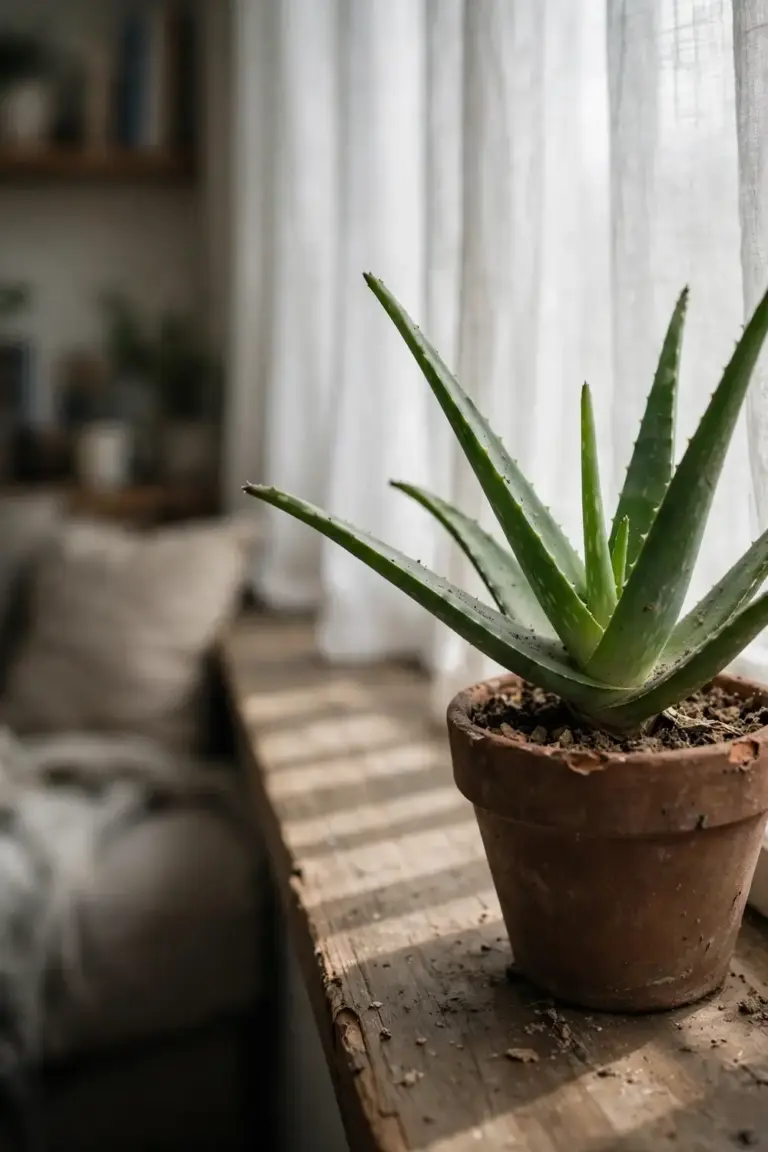
Move the plant toward the light in stages. Start with bright indirect light for a week. Add an hour of gentle morning sun. Add more only when the leaves hold their color. The University of Florida IFAS Extension warns that a plant moved from low to bright light too fast can sunburn, per its aloe vera guide, and a stressed plant burns faster than a healthy one.
Cold damage needs the same care. Penn State Extension states that aloes are not frost tolerant and must come indoors before the threat of frost, per its aloe houseplant guide. A plant that sat by a cold window goes to a warmer spot first, then toward the light. Rotate the pot a quarter turn each week so all sides get light, and use a grow light if no window gives bright light. The grow lights guide covers how to pick one. For cold drafts and frost timing, the late frost protection guide covers the thresholds.
A grow light fills the gap when windows fall short. Set it above the plant on a timer for 12 to 14 hours a day, and keep the lamp far enough away that the leaves feel no heat. The plant reads the light, not the lamp brand. A recovering aloe under a grow light still follows the same rules: dry mix, bright light, patience.
Read leaf color as a light gauge. Leaves that hold a steady green sit in the right light. Leaves that turn brown or orange at the tips take too much direct sun. Leaves that fade pale and stretch toward the window need more light. The plant reports its light level in color and shape every week, and the grower answers by moving the pot a hand span toward or away from the glass.
Hold the outdoor move until the plant holds firm. A recovering aloe stays indoors through the whole rescue. Outdoor air, wind, and rain add variables the plant cannot handle while its roots regrow. Once new center growth shows and the plant holds firm in its pot, move it outside in stages the same way you moved it toward the window: shade first, then gentle morning sun.
7. Leave Feeding and Pests Alone Until New Growth Shows
Do not feed a recovering plant. Fertilizer pushes soft growth on roots that are still healing, and soft growth rots first. Wait until the plant shows new center growth, then feed at the normal rate. The Royal Horticultural Society recommends a general liquid fertilizer monthly from May to August, per its Aloe barbadensis plant profile. That schedule starts after recovery, not during it.
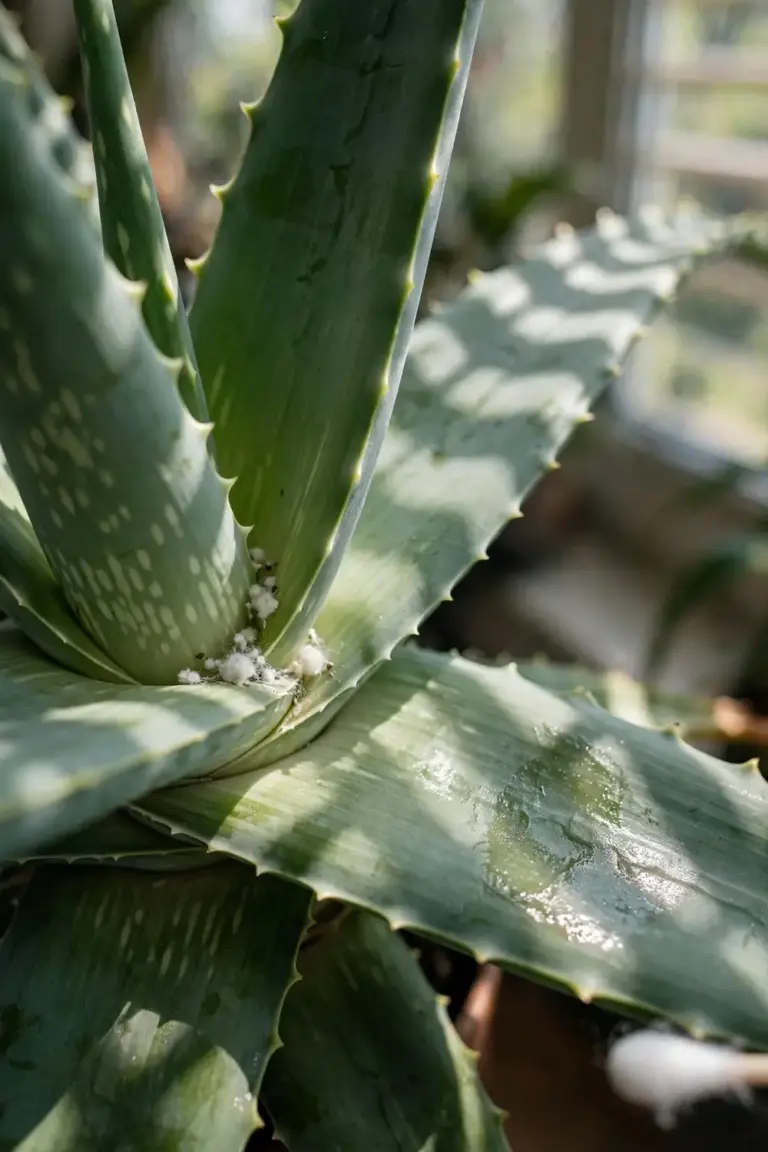
Check for pests while you wait. The North Carolina Extension Gardener Plant Toolbox profile of Aloe vera names mealybugs and aphids as the insects that may affect aloe, with scale, leaf spot, aloe rust, and sooty mold among the diseases. A stressed plant draws pests faster than a healthy one. Look at leaf joints and the undersides of leaves each week. Isolate any plant that shows cottony patches or sticky residue, and treat it before the pests spread to other pots. The organic pest control guide for beginners covers the treatment options.
Treat mealybugs by hand first. Dab each cottony patch with a cotton swab dipped in rubbing alcohol, and the patch dissolves on contact. Repeat the dabbing every few days until no new patches appear. Aphids rinse off under a gentle stream of water, and the plant goes back to its bright spot to dry after rinsing. Both treatments stay local to the pest, and neither adds moisture to the mix.
Scale needs a different hand. Scale insects sit as hard bumps on leaves and stems, and they do not rinse off. Scrape each bump off with a fingernail or a soft cloth, then dab the spot with rubbing alcohol. Leaf spot and sooty mold point back to wet leaves and poor air flow, so the fix is dry leaves and moving air, not a spray. A plant that keeps showing leaf spot after the leaves dry needs a second look at the roots, because wet roots and wet leaves travel together.
Skip the rescue tonics. No fertilizer, no rooting powder, and no home remedy fixes rot. The plant recovers on dry mix, bright light, and time. Products sold as rescue cures add salts and moisture to roots that need neither.
Isolation protects the rest of the collection. A recovering plant sits apart from healthy plants until it shows new growth. Pests move across touching leaves, and fungi move through shared saucers. One saucer per pot, one plant per spot, and a weekly leaf check keep a single rescue from becoming a shelf-wide problem. Return the plant to the group only after new center growth shows and the leaves feel firm.
8. Read Recovery From New Growth, Not Old Leaves
New growth is the only honest sign. Watch the center of the rosette. A new leaf pushing up from the center means the roots work again. Old leaves do not uncurl, do not firm up, and do not turn green again. Their job is done, and the plant sheds them on its own schedule.
Judge the plant on a weekly rhythm, not a daily one. Lift the pot. A pot that gains weight between checks holds roots that drink. A pot that stays light holds roots that are still idle. Tug gently on the plant after a few weeks. Resistance means new roots grip the mix. No resistance means the plant still sits unrooted, and the dry routine continues.
Do not repot again to check. Each unpotting breaks the fine roots the plant just grew. One repot at the start is the whole procedure. From there, the plant needs stillness more than attention. The soil health guide explains why undisturbed mix drains better than mix that gets stirred.
Know when to stop. A crown that stays soft after weeks in dry mix holds no living tissue, and further waiting changes nothing. The honest end of a rescue is the bin, and the pup you saved at the start carries the plant forward. Every gardener loses plants. The skill is not saving all of them. The skill is reading the crown early, cutting clean, and giving the living tissue a dry bed to regrow in.
Once the plant holds firm and pushes new center leaves, the rescue ends and routine care begins. The routine stays the same shape: dry mix, bright light, water only when the mix dries through, and a fresh pot when the roots crowd the old one. The plant that survived neglect needs no special treatment after recovery. It needs the ordinary care that would have prevented the neglect, delivered on a steady rhythm instead of in bursts.
Frequently Asked Questions
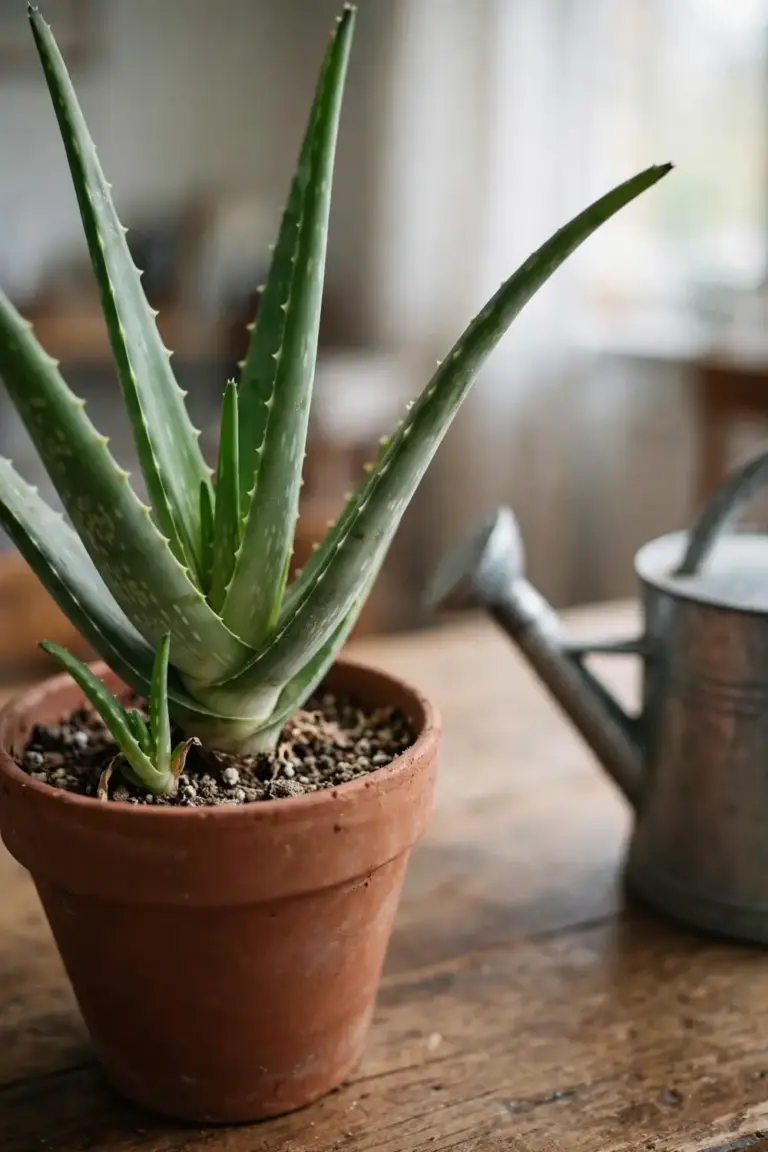
Yes, if the crown stays firm and green. Trim all rot, let the cut end dry in open air for 2 to 3 days, then set the crown on dry mix in a pot with drainage holes. New roots grow from the crown when the mix stays dry between waterings. A crown that feels soft or collapsed holds no living tissue, and no step revives it.
New growth takes weeks, not days. Watch the center of the rosette for a new leaf pushing up. That leaf is the recovery signal. Old leaves do not uncurl or firm up again, so judge the plant by the center, not the outer leaves. A pot that gains weight between checks holds roots that drink again.
No. Let the repotted plant sit in dry mix for several days first. Water only when the mix has dried through, and empty the saucer after watering. The North Carolina Extension rule is plain: allow the soil to completely dry between waterings, because overwatering leads to roots rotting. Early water on fresh cuts restarts rot.
No. Mushy leaves do not recover, and they drain the plant while they decay. Cut them at the base with clean scissors and let the cuts dry. The plant regrows from the center, not from old leaves. Keep the firm leaves in place, because they still feed the crown while new growth starts.
No, not to eat. The Royal Horticultural Society lists aloe as harmful if eaten and advises gloves when handling the plant. Keep the plant out of reach of pets and children, and keep cut leaves away from mouths. The clear gel inside the leaf differs from the yellow latex layer under the skin, and the latex layer carries the irritant.
Start the Revival Tonight
Stop watering. Unpot the plant. Cut the rot, let the wounds dry, repot in dry mix, and wait for new center growth. That sequence is the whole rescue, and it starts with the 10 minutes in front of you.
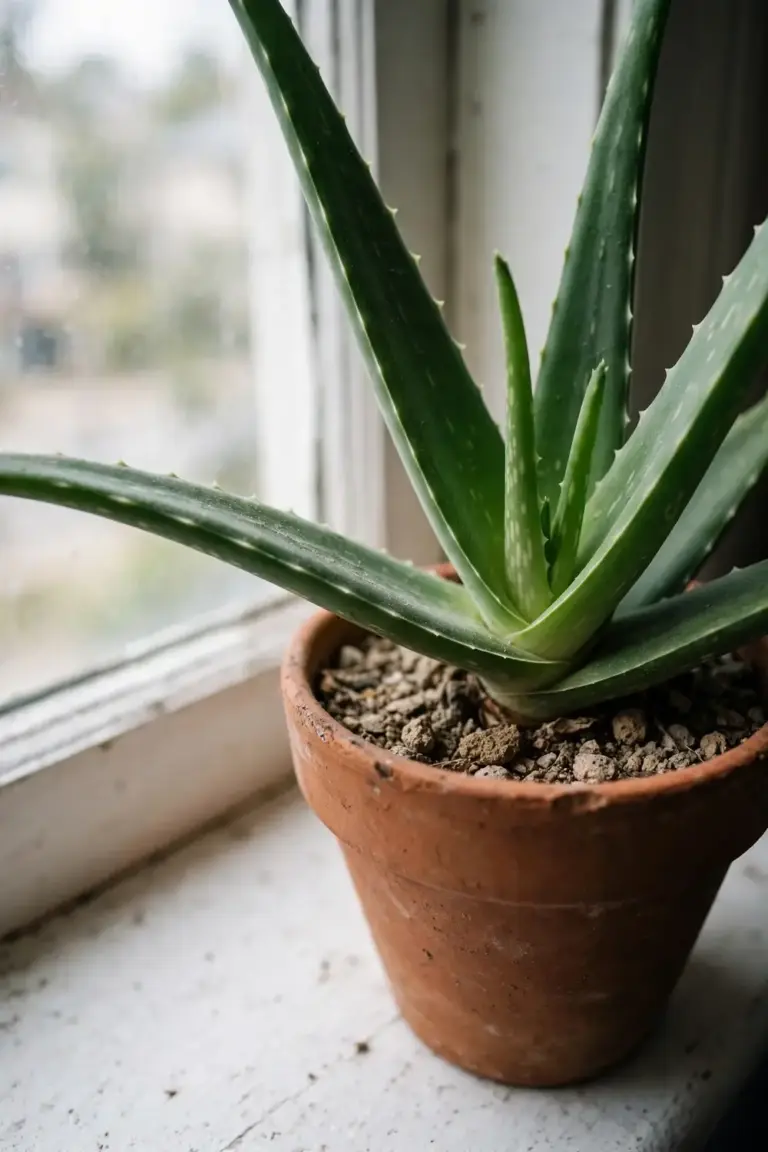
The plant asks for little after that: dry mix between waterings, bright light in stages, no fertilizer until new growth shows, and a weekly leaf check for pests. The routine is small, and the routine is the rescue. Plants do not recover on attention. They recover on dry roots, bright light, and time.