
Learning how to grow dandelions for eating gives you three harvests from one plant in 60 to 90 days. That is the entire pitch. Skip the lawn weeds and their spray history. Sow a patch in loose soil, pull young greens in spring, pick flowers in early summer, and dig roots in fall to roast for tea.
A 2024 cultivation study in Italy found that dandelions grown in partial shade came out larger, more tender, and milder in flavor than sun-grown plants. Shade is the first lever. Age is the second. Pick leaves young, keep the bed deadheaded, and the bitterness that scares people off mostly disappears. This article covers the full eating-harvest chain: greens, flowers, and roots. For a wider overview of identifying and using dandelions, our companion article How to Grow Dandelion Herbs covers the foraging side. This one owns the cultivation side.
1. The Grow-for-Eating Truth About Dandelions
Two honesties before the sowing. First, dandelion greens are bitter. That is a fact of the plant, and no amount of optimism removes it. Cultivation tames it. Partial shade, young leaves, blanching, and the right cultivar cut the edge without erasing the character. Second, spray history matters more than anything else. Never eat dandelions from a lawn treated with herbicide or pesticide, including the granular weed-and-feed products most suburban lawns receive each spring. Grow your own patch, and the question disappears.

Pu Gong Ying (蒲公英) is the Chinese name for dandelion, and it carries a long documented history as both food and traditional herb in China. Dried dandelion appears in Chinese markets as a tea herb, and the young greens show up in spring cooking. That dual food-herb status is exactly the frame for this article: you are growing a crop with a kitchen destination, not rescuing a weed. Cultivated varieties such as ‘Ameliore’ have broader, less bitter leaves than wild plants. When you see Italian chicory mixes sold in markets, the mild bitter-green logic is the same. You are not fighting the plant. You are farming the mild side of it.
2. Identify True Dandelion Before You Eat Anything
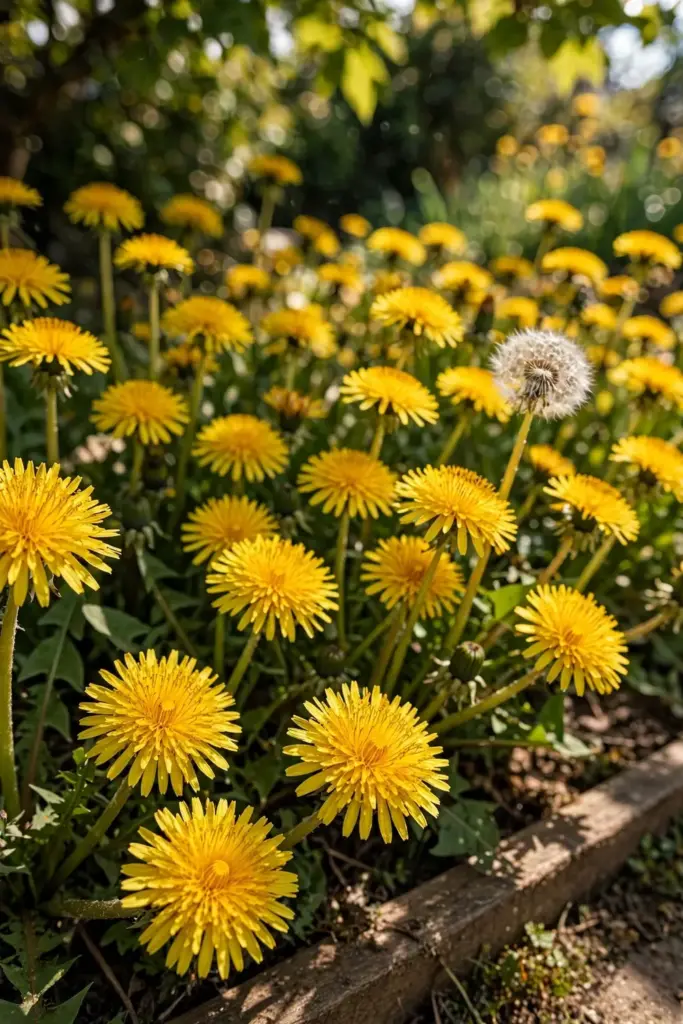
Taraxacum officinale is the common dandelion, a perennial in the Asteraceae family. One hollow, unbranched flower stalk rises from each leaf rosette, and the stem leaks milky white sap when snapped. That single hollow stalk is the identification test that matters.
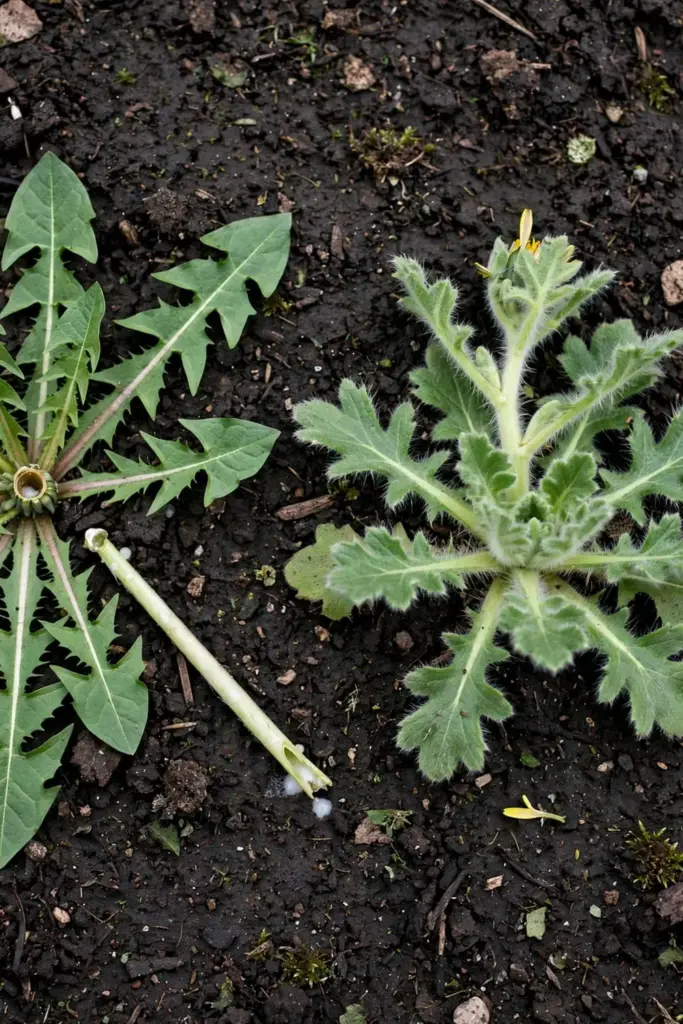
| Feature | True Dandelion (T. officinale) | Catsear (Hypochaeris) |
|---|---|---|
| Flower stem | Hollow, single, leafless | Solid, branched, may have leaves |
| Leaves | Deeply toothed, hairless, all in a basal rosette | Hairy, less sharply toothed |
| Milky sap | Present in stem and leaves | Present but less obvious |
| Root | Thick single taproot | Fibrous, branched roots |
Buy seeds from a reputable seed house and the identification question never arises. The NC State Extension profile for Taraxacum officinale lists the key traits and the hardiness range. Foraging from the wild keeps the catsear question alive. Cultivation kills it.
One more field mark worth learning: dandelion flower heads close at night and reopen with the morning sun, and the seed head forms a perfect sphere of parachutes. Catsear clocks look similar at a glance, so the stem test stays the decider. Hollow and single means dandelion. Solid or branched means something else, and something else stays out of the salad bowl.
3. Growing Specs at a Glance
| Spec | Number |
|---|---|
| Botanical name | Taraxacum officinale |
| Life cycle | Perennial, grown as an annual or perennial crop |
| Hardiness | Zones 3 to 9 |
| Sun | Full sun to partial shade (shade for milder leaves) |
| Soil | Loose, fertile, pH 6.0 to 7.5 |
| Sow depth | Barely covered, about 1/4 inch |
| Spacing | 6 to 8 inches between plants |
| Germination | 7 to 14 days in cool soil |
| Greens harvest | 60 to 90 days from sowing |
| Root harvest | Fall of the first year |
4. Tools and Materials
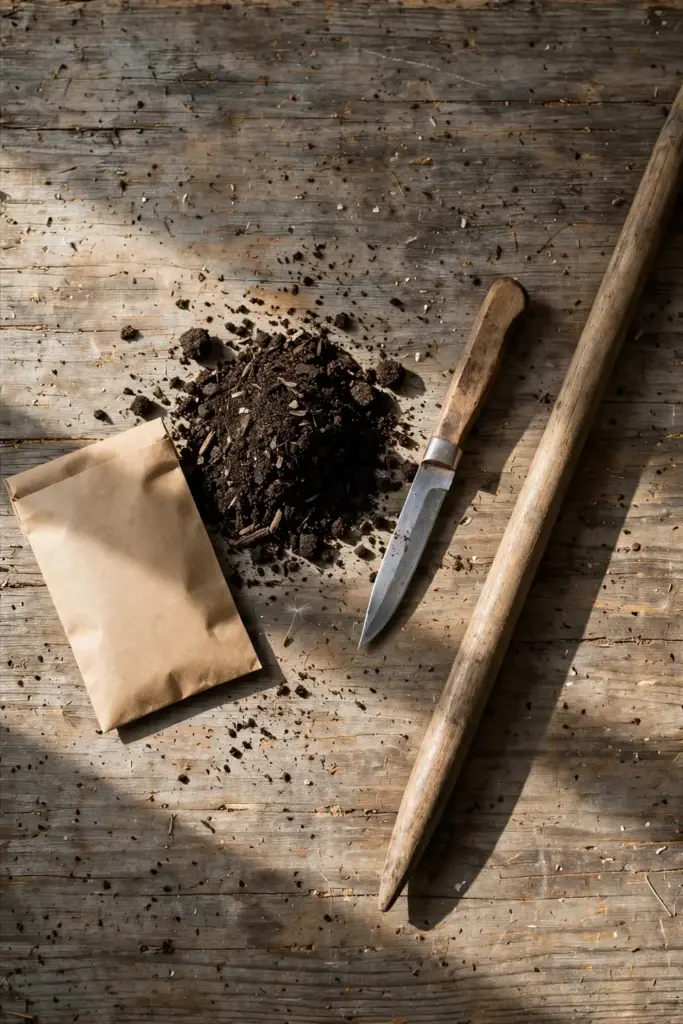
- Dandelion seed (‘Ameliore’ or Italian types for mildness; wild type for roots)
- A raised bed or deep container, at least 12 inches deep for root harvests
- Finished compost
- Fine mulch
- A sharp garden knife or hori-hori
- A long digging fork for root harvest (a trowel snaps taproots; the fork does not)
- Paper bags for deadheading
5. Step 1: Give It Loose Soil and a Little Shade
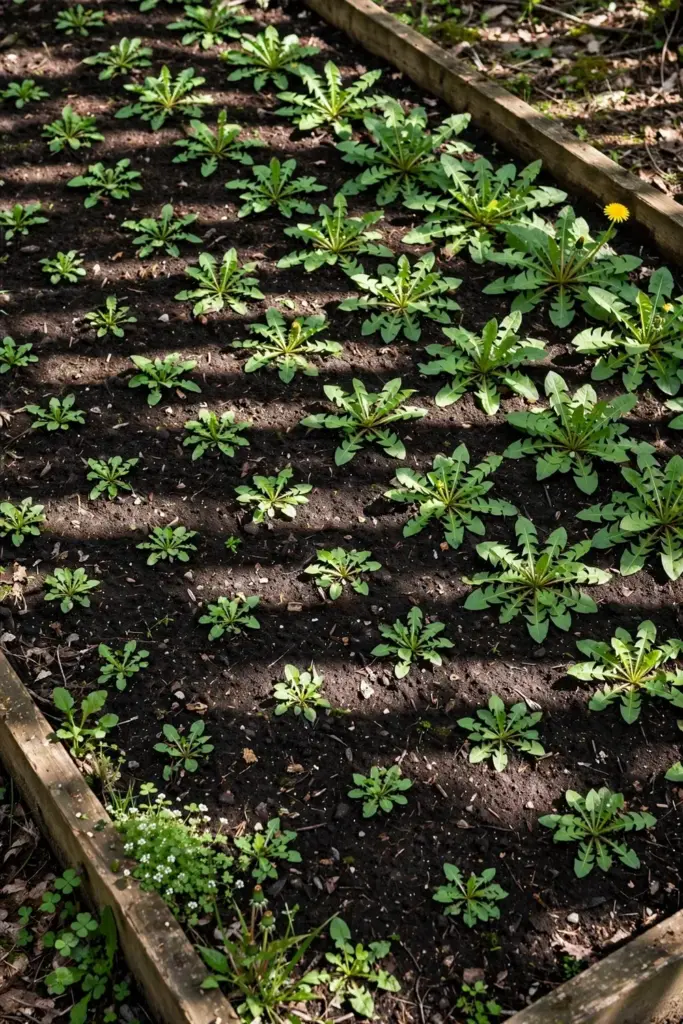
Dandelions survive in sidewalk cracks. Eating-quality dandelions need better. Work compost into the top 8 to 12 inches until the bed is loose, stone-free, and dark. Sandy loam is the ideal texture because it lets the taproot run straight down. Compacted clay gives you forked, stubby roots that fight back at harvest.

If the native soil is heavy, build up instead of digging down. A 12-inch raised bed filled with a sandy loam and compost mix gives taproots a straight run, and the raised edge makes the deadhead patrol easier on your back. Line the bottom with cardboard to smother grass, then fill. The bed pays for itself at the first fall root harvest, when the fork slides in clean instead of clanging off clay.
Site the eating row where it catches morning sun and afternoon shade. A spot under the dappled edge of a deciduous tree works well, though any place with 3 to 4 hours of afternoon cover will do. The ASA writeup of that 2024 cultivation study confirms shade-grown plants come out larger, more tender, and milder, which is the whole point of an eating patch. Full sun grows stronger plants. Shade grows better food.
6. Step 2: Sow Thin and Barely Cover
Sow directly in the bed in early spring, as soon as the soil can be worked, or again in late summer for a fall crop. Scatter seed thinly over the surface and cover with about 1/4 inch of fine soil or sifted compost. Dandelion seed needs light contact, not burial. Firm the surface gently and water with a fine spray.
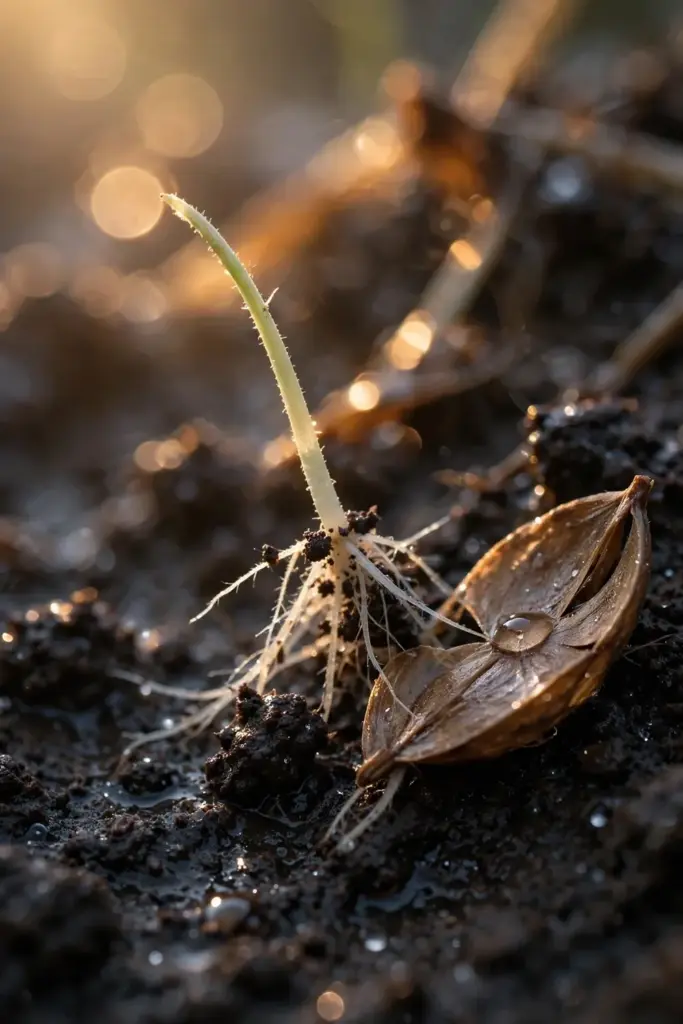
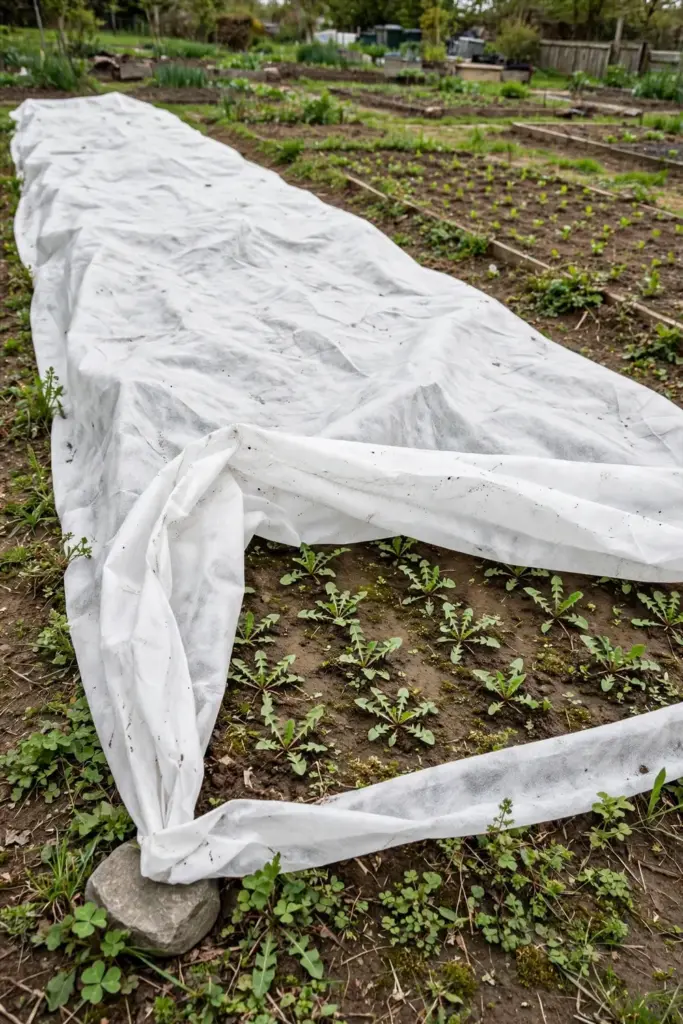
Keep the bed evenly moist until seedlings appear, usually in 7 to 14 days in cool soil. Do not let it dry out in that window, because a dry crust stops germination cold. A floating row cover speeds germination and keeps birds off the seed. For starting indoors, the routine in our seed starting guide applies: sow shallow in cells, keep cool, transplant with care.
7. Step 3: Thin Seedlings, Then Keep Them Young
Thin seedlings to 6 to 8 inches apart once they carry two true leaves. Crowding breeds thin, weak rosettes. The thinnings are your first micro-harvest. Rinse them well and eat them raw.
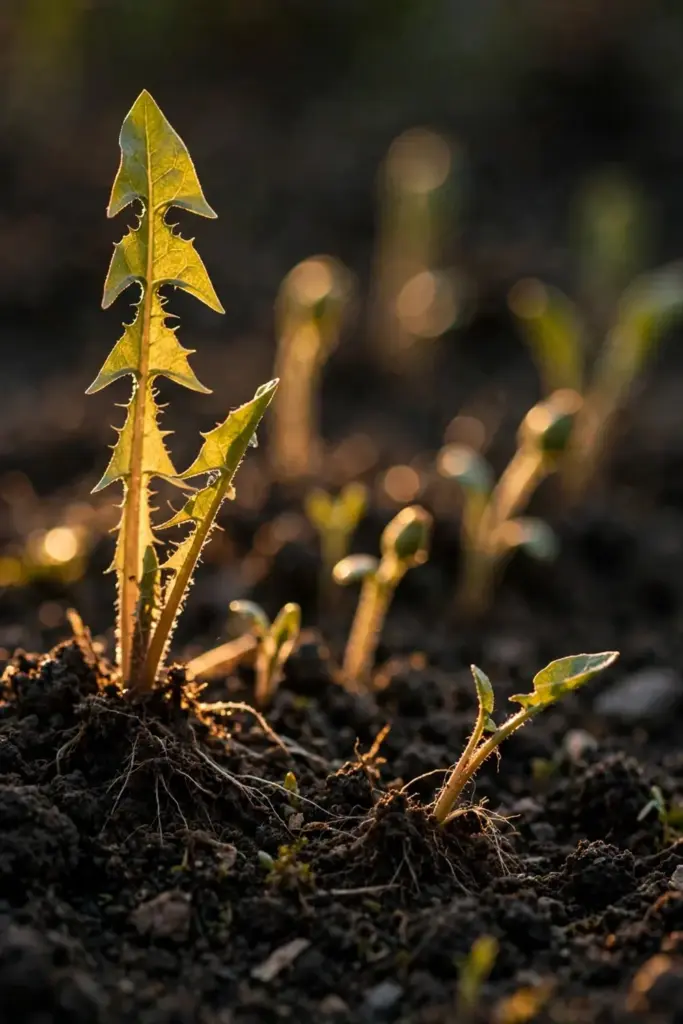
Young leaves are the tender ones. The smaller the leaf, the milder the flavor, and a rosette picked constantly stays in that sweet window for weeks. Pick outer leaves continuously and the rosette keeps producing new center growth, the same cut-and-come-again logic as loose-leaf lettuce. Once a rosette gets tall and leathery, retire it to the flower-and-root rotation instead of the salad rotation. The plant keeps working for you all season: salad greens while young, flowers for the jelly jar, roots for the roaster.
8. Step 4: Choose Wild or Cultivated
Wild-type dandelion has narrow, deeply cut, strongly bitter leaves. It makes the toughest roots and the most classic roast. Cultivated types such as ‘Ameliore’ carry broad, pale, almost smooth leaves that eat noticeably milder. Italian varieties like ‘Catalogna’ sit in the middle.
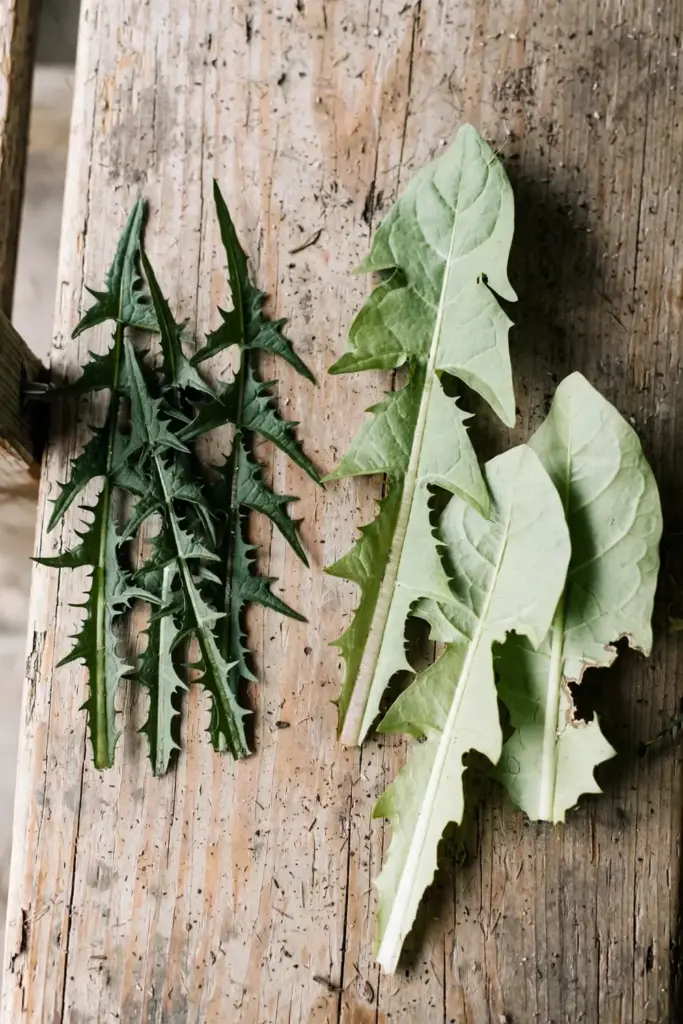
Run both if you have room. A short row of ‘Ameliore’ for spring salads and a wild-type patch for fall roots covers the whole eating arc. Seed stays viable for several years in a cool, dry place, so one packet stretches.
When you learn how to grow dandelions from seed, the cultivar choice is the single biggest lever on flavor. Wild seed costs almost nothing and grows anywhere, but the leaves punish careless timing. Cultivated seed costs a few dollars more and forgives a late harvest. For a first eating patch, spend the extra money. You will taste the difference in the first salad.
9. Step 5: Water Evenly, Feed Lightly
Dandelions drink like any leafy green, roughly 1 inch of water per week, delivered evenly to keep leaves tender and growth steady. Drought-stressed plants turn tough and more bitter. That single fact undoes the whole project, so mulch the bed and check moisture in hot spells.
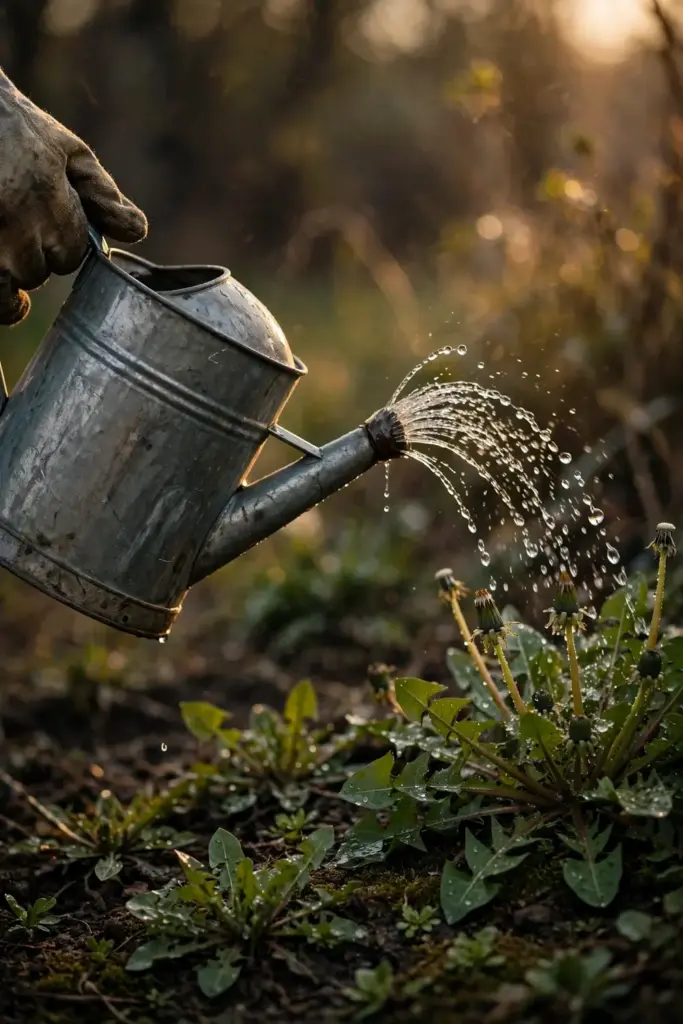
Fertility stays moderate. Work compost in at planting and side-dress once mid-season if growth stalls. Heavy nitrogen pushes soft, fast growth that eats even more bitter, so restraint pays. The soil health and pest resistance guide covers the compost-first feeding logic that suits this crop.
10. Step 6: Deadhead Before They Self-Seed
A dandelion clock is a dispersal machine. One plant can throw hundreds of parachute seeds across the yard, and neighbors notice. For an eating patch, deadhead spent flowers into a paper bag before the seed head forms. The bag habit takes seconds and keeps the planting intentional.
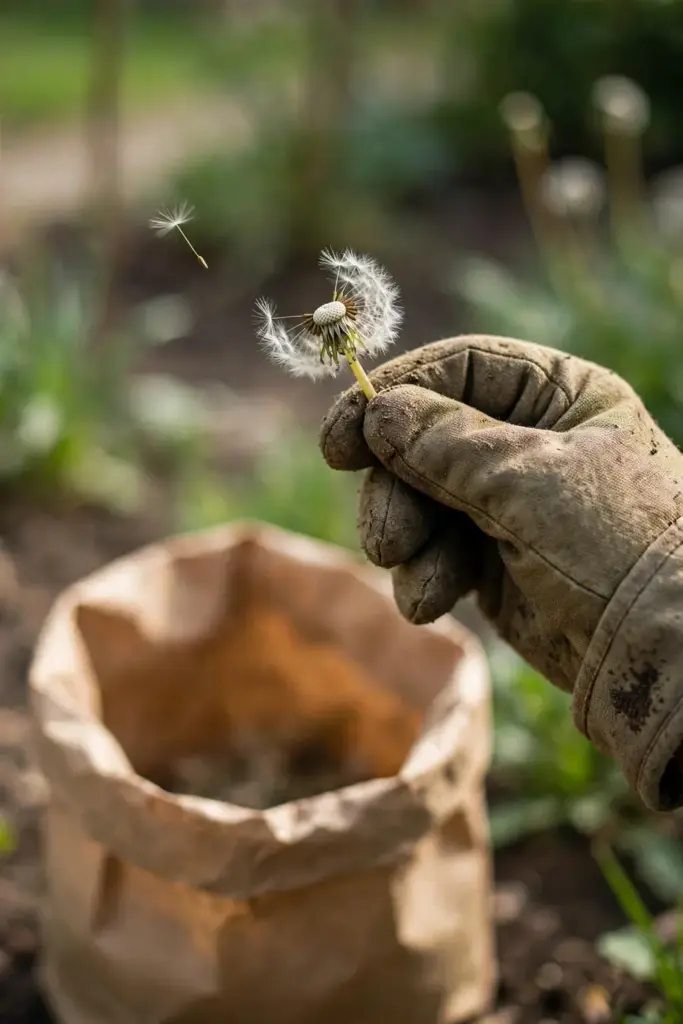
Leave a few flowers deliberately for pollinators. Early dandelion blooms feed bees when little else is open. The trick is choosing which flowers stay, not letting the plant decide.
11. Harvest Greens the Mild Way
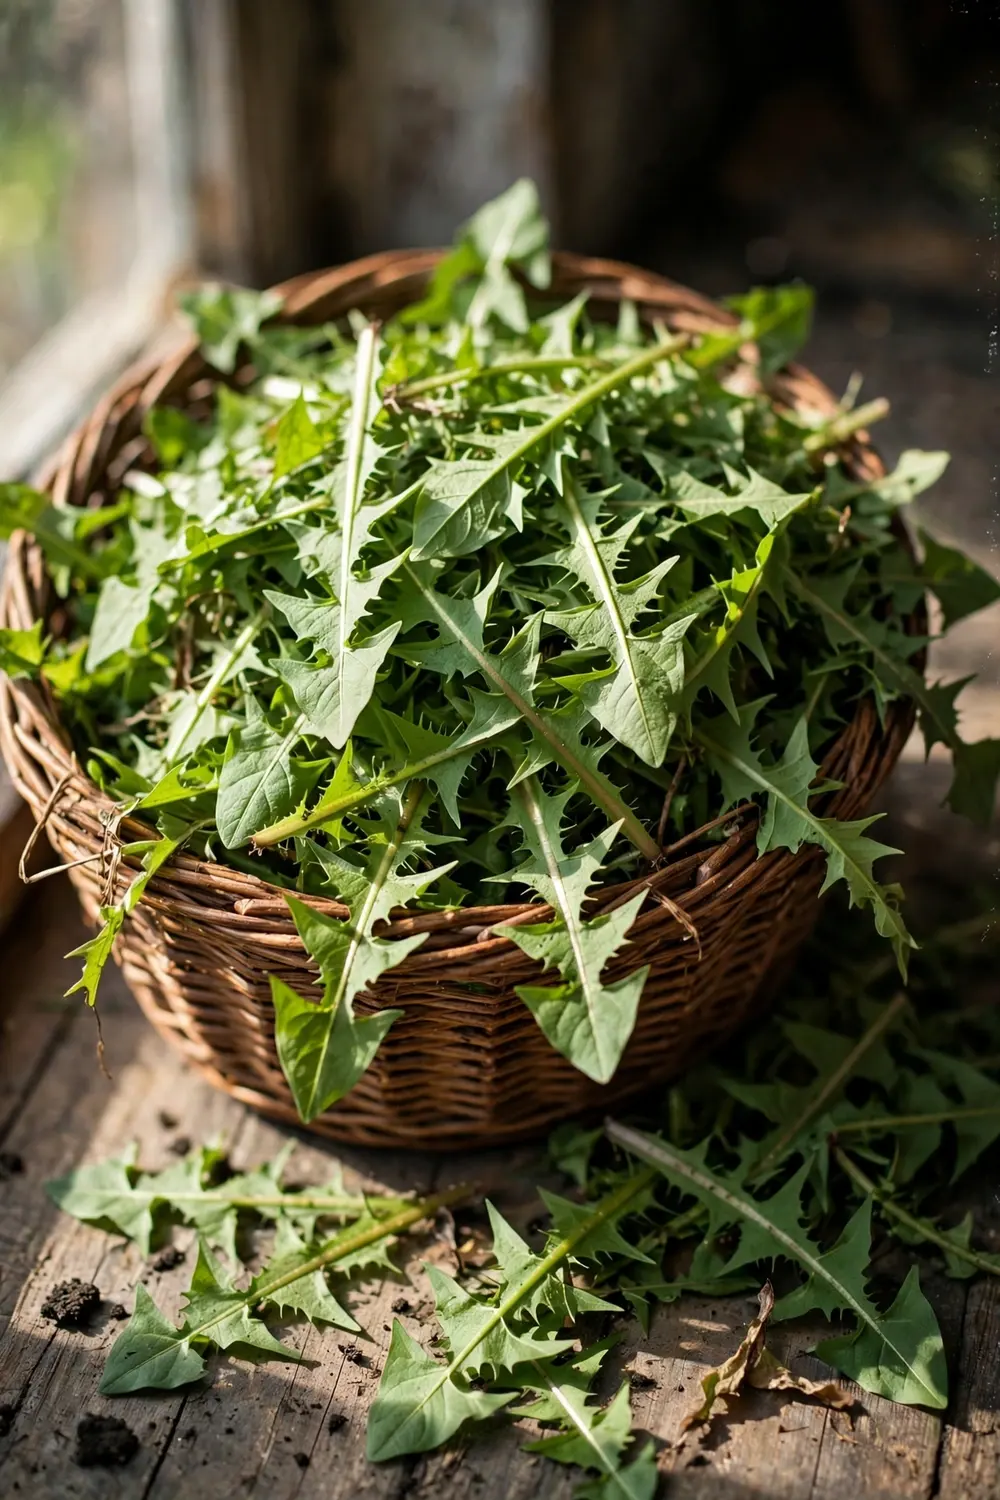
Cut outer leaves with a sharp knife while the morning dew still holds them crisp, leaving the center crown to regrow, and the work goes fastest when you can see the crown clearly against the soil. Take leaves 4 to 6 inches long for salads; anything longer goes to the cooking pile, where heat handles the extra bite. Carry a basket, not a plastic bag, so the harvest breathes on the walk back to the kitchen instead of sweating into a soggy mass.
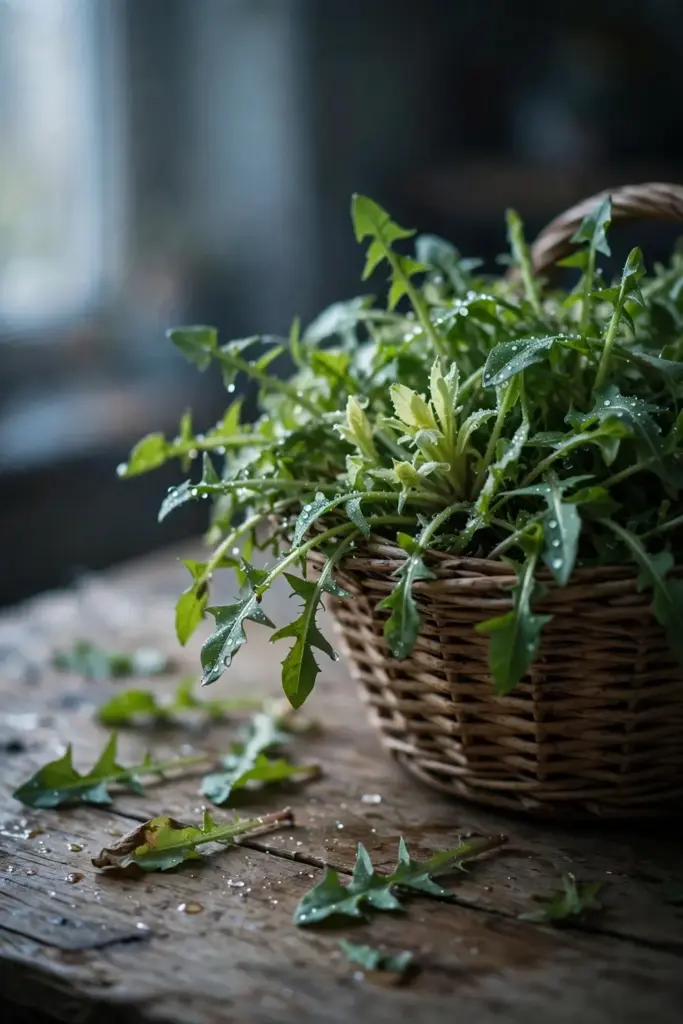
Wash greens in three changes of cold water. Grit hides in the leaf bases. Dunk, swish, lift out, and repeat until the water runs clear. Eat fresh greens within a few days, wrapped in a damp towel inside a bag in the refrigerator.
Succession keeps the mild harvest going. Sow a short new row every 3 weeks from early spring through late summer. Each sowing peaks while young and mild, and the oldest row graduates to the flower-and-root rotation. This rhythm means you never face a bed of only old, leathery leaves, which is where most home growers give up.
12. The Bitterness Table
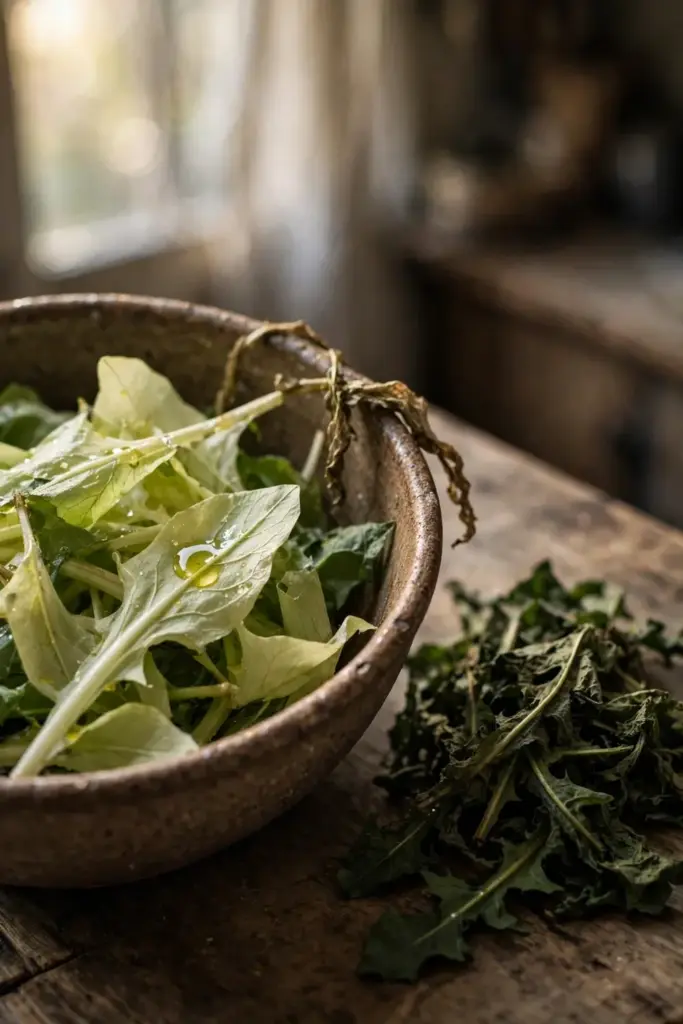
| Technique | How It Works | Effect |
|---|---|---|
| Partial shade | Less intense light, slower bitter-compound buildup | Noticeably milder leaves |
| Young harvest | Pick leaves 4 to 6 inches, before maturity | Sweetest, most tender |
| Cultivated varieties | ‘Ameliore’ and Italian types bred for mildness | Milder than wild type |
| Blanching | Exclude light from the crown for 2 to 3 weeks | Pale, tender, low bitterness |
| Quick boil | 3 to 5 minutes in rolling water, then drain | Removes a share of bitterness |
| Pair with fat | Dress with olive oil, bacon fat, or cheese | Rounds the bitter edge on the palate |
Stack two or three techniques. Shade plus young harvest plus a quick boil turns a weed into a vegetable. The order matters: prevention (shade, variety, youth) does more work than rescue (boiling, dressing), so set up the bed right and the kitchen work stays light.
13. Blanch Greens the French Way
Blanching is the old market-gardener trick for mild dandelion. Cover a rosette with an upturned bucket, a large flowerpot, or a light-proof box for 2 to 3 weeks. The excluded leaves grow pale and tender, with much of the bitterness gone.
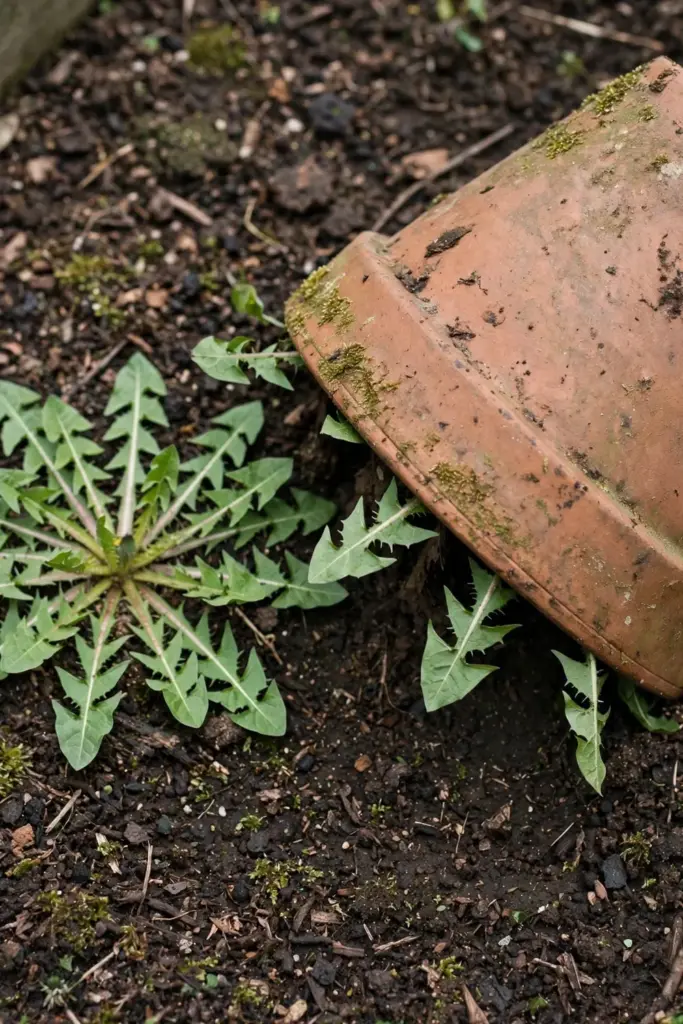
Check under the cover once a week for rot in wet weather. Harvest the whole blanched rosette at once. It will not keep growing well in the dark, so treat it as a one-time luxury cut. Rotate the cover to a new plant each time.
14. Harvest Flowers for Jelly and Fritters
Pick flowers fully open, on a dry morning, from plants you grew yourself. Pull the yellow petals away from the bitter green base. The base and the sepals carry the bitterness, so separate carefully.

A packed cup of petals makes a fragrant jelly with a honey-like flavor. The classic ratio runs about 2 cups of packed petals to 4 cups of water, simmered briefly, strained, then cooked with sugar and pectin like any flower jelly. For fritters, dip whole heads (green base trimmed off) in batter and fry until golden and crisp at the edges. Dandelion wine is the long game: petals, sugar, citrus, and yeast fermented for months, a country tradition older than most garden writers. Start with jelly. Graduate to wine when the patch is established. Pull the yellow petals away from the bitter green base before cooking, since the base and the sepals carry the bitterness. Work in small batches so the oil stays hot. Ohio State Extension’s dandelion guide notes that dandelion blossoms make a sweet jelly, buds can be eaten like capers when tight with the sepals pinched off, and roots dug in early spring can be chopped before freezing or drying since dried roots turn extremely hard.
15. Dig Fall Roots for Roast Tea
Roots are the second harvest, and fall is the season. After the first frosts, the plant pushes energy into the taproot, and the root is at its sweetest and largest. Ohio State Extension confirms early spring works as a second root window, and advises chopping roots before freezing or drying since dried roots turn extremely hard. Dig with a long fork, starting 6 inches from the crown and working deep, because the taproot runs straight down and snaps easily.
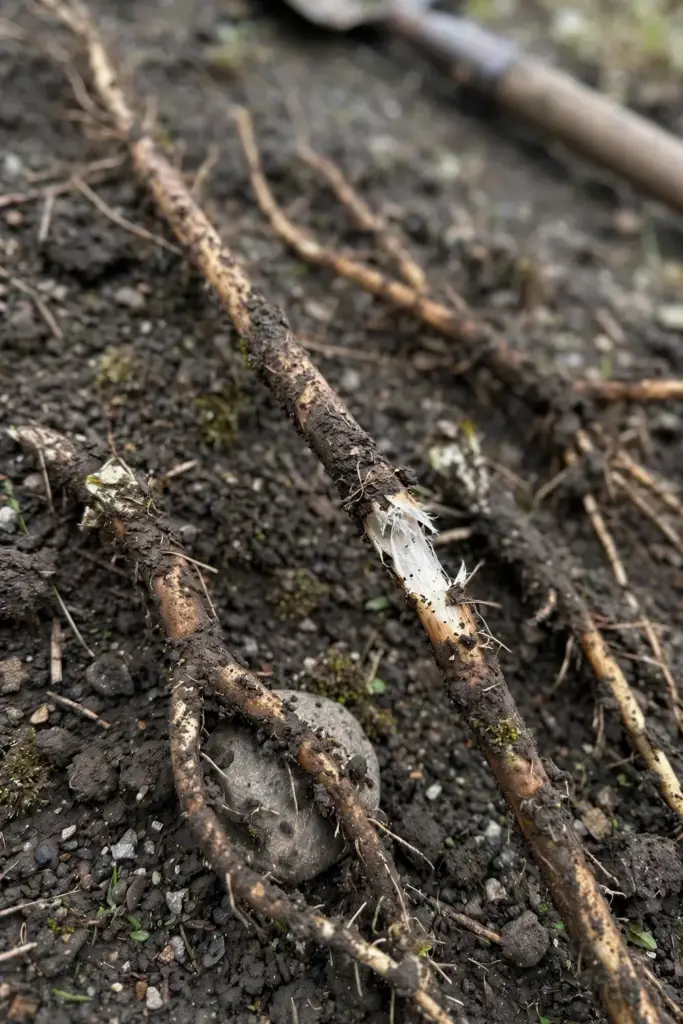
Wash roots thoroughly, chop them into 1/2-inch pieces, and dry them completely. Dry pieces go into a 300 to 350°F oven and roast until dark and fragrant, 20 to 30 minutes, stirring once. Steep 1 to 2 teaspoons of the roasted pieces per cup of hot water for a coffee-like brew. Keep medical expectations conservative. Dandelion root tea is a traditional drink, not a treatment. If you take medication or manage a condition, ask your clinician before making it a daily habit.
16. Dry and Store the Three Harvests
Greens keep 3 to 5 days refrigerated in a damp wrap. Flowers keep 1 to 2 days before they wilt, so use them fast. Roots are the long-keeper. Once bone dry, roasted or unroasted pieces store for a year in a sealed jar in a dark cupboard.
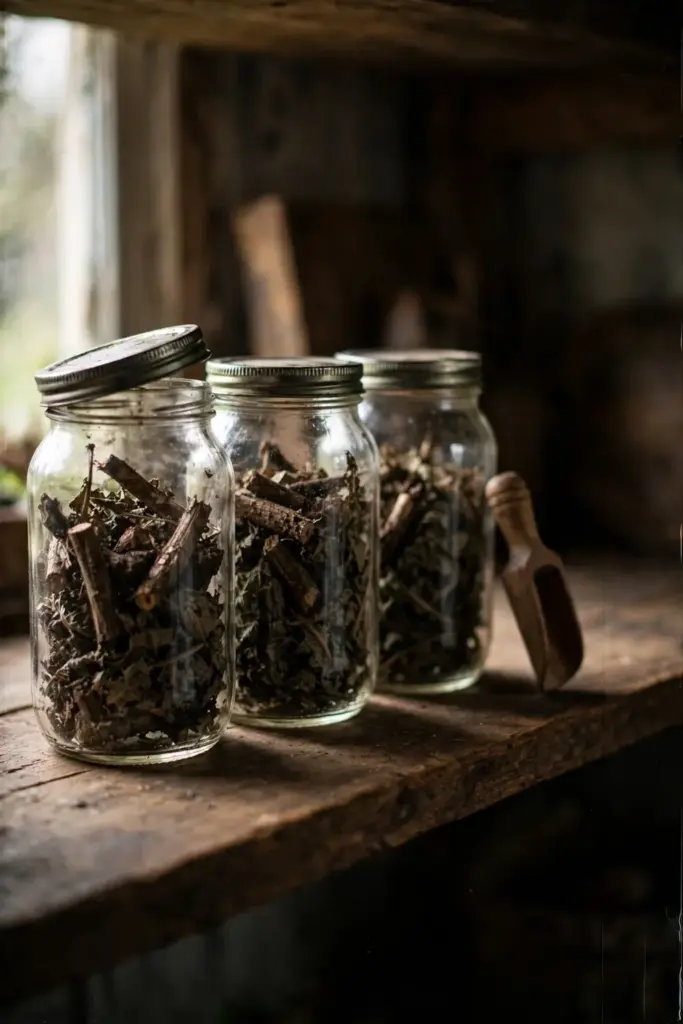
Dry roots on a screen in a warm, airy spot for one to two weeks, or in a dehydrator at 95 to 115°F until they snap. Moisture left in thick pieces invites mold, so cut pieces small and err on the side of over-drying. Label jars with the date. The roasted batch and the plain batch look different but both deserve labels.
Leaf tea uses the same drying logic on a shorter timeline. Strip clean leaves from the stems, spread them thin on a screen, and dry until they crumble. Crumble into a jar and steep 1 teaspoon per cup. Leaf tea tastes grassy and mild next to the deep roast of the root version. Both keep about a year in sealed, dark storage.
17. Grow Dandelions in Containers
A 12-inch-deep pot grows a respectable eating patch on a balcony. Use loose potting mix with compost, sow thin, and thin hard. The container is also a containment strategy: no taproot escapes into the lawn, no seed drifts to the neighbors.
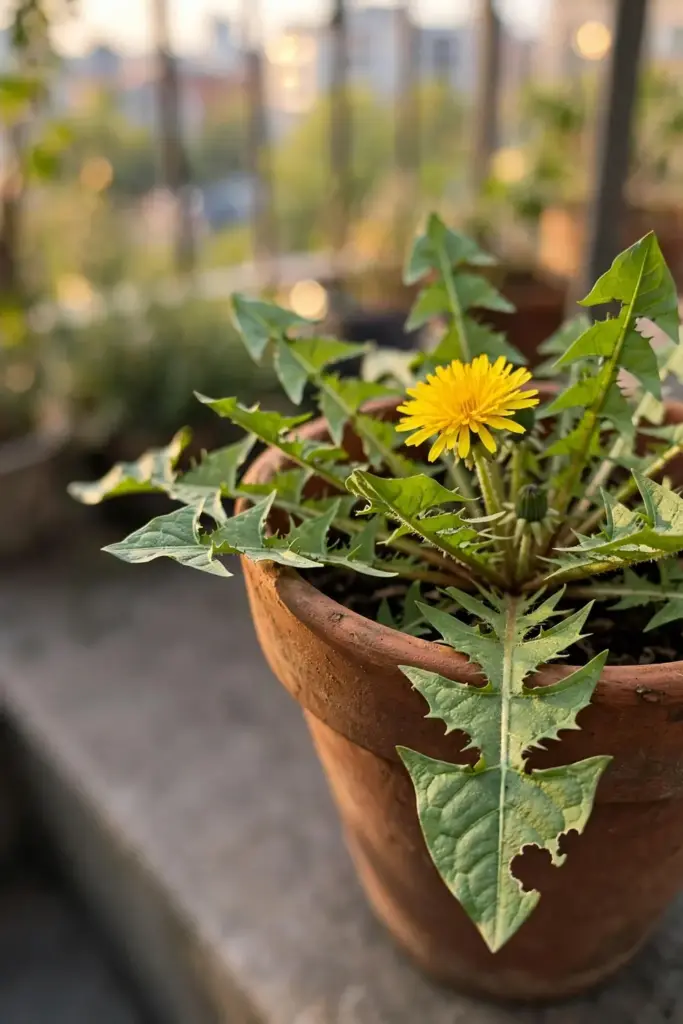
Water containers daily in warm weather. Pots dry fast, and dry dandelions turn bitter. Move the pot to afternoon shade in summer. Any good container gardening guide covers pot sizing and grouping logic for this kind of small-space planting.
Container growing changes how to grow dandelions in one useful way: you control the soil completely. Fill the pot with a loose, compost-rich mix and the taproot grows straight and clean, which makes fall root harvest almost easy. In the ground, rocks and clay fight you. In a 12-inch pot, the root slides out with a firm pull after a good watering.
18. Pests and Diseases Worth Watching
Dandelions shrug off most trouble. Aphids cluster on flower buds in spring; a hard spray of water removes them. Slugs chew young leaves in wet weather; copper tape or evening patrols handle it. Both problems stay minor in a bed you tend weekly, because the deadhead patrol doubles as a pest scout.
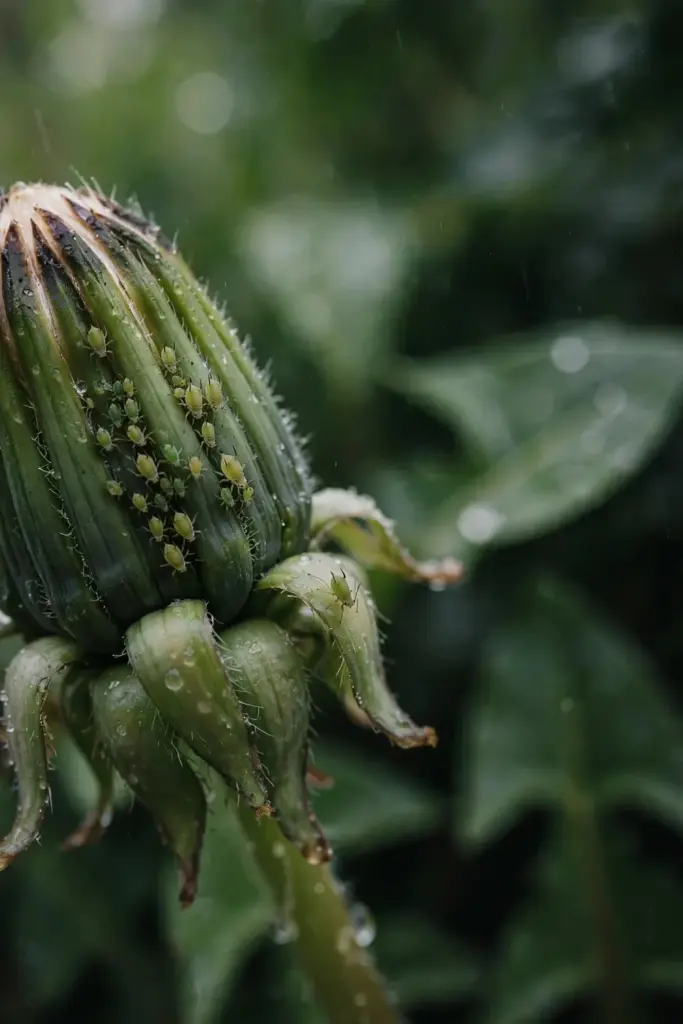
Leave some flowers standing for pollinators on purpose. Early dandelion blooms are among the first spring food for bees, and a few open heads cost you nothing if you deadhead before the seed stage. The eating patch earns its keep twice: food for the kitchen and fuel for the hive.
Crown rot appears in waterlogged soil, which is one more reason for the loose, draining bed. Rust and powdery mildew show up occasionally on older leaves. Strip affected leaves and improve air flow. Never spray an eating patch with anything you would not put on a salad.
19. Common Mistakes and How to Fix Them
Eating lawn dandelions. The spray history is unknown. Fix: grow a dedicated patch and leave the lawn alone.
Sowing too deep. Buried seed stalls or fails. Fix: 1/4 inch of cover, no more.
Letting every flower go to seed. The yard fills and the neighbors complain. Fix: deadhead into a paper bag weekly.
Harvesting old leaves for salad. Leathery leaves eat like punishment. Fix: salads from young leaves only; old leaves go in the pot.
Skipping the shade. Full-sun greens bite harder. Fix: afternoon shade or a shade-cloth panel for the eating row.
Planting in the lawn. Mower, foot traffic, and weed-and-feed make lawn planting pointless. Fix: a dedicated bed or a deep container, fenced off from the turf.
Expecting one harvest. Dandelion is a three-harvest plant. Fix: plan the calendar as greens in spring, flowers in early summer, roots in fall, and the patch earns its space all year.
Digging roots with a trowel. The taproot snaps at 4 inches. Fix: long digging fork, start wide, go deep.
Under-drying roots. Mold ruins the jar. Fix: cut pieces small, dry long past what looks done, and run the snap test before jarring.
20. Troubleshooting
Seedlings never appeared. Seed sown too deep or dried out. Resow at 1/4 inch and keep the surface damp until germination.

Leaves taste brutally bitter. Too old, too sunny, or too dry. Move to shade, pick younger, water evenly, and try the quick boil.
Plants bolted early. Heat or stress triggered flowering. Deadhead and keep watering; fall roots still form.
Roots forked and stubby. Stones or compaction. Next planting, double-dig the bed and sift out rocks.
White fluff everywhere. You missed the deadhead window, and now the whole bed is broadcasting. Bag every clock you can reach today, then set a weekly reminder for the rest of bloom season.
Blanched rosette rotted. Too wet under the cover. Blanch only in dry spells and check weekly.
Seed bed overrun by grass. Grass outcompetes seedlings for space. Weed the bed clean before sowing and mulch between rows once plants establish.
Flower heads close by noon. Normal. Dandelion flowers track the sun and shut on dark or rainy days. Pick in the morning for full-open heads.
21. Frequently Asked Questions

Only if you know the spray history, and most yards fail that test. Lawns, park strips, and roadsides carry herbicide, pesticide, and pet-waste risk. A bed you planted yourself, in soil you built, is the safe version. Grow it and the question answers itself.
All three parts carry nutrition, and the honest answer is that greens are the easiest win. Cornell’s weed science profile notes dandelion leaves carry a higher concentration of beta carotene than carrots, plus notable minerals and vitamins. Flowers and roots add variety. Eat the whole plant across the seasons and stop ranking parts.
Age, sun, and stress. Older leaves, full sun, and drought all push bitterness up. Pick young leaves from a partially shaded bed, keep water even, and use the quick boil for older cuts. If you want mildness from the start, plant a cultivated variety like ‘Ameliore’ instead of the wild type.
Yes, but seed is simpler. Any root fragment left in the ground regrows, which is why digging weeds fails and why root harvests need a deep fork. For a new patch, seed gives even stands and lets you choose a mild cultivar. Use root pieces only to multiply a variety you already like.
Deadhead before seed heads form, every week in bloom season. A paper bag in your pocket becomes a habit. Containers eliminate the escape route entirely. The irony is real: the same plant you once fought becomes the one you have to restrain, but the bag habit takes seconds.
Treat it as a traditional beverage, not a health program. Conservative use means a cup or two, and anyone on medication, managing a condition, or pregnant should check with a clinician first. Dandelion interacts with some drugs, including diuretics. Enjoy the roast flavor and keep expectations modest.
22. Where to Go From Here
You now own the cultivation side of how to grow dandelions: sow thin in loose soil, shade the eating row, harvest young greens, deadhead weekly, dig fall roots, and roast them for tea. Start with one bed this spring. The plant does most of the work, and the harvest chain runs from the first warm weeks to the last frost, which is more than most vegetables offer from a single sowing in one season.
For the companion side, identification, foraging notes, and wider kitchen uses, our live guide How to Grow Dandelion Herbs covers the edible-weed overview. This article owns the growing. That one owns the using.