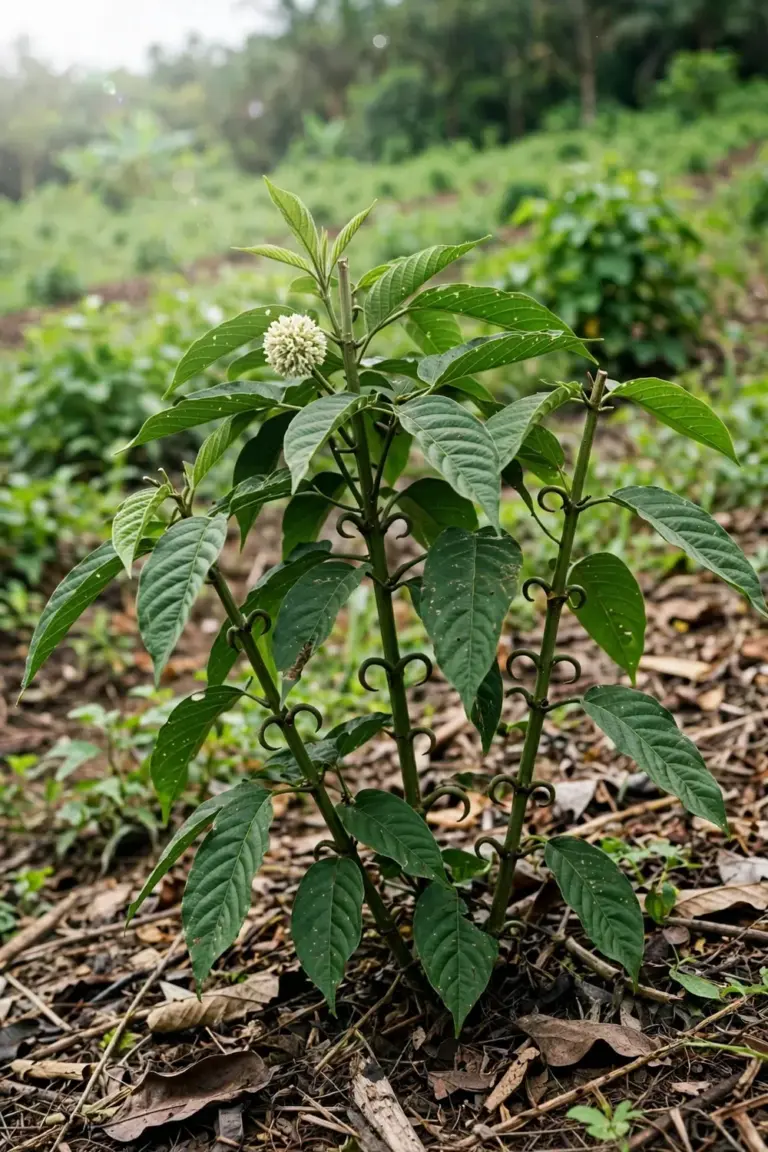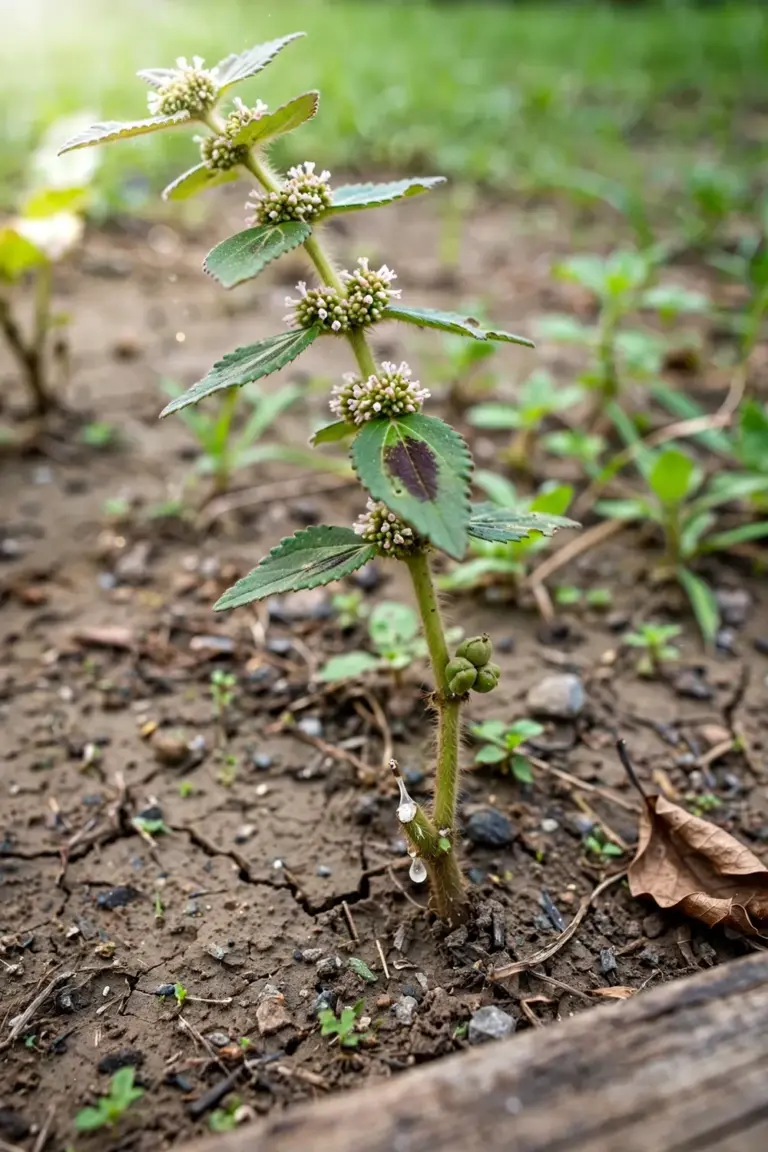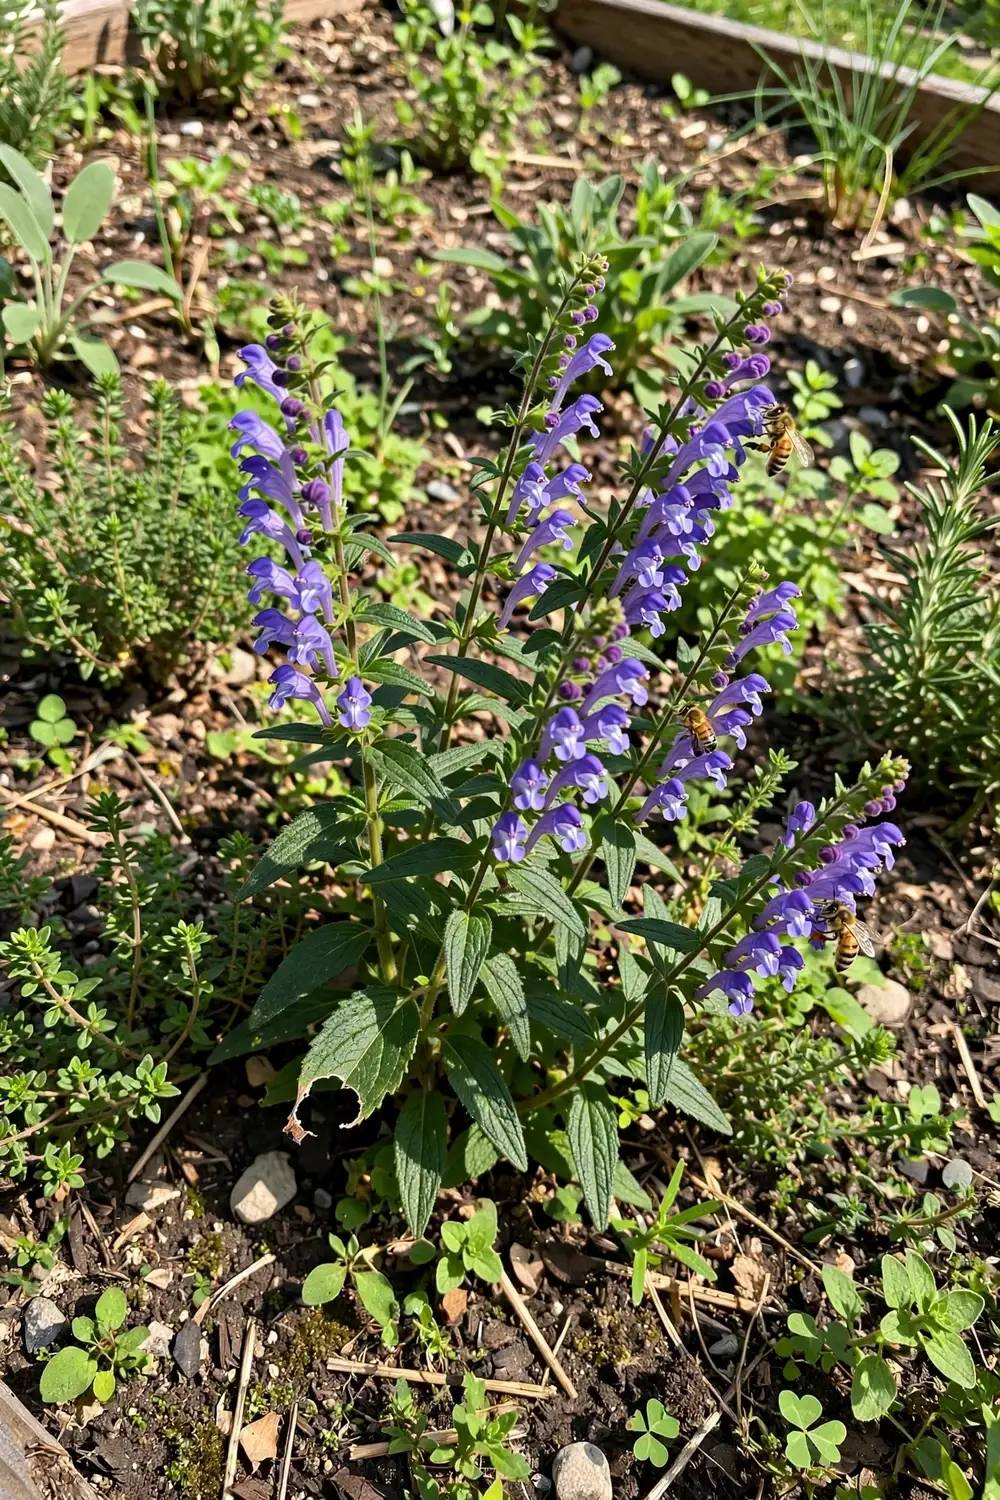

Growing Chinese skullcap from seed is a 2 to 4 year project, and knowing that timeline up front is what separates a satisfied grower from a frustrated one. This perennial herb (Scutellaria baicalensis, Huang Qin) is grown for its roots, not its flowers or leaves, and the roots need time in the ground before they amount to anything worth digging. Give the plant full sun, lean soil, and patience, and it will reward you with a harvest that no annual herb can match.
That is the honest pitch: this is not a quick crop. Sow in spring, tend through summer, let the tops die back in fall, and repeat for a few seasons before the first real dig. The payoff is a perennial root harvest from your own garden, something most herb growers never get to experience because they give up in year one.
This guide walks through the whole arc, from telling Chinese skullcap apart from its American cousin, to breaking seed dormancy with cold stratification, to the fall harvest in year two to four when the roots are finally ready. If you want to learn how to grow Chinese skullcap from seed, this is the complete path.
1. Chinese Skullcap vs American Skullcap: Know Which Plant You Are Growing
The single most important thing about growing Chinese skullcap is making sure you actually have Chinese skullcap. The two main skullcaps in garden commerce look like cousins and share a common name, but they are different species with different uses and different harvests. Getting this wrong means waiting three years to dig roots that were never the point of the plant.
| Trait | Chinese Skullcap (S. baicalensis) | American Skullcap (S. lateriflora) |
|---|---|---|
| Part traditionally harvested | Roots | Aerial parts (leaves and stems) |
| Harvest timing | Fall after die-back, years 2 to 4 | Summer at full bloom |
| Plant size | 12 to 24 inches tall | 12 to 36 inches tall |
| Moisture needs | Dry to average soil | Moist to wet soil |
| Common names | Baikal skullcap, Huang Qin | Blue skullcap, mad dog skullcap |
| Origin | Siberia, Mongolia, northern China | North America wetlands |
The confusion is everywhere. Garden guides, seed sellers, and social media routinely mix the two, and much of the “skullcap harvest” advice online describes cutting the tops at bloom, which is the American species method. A skullcap growing guide that contrasts the two species makes the difference clear. If your goal is the dried root of Huang Qin, plant Scutellaria baicalensis, and ignore harvest advice written for the other plant. When you buy seed, check the packet for the full Latin name before you buy. A packet labeled only “skullcap” is a gamble.
2. Climate and Zones: Where Chinese Skullcap Thrives
Chinese skullcap is hardy in USDA zones 4 to 8, a native of the cold steppes around Lake Baikal, Mongolia, and northern China, and nursery growing notes confirm the same hardiness range along with its drought tolerance. It is built for continental climates with real winters, which is good news for most temperate gardeners. The plant tolerates temperatures down to about -10C, and cold winters are part of its natural rhythm rather than a threat.
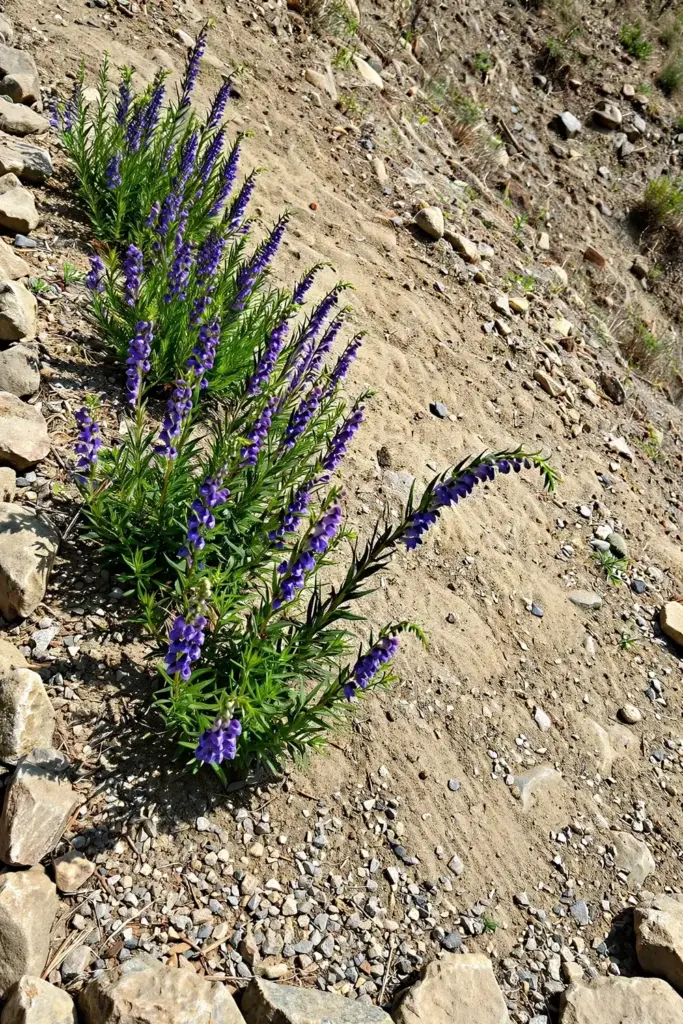
Give it full sun for the best root development. Six or more hours of direct sun keeps the plant compact and the foliage healthy. In very hot climates (the warm end of zone 8 and beyond), a little afternoon shade is welcome, and the plant will survive but produce smaller roots. This is a sun-loving steppe plant, not a woodland herb, so do not tuck it into deep shade and expect much.
3. Picking Good Seed
Buy seed that names Scutellaria baicalensis on the packet, as covered in the first section. Seed from reputable herb-seed sellers stays viable for about three years when stored cool and dry, with best results from seed less than two years old. Fresh seed germinates more reliably and more evenly than old seed, so check the pack date when you can.
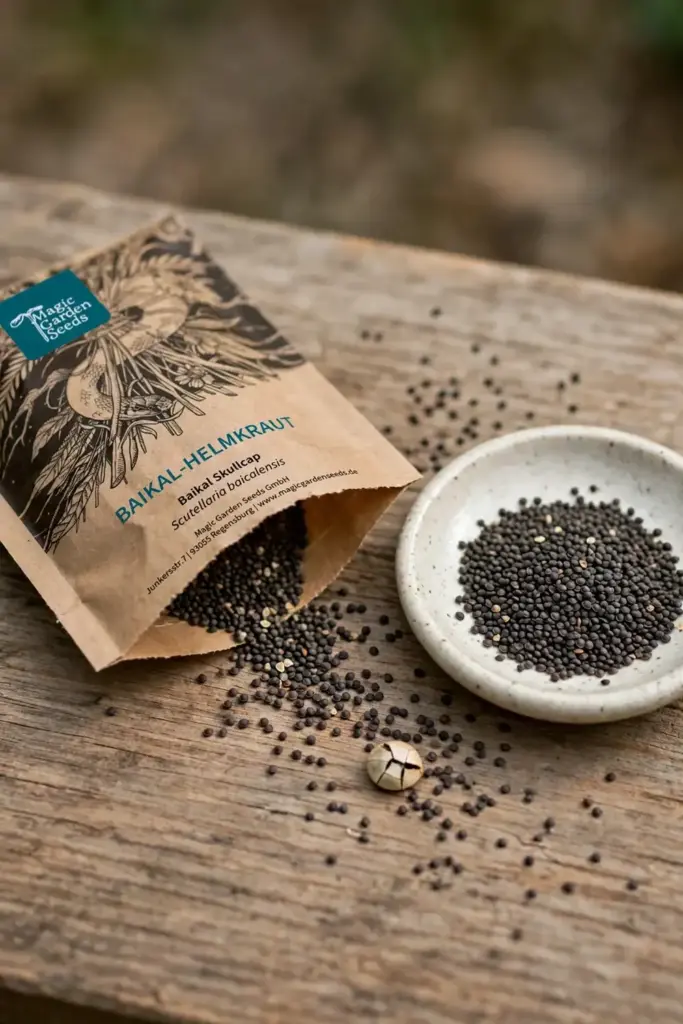
Skullcap seed is small, and fresh seed germinates reliably under the right conditions. You do not need much. One packet is enough for a generous bed, and a single mature plant eventually produces its own seed if you let a few flowers set. Plan on starting more plants than you think you need, then thinning to the strongest, because germination can be uneven even with stratification.
4. Breaking Dormancy: The Cold Stratification Protocol
Skullcap seed has built-in dormancy and will germinate poorly, if at all, without a cold period first. This is the step beginners skip, and it is the most common reason for a failed sowing. The protocol is simple but it takes three to four weeks, so plan backward from your planting date.
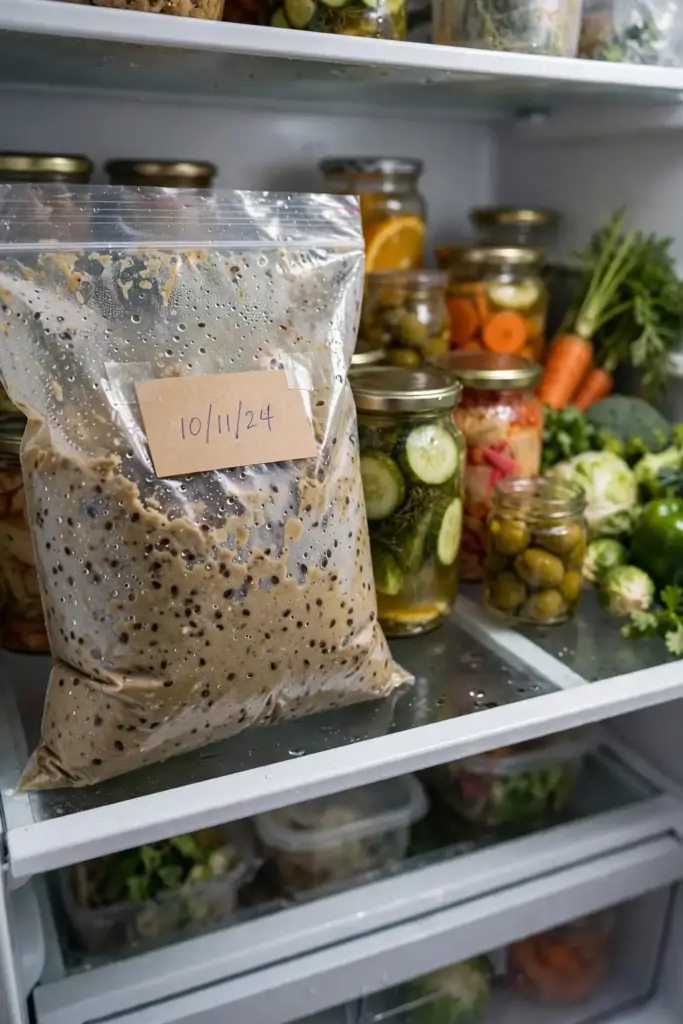
Mix the seed with three times its volume of moist vermiculite, sand, or a damp paper towel in a sealed plastic bag, following the standard stratification method. Keep the mix barely damp, not wet, because excessive moisture causes mold that kills the seed. Refrigerate the bag at normal fridge temperature for 21 to 30 days. Some growers stratify for up to two or three months with good results, and fall sowing outdoors achieves the same thing naturally through winter. After the cold period, sow the seed promptly. Do not let stratified seed dry out before sowing, or the dormancy-breaking effect is lost.
| Method | Cold Period | Best For |
|---|---|---|
| Fridge bag with moist medium | 21 to 30 days | Spring indoor sowing |
| Extended fridge stratification | 2 to 3 months | Stubborn or older seed |
| Fall sow outdoors | Full winter, naturally | Low-effort, natural cycle |
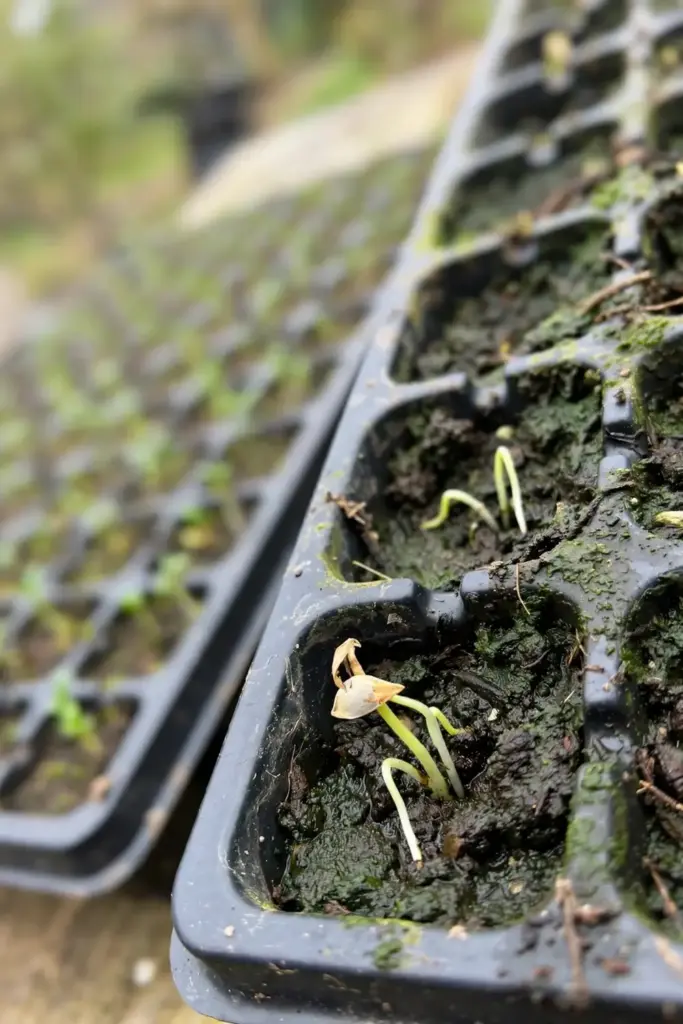
The light requirement matters just as much as the cold. Skullcap seed needs light to germinate, so sow on the soil surface and press it gently into the mix without covering it. Buried seed stays dormant. A thin dusting of vermiculite is the most you should ever add on top.
5. Starting Seeds Indoors
Start seeds indoors six to eight weeks before your last frost date, following the indoor sowing numbers for this species: surface sow for light, hold at 65 to 70F, and expect germination in 14 to 21 days. Fill trays or pots with a fine seed-starting mix, moisten it evenly, and surface-sow the stratified seed, pressing each seed lightly so it contacts the mix. Cover the tray with a humidity dome or plastic to hold moisture, and keep the mix at 65 to 70F. A heat mat helps but is not required if your room stays in that range.
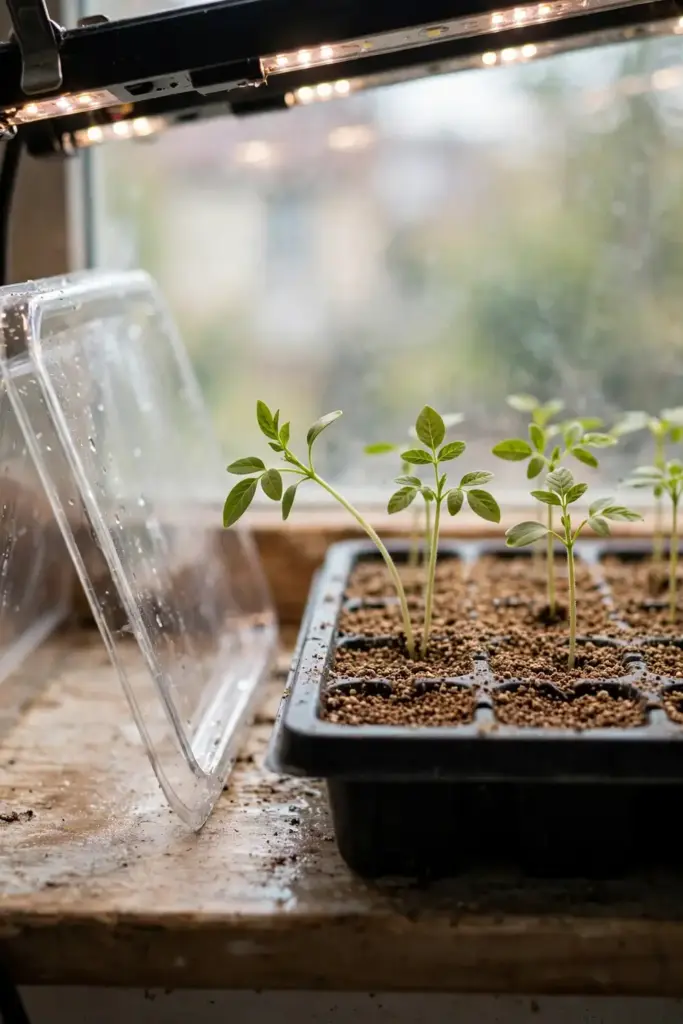
Germination takes 14 to 21 days under good conditions, and it can be staggered, with some seedlings appearing a week or two after the first. Give the seedlings bright light as soon as they emerge, because leggy seedlings grown in dim windowsills never recover their vigor. Grow lights positioned a few inches above the tray work far better than a windowsill for this plant. Keep the mix evenly moist but never soggy during this stage.
For a fuller walkthrough of indoor sowing technique, the seed starting guide covers trays, lights, and timing in detail. The rhythm is the same; learning how to grow Chinese skullcap indoors just adds the stratification and surface-sow requirements on top of the standard routine.
6. Sowing Directly Outdoors
Fall sowing is the laziest reliable method for Chinese skullcap. Sow the seed on the surface of prepared soil in fall, a few weeks before the ground freezes, and winter does the stratification for you. Mark the spot clearly, because the seed is tiny and the bed looks empty all winter. Seedlings emerge in spring when the soil warms.
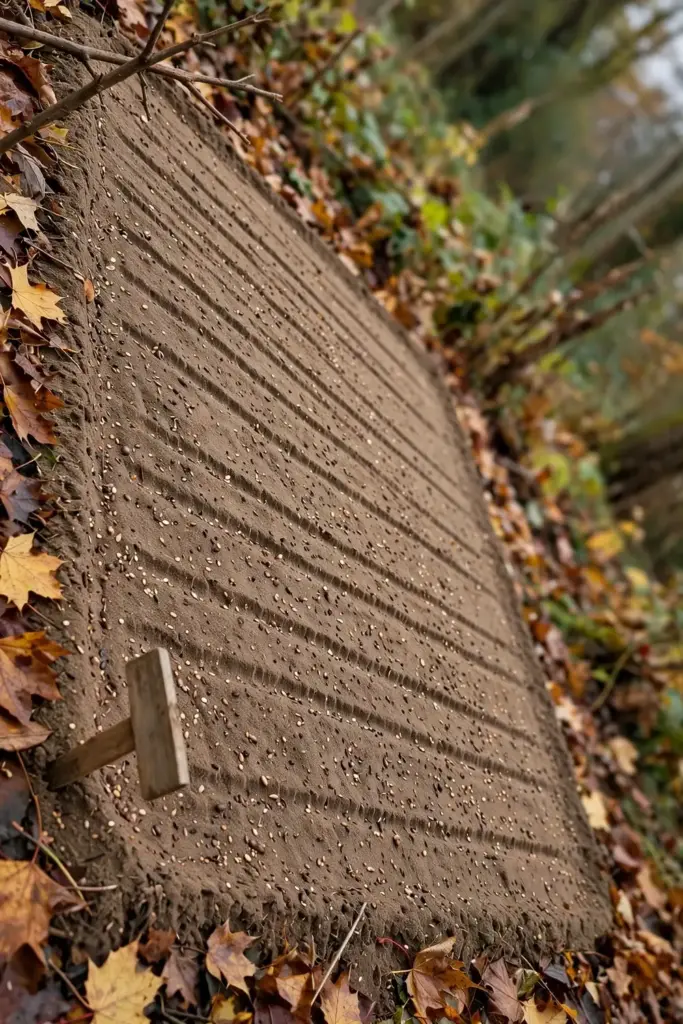
Spring direct sowing also works, but only with pre-stratified seed. Sow on the surface after the last frost, press in, and keep the bed evenly moist until germination. Outdoor-sown seedlings face more competition from weeds and more risk from slugs, so start with a clean, fine seedbed and check it often in the first month.
7. Transplanting Seedlings
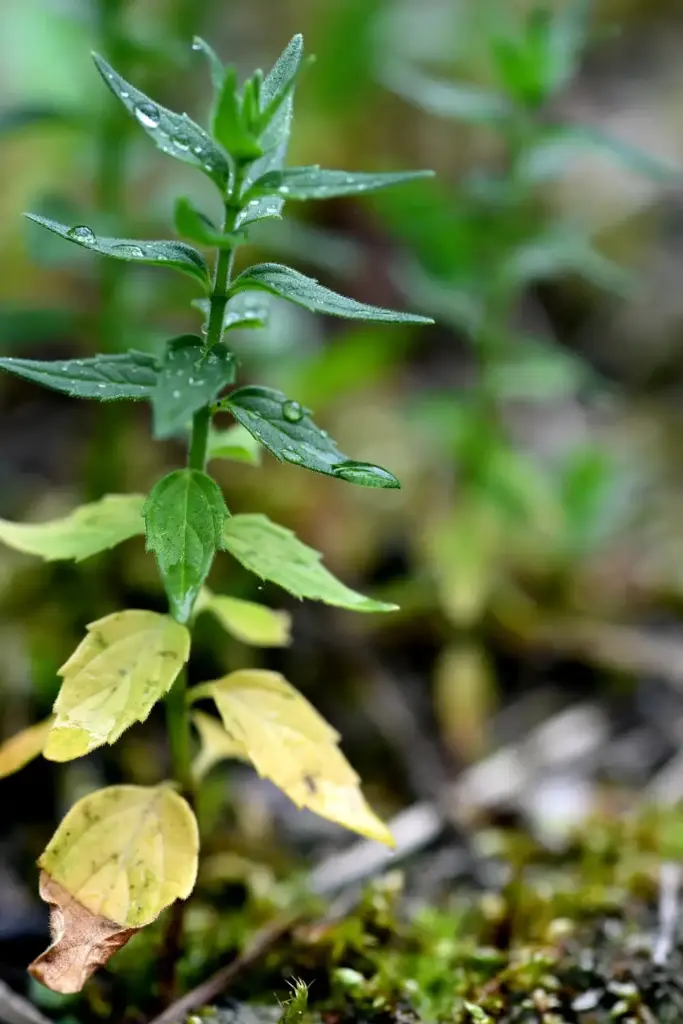
Move indoor-started seedlings outdoors after the danger of frost has passed, once they have two or three sets of true leaves. Harden them off over seven to ten days, starting with a few hours of sheltered outdoor time and building up to full days. Skullcap transplants easily at this stage.
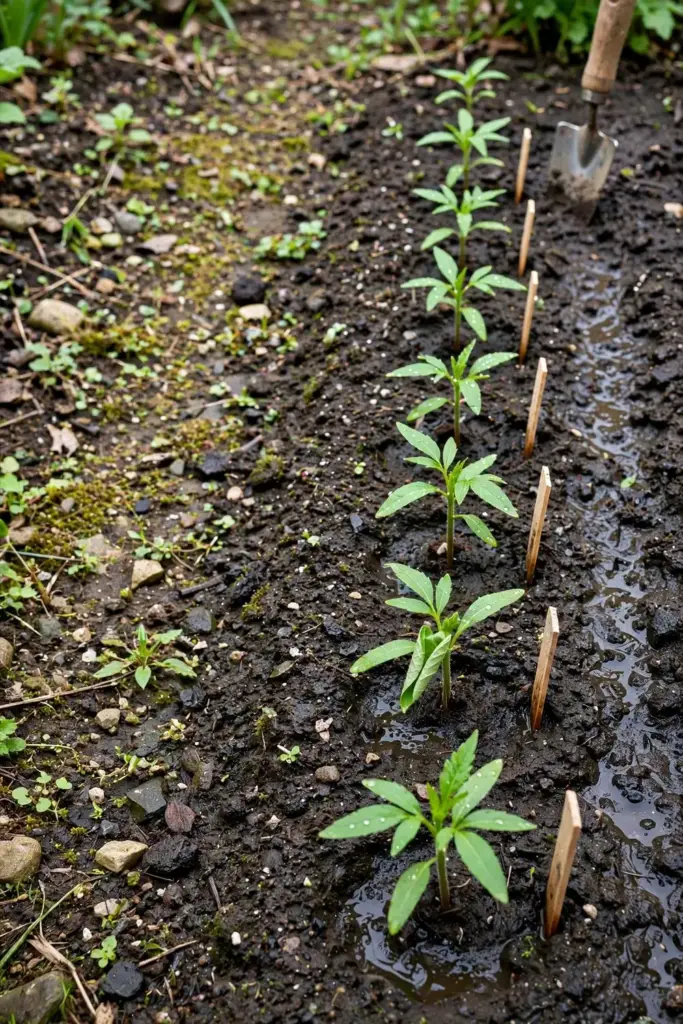
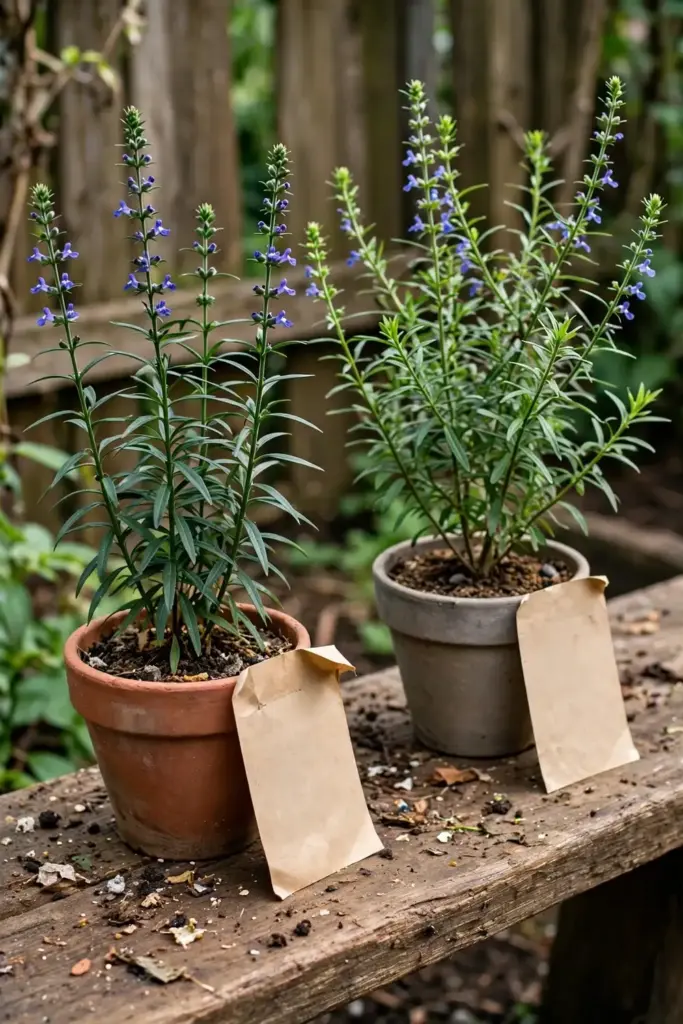
Space plants 12 to 18 inches apart in rows or in a dedicated herb bed. The plants look sparse at first, but each one spreads to about two feet wide by the second season. Closer spacing crowds the roots and makes the eventual harvest harder to dig cleanly. Mark each plant with a label, because first-year skullcap seedlings are unremarkable and easy to weed out by mistake.
8. Soil: Poor Soil Makes Strong Roots
Chinese skullcap prefers well-drained, even sandy or lean soil, and here is the counterintuitive part: the active compounds in the roots are believed to concentrate more in plants grown in less fertile ground. Rich, heavily fed soil produces heavy top growth and thinner, less developed roots. For a root crop, that is exactly backward from what you want.
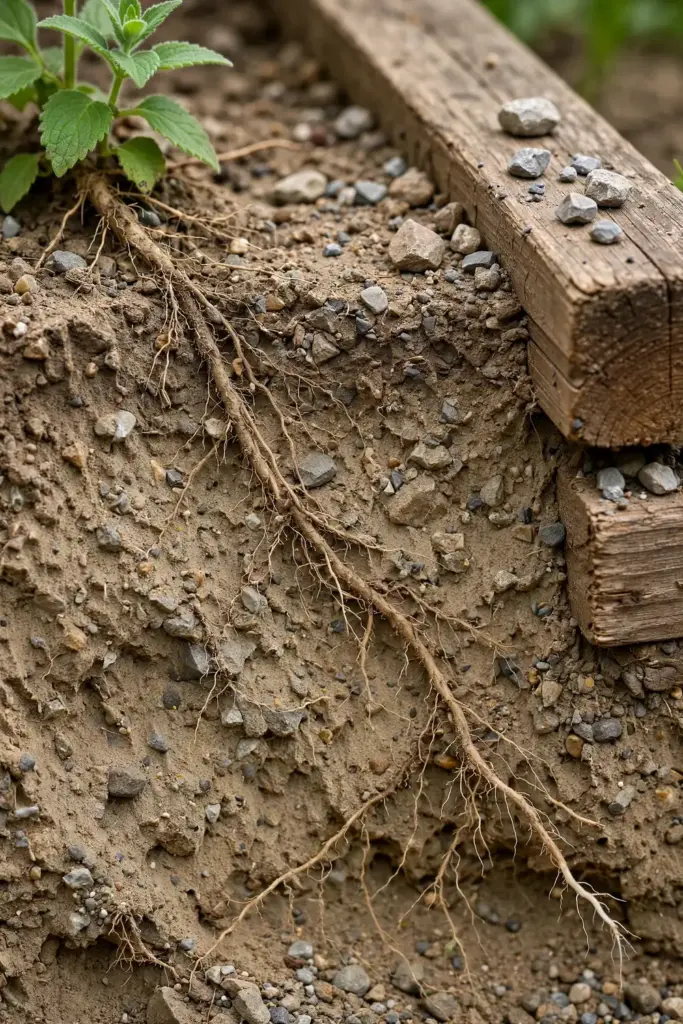
Aim for a soil pH between 6.0 and 7.5 and excellent drainage. Heavy clay that stays wet in winter will rot the crowns, so amend clay beds with coarse sand or fine gravel, or grow in raised beds. The plant is extremely drought-tolerant once established, a legacy of its steppe origins, and it sulks in waterlogged ground far more than it suffers in dry spells.
Healthy soil biology matters more than fertilizer for this plant, and the soil health guide explains how to build the living soil that perennials thrive in. For skullcap specifically, stop improving once the bed drains well; the goal is lean and living, not rich.
9. Watering a Drought-Tolerant Perennial
Water new transplants regularly for the first month until they establish, keeping the soil evenly moist but never waterlogged. After that, back off. Established Chinese skullcap handles dry spells with ease and actually prefers to dry out between waterings.
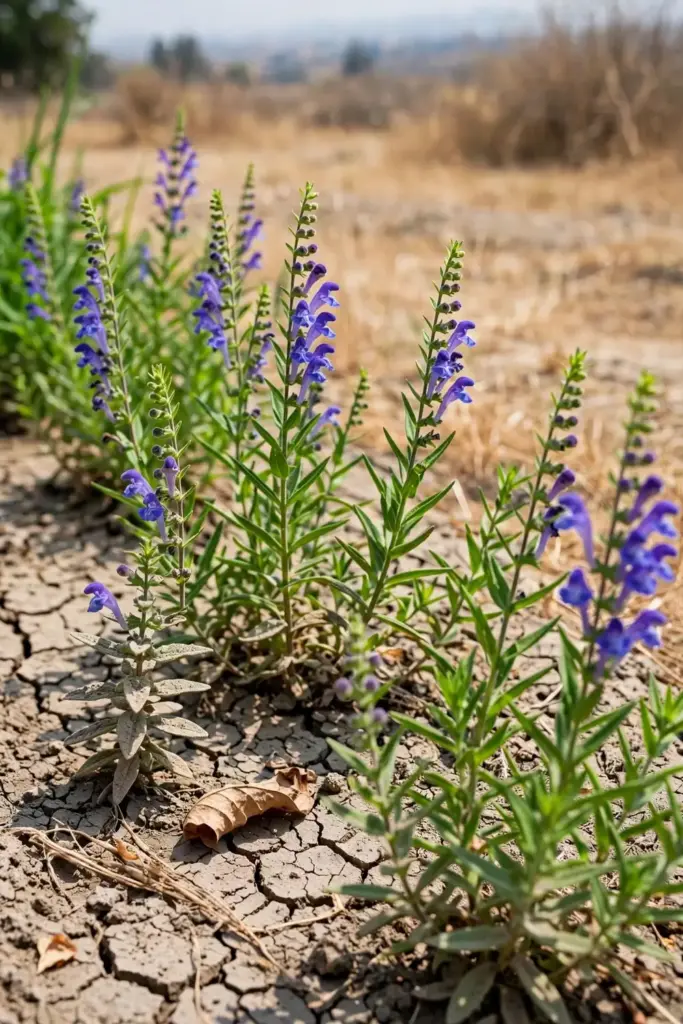
In most temperate climates, rainfall alone is enough once the plants are established. Water during extended droughts, roughly an inch per week if no rain falls for three weeks or more, and water containers more often since pots dry faster. The one thing to avoid is chronic wet feet, which invites crown rot. When in doubt, water less. This plant forgives drought far more readily than it forgives soggy soil.
10. Feeding: Less Is More
Chinese skullcap needs very little fertilizer, and overfeeding works against the root harvest. A light top-dressing of compost in spring is all most beds need, and many growers feed nothing at all after the first year. If your soil is genuinely poor sand, one modest application of balanced organic fertilizer in the plant’s first spring helps it establish.
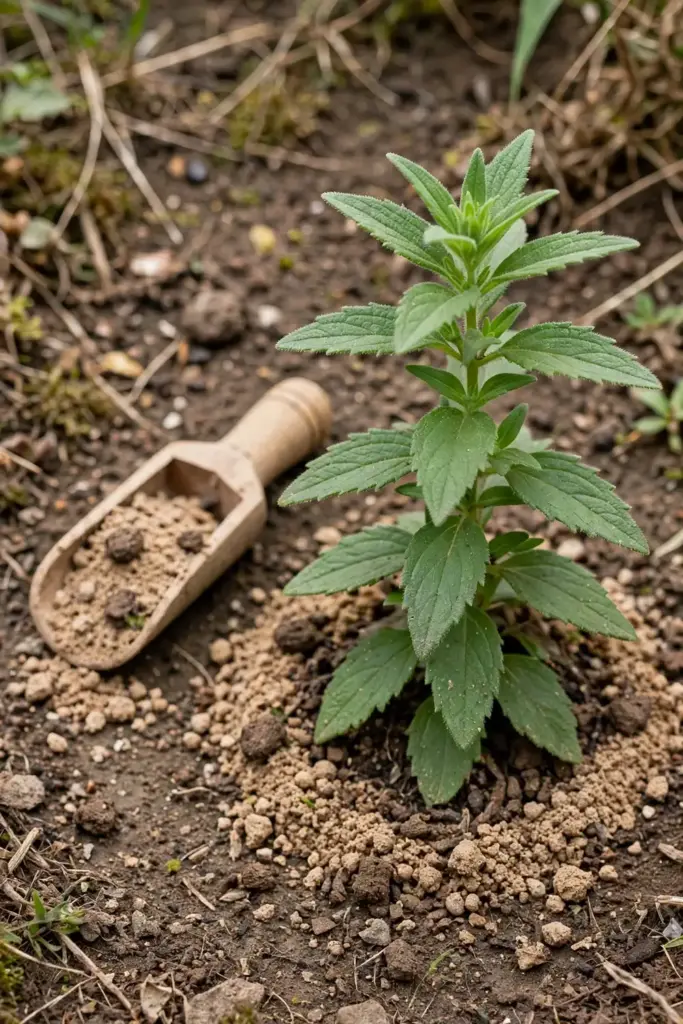
Skip high-nitrogen feeds entirely. They push soft, leafy growth that flops over and does nothing for root development. If the foliage looks pale in year one, a weak compost tea is enough correction. Remember the goal: you are growing roots, and lean conditions signal the plant to invest underground.
11. Year One: What to Expect
In its first season, Chinese skullcap is thoroughly unimpressive, and that is normal. The plant puts its energy into a small rosette of foliage and a developing taproot, reaching 6 to 12 inches tall by fall. Some plants bloom lightly in late summer of year one; others wait until year two. Either way, do not harvest anything. Every bit of top growth feeds the root you are waiting for.
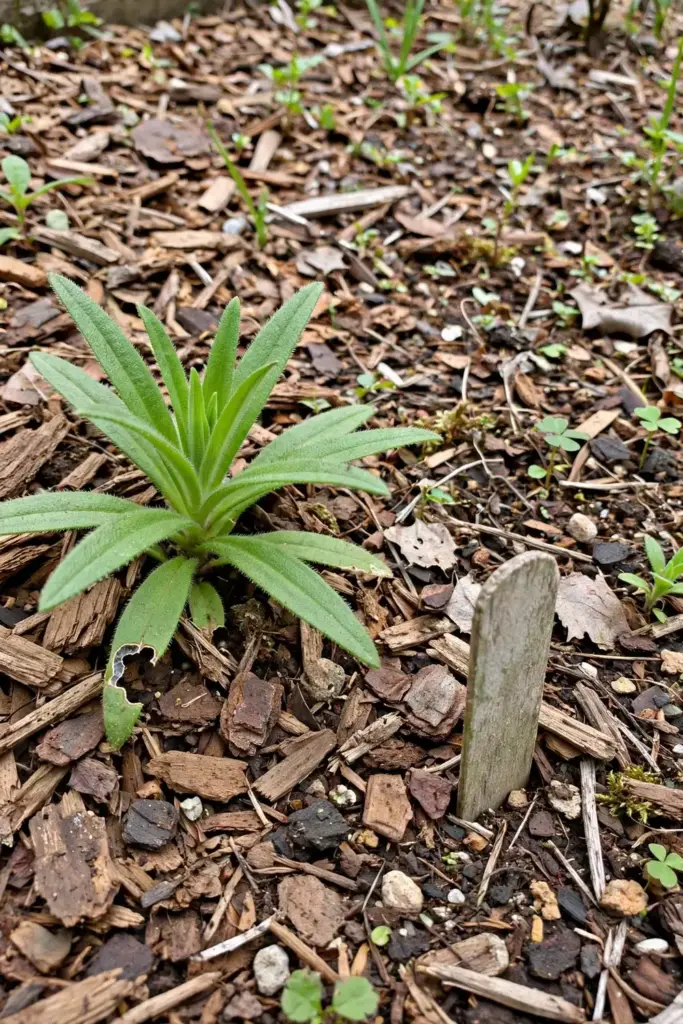
Let the foliage die back naturally in fall. Do not cut the tops down early, because the plant is still moving energy into the roots as the leaves yellow. Leave the bed undisturbed over winter, with a light mulch in the coldest zones. Mark the bed so you remember what is sleeping there. In spring, new shoots emerge from the crown, and the plant enters year two noticeably stronger.
12. Pests and Diseases
Chinese skullcap is notably trouble-free. It resists most major garden pests, and the aromatic foliage deters much of the usual herb-garden crowd. Slugs may nibble young seedlings in damp springs, so protect new transplants with the usual barriers if slugs are a problem in your garden.
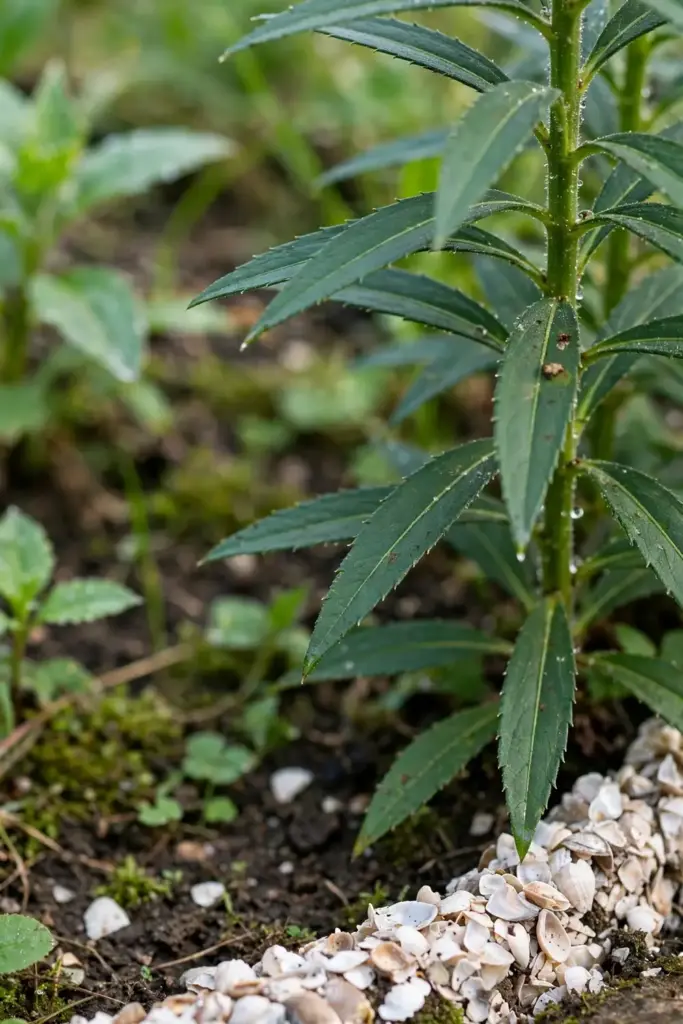
The main disease risk is crown and root rot from waterlogged soil, which is a drainage problem, not a plant problem. Powdery mildew can appear on crowded foliage in humid summers; spacing plants properly and watering at the base rather than overhead keeps it rare. Deer generally leave it alone. Compared with most garden herbs, this plant asks almost nothing of you in the pest department.
13. Harvesting the Roots: Years Two to Four
This is the chapter the whole project builds toward. Harvest the roots in the fall after the foliage has died back, or in early spring before new growth starts, from plants that are two to four years old. Year three to four gives the heaviest, most developed roots, though a year-two harvest from vigorous plants is perfectly reasonable if you are impatient. Dig on a dry day, because wet soil clings to the roots and makes cleaning miserable.
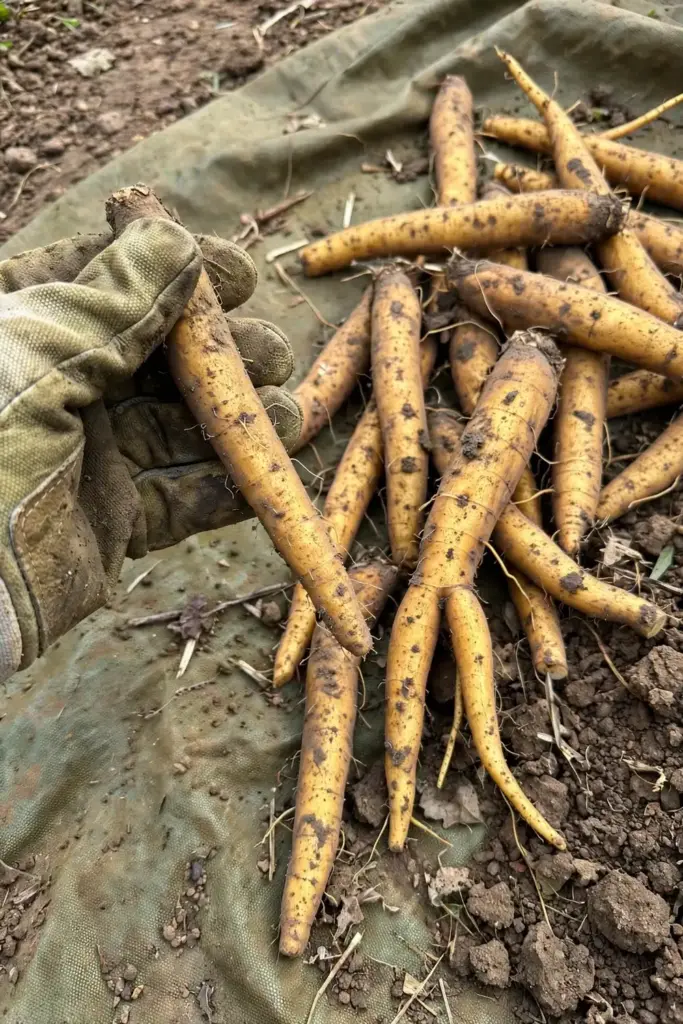
Use a digging fork, starting 8 to 10 inches from the crown and working inward to avoid slicing the roots. Chinese skullcap roots run 8 to 25 cm long and 1 to 3 cm thick at maturity, yellow-brown outside. Lift the whole plant, shake off the loose soil, and rinse the roots clean with a hose. Cut the roots into short pieces while fresh; they harden as they dry and become difficult to cut later.
Decide in advance whether you are harvesting the whole bed or thinning it. A common strategy is to dig every other plant in year three, letting the rest grow on to year four. This staggers your supply and lets you compare root quality between the two ages side by side, which teaches you more about timing than any chart. You can also divide the crowns at harvest time and replant divisions, which restarts the cycle without buying new seed. Replanted divisions establish faster than seedlings because they already have a root system, so the second cycle often runs a year shorter. Never harvest first-year plants; the roots are too small to be worth the dig, and you lose the plant for nothing.
14. Drying and Storing the Roots
Dry the roots promptly after harvest. Spread the cut pieces in a single layer in a warm, airy spot out of direct sun, or use a dehydrator at low temperature. The roots must dry quickly and completely to prevent molding; they are done when they snap cleanly instead of bending. Drying in the sun is traditional in some regions, but shade drying preserves color better.
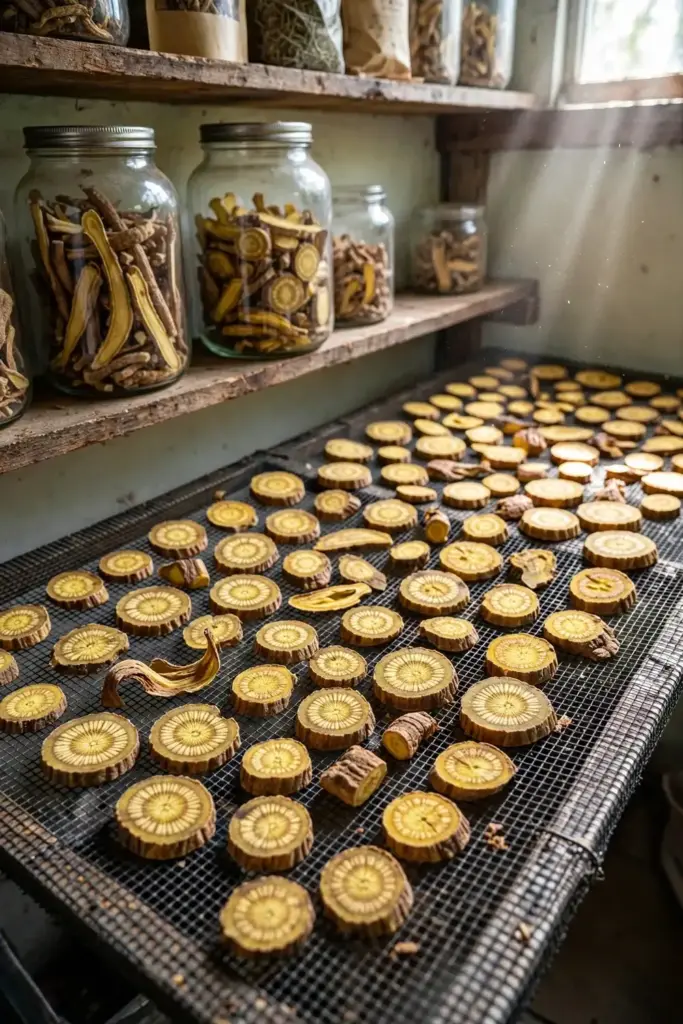
Store the fully dried roots in airtight jars away from light and heat. Properly dried and stored, they keep for at least a year. Label the jar with the harvest date and the plant’s age, because comparing year-two roots against year-four roots teaches you more about this plant than any book. This is also the point where honest record-keeping pays off: note the sowing date, the bed, and the harvest year so you can repeat what worked.
For perspective on how another root-harvest perennial herb is handled, the echinacea growing guide covers a similar dig, wash, and dry routine. The plants differ, but the harvest discipline is the same.
15. Growing in Containers
Chinese skullcap grows fine in containers, which is useful if your soil is heavy clay or you want the harvest contained and easy to dig. Use pots at least 12 inches deep and 14 inches wide, one plant per pot, in a gritty, well-drained mix. The deep pot matters because the roots need room to run downward.
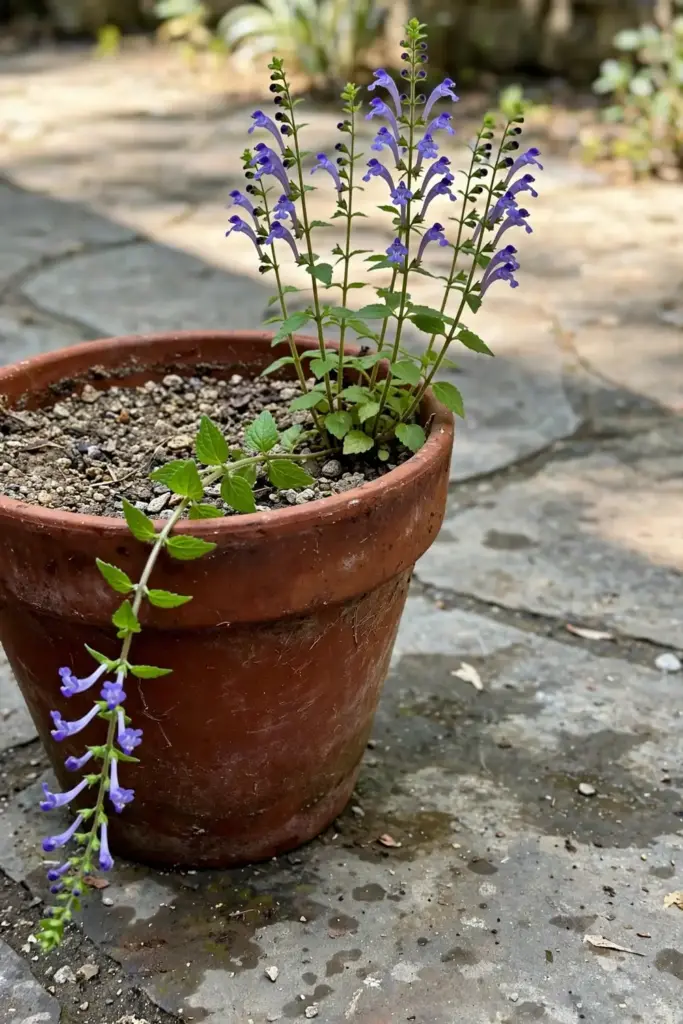
Container plants need more water than bed plants, but the same lean-soil rule applies: do not overfeed. In zones 6 and colder, protect pots over winter by moving them against a sheltered wall, wrapping the pot, or sinking it into the ground. The roots in a pot freeze harder than roots in the ground. Harvest from containers is actually easier, since you can tip the whole pot out instead of digging.
16. Common Mistakes
The mistakes below account for most failed Chinese skullcap projects. Each one is easy to avoid once you know it exists.
Skipping stratification. Unstratified seed germinates sporadically or not at all. Give the seed its 21 to 30 days of cold, every time.
Burying the seed. Skullcap needs light to germinate. Seed covered with soil stays asleep. Surface sow and press in, nothing more.
Planting the wrong species. Double-check the Latin name on every seed packet. American skullcap grown for three years yields no usable root harvest.
Harvesting too early. First-year roots are thin and not worth digging. Wait until at least year two, preferably three or four.
Rich soil and heavy feeding. Overfed plants push soft top growth and weak roots. Keep the soil lean and the fertilizer light.
Wet winter soil. Soggy ground rots crowns over winter. Drainage is non-negotiable for this plant.
Digging on a wet day. Muddy roots are miserable to clean and dry poorly. Wait for a dry spell in fall.
17. Troubleshooting
Nothing germinated. The usual suspects are skipped stratification, buried seed, or old seed. Test a fresh packet with the full protocol: 21 to 30 days cold, surface sow, 65 to 70F, even moisture. If germination is still poor after three weeks, the seed itself is likely the problem.
Seedlings are leggy and floppy. Not enough light. Move trays under grow lights or into full sun immediately, and start a fan nearby for gentle air movement, which strengthens stems.
Plants look great but roots are thin at harvest. The soil was too rich or too wet, or the plants were too young. Lean the bed out, check drainage, and give the next round another year.
Foliage yellows in summer. Usually overwatering or poor drainage. Back off the water and check that the bed drains freely. In very hot climates, some summer yellowing of lower leaves is normal and harmless.
No flowers in year one. Completely normal. Many plants wait until year two to bloom. Flowers are ornamental here anyway; the crop is underground.
Crown rot in winter. The bed stayed too wet. Replant in a raised bed or add coarse drainage material, and avoid mulching heavily over the crown in wet climates.
18. Frequently Asked Questions
Plan on two to four years from sowing to a worthwhile root harvest. Seeds germinate in two to three weeks after stratification, plants establish through year one, and roots reach useful size in year two, with the heaviest harvests in years three and four.
Yes. The seed has natural dormancy that cold breaks. Give it 21 to 30 days in a moist medium in the refrigerator before spring sowing, or sow outdoors in fall and let winter do the work. Without cold, germination is poor and uneven.
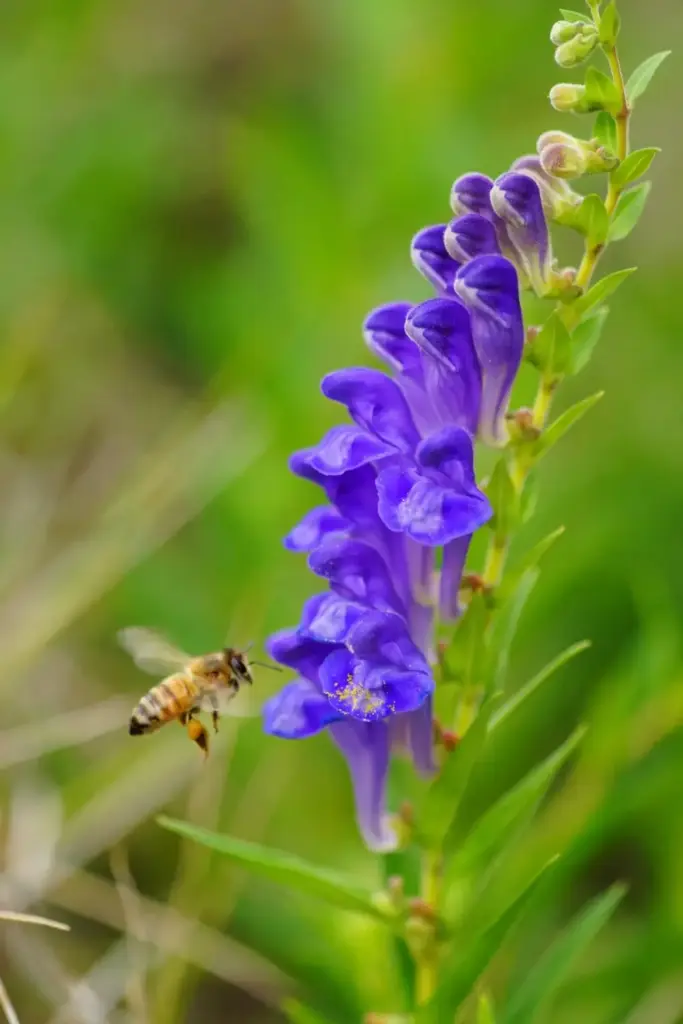
The leaves are not the traditional harvest for this species. Chinese skullcap is grown for its roots; the aerial-parts harvest belongs to American skullcap, a different plant. If you want leafy skullcap tea from your garden, grow Scutellaria lateriflora instead and cut it at bloom.
Usually not. Most calming teas use American skullcap, the aerial parts of Scutellaria lateriflora. Chinese skullcap root is a different traditional preparation with different uses. This article covers growing the plant, not making medicine, so talk to a qualified clinician before using any skullcap preparation.
Baicalin is one of the flavonoid compounds researchers have identified in Chinese skullcap roots, and it is often mentioned in discussions of the plant’s traditional uses. This guide sticks to growing the plant well; it makes no health claims and offers no dosage advice.
If you garden in zones 4 to 8, almost certainly. This is a plant of the Siberian and Mongolian steppes, built for cold winters. Good drainage matters more than winter protection. In containers, give the pot some shelter in the coldest zones.
19. Where to Go From Here
Start with the seed packet and the Latin name, give the seed its month of cold, and sow on the surface where light reaches it. Then settle in. Year one is about roots you cannot see, year two is about a plant finding its strength, and year three or four is about the dig that makes the whole project worthwhile.
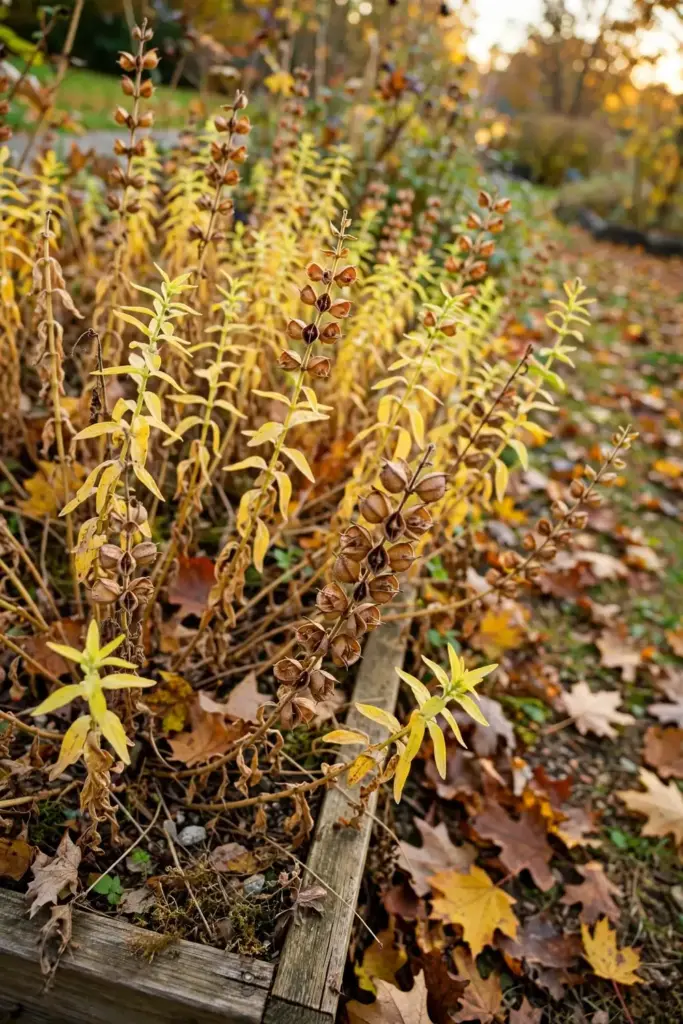
Chinese skullcap rewards the gardener who thinks in seasons rather than weeks. Few garden projects teach patience the way a root crop does, and few harvests feel as earned as roots you waited years to dig. If your climate runs on the warm side, check the fall herb planting calendar to time your sowing with the cooler season this plant prefers. Sow this spring, master how to grow Chinese skullcap in your own soil, and your future self will thank you at harvest time.