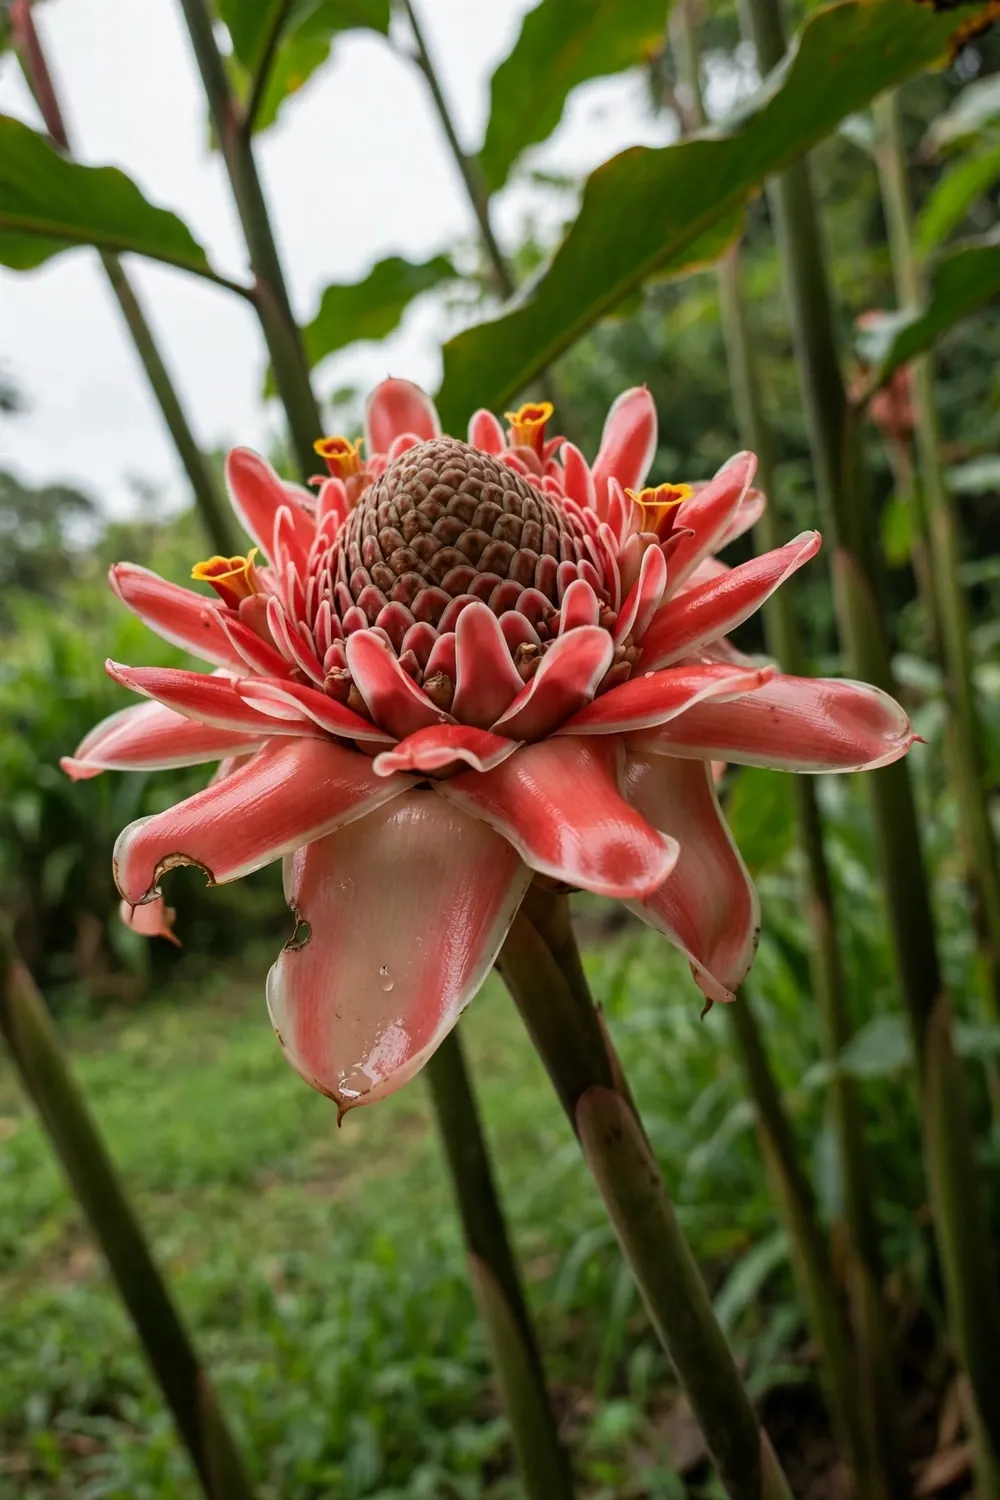

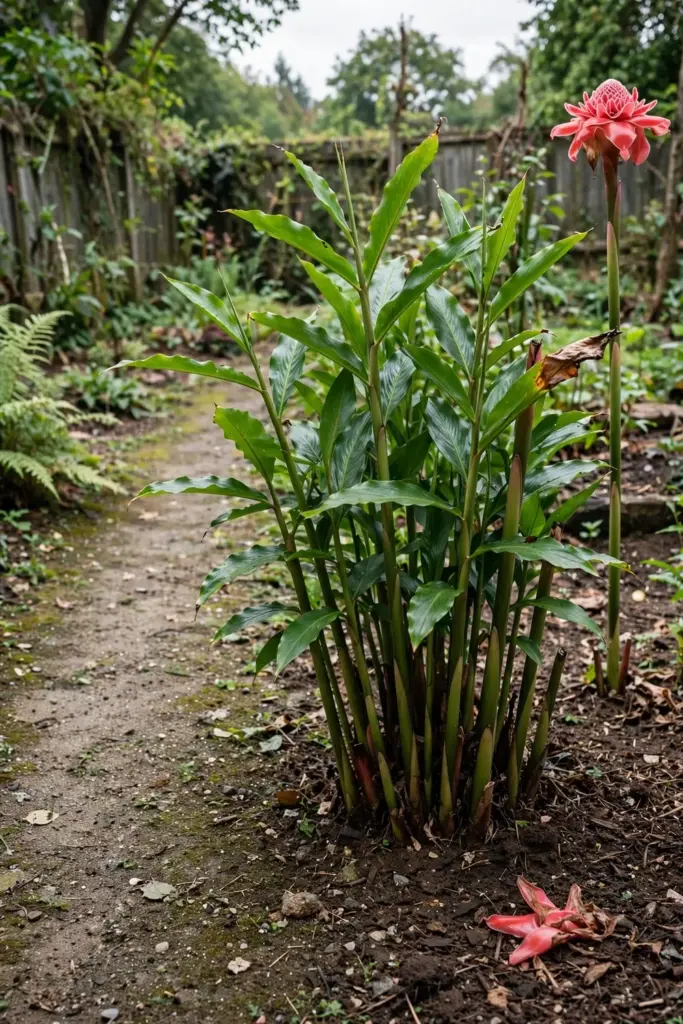
Pot one torch ginger rhizome division 2 to 3 inches deep in spring, and plan on moving a 2-to-3-foot container indoors before nights drop below 50°F (10°C). That is how to grow torch ginger (Etlingera elatior), the kecombrang of Indonesian kitchens, in a temperate climate. The rest of this page is 16 steps, from the first division to the first edible bud. From a planted rhizome, the first harvestable bloom takes about 5 months, and the unopened flower buds are the real prize: sliced thin into laksa, asam pedas, and sambal. I have learned to budget one full season before judging a new rhizome, because the first year is mostly leaves while the clump builds the energy a torch bloom demands.
This is not the ginger in your kitchen. Culinary ginger is Zingiber officinale, grown for its underground rhizome, and it gets its own guide to growing culinary ginger at home. Torch ginger belongs to the genus Etlingera, grows as a towering clump of leafy stalks, and puts its value in a waxy pink torch of a flower that rises on its own leafless stalk. In warm climates the plant flowers through much of the year. In a temperate garden it becomes a summer container giant that you overwinter like a tender tropical, with honest limits on what it will do indoors.
The 16 steps below follow one clump through a full season: choosing a division, planting after frost, watering and feeding for blooms, container growing, the honest indoor-overwintering routine, harvesting buds for the kitchen, and telling torch ginger apart from its lookalike cousins.
Torch Ginger at a Glance
| Fact | Detail |
|---|---|
| Botanical name | Etlingera elatior |
| Family | Zingiberaceae (ginger family) |
| Names you will see | Torch ginger, kecombrang (Indonesian), bunga kantan (Malay), Philippine wax flower, ginger lily |
| Winter hardiness | USDA zones 10 through 12 outdoors year-round, per PlantCareToday’s torch ginger guide; everywhere else it grows as a container plant that winters indoors |
| Temperature floor | Nights below 50°F (10°C) damage the plant |
| Bloom timeline | About 5 months from a planted rhizome to a harvestable bloom, according to University of Minnesota cut-flower research; add roughly a year when starting from seed |
| Edible part | The unopened flower bud, sliced and cooked in Southeast Asian dishes |
1. Start With a Rhizome Division Instead of Seed
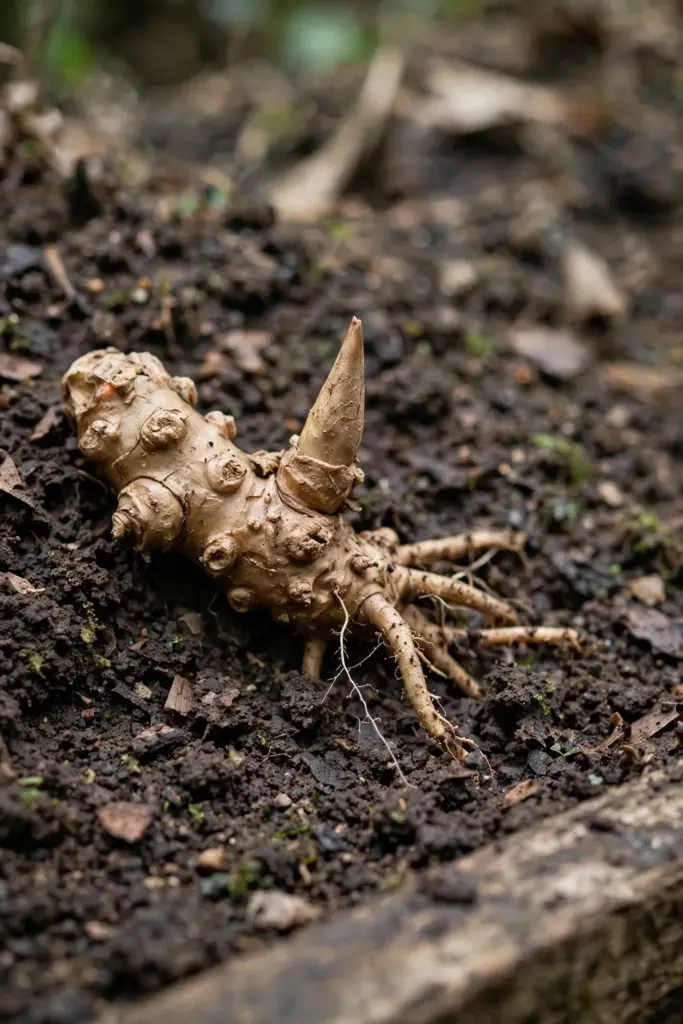
Buy a rhizome division with at least one firm growth bud, not a packet of seed. Division is the proven propagation route for torch ginger: the new clump is genetically identical to the parent, it establishes fast, and it can bloom within a single season. Rhizomes are sold by tropical nurseries in spring, and a healthy piece feels dense and heavy, with no soft or sour-smelling spots.
Seed is possible but slow. Fresh seed germinates far better than old seed, and even under warm, humid conditions a seed-grown plant needs roughly a year longer than a rhizome division before its first bloom, per the University of Minnesota research. If you do try seed, treat it like any other tropical seed: steady warmth, high humidity, and patience. The seed starting steps cover the heat-mat and humidity-dome setup that gives slow tropical seed its best chance.
Plant divisions in spring, once nighttime temperatures stay reliably above 60°F. Warm soil wakes the rhizome faster than any fertilizer, and a spring start gives the clump the longest possible runway before its first winter indoors.
2. Time Your Planting for 4 Weeks After the Last Frost
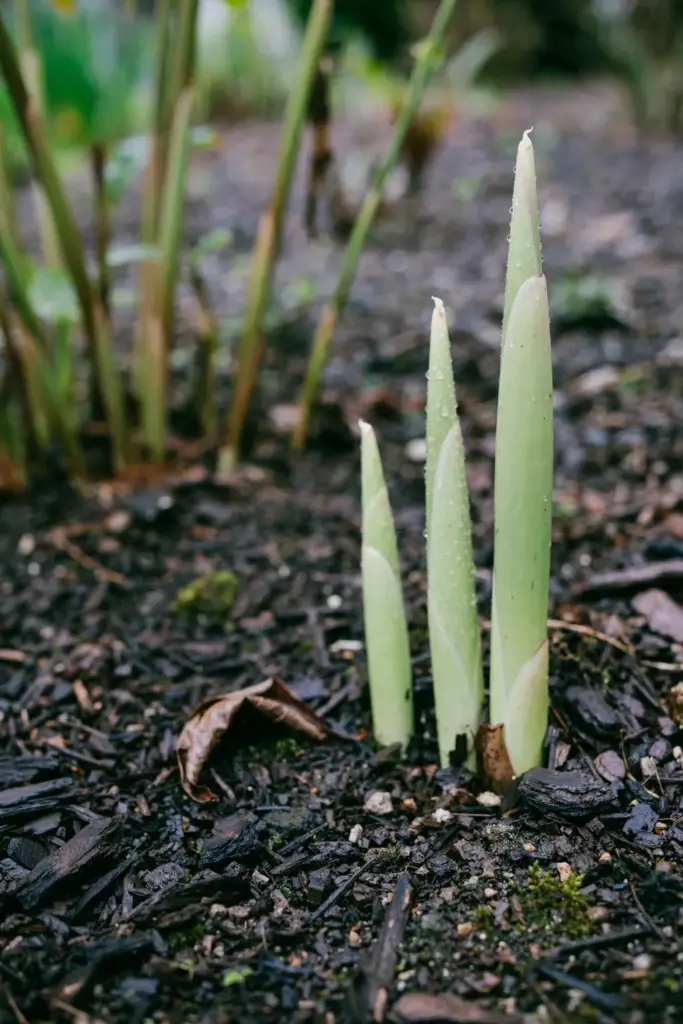
Wait until four weeks after your average last frost before the rhizome goes outside. Torch ginger has no frost tolerance at all, and a single cold snap on a newly planted division can rot the growth bud before it ever sprouts. The four-week buffer lets the soil warm deeply, which matters because this plant’s roots run warm and shallow.
Check the 10-day forecast before planting day. If nights still dip near 50°F, hold the potted division in a bright, warm spot indoors for another week or two. Gardeners in zones 10 and 11 can plant directly in the ground on this schedule. Everyone in zone 9 or colder plants into a container that will travel indoors in fall, which step 9 covers in detail.
A soil thermometer removes the guesswork. When the top 6 inches of soil read 65°F or warmer in the morning, the rhizome will break dormancy quickly. Below that, it sits and waits, and waiting in cold, wet soil invites rot.
3. Give the Clump Morning Sun and Afternoon Shade
Site torch ginger in full sun to partial shade, with protection from harsh afternoon sun. The plant needs several hours of direct light to build bloom energy, but scorching midday sun burns the broad leaves at the edges. An east-facing spot, or a place shaded by a building or tree canopy during the afternoon, hits the balance.
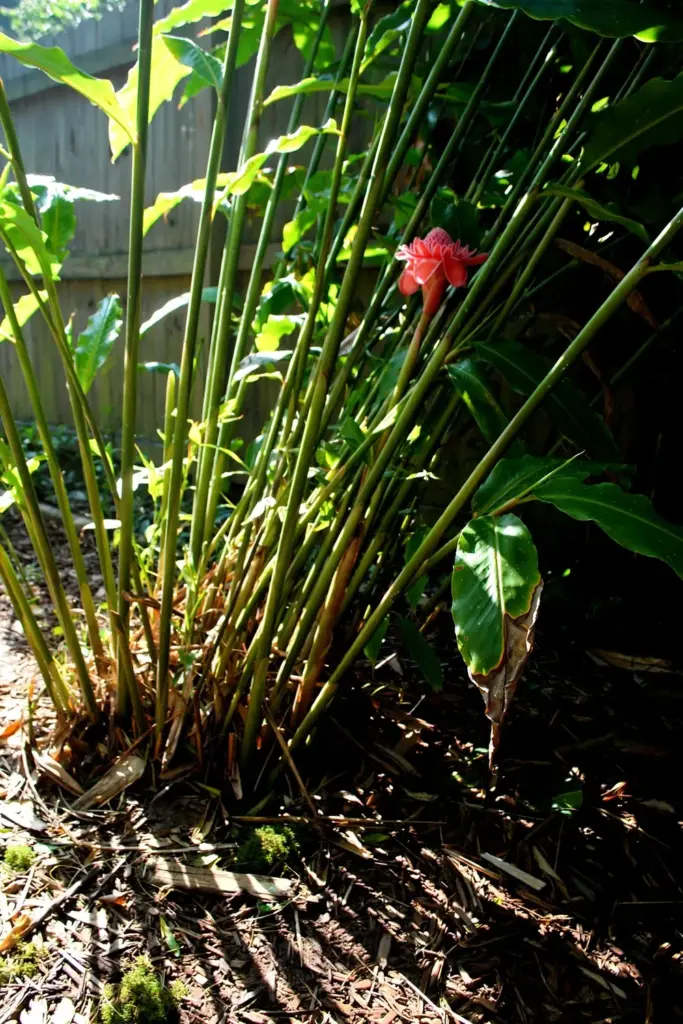
Shelter from strong wind matters as much as light. The leafy stalks rise tall and catch wind like sails, and a snapped stalk will not recover. PlantCareToday’s care guide specifically recommends a setting sheltered from high winds, shaded for part of the day. A fence line, the lee side of a shed, or a cluster of sturdy shrubs all work as windbreaks.
Indoors for winter, give the plant the brightest window you have. A south-facing window or a simple grow light keeps the rhizome alive through the short days. Expect slower growth and no blooms under glass; winter indoors is about survival, not production.
4. Plant the Rhizome Shallow in Potassium-Rich Soil
Set the rhizome 2 to 3 inches deep in soil that is rich in organic matter and drains freely. Lay it horizontally with the growth buds pointing up, then cover it lightly and water it in. Burying it deeper invites rot, because the rhizome needs warmth and air around the buds to sprout.
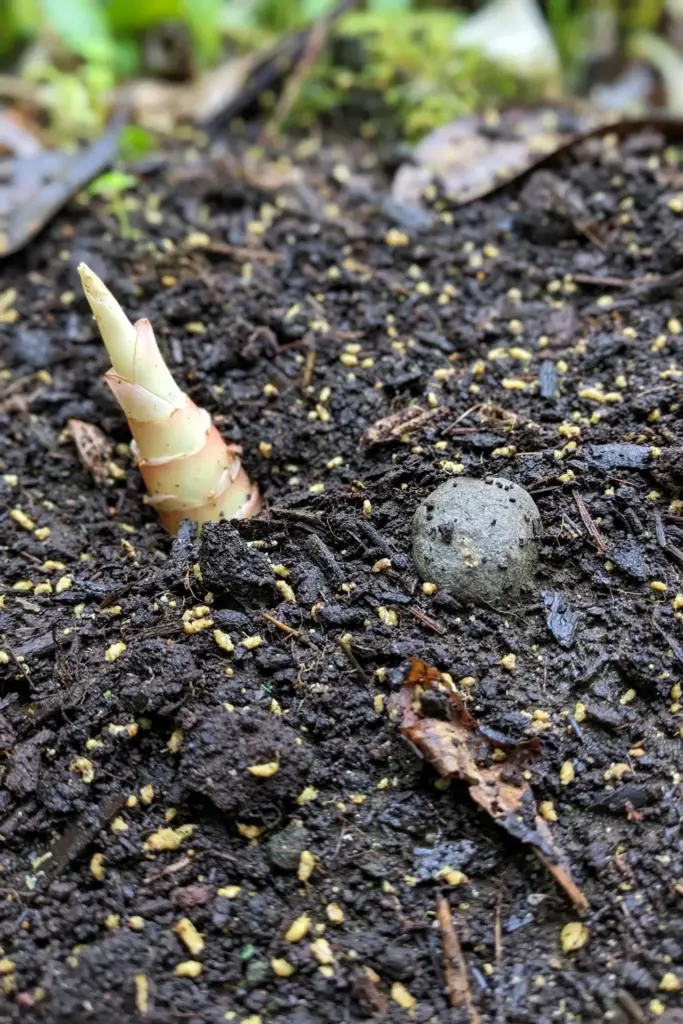
Potassium is the nutrient that decides whether torch ginger thrives or sulks. A potassium shortage is the single biggest nutritional problem in this plant, according to Gardening Know How’s torch ginger guide, because potassium drives the water uptake a plant this large depends on. Before planting, work a potassium source into the bed about a foot deep: greensand, kelp meal, or granite meal are the organic options the same guide names. For containers, mix the amendment through the whole pot.
Aim for a slightly acidic to neutral soil, pH 5.6 to 7.5, in a humus-rich mix that holds moisture without staying soggy. A soil test before planting tells you exactly where your potassium and pH stand, and it costs less than one replacement rhizome. Building that baseline is part of building soil health, which pays off across the whole garden.
5. Water Whenever the Top 2 Inches of Soil Dry Out
Keep the soil consistently moist through the growing season, watering when the top 2 inches dry out. In hot weather that can mean watering every day or two, especially in containers, which dry faster than ground beds. Torch ginger is not drought-tolerant, and a dry spell shows first as browning at the leaf margins. Dry roots cannot drink potassium. The watering routine in this step underpins the feeding routine in the next one.
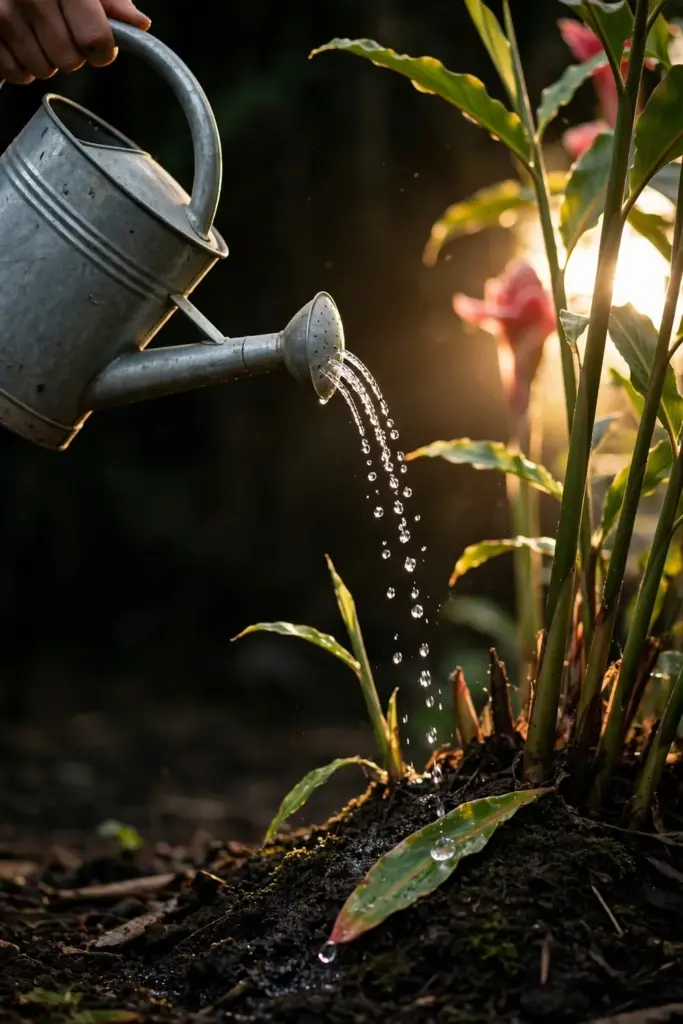
Never let the plant sit in standing water. Soggy soil rots the rhizome just as surely as drought stresses the leaves, so pots must have drainage holes and ground beds must drain within a few hours of heavy rain. If your site puddles, plant on a slight mound or dig a shallow diversion trench so excess water moves away from the clump.
Mulch does half the watering work for you, which step 7 covers. A rain gauge or a simple finger test beats any fixed schedule: check the soil, not the calendar, and adjust as the season’s heat rises and falls.
6. Feed Monthly With a High-Potassium Fertilizer
Fertilize monthly through the growing season with a fertilizer high in potassium, the third number in the N-P-K ratio on the bag. Potassium helps the plant take up water efficiently, and on a plant that transpires through leaves several feet long, that uptake is the difference between strong growth and chronic stress. PlantCareToday’s guide calls for a good-quality fertilizer with high potassium levels every month while the plant is actively growing.
Test the soil for potassium at the start of each season, then supplement between tests. In established beds, a granular high-potassium fertilizer scratched into the mulch layer works well. In containers, a water-soluble feed gives you tighter control, since potted plants exhaust nutrients faster. The University of Minnesota cut-flower research even used daily low-level fertilization for production plants, which shows how hungry this species is when it is pushing blooms.
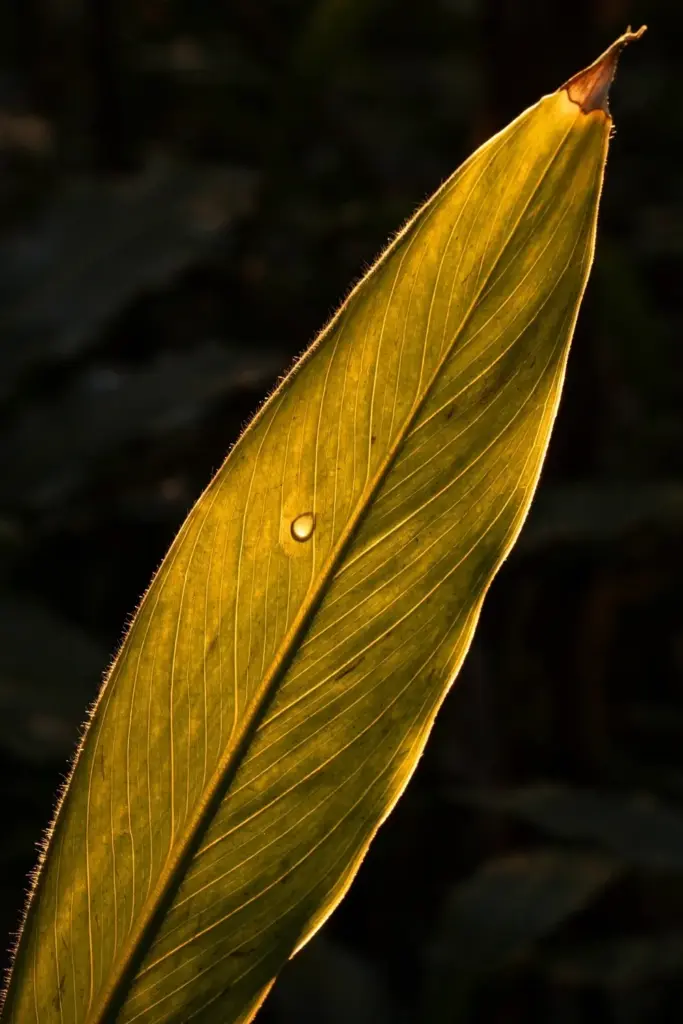
Watch the leaf margins for the classic deficiency signal: yellowing or browning at the edges while the center stays green. When you see it, feed and check drainage, because waterlogged roots cannot take up potassium no matter how much you apply.
7. Spread 3 Inches of Mulch to Hold Moisture and Warmth
Spread a 3-inch layer of organic mulch over the root zone, keeping it a few inches back from the emerging stalks. Mulch holds the consistent moisture torch ginger demands, keeps the shallow roots cool in summer heat, and slowly feeds the soil as it breaks down. PlantCareToday’s guide specifically recommends a thick mulch layer for this plant.
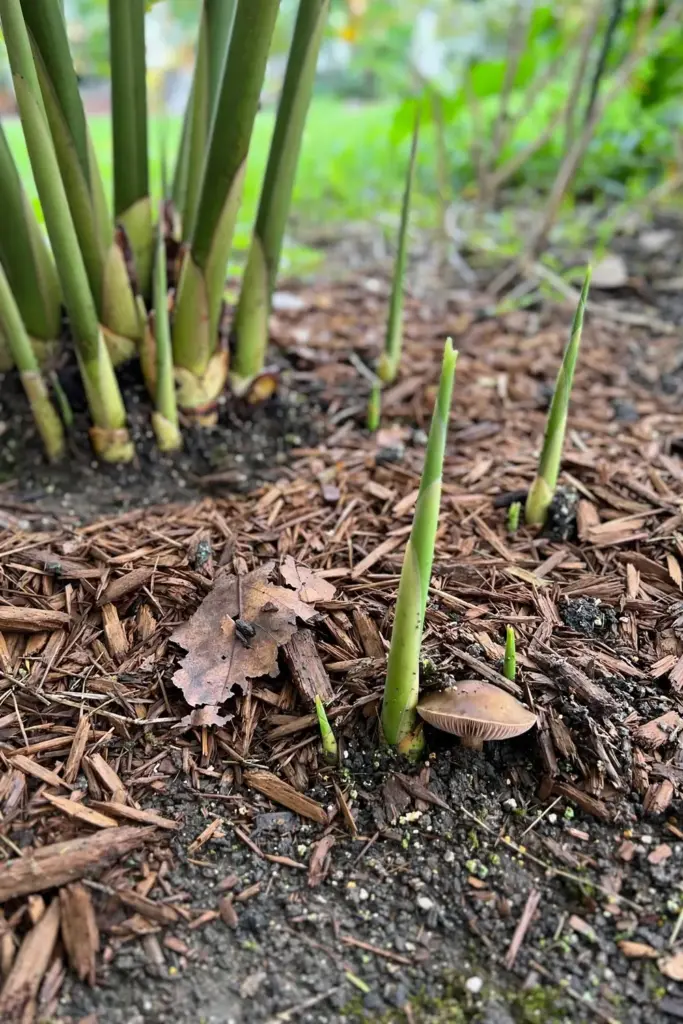
Good mulch materials include shredded bark, leaf mold, or composted wood chips. Avoid piling mulch against the stalks themselves, which traps moisture where rot starts. Refresh the layer in midsummer if it has thinned, because a container in full sun can burn through mulch faster than you expect.
The table below puts the whole seasonal routine in one place. Tape it inside a garden journal or save it on your phone for the first year, until the rhythm becomes habit.
| Task | Frequency | Notes |
|---|---|---|
| Check soil moisture | Every 2 to 3 days in summer | Water when the top 2 inches are dry |
| High-potassium fertilizer | Monthly, spring through early fall | Use the third N-P-K number as your guide |
| Mulch check | Monthly | Top up to 3 inches when it thins |
| Soil potassium and pH test | Once per season | Target pH 5.6 to 7.5 |
| Deadhead spent blooms | As needed | Cut the finished stalk at the base |
| Inspect for pests | Every 2 weeks | Aphids and mealybugs signal stress first |
8. Stake Bloom Stalks Against Strong Wind
Stake each bloom stalk when it reaches about a foot tall. The flower stalk rises on its own, separate from the leafy stems, and a mature bloom head is heavy enough to lever the whole stalk over in a gust. A single bamboo cane and a loose figure-eight tie give the stalk the support it needs without strangling it.
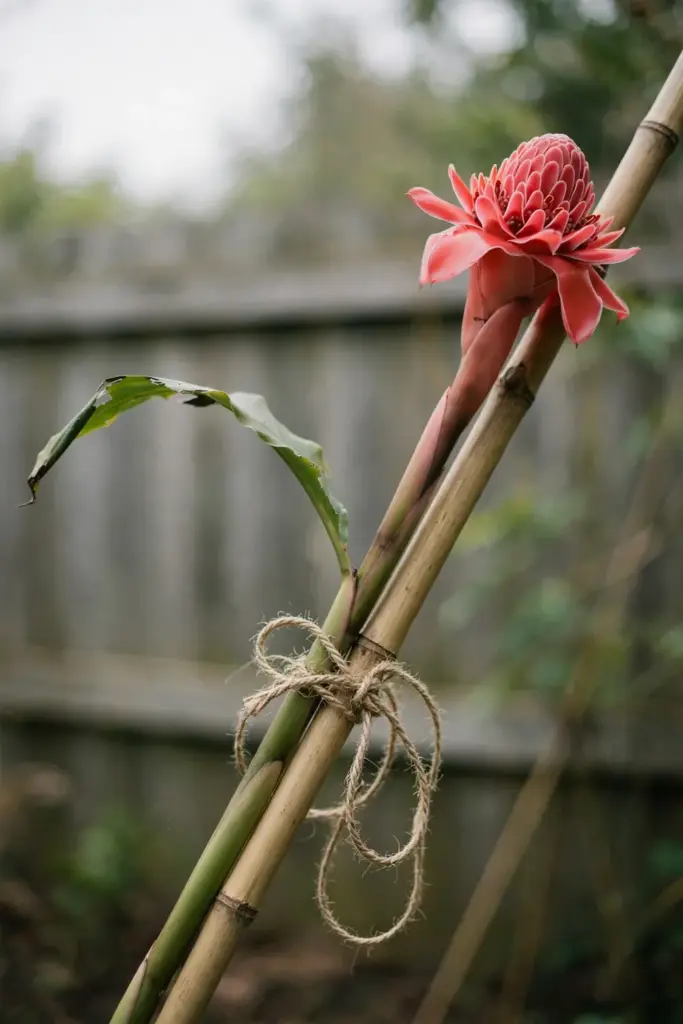
Tie loosely and check the ties monthly. Stalks thicken as they grow, and a tie that was snug in June can girdle a stalk by August. Soft twine or strips of old t-shirt work better than wire, which cuts into the fleshy tissue.
Site selection from step 3 does most of this job. A clump tucked behind a windbreak rarely needs more than one stake per bloom stalk, while an exposed clump turns staking into a weekly chore. When you divide the clump every few years, take the chance to move it somewhere more sheltered if wind has been a constant battle.
9. Pot Up Into a 2-to-3-Foot Container
Choose a container 2 to 3 feet in diameter for a mature clump, the size the University of Minnesota research used for productive plants. Torch ginger builds a big, hungry root system, and a cramped pot means constant watering, constant feeding, and a plant that never quite thrives. Large containers are not optional for this species; they are the growing method outside the tropics.
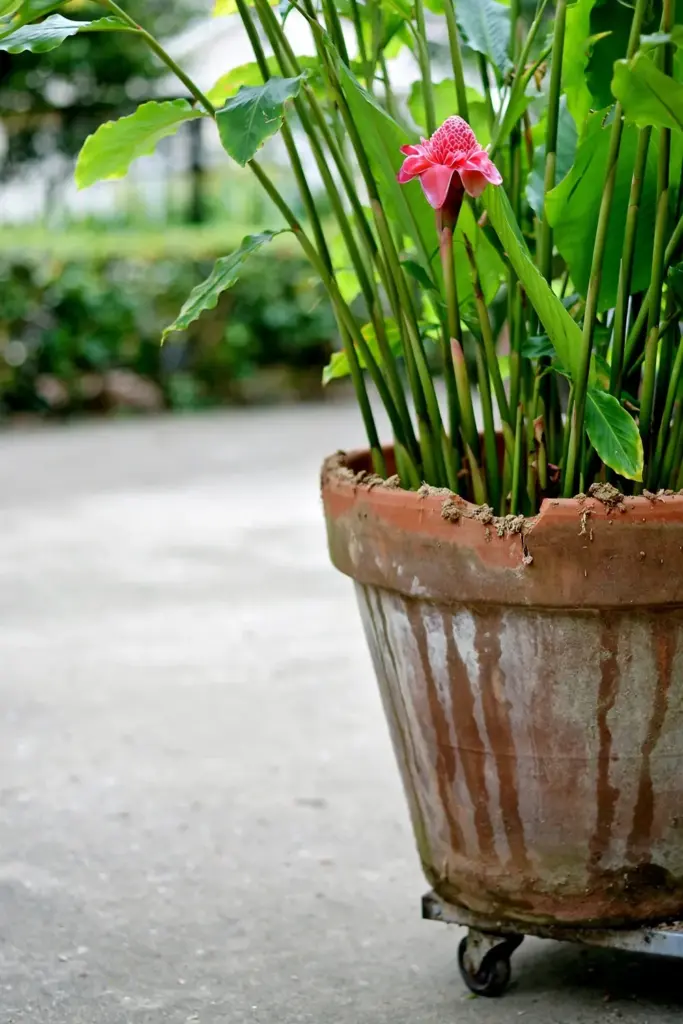
Use a rich, well-draining potting mix with plenty of compost, and confirm the pot has generous drainage holes before the rhizome goes in. Set the rhizome at the same shallow depth as in the ground, 2 to 3 inches deep. A wheeled plant dolly under a pot this size is worth the investment, because you will be moving it twice a year.
Repot or divide every 2 to 3 years in spring, before the growing season starts. If roots circle the inside of the pot or water runs straight through without wetting the mix, the plant is telling you it has outgrown its home. Fresh mix at repotting time restores the potassium and organic matter the clump has consumed.
10. Bring the Pot Indoors Before Nights Drop Below 50°F
Move the container indoors when nighttime forecasts approach 50°F (10°C), the temperature floor below which torch ginger suffers. Do not wait for the first frost warning; by then the damage is done. In most temperate regions this means a move sometime in early to mid fall, weeks before tender annuals give up.
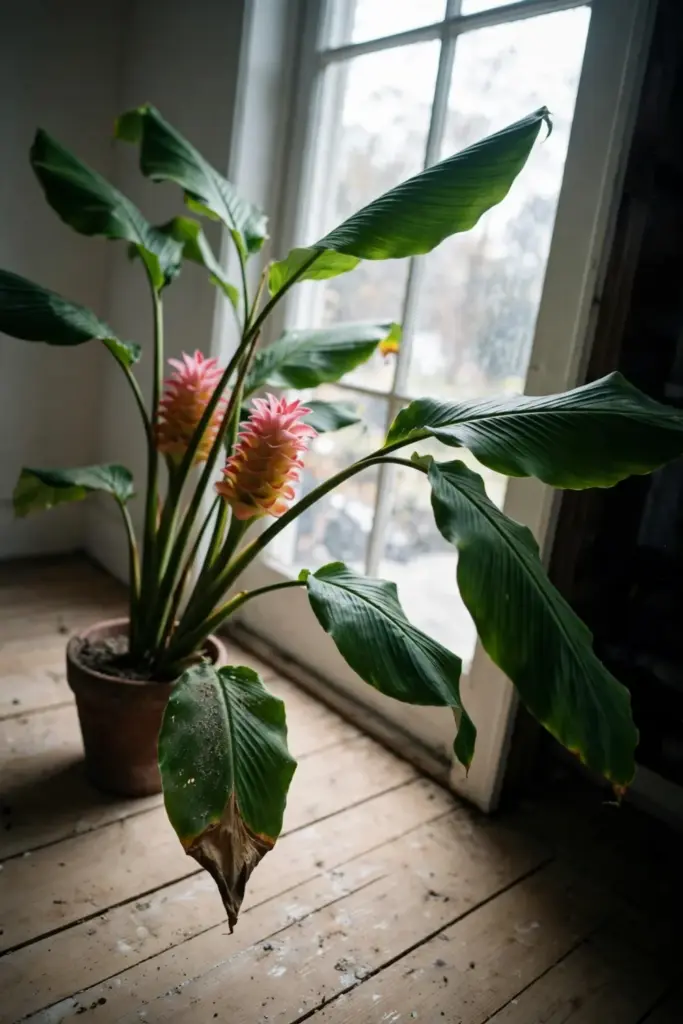
Transition the plant gradually over a week. Start with a few nights in a sheltered spot like a garage, then move it to its winter quarters. Check the whole plant for hitchhiking pests before it crosses the threshold, and cut back any tattered leaves so the indoor footprint stays manageable.
Winter quarters should be bright and cool, ideally 60 to 65°F, with reduced watering. Let the top few inches of soil dry between waterings, since the plant grows slowly in winter and wet soil in a cool room invites rot. Stop fertilizing entirely until spring growth resumes.
11. Set Honest Expectations: Indoor Plants Rarely Bloom
Anyone learning how to grow torch ginger in a cold climate should plan around one fact: do not expect winter blooms indoors. Torch ginger kept as a houseplant grows shorter, loses vigor, and usually will not flower; PlantCareToday’s guide states plainly that these plants do not make good houseplants because they grow too large and cannot thrive under typical indoor conditions. Believe it. The Missouri Botanical Garden’s plant record carries the same warning for cooler climates.
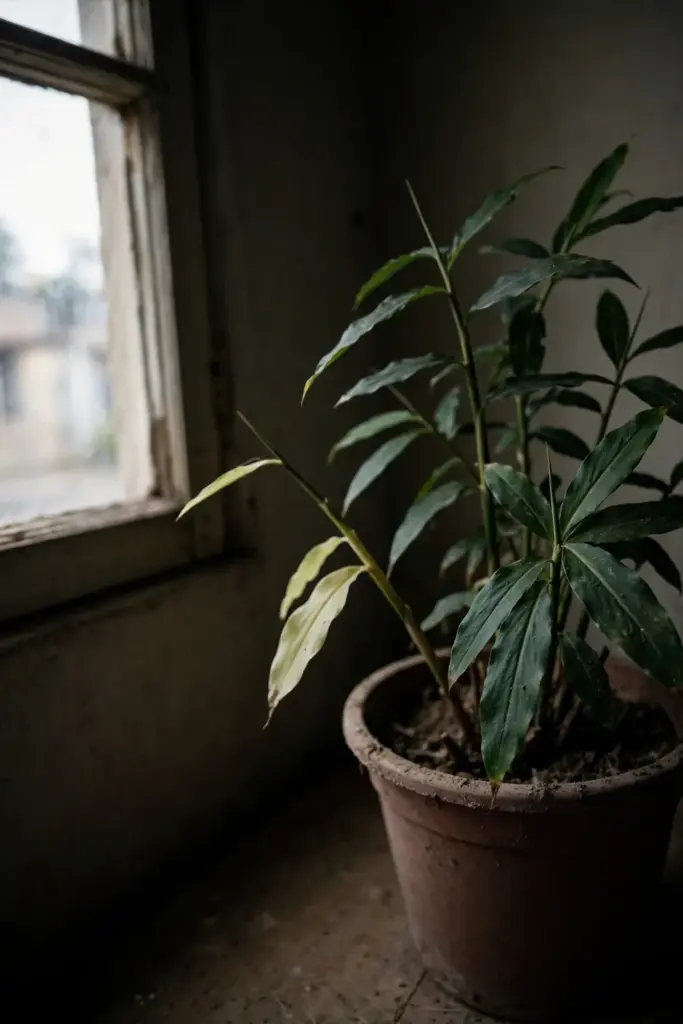
This honesty shapes the whole strategy. Grow torch ginger as a summer container specimen that you overwinter, not as a year-round indoor bloomer. The winter goal is simple: keep the rhizome alive and healthy so it explodes back into growth when spring warmth returns.
If blooms are your priority and you have the space, a heated greenhouse changes the equation. Steady warmth, high humidity, and strong light can coax flowers outside the tropics. For most home gardeners, though, the realistic harvest is summer buds outdoors and a quiet rhizome indoors through winter.
12. Deadhead Spent Blooms to Trigger the Next Flush
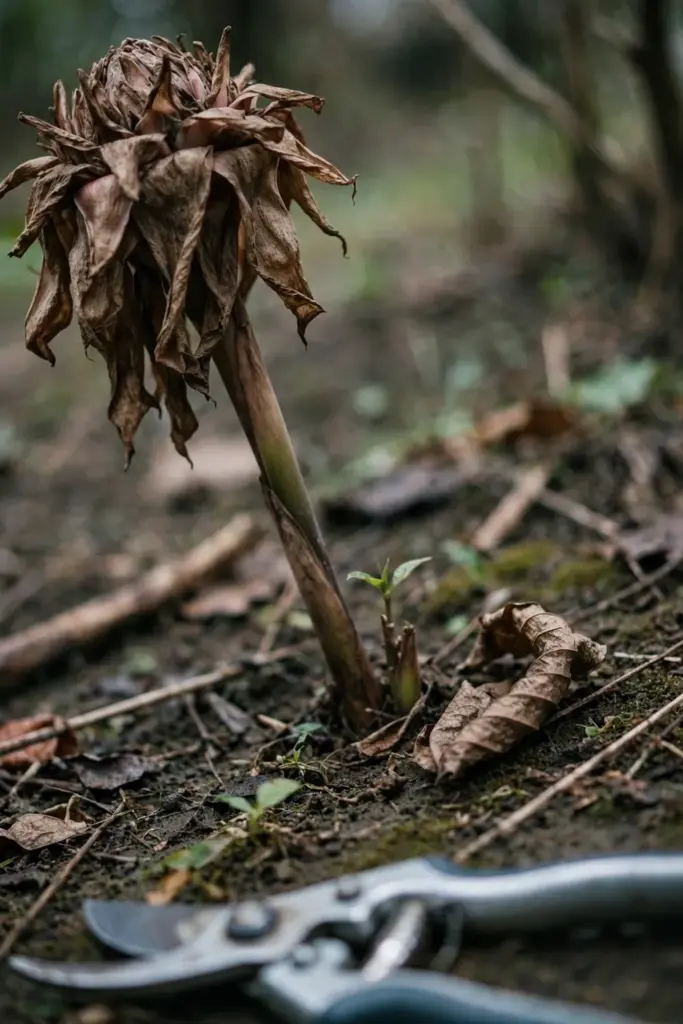
Cut each spent bloom stalk at the base once the waxy bracts brown and fade. The finished stalk dies back naturally after flowering, and new shoots rise from the rhizome to take its place. Clearing the old stalk keeps the clump tidy and lets light reach the emerging shoots.
A single inflorescence carries 18 to 24 individual flowers at peak season, and 60 days pass from first emergence to full bloom, according to the University of Minnesota’s cut-flower research. That long development window means every stalk represents two months of the plant’s energy, so give each one room and light rather than crowding the clump.
Leave one late-season bloom to mature if you want to try seed, but know the trade: seed-grown plants take about a year longer to flower than divisions. For most gardeners, cutting every spent stalk and letting the rhizome pour its energy into the next flush is the better deal.
13. Divide the Clump Every 2 to 3 Years
Divide the clump in late winter or early spring every 2 to 3 years, before new growth starts. A mature torch ginger clump expands steadily, and a crowded rhizome mass competes with itself for water, potassium, and space. Division rejuvenates the plant and gives you free starts for friends or for expanding your own patch.
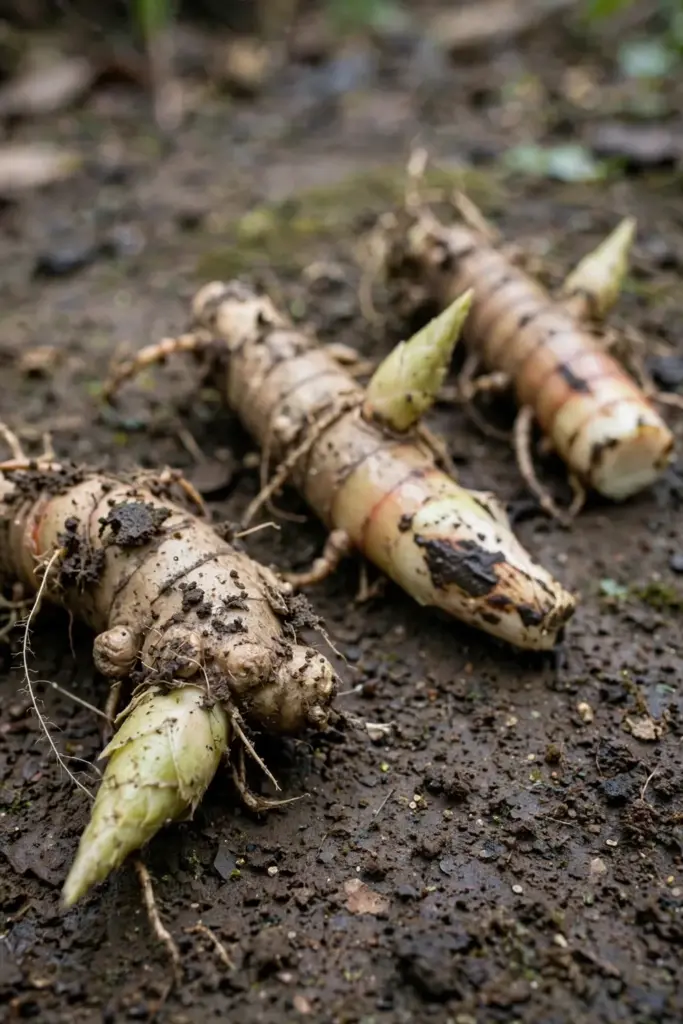
Lift the whole clump and cut the rhizome into sections, making sure each piece carries at least one firm growth bud and some healthy roots. Use a sharp, clean knife or saw; ragged tears heal slowly and invite rot. Dust the cut faces with cinnamon or let them air-dry for a day before replanting.
Replant divisions immediately at the same shallow depth, water them in, and keep them warm and humid until new shoots appear. Do not bury the pieces deeply. Shallow planting with the buds just covered is the rule for divisions exactly as it is for a new rhizome.
14. Harvest Flower Buds While the Bracts Are Still Tight
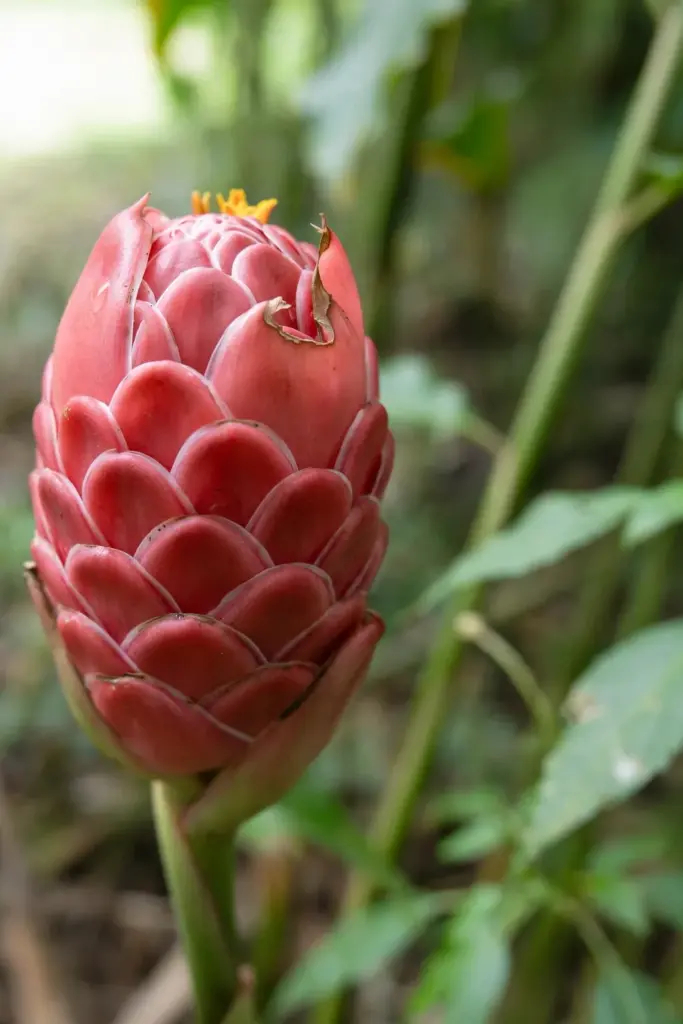
Harvest the flower bud when it is still tight and closed, before the bracts open and the true flowers emerge. The unopened bud is the prized edible stage: dense, aromatic, and crisp enough to slice thin. Cut the stalk with a clean knife, taking the bud with a short section of stem for easy handling.
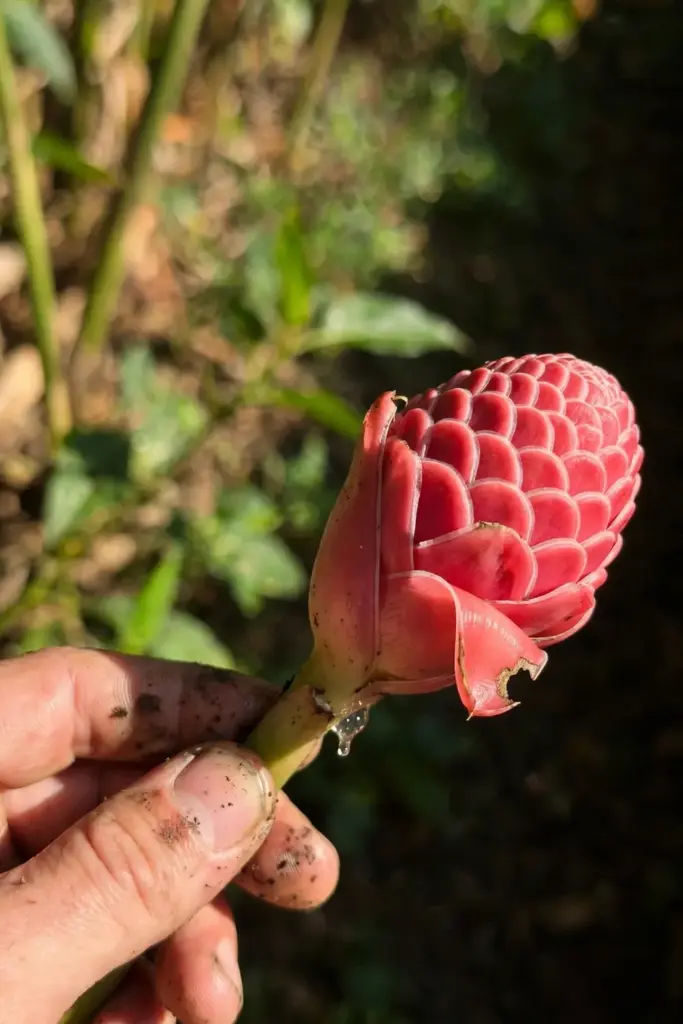
In the kitchen, slice the bud in half or into thin wedges and add it to salads, sambals, laksa, or asam pedas. The flavor is sharp, floral, and citrusy, more aromatic than hot. Malaysian cooks also pound the bud into rempah, the fragrant spice paste that seasons curries and sambals, and even the separated petals of an opened bloom can go into recipes, according to the bunga kantan cooking guide at Nava-K. Gardening Know How confirms the buds are edible and flavorful and widely used across Southeast Asian cooking.
Harvest in the morning, when the buds are cool and firm, and use them the same day for the brightest flavor. A bud left on the stalk past its prime still looks spectacular in a vase: the waxy bracts hold their color for days after cutting, which is why florists prize torch ginger as a cut flower too.
15. Tell Torch Ginger Apart From Shampoo Ginger
Torch ginger is Etlingera elatior. Shampoo ginger is Zingiber zerumbet. Different genera, different plants, different uses, and the growing advice for one does not transfer to the other. Shampoo ginger makes a pinecone-shaped inflorescence at ground level and is famous for the fragrant juice in its mature cones. Torch ginger sends its bloom up on a tall stalk and is grown for the edible bud.
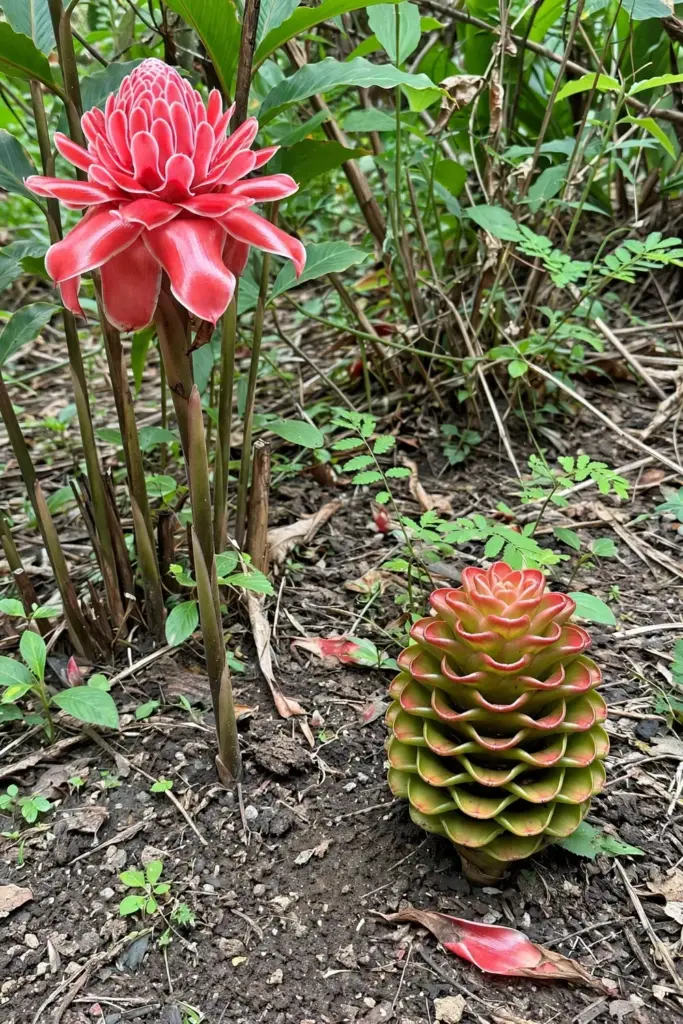
Nursery labels cause most of the confusion. Both get sold as ornamental gingers, and both have torch or cone shaped blooms in shades of red. Check the botanical name on the tag before you buy: you want Etlingera elatior if edible buds are the goal. The types of ginger plants guide walks through the wider ginger family so you can match the plant to your plan.
Other Etlingera species are purely ornamental and rarely set edible buds worth cooking. If a seller cannot name the species, treat the plant as decoration only. When the tag reads Etlingera elatior, you have the kecombrang of Indonesian kitchens.
16. Fix 4 Common Torch Ginger Problems
Yellow leaf margins with green centers point to potassium deficiency, the classic torch ginger complaint. Feed with a high-potassium fertilizer and confirm the soil drains well, because waterlogged roots cannot absorb potassium no matter how much you apply. A soil test settles the question in one step.
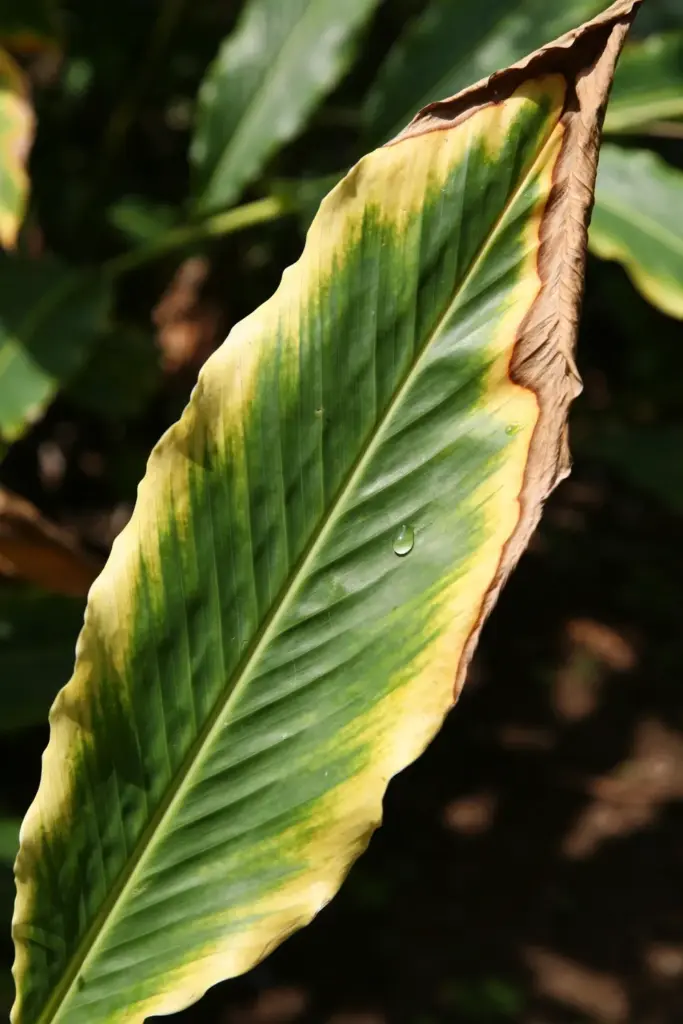
No blooms on a healthy-looking clump usually means the plant is too young or too shaded. A rhizome division needs about 5 months of warm growing before its first harvestable bloom, and deep shade starves the buds of energy. Move the container to brighter light and give it another season before you worry.
Soft, blackened rhizome tissue means rot from overwatering or planting too deep. Lift the rhizome, cut away every soft section back to firm white flesh, let the cuts dry for a day, and replant shallow in fresh, fast-draining mix. Then water less until new growth proves the plant has recovered.
Frost-bitten leaves turn watery and black after a cold night. Cut the damaged stalks to the base; the underground rhizome often survives a light frost even when the top growth does not. Mulch the crown heavily and do not water until new shoots emerge, which tells you the rhizome made it.
Frequently Asked Questions About Growing Torch Ginger
You can keep it alive indoors, but it will not thrive or bloom. Torch ginger grows too large for typical indoor conditions, stays short, and loses vigor without strong light and high humidity. Treat it as a summer container plant that winters indoors, and move it back outside once nights stay above 50°F.
About 5 months from a planted rhizome division to a harvestable bloom under warm conditions, according to University of Minnesota research. From emergence, each inflorescence needs 60 more days to reach full bloom. Plants grown from seed need about a year longer than divisions.
No. Torch ginger is Etlingera elatior, grown for its tall waxy bloom and edible flower bud. Shampoo ginger is Zingiber zerumbet, a different genus known for the fragrant juice in its ground-level cones. Check the botanical name on the nursery tag before buying.
Slice the unopened bud thin and add it to laksa, asam pedas, sambals, and salads for a sharp floral citrus note. Malaysian cooks pound it into rempah spice paste. Harvest buds while the bracts are still tight, in the morning, and use them the same day.
Zones 10 through 12 can grow it outdoors year-round. In zone 9, plant it in a container and move it indoors before nights drop below 50°F. In colder zones it grows as a summer container plant, spending winter in a bright, cool room.
Keep Your Kecombrang Clump Thriving for Years
Learning how to grow torch ginger comes down to respecting what it is: a big tropical clump that wants warmth, steady moisture, monthly potassium, and a winter indoors wherever frost threatens. Start with a rhizome division in spring, give it a 2-to-3-foot pot or a rich sheltered bed, water when the top inches dry, and cut the buds while they are tight for the kitchen.
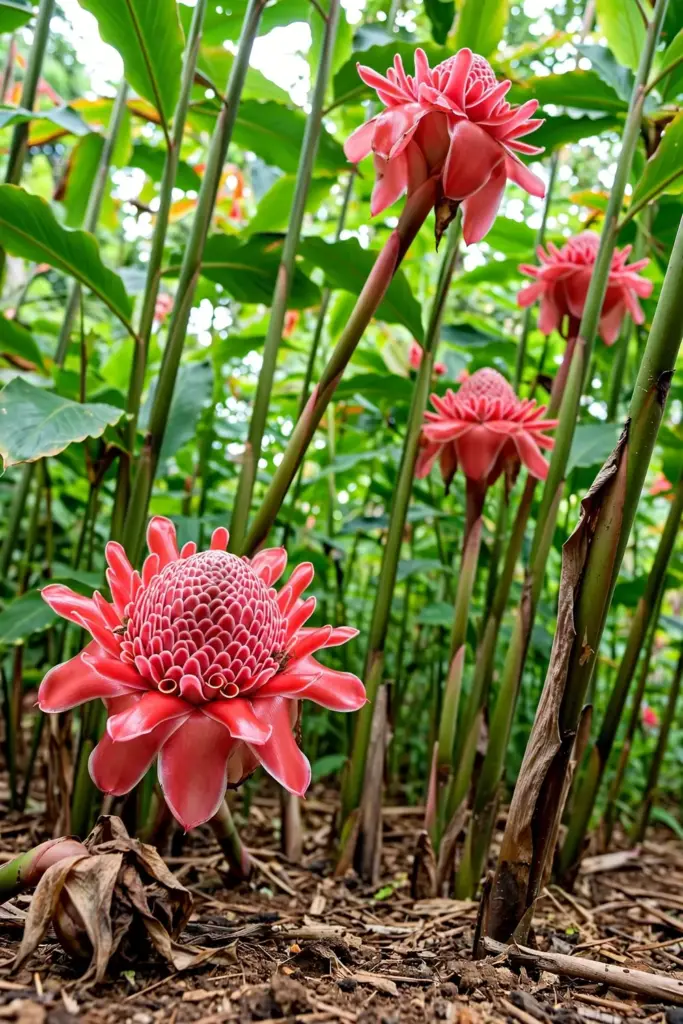
Your second year is always better than your first. The clump expands, the bloom stalks multiply, and the harvest of kecombrang buds grows with them. Divide the rhizome every few springs, keep the potassium coming, and a single original division can supply your sambals and your vases for a decade.