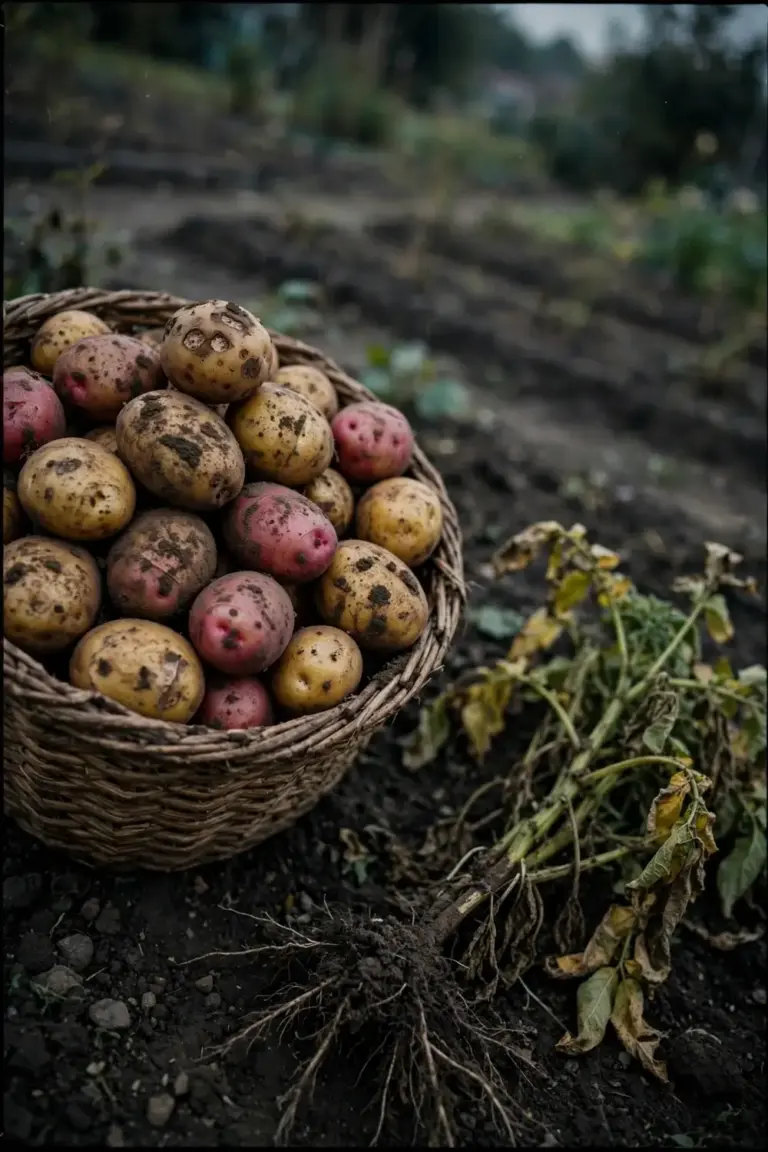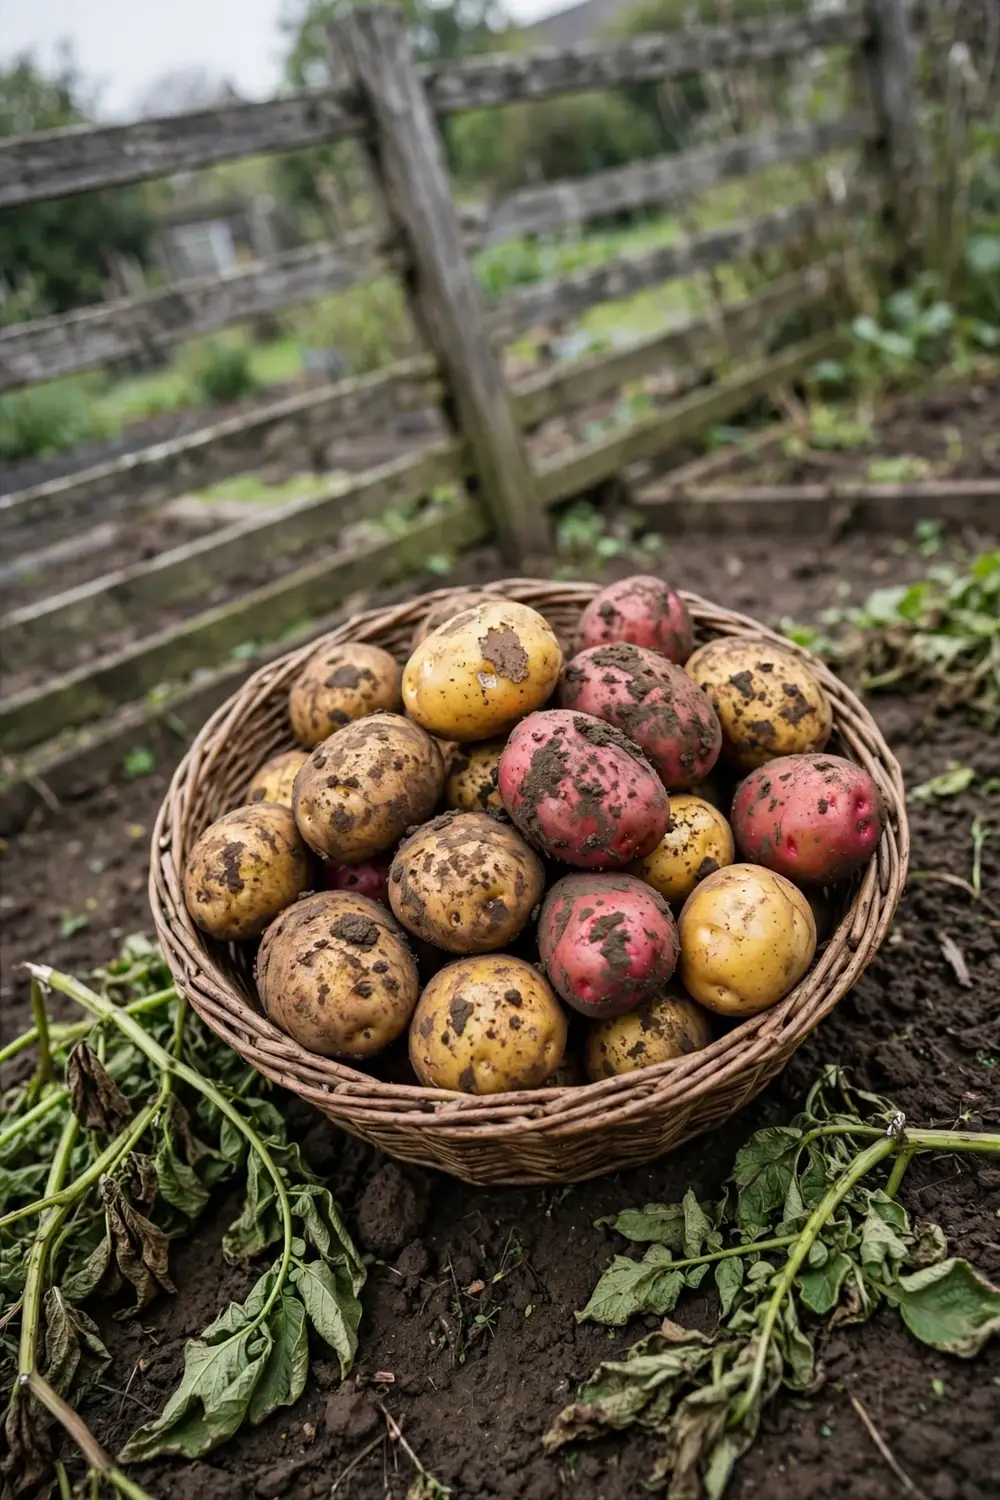

Plant certified seed potatoes in cool soil and you will dig new potatoes 7 to 8 weeks later. That is growing potatoes in Australia at its simplest: the right window for your climate band, soil near pH 6, hilling before tubers see light, and harvest when the tops die. The rest of this page is 12 moves, from choosing a type to curing the main crop for storage.
Buy seed potatoes two weeks before your window opens. Chit them on a bright bench for one week. Plant on a cool morning, then hill twice while the stems grow.
Growit already covers the general method in its potato growing guide. This page stays on the Australian angle: the planting windows for each climate band, the types that suit Australian kitchens, and the local rules on seed potatoes, water, and storage.
1. Plant Potatoes in the Right Australian Window
Plant potatoes in the cool months in warm areas and in spring through summer in temperate and cool areas. Sustainable Gardening Australia sets warm areas at March to August, and temperate and cool-to-cold areas at September to February.
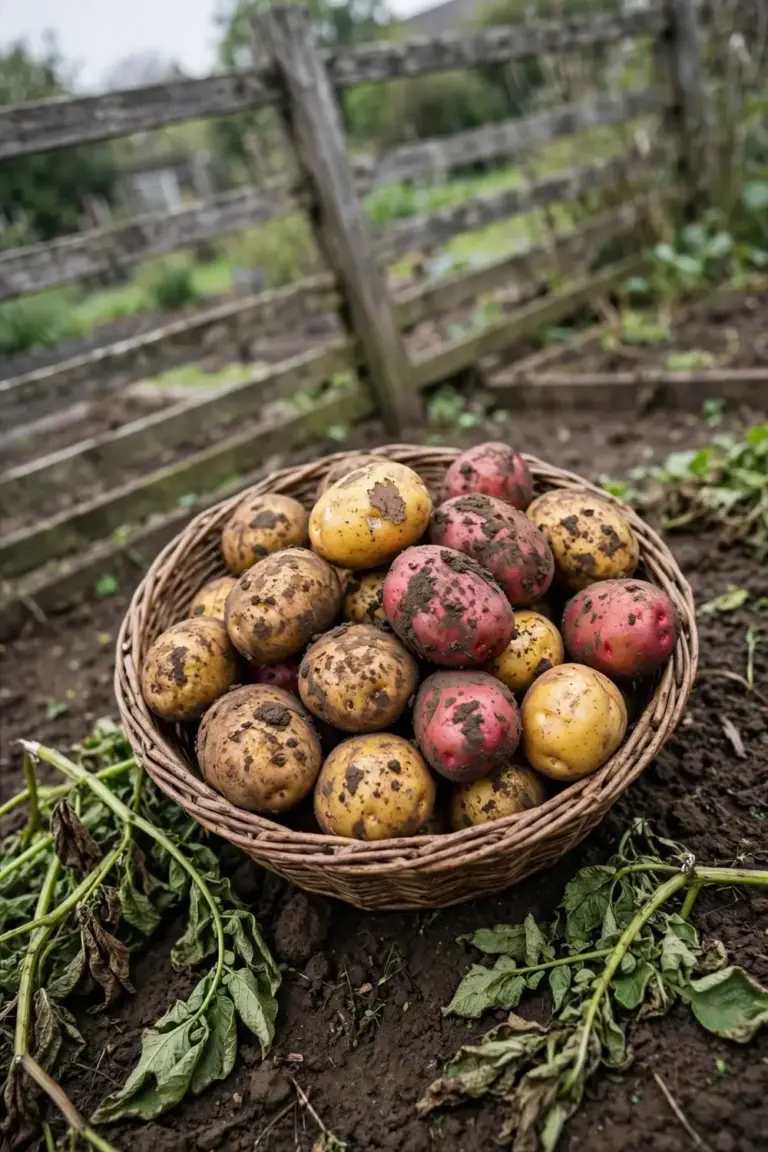
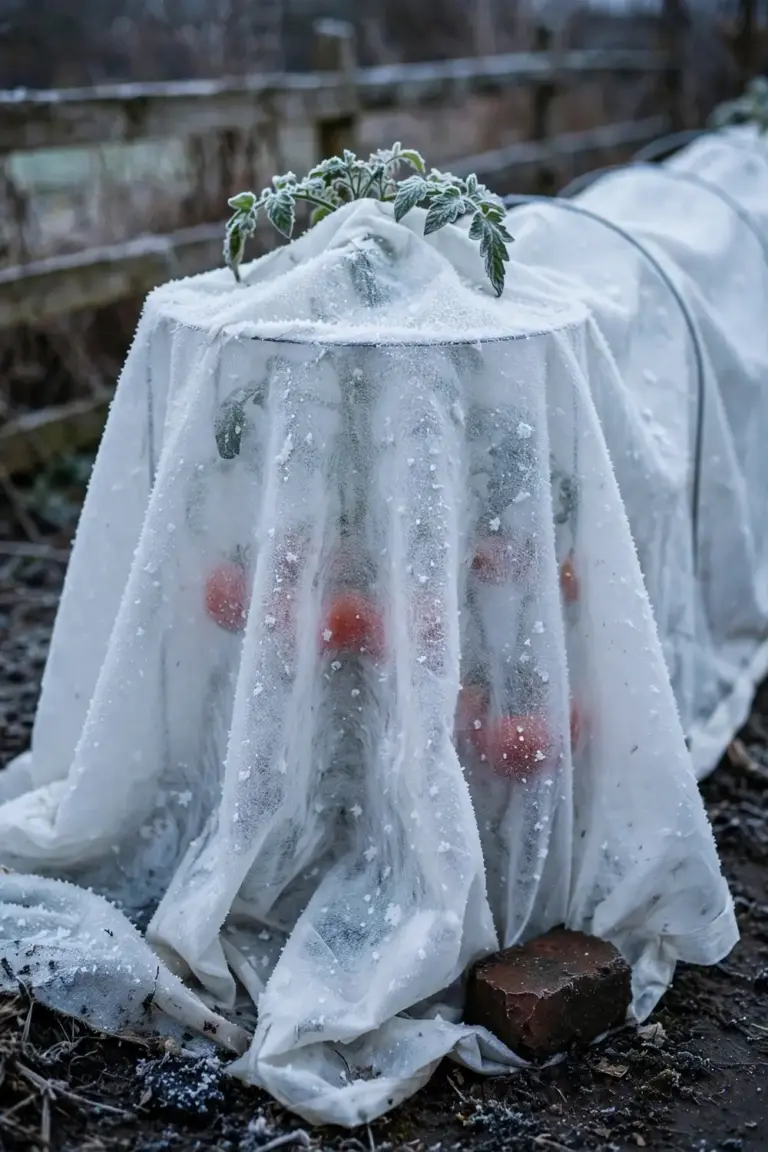
Warm-area growers plant while the soil is still cool and finish the harvest by December. Temperate and cool-area growers plant from spring into summer and let the crop grow through the warm months. Frost decides the edges of every window. A late frost nips young tops, so cold districts wait until the frost risk eases before planting.
Canberra sits in the cool band, and its local guide narrows the window further. Seed potatoes can be sown from September, or about a month before the expected last frost, through to December. That September-to-December band is the one to use if your winters bring regular frosts.
| Climate Band | Planting Window | Notes |
|---|---|---|
| Warm areas | March to August | Plant in the cooler months, finish harvest by December |
| Temperate areas | September to February | Spring planting, summer growth |
| Cool to cold areas | September to February | In frosty districts, use September to December |
Work from the band you live in, not the month a northern-hemisphere guide prints. A September planting in Hobart and a September planting in Brisbane face different soil and different frost risk. The band keeps the timing honest.
2. Pick a Potato Type That Fits Your Kitchen
Pick by texture first, then by season length. Mealy types bake fluffy and fry crisp, while waxy types hold together in salads and soups, according to the University of Minnesota Extension. All-purpose types sit between the two and cover most weeknight cooking.
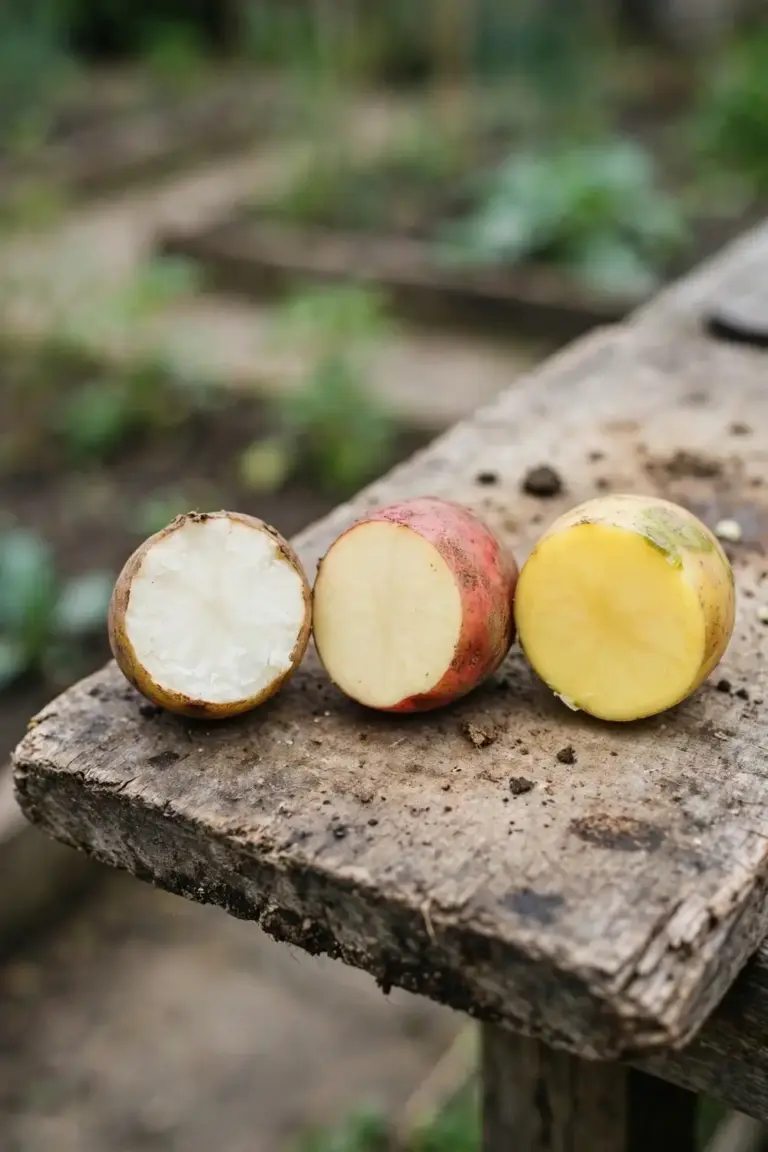
Potato is Solanum tuberosum, a nightshade. Sweet potato is Ipomoea batatas, a morning glory. The two are different plants, and advice for one does not transfer to the other.
Maturity classes give you the second filter. Early types mature in 110 days or fewer after planting, medium types in 111 to 120 days, and late types in more than 120 days, in the North Dakota State University Extension scale. A short warm-area window suits an early type. A long cool-area season carries a late type to full size.
Canberra Organic Growers Society splits home-garden types by growth habit, and that split decides whether you hill. Determinate types set tubers in one layer and need no hilling. Indeterminate types set tubers in layers along the stem and need mounding as they grow.
| Type | Varieties | Days to Harvest | Hilling Need |
|---|---|---|---|
| Determinate | Red Pontiac, Kipfler, Pink Eye | 70 to 90 | None, mulch covers the tubers |
| Indeterminate | Nicola, Desiree, King Edward, Dutch Cream | 110 to 135 | Hill as the stems grow |
The variety lists, day ranges, and hilling rules in this table come from Canberra Organic Growers Society. Ask the seller which texture class each variety falls in, because catalogs grade the same variety differently. Buy the texture you cook with, then match the days to your window.
3. Buy Certified Seed Potatoes and Skip Supermarket Spuds
Buy certified disease-free seed potatoes from a garden center or seed supplier. Supermarket potatoes carry sprout inhibitors and can carry disease that stays in the soil, according to the University of Minnesota Extension.
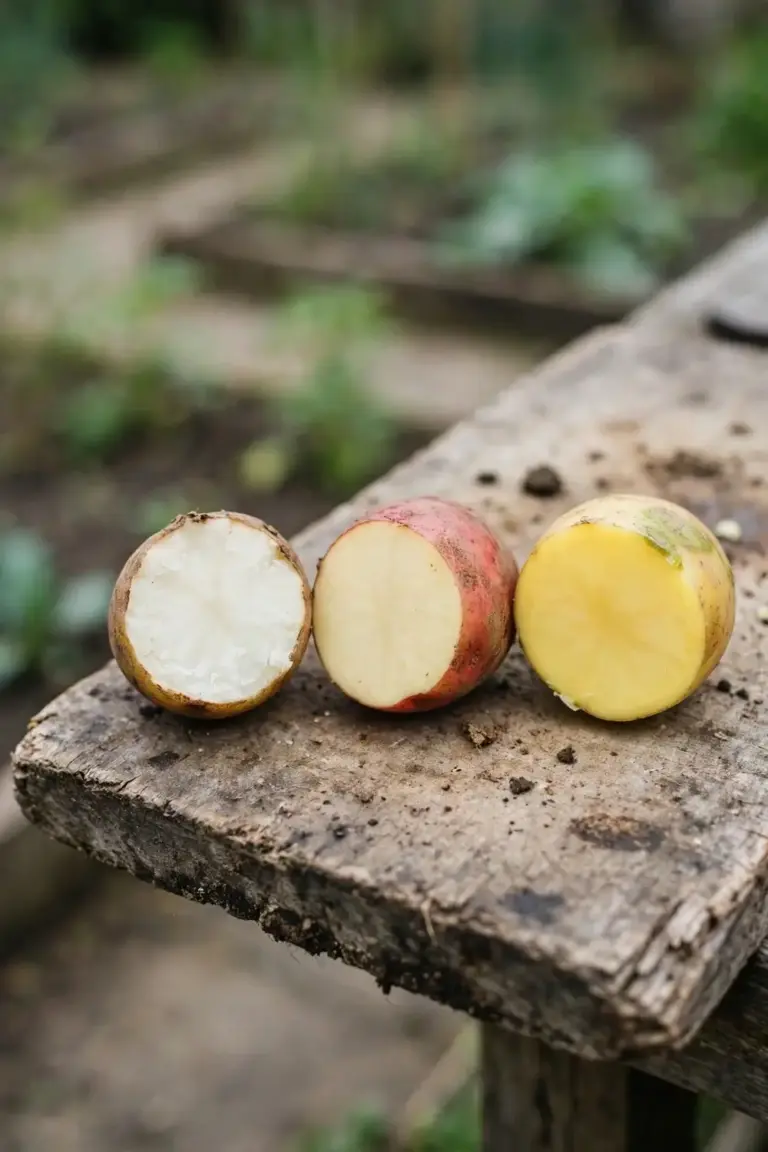
A seed potato is a tuber for planting, not a seed. The eyes on the tuber grow the new shoots. True botanical seed exists in small berries on some plants, but those seeds will not produce a uniform crop.
Cut large tubers into pieces before planting. Each piece needs at least one eye, and two or three eyes per piece is better, in the University of Minnesota Extension cutting guide. Cut with a clean knife on a clean board. Pieces cut to about 3.2 cm across give each eye enough stored food to push a strong shoot.
Size the seed to the row. Whole tubers or cut seed pieces should weigh about 56.7 g or slightly more, and 30.5 m of row needs about 6.8 kg of seed, in the North Dakota State University Extension guide. Cut pieces need a few days to heal before they go into soil. Let cut pieces sit for three to four days in the dark at room temperature and high humidity, with no condensation, so the cut surface forms a tough protective layer.
Western Australia runs its own certified seed potato scheme, and seed potatoes brought in from other states must meet state import requirements, per the AUSVEG Potato Growers Biosecurity Manual and the Western Australian Department of Primary Industries and Regional Development. Buy seed inside your state when you can. Check with the seller that the seed is certified. Certified seed has been inspected for disease presence and quality.
4. Chit Seed Potatoes for One Week Before Planting
Chitting means exposing seed potatoes to light before planting so the eyes shoot. Sustainable Gardening Australia exposes seed potatoes to light for about one week before planting, which toughens them, greens their skin, and gives the eyes a chance to shoot.
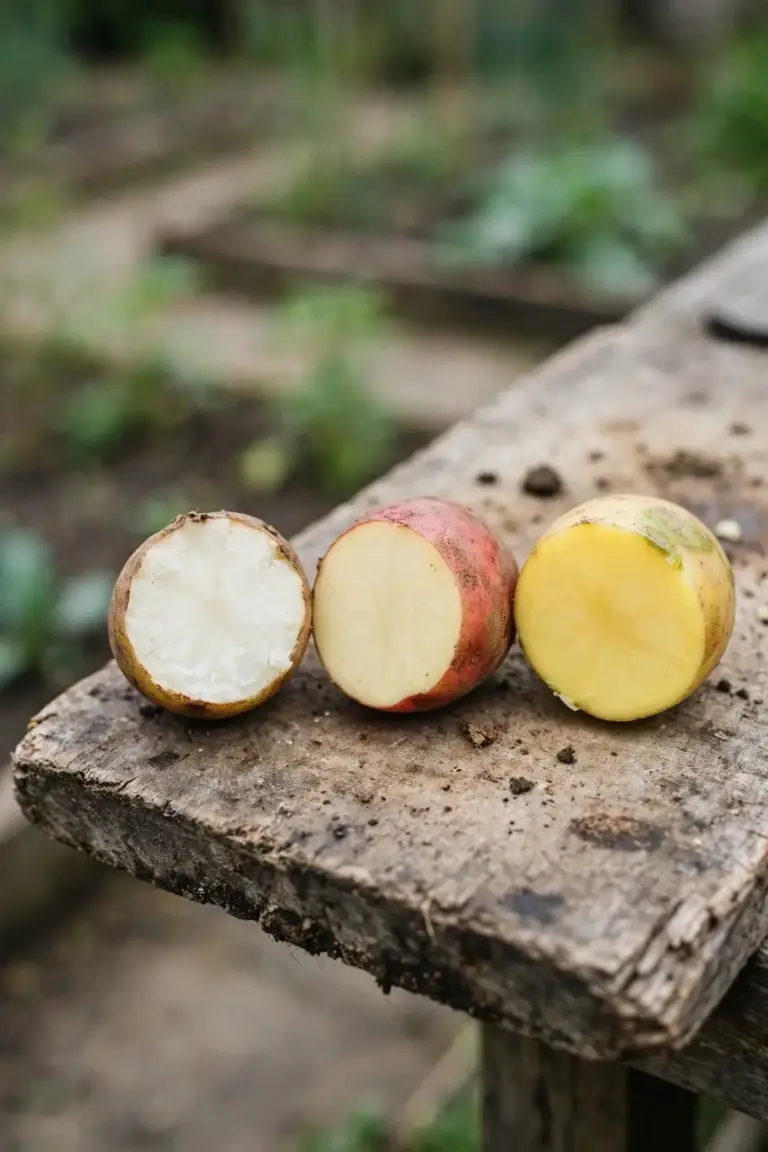
Set the tubers in a single layer in a bright, cool spot. A tray on a bench near a window does the work. Turn them every few days so each side sees light. Shoots form at the eyes and stay short and stocky in cool, bright conditions.
Short shoots transplant cleanly. Long, pale shoots snap off when you handle the tuber, and each snapped shoot costs the plant a stem. Keep the tray cool and bright, and plant while the shoots are still short.
Warm the seed before you cut it. Warming seed tubers to 10 to 18.3 degrees Celsius before cutting encourages germination and sprout growth, and sprouts 0.32 to 0.64 cm long are ideal, in the North Dakota State University Extension guide. Cut after warming, heal the pieces, then chit.
5. Plant Seed Pieces 10 cm Deep and 25 cm Apart
Sow in furrows 10 cm deep, 25 cm between tubers, and 75 cm between rows, with the eye facing up. Canberra Organic Growers Society sets that spacing for home gardens.
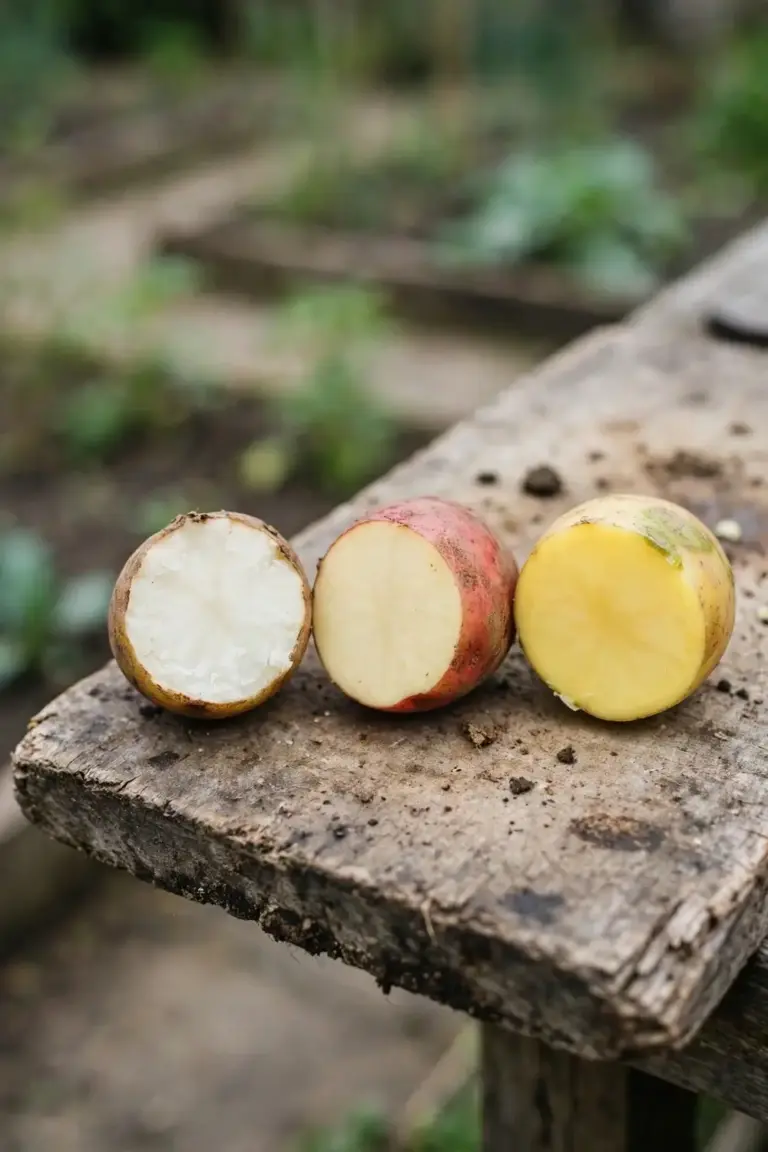
The northern-hemisphere extension numbers land in the same band. The University of Minnesota Extension plants pieces 25.4 to 30.5 cm apart and 7.6 to 12.7 cm deep, in rows 76.2 to 91.4 cm apart, then covers them with 10.2 cm of soil or compost. Use the Australian spacing as your rule and treat the extension range as confirmation that the band is right.
Feed at planting time, not on top of the seed. Sprinkle a complete fertilizer on each side of the potato, using 30 g per plant, in the Canberra Organic Growers Society planting guide. Keep fertilizer off the cut surface. Place fertilizer in a band 5.1 cm below and about 5.1 cm to the side of where the seed will lie, because fertilizer in direct contact with the seed can burn sprouts, in the North Dakota State University Extension guide.
Soil temperature decides the day. Plant when the soil is 7.2 degrees Celsius or warmer, up to two weeks before the average date of the last frost, in the North Dakota State University Extension guide. A soil thermometer in the furrow beats a calendar date. Cold, wet soil rots cut pieces before they shoot.
6. Build Soil With Compost and Hold pH Near 6
Potatoes grow best in well-drained, sandy soil near pH 6. The University of Minnesota Extension sets the ideal soil pH at 6 to 6.5 and notes that potatoes tolerate soil with pH as low as 5.
The Australian guides agree on slightly acidic soil. Sustainable Gardening Australia sets pH 5.5 to 6 for scab-free growth. Canberra Organic Growers Society sets pH 6.0 to 6.5 for home gardens. Aim for pH 5.5 to 6.5 and test before amending. Lime pushes pH up and favors scab, so skip lime unless a soil test shows you need it.
Compost does the heavy lifting. Addition of manure or compost adds micronutrients and organic matter to soil, in the University of Minnesota Extension soil guide. Work compost through the top soil before planting. Fresh manure burns shoots and can bring weed seeds, so use well-rotted manure only. Manure also promotes common scab, so keep it out of the potato bed if scab has shown up before.
Dig deep before you plant. Till the soil to a depth of 40.6 cm and pre-irrigate to form a moist seedbed, in the North Dakota State University Extension guide. Loose soil grows smooth tubers. Compacted soil grows forked and knobby ones. If the bed sits empty over winter, the fall garden bed prep guide covers the soil work to do months before planting. Build the bed the way the soil health guide describes, with compost worked through rather than dumped on top.
7. Water Deeply Once or Twice a Week
Soak the soil thoroughly once or twice a week. The University of Minnesota Extension treats 2.5 cm of rainfall per week as good for potatoes.
Check depth with a trowel, not with a glance at the surface. Push a trowel into the soil after watering, and if the soil is wet only 2.5 to 5.1 cm down, keep the water running, in the University of Minnesota Extension watering guide. An inch of water wets sandy soil to 25.4 cm and heavy clay to 15.2 cm. Sandy beds need water more often than clay beds.
Keep the moisture steady after emergence. Supplement rainfall with irrigation so plants receive moisture about every five days, with soil damp to a depth of about 61 cm, in the North Dakota State University Extension irrigation guide. Water stress cuts yield and misshapes tubers. Wilting leaves and dark gray-green foliage signal stress. Early growth without enough moisture causes knobby or hollow potatoes and stops the plant from forming new tubers.
Hold back once the vines yellow. Over-watering and poor drainage are responsible for loads of potato pests, in the Sustainable Gardening Australia watering guide. Wet soil at the end of the season rots maturing tubers. Ease off as the tops die and let the skins set.
8. Hill Soil Around Stems Before Tubers See Light
Start hilling when stems reach 30.5 cm tall. The University of Minnesota Extension hills once or twice more during the season, for 15.2 to 20.3 cm of hilled soil in total along the plants.
Tubers form on thin stems called stolons, which emerge from the main stems. More main stem underground grows more stolons. Hilling keeps shallow tubers covered so light cannot reach them. Light turns tuber skin green and forms bitter compounds in the skin and flesh.
I have learned that the potato I hill before the tubers see light outyields the potato I hill after they green.
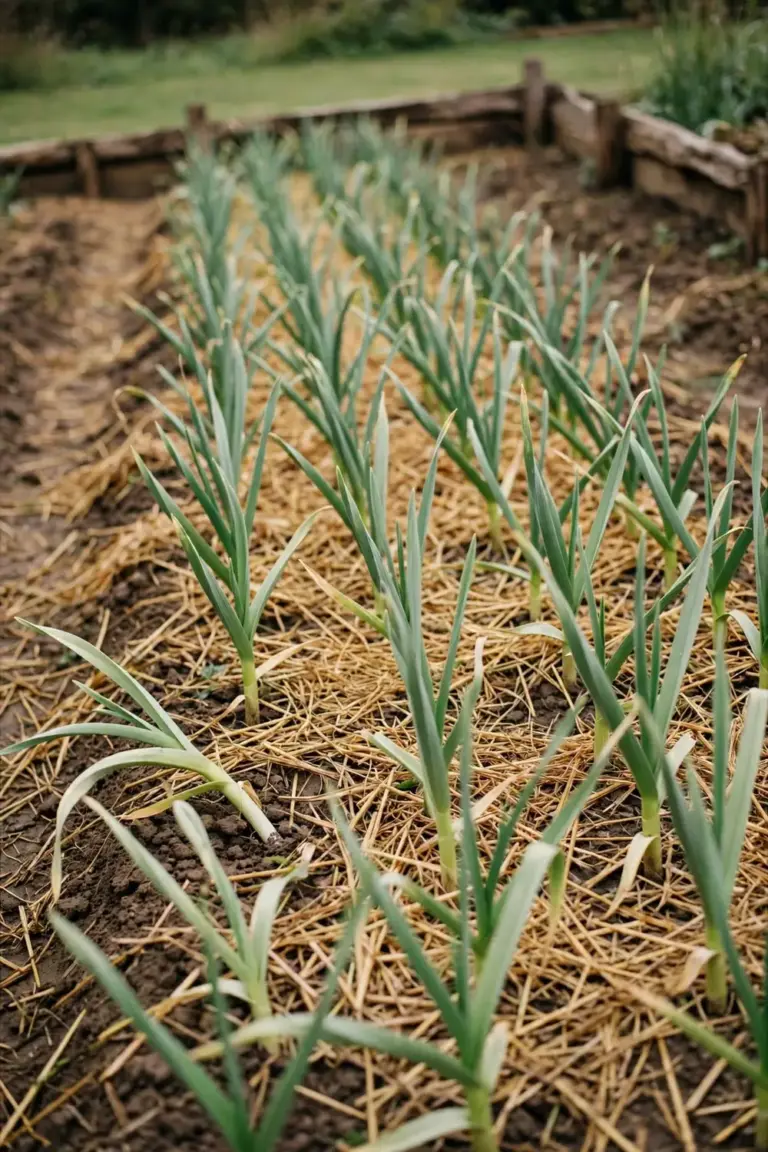
Hilling need depends on type. Determinate potatoes set tubers in one layer and need no mounding, while indeterminate potatoes set tubers in layers along the stem and need mounding as they grow, in the Canberra Organic Growers Society cultivation guide. For indeterminate types, add straw mulch, dead leaves, or soil mix once plants reach 15 to 20 cm, until just 10 cm of plant sticks up. Keep adding layers as the plant grows to a maximum of 45 to 60 cm, then let the foliage grow.
No-dig growers reach the same end by layering instead of hilling. Sustainable Gardening Australia lays 15 cm of compost, cow manure, and straw mix at a time to a total depth of 60 cm, which gives the tubers room and keeps them cool. Mulch over the hill keeps moisture in and light out, and the site’s mulching guide covers materials and depth. Hill on a cool morning and water the hill in after.
9. Feed Once at Planting and Again at Hilling
Potatoes need more fertilizer than other vegetables. The University of Minnesota Extension side-dresses about four weeks after planting and repeats the hilling and fertilization two weeks later.
Use the extension rate at side-dressing. As you hill soil around the plants, incorporate 68 g of actual nitrogen per 15.2 m of row, in the University of Minnesota Extension feeding guide. That rate differs from the extension recommendation for most other crops, so do not borrow a rate from a tomato or bean guide.
The planting feed already went in at 30 g of complete fertilizer per plant. Canberra Organic Growers Society sprinkles that 30 g on each side of the potato at planting time. The side-dressing at four weeks tops it up as tubers form.
Seaweed tea covers the organic feeding slot. Sustainable Gardening Australia gives a diluted seaweed tea at planting time and again when plants flower, and with good soil preparation that is all they need. A soil test before planting beats a guess at feeding time.
More nitrogen is not more potatoes. Overapplied nitrogen delays tuber development in favor of vine growth and lowers yield, in the North Dakota State University Extension fertilizer guide. If plants turn yellow-green in midseason, apply granular nitrogen to the sides of the hills and rake it in lightly, or apply it with irrigation water. Never use a fertilizer containing a weed killer on a vegetable bed.
10. Grow Potatoes in Containers When Space Is Short
Potatoes grow well in bags and containers. Canberra Organic Growers Society names an old garbage bin or a large pot as a working container for potatoes.
Polystyrene fruit boxes make a cheap container tower. Sustainable Gardening Australia cuts the bottom out of fruit boxes and stacks them three high, adding layers as the plants grow. Paint the boxes if the look bothers you. The growing method stays the same: fill, plant, layer, harvest.
Skip old tyres as containers. Used tyres can harbor heavy metals like cadmium, which potatoes absorb efficiently, in the Sustainable Gardening Australia container guide. A potato that pulls cadmium from a tyre wall carries it to the table. Use a food-safe container instead.
Layer the mix the same way in a container as in a bed. Start with 15 cm of mix, lay seed potatoes about 25 cm apart, and cover with 15 cm of the same mix. Add another 15 cm layer each time shoots push through, until the container holds 60 cm of mix. Drill drainage holes in any container that lacks them. Containers dry faster than beds, so check moisture with a finger before watering. Harvest by tipping the container onto a tarp and sorting the tubers by hand.
11. Watch for Potato Tuber Moth, Scab, and Blight
Check leaves and tubers weekly from flowering onward. The three problems that matter most in Australian home gardens are potato tuber moth, common scab, and blight. Catching each one early keeps the loss to a few tubers instead of the whole row.
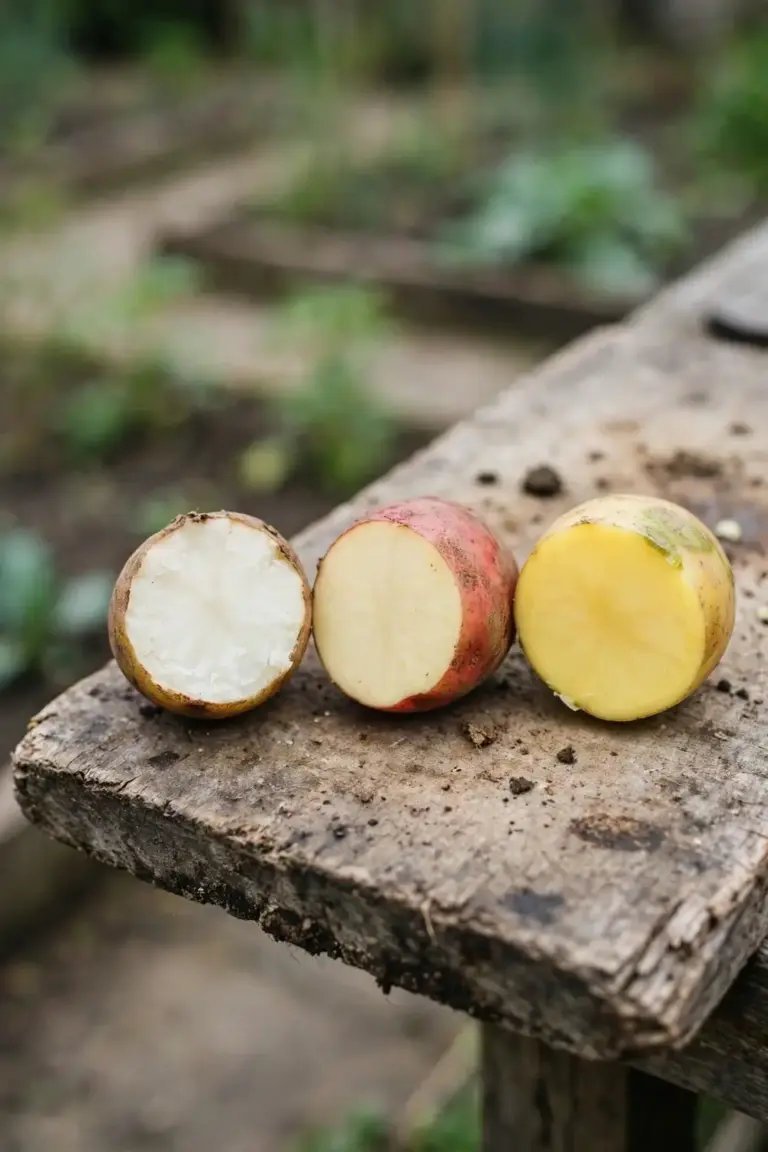
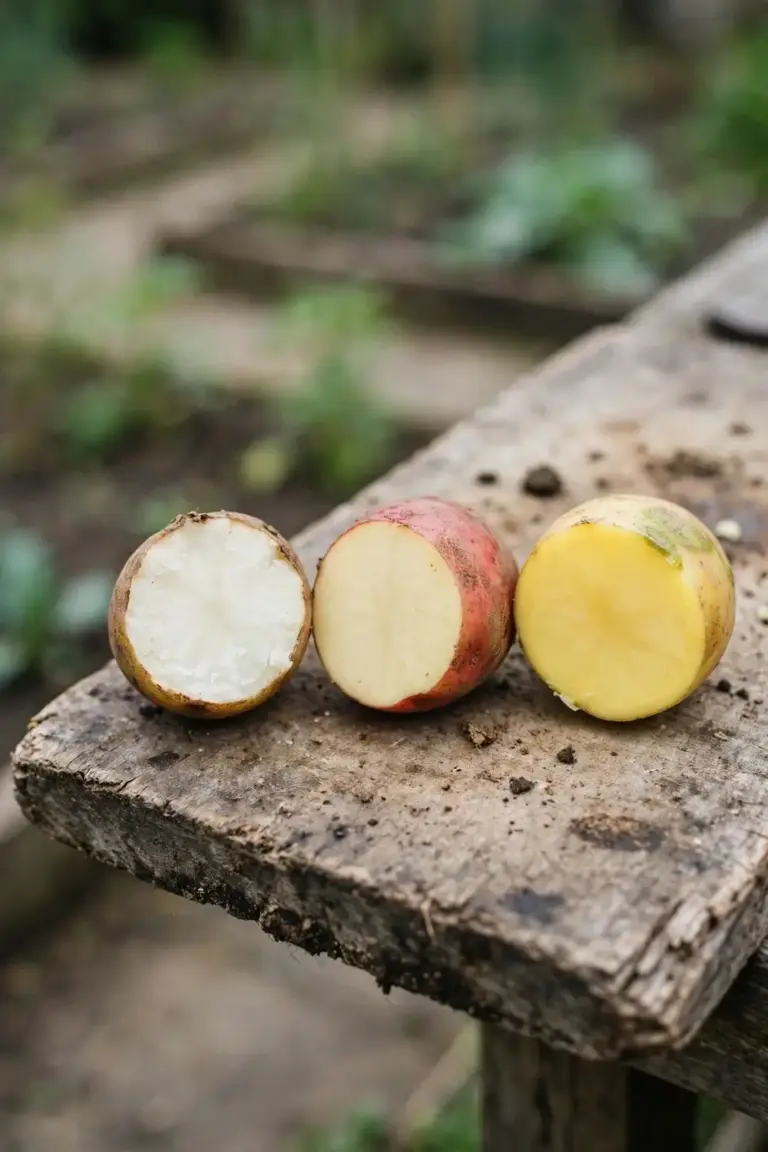
Common scab marks the skin and leaves the flesh alone. Potato scab is a bacterial disease that causes dark, rough, corky spots on tuber skin but does not rot the tubers, and the marked potatoes stay completely edible, in the University of Minnesota Extension disease guide. Checking soil pH and avoiding alkaline soils prevents potato scab, in the Sustainable Gardening Australia pest guide. Peel the marks off and cook the rest.
Blight shows on leaves first. Early blight is a common fungal disease that causes spots on potato leaves, and late blight can affect both leaves and tubers, in the University of Minnesota Extension disease guide. Remove and destroy infected plants at once. Do not compost blighted tops, because the spores survive in the pile.
Potato tuber moth is the Australian insect to watch. The larvae mine leaves and tunnel into tubers, and the damage shows as small entry holes with gritty frass. Do not grow overlapping crops of potato close together, and separate young crops from old ones by as much distance as possible, per the Lucidcentral Pacific Pests fact sheet on potato tuber moth. Store tubers below 9 degrees Celsius where you can, because cool storage slows the moth. Colorado potato beetle, the pest in northern-hemisphere guides, is not established in Australia. Do not spray for it. Watch for the moth instead.
Rotation breaks the soil cycle. Choose a spot where no tomato, potato, pepper, eggplant, or tomatillo has grown for the past three or four years, in the University of Minnesota Extension rotation guide. Disease spores in the soil infect new plantings even when the last crop looked healthy. Hollow heart is a disorder, not a disease: wet-dry swings or poor nutrition open an irregular hole in the tuber center. Water steadily and feed by soil test to prevent it. Hollow heart does not affect taste or safety.
12. Harvest New Potatoes at 7 to 8 Weeks and Main Crop When Tops Die
Dig new potatoes about 7 to 8 weeks after planting. Harvest mature tubers after the plants have dried or when tubers have reached full size, in the University of Minnesota Extension harvest guide.
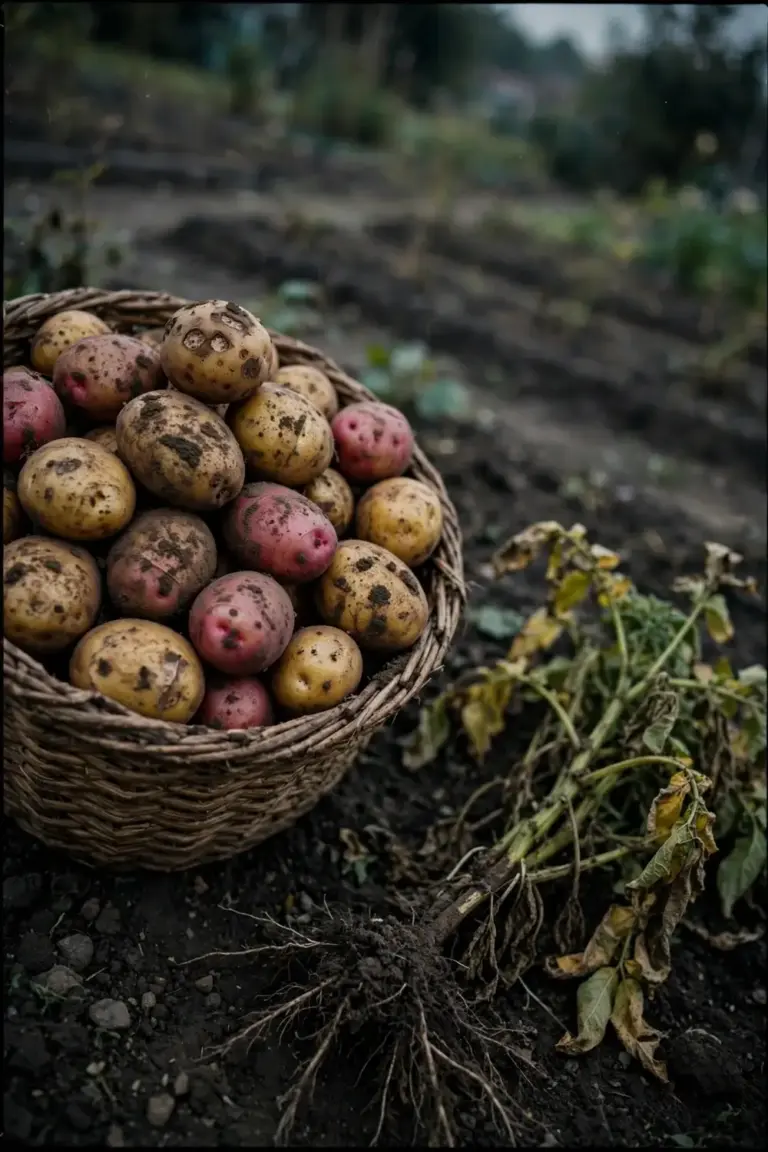
New potatoes are tubers dug before their skins thicken and toughen. Dig down 30.5 cm beside the plant and turn the whole plant over to pick the tubers. Some gardeners dig beside the plants and take a few potatoes, leaving the plants in place to produce more.
The Australian guides give a wider harvest band. Harvest time runs from 12 to 20 weeks depending on variety, and yellowing lower leaves mark new potatoes while dead top foliage marks storage potatoes, in the Sustainable Gardening Australia harvest guide. Potatoes are ready to lift when the tops begin to die off, anywhere from 60 to 120 days from planting, in the Canberra Organic Growers Society harvest guide. New potatoes store poorly, so dig them meal by meal. Leave the main crop in the ground until the tops die right down.
Cure the main crop before storage. Skins should resist rubbing off with a thumb, and if they do not, place harvested potatoes in a warm, well-ventilated area at 15.5 to 18.3 degrees Celsius for ten days or more so skins set and wounds heal, in the University of Minnesota Extension storage guide. Keep them covered or in the dark. Brush dried soil off gently and do not wash them.
Store in dark, cold, moist conditions. Potatoes store best at 0 to 4.4 degrees Celsius and 95 percent relative humidity, and potatoes for frying store at 4.4 to 10 degrees Celsius to avoid cold-induced sweetening, in the University of Minnesota Extension storage guide. Green skin means light reached the tuber. Remove green areas before cooking and do not eat potatoes with extensive green areas. Sprouts are toxic, so remove them before cooking. A 30.5 m row can produce more than 90.7 kg of potatoes in a good season, per the North Dakota State University Extension production guide.
Frequently Asked Questions
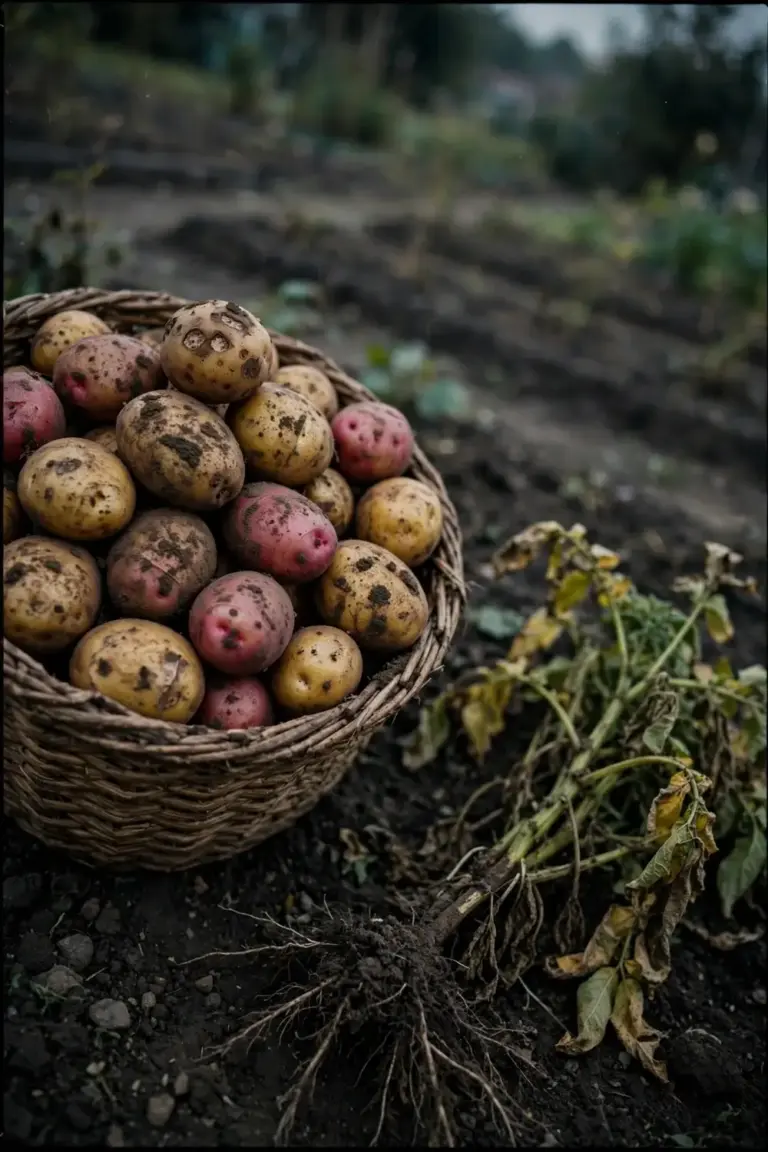
Skip supermarket spuds as seed. Shops treat table potatoes with sprout inhibitors, so they grow slowly if they grow at all. Table potatoes can also carry disease that stays in the soil for years and hits later nightshade crops. Buy certified seed potatoes from a garden center or seed supplier. Certified seed has been inspected for disease and grows into stronger, longer-lived plants.
Potatoes need a sunny position to grow well. Sustainable Gardening Australia gives potatoes a full-sun spot with top-notch drainage. The University of Minnesota Extension agrees that potatoes need sunny locations. Shade grows leggy tops and small tubers. Give the bed the sunniest open spot you have, and keep tall crops from shading the row.
Soak the soil thoroughly once or twice a week and treat 2.5 cm of water per week as the baseline. Check with a trowel: if the soil is wet only a few centimeters down, keep the water running. Sandy beds need water more often than clay beds. Ease off as the vines yellow and die, because wet soil at the end of the season rots maturing tubers.
Light reached the tubers. Green skin forms when tubers sit exposed to light, and the green areas carry bitter compounds. Hill soil over the tubers before they see light, and mulch over the hill. Cut green areas off before cooking. Do not eat potatoes with extensive green areas. A tuber that greened in storage goes in the bin, not the pot.
Wait three or four years before planting potatoes where tomatoes, peppers, eggplants, or tomatillos grew. Those crops share the nightshade family, and disease spores in the soil infect new plantings even when the last crop looked healthy. Sustainable Gardening Australia gives the same warning for capsicums, tomatoes, and eggplants. Rotate potatoes with legumes or brassicas instead.
Start Growing Potatoes in Australia This Weekend
Buy certified seed potatoes this weekend. Chit them for one week on a bright bench. Plant 10 cm deep and 25 cm apart in soil near pH 6. Hill twice before the tubers see light, water deeply once or twice a week, and lift the main crop when the tops die. One row teaches you the rhythm. The second row is where the harvest gets serious.