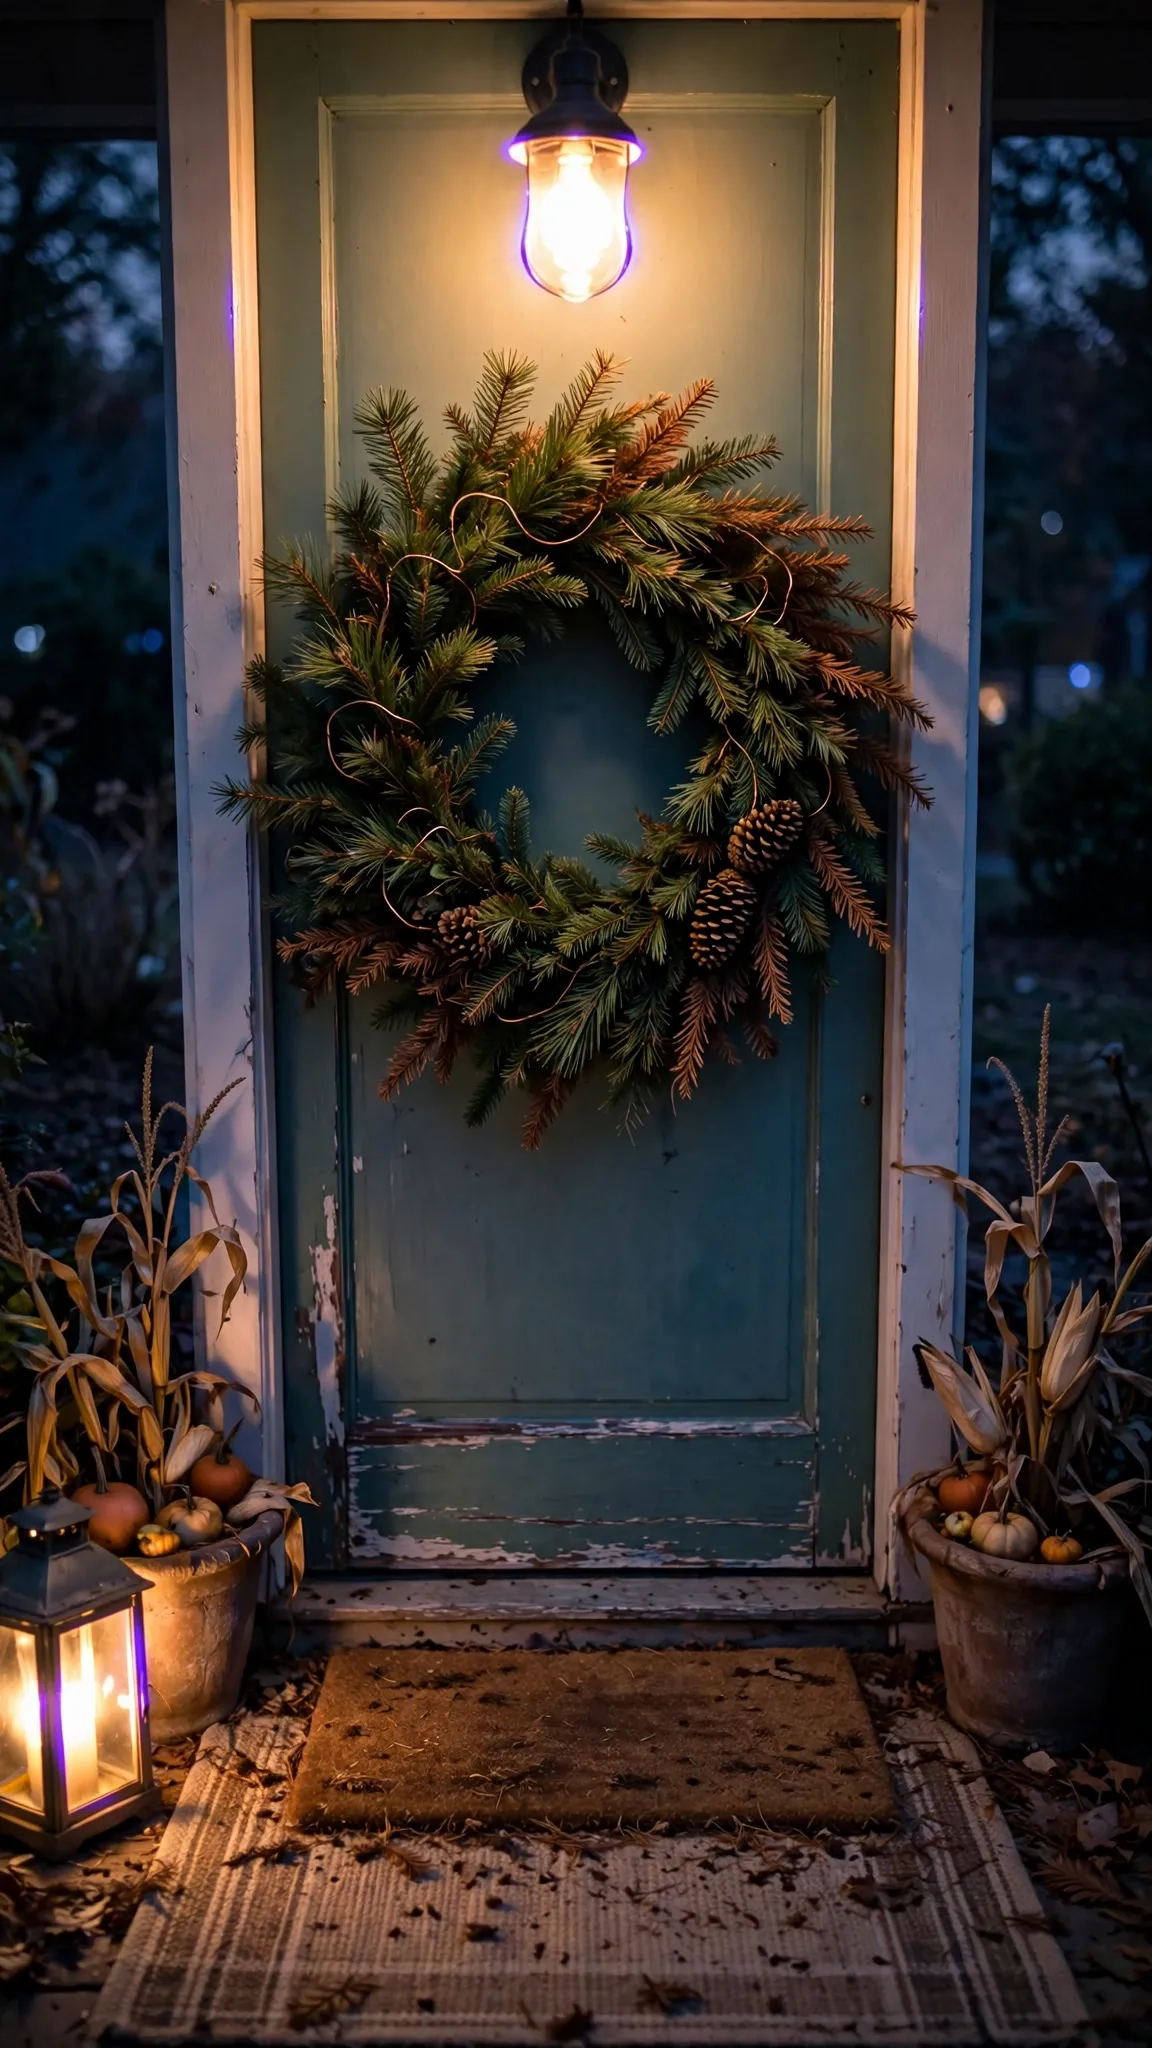

Grab hand shears, a spool of wire, and a bucket, then give the threshold 35 minutes on Wednesday morning. That is a thanksgiving entryway decor build from garden cuttings and a short hardware-store list. The rest of this page is 26 ideas, from the wreath to the simmer pot.
Start outside and work inward. Cut stems in the morning light. Build on a covered table. Sweep the steps again on Thursday before the first car pulls up.
This is not the whole-house tour. The porch-to-parlor walkthrough lives in rustic Thanksgiving decor for the whole house, and the timed morning build lives in the Thanksgiving Day Decorations morning timeline. Thanksgiving Yard Decorations owns the lawn and the far beds. This page stays on the threshold zone: the door approach, the steps, the foyer, and the console.
Zone, Element, and Budget Tier Table
Every zone below gets a concrete build at three budgets. Pick one tier per zone and the whole entryway stays coherent.
Read the table across, not down. Hold one tier across all six zones: a $30 door beside an $80 console looks borrowed, while one tier everywhere looks planned. The middle tier suits most houses because it buys the two things the yard cannot grow, which are brass and good light. The under-$30 tier wins outright when the yard gives you the branches, the leaves, and the stalks, and it loses only when you have to buy the harvest too.
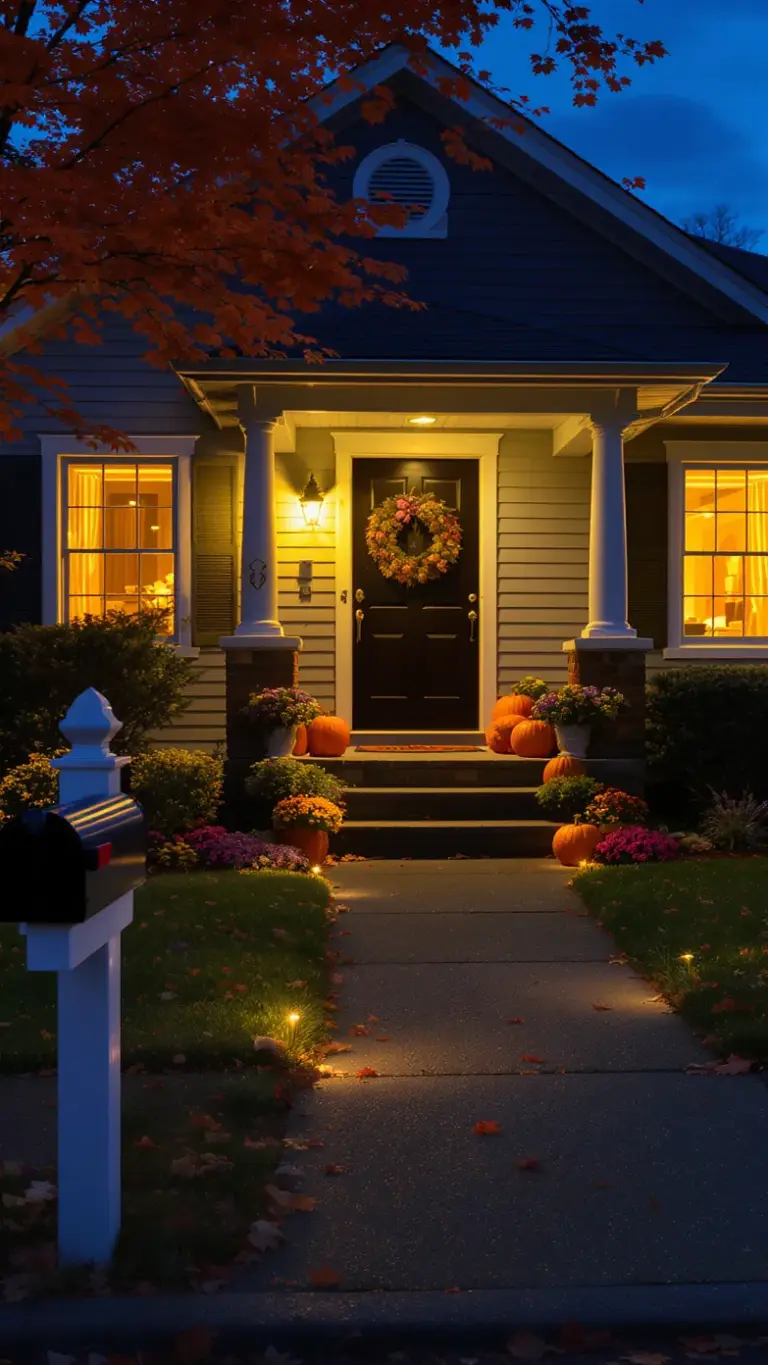
| Zone | Key Elements | Under $30 | $30 to $80 | Over $80 |
|---|---|---|---|---|
| Door Exterior | wreath, eucalyptus garland, layered doormats, harvest basket | garden-cut wreath on a wire frame, layered doormats from the closet | seeded eucalyptus garland, brass door knocker | custom grapevine wreath, live cedar garland |
| Steps and Landing | pumpkins, corn stalks, boot tray, lanterns | pumpkins sorted by size, twine-tied corn stalks | cast-iron lantern pair, oak boot tray | stone urns, flameless lantern set |
| Foyer | runner, bench throw, coat hooks, mirror garland | washable runner, wool throw from the linen closet | bench cushion, solid brass hooks | hand-loomed wool runner, framed botanical prints |
| Console Table | pumpkin tower, brass candlesticks, tray vignette, wooden bowl | wooden bowl of walnuts, chalked menu board | brass candlesticks, dried wheat bundle | stoneware vase, beeswax candle set |
| Walls | eucalyptus bundle, pressed maple leaves, botanical study | pressed maple leaves, dried eucalyptus bundle | framed botanical study, oak-leaf garland | vintage botanical engraving |
| Light and Scent | lanterns, candlesticks, simmer pot | clove-and-orange simmer pot, battery tea lights | brass candlesticks, flameless pillar set | three-wick beeswax candles, copper stockpot |
The Entryway Kit: What to Gather First
Pull the tools before you cut a single stem. Hand shears do the cutting, a spool of 22-gauge wire and a ball of jute twine do the binding, and a trug or a 20-liter bucket holds everything you carry in from the yard. Add a stiff broom for the steps, a damp rag for the console, and a tape measure for hanging heights.
Cut from the garden first: eucalyptus branches, pine and fir boughs, maple and oak leaves for pressing, six to eight corn stalks, and a trug of pinecones. Buy only what the yard cannot grow: unshelled walnuts, chalk markers, battery tea lights, and one spool of twine if yours ran out in October.
Stage the kit on a covered table near the door. Every item on this page gets built from that table, and the table keeps muddy boots out of the kitchen while you work.
Sharpen the shears before Wednesday. Dull shears crush stems instead of cutting them, and crushed stems drink poorly and shed early on the garland. Wipe the blades with a rag and a drop of oil after the last cut so they go back in the shed clean. A sharp pair of shears is the difference between a garland that holds for 3 weeks and one that litters the step by Sunday.
Keep the chalk markers with the kit, not in the junk drawer. A marker that lives with the build gets used on the menu board; a marker in the drawer gets forgotten and the board stays blank. Tape two spare AA batteries inside the storage box lid so next year’s lanterns light on the first try. The kit that stays together gets used; the kit that scatters gets rebought.
1. Hang a Garden-Cut Wreath at Eye Level
Hang the wreath so its center sits 145 cm off the porch floor, which lands the ring at eye level for an adult standing on the step. A wreath at eye level greets the guest. A wreath near the lintel decorates the house for the street.
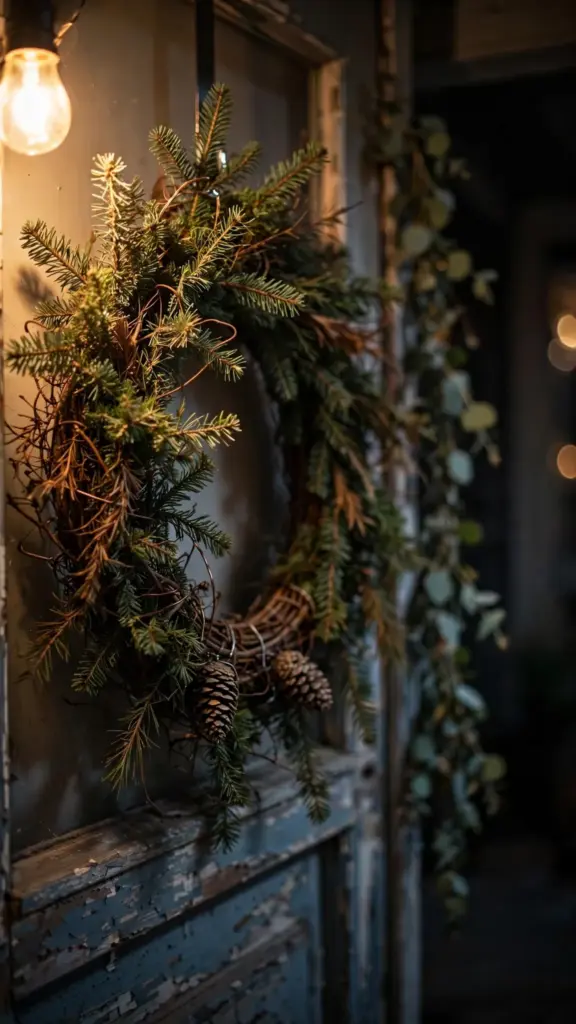
Pine and fir cuttings hold their needles through November without a water source, and a grapevine frame wired with fresh boughs stays full for 3 weeks outside. A mixed jug of evergreens is a different job, and that cut lives with thanksgiving centerpieces cut from the yard. This item stays on the door: ring, hook, done.
Skip the adhesive hook rated for five pounds. A wreath in wind pulls sideways, and sideways pull peels adhesive pads off the door by Saturday. Drive one screw into the frame or hang the ring from an over-door hook that clears the weatherstripping.
Fluff the boughs after hanging by pulling the outer stems outward with your fingers. A wired wreath compresses in the box or the trug, and 2 minutes of fluffing doubles its fullness. Step back to the street once and look: the wreath should read as a circle, not an oval, from 10 meters away.
2. Frame the Door With a Eucalyptus Garland
Drape an eucalyptus garland up one jamb, across the lintel, and down the other jamb in a single continuous swag. Let the ends trail 30 to 45 cm below the top corners. The frame reads taller than the door it surrounds.
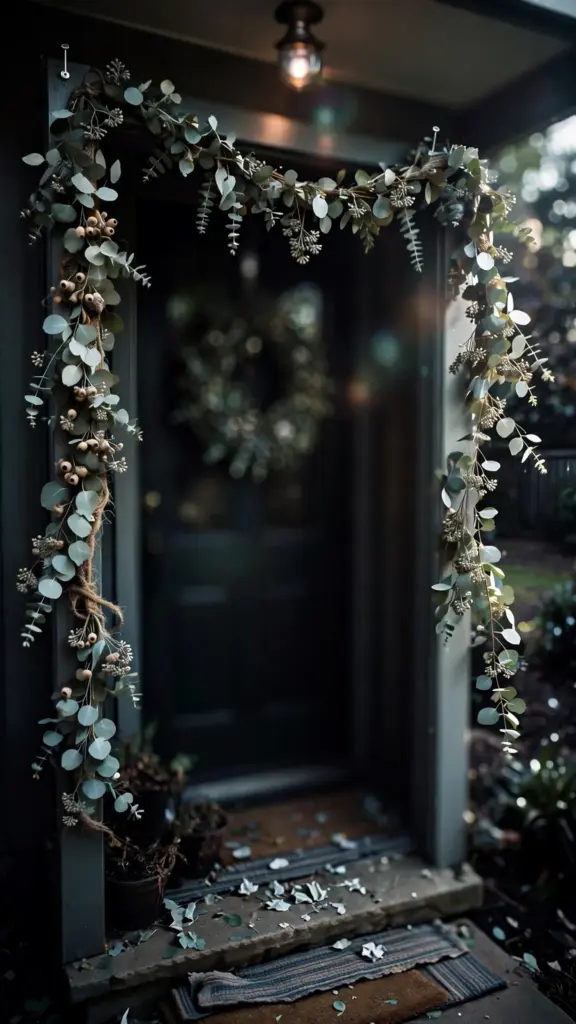
Cut stems 60 cm long and wire them onto jute twine, overlapping each stem by half so no twine shows. Cut branches the way spring pruning techniques describe: a clean cut above a node, never torn bark, because torn stems drop their leaves within days.
Skip wiring the garland to the handle or the doorbell. Guests grab what sits near the handle, and one tug unravels the bottom third. Hook the swag over the top trim on two nails angled down, then check it after the first hard wind.
Mist the eucalyptus lightly with water from a spray bottle on Wednesday evening. Eucalyptus dries slowly and holds its scent for weeks, but a light misting keeps the leaves supple through the first weekend. Skip soaking it. Wet garlands drip onto the step and spot the stone.
3. Layer Two Doormats for a Finished Step
Lay the larger rug down first, center the smaller doormat on top, and leave the bottom rug showing 5 to 8 cm on every side. That visible border frames the mat the way matting frames a print. A plain step suddenly looks finished.
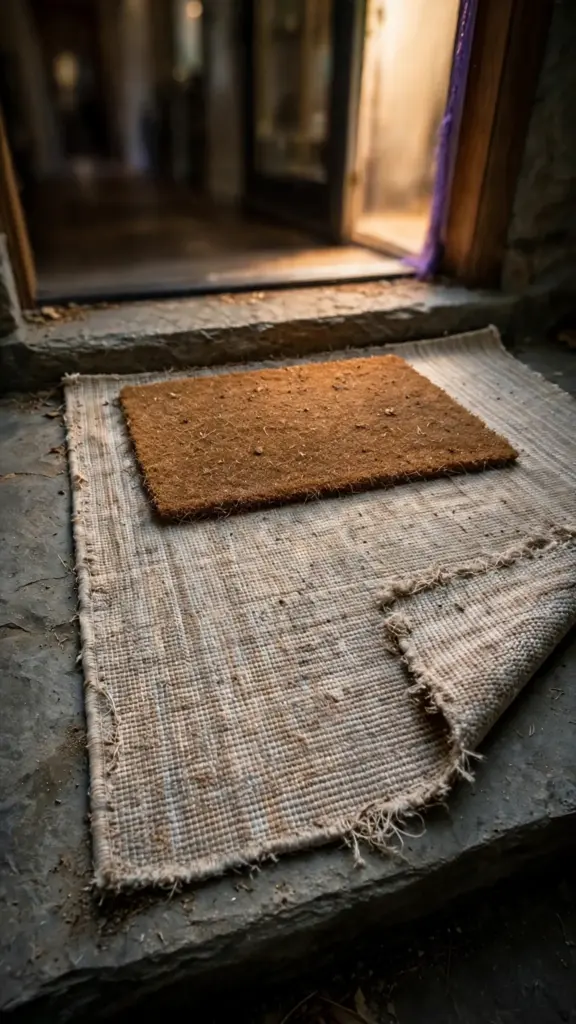
A standard 45.7 by 76.2 cm doormat layers over a roughly 61 by 91 cm outdoor rug, the pairing the layered doormat method recommends for a balanced border. Keep the bottom rug flatweave and under 1 cm thick, because a thick rug lifts the doormat and turns its edge into a trip lip.
Skip two mats of equal size stacked flat. Equal mats slide as a pair and read as one dirty mat. Offset the top mat 2 cm toward the door so the bottom rug shows a deeper border at the front, then vacuum both layers before Thursday.
Shake both layers outside on Friday morning and vacuum the step underneath. Grit works through the weave and scratches the stone or the paint below. A 3-minute shake keeps the border crisp through the weekend.
4. Flank the Door With Matching Planters
Set one planter on each side of the door, matched in size, color, and planting. Two matching pots make a plain door look intentional. Two different pots make it look like summer leftovers.
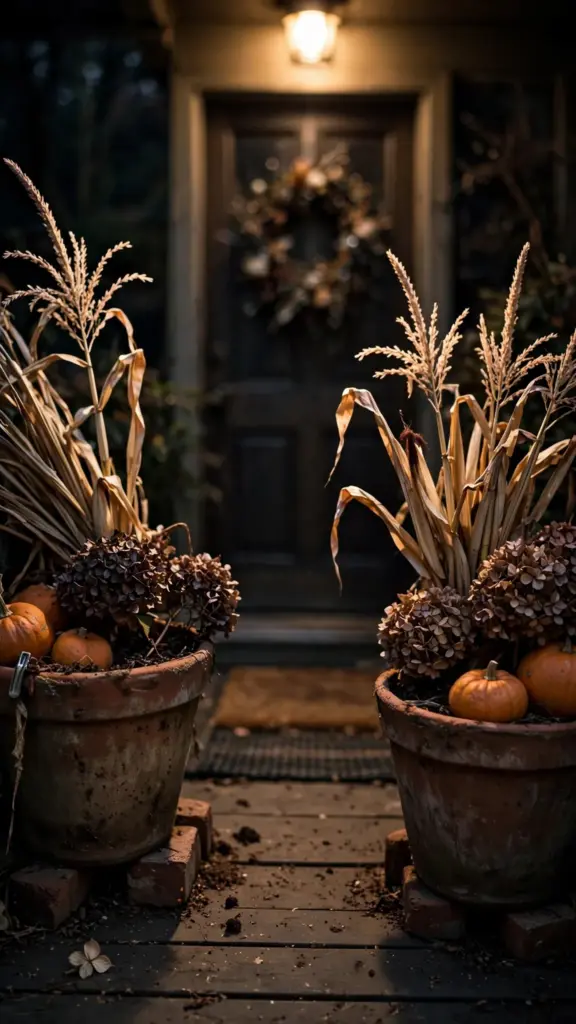
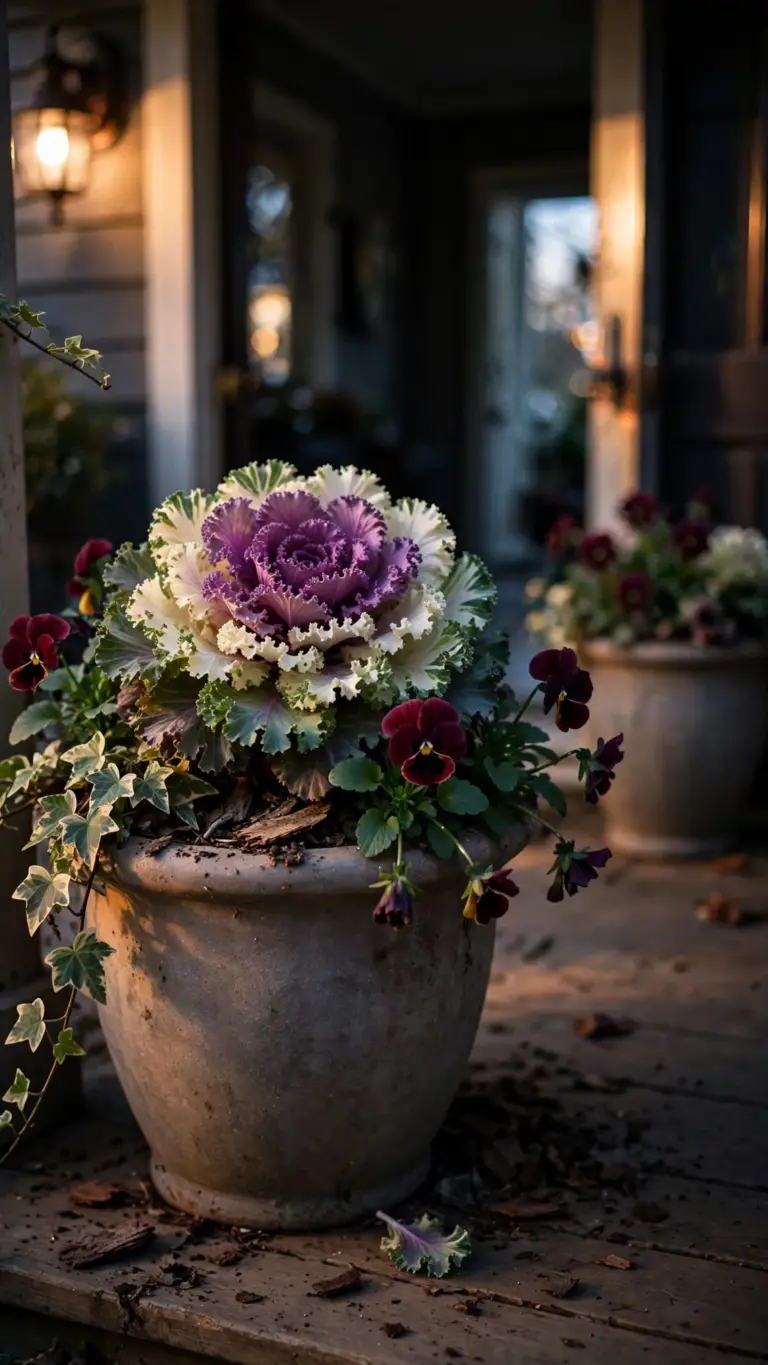
Fill both pots with the same three layers: dried hydrangea heads or pinecones for height at the back, a fan of corn stalks for the middle, and small pumpkins wedged at the front. Build both planters side by side on the table so the layers match before either pot leaves it.
Skip a single planter on one side. One pot is a storage mistake. Two matching pots are a decision, and the door gets a frame that holds from the street.
Water the planters once on Wednesday if the soil is dry, then leave them alone. These are dried arrangements, not living ones; water only settles the soil so the pumpkins sit level. Tip any water out of the saucers so it never freezes overnight.
5. Hook a Harvest Basket Beside the Knob
Hang a flat-backed basket on the wall beside the door knob, low enough that a guest can drop gloves or a parcel without reaching. A basket at hip height catches what hands carry. A basket at eye level catches nothing.
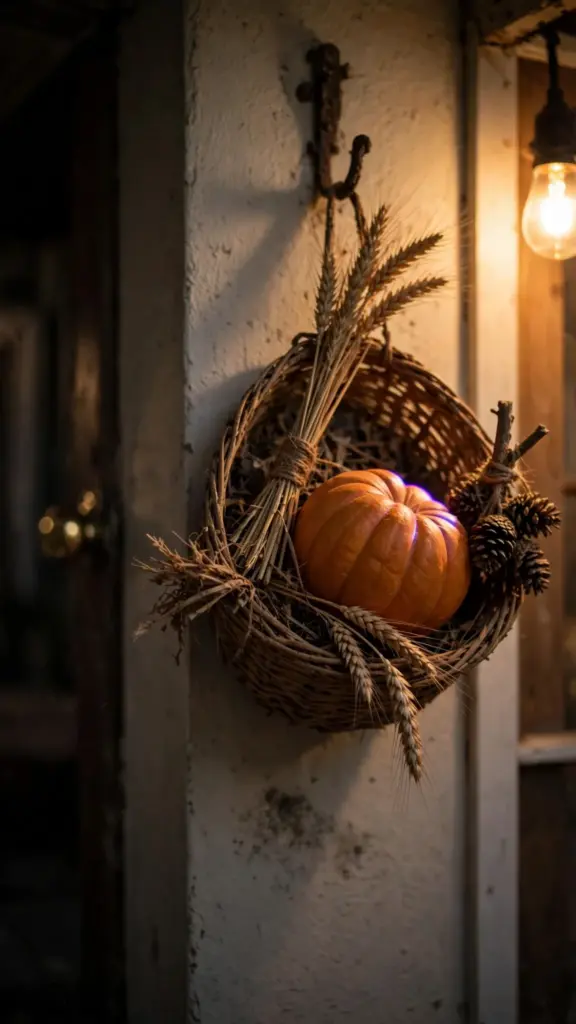
Load it with three dried elements: one small pumpkin, a wheat bundle tied with twine, and a pinecone cluster on a short stick. Keep the total under 1.5 kg, because a heavy basket pulls its hook out of drywall and lands in the boots below.
Skip the basket if the wall beside the door is narrower than 20 cm. A cramped basket blocks the storm door’s swing and dumps its load every time the door opens.
Check the hook on Thursday morning by tugging the basket straight down. A hook that holds your pull holds the weekend. If it shifts, move the basket to a stud or swap the adhesive hook for a screw before guests arrive.
6. Line the Steps With Pumpkins by Size
Arrange pumpkins along the stair edges from largest at the bottom step to smallest at the top, then mirror the order on the other side. Size order is what separates a planned display from a pile. The eye reads the gradient first.
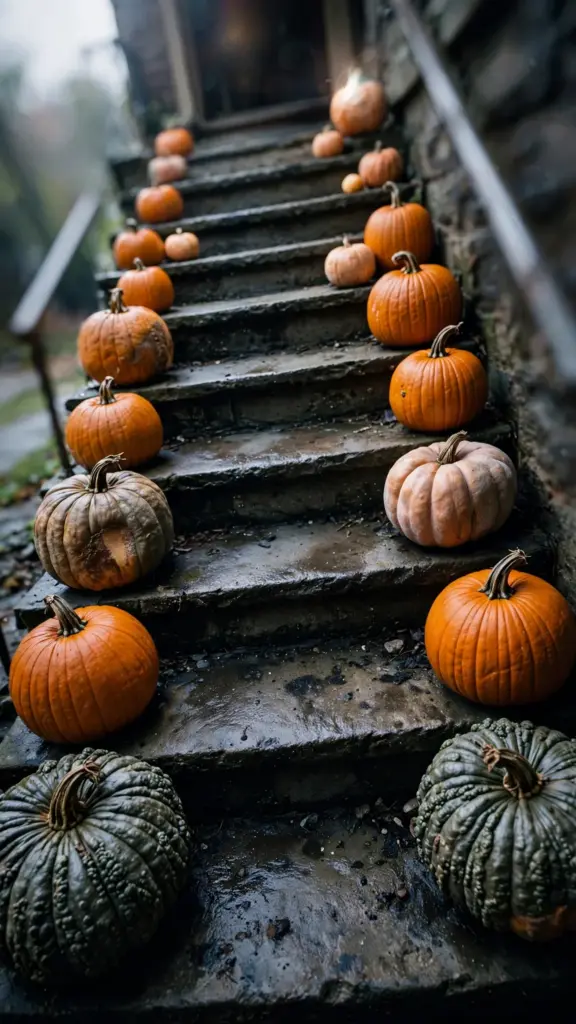
Keep every pumpkin at least 25 cm from the walking center of the step. Guests watch their feet on stairs after dark, and a pumpkin in the walking line becomes a trip hazard before dessert.
Skip five identical pumpkins. Matching pumpkins look like a store display. Pumpkins in three sizes, warts and stems on, look like a harvest.
Turn each pumpkin a quarter turn on Friday so a fresh face shows. Pumpkins dull on the side that faces the sun, and a quarter turn evens the color. Pull any pumpkin that softens; the gradient survives one missing size.
7. Set Lanterns Along the Stair Edge
Set one lantern per step, all on the same side, 15 cm back from the stair nosing. One side keeps the walking line clear. Lanterns on both sides turn the staircase into an obstacle course.
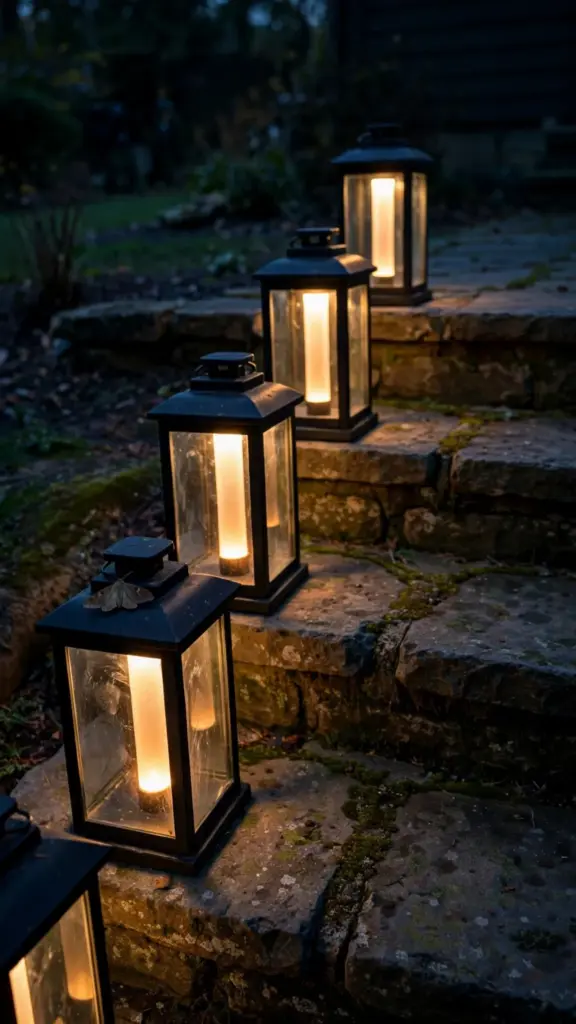
Fill each lantern with a battery pillar or a string of 20 micro LEDs, never a real flame. Steps shift underfoot and wind hits stairs hardest, so an open flame on a stair edge is the worst seat in the house.
Skip lighting every lantern at full blaze. One warm glow per step is plenty. A staircase lit like a runway makes guests squint instead of step.
Set the lantern timers for 4:30 pm on Wednesday and confirm they fire at dusk. A timer you never tested is a decoration, not a plan. Swap any battery that reads dim before Thursday; dim LEDs die mid-evening.
8. Tie Corn Stalks to the Porch Posts
Lash bundles of six to eight corn stalks to each porch post with jute twine, one tie at chest height and a second 30 cm lower. The lower tie stops the bundle from splaying when wind hits. A single tie lets the stalks fan across the walkway within a day.
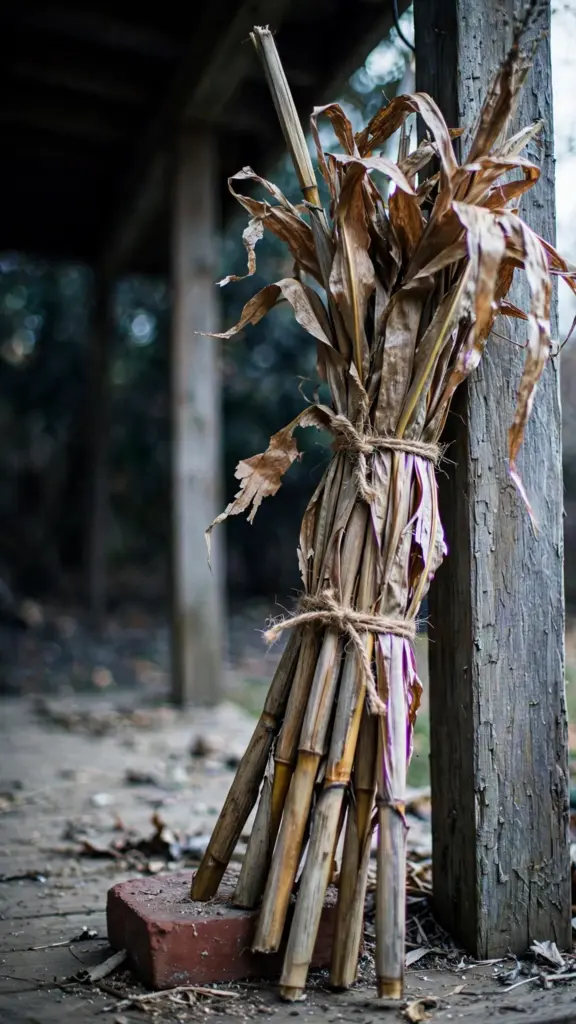
Cut the stalks at the base after the ears come off, and strip the leaves from the bottom 30 cm so the twine bites bare stalk instead of sliding on dry leaves. Stand each bundle cut-end down on a brick so the ends never sit in standing water.
Skip the post that holds the house numbers. A bundle hides the numbers, and the delivery driver circles the block. Dress the far post and leave the numbers visible.
Retie the lower twine on Friday if the bundle loosens. Stalks shrink as they dry and the twine goes slack. One extra turn of the twine takes 30 seconds per post and holds the bundle through Sunday.
9. Stage a Boot Tray With Gourds
Set a shallow boot tray inside the door and line gourds along its back edge, leaving the front two-thirds open for wet boots. The tray keeps muddy soles off the floor. The gourds keep the tray from looking like a mop closet.
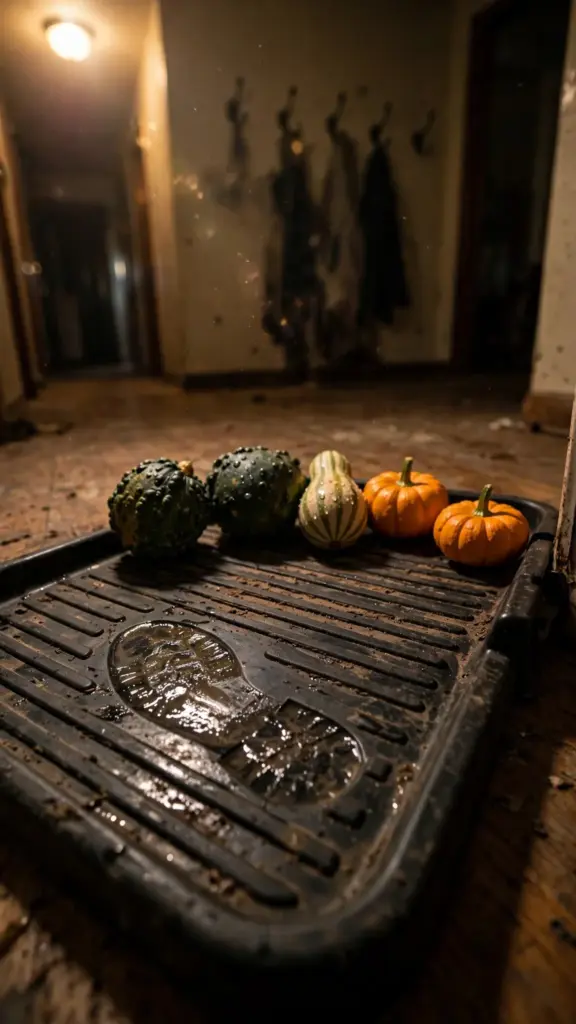
Choose hard-shelled gourds: bumpy warted types, small striped cushaws, and mini pumpkins with stems intact. Soft-skinned gourds bruise under a boot heel and rot within days, and one rotting gourd scents the whole foyer.
Skip lining the tray with cloth. Cloth under wet boots stays damp and mildews by Friday. Ridged plastic dries between uses. Cloth does not.
Rinse the tray on Saturday morning and set it back before lunch. A day of wet boots leaves a silt line, and a quick rinse keeps the gourds clean. Dry the gourds with the rag so no water spots set.
10. Style the Mirror With a Leaf Garland
Drape a leaf garland across the top of the foyer mirror and let both ends hang 20 to 30 cm down the sides. A mirror doubles whatever hangs on it, so the garland reads twice as full in the reflection and needs half the material of a wall swag.
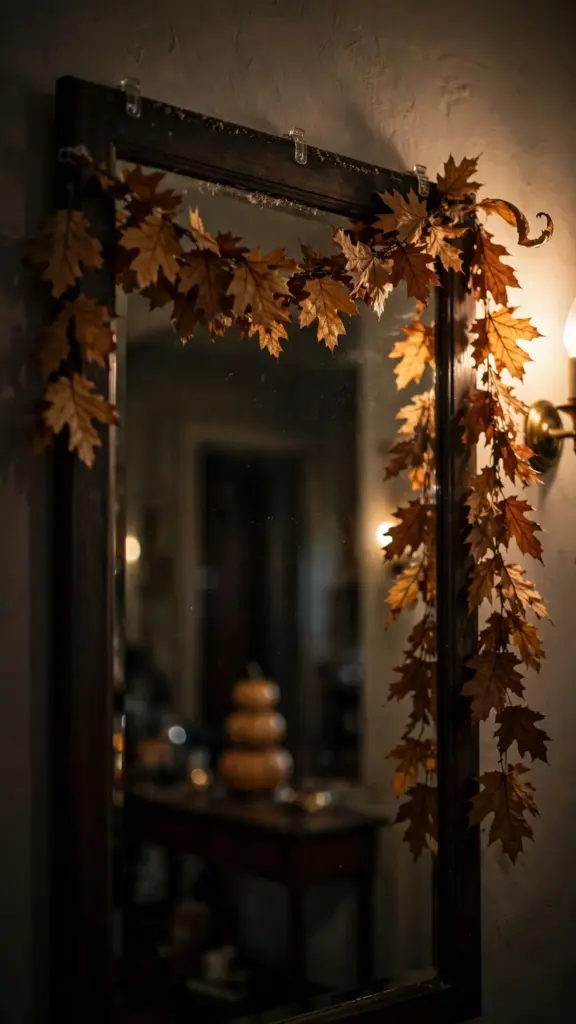
Pin the garland to the frame with small removable hooks, never tape. Tape pulls finish off painted frames and leaves a pale rectangle that shows for years. Hooks lift off clean in January. Press the leaves flat under books for a day first so they lie against the glass instead of curling away.
Skip a garland across the mirror’s center. Guests check their faces in a foyer mirror. Leaves over the middle block the glass and annoy everyone who stops to look.
Dust the mirror glass on Thursday with a dry microfiber cloth, working around the garland. Glass behind leaves collects dust fast, and a clean mirror doubles the garland’s impact. Skip glass spray near the leaves; it spots them.
11. Swap One Print for a Botanical Study
Take down one framed print in the entryway and hang a botanical study in its place for the season. One swapped frame changes the wall’s subject from generic art to the garden, and it takes 5 minutes on a nail that is already there.
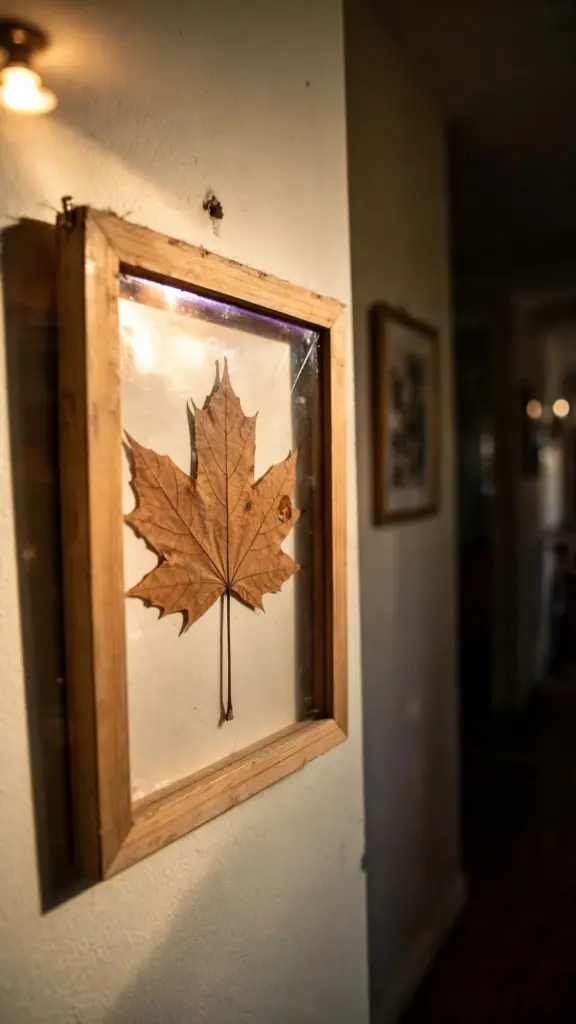
Use a real pressed specimen under glass or a clean print of one: a maple leaf, an oak sprig, a wheat head. Hang it in the old print’s frame so the wall keeps its rhythm and the glass already fits the mat. A study earns its place when the specimen is identifiable at arm’s length. A blurred leaf photo does not earn wall space for a season.
Skip buying a new frame. The frame you own already matches the wall. Spend the money on the specimen, not the wood.
Dust the frame’s top edge on Thursday morning. A frame that hung all year carries a dust line, and the swapped print draws fresh eyes to it. One pass with the rag takes 10 seconds.
12. Dress the Bench With a Wool Throw
Fold a wool throw into thirds and lay it across the foyer bench off-center, one end hanging 25 cm over the edge. An off-center throw looks used and welcoming. A centered throw looks like the price tag is still on.
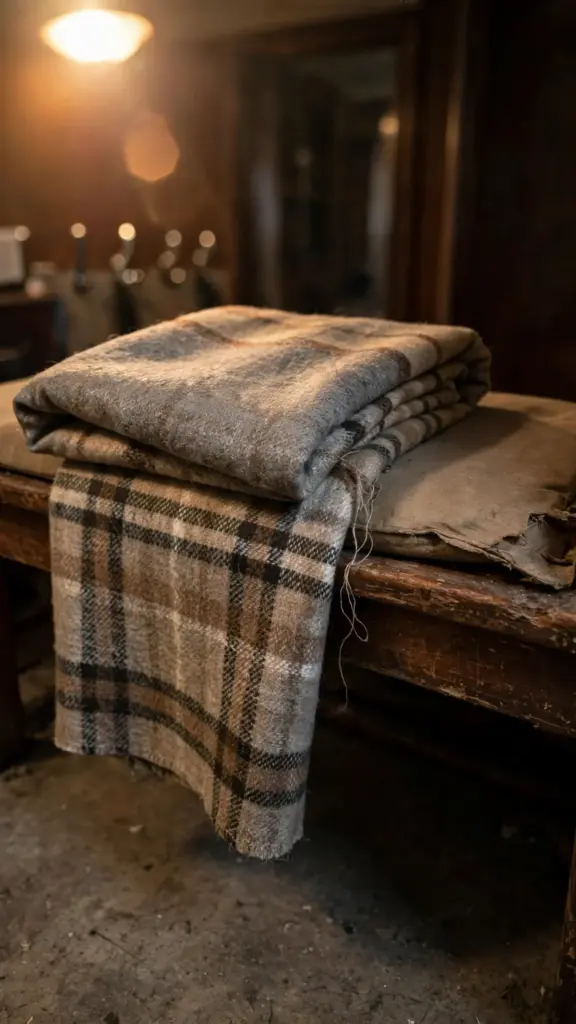
Wool earns the bench because the bench takes coats, bags, and wet sleeves all day. Wool sheds water and dries fast, while cotton holds damp and feels cold by dessert. Shake the throw outside before guests arrive so it leaves the linen closet’s dust outdoors.
Skip tucking the throw under the cushion. A tucked throw stays put and looks stiff. A loose throw gets picked up and used, which is the point.
Refold the throw on Friday evening. Guests use it, which is the point, and a used throw slides. Refolding takes 20 seconds and the bench looks intentional again for Saturday’s arrivals.
13. Roll Out a Washable Runner
Roll a washable runner from the door to the first interior doorway, long enough for four full steps before guests reach the wood floor. Four steps catch most of the grit. A short mat catches one step and the rest lands on the floor.
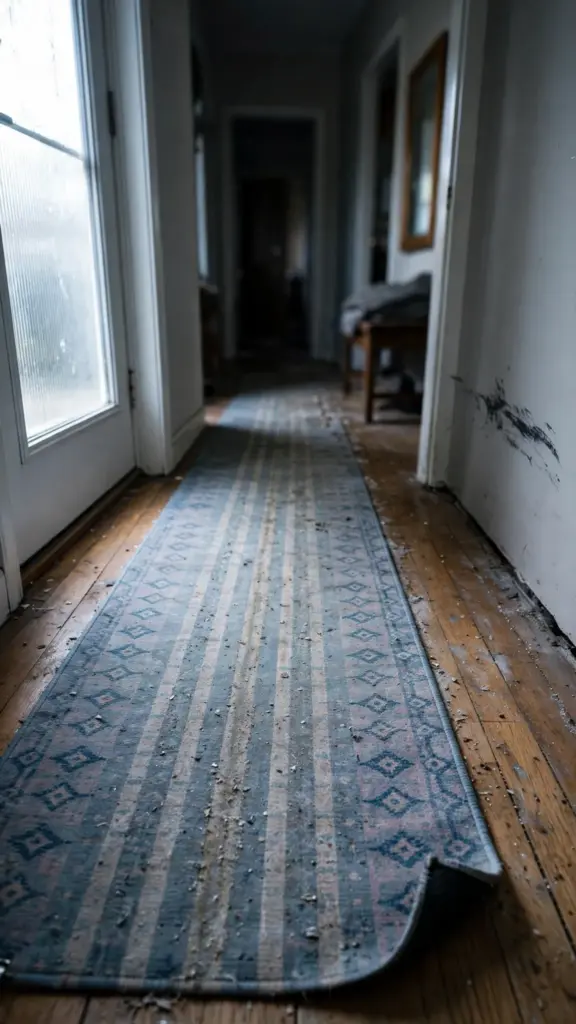
Choose a runner with a rubber or latex backing, not a flat cotton dhurrie. Backed runners grip hard floors and stay put. Unbacked runners creep toward the door and bunch into a ridge that trips the second guest in line. Machine-washable means the runner goes in the washer on Friday instead of in the trash.
Skip a runner wider than two-thirds of the hallway. Edge-to-edge carpet traps dirt along the walls where the broom never reaches, and the edges go gray by Saturday.
Vacuum the runner on Friday morning, working from the door inward. Foot traffic pushes grit toward the far end, and vacuuming against the traffic direction lifts it. A clean runner reads as new through Sunday.
14. Load the Coat Hooks With Intention
Hang one deliberate item per hook: a wool scarf on the first, a spare tote on the second, room for a guest’s coat on the third. Loaded hooks tell guests where things go. Empty hooks make them ask, and a hook buried under last season’s jackets makes them hold their coats all evening.
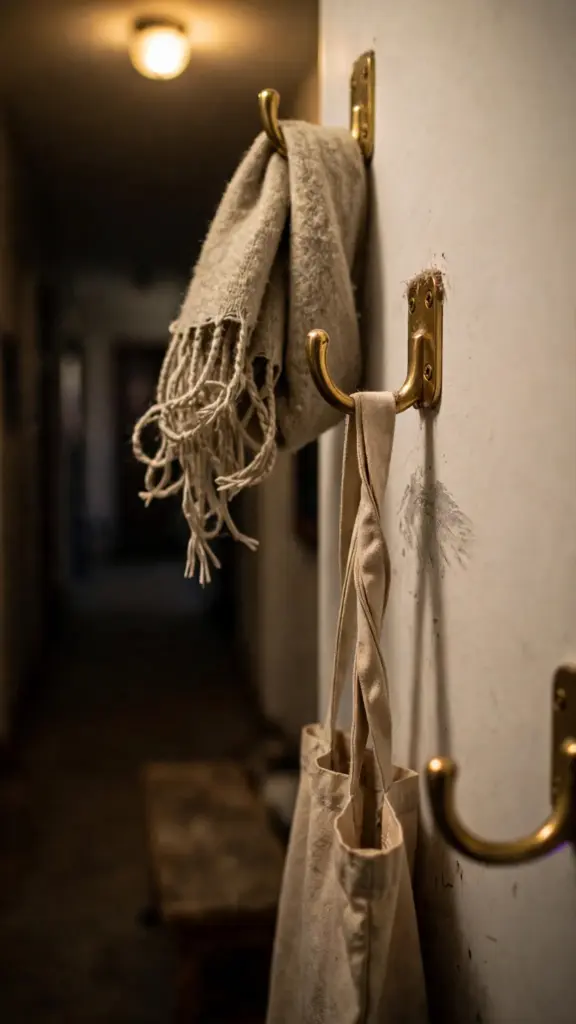
Clear every hook the night before. Off-season coats, the dog’s spare leash, and the reusable bags meant for the car all move to a closet for the weekend. Five clear hooks beat ten crowded ones, because one sliding coat pulls everything down with it.
Skip the over-the-door rack that swings with the door. It dumps coats every time someone opens it. Fixed wall hooks hold through the whole evening.
Rehang the scarf and tote on Friday after guests leave. Borrowed items migrate, and the hooks should greet Saturday’s arrivals the way they greeted Thursday’s. Thirty seconds resets the whole wall.
15. Stand Dried Wheat in a Tall Vase
Stand a bundle of dried wheat in a tall, narrow vase on the foyer floor, stems cut to one height so the heads form a level line. Wheat reads as harvest without reading as Halloween, and the upright lines suit a narrow space.
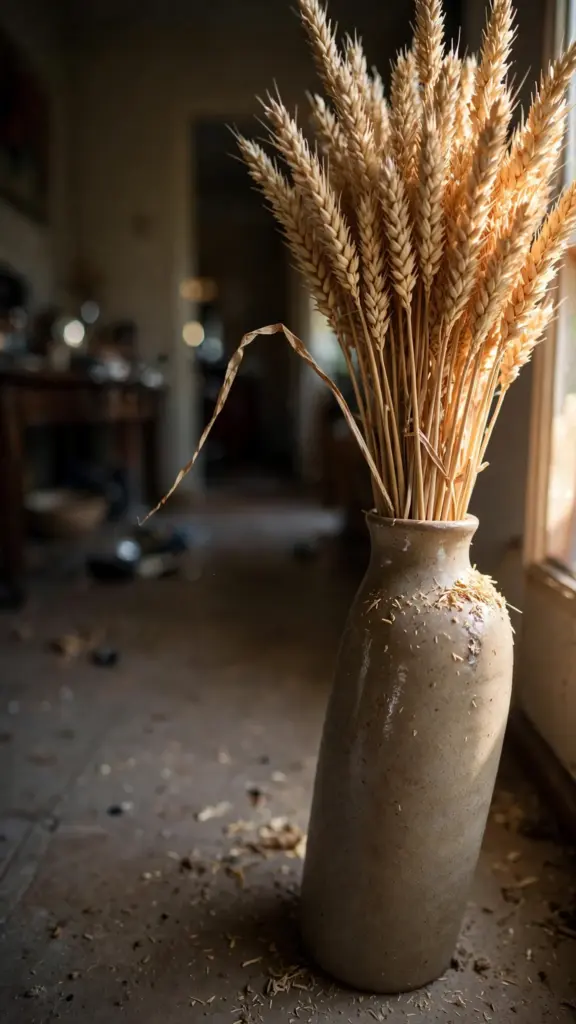
Dry the wheat by hanging small bunches upside down in a dark, airy shed, one of the three methods in the Delaware State Extension drying notes: pressing between absorbent paper, burying in borax mixed with sand or cornmeal, and hanging bunches upside down. The hanging method keeps stems straight, which is exactly what a floor vase needs.
Skip a wide-mouthed vase. Wheat in a wide vase splays outward and looks like a broom. A narrow neck holds the bundle upright all weekend.
Rotate the vase a quarter turn on Friday so the same side never faces the window all week. Wheat bleaches on the sun side, and a quarter turn keeps the color even. Shake off any loose chaff outside before it lands on the floor.
16. Light Brass Candlesticks in Threes
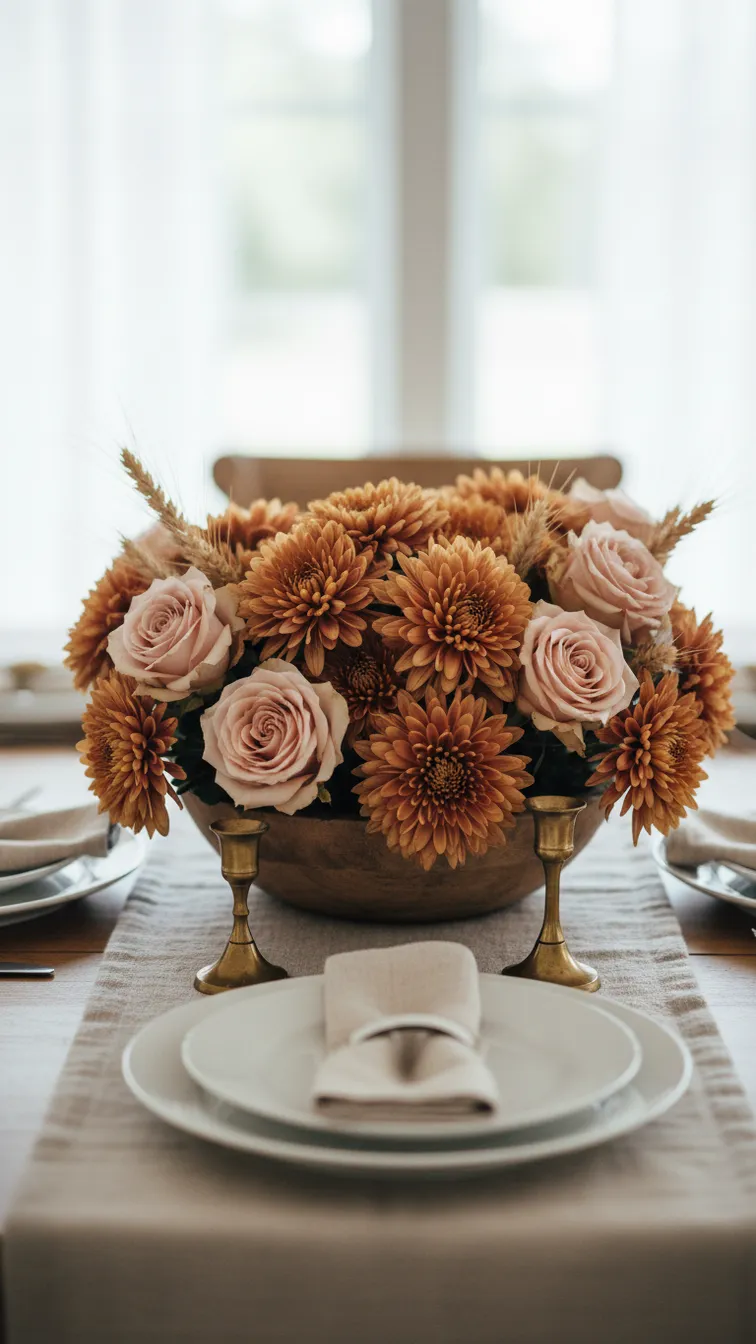
Group brass candlesticks in threes on the console, cut to three heights: 25 cm, 18 cm, and 12 cm. Odd numbers and staggered heights read as a set. A pair is bookends and a single candlestick is a leftover.
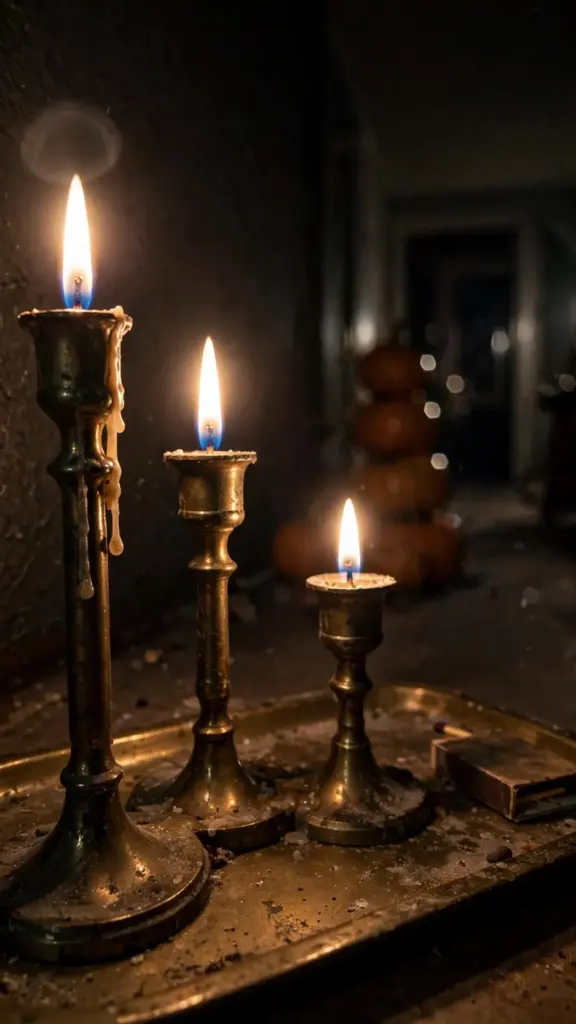
Keep every flame at least 30 cm from anything that burns: the wheat, the eucalyptus, the garland. Between 2018 and 2022 an annual average of 835 home structure fires began with decorations, 47 percent because decorations sat too close to a heat source and about one third started with candles, according to the NFPA candle safety notes, which also list dried flowers and cornstalks as very flammable material that belongs far from open flames. Blow every candle out before the last guest leaves the room.
Skip glass hurricane shades as a safety shortcut. A shade traps heat and can crack. Distance is the safety. Thirty centimeters of clear air beats any shade.
Trim each wick to 6 mm before lighting on Thursday. A long wick smokes and soots the brass; a trimmed wick burns clean and steady. Keep a snuffer on the console so nobody blows wax across the tray.
17. Stack a Pumpkin Tower on the Console
Stack three pumpkins on the console, largest at the bottom and smallest on top, each turned so its best face points at the door. A tower uses the vertical space the console already has. A row of pumpkins eats the working surface and leaves nowhere for the keys.
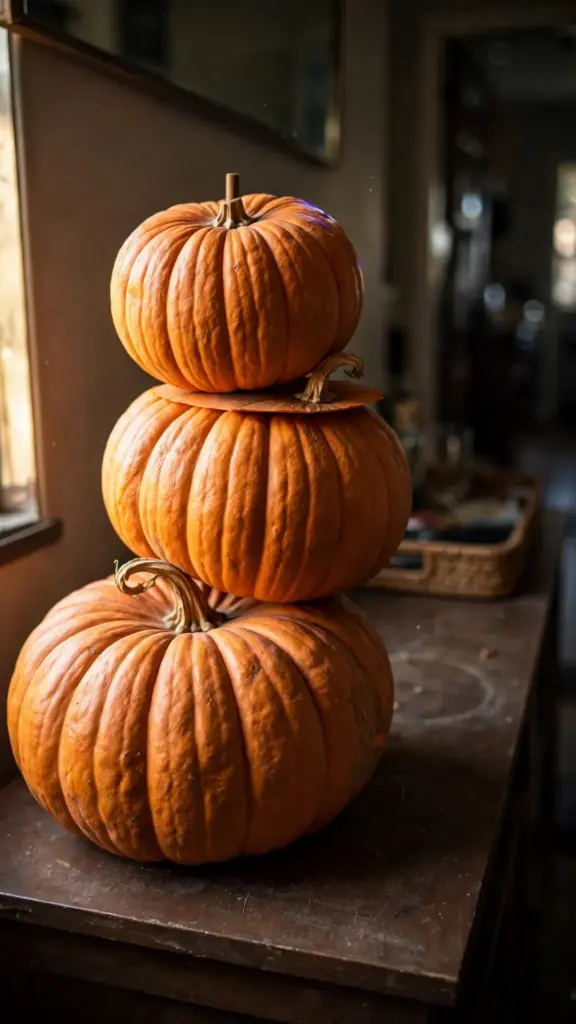
Drive a 30 cm wooden dowel down through all three pumpkins to lock the stack. Without the dowel the top pumpkin walks off center the first time someone bumps the table. Pick pumpkins with flat bottoms and level the top of the lower two with a serrated knife so each layer sits flat.
Skip a tower taller than 60 cm. Above that it blocks the mirror behind the console, and nobody across the table can see over it.
Check the dowel’s grip on Friday by pressing the top pumpkin gently sideways. If it wobbles, drive the dowel 5 cm deeper. A tower that survives the bump test survives the weekend.
18. Build a Tray Vignette Around One Object
Pick one object for the tray: a brass candlestick, a small pumpkin, a wooden bowl. Commit. Add only what supports it: a eucalyptus sprig under the candlestick, two walnuts beside the bowl. One object per tray keeps the vignette from becoming a junk drawer with a rim.
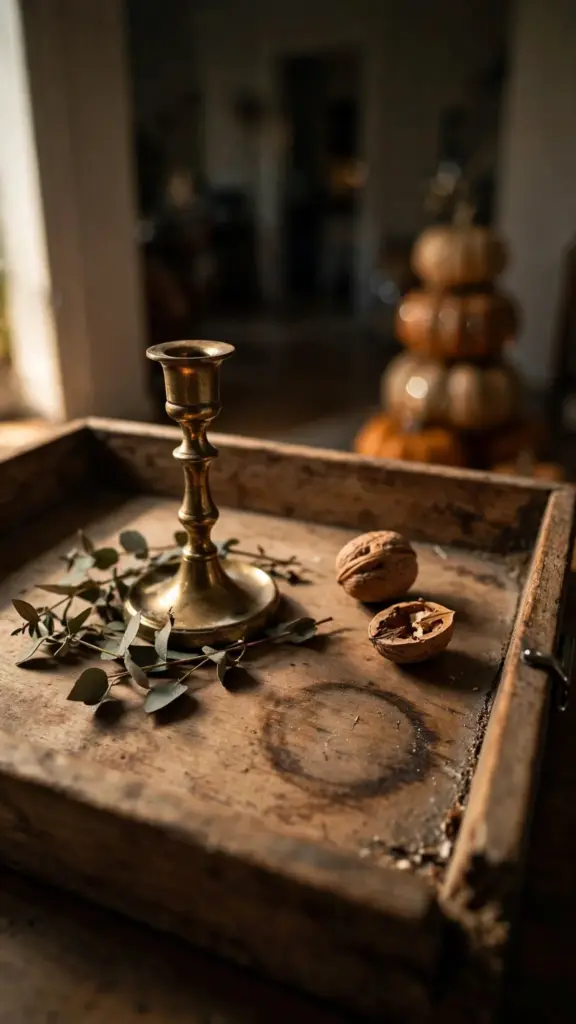
Keep the tray under 40 by 25 cm so it fits the console without crowding the pumpkin tower. Everything on the tray should lift off in one move, because the console becomes the key-and-mail drop the moment guests walk in.
Skip filling the tray edge to edge. A full tray is storage. Three objects with air between them are a decision.
Wipe the tray on Friday with the damp rag. Dust settles on flat surfaces fast, and a wiped tray makes the three objects look placed that morning. Return any object that migrated back to its spot.
19. Fill a Wooden Bowl With Nuts and Gourds
Fill a wooden bowl with unshelled walnuts and hazelnuts, then nest three mini gourds into the top layer. The nuts fill the gaps the gourds leave. The gourds give the bowl the harvest read that nuts alone cannot.
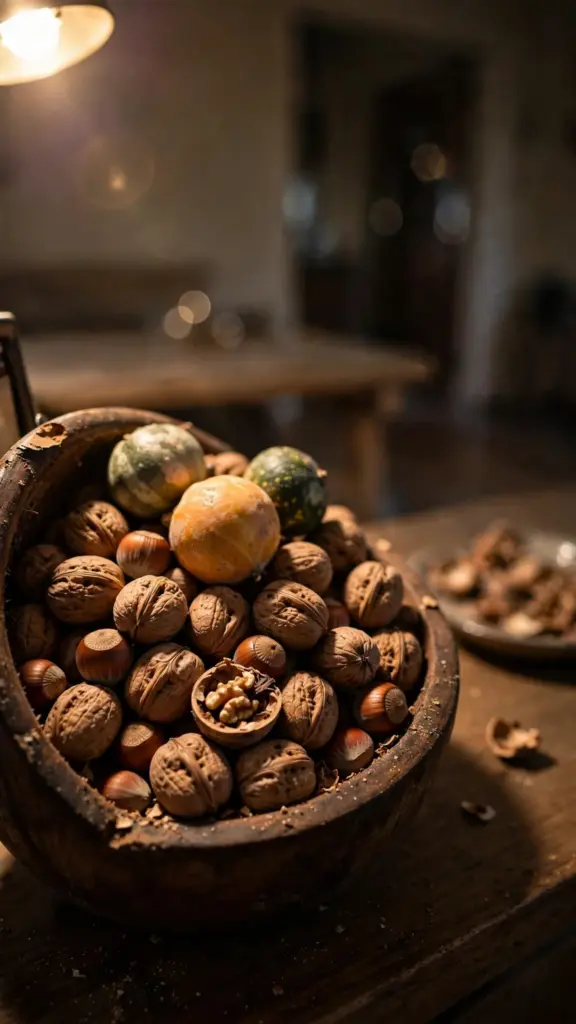
Set the bowl within arm’s reach of the bench or the foyer chair. A bowl across the room is decoration. A bowl by the seat is an offering, and guests crack a walnut while they wait. Put a small empty dish beside it for shells, because shells on the table migrate to the floor by the second hour.
Skip mixed candy in the bowl. Chocolate melts against warm nuts and the wrappers stick. Nuts and gourds keep all weekend. Candy does not survive the afternoon heat of a crowded foyer.
Top up the walnuts on Friday evening. Guests eat from the bowl, which is the point, and a half-empty bowl looks picked over. A handful of fresh walnuts resets it for Saturday.
20. Hang a Bundle of Dried Eucalyptus Upside Down
Tie five to seven eucalyptus stems into a bundle and hang it upside down from a wall hook, cut ends up and leaves down. Upside down is how eucalyptus dries without curling. Gravity draws moisture along the stem instead of pooling it in the leaf cups.
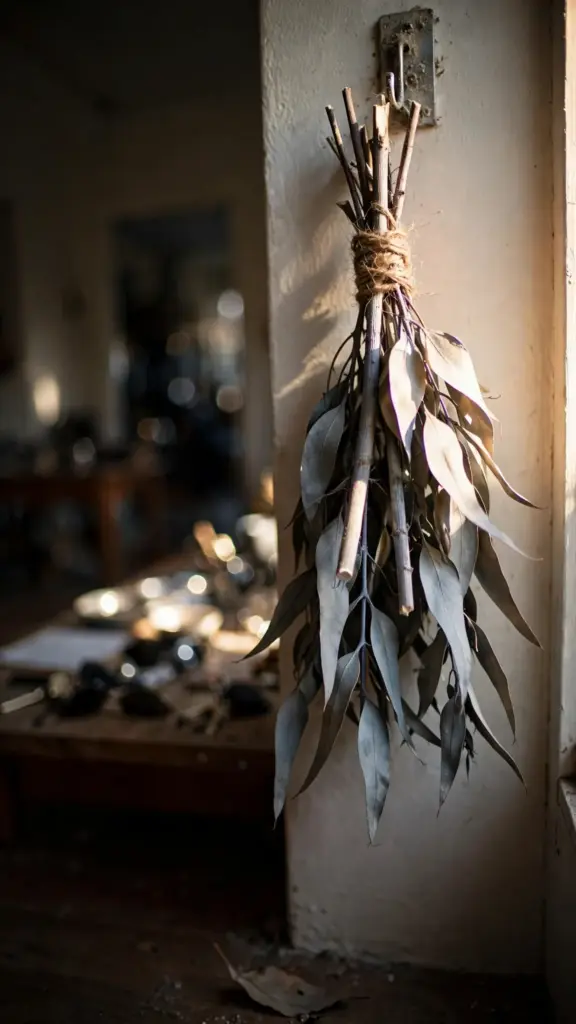
Cut the stems 45 cm long, strip the bottom 10 cm of leaves, and bind the bundle tight with twine before it dries, because stems shrink as they lose water and a loose tie drops stems by Saturday. The bundle doubles as material: snip a sprig for the tray or the menu board and it still looks full. Save the leftover stems for dried floral crafts in December, when the entryway comes down and the material wants a second job.
Skip hanging the bundle right-side up. Right-side up traps moisture in the leaf axils, and the lower leaves mold before they dry.
Snip one stem on Friday for the simmer pot or the tray, then step back. The bundle should still read full after the cut; if it thins, stop cutting and leave the rest. A full bundle matters more than a garnish.
21. Pin a Row of Pressed Maple Leaves
Press maple leaves between absorbent paper under a stack of books for 7 days, then pin the flat leaves in a horizontal row on the foyer wall with brass map pins. A row of flat leaves reads as a specimen line: orderly, quiet, and unmistakably November.
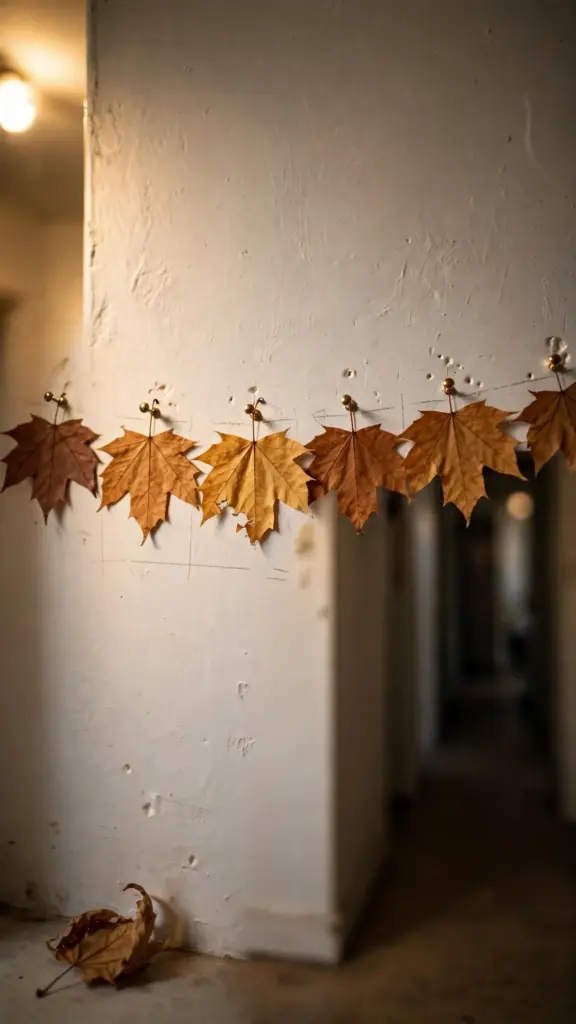
Choose leaves with intact stems and no brown edges, and press twice as many as you need because one in three cracks when lifted. Space the pins 15 cm apart so each leaf owns its patch of wall. Crowded leaves overlap and the row becomes a pile.
Skip taping leaves to the wall. Tape curls the edges within hours and pulls paint on the way down. A pin leaves a hole the size of a period.
Replace any leaf that curls on Friday with a spare from the pressing stack. Pressed leaves relax in damp air, and one curled leaf breaks the row’s line. A 30-second swap keeps the specimen line crisp.
22. Chalk the Menu on a Small Board
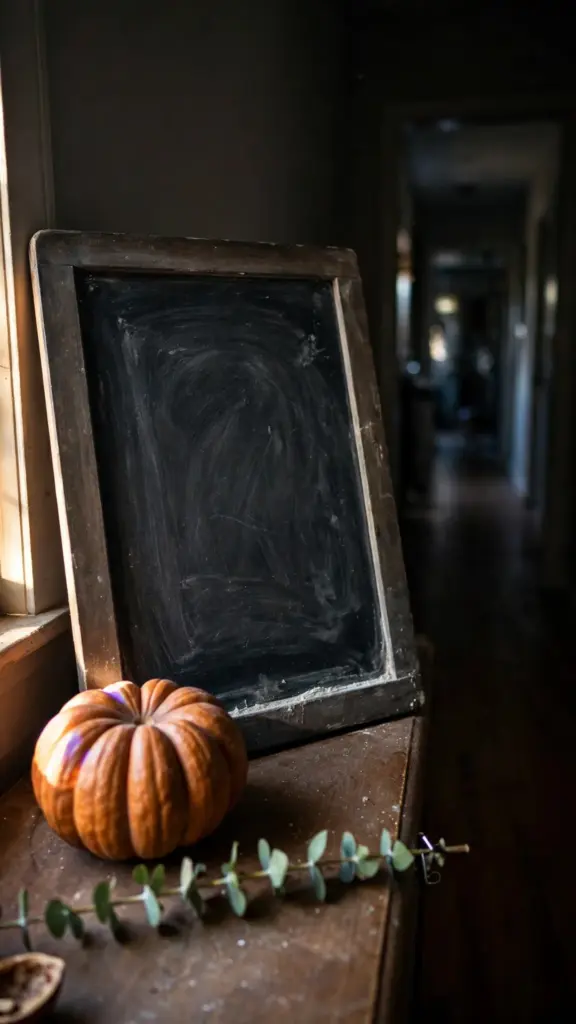
Write Thursday’s menu on a small chalkboard and prop it on the console or hang it by the door. A menu board answers the question every guest asks within 10 minutes of arriving, and it gives the entryway a job beyond looking nice.
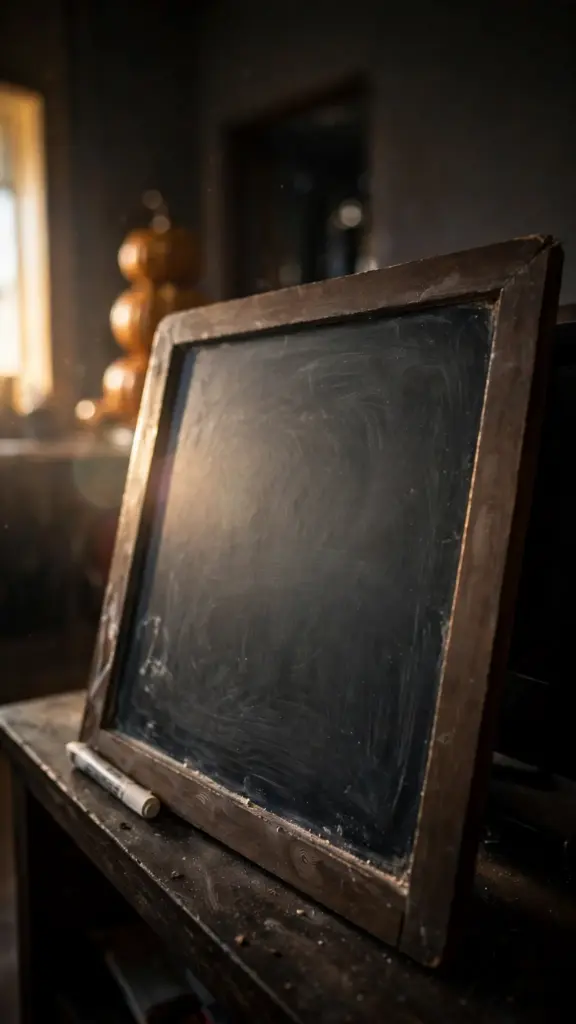
Use a chalk marker, not stick chalk. Markers lay clean lines that survive a bump. Stick chalk smudges the first time a sleeve brushes past. List the dishes in serving order, three to five lines, and leave the bottom third of the board empty so the layout breathes.
Skip the full recipe on the board. Ingredients belong in the kitchen. The entryway board names the meal. The cook keeps the method.
Rewrite any line that smudged on Thursday morning before guests arrive. Chalk marker survives bumps, not sleeves. A clean board looks planned; a smudged one looks rushed.
23. Plan Lantern Light for Dark Evenings
Walk the entryway at dusk on Wednesday and mark every dark corner: the stair edge, the far end of the foyer, the wall behind the console. Dusk is the test light. A corner that is dark at 5 pm Wednesday is dark when guests arrive Thursday.
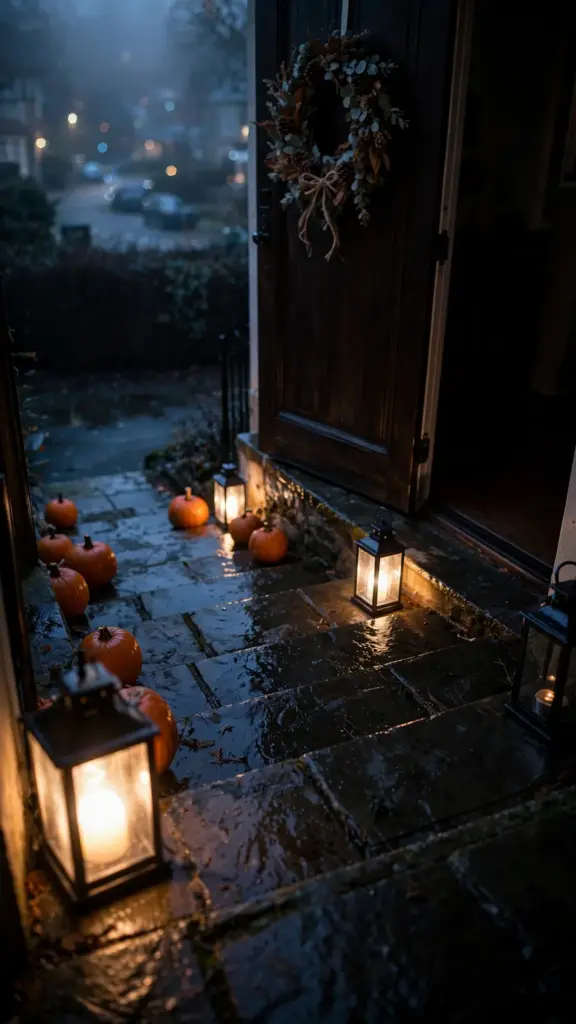
Fill each dark spot with a lantern holding an LED pillar or a micro LED string, one warm-white source per corner. LED light stays cool against dried wheat and pressed leaves, and there is no open flame to guard while you cook.
Skip real candles in the stair lanterns. Steps shift and wind gusts, and a flame on a stair edge has no business being there. Save real flame for the console, 30 cm from anything dry.
Walk the dusk check again on Friday. Days shorten fast in November, and a corner that was fine on Wednesday can go dark by Friday. Move one lantern 30 cm and the corner is covered.
24. Simmer Cloves and Orange on the Stove
Set a pot on the back burner 1 hour before guests arrive: water, one sliced orange, a tablespoon of whole cloves, and two cinnamon sticks. A simmer pot scents the entryway before anyone sees it. Smell reaches the door faster than any decoration.
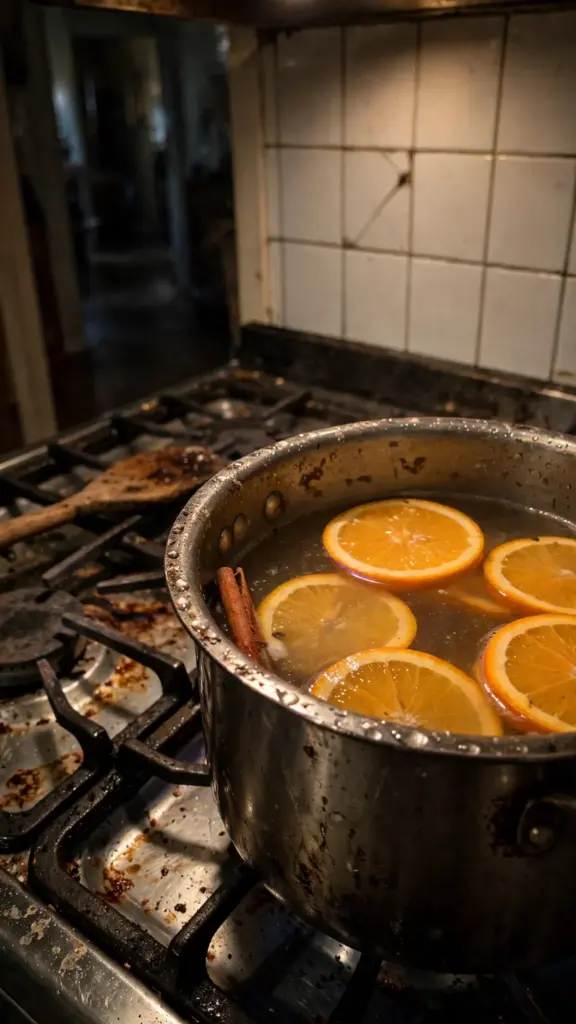
Hold the lowest simmer and check the water every 30 minutes. A pot that boils dry scorches the cloves, and the smell turns from spice to smoke in minutes. Top it up with hot water from the kettle so the simmer never breaks.
Skip scented candles as the entryway scent. One simmer pot covers the whole ground floor without a flame. A candle scents the 2 meters around it and gives up.
Start a second batch on Friday afternoon with fresh orange and cloves. One pot scents Thursday. A fresh pot scents the weekend. Compost the first batch while the second heats.
25. Shrink the Entryway for an Apartment Hall
Pick three moves from this page and skip the rest: the wreath on the door, the runner in the hall, the simmer pot on the stove. An apartment hall has no steps, no posts, and no console. Three moves fit where 23 cannot.
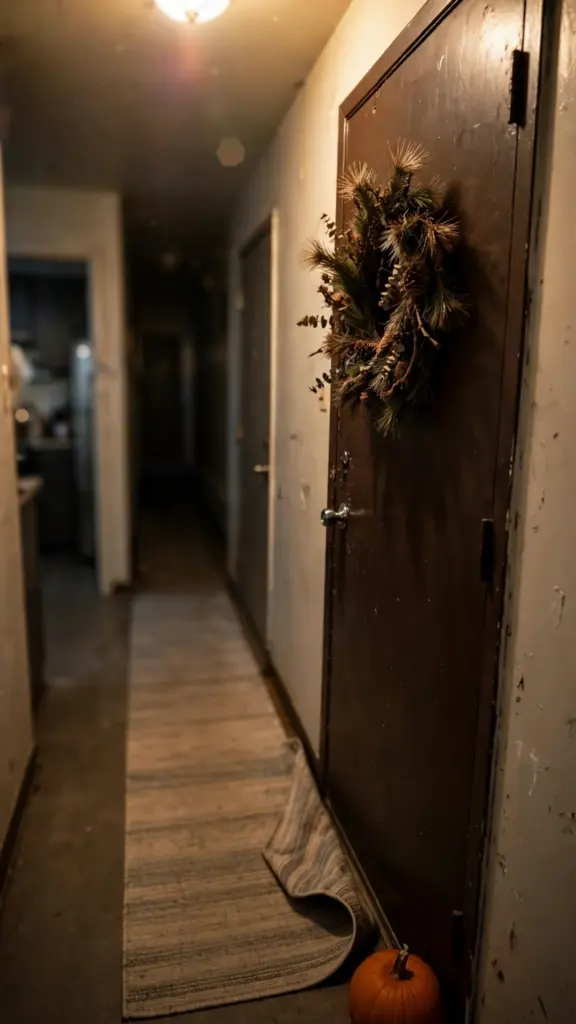
Hang the wreath on an over-door hook so the landlord’s paint stays untouched. Roll a runner that stops 60 cm short of the neighbor’s door, because a runner that crosses a threshold starts a conversation nobody wants. Simmer the pot with the kitchen fan on low so the scent drifts down the hall instead of settling in the curtains.
Skip the pumpkin tower. One pumpkin by the door is plenty. A tower in a 90 cm hallway blocks the path by Friday.
Tell the neighbor about the simmer pot on Wednesday. Scent drifts under doors, and a heads-up turns a surprise into a welcome. A small plate of walnuts with the warning does not hurt.
26. Build the Whole Look for Under $30
Walk the yard first and cut everything free: eucalyptus or pine branches for the garland, maple leaves for pressing, corn stalks from the bed, pinecones from under the trees. The yard covers the wreath, the garland, the leaf row, and the stair bundles. The store covers the rest.
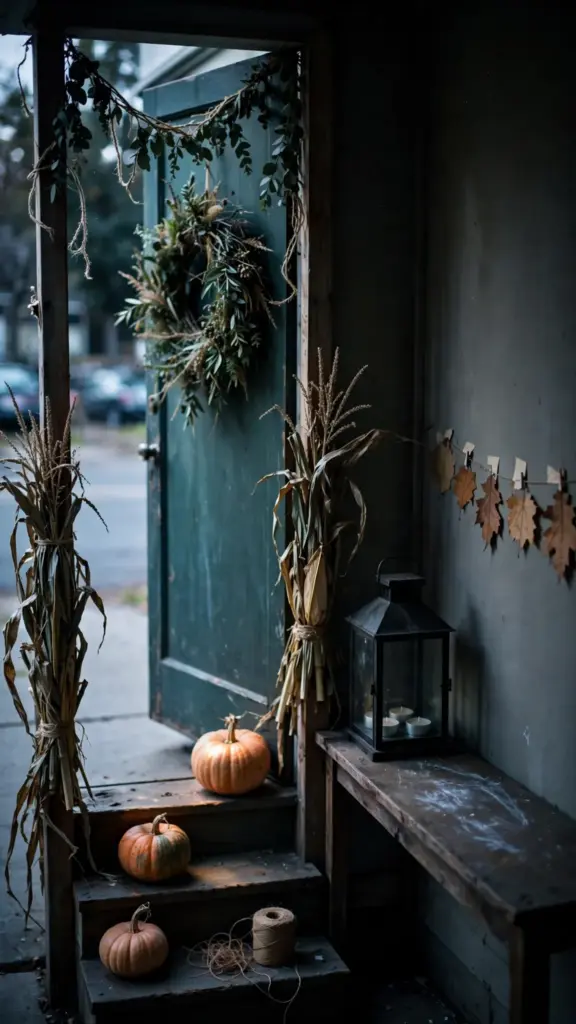
Spend the $30 on what the yard cannot grow: a bag of unshelled walnuts, a spool of jute twine, chalk markers, and battery tea lights. Buy the twine first, because twine holds the garland, the wheat, the corn stalks, and the eucalyptus bundle, and without it the free material stays in a pile by the back door.
Skip the pumpkin tower at this budget. Pumpkins cost real money, and one 60 cm tower eats half the $30. Buy three small pumpkins for the steps and spend the rest on the things that hold everything together.
Count the leftover twine and tea lights on Friday. The $30 plan usually leaves both, and leftovers become next year’s kit. Write the actual spend on the back of the chalkboard for next November.
Keep It Fresh Through the Weekend
Sweep the steps every morning. Wind moves leaves and grit back onto a clean step overnight, and Thursday’s sweep means nothing by Friday without a repeat.
Check the pumpkins for soft spots each evening and pull any that give under your thumb. One soft pumpkin weeps onto the step and stains the stone. The rest of the lineup survives.
Top up the simmer pot before the water drops, shake the runner outside on Saturday morning, and swap any tea light that dims. Fifteen minutes a day holds the entryway at Wednesday’s standard through Sunday.
Straighten the garland ends each morning. Wind lifts the trailing ends and tangles them around the doorbell or the knocker, and two minutes of untangling keeps the swag reading as one line. Fluff the wreath boughs again on Friday the way you did on Wednesday, pulling the outer stems outward with your fingers. A wreath that gets refluffed mid-week looks built on Friday, not ten days ago.
Take It Down and Store It Flat
Compost the pumpkins, gourds, and corn stalks the weekend after the holiday. They break down fast and feed the pile. Save the grapevine wreath frame and coil the twine for next year.
Store pressed leaves flat between sheets of absorbent paper inside a heavy book, and hang the eucalyptus bundle back up in the shed until December’s crafts. Wash the runner on a cold cycle and roll it, never fold it, so no crease sets.
Wipe the brass candlesticks with a dry cloth before boxing them. Wax wipes off warm brass. It chips off cold brass and takes the finish with it.
Label the storage box before it goes in the attic: wreath frame, twine, hooks, chalkboard, candlesticks. A labeled box gets opened next November; an unlabeled box gets bought twice. Keep the pressed-leaf book on a shelf, not in the box, so the leaves stay flat under their own weight through the year. Coil the leftover twine around a scrap of cardboard so it does not knot in storage.
Photograph the Entryway Before Guests Arrive
Shoot the entryway at the same hour guests arrive, because that is the light they will see. Morning photos lie about a 5 pm arrival. Dusk photos tell the truth.
Stand in the doorway and take one wide shot that holds the wreath, the steps, and the console. Then take three detail shots: the tray vignette, the menu board, the pumpkin tower. Details are what get copied next year.
Check each frame for clutter before the phone goes away: the broom leaning by the door, the spare twine on the console, the boots that migrated mid-build. Move them, shoot again, and the record is clean.
Photograph the dusk light too, not just the build. One photo at 5 pm shows which lantern actually covers the stair edge and which corner still goes dark, and that photo becomes next year’s lantern plan. It beats any notes you would write, because light is hard to describe and easy to photograph. Save the dusk shot in the same folder as the wide shot so the pair stays together.
Walk It Once More Before Thursday
Do one final walk from the street to the console on Thursday morning, moving the way a guest moves. Check the trip line: pumpkins 25 cm off the walking center, the runner flat with no ridge, the stair lanterns 15 cm back from the nosing.
Check the flame line: every candle 30 cm from anything dry, the stair lanterns flameless, the simmer pot water above the cloves. Read the menu board once for spelling, because chalk lies to tired eyes.
Then stop. The entryway is done when a guest can walk it in the dark, find the door, and smell dinner before they see it.
Smell the entryway last. Stand at the door the way a guest stands and breathe in: clove and orange should reach you before you step inside. If the scent is faint, start the simmer pot 30 minutes earlier next time. The nose decides before the eyes do, and a guest who smells dinner at the door forgives a crooked pumpkin on the third step.
Thanksgiving Entryway Decor FAQ
How Early Can I Decorate the Entryway for Thanksgiving?
Hang the wreath and garland the weekend before, since evergreens and eucalyptus hold for 3 weeks outside in November air. Set pumpkins out 7 to 10 days ahead and check them for soft spots each evening. Roll the runner, light the candles, and start the simmer pot on Thursday itself. Dry elements go first, fresh elements go last, and nothing stays out longer than it stays good.
How Do I Keep Pumpkins From Rotting on the Steps?
Keep pumpkins dry and off wet stone by setting each one on a brick, a wood scrap, or a saucer, so the bottom never sits in standing water. Bring them under cover before a hard rain. Check for soft spots every evening and compost any pumpkin that gives under your thumb, because one rotting pumpkin weeps onto the step and stains it. Small pumpkins outlast large ones on open steps.
What Is the Safest Candle Option for the Entryway?
Battery LED pillars are the safest option for stairs, garlands, and anywhere near dried material, since they give warm light with no flame and no heat. If you burn real candles, keep them on the console only, 30 cm from anything dry, in sturdy holders, and blow them out before the room empties. Never leave a real flame burning on a stair edge or beside the eucalyptus bundle.
How Do I Decorate a Small Entryway Without Clutter?
Pick three moves: a wreath on the door, a runner in the hall, and one scent from the stove. Small spaces punish accumulation, so every object needs a job. Skip the pumpkin tower, the corn stalks, and the boot tray, since those belong to houses with steps and posts. One bundle of dried wheat in a narrow vase gives a hallway the harvest read without blocking the path.
Can I Reuse Entryway Decor for Christmas?
Yes, if you planned for it. The grapevine wreath frame, the brass candlesticks, the boot tray, and the eucalyptus garland all carry into December with pine and fir swapped in. Compost the pumpkins and corn stalks after Thanksgiving, because they do not survive the month. Store the twine, the hooks, and the chalkboard, and the Christmas entryway starts half-built.