
Dry 24 Flower Heads Before November
Dry 24 flower heads before November, and your Thanksgiving crafts stop depending on the craft store. thanksgiving crafts for adults work best as a workbench plan: cut garden flowers and gather pinecones now, dry them with real methods, then build wreaths, garlands, and gifts across November. This page gives you 20 projects, each one buildable in a single afternoon, ordered the way a workshop actually runs: dry first, build second, store last.
This craft runs three weekends. Weekend one: cut, press, and start drying. Weekend two: build while the last heads finish. Weekend three: fix the sagging wreath and wrap the gifts. Cut more than the plan needs. Some heads will mold, some will shatter, and the extras become next year’s potpourri.
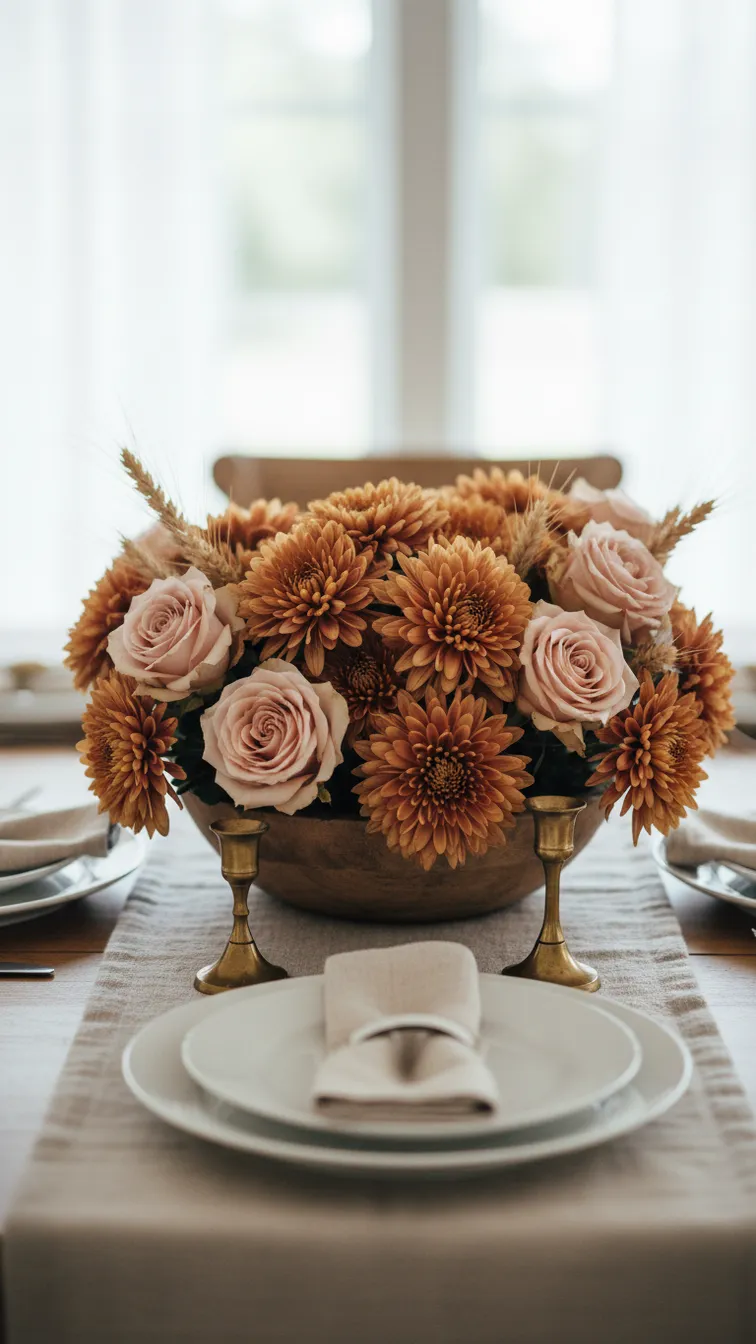
Setting the dinner table is a different job. That styling lives on the site’s Thanksgiving centerpieces. This page stays on the workbench: drying, wiring, gluing, and building.
1. Dry Flowers in Silica Gel for Lasting Color
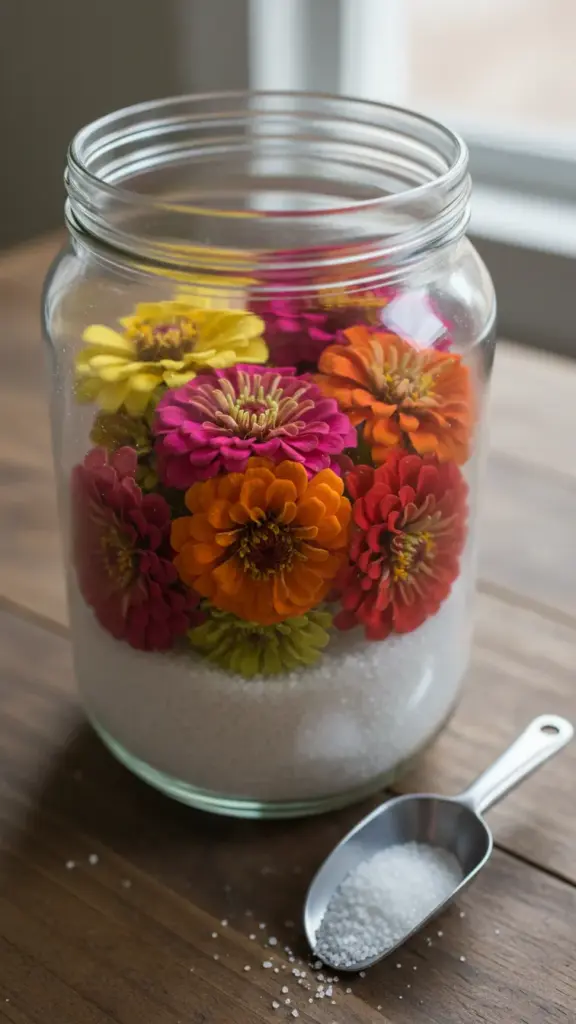
Cut zinnia, strawflower, and statice heads at midday, when the dew has dried but the sun has not wilted them. Trim the stems to 2 inches. Pour 1 inch of silica gel into an airtight container, set the heads face up without touching, and sift more gel over them until every petal is buried. Seal the lid. Purdue’s preserving plant materials guide treats silica gel as the home method that holds both color and shape. Check after a few days. Thick heads need longer. Pull a head too soon and the petals droop by morning. Leave it too long and they snap like crackers. Buy the color-indicating kind. Blue crystals are thirsty, pink crystals are spent, and a tray of spent crystals goes back to blue in a low oven. One bag dries the whole season’s heads if you recharge it between batches.
2. Air-Dry Hydrangeas Upside Down in a Closet
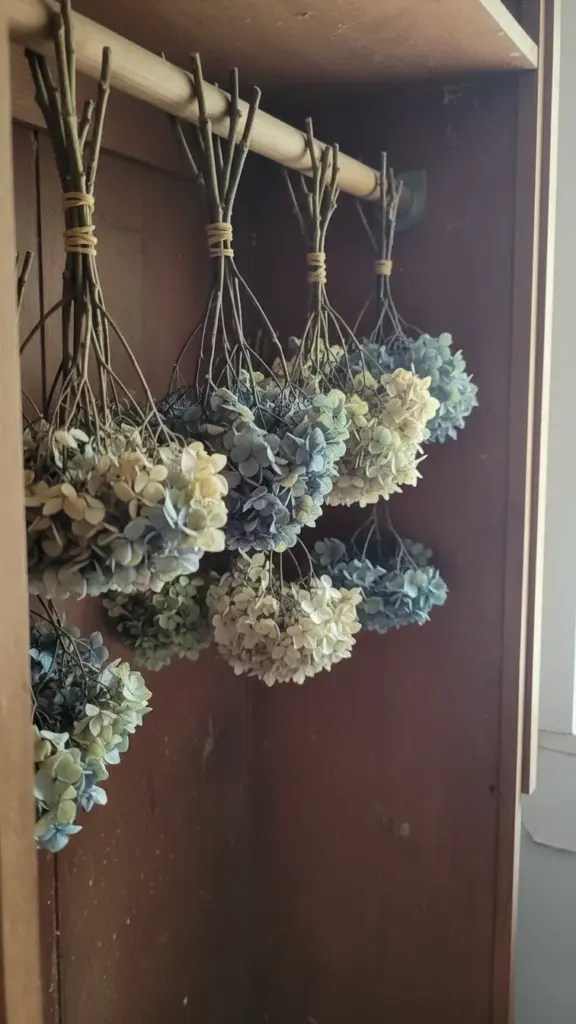
Strip every leaf from the stems. Leaves turn brittle and break off inside the arrangement. Gather 5 stems, wrap the bunch with two rubber bands, and hang it upside down from a closet rod. Darkness keeps the color. Airflow keeps the mold away. Plan on two to three weeks. The heads are done when the petals feel like paper and the stems snap instead of bending. Skip the sunny window. Light bleaches a dried hydrangea to dishwater gray in a week. Cut heads when the petals already feel papery on the living plant. A head cut too green shrinks into a brown fist as it dries. The papery-stage head keeps its dome and its color.
3. Bake Pinecones Clean Before You Craft
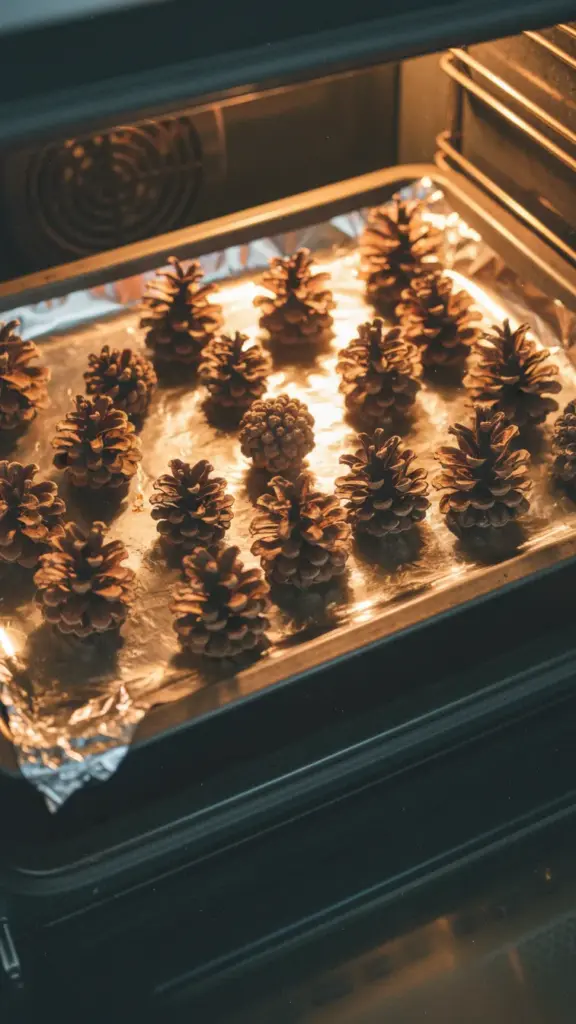
Shake each cone hard over the trash. Needles, seeds, and dirt fall out. Spread the cones on a foil-lined sheet, none touching. Bake at 200°F until every cone stands fully open and bone dry, 30 to 60 minutes depending on size. Cool them on the sheet. The heat kills whatever was living between the scales and melts the sap into a clean finish. Skip the bake and you will find webbing in the scales by January. Never leave the oven unwatched with cones inside. Sort the cooled cones by size before they go into the project boxes. The 2-inch cones become place card holders. The 4-inch cones become garland beads. Sorting now saves the mid-project dig through a mixed box.
4. Press Autumn Leaves Between Heavy Books
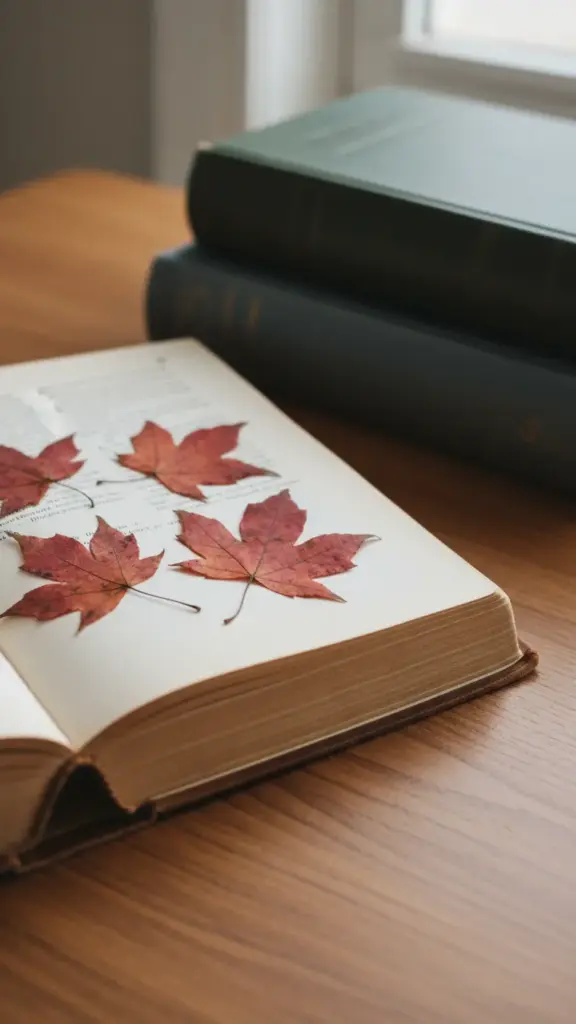
Pick maple and oak leaves with no brown edges. Lay each leaf between two sheets of plain printer paper inside a heavy book with non-glazed pages. Magazine pages trap moisture and grow mold. Stack two more books on top and leave the pile where air moves around it. Mississippi State’s pressed floral design guide gives this method about a month and warns that trapped moisture ruins the whole batch. Check after two weeks. Swap damp paper for dry. A pressed leaf should feel like a postage stamp. Press more leaves than the shadow box needs. The extras become gift tags and place cards, and the pressed-leaf projects on this page all draw from the same book. A book of pressed leaves is a craft pantry.
5. Build a Workbench Kit from Jars and Twine
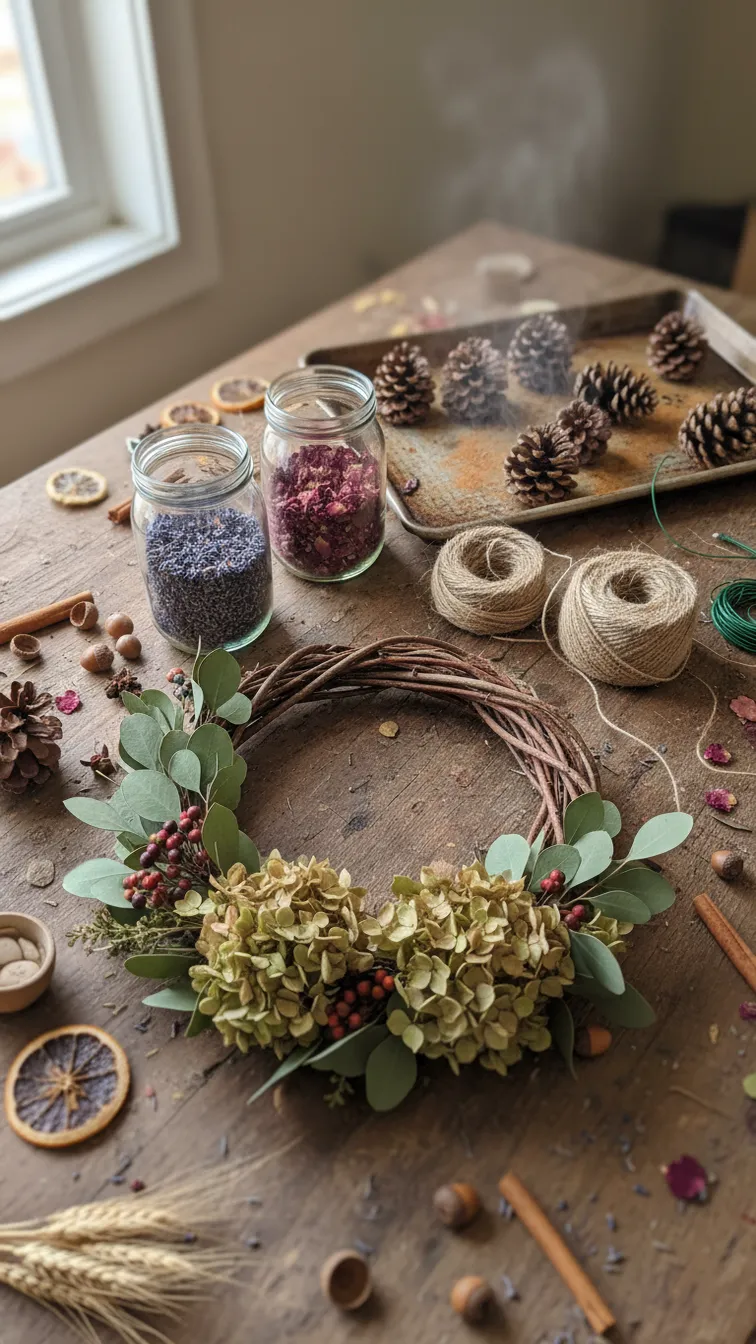
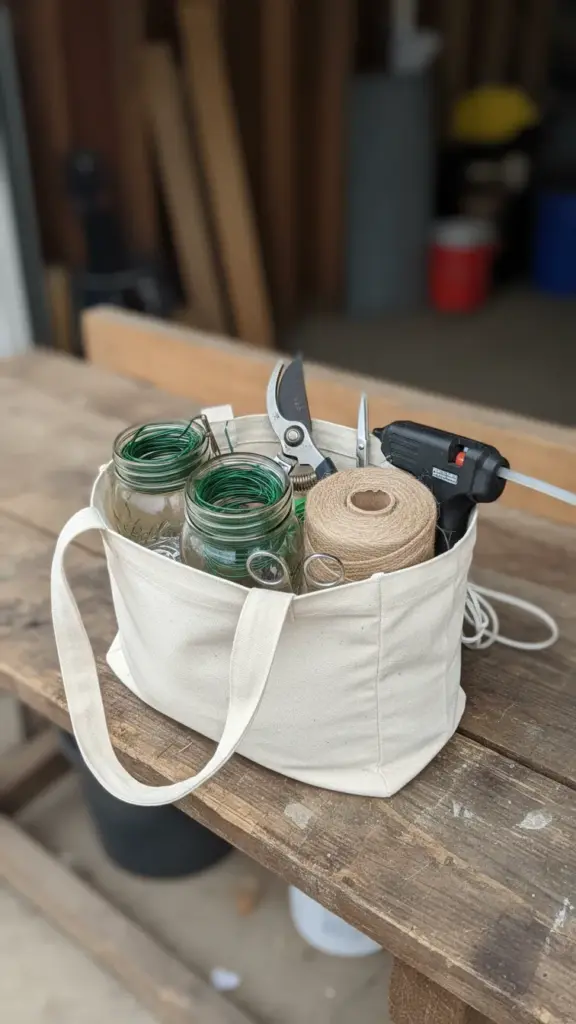
Gather before you build. One jar of floral wire, one spool of jute twine, sharp pruners, a hot glue gun with extra sticks, small scissors, and a cookie sheet for a work tray. Put the kit in a tote. Every project on this page draws from the same tote, which means no mid-project run to the store. Label the wire gauges with tape: thin for wrapping stems, thick for building frames. A kit that lives together gets used. A kit scattered across three drawers does not. Add a magnet strip inside the tote lid for the scissors and the craft knife, so the sharp tools stop migrating.
6. Wire a Dried Flower Wreath on a Grapevine Frame
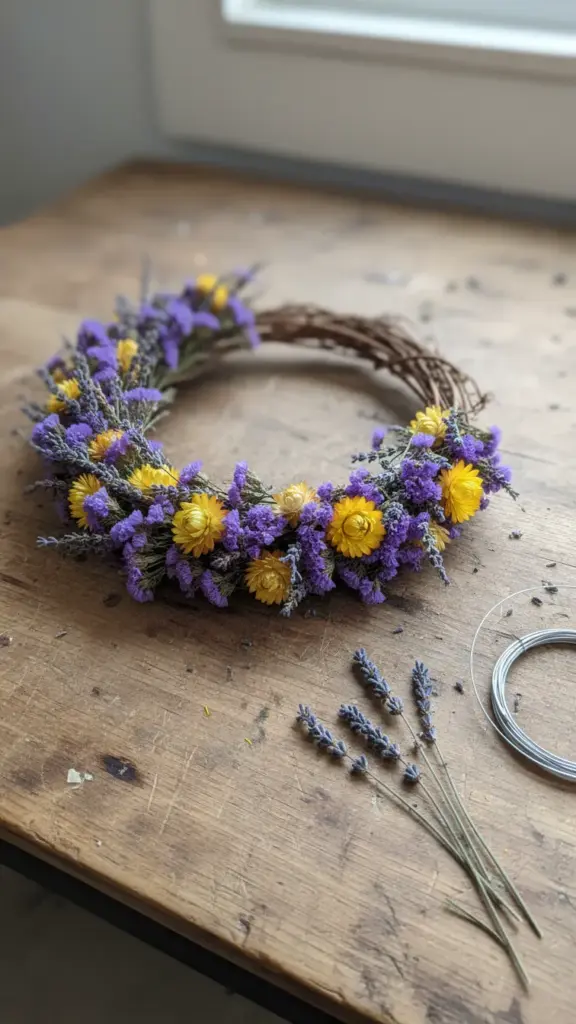
Start with a 14-inch grapevine frame, bought or cut. Cut dried statice, strawflower, and lavender into 6-inch sprigs. Bundle 5 sprigs, wrap the stems with wire, and lash each bundle to the frame, overlapping the last by half. Work clockwise. Keep every bundle pointing the same way or the wreath looks drunk. Cut vine and stems with clean pruners so nothing snaps mid-wrap; the spring pruning techniques page covers the cutting end of that job. Hang the finished wreath indoors. One rainstorm turns a dried wreath to mush. Mist the finished wreath lightly with hairspray before hanging. The spray stiffens the petals against bumps and slows the fading. Re-mist once a season. A wreath that sheds on the door frame needed that coat.
7. Roll Pinecone Fire Starters with Dried Herbs
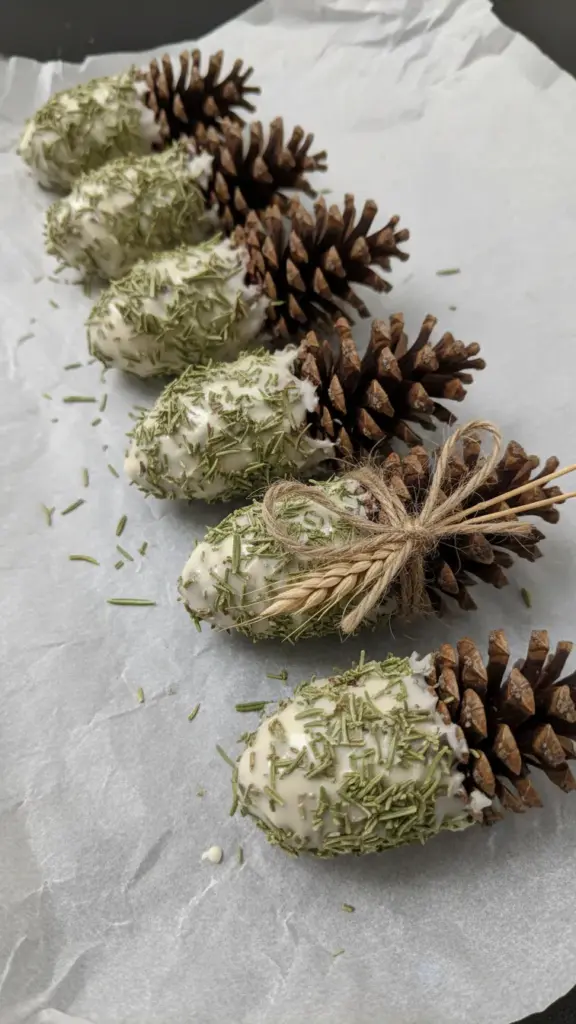
Melt plain paraffin or soy wax in a double boiler. Never over direct heat. Dip each baked pinecone by its tip, roll it in crushed dried rosemary and lavender, and set it on wax paper to harden. Dip twice for a thicker coat. Tie 3 starters with twine and a sprig of dried wheat for a gift bundle. One starter lights a cold fireplace in under a minute. Use too much wax and it smokes instead of catching. Keep the finished bundles away from the hearth until lighting time. Make a double batch. Fire starters disappear into stockings, hostess gifts, and the neighbor’s porch, and a second melt takes ten minutes while the pot is already hot. Store the extras in a paper bag, not plastic. Plastic traps the scent and softens the wax.
8. Tie a Dried Herb and Wheat Swag
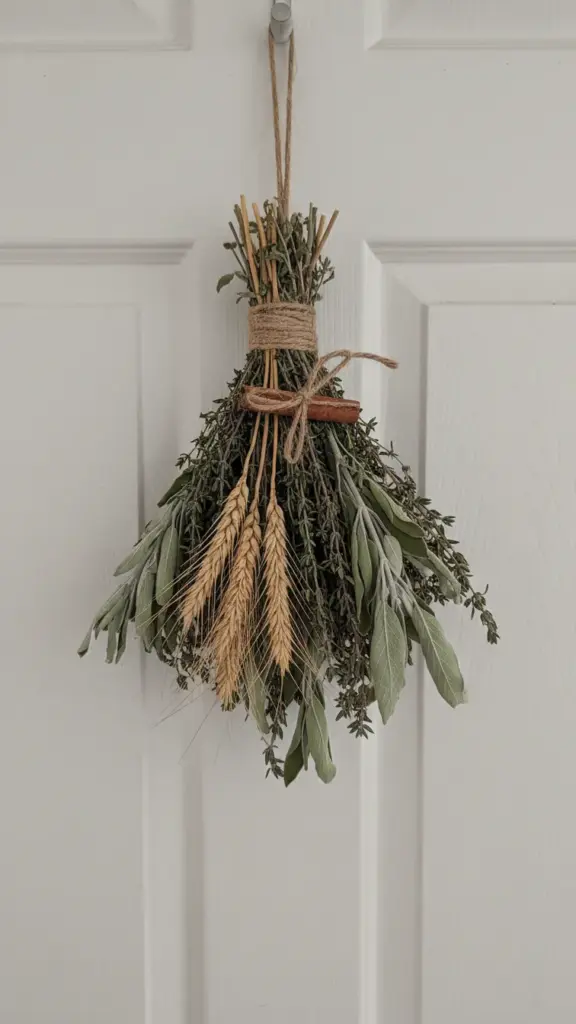
Cut dried sage, thyme, and oregano into 8-inch stems, then add 5 wheat stalks for height. Lay the bundle flat with the stems aligned, and bind the base tightly with twine, wrapping 2 inches up the stems. Tie a loop for hanging. The swag belongs on a pantry door, where the scent earns its keep. Tuck a cinnamon stick into the binding before the final wrap. It perfumes the whole swag and gives the twine something to grip. Replace the swag each Thanksgiving. Last year’s hangs on until it looks tired, and tired is the moment it should have come down. Hang it in sun and the herbs bleach. Hang it in steam and they soften. A swag that sheds every time the door moves was tied too loose.
9. String Pinecones and Dried Orange Slices into a Garland
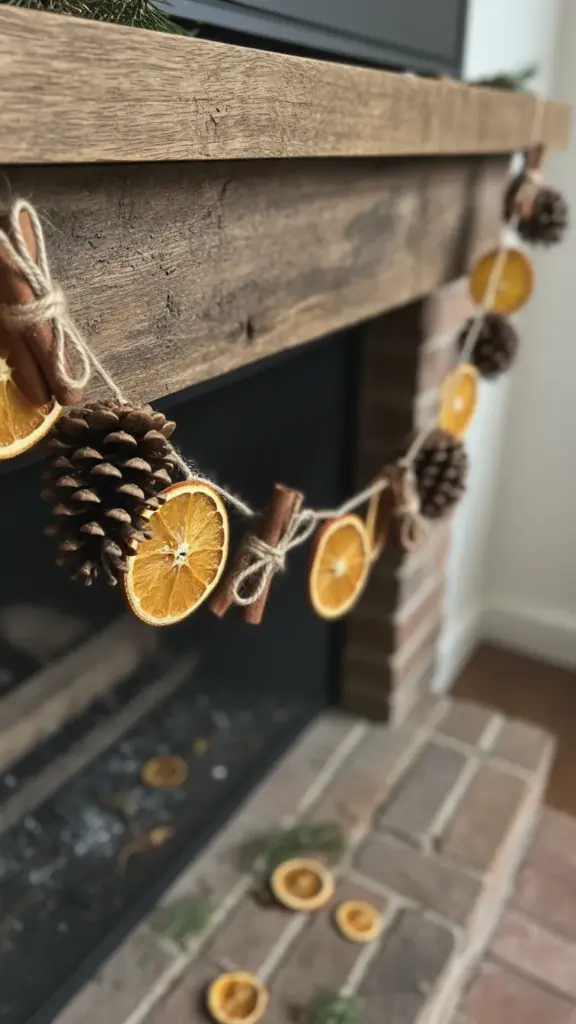
Slice oranges 1/4 inch thick. Dry the slices on a rack in a 200°F oven, flipping once, until the flesh turns translucent and stiff. Thread a needle with heavy twine. Alternate pinecone, orange slice, cinnamon stick, pinecone. Leave 3 inches between pieces so the garland drapes instead of clumping. Knot the twine on each side of every piece or the whole string slides downhill. Drape it across the mantel, not the tree. The tree gets bumped. The garland does not survive bumps. Dry twice the orange slices the garland needs. The dark-edged ones go into the potpourri bowl, and the curled ones become gift-top decorations. Nothing from the oven tray goes to waste.
10. Layer Dried Botanicals in Apothecary Jars
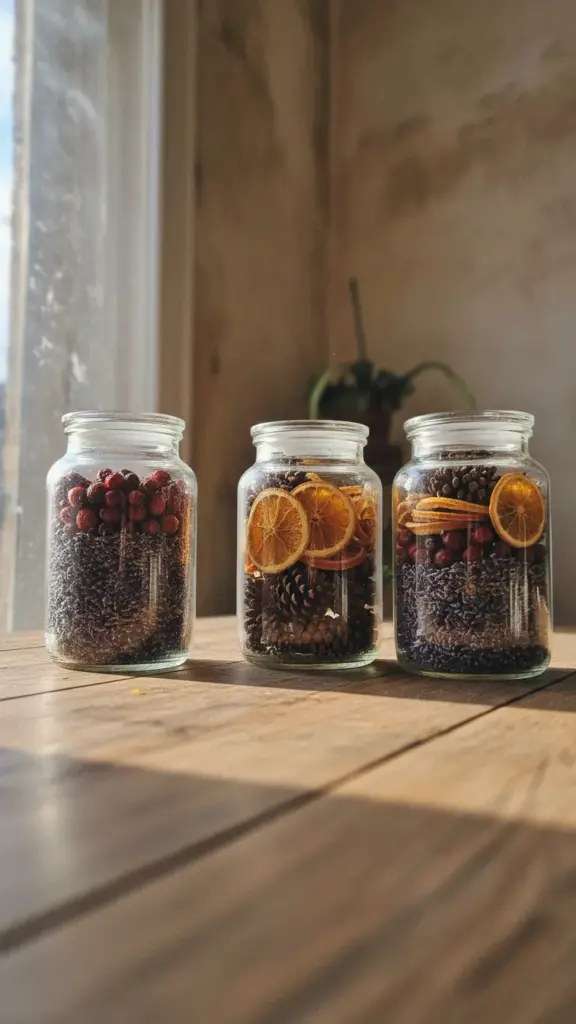
Fill the bottom of a glass jar with 2 inches of dried lavender buds. Add a layer of rose hips. Add a layer of small pinecones. Top with dried orange slices standing on edge. Do not shake. The layers are the design. Set the jar where afternoon light hits it. A layered jar hides a multitude of sins: broken heads, short stems, the lavender that dried too dark. Cap the jar if the house is dusty. Dust on dried lavender never comes off. Change the jar’s contents with the seasons. Winter gets pinecones and cinnamon. Spring gets the last of the dried lavender before the new harvest. One good apothecary jar serves all year, and the refills cost nothing.
11. Turn Pinecones into Place Card Holders
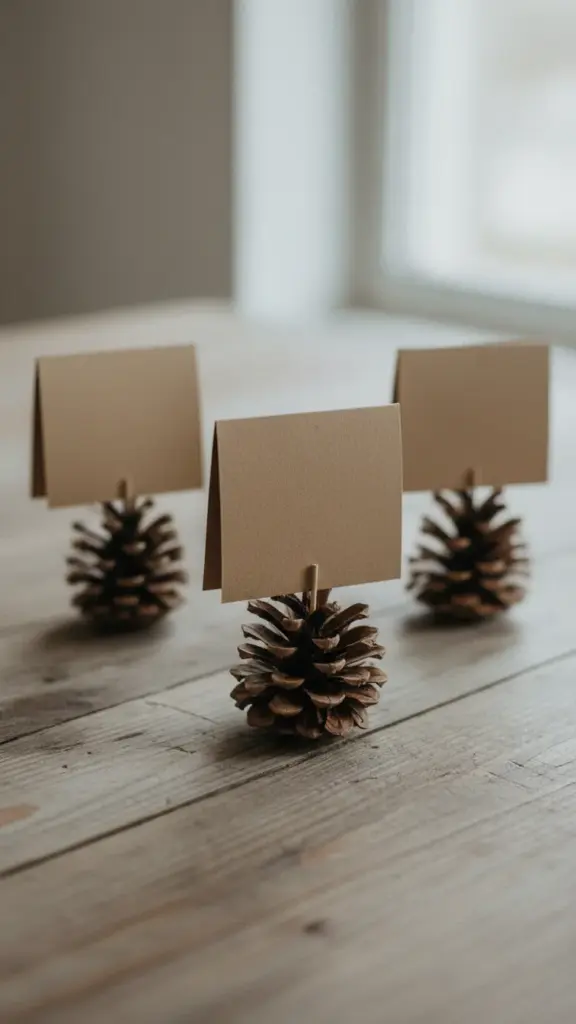
Pick 8 matching cones, 2 to 3 inches tall, fully open and baked. Stand each one tip-down. It should sit flat. If it wobbles, shave the tip with a craft knife until it does. Cut a 1-inch slit across the top, deep enough to grip a card. Slide in a folded kraft card with the guest’s name. The cone’s weight holds the card through dinner and through the toddler. A cone that rolls was never seated flat. Test every one on the table before the guests arrive. Write the names with a brown marker, not black. Brown reads as part of the rustic palette, while black shouts from across the table. Let the ink dry fully before sliding the card into the slit, or the cone’s edge smears it.
12. Hang Dried Flower Ornaments on Bare Branches
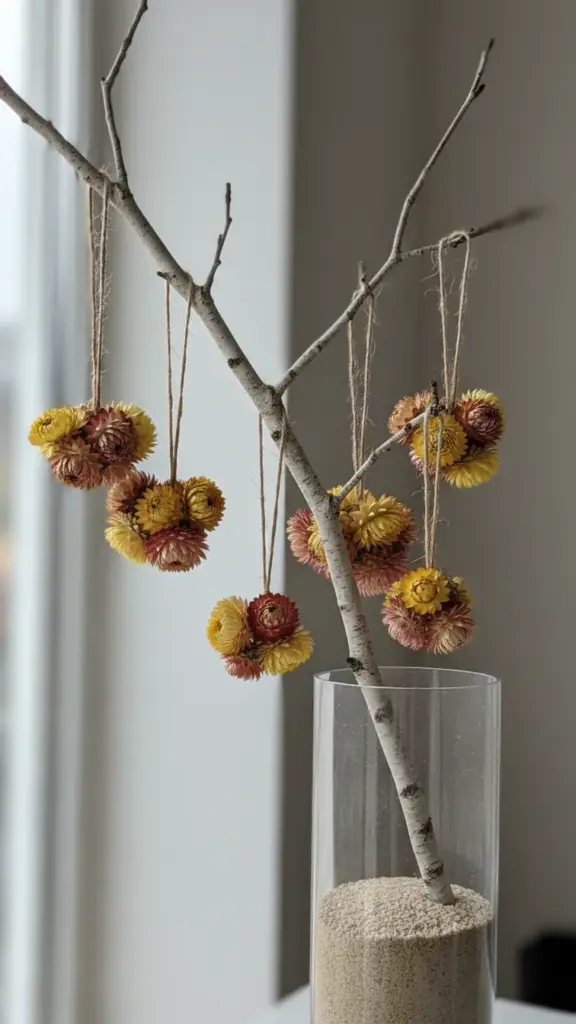
Cut a bare dogwood or birch branch to 3 feet. Anchor it upright in a tall vase filled with sand. Wire small bundles of dried statice and strawflower heads with 4-inch twine loops, then hang 9 bundles down the branch with the longest at the bottom. The branch becomes a Thanksgiving tree without a single store-bought ornament. Keep it away from the doorway, because every passing coat costs a petal. Weigh the vase base with clean stones under the sand. A top-heavy branch tips the first time someone brushes past it, and dried flowers do not survive the fall. The stones are invisible and non-negotiable. When a bundle shatters, the branch still looks intentional. That is the whole trick.
13. Mix Pinecone and Spice Potpourri
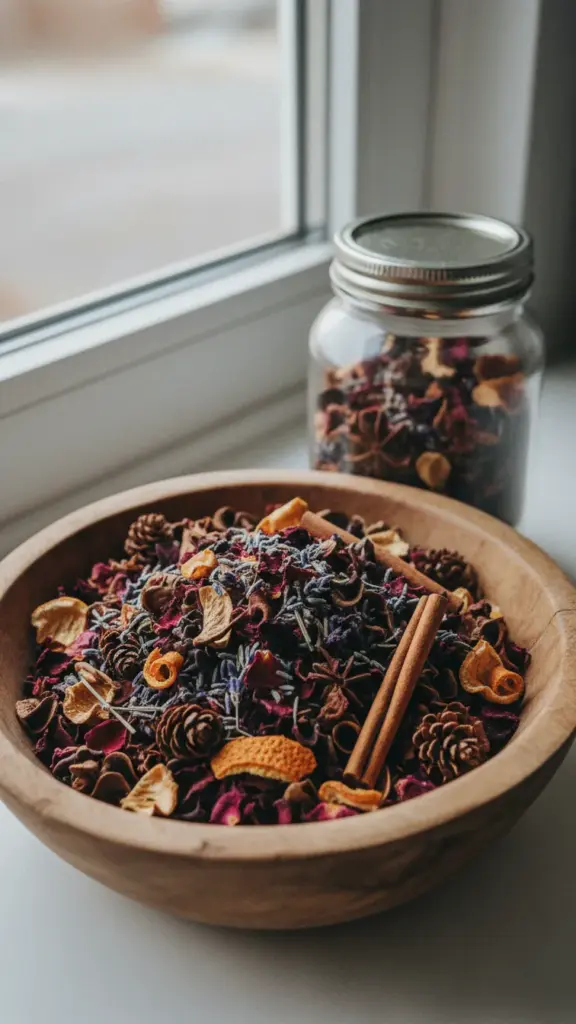
Combine dried rose petals, lavender buds, and marigold heads in a large bowl. Add small pinecones, dried orange peel, broken cinnamon sticks, whole cloves, and whole allspice. Nebraska Extension’s make-your-own potpourri guide lists exactly this kind of yard-and-kitchen mix and says to dry everything spread out, never piled, which takes a few days to a few weeks. Toss gently. Seal the mix in a jar for a week so the scent settles into every piece. Then pour into open bowls. A potpourri that smells of nothing was displayed too soon. Refresh a tired bowl with 5 drops of essential oil stirred through, not spritzed on top. Stirring carries the scent into every piece. Spritzing wets the top layer and spots the petals. One refresh buys the bowl another month.
14. Shape Pinecone Topiary Trees for the Mantel
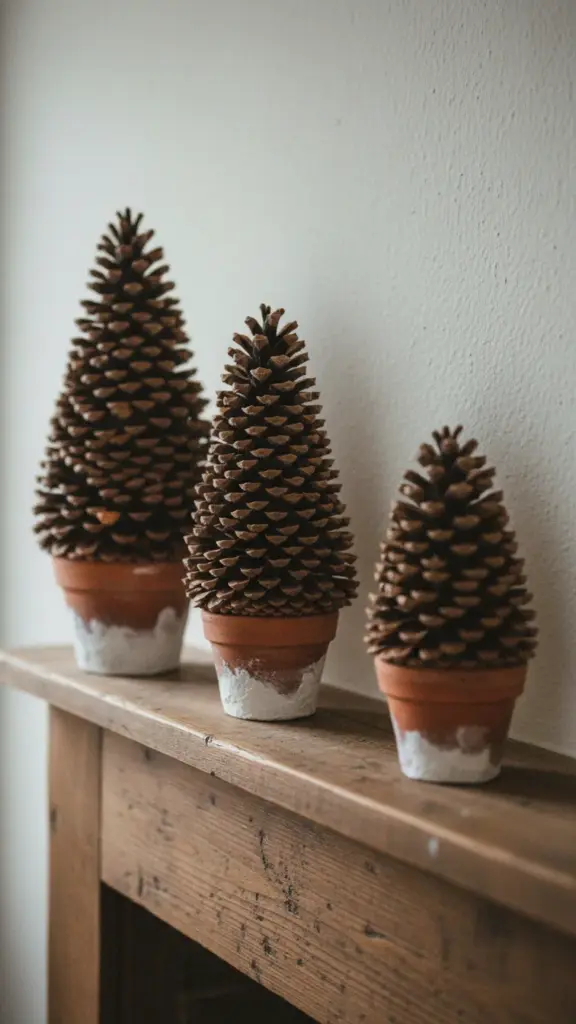
Fill a 4-inch clay pot with plaster of paris mixed thick. Push a 12-inch dowel into the center before it sets. Hot-glue baked pinecones to the dowel from the bottom up, largest at the base, smallest at the tip, until you have a cone shape. Let the glue cool between layers, because a rushed layer slides and the tree leans. Dust the finished tree with a dry brush. The plaster base means it survives the cat, which is more than anything else on this page can claim. Make the trees in graduated heights: 8, 10, and 12 inches of dowel. A trio on the mantel looks deliberate, while a single tree looks like it got lost. Vary the cone sizes across the trio so they read as a set.
15. Frame Pressed Flowers in a Shadow Box
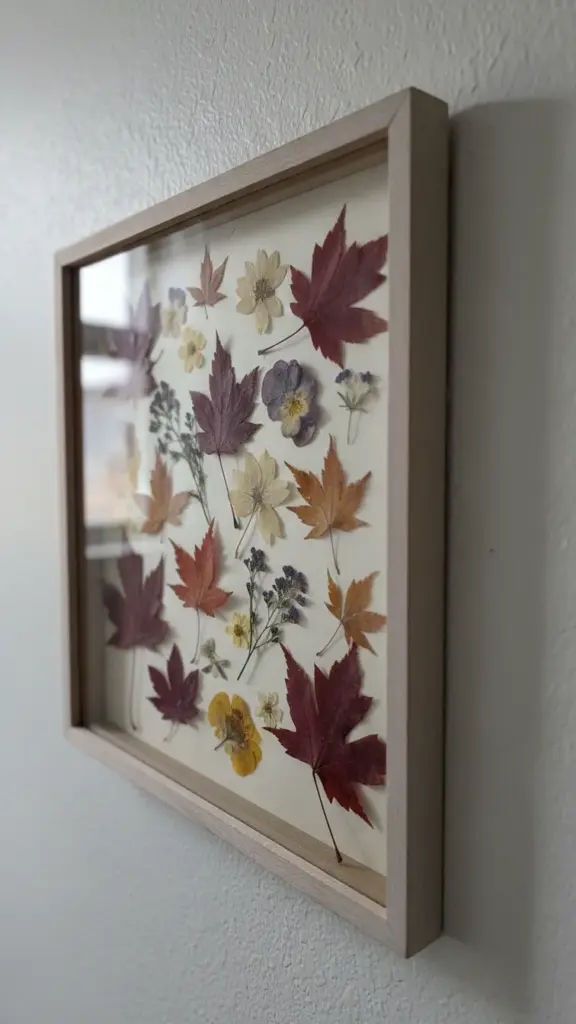
Lay your month-pressed leaves and flowers on the shadow box backing without glue first. Move them until the composition holds. Photograph the layout. Then glue each piece with a dot of acid-free adhesive, working from the back layer forward. Close the glass. Hang the box out of direct sun. Pressed color fades fast in a south window. A shadow box hung in a hallway looks the same in year three as it did on day one. Sign and date the backing board before you close the glass. Next November you will not remember which leaves came from which yard, and the date turns a craft into a record. Future you thanks present you.
16. Weave Dried Grasses into a Harvest Sheaf
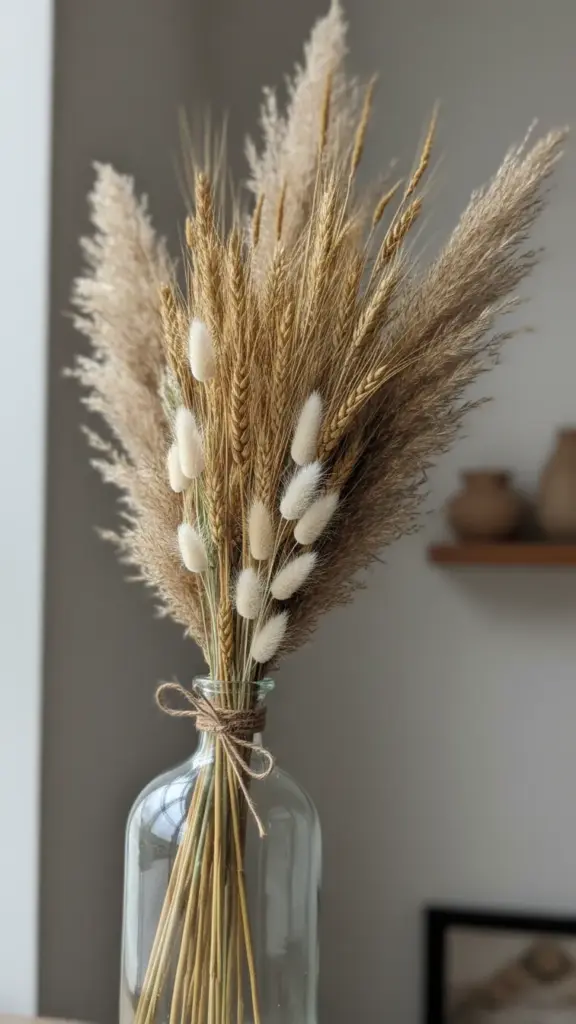
Gather 20 stems of dried pampas grass, wheat, and bunny tail. Align the heads at the top. Wrap the bundle 3 inches below the heads with twine, then wrap again 6 inches lower. Fan the stems at the base so the sheaf stands in a tall vase. Spray the heads lightly with hairspray to stop the shedding. The spray is the difference between a sheaf and a floor covered in fluff. A sheaf that leans was wrapped once. Wrap it twice. Stand the finished sheaf in the vase before the party, not during. Grasses settle in the first hour and the fan loosens. A quick re-wrap after settling holds for the whole evening. Check it once more after the guests leave.
17. Sew Scented Pinecone Sachets for Drawers
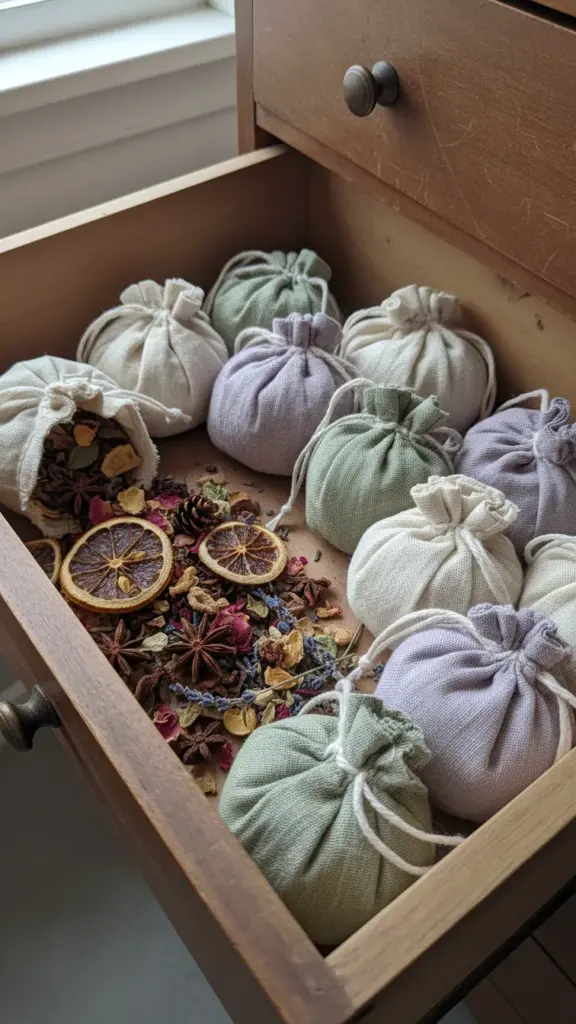
Cut two 6-inch fabric circles and spoon 2 tablespoons of the potpourri mix into the center of each. Gather the edges and tie with an 8-inch ribbon. Tuck one sachet into each dresser drawer and one into the linen closet. The scent lasts months inside a closed drawer. Refresh with 3 drops of essential oil when it fades. A sachet in an open room does nothing. The closed drawer is the whole mechanism. Make the sachets an assembly line: cut all the circles first, fill them all, then tie them all. The rhythm keeps the fill amounts even. Twelve sachets cover every drawer in the house with two left for the car.
18. Ring LED Pillars with Pinecones and Berries
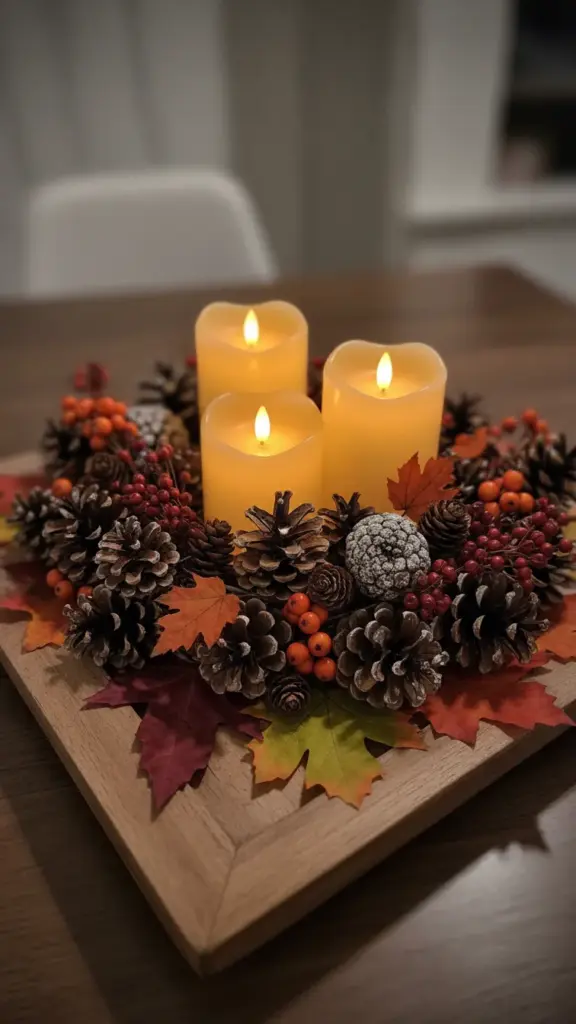
Set 3 LED pillar candles of different heights on a wooden tray. Ring each base with baked pinecones, dried berry sprays, and a few pressed leaves. No open flame ever touches this arrangement. Dried botanicals catch in seconds, and a pinecone is a bundle of kindling wearing a costume. Skip real flames. The LED pillar flickers the same. A guest who cannot tell the difference is the point. Hide the LED’s plastic base under a collar of moss. The moss covers the giveaway seam where the fake meets the tray. Guests see flame-colored glow and pinecones. They never look closer, and closer is the only place the trick lives.
19. Wrap Gifts with Dried Flowers and Twine
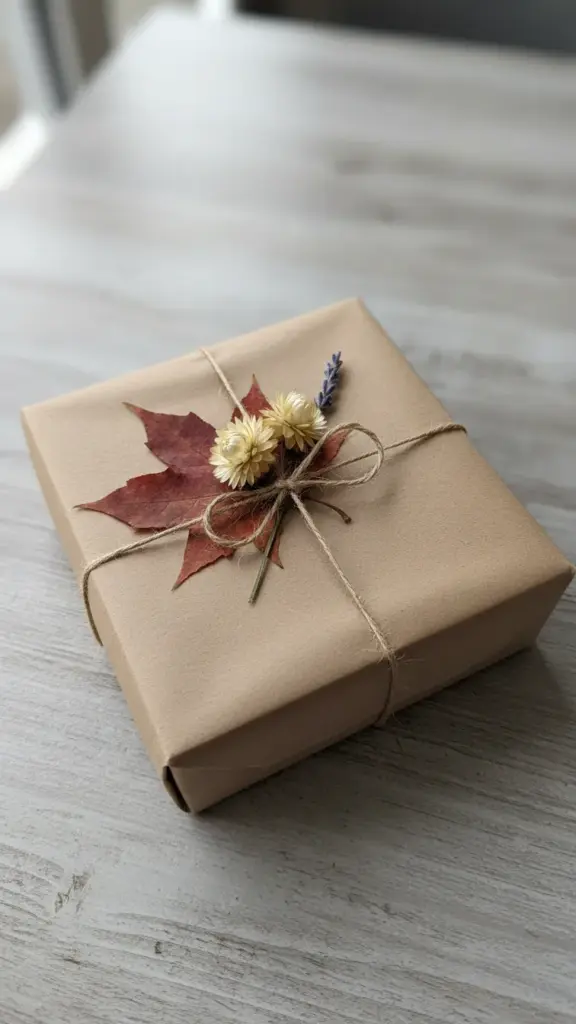
Wrap the box in plain kraft paper. Lay a pressed leaf and two dried strawflower heads on top. Wrap twine around the box three times and knot it over the flowers. Tuck a sprig of dried lavender under the knot. The whole decoration costs nothing and outclasses any gift bag. Tape the flowers down first if the gift travels. A flower that arrives in the recipient’s car footwell decorated only the wrapping paper. Match the flower to the recipient. Lavender for the cook, strawflower heads for the gardener, a pressed oak leaf for the one who rakes. The tiny personal code costs nothing extra and gets noticed every time.
20. Pack Every Craft Away for Next November
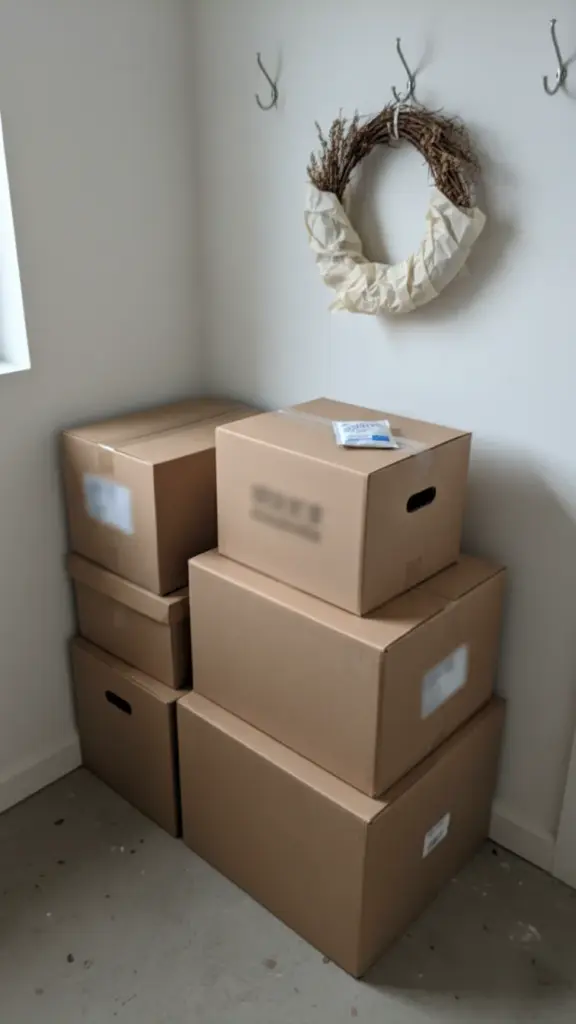
Wait until everything is bone dry. Wrap wreaths in tissue and hang them on hooks, never stacked. Box pinecone crafts with crumpled paper between layers. Toss a silica gel packet into each box. Label every box with the year. Then start next year’s supply: seed starting steps in late winter give you strawflowers and statice bred for drying. A craft stored damp is a craft composted. The label is what makes next November easy. Photograph each finished project before it goes into the box. The photo becomes next year’s shopping list of what to grow, dry, and bake. Tape the photo to the outside of the box. Future November starts with pictures, not guesswork.
Thanksgiving Crafts for Adults FAQ
How Long Do Dried Flowers Last?
Years, if you keep them dry, dust-free, and out of direct sun. Purdue’s preserving guide notes that dried plant materials last almost indefinitely when done carefully and need very little care. The enemies are humidity, which brings mold, and sunlight, which bleaches color. A wreath in a dark hallway outlives one in a sunny window by years.
Can I Use Pinecones I Found on the Ground?
Yes. Ground cones are the whole supply. Shake out the debris, bake them until fully open and dry, and they are as good as any you would buy. Skip cones that are crumbling or half-eaten. A cone that falls apart in your hand will not survive the glue gun.
Are Dried Botanicals Safe Near Open Flames?
No. Keep every dried flower, pinecone, and grass at least 3 feet from open flames, and never build them into a real-candle arrangement. Item 18 exists for exactly this reason: LED pillars give the flicker without the kindling. A dried hydrangea head ignites faster than newspaper.
When Should I Start Thanksgiving Crafts?
Work backwards from Thanksgiving. Pressed leaves need about a month. Air-dried flowers need two to three weeks. Silica gel finishes in days, and pinecones need a single afternoon. Start pressing and air-drying in early October, build through November, and keep one weekend free for repairs. A craft started the week of Thanksgiving gets bought at the store.
Start Drying This Weekend
Twenty projects, one tote of tools, and three weekends. That is the whole plan. Cut the flowers before the first hard frost, bake the cones while the oven is already warm, and press the leaves in the book you never finish. By Thanksgiving the house carries the garden in every room, and none of it came from a store shelf. Start with the silica gel tonight. The clock is already running.