You missed the traditional autumn window, didn’t you? You’re looking at your empty garden beds in March or April, feeling that familiar pang of gardener’s guilt because you didn’t get your bulbs in before the frost. It’s frustrating to think you have to wait an entire year just to enjoy the sharp, unmatched flavor of homegrown garlic, especially when you have a busy full-time job and your gardening time is precious.
But I’ve been there too, and I have some fantastic news for you. That nagging feeling that you’ve totally missed the boat? It’s wrong. You can still salvage your season. By adjusting your approach and using a few specific techniques, planting garlic in spring can yield a successful, albeit slightly smaller, summer kitchen staple. Let’s look at how we can turn your “late start” into a rewarding weekend project that doesn’t demand hours of your time every day.
The Refrigerator Trick: Simulating Winter for Your Cloves
If you are just getting started now, the primary challenge is biology. Garlic needs vernalization—a mandatory cold period to trigger the internal “switch” that tells the bulb to divide into individual cloves. Without it, you get “rounds”—single, undivided bulbs that look and taste like garlic onions. I remember my first spring attempt resulted in dozens of rounds; I didn’t know the trick! To fix this, you must simulate winter using the “refrigerator hack.”
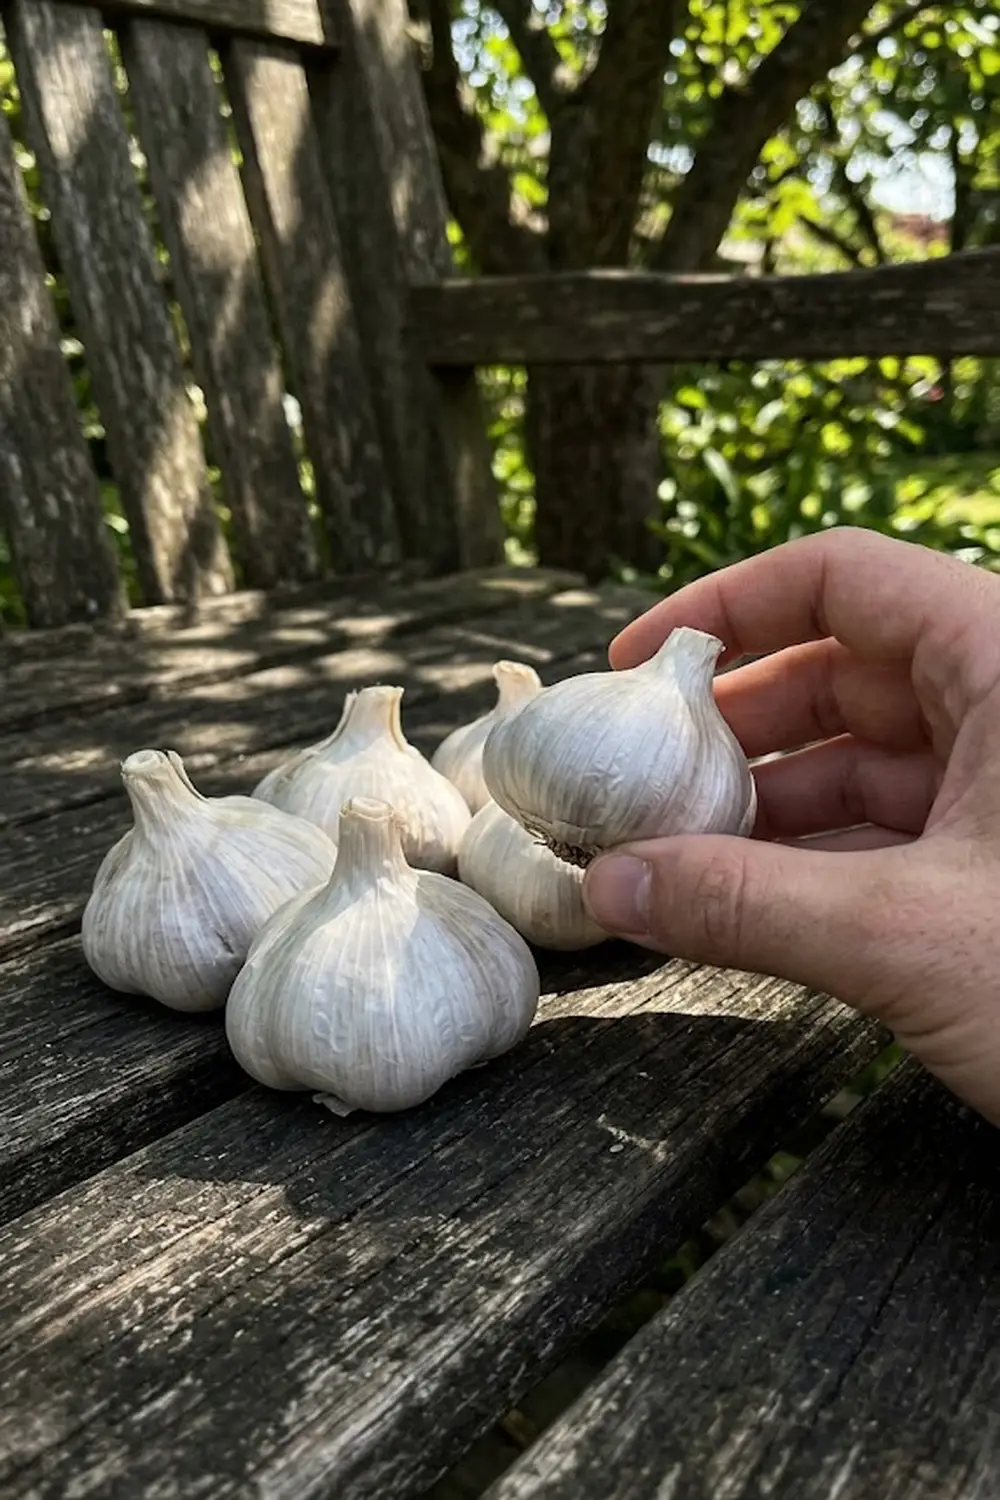
When I have to spring-plant, I immediately put my seed garlic in the crisper drawer. This controlled environment mimics the freezing ground, initiating necessary chemical changes.
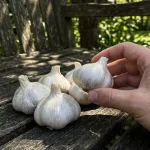
Keep your seed cloves—always use certified, disease-free seed garlic rather than supermarket cloves which are often treated to prevent sprouting—in a paper bag for 4–8 weeks before your planned planting garlic in spring date. The paper allows airflow. A critical bit of plant care info: keep them away from apples or bananas, which release ripening gases that can damage the cloves.
| Vernalization Period | Expected Clove Formation | Why? |
| 0 Weeks (No Cold) | High risk of Single “Round” Bulb | No biological trigger to divide the bulb into segments. |
| 4 Weeks | Partial Clove Formation | Some differentiation; reasonable result for late starts. |
| 6-8 Weeks (Ideal) | Good Clove Differentiation | Simulates a full, though short, winter season. |
Choosing the Right Variety: Why Softnecks Win in Spring

You need to know that not all garlic responds the same way when the clock is ticking. Your choice of variety is perhaps the single most important factor for a spring session. I have trialed both main types for late planting, and the difference in output is dramatic.
Softneck Varieties are your best friends for planting garlic in spring. Generally hailing from warmer climates, they have significantly lower cold requirements. They also grow faster than hardnecks.
- Silverskin: Excellent storability; a classic choice for braiding.
- Artichoke: Robust and vigorous; large, irregular cloves.
Hardneck Varieties, conversely, are very stubborn. They require intense, prolonged cold to form their signature central stem (the scape). If you plant a hardneck in warm spring soil without extensive fridge time, you are almost guaranteed to get only a “round.” I generally avoid hardnecks for spring starts unless I live in a very cold northern climate where spring arrives extremely late.
By utilizing certified softneck seed garlic and providing it with that crucial fridge time, you provide the best protection against crop failure. Your goal is smart management rather than luck.
Soil Management: Prepping the Bed for Fast Growth
You have to remember that planting garlic in spring drastically shortens the plant’s growing timeline. In the fall, garlic has months to establish a massive root system before top growth begins. For a spring start, the garlic must accomplish root establishment and leaf production simultaneously—in a fraction of the time. This means the soil needs to be “rocket fuel” from day one. You can’t rely on slow-release nutrients; you need to provide immediate fertility.
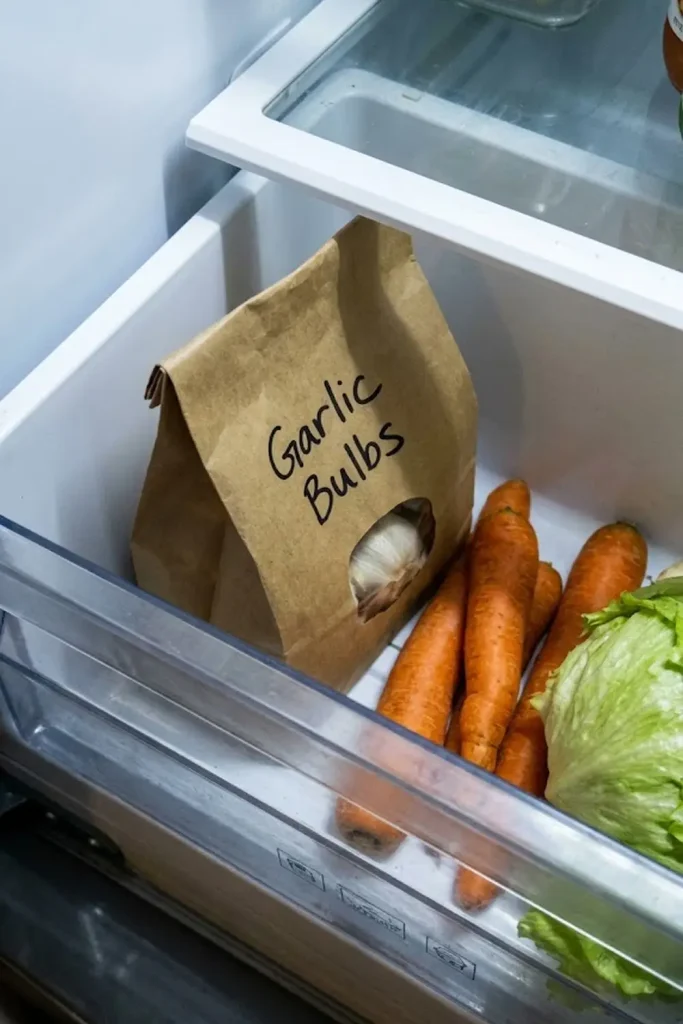
I always begin my soil prep the moment the ground can be worked. Your primary goals are excellent drainage and immediate nutrient availability. This is not the time for heavy clay or compacted earth.
The Spring Garlic Soil Plan
- Drainage and Prevention: Ensure your location drains flawlessly. Wet spring soil is a death sentence, increasing the risk of root rot disease. In heavy clay areas, I recommend a raised bed to control moisture levels.
- Amending for Fast Growth: Forget standard “slow” amendments. Thoroughly incorporate aged compost or a balanced organic fertilizer (like a 5-5-5) directly into the planting row. This provides the fast-acting nitrogen that spring leaves crave.
- Soil Texture Control: Break up any large clods or obstructions. You are aiming for loose, friable soil that roots can penetrate with zero resistance.
You’ll know your soil is ready when you can easily plunge your trowel in up to the handle. If you struggle to dig, your garlic will struggle to swell. Proper soil preparation is the most effective form of plant care you can provide at this stage.
Spacing and Depth: Giving Your Bulbs Room to Breathe
With limited time to grow, you cannot afford to crowd your garlic. Proper placement is your best biological protection against stunted, tiny bulbs. In a spring session, the plants do not have the time to fight each other for resources.
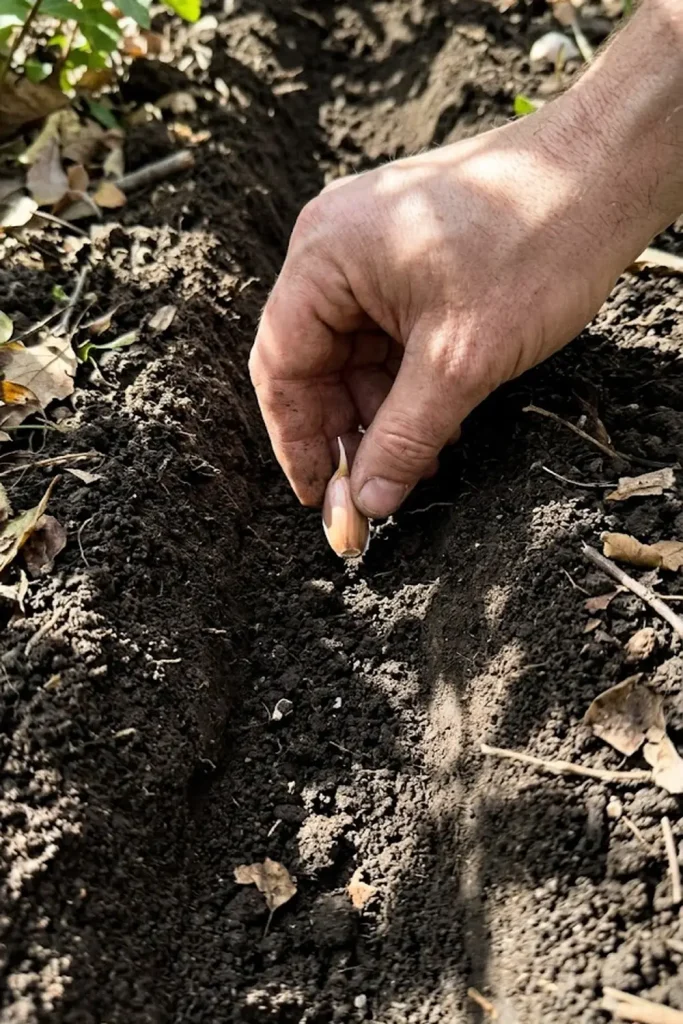
Fall-planted garlic is often placed slightly deeper (3–4 inches) to protect it from extreme frost heaving. However, for your spring session, you must plant slightly shallower. I recommend a depth of exactly 2 inches from the soil surface to the top of the clove. This slightly warmer zone encourages faster sprouting, which is crucial.
For spacing, you have to find the perfect balance. You can push fall garlic closer together because the vast root system can support it. But your spring garlic needs more elbow room to maximize what little growth time it has. I suggest spacing the cloves 5–6 inches apart in the row, with rows 10–12 inches apart. Crowded spring garlic will invariably result in tiny, undivided “rounds” or very small multi-clove bulbs. Effective management means giving each plant its own dedicated zone for fast-tracking development.
Watering and Nutrition: The Spring Growth Sprint
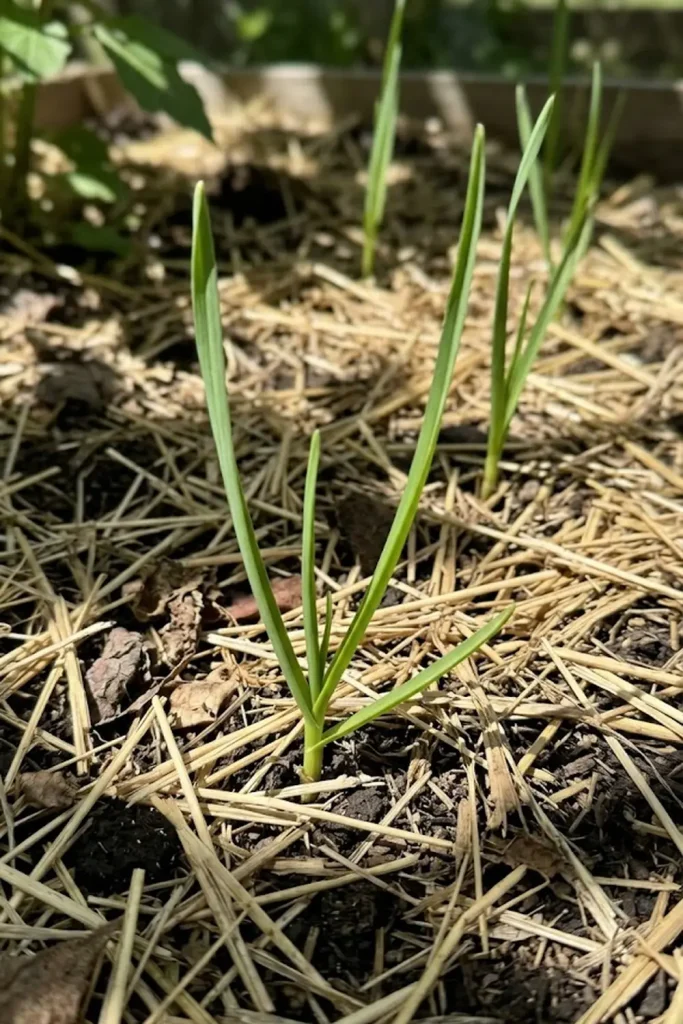
Once those first beautiful green shoots appear, your plant care routine shifts entirely. For planting garlic in spring, this phase is a high-speed sprint. Fall garlic bulbing is triggered by the arrival of the longest day of the year (summer solstice), regardless of when it was planted. This means your spring plants have very little time to grow their “solar panels”—the leaves—before the plant stops making leaves and starts swelling the bulb.
You can’t afford a single day of stress. Stress from drought or lack of nutrients will cause the plant to hesitate, and in a spring session, hesitation is death to bulb size.
- Moisture Management: You have to provide consistent, even moisture. The soil must never dry out completely, but it also cannot be soggy, which would invite disease. If you get less than an inch of rain a week, you must supplement. A light mulch of straw or shredded leaves is essential now; it helps control soil temperature and moisture loss, reducing your total workload.
- Feeding for Leaves: Because the clock is ticking, you need to “force” leaf growth immediately. As soon as sprouts are 3–4 inches tall, apply a fast-acting liquid nitrogen feed (like fish emulsion or a urea-based fertilizer). Repeat this every 10–14 days. This is the only way to get enough leaf mass before the solstice bulb trigger.
Remember that every single leaf you force the plant to grow now translates directly to a larger wrapper layer on the final bulb. Maximum leaves = maximum bulb potential. Your entire focus until mid-June must be on leaf production. Stop all nitrogen feeding after June 1st; late feeding will encourage more leaves instead of bulb swell, defeating your purpose.
Weed Control: Eliminating the Competition
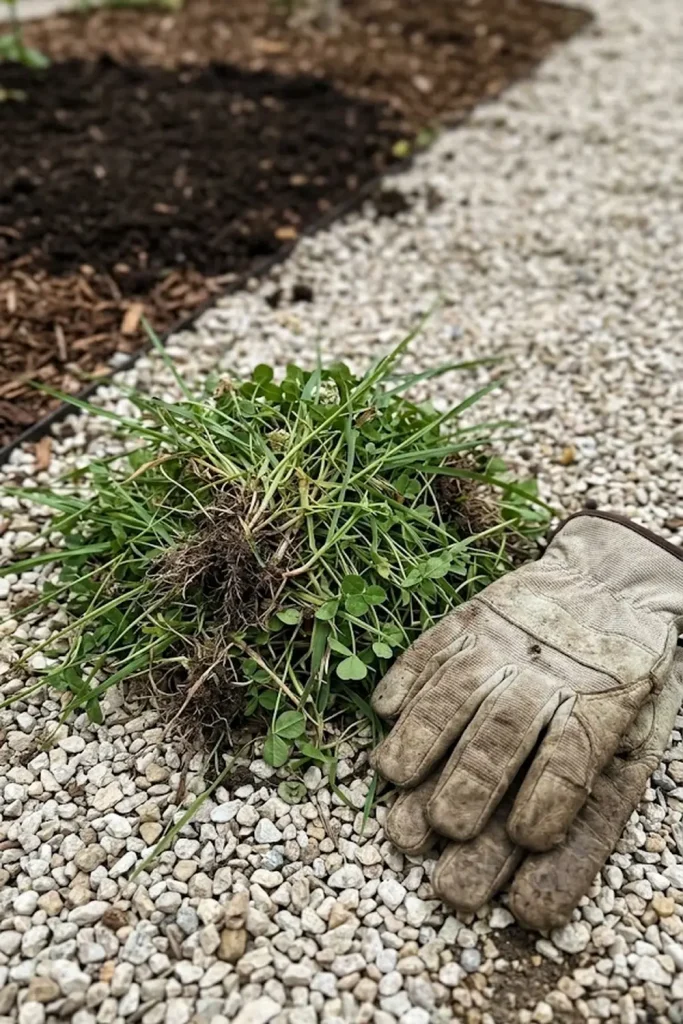
You must realize that garlic is not a fighter. It is a poor competitor when it comes to resource acquisition, meaning every single weed that pops up in your garlic patch is actively stealing the precise plant care ingredients—water, light, and nutrients—that your spring bulbs so desperately need to maximize their size. In a traditional fall planting, you have months where the soil is too cold for significant weed growth. With planting garlic in spring, your cloves are hitting the dirt precisely when every dormant weed seed is ready to explode.
I often use my 10-minute “weed-and-decompress” session after a long day at the office to manage this. Hand-weeding is essential, but it must be done with extreme precision. The biological root structure of a spring-planted clove is significantly shallower than a fall one, making it highly susceptible to damage. Mechanical hoeing or careless pulling will tear the very roots that are fueling your bulb development sprint.
To maintain perfect management over your crop, your best line of defense is protection by prevention.
My strategy relies 90% on a thick, dense layer of clean straw or shredded leaves. I apply this natural barrier immediately after the garlic sprouts emerge 3 inches. This mulch drastically reduces weed seed germination and moisture loss, providing stable ground temperatures. A handful of straw gives you better weed control than hours of back-breaking labor.
Knowing When to Harvest the “Spring Experiment”
You need to know that your spring session timeline shifts significantly compared to a traditional fall crop. Fall garlic is usually harvested around the fourth of July. But your experiment? You are likely looking at a harvest window that doesn’t open until late August or early September. The worst thing you can do is harvest too early, missing that last, essential biological swell.
The signal for planting garlic in spring is the same as the fall, just delayed: watch the leaves. Every leaf on the garlic plant is a proxy for a protective wrapper layer on the final bulb. For perfect management, you must harvest when the maximum number of cloves are fully developed but before the overall bulb begins to “unzip”—lose those protective skins.
I use a careful visual check to avoid this critical mistake.
Don’t just guess; use the observation method:
- Count the Leaves: When the lower two or three leaves turn completely brown and dry, stop watering. This is crucial for disease management as it cures the bulbs in situ.
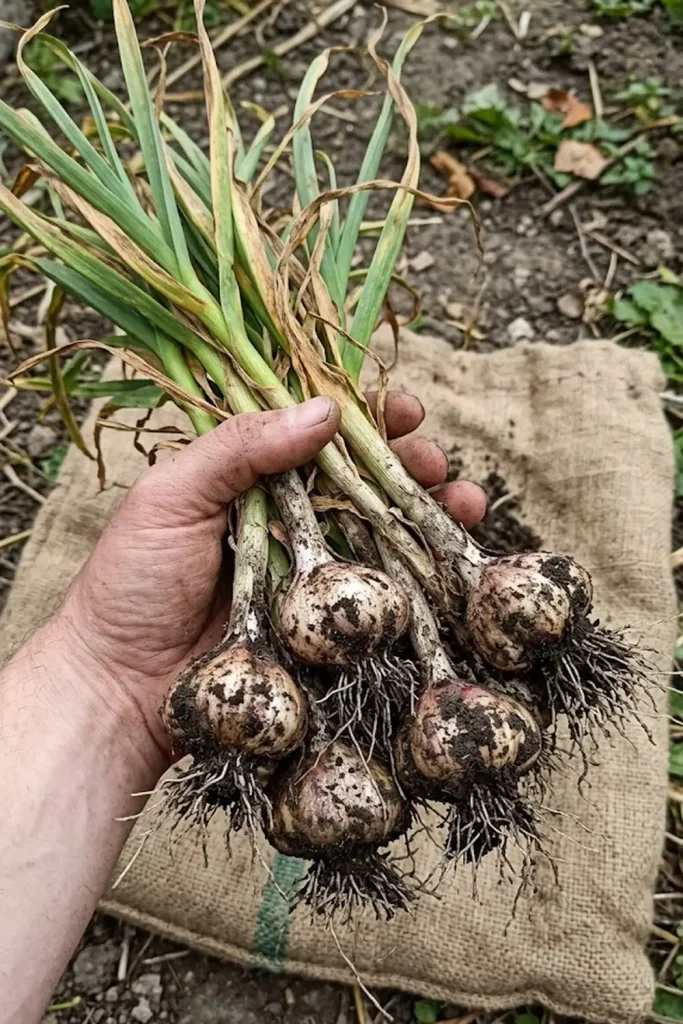
- Visual Confirmation: After a final dry-down week, carefully pull back the mulch and soil from around one bulb to control for development. If you can distinctly feel the individual cloves bulging through the wrappers, it’s time to dig.
- Handle With Care: Dig them up gently with a garden fork. Let them cure out of direct sunlight but with plenty of airflow (e.g., hanging in a shaded garage or breezeway) for 2 weeks before trimming.
I have summarized the biological differences in this comparison table for your quick reference:
| Feature | Autumn-Planted Garlic | Spring-Planted Garlic | Why the Difference? |
| Vernalization | Natural, in-ground (4–6 months) | Simulating (4–8 weeks in fridge) | Spring lacks sufficient natural cold hours. |
| Root Growth | Massive development before top growth | Root & leaves grow simultaneously | Spring garlic has a compressed timeline. |
| Bulb Size | Potentially very large (multi-clove) | Typically smaller to medium | Fall plants have more sunlight “charging” days. |
| Harvest Time | Mid-Summer (July) | Late Summer/Fall (August–September) | Spring plants need 6–8 more development weeks. |
| Flavor Profile | Intense, complex, varietal-specific | Sharp, bold, often superior | Stress often concentrates allicin compounds. |
Frequently Asked Questions (FAQ)
Can you plant garlic in spring without cold treatment? Technically yes, but the result is usually a “round”—a single solid bulb that looks like an onion. While edible, it won’t have the classic cloves we love.
How long to refrigerate garlic before planting in spring? For the best results, aim for 6 weeks. This ensures the biological “switch” is flipped, allowing the bulb to divide properly once it hits the warm spring soil.
What is the best way to ensure big bulbs? Focus on early-season nitrogen and consistent moisture. Because the plant has less time to grow, every day of nutrient availability counts.
Is spring-planted garlic harder to grow? Not necessarily! It just requires a bit more “front-end” work with the refrigerator. For a busy gardener, it’s a perfectly manageable weekend project.