
4 to 5 years. That is how to grow white peony root from a bare-root division to a bai shao harvest: plant in autumn, give the plant four full seasons to build thick roots, then dig, peel, boil, and sun-dry the harvest into the pale, woody slices used in Traditional Chinese Medicine. Seed-grown plants take longer, usually five to seven years before the roots are worth digging. Everything else is detail. The timeline is the project. I have learned that patience here is not a virtue; it is the entire budget, and every shortcut on this page is about getting through it without losing the plants.
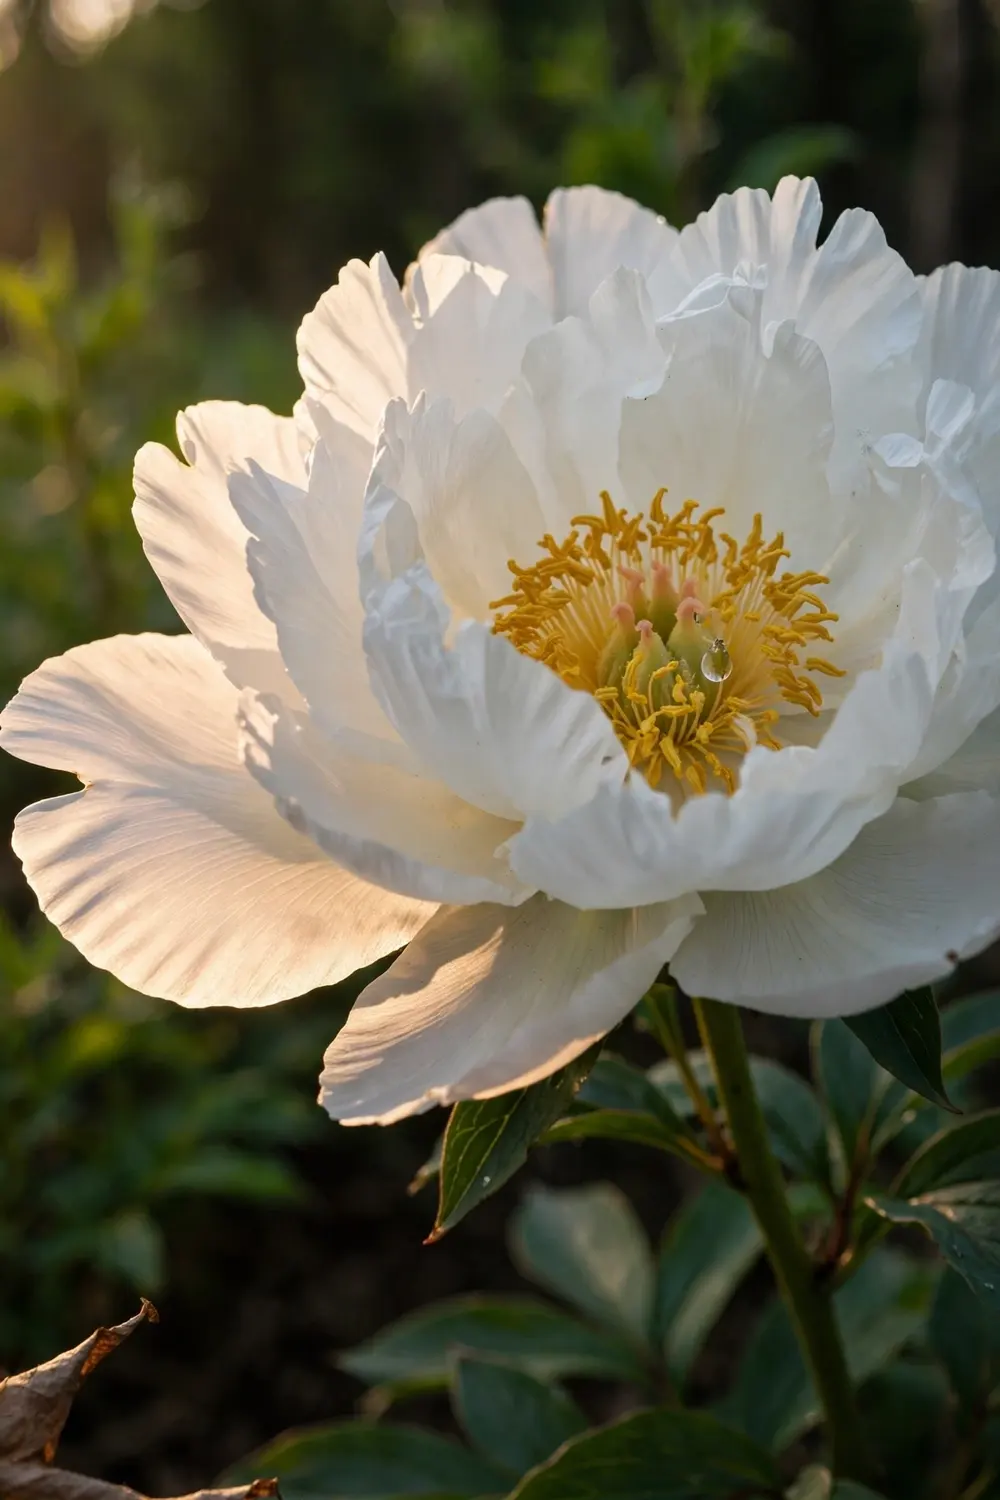
White peony root has a misleading name. The “white” does not describe the flower. Bai shao (白芍) is the peeled, boiled, and sun-dried root of cultivated Paeonia lactiflora, the Chinese herbaceous peony. Peeling removes the dark outer bark and leaves a pale surface, and that pale surface is where the name comes from. A plant with pink or red flowers produces the same white root as a white-flowered one, because flower color has nothing to do with it. The article below covers growing and processing only. It does not give medical advice, dosages, or treatment guidance.
Twelve steps take you from an empty bed to dried roots in a jar. The middle steps are the quiet ones, and the last two are where most beginners fail, so the harvest and processing sections get the full detail they deserve. If peonies are new to you as garden flowers, the ornamental peony flower guide is a good companion read for the bloom side of these plants; this guide stays on the root side.
1. Confirm Your Winters Are Cold Enough Before You Buy Anything
Paeonia lactiflora is a cold-country perennial. It grows best where winters bring a real, sustained freeze, because the plant uses winter cold as its reset switch and flowers poorly without it. Gardeners in mild-winter regions should skip this project: the plants survive but limp along, and a four-year wait deserves a plant that can actually perform. A practical test is simple. If your area grows tree fruit that needs winter chill, like apples or cherries, your winters are cold enough for peony roots.
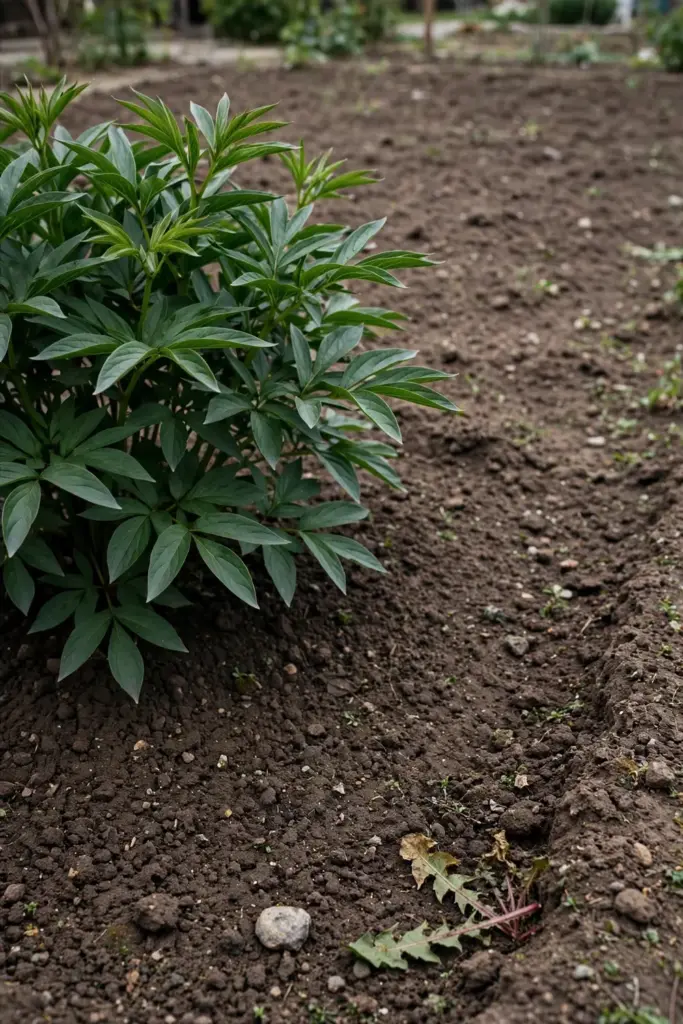
The site matters as much as the climate. Choose a spot with at least six hours of direct sun a day and soil that drains freely after rain, the same two conditions Iowa State’s horticulturists flag as the foundation of peony success. Avoid low spots where water stands in spring, because standing water rots the fleshy roots you are trying to grow. Pick the final spot with care: peony roots resent disturbance, and every move costs you a season of root growth. The hardiness zone map helps you place your winters on the map before you commit.
Give each plant room. Space plants about 3 feet apart so air moves between them, and keep them away from large trees and shrubs whose roots compete for water. Air circulation is not a footnote here. The diseases that threaten peonies travel on humidity and wet foliage, and a crowded, shady bed invites them.
2. Pick Your Starting Material: Bare Roots, Divisions, or Seed
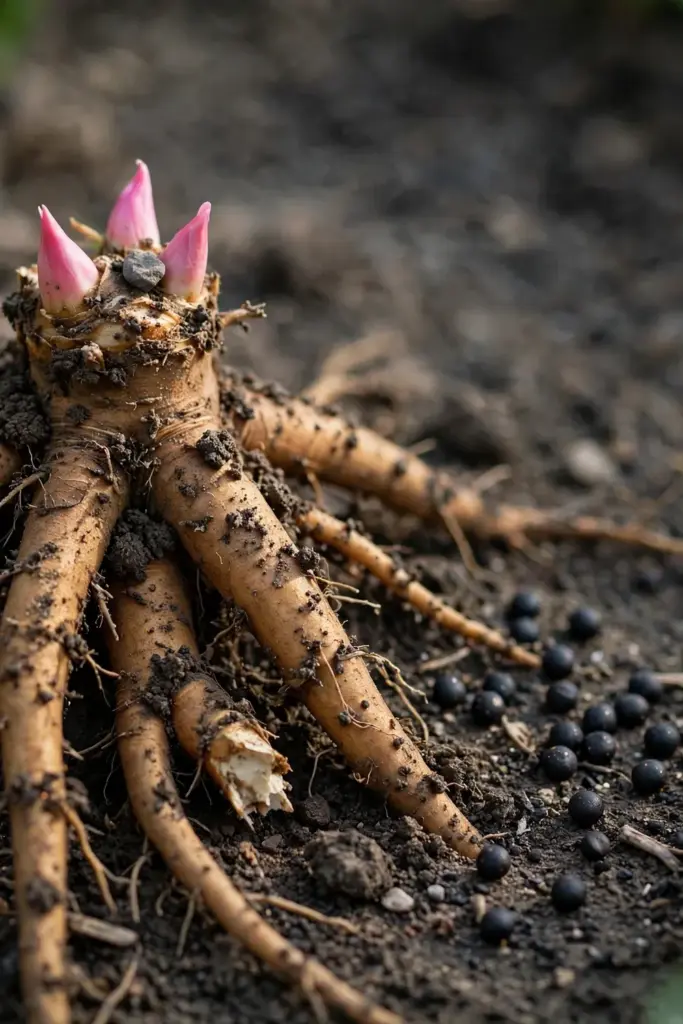
Bare roots are the honest shortcut. A bare root with three to five visible buds, called eyes, planted in autumn will flower in its second or third year and carry harvestable roots by year four or five. Divisions taken from an established plant in September behave the same way. Seed is the long road: expect five to seven years before the roots are worth digging, and accept that seedling plants vary while divisions are clones of the parent. Buy from nurseries that sell Paeonia lactiflora by its botanical name, and confirm the species if you want roots that match the traditional material. Decorative hybrids of other species also grow roots, but the processing tradition centers on Paeonia lactiflora.
| Starting Material | Years to Root Harvest | Effort and Cost |
|---|---|---|
| Bare root, 3 to 5 eyes | 4 to 5 | Moderate cost, simplest path |
| Division from a mature plant | 3 to 4 | Free if you know a grower, but requires digging carefully |
| Seed, stratified | 5 to 7 | Cheapest, slowest, plants vary |
Learning how to grow white peony root from seed is worthwhile only if you enjoy the experiment or want many plants cheaply. For most gardeners the bare root wins, because the four-year clock starts from a plant that already has a root system. Whatever you buy, label it. Four years is long enough to forget what went where.
3. Plant Bare Roots in Autumn, Eyes Up and Shallow
September is the best month for planting and dividing peonies in most temperate regions, because the plants go dormant in fall and the roots establish while the tops rest. Dig a hole wide enough to spread the fleshy roots without bending them, and deep enough to work with. Set the root so the eyes, the pinkish buds on the crown, sit 1 to 2 inches below the soil surface. This depth is the single most important detail of the whole planting: Iowa State’s horticulturists warn that buds planted deeper than 2 inches produce weak growth and poor flowering, and a plant that cannot flower well is usually a plant that cannot build good roots either.
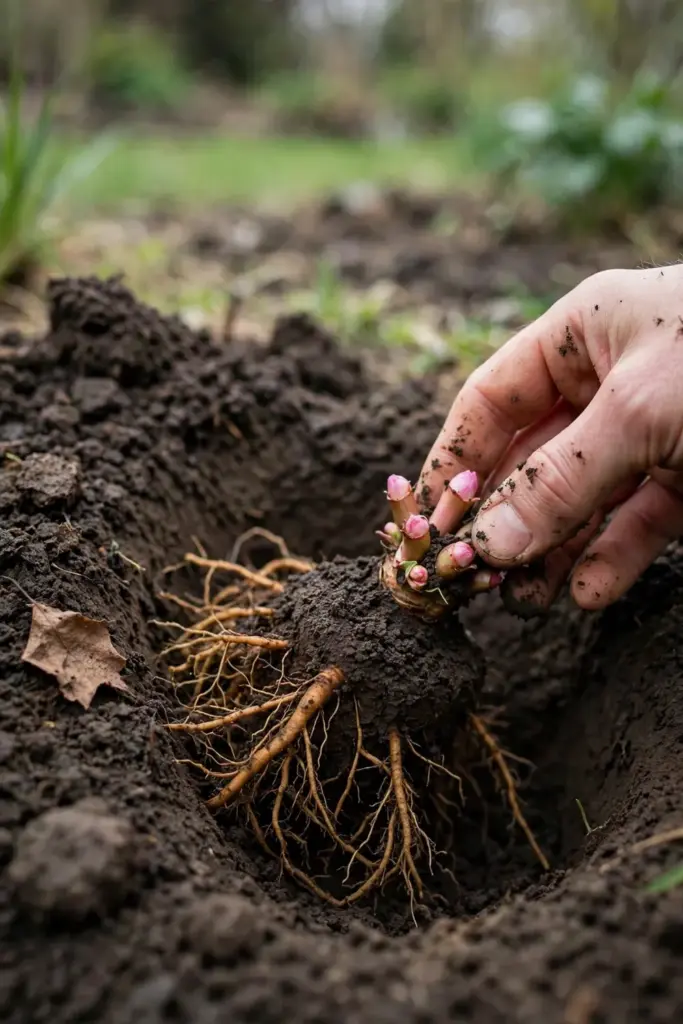
Backfill with soil, firm it gently around the roots, and water thoroughly to settle everything. Do not pile mulch over the crown afterward; a thick mulch layer buries the eyes deeper than you intended and re-creates the depth problem you just avoided. Each division should carry three to five eyes and a healthy chunk of root. Smaller divisions with fewer eyes can take two or more years just to flower, which stretches an already long project. Mark each planting with a tag that includes the date. You will check that tag in four years, and your memory is not reliable at that range.
4. Sow Seeds Through the Warm-Cold-Warm Double Dormancy
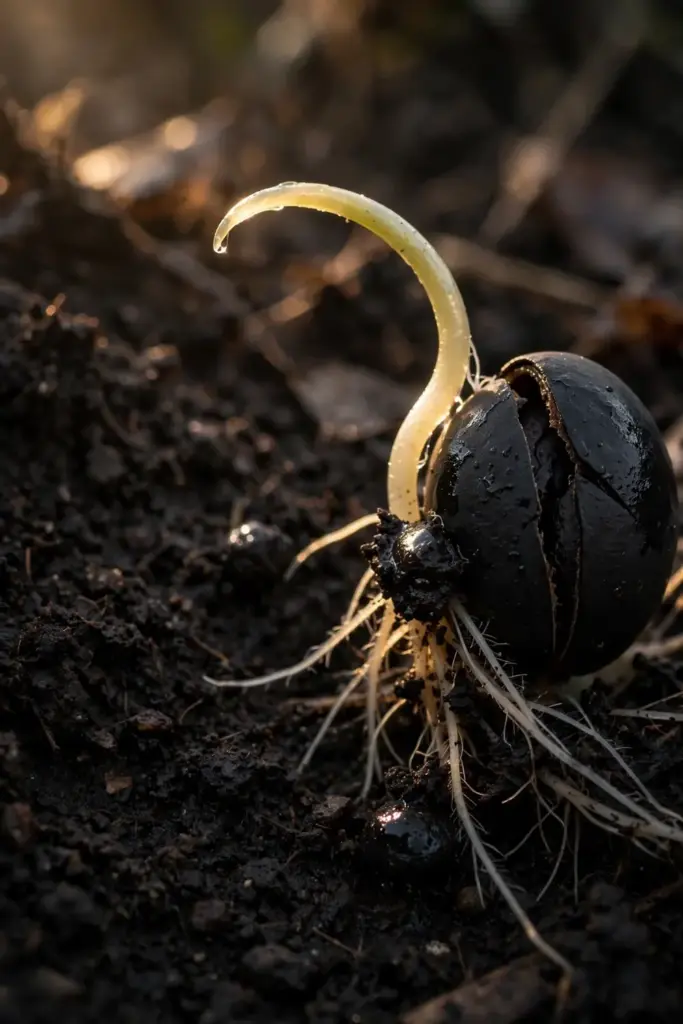
Paeonia lactiflora seed refuses to hurry. Each seed carries two separate dormancies that break in sequence: the root needs a warm period first, and the shoot needs a cold period second. The American Peony Society’s germination guide lays out the indoor method precisely: after harvest, seeds get a warm incubation at 70 to 75 °F, which produces the root; then a cold period of 60 to 90 days between 34 and 50 °F, with 42 to 45 °F as the most productive range, which breaks the shoot dormancy and sends up the first leaf.
| Phase | What to Do | How Long It Takes |
|---|---|---|
| Warm cycle | Bag fresh seed in damp medium at 70 to 75 °F | 1 to 3 months until roots form |
| Cold cycle | Move bagged seed to 34 to 50 °F | 60 to 90 days until shoots appear |
| First season | Pot up sprouted seed, grow one leaf | A single leaf, the plumule, in year 1 |
| Bloom | Grow on in the garden | 3 to 7 years, most in years 4 and 5 |
Outdoors, nature runs the same program. Sow fresh seed about an inch deep in gallon pots in autumn, leave the pots out through winter, and expect the first root in the following spring and the first leaf a full year after that. One seed seller documented a 494-day induction period from sowing to germination, which is a realistic expectation, not a failure. Sow ten seeds per gallon pot and do not fuss over them. The seed starting guide covers the potting and labeling routine that keeps a multi-year seed project organized.
A note on seed parents: peonies cross-pollinate freely, so seedlings are not identical to the mother plant. For a root harvest this does not matter much. It matters if you wanted named flowers, but this project does not care about flowers.
5. Nurse Seedlings Through the Lean First Two Years
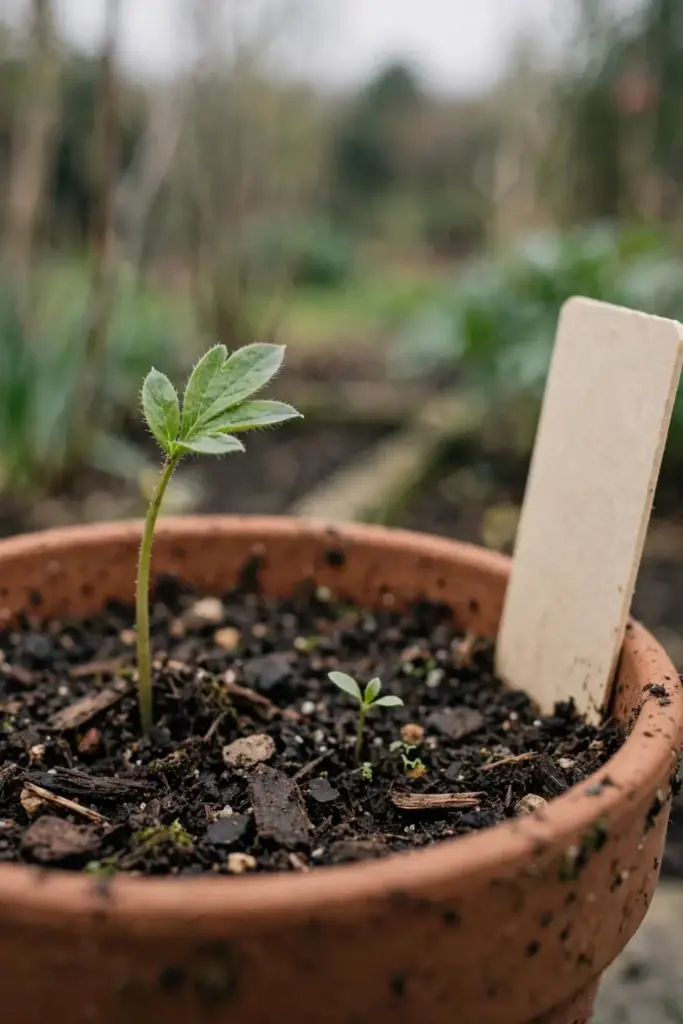
The first season’s growth is a single leaf. That is normal, not a sign of trouble. The seedling is building a root while showing you almost nothing, and the American Peony Society notes that some seedlings bloom in year three, most in year four, and the stragglers in year five. Root harvest follows flowering by a year or two, because a plant that cannot yet support a flower cannot yet spare a root system worth digging.
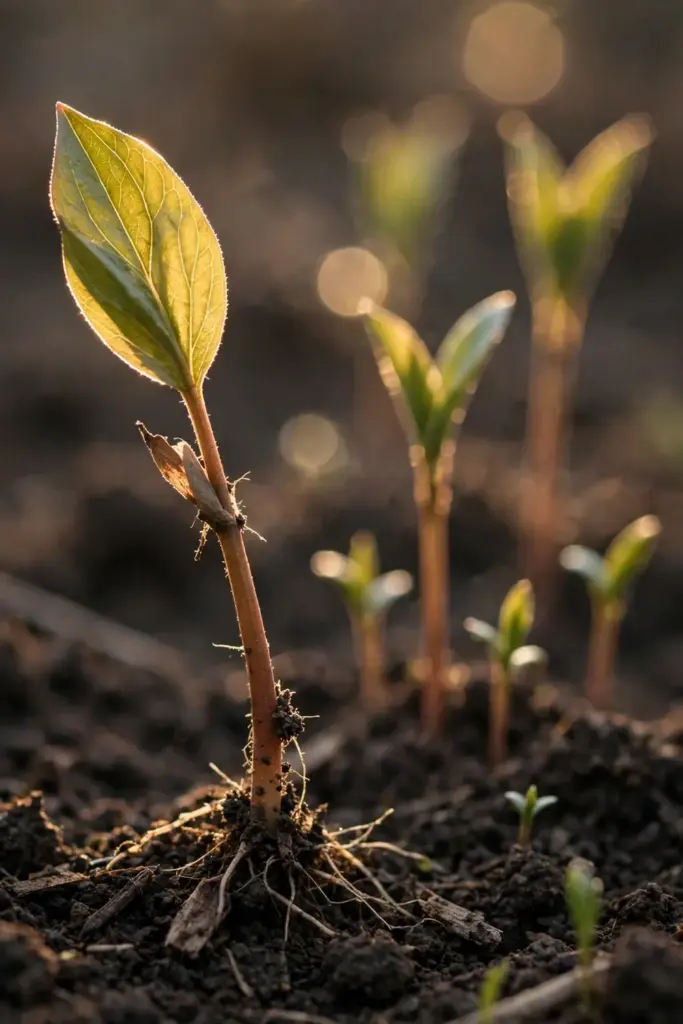
Keep seedlings in deep pots and never let the medium dry out completely, but do not keep it soggy either. Pot-bound peonies stall, so move seedlings into the garden or larger containers by their second autumn at the latest. Transplant with the root ball intact and disturb the roots as little as possible. Every disturbance costs months. Mark the pot or bed with the sowing year, and add a calendar reminder for year five. The reminder is the step most growers skip, and it is the one that actually delivers the harvest.
6. Build the Deep, Well-Drained Bed the Roots Demand
Peony roots are thick, fleshy storage organs, and they need deep soil to become the harvestable roots this project wants. Loosen the bed at least 18 inches deep before planting, and work in generous compost or well-rotted organic matter. The goal is loam that holds moisture but lets excess water pass through. Heavy clay that stays wet after rain is the enemy: it suffocates roots and invites the crown rots that end root projects early.
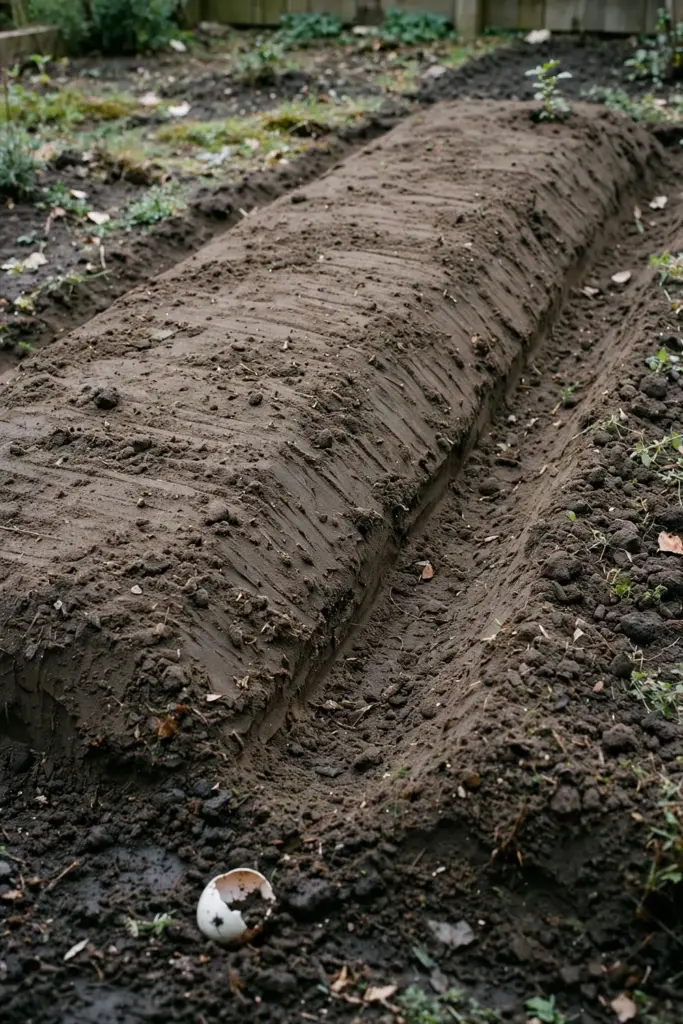
Healthy soil grows healthy roots, and the soil health guide walks through building that foundation with compost and organic matter. Skip fresh manure against the roots. Fresh manure burns and can introduce decay organisms to the fleshy tissue. A slightly acidic to neutral soil suits peonies fine, and exact pH chasing is unnecessary fuss for this plant.
Once the bed is built, leave it alone. Annual deep digging around established peonies damages the root system you spent years building. Top-dress with compost in spring instead of digging it in.
7. Water Deeply, Then Let the Bed Breathe
New plantings need consistent moisture through their first summer. Water deeply after planting and again whenever the top few inches of soil dry out, so the moisture reaches the root zone rather than wetting only the surface. Established peonies are reasonably drought tolerant and resent constant wetness far more than they resent a dry spell.
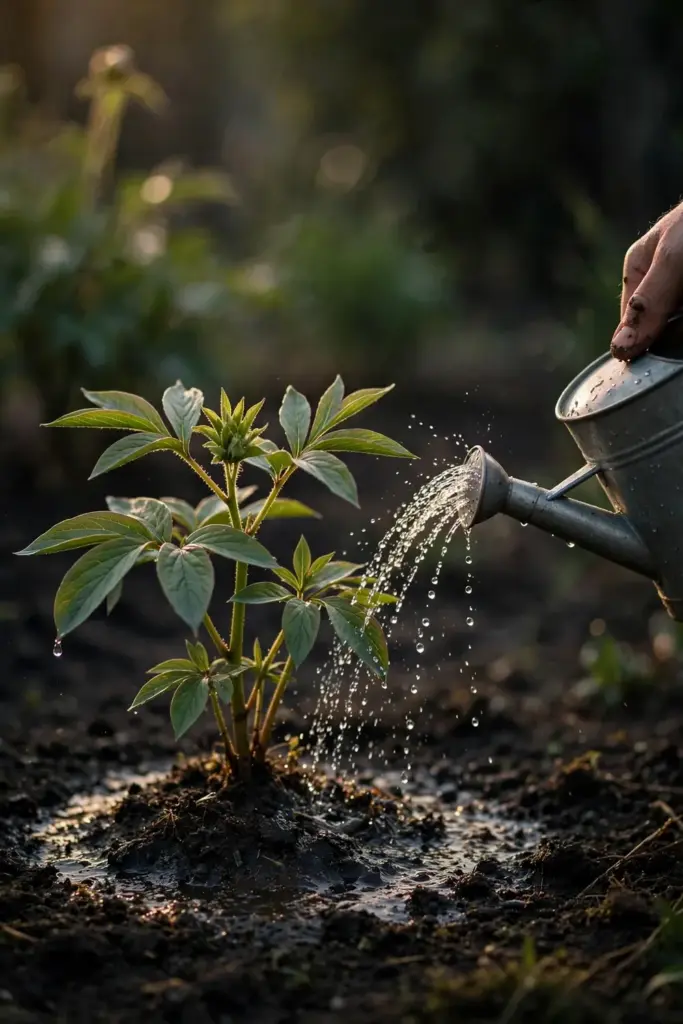
Water the soil, not the plant. Overhead watering that soaks the foliage encourages the leaf diseases covered in step 10, so direct water at the base and water in the morning so any splashed foliage dries quickly. In rainy climates, drainage matters more than irrigation. If puddles stand in the peony bed after storms, fix the drainage before you blame the watering can.
8. Feed Lightly and Mulch With a Thin Hand
Peonies are light feeders, and heavy nitrogen produces leafy growth at the expense of everything else. In spring, when shoots are a few inches tall, apply a balanced slow-release fertilizer or a modest top-dressing of compost around the plant, keeping it a few inches clear of the crown. Bone meal worked into the bed at planting time supplies phosphorus for root development, which is the nutrient this project actually wants.
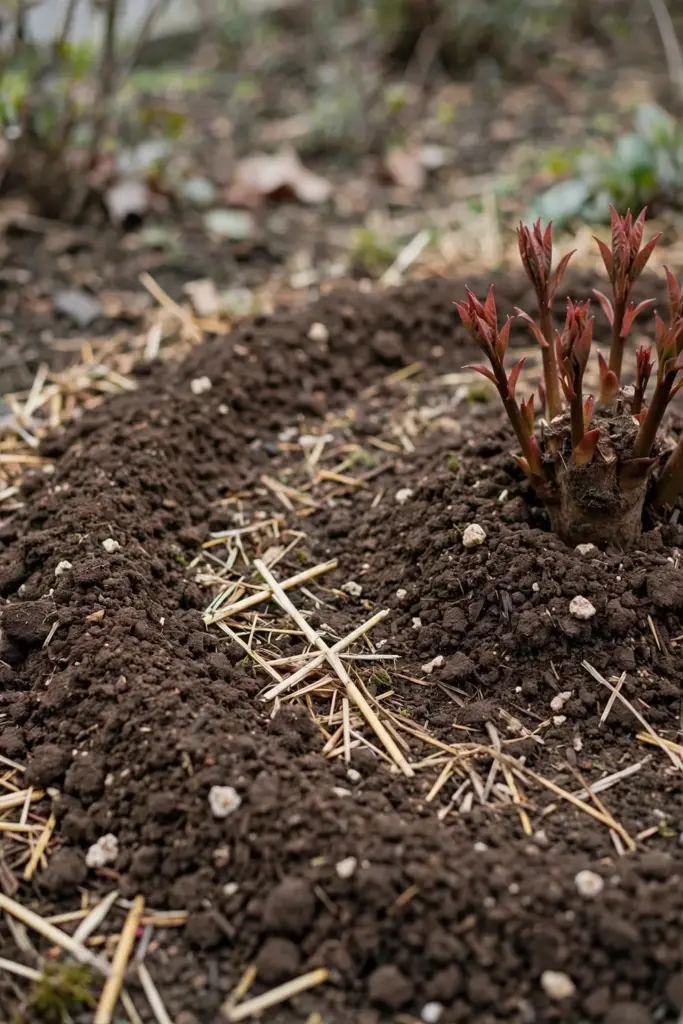
Mulch to suppress weeds and hold moisture, but keep the layer thin over the crown area. Thick mulch piled against the stems holds moisture against the crown and invites rot, and it can bury the eyes below the critical 2-inch depth from step 3. Two inches of shredded bark or straw, pulled back from the stems, is enough. Pull weeds by hand near the crowns rather than hoeing deep, because a hoe strike on a fleshy root is an injury that takes a season to heal.
9. Deadhead the Flowers and Cut Stems Back After Frost
Once the flowers fade, snip the spent blooms off. Deadheading stops the plant from spending energy on seed production and redirects that energy into the roots, which is exactly the trade this project wants. Leave the foliage standing through summer. The leaves are the solar panels charging the root system for next year, and cutting them early shrinks the harvest you will dig years from now.
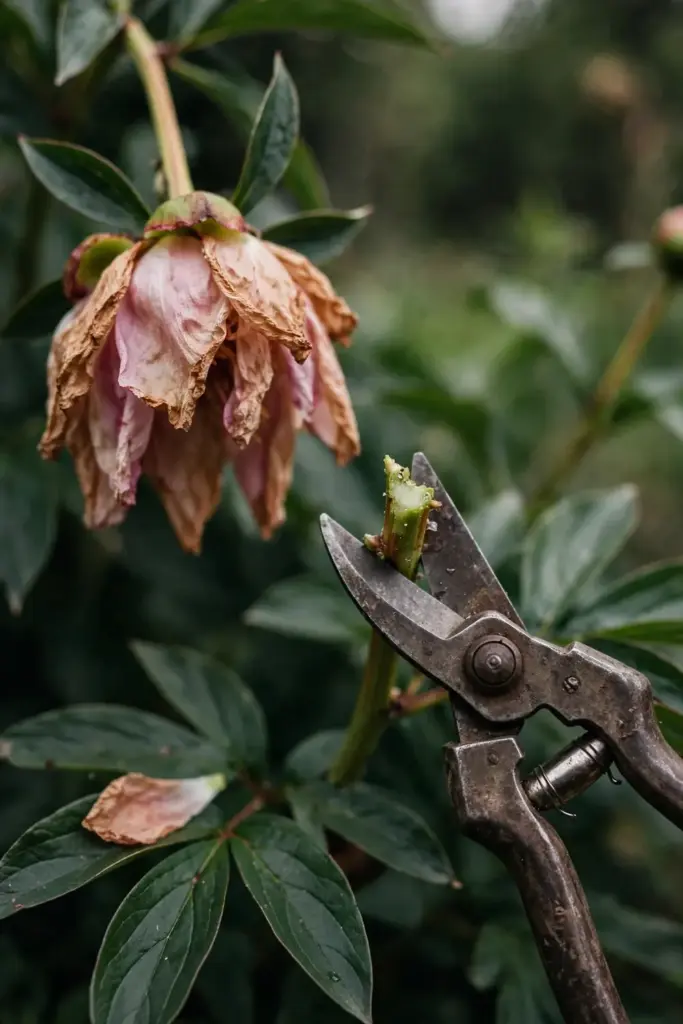
After the first hard frost blackens the foliage, cut all stems down to a few inches above the ground and remove the debris from the bed. This fall cleanup is the single best disease control you have: it removes the overwintering fungal material that causes next spring’s botrytis and leaf spot. Do not compost diseased-looking foliage. Bag it and discard it.
10. Stop Botrytis, Leaf Spot, and Crown Rot Before They Start
Peony diseases are mostly preventable with the habits you have already built: full sun, good air circulation, watering at the base, and fall cleanup. The disease to watch is botrytis blight, a gray mold that attacks buds, stems, and leaves in cool, wet spring weather. Buds that turn brown and fail to open are the classic sign. Remove affected buds and stems promptly, improve air flow, and the plant usually outgrows it as weather warms.
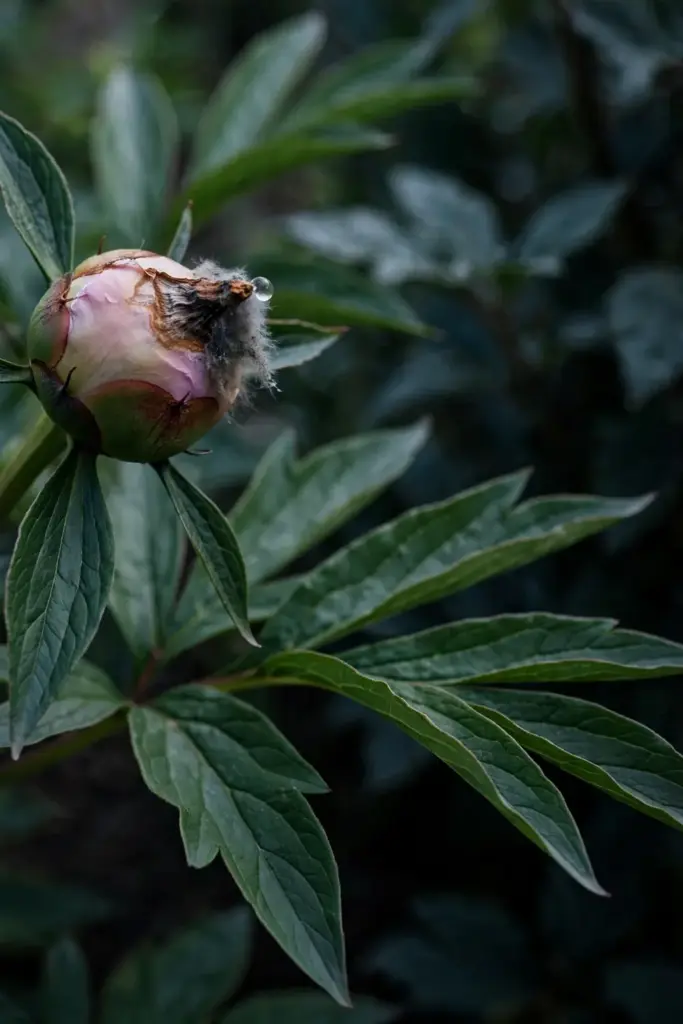
Leaf spots appear as brown or purple blotches on the foliage in wet summers. They look alarming but rarely threaten the roots, and the fall cleanup in step 9 breaks their cycle. The dangerous one is crown and root rot, which shows as a plant that wilts despite adequate water. It comes from wet soil, which is why steps 1, 6, and 7 exist. There is no rescue for a rotted crown. Prevention is the whole strategy, and prevention is drainage, spacing, and sanitation.
Because these roots may end up dried and used, keep sprays minimal and favor cultural controls. If you must treat, choose products labeled for edible or medicinal crops and follow the label exactly.
11. Dig the Roots in Year 4 or 5, in Autumn
Year four is the earliest honest harvest. By then a bare-root planting has built a crown of thick, finger-sized roots worth processing, and a seed-grown plant needs another year or two. Dig after the foliage dies back in autumn, when the plant has pulled its energy down into the roots. Cut the stems first, then dig wide: start a full foot from the crown and work around and under it, because the harvestable roots spread farther than you expect and a spade through a good root is a loss.
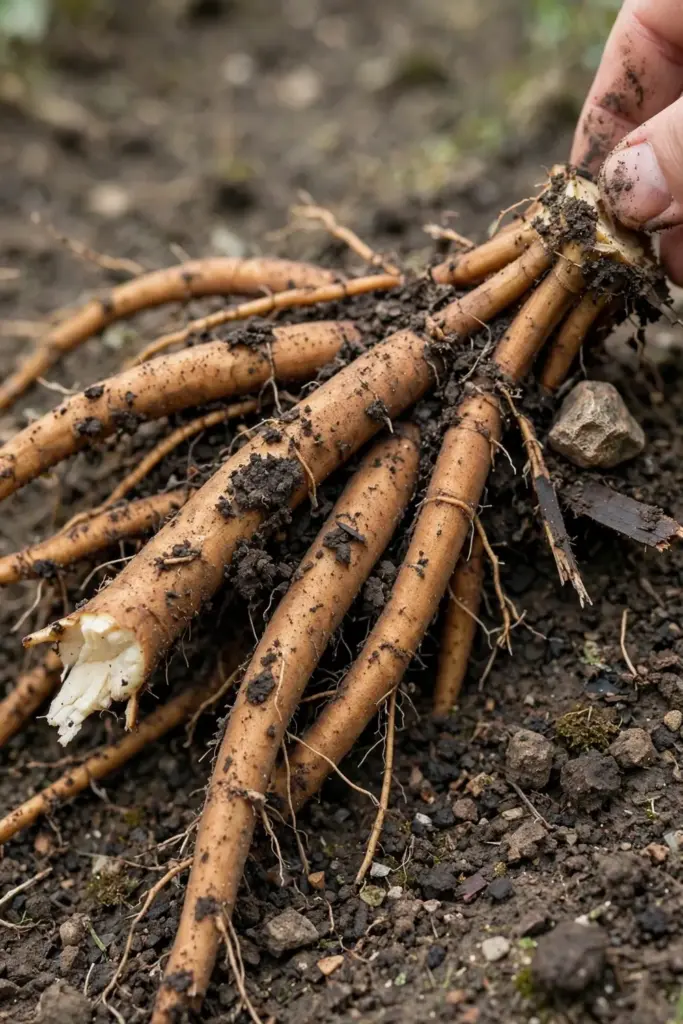
Wash the roots thoroughly and sort them. The thick, fleshy storage roots are your harvest. Thin fibrous roots and the crown itself go back into the ground if you want the plant to continue, or into a new bed as divisions. Select only healthy, undamaged roots for processing. Roots with soft spots, rot, or heavy insect damage get discarded, not dried. Fresh roots are heavy with water and look unimpressive next to the pale dried slices they become; the transformation happens in the next step.
12. Peel, Boil, and Sun-Dry the Harvest Into Bai Shao
Here the garden project becomes the pharmacy project. Traditional processing is specific: roots are dug in summer or autumn from cultivated plants, washed, trimmed of their ends and rootlets, peeled of their bark, boiled in water, and dried in the sun. The Hong Kong Chinese Materia Medica monograph for Radix Paeoniae Alba describes exactly this sequence, and it is the sequence that turns a raw garden root into bai shao. Work through it in order, and do not skip the boil: it stabilizes the root for drying and storage.
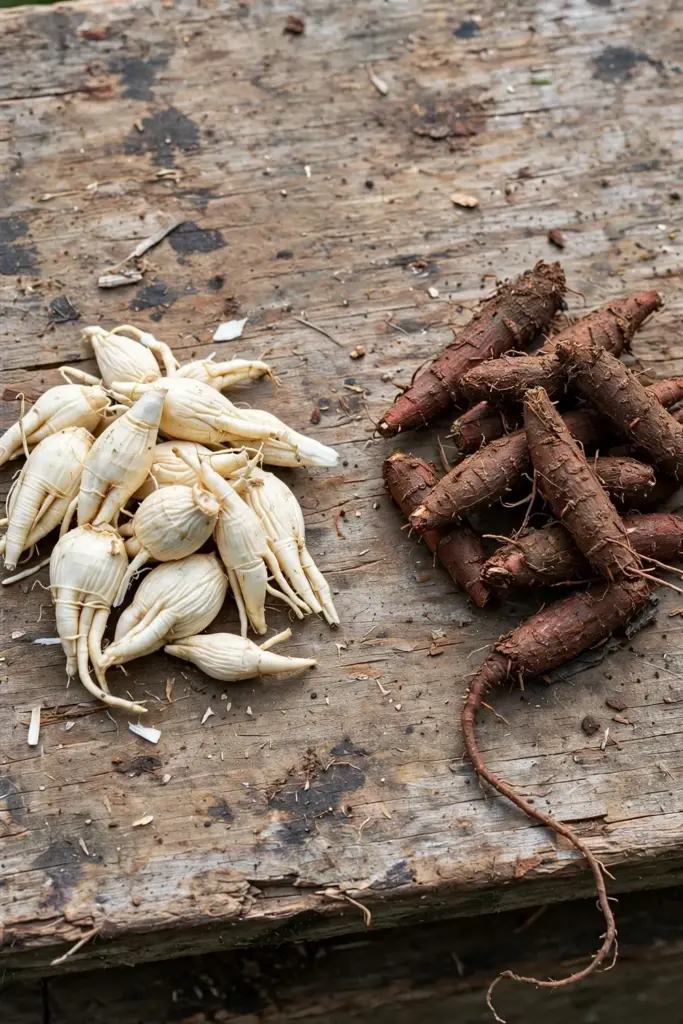
| Step | What to Do | Why It Matters |
|---|---|---|
| Trim | Cut off both ends and all thin rootlets | Removes the woody, low-quality parts |
| Peel | Strip the dark outer bark completely | The peeled surface is what makes it “white” |
| Boil | Simmer the peeled roots in water until the centers lose their raw look | Sets the texture and protects the root during drying |
| Dry | Sun-dry until hard and woody, then slice | Slices must snap, not bend; pliable slices mold in storage |
Now the mandatory distinction. Bai shao and chi shao are two different products, and confusing them is the most common error in English-language writing about this plant. A genetic and chemical study of both products found that white peony root is the boiled and peeled root of cultivated Paeonia lactiflora, while red peony root is the naturally dried, unpeeled root, sometimes from wild plants and sometimes from the related Paeonia veitchii. The difference is preparation and sourcing, not flower color.
| Bai Shao (White Peony Root) | Chi Shao (Red Peony Root) | |
|---|---|---|
| Source plant | Cultivated Paeonia lactiflora | Paeonia lactiflora or Paeonia veitchii, often wild-collected |
| Preparation | Peeled, boiled, sun-dried | Dried naturally, bark left on |
| Appearance | Pale, smooth, whitish surface | Darker, reddish-brown, bark intact |
| Harvest age | 4 to 5 year old cultivated roots | Varies, wild or cultivated |
Two warnings before you jar anything. First, white peony tea, sold as Bai MuDan, is a completely different product made from tea leaves, not peony roots. Do not conflate the two. Second, homegrown roots processed at home are not equivalent to commercial bai shao, which is graded, tested, and identified to pharmacopoeia standards. Treat your harvest as a learning batch.
13. Store Dried Roots Cool, Dark, and Fully Dry
Dry is the operative word. Slices that still bend contain enough moisture to mold in the jar, so do not store anything pliable. Spread the slices in a single layer and finish drying until they snap cleanly, then pack them in airtight glass jars kept in a cool, dark cupboard. Label every jar with the plant source and the harvest year. In four years you will have multiple batches, and unlabeled jars become a mystery you cannot solve.
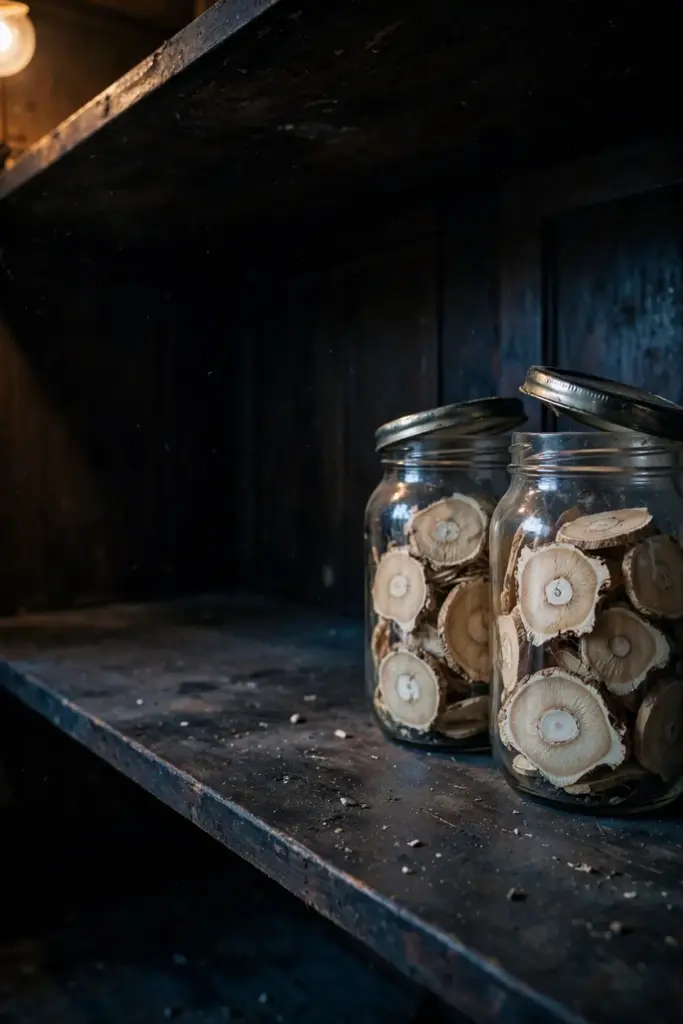
Check stored roots twice in the first year. Any musty smell or softening means moisture got in; spread the slices out and re-dry them immediately. Properly dried roots keep for years with little attention after the first season.
A word on use, stated plainly. Bai shao is a long-used ingredient in Traditional Chinese Medicine, and this guide covers how to grow and process it, not how to use it medicinally. If you want to use your harvest, talk to a licensed TCM practitioner or herbalist. Articles and videos cannot evaluate your health, and this one does not try.
14. Fix the Most Common Slow-Start Problems
Most people learning how to grow white peony root fail at the calendar, not the gardening. The plant is doing what peonies do; the grower is expecting it on a vegetable schedule.
| Problem | Likely Cause | Fix |
|---|---|---|
| Seeds show nothing after months | Normal double dormancy | Wait 18 to 24 months before declaring failure |
| No flowers by year 3 from a bare root | Planted too deep | Replant in September with eyes 1 to 2 inches deep |
| Buds turn brown and fail to open | Botrytis blight in wet spring | Remove affected buds, improve air flow, clean up in fall |
| Plant wilts despite wet soil | Crown or root rot | Improve drainage; discard rotted crowns, do not replant in the same spot |
| Stems flop under heavy blooms | Weak stems plus rain | Install grow-through supports early in spring |
| Thin roots at year 4 | Too much shade or competition | Move is costly; instead clear competitors and wait another year |
The single most common mistake is digging too early. A year-three root looks like progress and processes into almost nothing. The wait is the ingredient. Mark your calendar at planting time and do not negotiate with it.
Frequently Asked Questions About White Peony Root
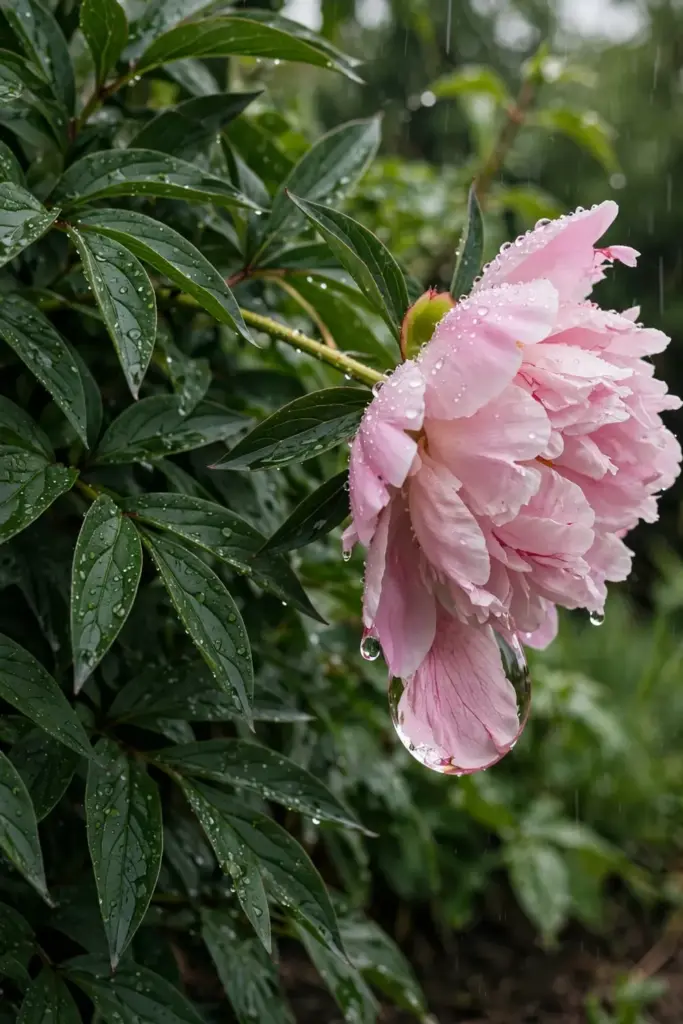
You can start one in a large, deep container for a season or two, which suits renters and small gardens. Long term, containers limit the root mass this project needs, and peonies resent the restricted depth. If you must use a pot, choose the deepest one you can move, use a loamy mix that drains freely, and plan to transplant into the ground by the second autumn for a real harvest.
No. Flower color has no bearing on the root. Bai shao means the peeled, processed root of cultivated Paeonia lactiflora, and the “white” describes the pale surface left after the dark bark is stripped away. A red-flowered plant and a white-flowered plant of the same species produce the same raw material. Choose cultivars for garden performance and health, not for petal color.
They are different products from different preparation. Bai shao is the peeled, boiled, and sun-dried root of cultivated Paeonia lactiflora. Chi shao is the unpeeled, naturally dried root, sometimes from wild plants or the related Paeonia veitchii. If you peel, boil, and dry your harvest, you made bai shao. If you dry roots with the bark on, you made something closer to chi shao.
You can, but you should not. Younger roots are thin and watery, and they dry down to almost nothing of usable quality. The traditional harvest age is four to five years from cultivated plants, because that is when the storage roots have enough substance to survive processing. Digging early also kills a plant that would have given you a real harvest a year later.
Yes, if you want bai shao. The peeling is what makes the root white, and the boiling stabilizes it for drying and storage. Skipping either step gives you a different product: unpeeled dried root is closer to chi shao, and unboiled root dries unevenly and stores poorly. The processing steps are not decoration. They define the product.
No. White peony tea, sold as Bai MuDan, is made from the leaves and buds of the tea plant and has nothing to do with peonies. White peony root, or bai shao, is the processed root of Paeonia lactiflora. The similar English names cause constant confusion online. Check which plant any product or article is actually discussing before you trust it.
Where to Go From Here
You now have the full arc: a cold-winter site, a bare root planted eyes-up in September, four quiet years of watering and weeding and fall cleanup, an autumn dig, and a week of peeling, boiling, and sun-drying that turns garden roots into bai shao. The project rewards the gardener who can plant something and genuinely forget about it, checking in only for seasonal care.
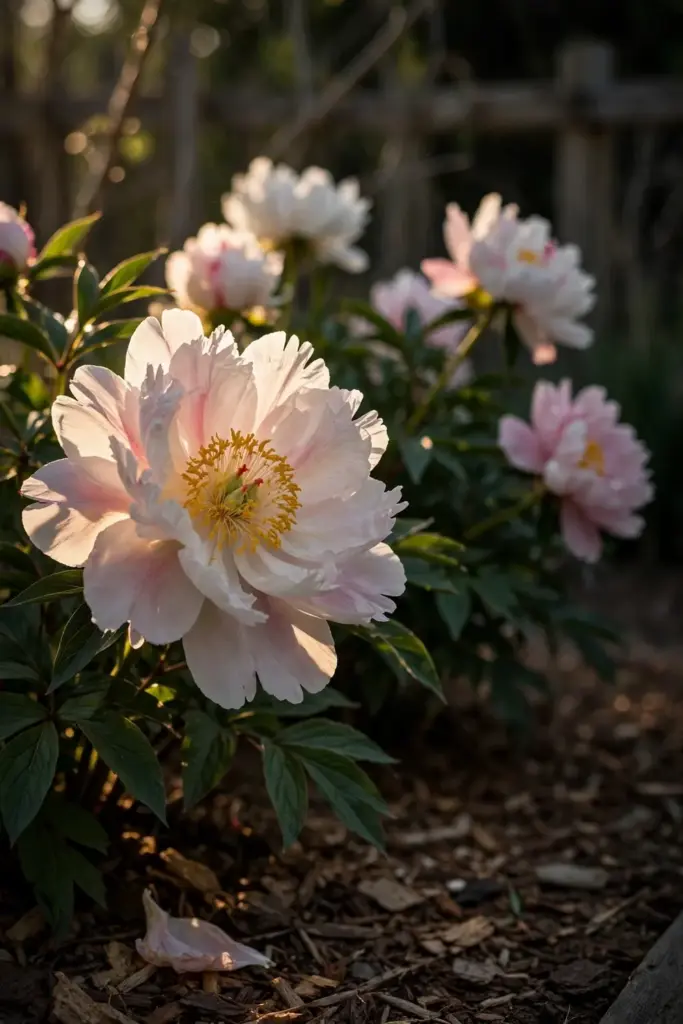
Start this autumn. Tag the planting with the date, set a reminder for the autumn four years out, and let the peony do the slow work it has done for centuries. When the dig day finally comes, you will understand why the wait is the ingredient.