
If you want to learn how to grow Rehmannia glutinosa, start with the seed packet, not the soil. The plant sold as “Chinese foxglove” seed is usually a different species entirely, while the true Di Huang of traditional Chinese herb gardens is a modest rosette of broad leaves with hairy maroon bells and thick tuberous roots you harvest in autumn. Buying the right plant is the step most home growers get wrong on a 24-to-36-month journey from seed to harvest, and it deserves a full explanation before you spend money.
This is a long-arc herb, not a quick crop. From seed, expect two to three growing seasons before the roots are worth digging, though division and root cuttings cut that wait sharply. The total timeline from sowing to harvest runs about 24 to 36 months for seed-grown plants, or a single season for divided roots. Commercial growers in Vietnam harvest annual plantings after 160 to 170 days, but their goal is field yield, not the dense roots a home grower wants.
Difficulty sits at the intermediate level: germination needs patience, seedlings need one protected winter, and the plant sulks in wet soil. If you can start tomatoes from seed and overwinter a tender perennial, you have every skill this herb demands.
What Rehmannia Glutinosa Actually Is
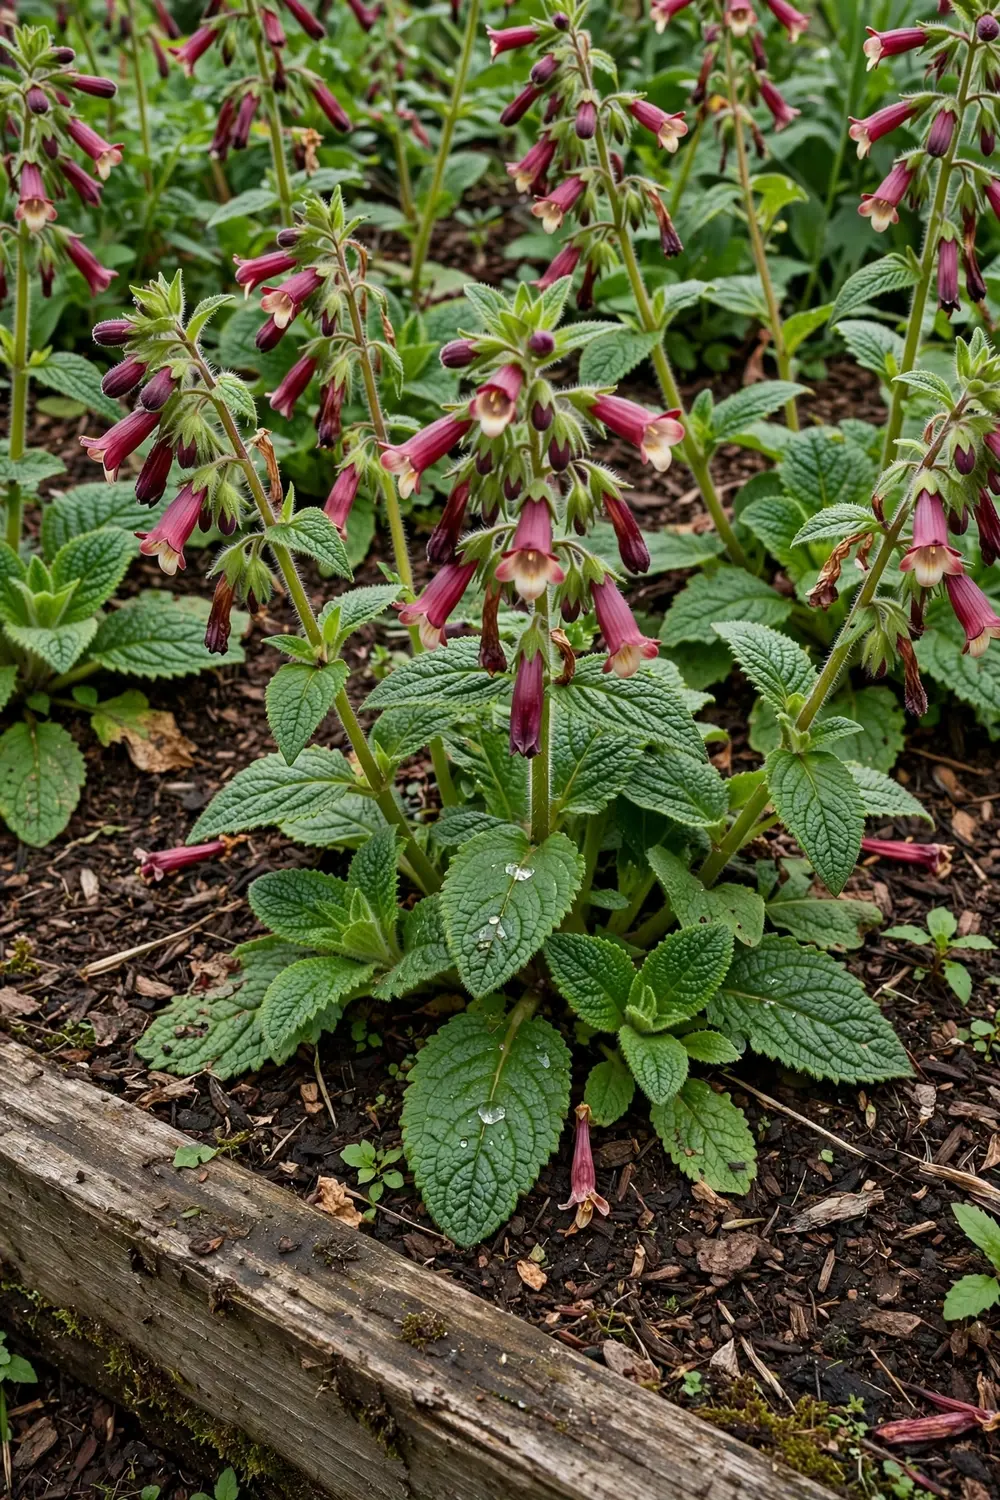
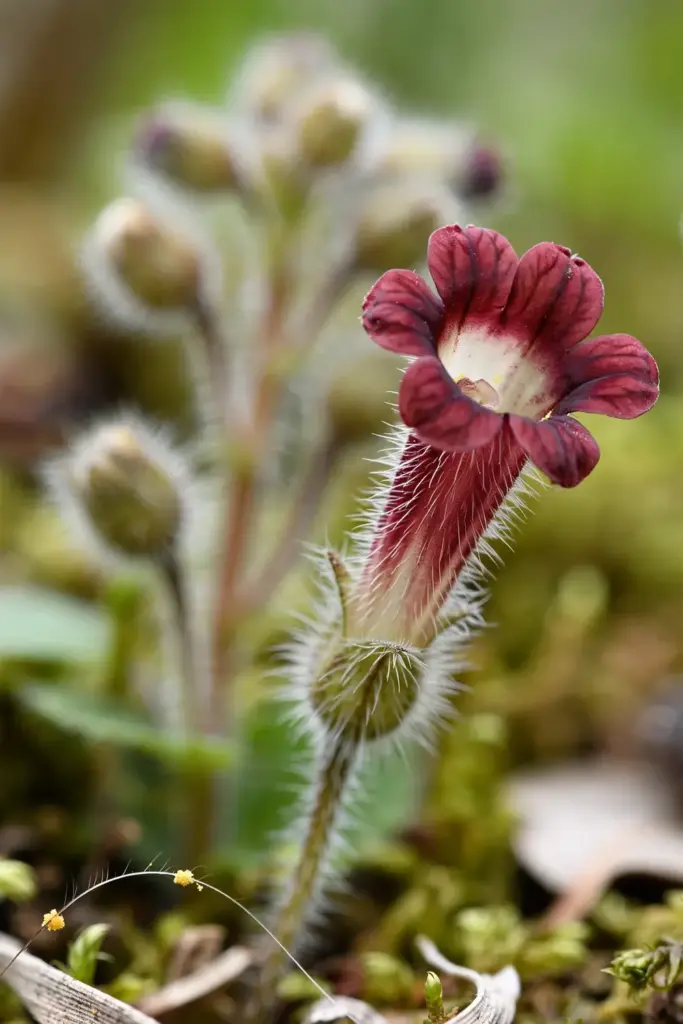
Rehmannia glutinosa is a perennial herb in the Orobanchaceae family, native to temperate China, where it grows on mountain slopes and trailsides from near sea level to 1,100 meters. It forms a basal rosette of broad, ovate, wrinkled leaves and sends up upright stems 30 cm tall carrying tubular, bell-shaped flowers in dusty maroon with pale cream throats, every surface of the plant covered in fine glandular hairs. Underground it develops clustered tuberous roots, the tan, finger-thick structures that are harvested as Di Huang.
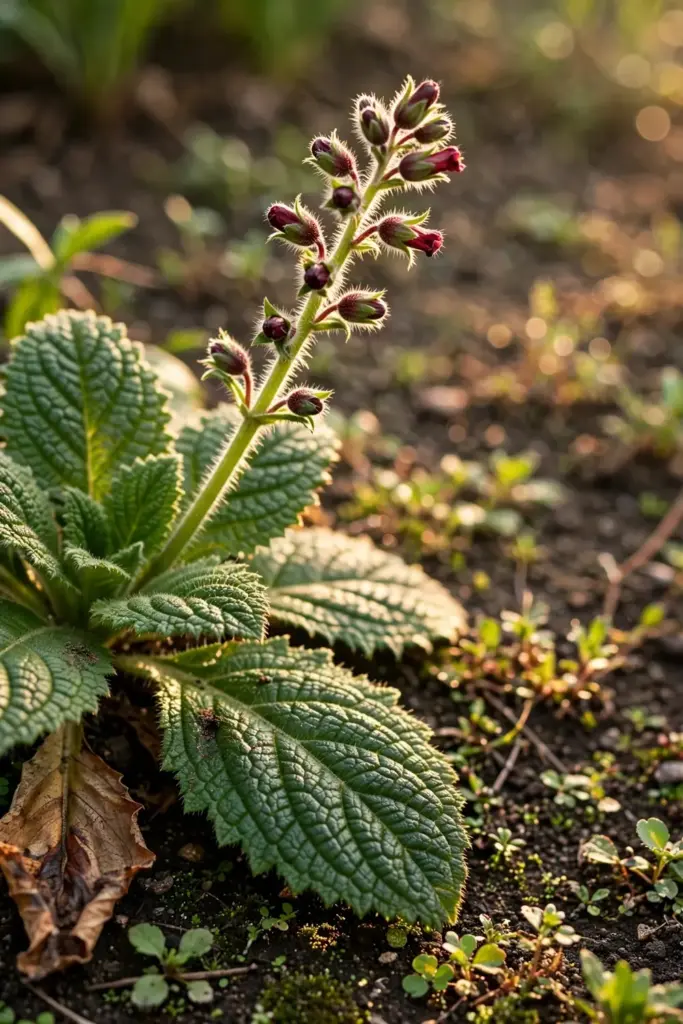
The plant is hardy only in USDA zones 8 to 11, which is the honest constraint every temperate gardener must face first; the PFAF plant database confirms this hardiness range along with its preference for well-drained loam and partial shade. If your winters drop below about minus 7 degrees Celsius (20 degrees Fahrenheit), plan to grow it as an annual, keep a mother plant in a cold frame or unheated greenhouse, or lift roots each autumn. Anyone studying how to grow Rehmannia glutinosa should fix these traits in memory first, because every identification decision downstream depends on them. Rehmannia is not related to true foxglove (Digitalis), despite the shared common name, and its growing needs differ completely.
The Species Mix-Up: How to Buy the Right Rehmannia
No other herb in this series suffers from as much label confusion, so confirm the species before you spend money. Search engines and even AI overviews routinely merge the medicinal and ornamental rehmannias, and seed packets labeled “Chinese foxglove” are very often not the plant that yields Di Huang. Use this table when you shop.
| What You Are Looking At | Latin Name | What It Is For | Growing Notes |
|---|---|---|---|
| True Di Huang | Rehmannia glutinosa | Tuberous roots for the traditional herb | The species this guide covers; 30 cm, maroon hairy bells, zones 8 to 11 |
| Beverly Bells / ornamental “Chinese foxglove” | Rehmannia elata | Ornamental garden perennial | Taller, showier, grown for flowers; roots are not the traditional herb |
| Commercial “Chinese foxglove” seed | Rehmannia angulata | Ornamental seed packets | Widely sold by seed houses; a different species from Di Huang |
| True foxglove | Digitalis purpurea | Ornamental (and a cardiac drug source) | Unrelated family; tall spires, not a rosette herb |
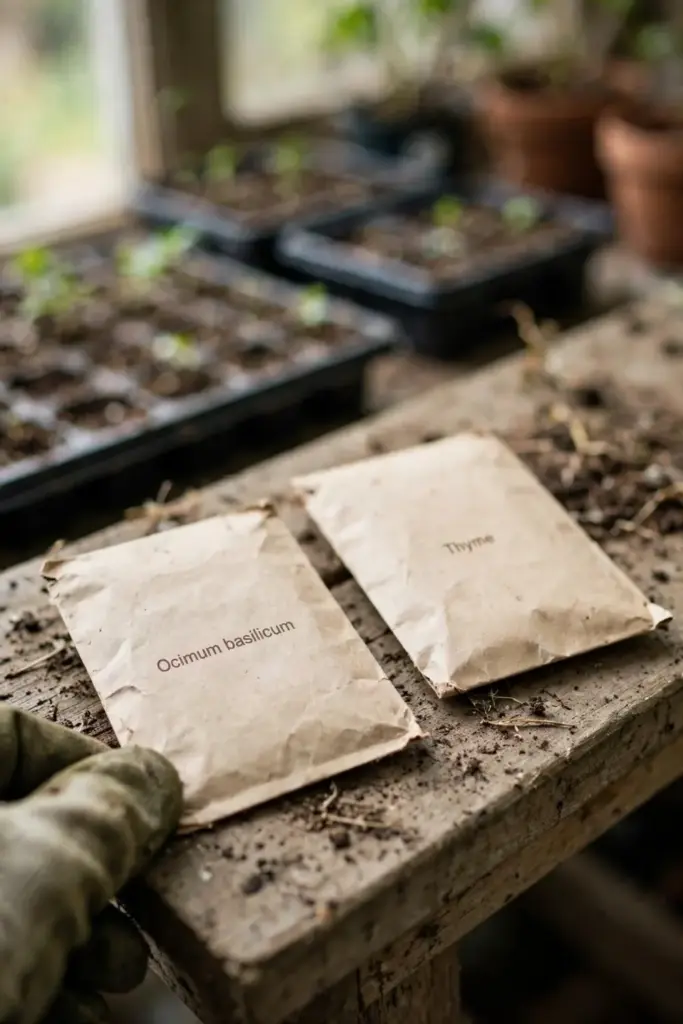
Buy from a vendor that prints the full Latin name on the packet, and walk away from any listing that calls the seeds “Chinese foxglove” with no binomial attached. Medicinal-herb nurseries and TCM garden suppliers are the reliable sources; mainstream ornamental catalogs almost always sell the elata or angulata types.
Step 1: Choose Seeds, Roots, or Divisions
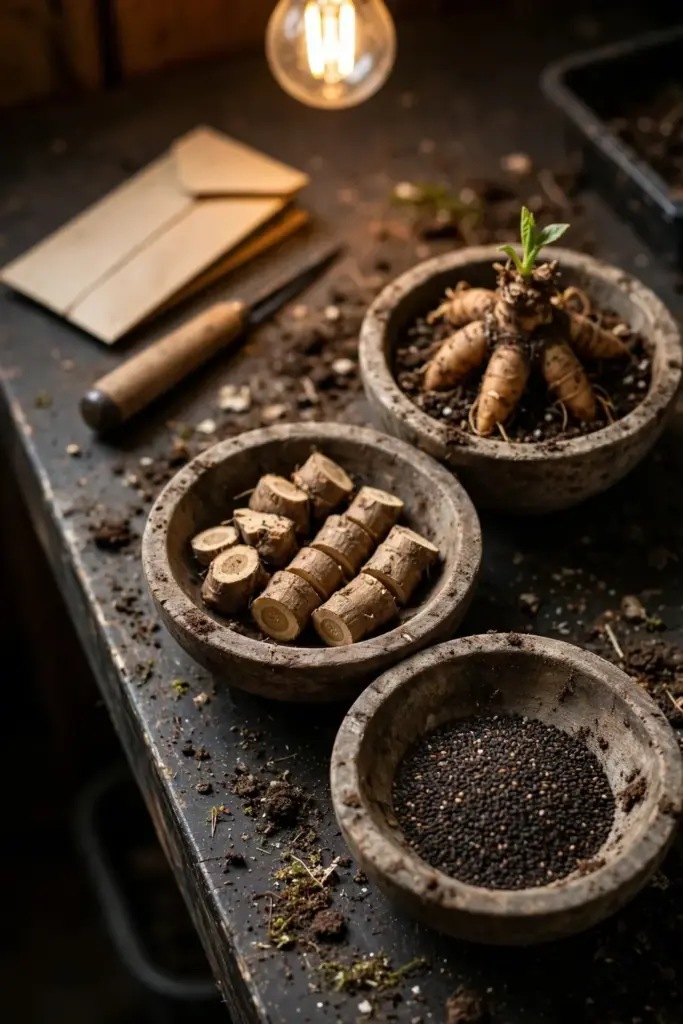
Your starting material decides your timeline more than any other choice. Seeds are cheapest and most available, but they add a full year or more. Divisions and root cuttings from an existing plant skip the slow juvenile phase and can give harvestable roots in a single season. Compare the options honestly before you commit.
| Starting Material | Time to Harvestable Roots | Cost and Availability | Best For |
|---|---|---|---|
| Seeds | 24 to 36 months | Cheapest; widely available online | Patient growers, large plantings |
| Root cuttings (winter) | 12 to 18 months | Needs a source plant | Multiplying a plant you already own |
| Division (spring) | One growing season | Needs a source plant | Fastest route to a first harvest |
| Basal cuttings | 18 to 24 months | Needs a source plant | Backup method when division is limited |
If you are starting from zero, buy fresh seeds. Fresh matters more than brand: rehmannia seed loses viability in storage, so order for the season you intend to sow and avoid packets more than a year old.
Step 2: Sow Seeds Indoors
Sow in autumn or spring in a greenhouse or under lights; both windows work, and autumn sowing gives seedlings a head start on their first protected winter. Fill a tray with a fine, sterile seed-starting mix, moisten it evenly, and press the tiny seeds onto the surface without covering them, because they germinate best with light. Mist gently, cover with a humidity dome or clear plastic, and hold the tray at 18 to 22 degrees Celsius.
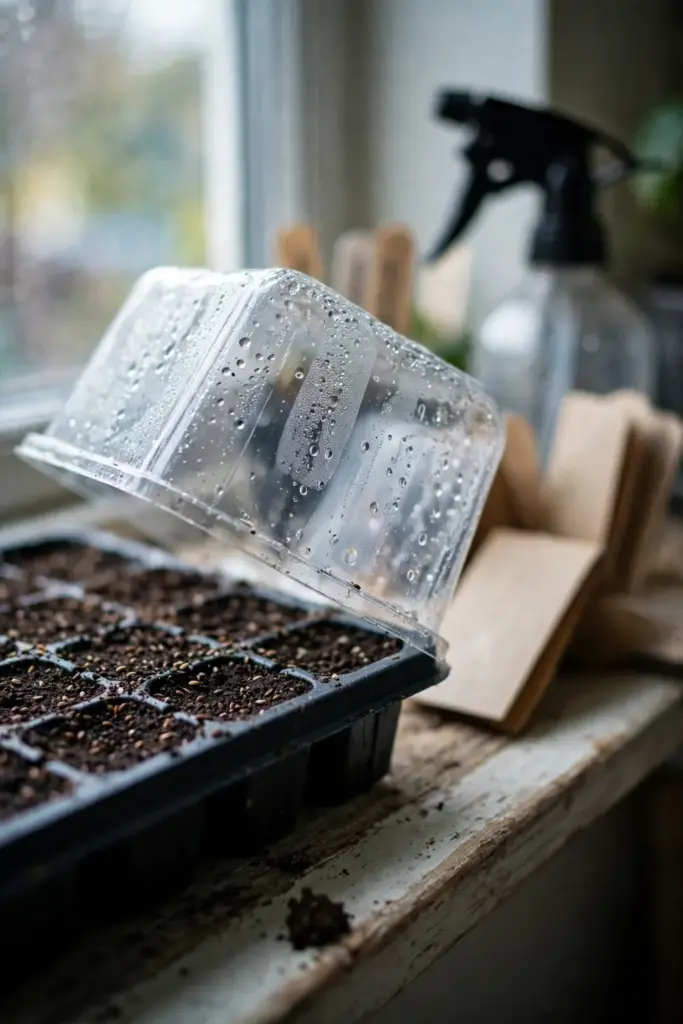
Germination is uneven and slow, typically 14 to 28 days, and not every seed wakes up. This is normal for the species, not a sign you did something wrong. Keep the surface evenly damp but never soggy; a fine mist once or twice a day beats a heavy watering that dislodges seeds. Once sprouts appear, remove the cover gradually over three days so the tender stems harden to room air.
Thin or prick out seedlings into individual pots when they have two true leaves and are large enough to handle by a leaf, never by the stem. For a reliable indoor routine, follow the same clean-tray discipline in our seed starting guide, which covers the sterile mix, bottom watering, and damping-off prevention these seedlings need.
Step 3: Nurse Seedlings Through Their First Winter
This is the step most growers skip, and it is the one that decides survival. Rehmannia seedlings are not hardy enough for their first winter outdoors in most climates, so plan from the start to grow them on under protection. Keep them in a cool greenhouse, cold frame, or bright unheated room where temperatures stay between 2 and 10 degrees Celsius through winter.
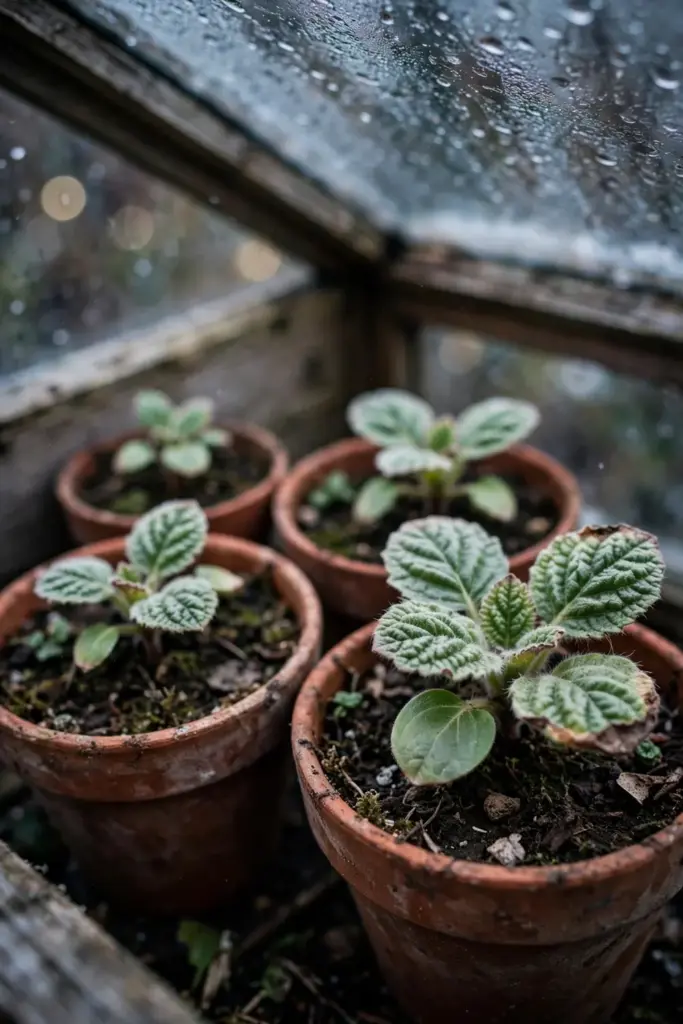
Water sparingly through the cold months, just enough to keep the root ball from drying out completely. The seedlings will slow down and may look unimpressive; that is dormancy, not death. Do not feed them during this rest. When new growth pushes in late spring, resume normal watering and move them to stronger light over one to two weeks.
Seedlings grown from an autumn sowing will be larger and sturdier by their first winter than spring-sown ones, which is why autumn sowing is worth the effort if your seed source allows it. One protected winter is the price of a plant that lives for years afterward.
Step 4: Prepare the Bed
Rehmannia wants what its mountain-slope home provides: moisture that arrives and then leaves. Choose a site in full sun to partial shade with well-drained, loamy soil. Heavy clay that stays wet is the single fastest way to kill it, because tuberous roots rot in standing water, so on clay ground plant on a slight mound or in a raised bed 15 to 20 cm high.
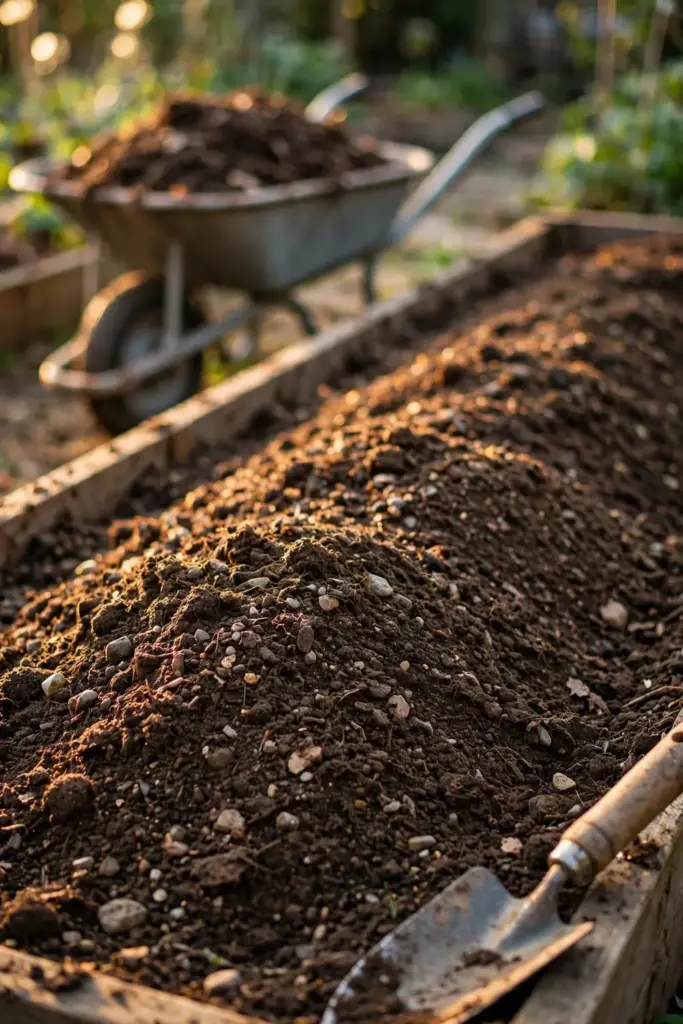
Work the soil 25 to 30 cm deep and mix in 5 to 8 cm of finished compost, which feeds the soil biology and opens the structure at the same time. Aim for a near-neutral pH between 6.0 and 7.0. The plant tolerates light, sandy soils and medium loams; it does not tolerate waterlogged ground, and one flooded week in winter can wipe out a bed, so when in doubt, prioritize drainage over fertility.
If you are building this bed as part of a wider autumn project, the task list in our fall garden bed prep guide walks through the same soil tests, compost math, and drainage fixes in order.
Step 5: Transplant Outdoors in Late Spring
Move seedlings out in late spring or early summer, after all frost danger has passed and night temperatures hold above 10 degrees Celsius. Harden them off over 7 to 10 days, starting with two hours of morning sun and working up to a full day outdoors.
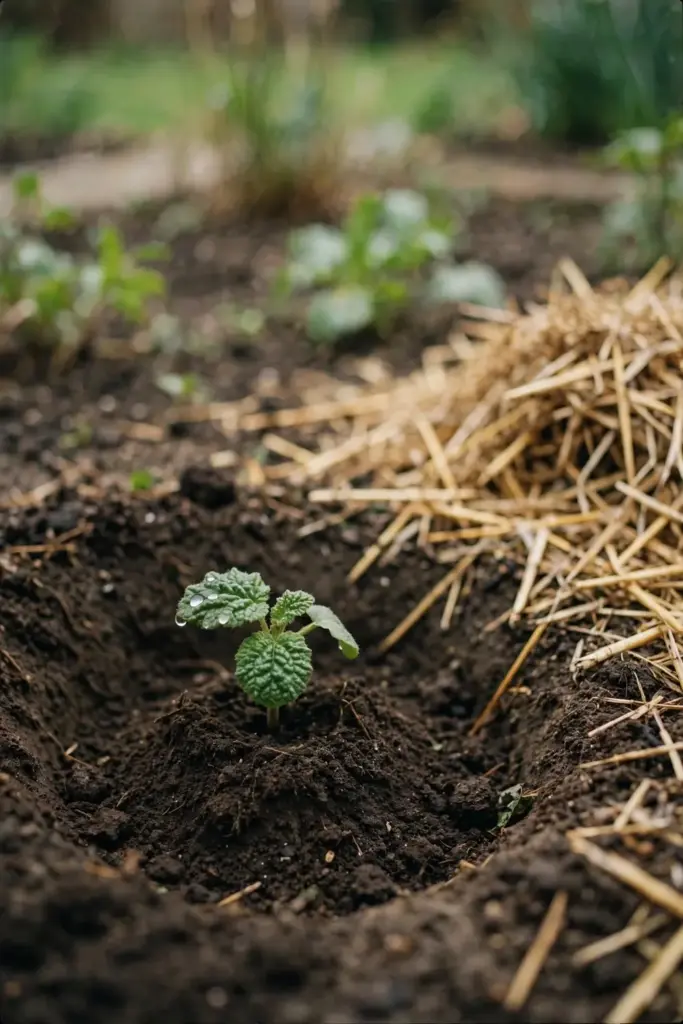
Space plants 20 to 30 cm apart in rows 30 cm apart. This spacing looks generous for small seedlings, but the rosettes widen through summer and crowded plants hold humidity around their crowns, which invites rot. Plant at the same depth the seedling grew in its pot; burying the crown encourages stem rot, while planting too shallow exposes young roots to drying.
Water each transplant in thoroughly, then mulch lightly with 2 to 3 cm of straw or shredded leaves, keeping the mulch a few centimeters back from the crown. The mulch steadies soil moisture through the first summer while the roots establish.
Step 6: Water for Steady, Even Growth
Rehmannia likes consistent moisture without wet feet. During the growing season, give the bed about 2.5 cm of water per week from rain or irrigation, delivered in one deep soaking rather than daily sprinkles. Deep watering trains roots downward; shallow frequent watering keeps the crown damp and invites the root rots this species is prone to.
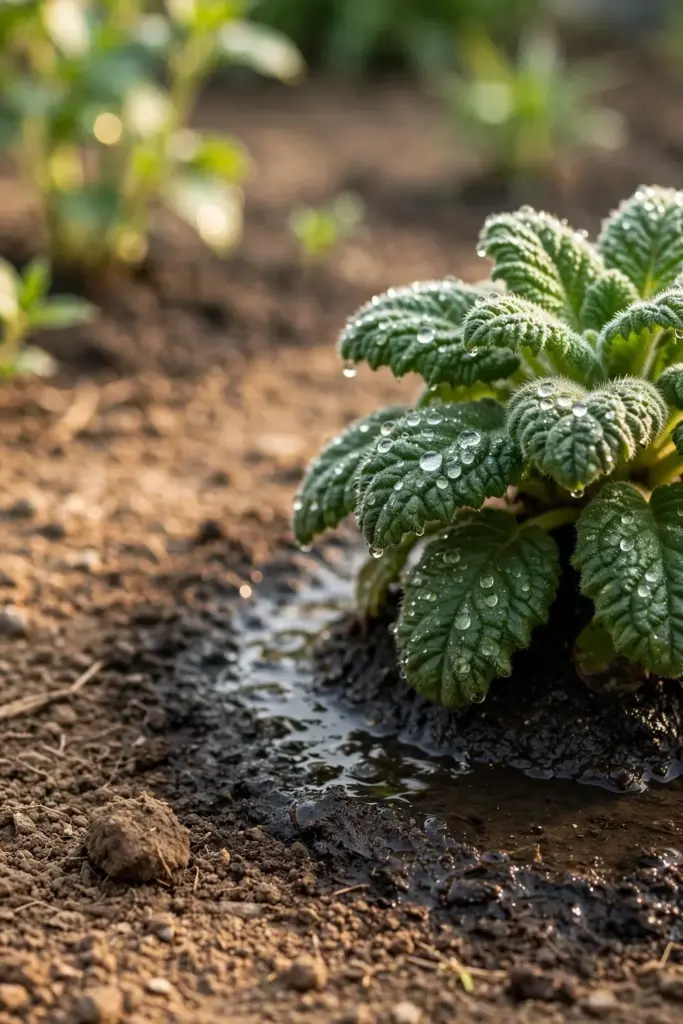
Cut back sharply as autumn approaches. When the foliage starts to yellow in October, the plant is shutting down for the year, and continued watering at summer rates will rot the very roots you are trying to fatten. In winter, established plants in the ground need no supplemental water at all in most climates; water container plants only when the top 5 cm of mix is dry.
The yellow flag to watch for is wilting in moist soil. That combination almost always means root trouble, not thirst, and adding more water makes it worse. Check drainage first, water second.
Step 7: Feed Lightly and Stop Early
This herb does not want rich feeding. The compost worked into the bed at planting carries most plants through their first year with no additional fertilizer. In the second year, side-dress once in spring with a light application of balanced organic fertilizer, or top-dress with another 2 to 3 cm of compost.
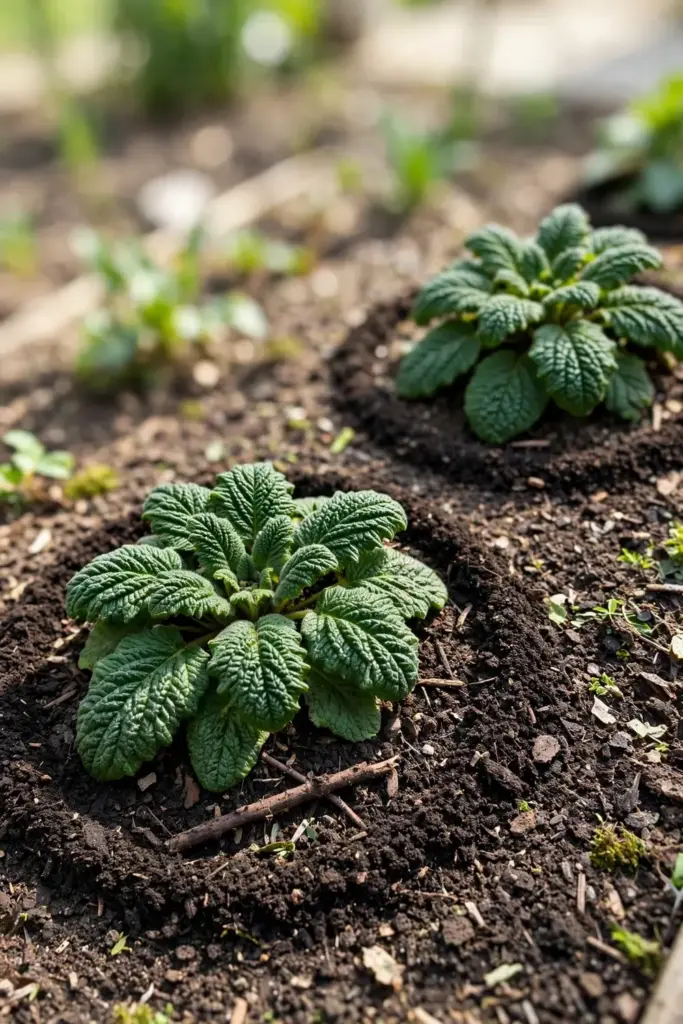
Stop all feeding by midsummer. Late nitrogen pushes soft, leafy growth that the plant cannot harden before autumn, and it does nothing for the tuberous roots, which are the entire point. Commercial trials in Vietnam used heavy fertilizer programs to chase field tonnage, but a home grower chasing dense, well-formed roots does better with lean soil and patience. If leaves are deep green and growth is steady, the plant is telling you it has enough.
Step 8: Grow It in a Pot If Your Winters Are Cold
For gardeners in zones 7 and colder, a container is not a compromise; it is the strategy that makes this herb possible. Choose a pot at least 30 cm deep and 25 cm wide, because the tuberous roots need vertical room, and fill it with a gritty mix of two parts potting soil to one part coarse sand or perlite.
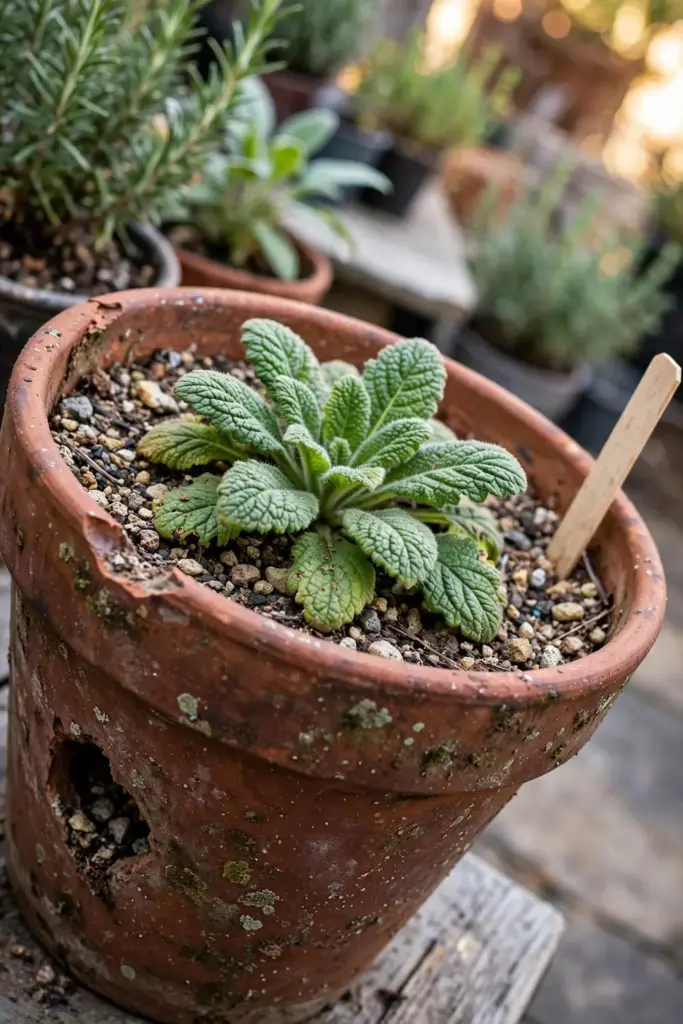
Keep the pot outdoors from late spring through early autumn, then move it to an unheated garage, cold frame, or greenhouse before hard frost. The goal is a winter rest at 2 to 10 degrees Celsius, the same protected winter the seedlings needed. Water just enough to keep the mix from going bone dry.
Repot every two to three years in fresh mix, dividing the root cluster at the same time, which turns routine maintenance into free new plants. Container roots harvest on the same autumn schedule as bed-grown ones, and you will find them easier to wash clean.
Step 9: Divide or Take Root Cuttings
Once you own one healthy plant, you never need to buy seeds again. Division in spring is the fastest multiplication: lift the whole plant as new growth emerges, tease or cut the root crown into pieces each carrying at least one growing bud and a share of tuberous roots, and replant immediately at the same depth. Water in well and shade for three days if the weather is hot.
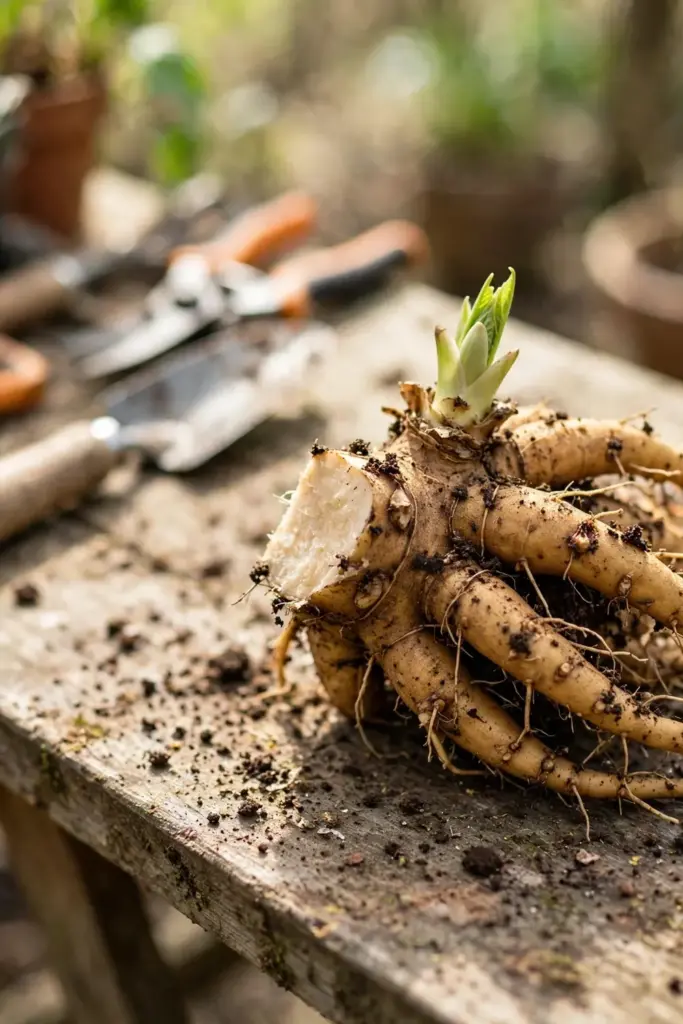
Root cuttings are the winter alternative. In late winter, while the plant is fully dormant, cut pencil-thick tuberous roots into 5 to 8 cm sections, lay them horizontally 5 cm deep in moist sand or light potting mix, and hold them cool until shoots emerge in spring. This matches the documented propagation methods for the species, which list winter root cuttings alongside spring division. Not every section sprouts, so cut a third more than you need and keep the spares as insurance.
Basal cuttings work too: in late spring or early summer, harvest young shoots about 8 to 10 cm tall with a piece of underground stem attached, pot them in light shade, and keep them humid until rooted. This method is slower than division but useful when you want many plants from one mother without disturbing her roots.
Step 10: Watch for Pests and Diseases
Rehmannia’s honest pest profile is short, which is part of its charm. Slugs and snails chew young spring foliage; a ring of crushed eggshells or a beer trap handles them without chemicals. Aphids occasionally cluster on flower stems and wash off with a strong jet of water.
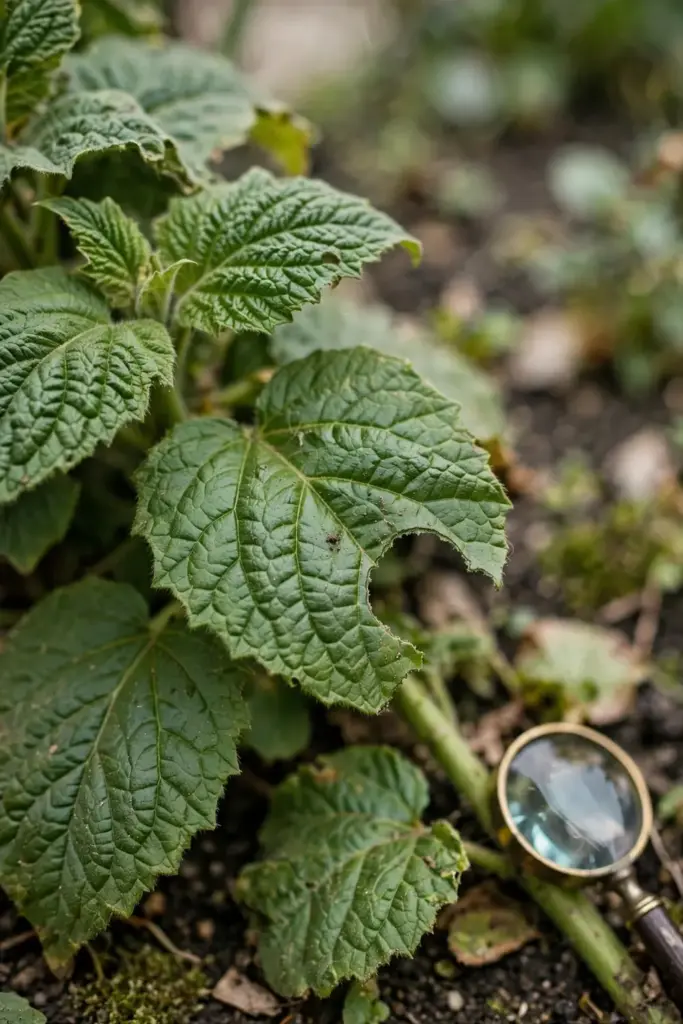
The real enemies are soil fungi. Research on cultivated rehmannia identifies root rot from Rhizoctonia solani at the seedling stage and Fusarium rot as harvest approaches, both driven by wet soil; grower-oriented summaries of the cultivation literature echo the same warning about waterlogged ground. Prevention is the entire strategy: the drainage from Step 4, the watering discipline from Step 6, and never planting rehmannia where rehmannia just grew. Rotate the bed to a different spot for at least two years between plantings, because replanting in the same soil invites the same pathogens.
Remove and destroy any plant that collapses at the crown; do not compost it. Clean tools with soap and water after handling sick plants. These simple sanitation habits, borrowed from general soil health practice, keep a small planting productive for years.
Step 11: Harvest the Tuberous Roots
Harvest in late autumn, from late October into early November, when about a third of the lower leaves have yellowed and the plant is shutting down. Metabolite research published in Scientific Reports shows catalpol content peaking in the mature tuberous roots at exactly this window, which matches the traditional harvest timing. Lift the whole plant with a fork, working from outside the root zone inward to avoid spearing the tubers.
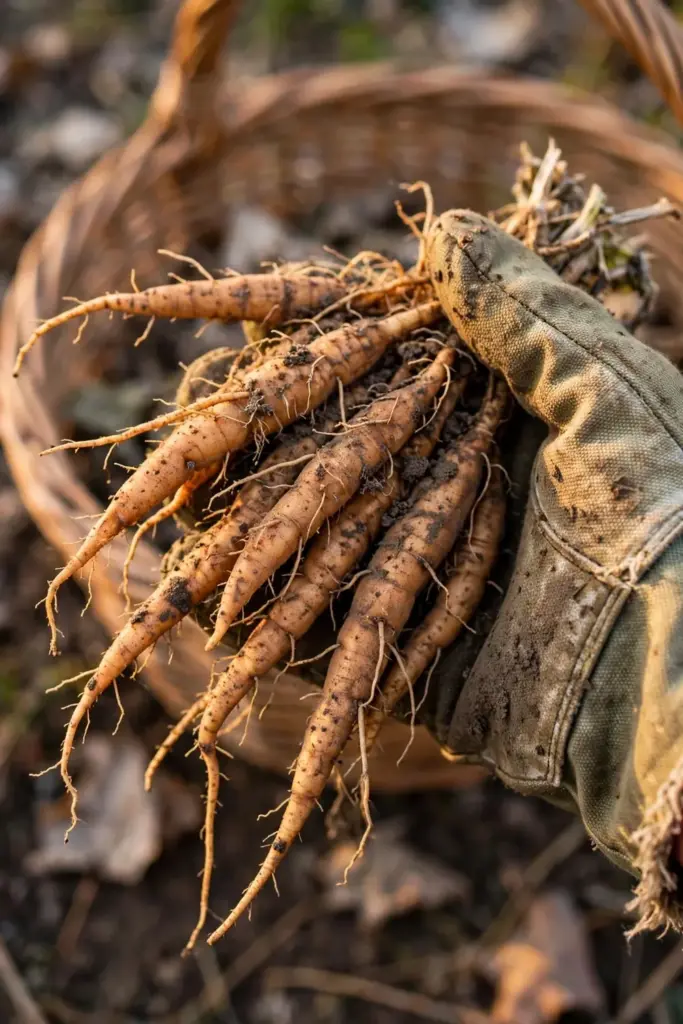
Here is the honest timeline question every grower asks. Vietnamese DH19 field trials harvested annual plantings after 160 to 170 days, but those are production fields chasing tonnage. For a home grower who started from seed, wait until the second or third autumn; first-year roots are thin and disappointing. Divided plants and root cuttings can give worthwhile roots in their first full season. Wash the roots gently, trim off the fibrous side roots, and spread them in a single layer in shade with good airflow until the surface is dry.
Never harvest more than you can process in a day. Fresh roots bruise easily and the damaged spots discolor, so handle them like potatoes you intend to store, not like firewood.
Sheng Di Huang vs Shu Di Huang: What Happens After Harvest
This section is processing knowledge, not medical advice. In the traditional framework, the same root becomes two different preparations. Sheng di huang is the root washed and dried without further processing, either sun-dried or gently oven-dried until brittle. Shu di huang is the root steamed, traditionally with rice wine, for an extended period, then dried; the steaming darkens the root and changes its character.
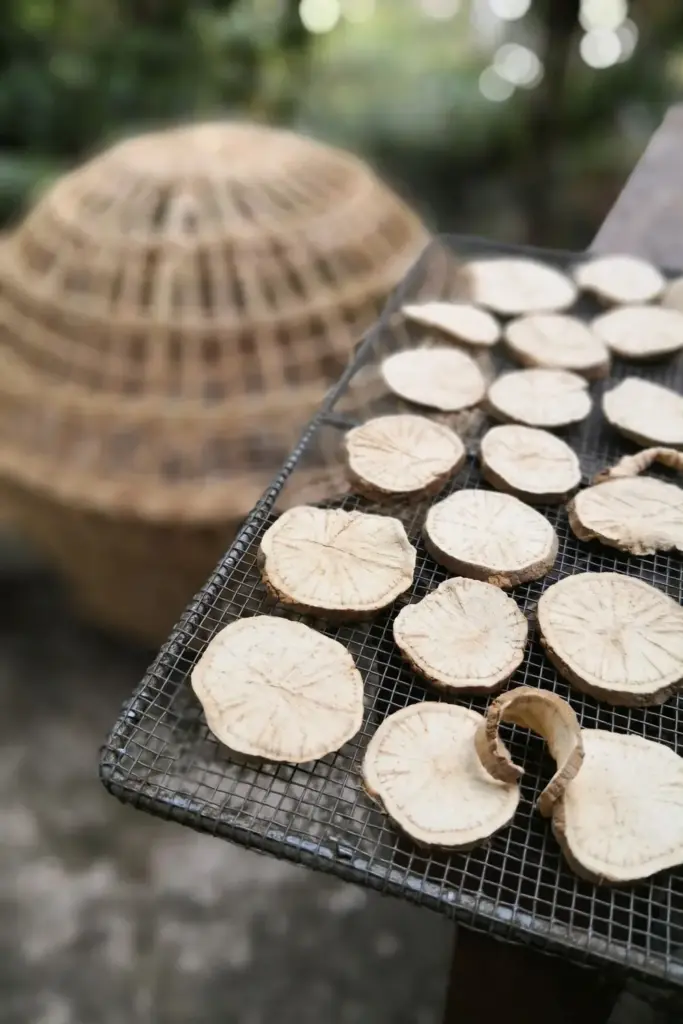
The distinction matters to a grower because it decides your post-harvest work. If you want the dried form, slice roots 5 to 8 mm thick for even drying and dry them at 40 to 50 degrees Celsius until they snap. The steamed preparation is a multi-day traditional process that most home growers reasonably leave to specialist producers; growing the root well is already the hard part. Make no health claims about either preparation; this guide covers cultivation only.
Troubleshooting: When Rehmannia Struggles
Seedlings damp off at the soil line. This is Rhizoctonia doing what the research describes, and the fix is prevention: sterile mix, bottom watering, airflow, and no overcrowding. Once a seedling has collapsed, it does not recover; start fresh with cleaner conditions.
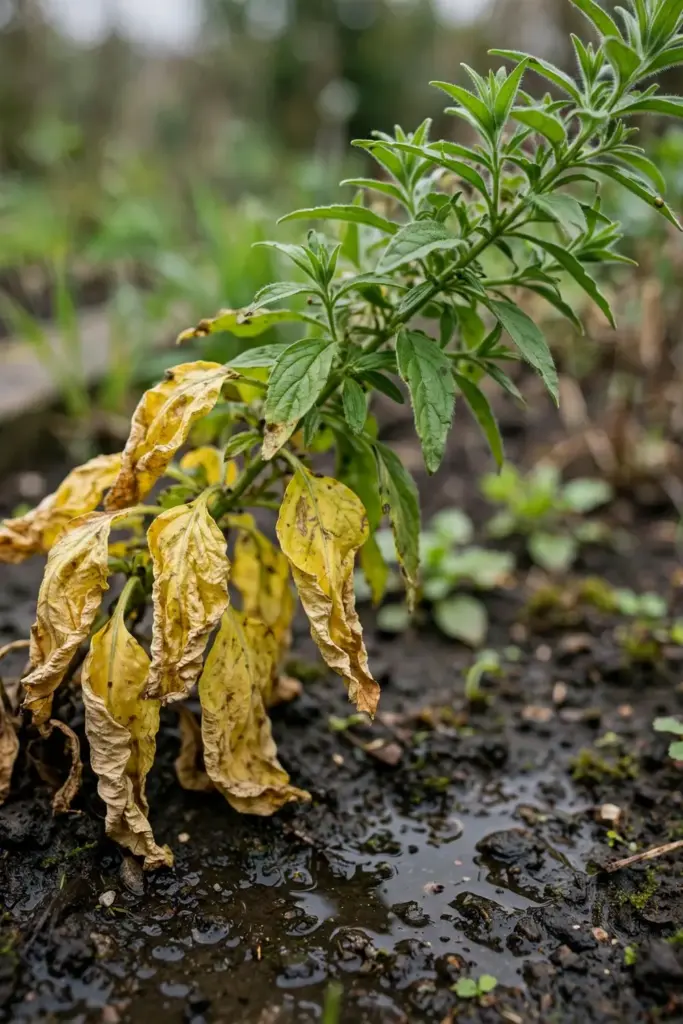
Leaves yellow in summer while the soil is moist. Check drainage before you check fertilizer. Waterlogged roots cannot take up nutrients no matter how much you feed, and the answer is almost always to improve the drainage or move the plant, not to add nitrogen.
The plant survives winter but never thrives. You are likely at the cold edge of its range. Treat it as the container plant from Step 8, give it the protected winter rest, and accept that zones 7 and colder will always be a compromise for this species. A plant that merely survives still divides and still yields roots.
Flowers appear but roots stay thin. Flowering costs energy, and a young plant that blooms heavily is spending its budget above ground. Snip the flower stalks in the first two years to redirect that energy into the tuberous roots; let it bloom freely once the planting is established.
No germination after a month. Old seed is the usual cause. Rehmannia seed loses viability in storage faster than most garden seeds, so buy fresh each season and sow promptly. As a backup, try a second sowing with bottom heat at a steady 20 degrees Celsius.
Frequently Asked Questions
From seed, plan on 24 to 36 months before the tuberous roots reach a worthwhile size, because the first year builds the plant and the second and third years build the roots. Divisions and root cuttings shorten this dramatically, often giving harvestable roots in a single growing season. Commercial annual field culture harvests after 160 to 170 days, but that system optimizes for field tonnage, not the dense roots a home gardener wants.
The names overlap messily, which is exactly why the species table above exists. True Di Huang is Rehmannia glutinosa. Much of what is sold as ornamental “Chinese foxglove” is Rehmannia elata or Rehmannia angulata, different species grown for flowers. None of them is Digitalis, the true foxglove. When buying, insist on the full Latin binomial on the label and buy medicinal-herb stock, not ornamental seed, if roots are your goal.
Rehmannia glutinosa is reliably hardy in USDA zones 8 to 11, where winters stay mild enough for the tuberous roots to rest in the ground. In zones 7 and colder, grow it in a container and overwinter the pot in an unheated garage, cold frame, or greenhouse at 2 to 10 degrees Celsius. Cold-climate growers can also treat it as an annual, though a single season of seed-grown plants will not yield a root harvest.
Yes, and for cold-climate growers a pot is the best strategy rather than a compromise. Use a container at least 30 cm deep with a gritty, fast-draining mix, keep it outdoors from late spring to early autumn, then move it under cover before hard frost for its winter rest. Repot and divide every two to three years. Container roots harvest on the same late-October schedule as bed-grown plants and wash cleaner.
Both come from the same Rehmannia glutinosa root. Sheng di huang is the root washed and dried without further processing. Shu di huang is the root steamed, traditionally with rice wine, over an extended period and then dried, which darkens it and changes its character. The distinction is processing knowledge, not medical advice. Home growers can dry roots themselves; the traditional steaming process is usually left to specialist producers.
The most common cause is damping off, a fungal collapse at the soil line driven by the same Rhizoctonia that troubles field plantings, and it strikes in wet, crowded, airless conditions. Prevention is sterile seed-starting mix, bottom watering, good airflow, and prompt thinning. Old seed is the second cause; rehmannia seed loses viability in storage, so buy fresh each season. Seedlings that collapse do not recover, so restart with cleaner conditions rather than nursing the dead.
Where to Go From Here
You now have the full arc of how to grow Rehmannia glutinosa: the right species in the packet, one protected winter for the seedlings, a drained bed or a deep pot, lean feeding, and an honest harvest calendar measured in years, not weeks. Start with fresh seed this season or a division from a fellow grower, and let the plant teach you its pace.
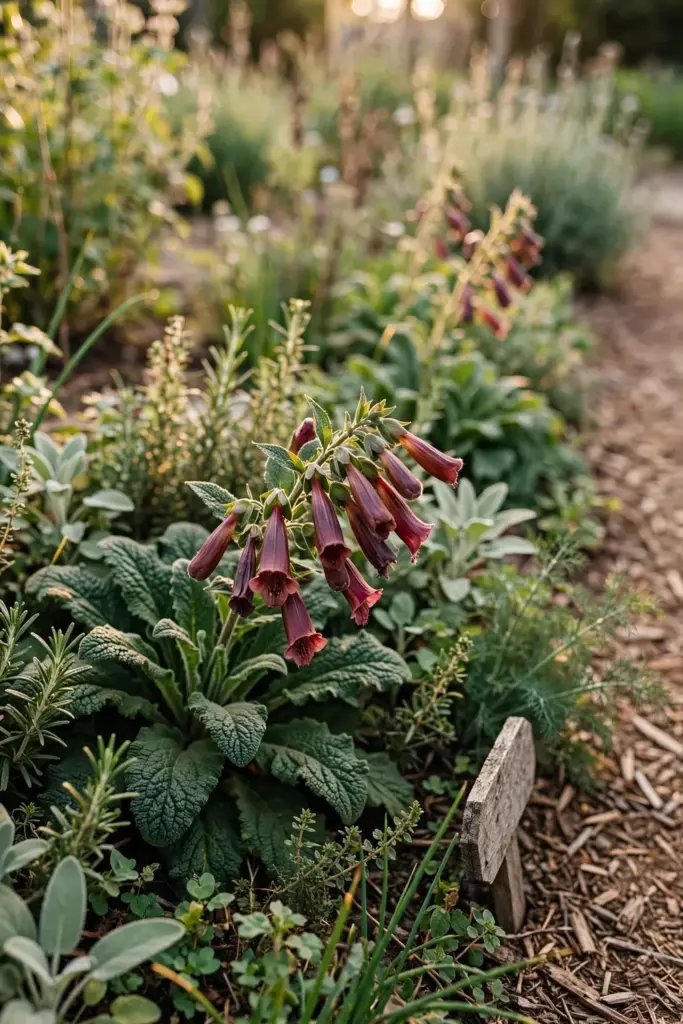
If herbs are becoming a habit, our fall herbs to plant guide covers the seasonal companions that share rehmannia’s bed, and fall blooming perennials will keep the same border interesting after the rehmannia foliage yellows. For the seed-starting shelf itself, the best seeds for fall planting list keeps the trays full year-round.