
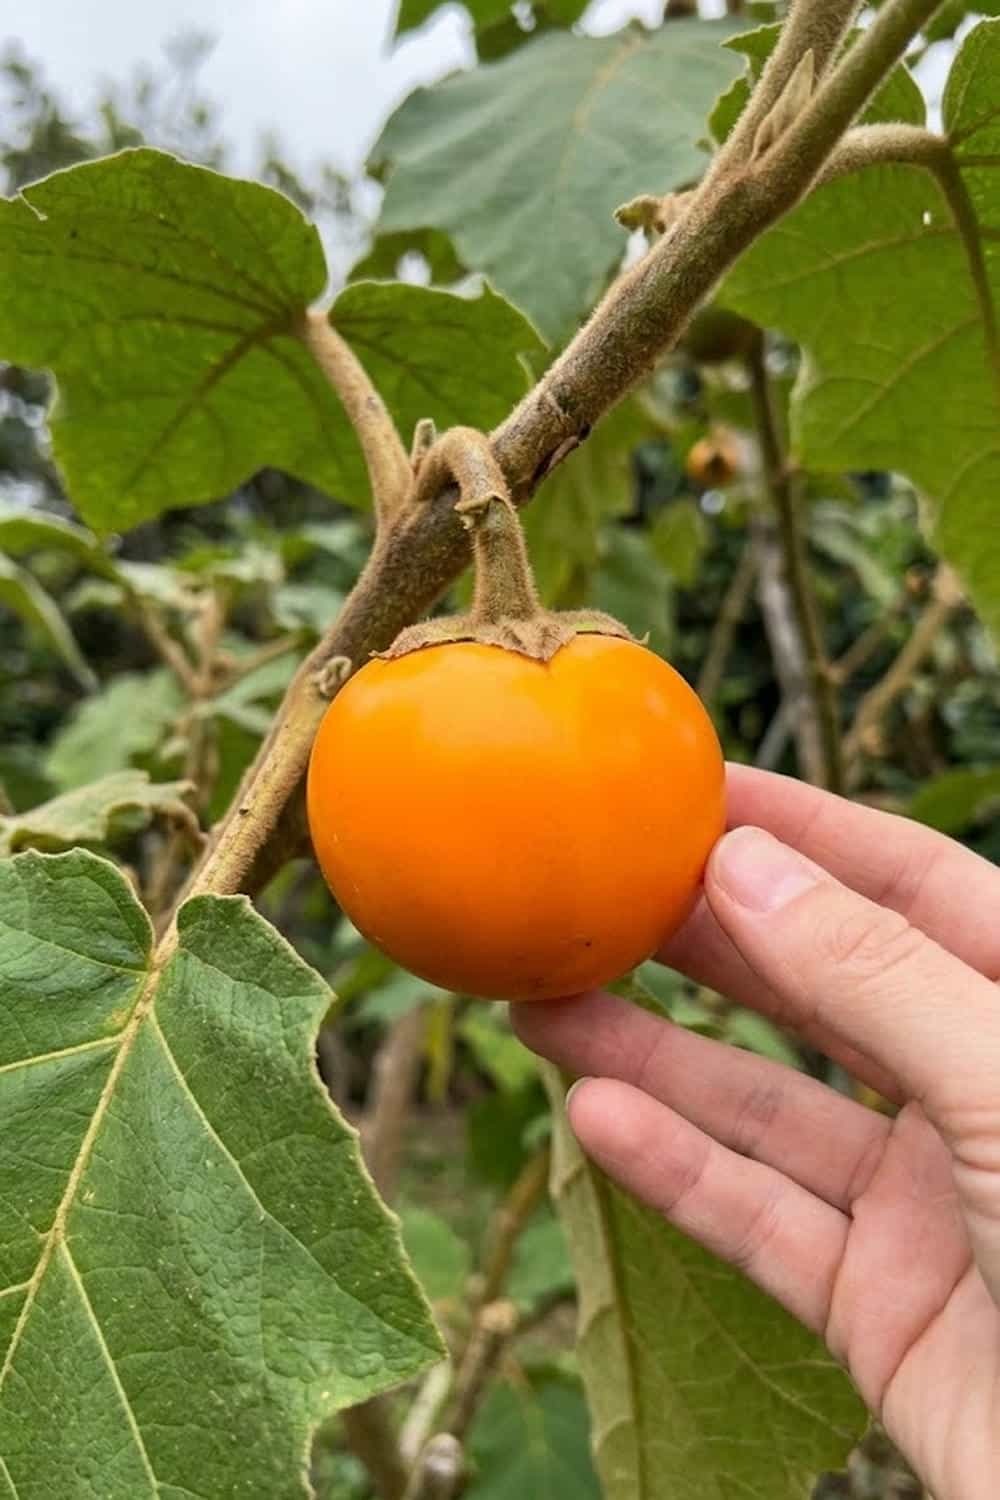

You love exotic flavors, but you’re tired of the same old tomatoes and peppers in your backyard patch. You crave the challenge of cultivating something unique, yet every attempt at non-native plants leaves you with wilting leaves and no fruit. It’s frustrating when your passion for gardening doesn’t result in that impressive, tropical harvest you see online. I’ve been there, and I know exactly how that feels. The good news is that mastering the unique needs of Solanum quitoense isn’t impossible. In this guide, I will share the precise 17-step masterclass I developed to ensure you successfully cultivate robust Naranjilla plants and finally enjoy that tangy, green-pulped reward.
1. Select the Right Solanum quitoense Variety for Your Climate
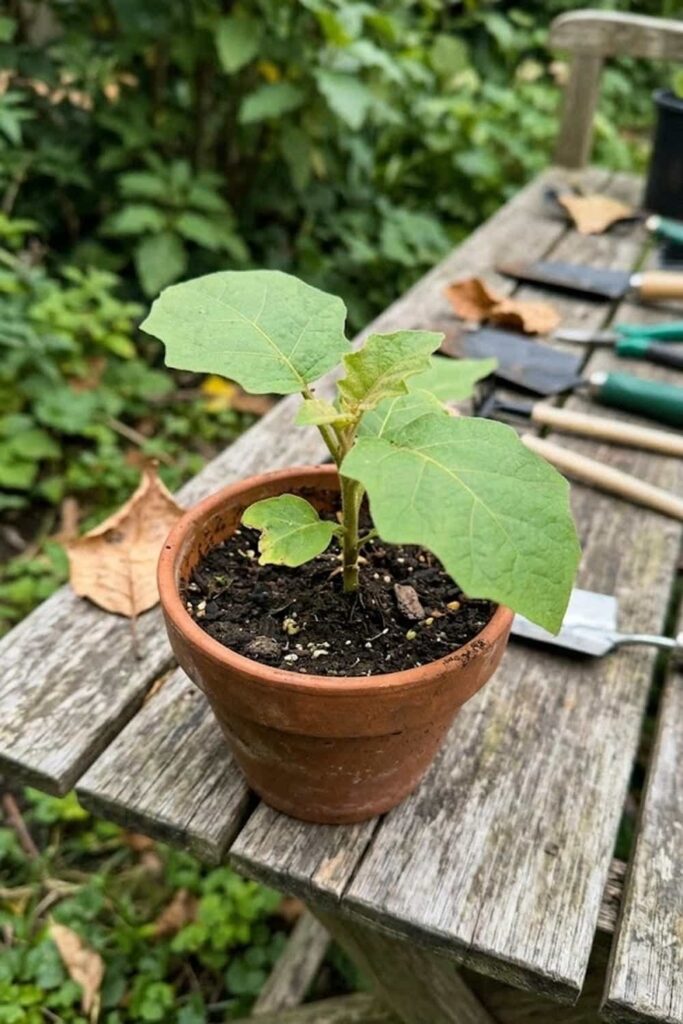
Cultivating Naranjilla successfully starts with choosing the appropriate botanical variety. I made the mistake of ignoring this once and my harvest suffered. You need to understand that Solanum quitoense presents two primary distinct forms. The first is Solanum quitoense var. quitoense, a domesticated variety known for its spineless nature. This variety is often favored in home gardens for easier handling. The second form is Solanum quitoense var. septentrionale, which retains prominent spines on the leaves and stems. In my experience, the spiny variety can sometimes show slightly more vigor, but it requires much more careful Protection during maintenance. Furthermore, newer cultivars are emerging that offer slightly better heat tolerance, which is critical if you are not growing in a perfect subtropical environment. Assess your personal need for ease of handling against the potential for marginally improved robust growth before making your selection.
2. Mix the Perfect Acidic Soil for Root Health
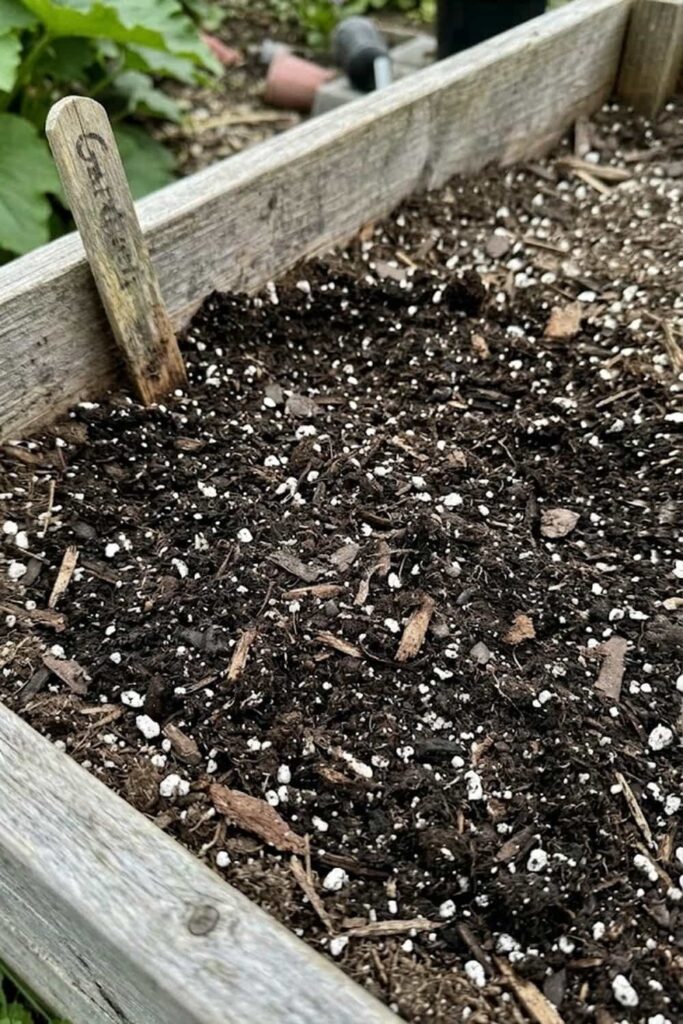
You absolutely cannot plant Naranjilla in standard, heavy clay soil and expect success. These plants demand highly specific Soil Mix conditions that reflect their native Andean environments. I can’t emphasize enough that providing perfect Drainage is the single most critical factor for root health; these roots are highly susceptible to rot in saturated conditions. They thrive in loose, loamy, and highly organic matter (like aged Compost and peat moss). Crucially, the soil pH must remain in the acidic range, ideally between 5.5 and 6.5. If your soil is alkaline, you will experience nutrient lockout, and the plant will decline. A mix that has worked wonders for me is one part high-quality potting soil, one part peat moss (for acidity and moisture retention), and one part coarse sand or perlite (for aeration). Check out this chart I put together detailing the core soil components and their specific functions to help you create the ultimate environment.
Essential Lulo Soil Components
| Component | Function | Ideal Percentage |
| Peat Moss / Coir | Aeration, Acidity retention, Watering efficiency | 30–40% |
| Aged Compost | Fertilizing nutrients, Microbiome health, Mulching alternative | 30% |
| Perlite / Coarse Sand | Perfect Drainage, Oxygenates the Soil Mix, Prevents compaction | 20–30% |
| Pine Bark Fines | Long-term structure, Increases acidity, Aesthetic Mulching | 10% |
3. Optimize Light Levels to Prevent Leaf Scorch
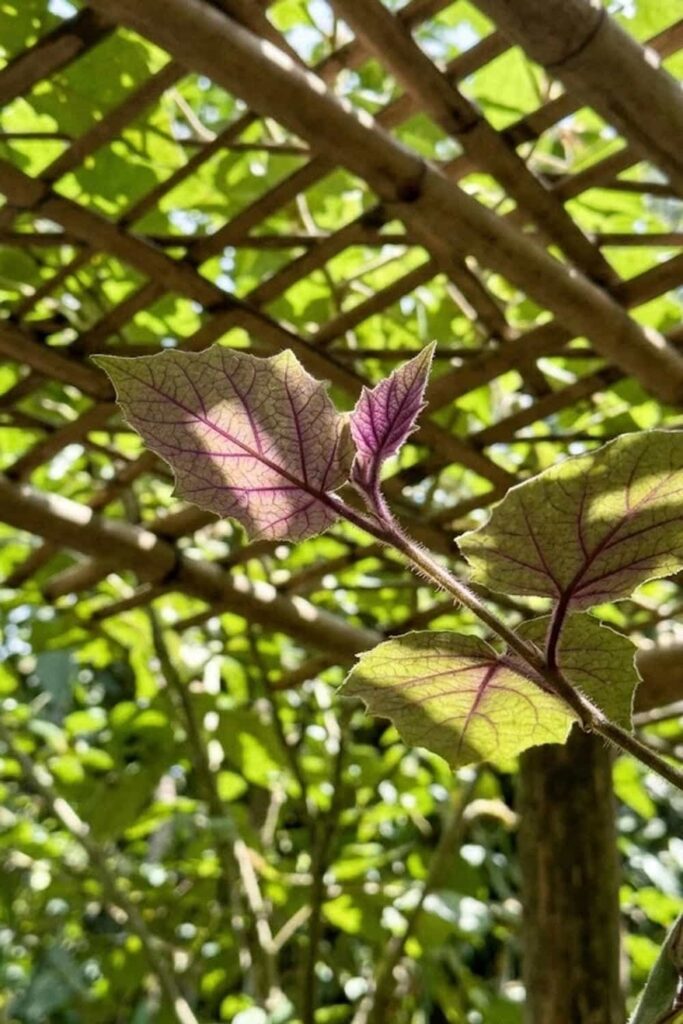
Mastering the Light requirements is one of the most critical steps in figuring out how to successfully cultivate this unique Andean species. Unlike many tropical fruits that crave intense, all-day sun, the Naranjilla (Solanum quitoense) is a cloud-forest understory plant. You must provide bright, filtered, or indirect light; direct midday sun will quickly cause severe leaf scorch, a significant problem I see in many novice growers. When exposed to harsh rays, the large, fuzzy leaves, which are rich in moisture, transpirationally collapse. However, you also cannot relegate it to deep shade, as it needs adequate energy for vigorous growth and fruit production. I strongly recommend placing your plants where they receive gentle morning sun but are protected by dapple-shading (using 40% shade cloth or the canopy of a larger, established tree) from 11:00 AM onwards. Achieving this specific environmental balance—bright but gentle—is the secret I used to ensure robust foliage and zero sunburn.
4. Master the 24-Hour Seed Germination Soak
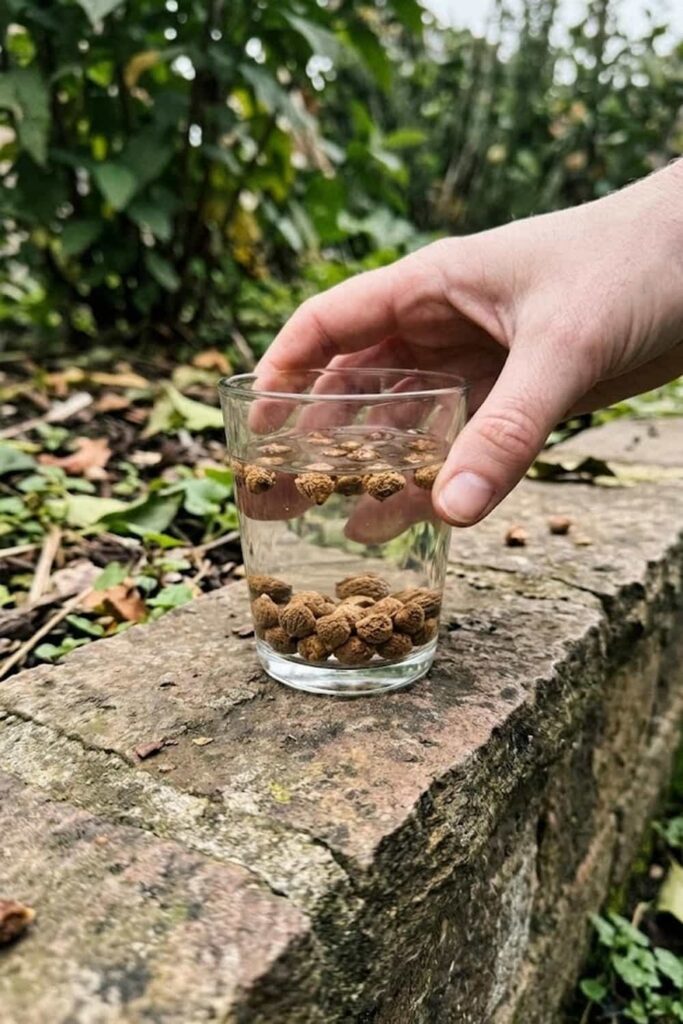
Starting your Solanum quitoense journey from seed is rewarding, but you must overcome the initial challenge of erratic and slow germination. I discovered that Naranjilla seeds have a physical dormancy that requires specific techniques to break. When I first started, I simply planted them and waited weeks with no results. The key I found that changed everything is a precise, pre-Plant Monitoring step: the 24-hour hydration soak. I strongly recommend placing your seeds in a shallow dish of warm (not hot), distilled water or a very weak compost tea for exactly 24 hours before sowing. This process helps to soften the seed coat and initiate enzymatic activity. Furthermore, for maximum success, you must ensure the soil Temperature remains consistently between 75°F and 80°F (use a seedling heat mat) and that you Labeling each tray clearly. Follow these steps and you will see sprouts much sooner than you expect.
5. Control Humidity with DIY Ventilation Systems
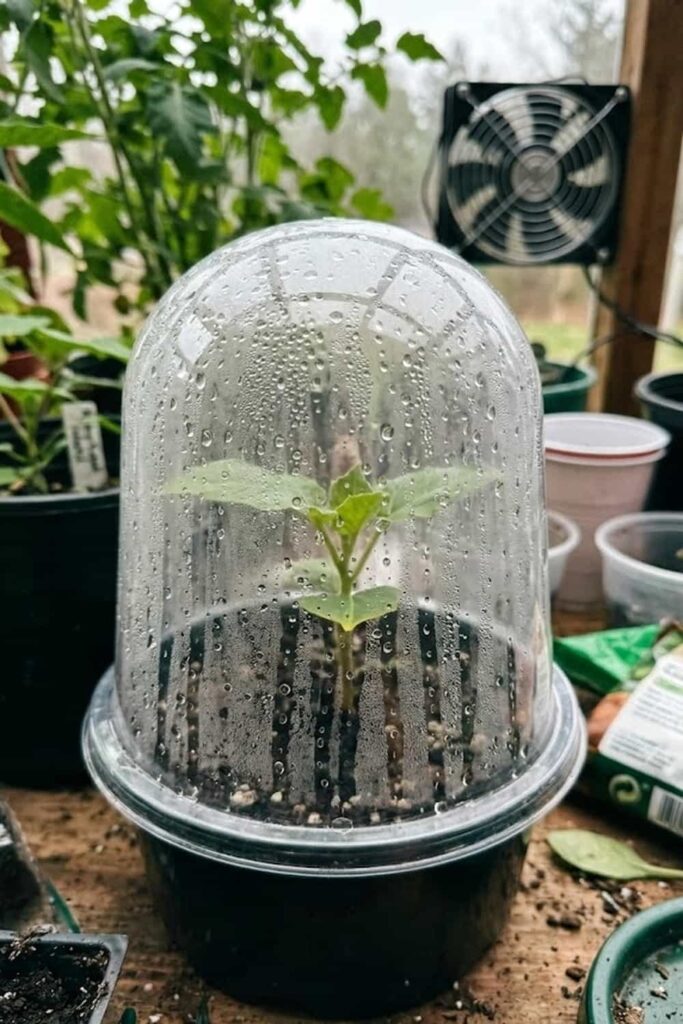
Successfully knowing How to grow Lulo fruit (Solanum quitoense) involves mastering the atmospheric conditions. These plants are native to the highly humid Andean cloud forests, where ambient moisture rarely drops below 70%. When I first tried to cultivate them outside this perfect environment, the massive leaves immediately showed stress, turning dry and crispy at the edges. You must commit to providing high Humidity, but you also need proper air exchange. I learned that simply misting isn’t enough; you need to create a microclimate. A simple, yet effective DIY solution I’ve used involves a humidity dome (or a clear plastic bag over a pot) for seedlings. As they grow, I introduce a fan to enhance Ventilation. This combination of high moisture and active airflow prevents water from stagnating on the fuzzy leaves, which is the primary cause of devastating fungal wilt. Achieving this balance—moist air, dry leaves—is crucial for their survival.
6. Establish a Consistent Watering Schedule
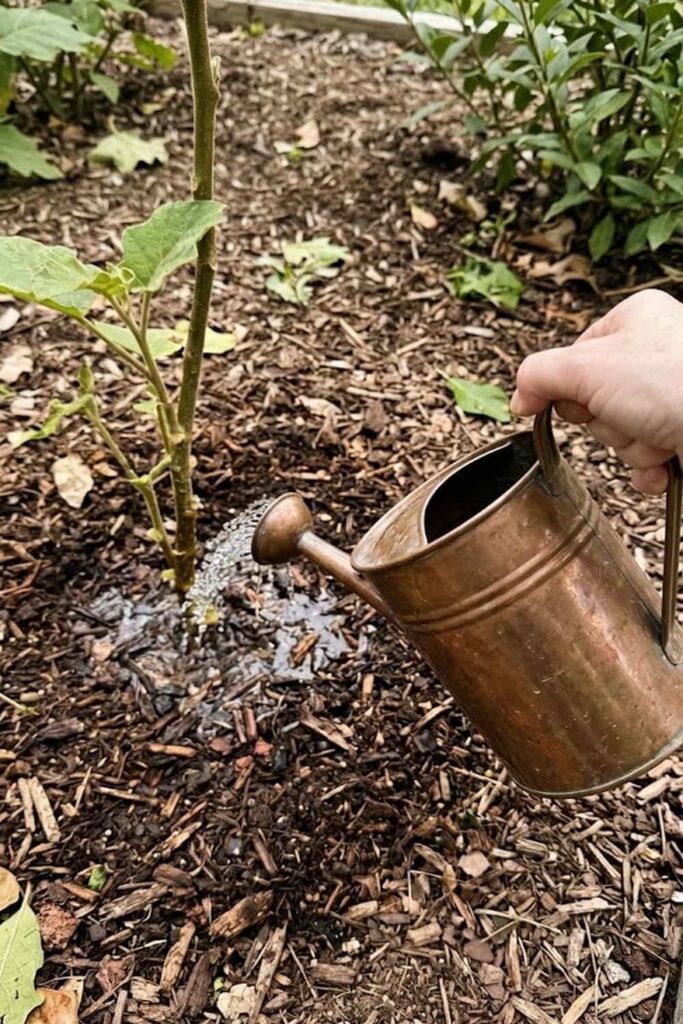
When I first started focusing on how to successfully cultivate this delicate Andean species, I nearly killed my plants by treating them like desert cacti. You must understand that Solanum quitoense requires a highly consistent Watering approach that favors constant, uniform soil moisture. These are not drought-tolerant plants; allowing the Soil Mix to dry out completely will cause immediate leaf droop and stress, which significantly impacts fruit production later in the season. However, you also cannot swing to the other extreme and leave the roots in soggy, anaerobic conditions, as this leads to fatal root rot—a major Problem for many gardeners. The secret I discovered is to use deep Watering less frequently, rather than shallow Watering daily. I always check the top inch of soil; if it feels slightly dry, it’s time. For container plants, a simple, rustic moisture meter can offer precise Monitoring. Establishing this predictability is the cornerstone of robust health for your Lulo.
7. Apply Organic Fertilizing Techniques for Fruit Set
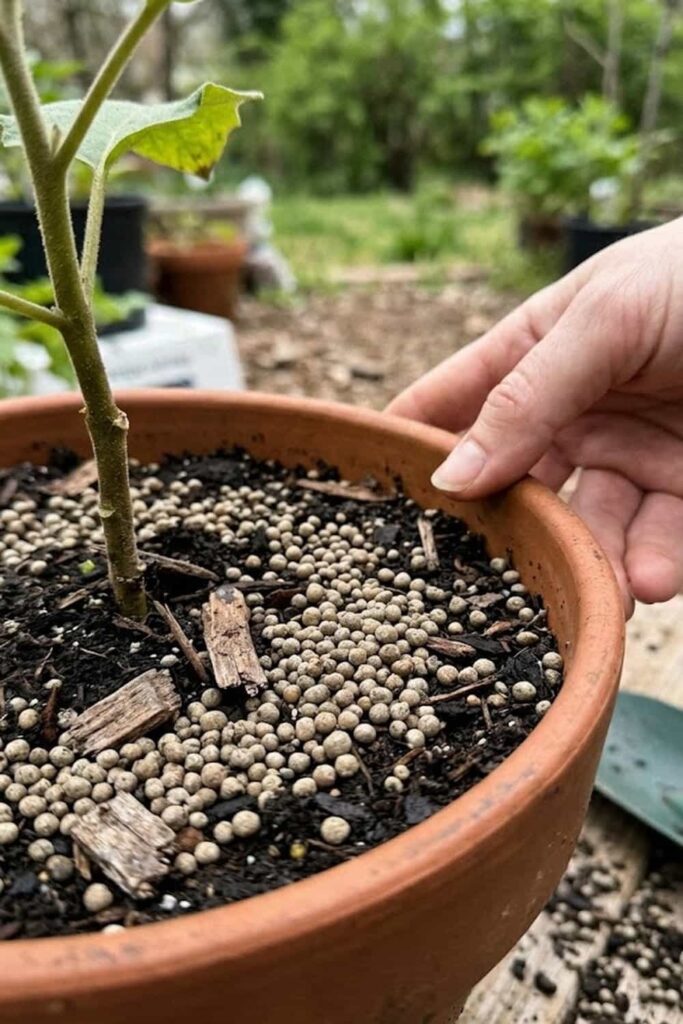
When it comes to feeding, you need to understand that the Lulo plant is a remarkably “heavy feeder” that requires strategic nutrient application. This isn’t a “set it and forget it” situation; if you want that distinctive green-pulped harvest, you must commit to a precise Fertilizing schedule. My success with this Andean exotic significantly increased when I moved away from harsh synthetic blends and embraced slow-release organic inputs. I discovered that a young, vegetative plant requires more nitrogen for leaf growth, but once it reaches maturity and begins Harvesting energy for reproduction, its needs shift dramatically toward phosphorus and potassium. Applying an excessive amount of nitrogen at this stage—a major Problem I see in many novice Gardening plans—will give you robust foliage but zero flowers. Instead, use a balanced organic granular fertilizer at Plant and supplement with monthly applications of liquid seaweed to enhance fruit set and stress Protection. This balanced approach ensures sustainable energy for the entire season.
8. Prevent Root-Knot Nematodes Naturally
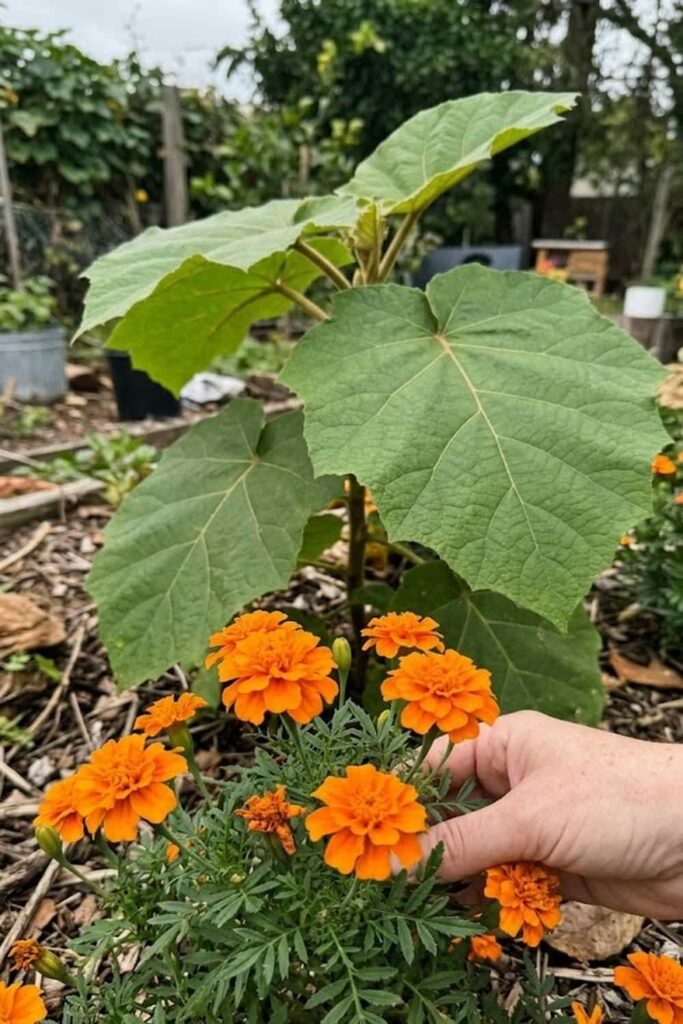
I need to warn you about the single most significant underground threat you will face when figuring out How to grow Lulo fruit (Solanum quitoense) in many regions: the root-knot nematode. These microscopic soil parasites are devastatedly effective; they infect the root system, causing severe galling that compromises the entire plant’s Watering and nutrient uptake. I nearly lost my entire first Naranjilla crop before I realized they were suffering from a heavy nematode infestation, a major Problem that is often misdiagnosed as nutrient deficiency. You cannot wait for symptoms—like sudden stunting or non-responsive wilting—to appear; you must prioritize preventative Pest Control from day one. In my experience, the most effective natural defense is to incorporate extensive companion planting with specific French Marigolds (Tagetes patula), which release a chemical that is toxic to the parasites. Integrating this simple, organic Protection layer is the key to safeguarding your Lulo’s long-term health.
9. Protect Plants from Frost and Cold Snaps
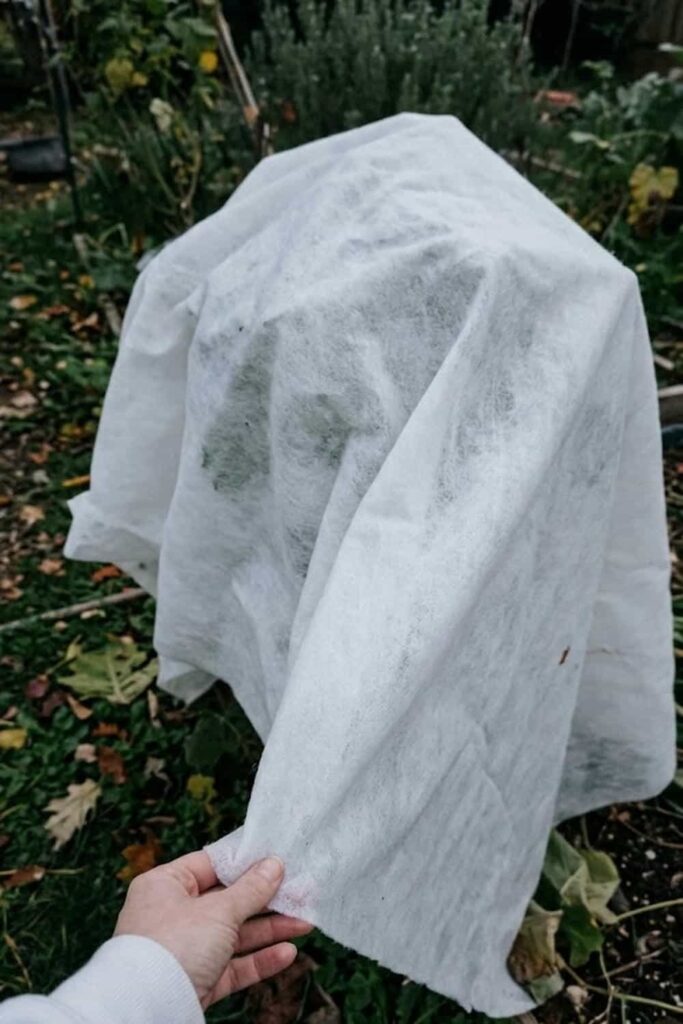
This section is for those of you who, like me, do not live in a true tropical zone: you must have a proactive plan for cold Protection. I cannot emphasize enough that Solanum quitoense is extremely frost-sensitive; temperatures dipping even slightly below freezing (32°F) will irrevocably damage or kill the entire plant. You will see those massive, beautiful leaves transpirationally collapse and turn black overnight. I made the painful mistake of miscalculating an early frost and lost mature, fruiting shrubs—a major Problem for any Northern Gardening plan. If you are growing in a region with defined winters, you need to commit to a proactive strategy. This involves Repotting your Lulo into a large container that can be easily moved. As soon as night temperatures consistently fall below 45°F, you should move it indoors to a bright windowsill or a temperature-controlled greenhouse to ensure its survival.
10. Prune for Airflow and Fruit Accessibility
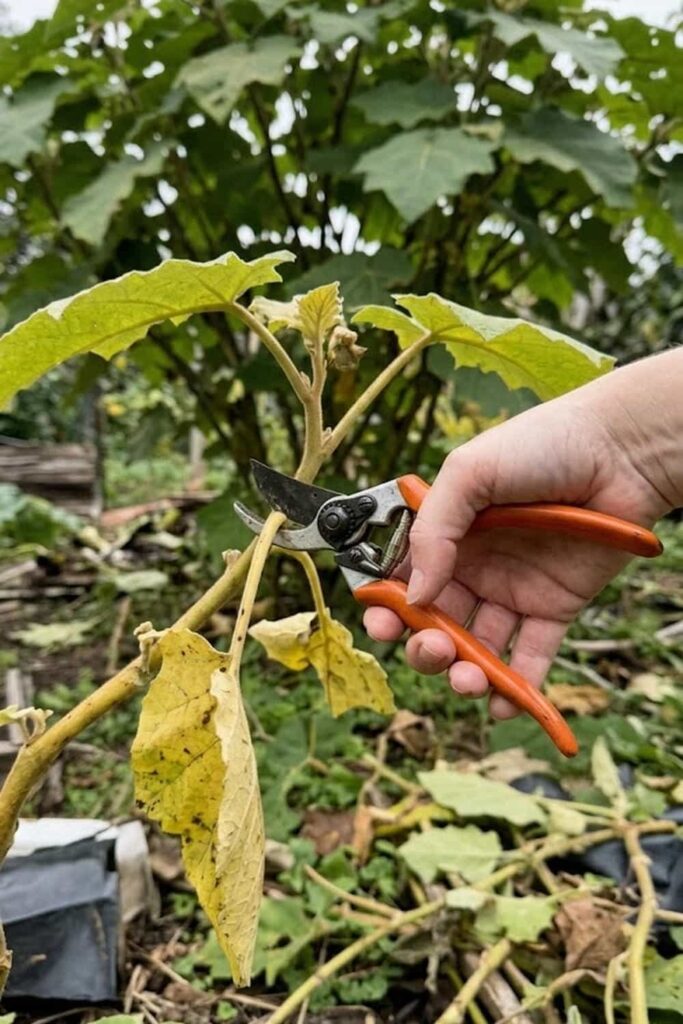
I discovered that failing to prune a Lulo is a massive Gardening mistake. Without strategic intervention, Solanum quitoense develops into an unmanageable, incredibly dense, and lethal jungle of prickly stems and massive leaves. You must understand that this excessive growth compromises your success by blocking light and reducing crucial Ventilation, creating a major stagnation Problem that invites disease. When I first let my Naranjillas grow wild, I found that I couldn’t access the inner fruit without sustaining significant scratches, and the harvest itself was often smaller due to low light penetration. The solution is simple: you must proactively Prune for structure and access. Focus on Pruning out the low-lying, unproductive branches (the “suckers”) and thinning the center canopy to ensure sunlight can reach the developing flowers. This disciplined Care ensures you get a robust, high-quality, and painless Harvesting experience.
11. Support Heavy Branches with Stakes
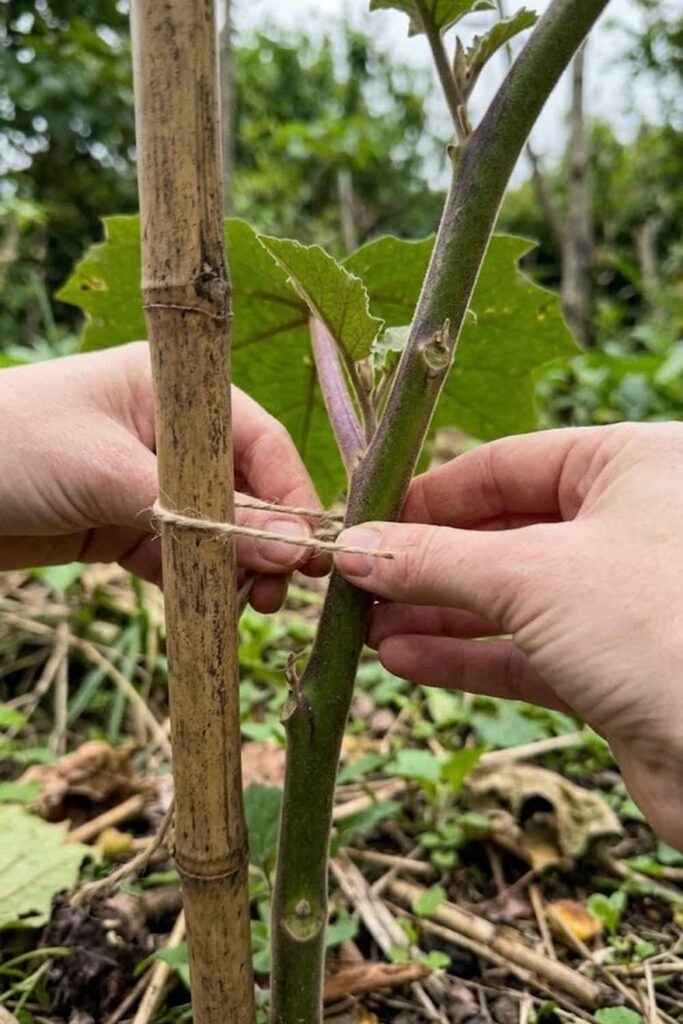
You must understand that a healthy Lulo plant is not a self-supporting structure; it is a sprawling, vigorous shrub that requires mechanical aid. When I first succeeded in knowing How to grow Lulo fruit (Solanum quitoense) to a significant size, I made the major mistake of ignoring structural support. As the fruit load increased, several massive, central branches snapped under their own weight, a devastating Problem that instantly ruined months of careful Care. You will quickly discover that the dense, green-pulped fruits are remarkably heavy. I have found that providing a robust stake—using bamboo or rebar—at Plant and proactively securing the main stems is non-negotiable. Furthermore, using soft garden twine to Staking branches prevents them from breaking during high Ventilation events or heavy Watering, ensuring your complete Protection against a physical collapse. Don’t wait; secure your structure before the heavy Harvesting begins.
12. Create a Microclimate Using Organic Mulching
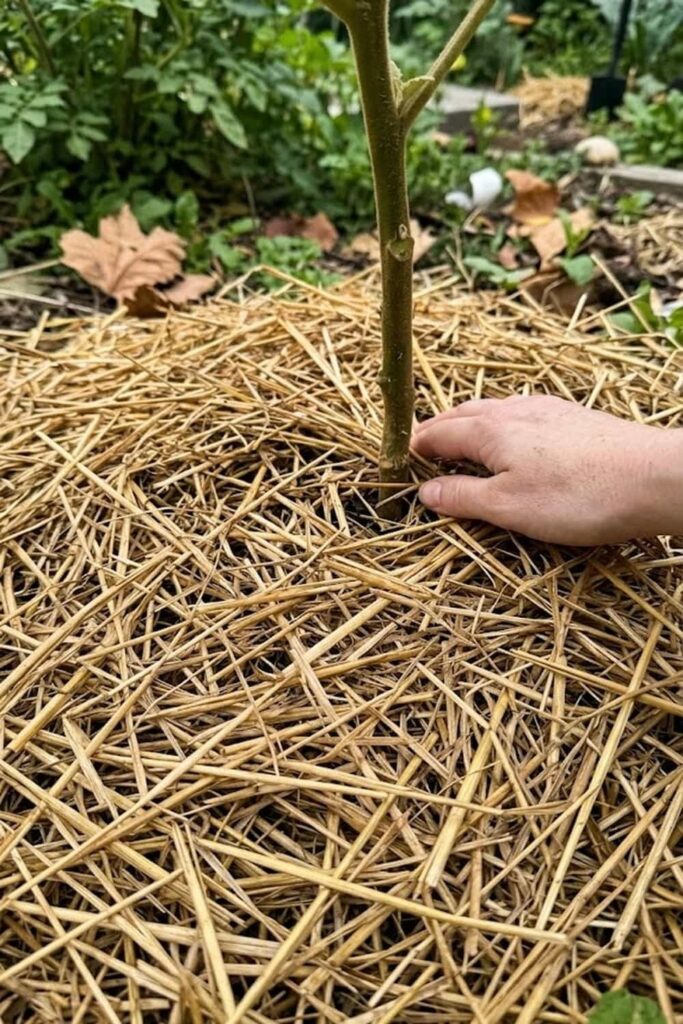
You cannot succeed with this delicate Andean species by leaving the soil exposed; you must mimic the cool, humid understory of the cloud forest. In my extensive Gardening experience, applying a robust layer of organic Mulching is a foundational step in mastering its complex Care. I discovered that Naranjilla (Solanum quitoense) has a remarkably shallow, sensitive root system that cannot tolerate extreme Temperature fluctuations or significant moisture loss, a common Problem that is often misdiagnosed as disease. A 3-to-4-inch layer of organic material—like aged Compost, shredded bark, or straw—acts as a critical barrier against the environment. This simple, effective technique keeps the root zone consistently cool, significantly reduces Watering demands, and provides slow-release Fertilizing nutrients as it decomposes. Integrating this organic solution is essential for creating the stable, fertile microclimate your Lulo demands for survival.
13. Implement Disease Control for Fungal Wilt
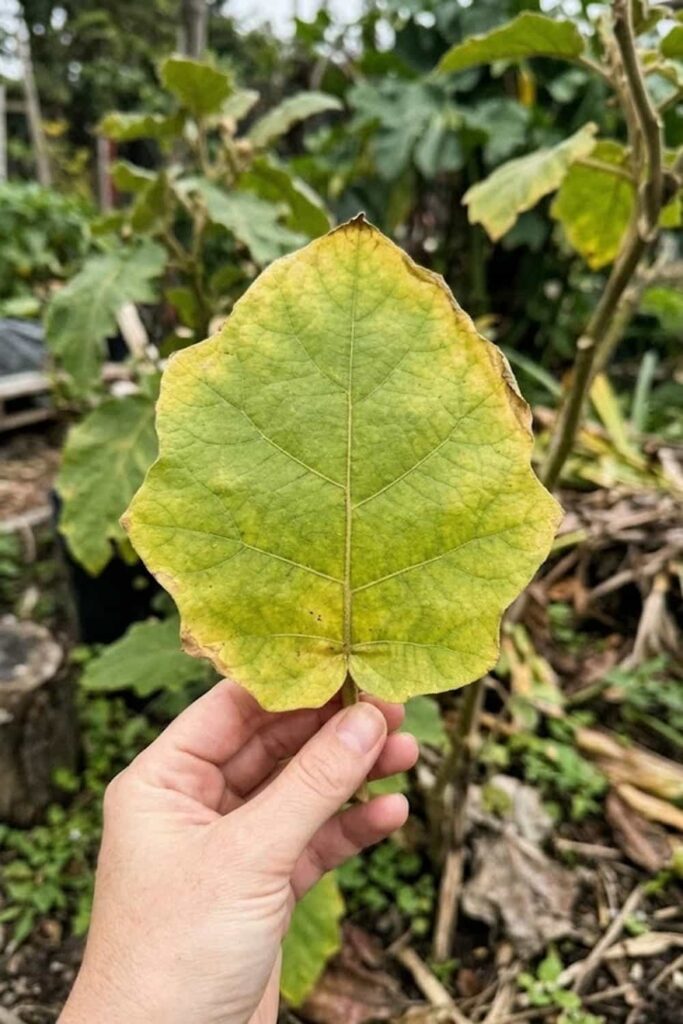
I need to warn you about the single most devastating disease you will likely encounter when cultivating the Lulo: fungal wilt, often caused by Fusarium species. This devastating pathogen attacks the plant’s vascular system, causing sudden, non-responsive Wilt—a major Problem that I see in many novice Gardening attempts. I made the painful mistake of overwatering early on, creating perfect, anaerobic conditions for the fungus to thrive and losing several robust shrubs, a major setback in my Care schedule. You will quickly discover that Fusarium is exceptionally difficult to control once established. The solution is strictly preventative: you must commit to maintaining a healthy microbiome through excessive Drainage and proper Ventilation. Integrating benificial organisms into the Soil Mix and proactive Monitoring for the first sign of stressed foliage will provide the essential Disease Control layer needed to safeguard your Naranjilla crop from this silent killer.
14. Harvest Lulo at the Peak of Ripeness
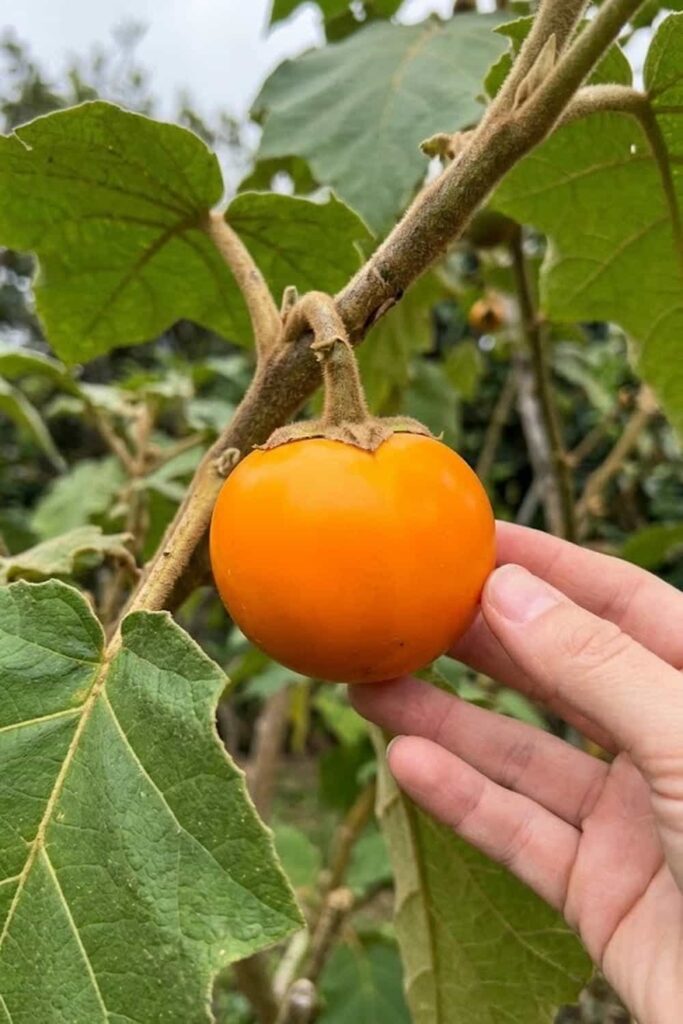
You must understand that knowing exactly When to perform Harvesting is the final secret to enjoying that distinctive green-pulped flavor. Solanum quitoense does not ripen well off the plant, a common Problem that I see many impatient gardeners experience. I made the mistake of picking fruits as soon as they turned yellow-orange, resulting in a tart, flavorless profile. You will quickly discover that the dense, green jelly is only truly sweet when the entire fruit—including the stubborn ‘shoulders’—is a deep, vibrant orange. In my experience, the definitive test is not color, but touch. When I want that perfect harvest, I use the “rub test”: a fully ripe Lulo will easily shed those prickly hairs (trichomes) with gentle pressure. If the hairs are stubborn, don’t pick it. Mastering this patience ensures you get a robust and flavor-rich Harvesting experience every time.
15. Store Fruit to Maximize Shelf Life
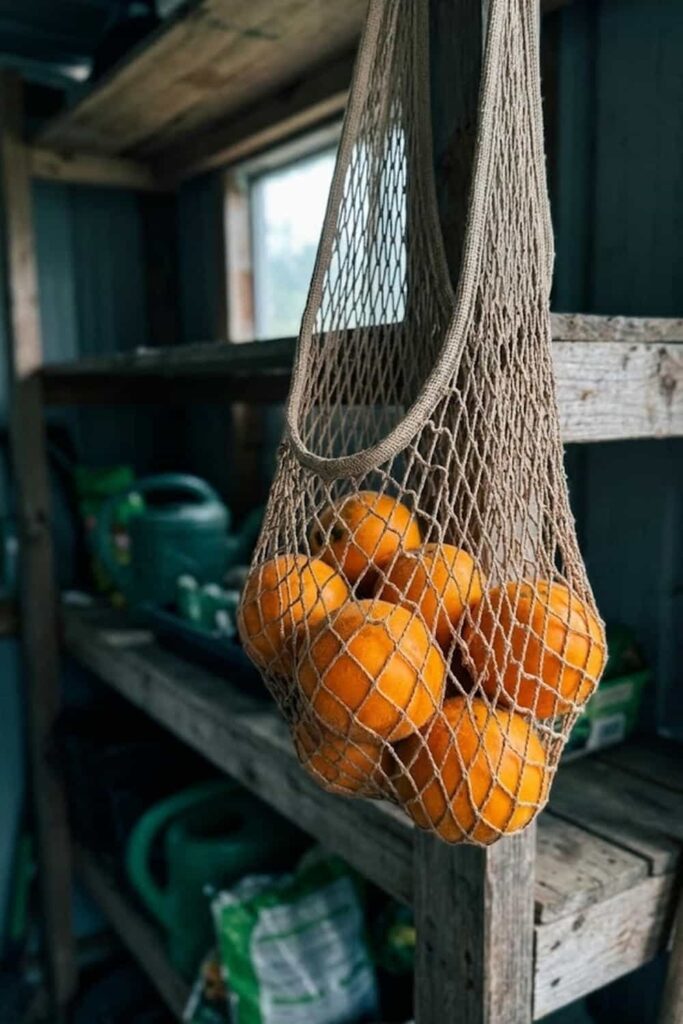
I discovered that a successful Harvesting event is only half the battle; you must understand how to store Solanum quitoense proactively. These exotic fruits have a remarkably high Humidity requirement and a very short shelf life, a major Problem that often leads to disappointment in the kitchen. When I first simply left them on the counter, they collapsed and lost their vibrant flavor profile within days, a critical error in my Storage protocol. You quickly will discover that the green-pulped jelly is highly sensitive to desiccation. In my experience, the definitive method is to prevent any Watering loss. I strongly recommend placing your fully ripe, cleaned Lulos in a mesh bag inside the crisper drawer of your refrigerator, which maintains a stable, cool Temperature and provides complete Protection against moisture loss. Follow this storage secret and you will maximize their incredible flavor for up to two weeks.
16. Propagate via Cuttings for Identical Clones
While growing from seed is an adventure, you must understand that the only way to guarantee an identical, high-performing clone of a specific Lulo plant is through vegetative Propagation. If you discover a truly exceptional specimen—perhaps one with better heat tolerance, fewer spines, or larger, greener-pulped fruit—saving the seeds won’t help, as they will hybridize, a common Problem for collectors. I found my most vigorous Naranjilla line by accident and preserved it entirely through semi-hardwood cuttings. The secret I discovered is to prioritize Humidity over Watering. I strongly recommend taking 6-inch cuttings from healthy, non-flowering branches, applying a rooting hormone, and placing them in a sterile Soil Mix. You will have much greater success by providing complete environmental Protection using a propagation dome to prevent any moisture loss until robust roots Grow, which often takes only three to four weeks.
17. Labeling and Monitoring for Long-Term Growth
I can’t stress this enough in my Gardening experience: failing to keep accurate records is the primary reason passion projects fade, a major Problem that will limit your success in understanding How to grow Lulo fruit (Solanum quitoense). When you manage unique species that require highly complex, microclimate Care, you cannot rely on memory. I made this mistake when starting out and lost track of which plants I was Staking with experimental fertilizers—a major setback in my Monitoring protocols. You quickly will discover that Lulo strains and environmental variables require precise Record-Keeping. I found that a systematic process of Labeling each pot or station with the date planted, the specific source or cultivar name (e.g., ‘Spineless Domesticated’ or ‘High Altitude’), and a simple log of my monthly Monitoring for Pest Control provided the definitive roadmap for repeating my successes year after year.
Common Questions: How to Grow Lulo Fruit (FAQ)
You likely still have a few specific questions about the finer points of Naranjilla Care. In my years of Gardening with this unique species, I have found that while the fundamentals are simple, success lies in mastering the details. I have compiled these definitive answers to the most common queries I receive, leveraging my personal experience to provide you with a reliable roadmap for your Lulo journey.
How long does it take Lulo fruit to ripen?
I get asked this constantly, and the definitive answer is that Lulo fruit typically takes 6 to 10 months from seed to Harvesting, depending heavily on the available heat and Light. While they are robust growers, the green-pulped fruits take a significant amount of time to develop their optimal sugar content and distinctive flavor. My personal experience shows that a plant grown in ideal, stable conditions (mimicking the Andes microclimates) will ripen faster than one struggling with Temperature fluctuations or poor Watering consistency, a common Problem for many gardeners. You will discover that patience is a mandatory virtue when cultivating Naranjilla.
How to grow Lulo fruit from seed indoors?
I pioneered my Lulo cultivation method entirely indoors to provide complete environmental Protection. Knowing How to grow Lulo fruit (Solanum quitoense) from seed indoors is the definitive method for success in cooler climates. I strongly recommend placing your pre-soaked seeds in a sterile Soil Mix designed for seeds (one part peat, one part perlite), using a seedling heating mat set precisely to 78°F. I found my greatest success by providing 14 hours of daily supplemental Light—using a high-quality grow light—and utilizing a humidity dome. Monitoring moisture levels and providing early Ventilation is essential to prevent damping off, ensuring your robust seedlings are ready for the long season ahead.
Best soil pH for growing Naranjilla Lulo plants?
You absolutely cannot ignore soil chemistry if you want success; the ideal pH for growing Naranjilla is highly specific. I have discovered that Solanum quitoense thrives in acidic conditions, specifically between 5.5 and 6.5. My definitive Gardening experiments showed that planting Lulo in alkaline soil (above 7.0) leads to immediate nutrient lockout, presenting as severe interveinal chlorosis (yellowing leaves) and complete failure to set fruit—a major Problem in many suburban patches. If your native soil is alkaline, you must commit to an aggressive Soil Mix strategy, amending heavily with sulfur or using large amounts of peat moss to achieve the mandatory acidic environment for proper nutrient uptake.
How to protect Lulo plants from root knot nematodes?
I discovered early on that Prevention is the only definitive method for safeguarding your Naranjilla against the devastating root-knot nematode. These microscopic parasites infect the root system, causing severe galling that limits the plant’s Watering efficiency and nutrient uptake. If you observe unexpected wilting or stunting, you are likely facing a significant infestation, a major Problem that is difficult to fix. My definitive, organic Pest Control strategy that worked wonders involves incorporating extensive plantings of specific French Marigolds (Tagetes patula), which produce a chemical that naturally suppresses nematode populations. Integrating this biological Care layer into your garden plan provides complete, natural Protection without harsh chemicals.








