Are you tired of the same old root vegetables in your garden? Do you crave a unique, nutty flavor that can elevate your culinary creations? Many gardeners struggle with finding versatile, easy-to-grow crops that provide both nutritional benefits and a distinctive taste. It’s frustrating to invest time and effort into gardening only to end up with lackluster harvests. Imagine if you could effortlessly cultivate a crop that not only thrives in your garden but also adds a gourmet touch to your meals. Well, you can! By learning how to grow Jerusalem artichoke vegetable, you’ll unlock a world of culinary possibilities and enjoy a bountiful harvest. I’m here to guide you through the process, sharing my experience and practical tips to ensure your success.
1. Start with Selecting Healthy Jerusalem Artichoke Tubers

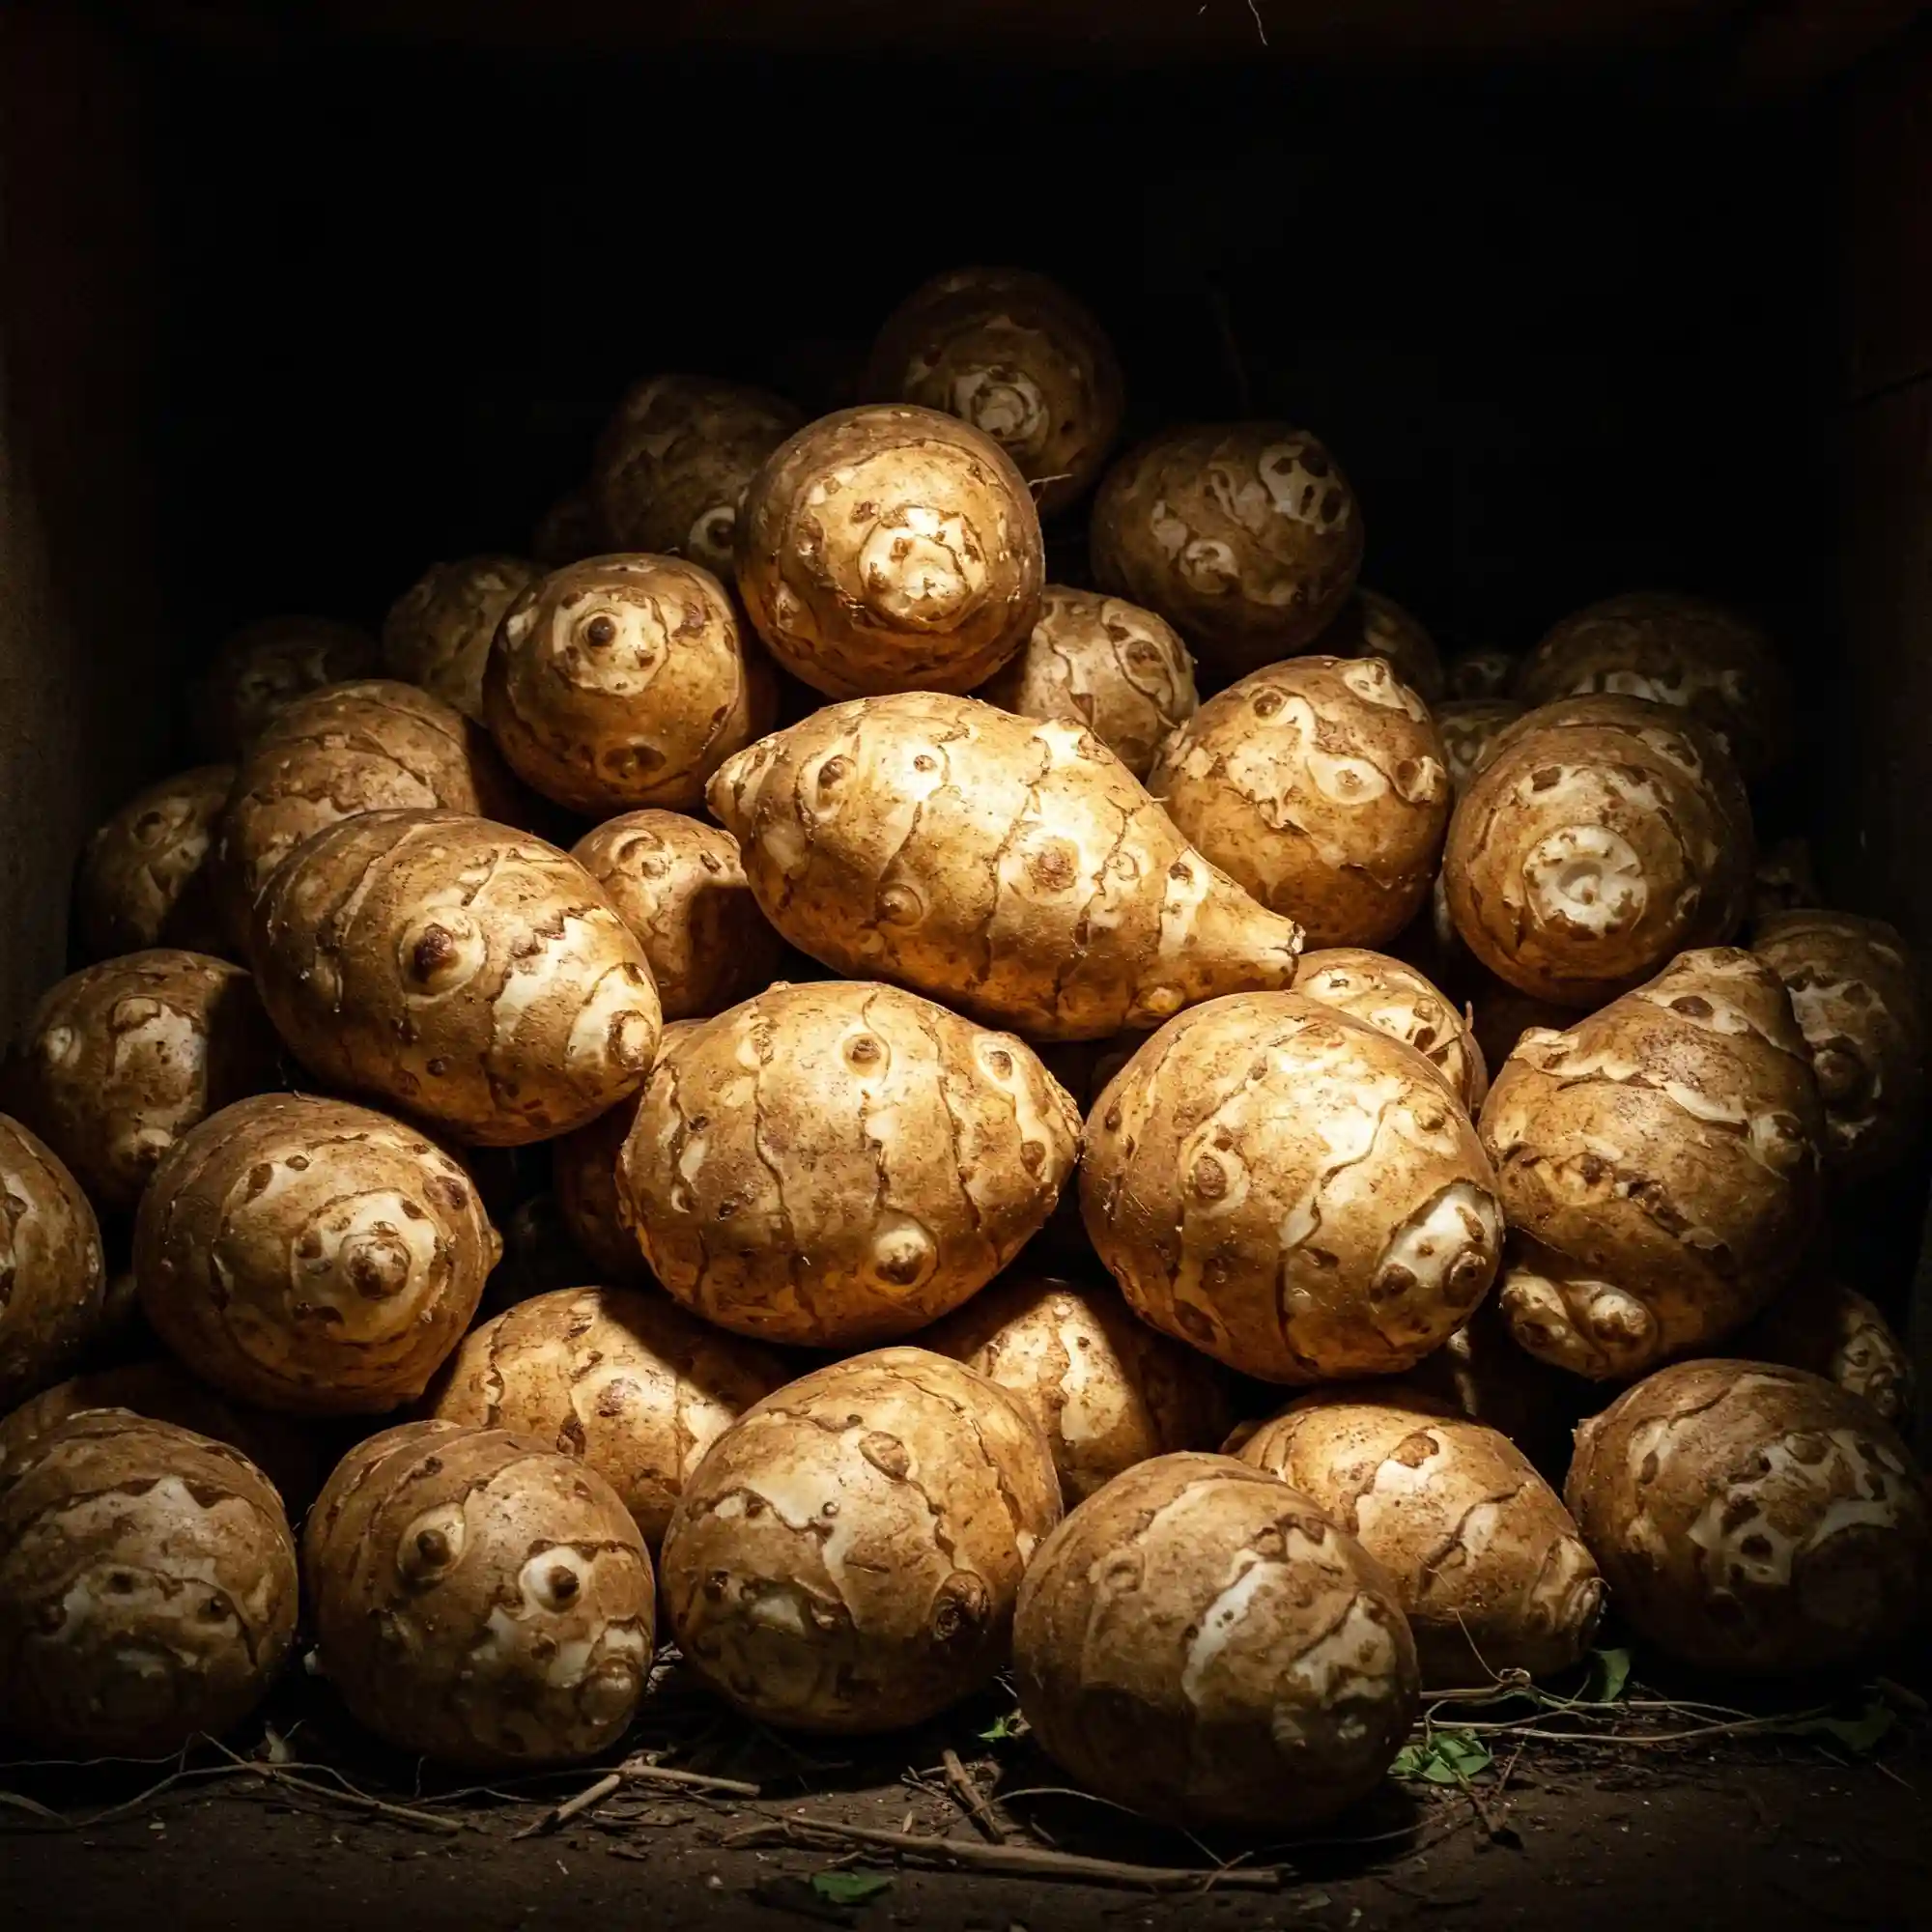
When you embark on your journey to growing Helianthus tuberosus, the first and most crucial step is selecting healthy tubers. You might be wondering, “What exactly does a healthy tuber look like?” Well, let me break it down for you. A healthy Jerusalem artichoke tuber should be firm, plump, and free from any signs of rot or damage. Look for tubers that have visible “eyes” or buds, as these are the points from which new shoots will emerge. The skin should be smooth and intact, without any soft spots or discoloration.
I’ve learned from experience that sourcing quality tubers is just as important as knowing what to look for. You have a few options: your local garden center, online seed suppliers, or even from a friend who already grows them. If you’re buying from a garden center, take the time to inspect the tubers closely. Don’t hesitate to ask the staff about their source and growing practices. When ordering online, choose reputable suppliers with good customer reviews, and ensure they provide photos of the tubers they sell.
Inspecting the tubers for signs of disease or damage is a step you should not skip. I’ve seen firsthand how a seemingly minor issue can quickly escalate and affect the entire crop. Avoid tubers with soft spots, mold, or any signs of decay. If you notice any cuts or bruises, make sure they are superficial and not indicative of deeper damage. Choosing certified seed tubers can provide an extra layer of assurance. These tubers are grown under strict conditions and are inspected for diseases, ensuring you start with the healthiest possible material.
Here’s a quick checklist to help you select the best tubers:
- Firmness: The tubers should feel firm to the touch.
- Eyes or Buds: Look for visible buds that will sprout.
- Skin: The skin should be smooth and free from blemishes.
- No Rot: Avoid tubers with soft spots or mold.
- Source: Choose reputable suppliers or garden centers.
Think of it like this: if you start with strong, healthy tubers, you’re setting the stage for a successful and abundant harvest. I’ve found that taking the time to select the right tubers pays off in the long run. You’ll have healthier plants, a better yield, and fewer headaches down the road.
Case Study: The Impact of Quality Tubers
I once conducted a small experiment in my own garden. I divided my planting area into two sections. In one section, I planted certified seed tubers from a reputable supplier. In the other, I used tubers from a local market that looked okay but weren’t certified. The results were striking. The certified tubers sprouted faster, grew stronger, and yielded nearly twice as many tubers as the non-certified ones. This experience reinforced the importance of starting with the best possible planting material.
Why Certified Tubers Matter
- Disease-free: Certified tubers are inspected for common diseases.
- Genetic Purity: They ensure you’re growing the variety you intended.
- Consistent Yield: They provide a more reliable and abundant harvest.
Practical Tips:
- If you’re unsure about the quality of tubers, ask for advice from experienced gardeners or local experts.
- Consider growing a small test batch first to assess the quality of your chosen tubers.
- When you buy your tubers, make sure you plant them as soon as possible. If you need to wait, put them in a cool dark spot.
By following these guidelines, you’ll be well on your way to a thriving Jerusalem artichoke patch. You’ll be amazed at how much of a difference the right tubers can make.
2. Preparing the Perfect Soil for Your Sunchokes

Just as a foundation is crucial for a sturdy house, the right soil is essential for cultivating healthy and productive Jerusalem artichokes. These sun-loving plants thrive in well-prepared soil that is rich in organic matter and drains well. Think of it as creating a cozy home for your tubers to flourish.
I’ve learned through years of gardening that neglecting soil preparation can significantly impact the success of your Jerusalem artichoke crop. Poor soil can lead to stunted growth, reduced yields, and even disease problems. So, let’s dive into the details of preparing the perfect soil for your sunchokes.
Soil Type:
Jerusalem artichokes are adaptable and can grow in a variety of soil types. However, they prefer loamy soil that is rich in organic matter. Loamy soil is a balanced mix of sand, silt, and clay, offering excellent drainage while retaining moisture. Avoid planting in heavy clay soil, as it can lead to waterlogging and root rot.
Improving Soil Quality:
If your soil is lacking in organic matter, don’t worry! You can easily improve it by incorporating compost or other organic amendments. Compost is a gardener’s gold, teeming with beneficial microorganisms that enhance soil structure and fertility. Aim for a depth of at least 6-8 inches of well-rotted compost or manure.
Soil pH:
Jerusalem artichokes prefer slightly acidic to neutral soil with a pH range of 6.0 to 7.0. You can easily test your soil pH using a home soil test kit, which is readily available at most garden centers. If your soil is too acidic, you can raise the pH by adding lime. Conversely, if your soil is too alkaline, you can lower the pH by adding sulfur.
Preparing Raised Beds:
If you’re gardening in a space with poor drainage, consider creating raised beds. Raised beds provide excellent drainage and allow you to control the soil composition more effectively. Fill the raised beds with a well-draining soil mix that includes compost, sand, and peat moss.
Remember:
- Don’t overwork the soil: Avoid compacting the soil by excessive tilling. Instead, use a garden fork to gently turn the soil.
- Incorporate organic matter: Add compost, well-rotted manure, or other organic amendments to improve soil structure and fertility.
- Test your soil pH: Adjust the pH as needed to ensure optimal growth.
- Consider raised beds: If your soil is poorly drained, raised beds provide a solution.
By taking the time to prepare the perfect soil, you’re laying the foundation for a successful Jerusalem artichoke harvest. Remember, healthy soil equals healthy plants, and healthy plants yield abundant harvests.
3. How to Plant Jerusalem Artichoke Vegetable for Optimal Growth

Now that you’ve prepared the perfect soil for your Jerusalem artichokes, it’s time to plant your tubers. This is a crucial step that will determine the success of your harvest. Timing, depth, and spacing are all important factors to consider.
Timing:
Jerusalem artichokes can be planted in both spring and fall. Spring planting is generally preferred in colder climates, as it allows the tubers to establish themselves before the winter. In warmer climates, fall planting can be beneficial, as it allows the tubers to develop a strong root system before the winter dormancy period.
Planting Depth and Spacing:
The recommended planting depth for Jerusalem artichoke tubers is 4-6 inches. Space the tubers 12-18 inches apart in rows. This spacing allows for adequate air circulation and prevents overcrowding, which can lead to smaller tuber sizes.
Planting Methods:
- Direct Planting: This is the most common method. Simply dig holes in the prepared soil, place the tubers in the holes, and cover them with soil.
- Planting in Raised Beds: If you’re using raised beds, plant the tubers at the appropriate depth and spacing, ensuring that the soil is well-draining.
Additional Tips:
- Eye Placement: Plant the tubers with the “eyes” or buds facing upward. This encourages the tubers to sprout and grow more vigorously.
- Watering: Water the soil thoroughly after planting to ensure good contact between the tubers and the soil.
- Mulching: After planting, consider mulching the soil with a layer of organic matter, such as straw or compost. This helps to retain moisture, suppress weeds, and regulate soil temperature.
By following these guidelines, you’ll ensure that your Jerusalem artichokes are planted correctly and have the best chance of thriving. Remember, proper planting is the foundation for a successful harvest.
In Summary:
- Plant Jerusalem artichoke tubers in spring or fall.
- Plant the tubers 4-6 inches deep and 12-18 inches apart.
- Place the tubers with the “eyes” facing upward.
- Water thoroughly after planting.
- Consider mulching the soil to retain moisture.
By following these simple steps, you’ll be well on your way to enjoying a bountiful harvest of delicious Jerusalem artichokes.
4. Nurturing Your Jerusalem Artichokes Through the Growing Season

Now that your Jerusalem artichokes are planted, it’s time to provide them with the care they need to thrive. This includes regular watering, mulching, and fertilizing.
Watering:
Jerusalem artichokes prefer consistent moisture, especially during the growing season. Water deeply and regularly, especially during dry periods. Aim to keep the soil consistently moist but not waterlogged. Overwatering can lead to root rot, so be mindful of the drainage in your garden.
Mulching:
Mulching is a beneficial practice for several reasons. It helps to retain soil moisture, suppress weeds, and regulate soil temperature. Apply a layer of organic mulch, such as straw, compost, or wood chips, around the base of your plants. Avoid piling the mulch directly against the stems, as this can promote disease.
Fertilizing:
While Jerusalem artichokes are not heavy feeders, fertilizing can promote healthy growth and increase yields. You can use a balanced fertilizer, such as a 10-10-10 formulation, or opt for organic options like compost tea or fish emulsion. Apply fertilizer according to the package directions, being careful not to over-fertilize, which can lead to excessive foliage growth at the expense of tuber production.
Additional Tips:
- Weed Control: Keep the area around your Jerusalem artichokes weed-free. Weeds compete with your plants for water, nutrients, and sunlight.
- Pest and Disease Monitoring: Regularly inspect your plants for pests and diseases. Common pests include aphids and slugs, while diseases such as powdery mildew can also affect Jerusalem artichokes. Take appropriate measures to control any infestations or diseases.
- Staking (Optional): If your plants are tall and vigorous, you may need to stake them to prevent them from falling over.
By providing your Jerusalem artichokes with the proper care, you’ll ensure they grow strong and healthy, leading to a bountiful harvest. Remember, consistent attention to watering, mulching, and fertilizing will go a long way in maximizing your yield.
5. How to Harvest Jerusalem Artichoke Vegetable at the Right Time

The anticipation builds as your Jerusalem artichoke plants mature. You’ve nurtured them throughout the growing season, providing water, mulch, and the occasional dose of fertilizer. Now, the time has come to reap the rewards of your labor. Knowing when and how to harvest your Jerusalem artichokes is crucial to maximizing your yield and ensuring the best possible flavor.
Timing is Everything:
Jerusalem artichokes are typically ready for harvest in late fall or early winter, after the first frost. The tops of the plants will begin to wither and die back as the weather cools. This is a natural cue that the tubers are maturing. However, it’s important to note that the exact timing can vary depending on your climate and the specific variety you’re growing.
How to Determine Maturity:
- Visual Cues: The tops of the plants will begin to yellow and wither as the growing season progresses.
- Soil Temperature: Cooler soil temperatures stimulate tuber development.
- Tuber Size: The tubers should have reached a good size, typically the size of a large marble or a small potato.
Harvesting Techniques:
- Use a Garden Fork: Gently insert a garden fork into the ground near the base of the plant and carefully lift the tubers. Be cautious not to damage the tubers with the fork.
- Hand Digging: For smaller patches, you can hand dig the tubers using a trowel or spade. This method allows for more precise digging and minimizes the risk of damaging the tubers.
Tips for a Successful Harvest:
- Harvest on a Dry Day: Harvesting on a dry day will help prevent the tubers from becoming muddy.
- Wear Gloves: The soil can be quite cold, so wear gloves to protect your hands.
- Be Patient: It may take some time to unearth all of the tubers. Jerusalem artichokes tend to grow in clusters and can be quite prolific.
What to Do After Harvest:
- Clean the Tubers: Gently brush off any excess soil from the harvested tubers.
- Inspect for Damage: Discard any tubers that are damaged or diseased.
- Store Properly: Store the harvested tubers in a cool, dark, and well-ventilated location, such as a root cellar or refrigerator. They can also be stored in moist sand or sawdust.
Maximizing Your Yield:
- Plant Early: Planting early in the spring allows the plants to establish themselves before the summer heat.
- Provide Adequate Sunlight: Jerusalem artichokes require full sun to thrive.
- Maintain Consistent Moisture: Water regularly, especially during dry periods.
- Control Weeds: Keep the area around your plants weed-free to prevent competition for water and nutrients.
By following these tips and techniques, you can ensure a successful harvest of your Jerusalem artichokes. Enjoy the satisfaction of reaping the rewards of your hard work and savor the unique flavor of these versatile tubers.
6. Storing and Preparing Your Harvested Sunchokes

Congratulations! You’ve successfully harvested your Jerusalem artichokes. Now it’s time to ensure that you can enjoy the fruits of your labor for weeks to come. Proper storage is key to preserving the flavor and texture of these versatile tubers.
Storage Methods:
- Cool, Dark Place: The most common method is to store the tubers in a cool, dark, and well-ventilated location. This could be a root cellar, basement, or even a cold garage. The ideal temperature range is between 32°F and 40°F (0°C and 4°C).
- Moist Sand or Sawdust: Another effective method is to store the tubers in moist sand or sawdust. This helps to maintain humidity and prevent the tubers from drying out. Place the tubers in a container or bin and cover them with a layer of moist sand or sawdust.
- Refrigeration: If you have limited space or a warmer climate, you can store the tubers in the refrigerator. Place them in a perforated plastic bag or a ventilated container to prevent moisture buildup.
Preparing Your Sunchokes for Culinary Use:
Before using your harvested Jerusalem artichokes, it’s essential to clean them properly. Gently brush off any remaining soil and discard any damaged or diseased tubers.
Jerusalem artichokes have a slightly sweet and nutty flavor, making them a versatile ingredient in various dishes. Here are a few ideas to get you started:
- Roasting: Roast Jerusalem artichokes with olive oil, herbs, and spices for a delicious side dish.
- Sauteing: Sauté Jerusalem artichokes with garlic, onions, and other vegetables for a flavorful stir-fry.
- Soups and Stews: Add diced Jerusalem artichokes to soups and stews for a unique twist.
- Mashed Jerusalem Artichokes: Mash Jerusalem artichokes like potatoes for a creamy and flavorful side dish.
- Salads: Add thinly sliced Jerusalem artichokes to salads for a refreshing crunch.
Nutritional Benefits:
Jerusalem artichokes are not only delicious but also packed with nutrients. They are a good source of:
- Inulin: A type of prebiotic fiber that promotes gut health.
- Potassium: Essential for maintaining healthy blood pressure and muscle function.
- Iron: Important for red blood cell production.
- Vitamin C: A powerful antioxidant that supports immune function.
By following these storage and preparation tips, you can enjoy your homegrown Jerusalem artichokes throughout the winter months. Remember, proper storage is crucial to maintaining their flavor, texture, and nutritional value.
7. Addressing Common Challenges When Growing Jerusalem Artichokes

While growing Jerusalem artichokes is generally straightforward, you may encounter some challenges along the way. Here are some common issues and how to address them:
Pests:
- Slugs and Snails: These slimy creatures can wreak havoc on your Jerusalem artichoke plants, especially during the early stages of growth. Handpicking slugs in the evening or early morning can be effective. You can also create slug traps using shallow containers filled with beer.
- Aphids: These tiny insects can infest the plants and sap their nutrients. You can control aphids by spraying them with a strong jet of water from a hose or using insecticidal soap.
Diseases:
- Sclerotinia: This fungal disease can cause wilting and decay of the plants. To prevent sclerotinia, avoid planting Jerusalem artichokes in the same location year after year.
- Powdery Mildew: This fungal disease can cause a white, powdery coating on the leaves. Good air circulation and avoiding overhead watering can help prevent powdery mildew.
Other Challenges:
- Voles and Gophers: These rodents can damage or destroy Jerusalem artichoke tubers. You can protect your plants by using protective netting or traps.
- Overgrowth: Jerusalem artichokes are vigorous growers and can become invasive. If you’re concerned about overgrowth, consider growing them in a contained area, such as a raised bed.
Tips for Preventing Problems:
- Choose Disease-Resistant Varieties: Select Jerusalem artichoke varieties that are known to be resistant to common diseases.
- Maintain Good Garden Hygiene: Remove and destroy any infected plant material to prevent the spread of diseases.
- Practice Crop Rotation: Avoid planting Jerusalem artichokes in the same location year after year to reduce the risk of soil-borne diseases.
- Monitor Your Plants Regularly: Regularly inspect your plants for signs of pests and diseases. Early detection is key to effective control.
By being aware of these potential challenges and taking proactive steps to address them, you can ensure a successful and rewarding Jerusalem artichoke growing experience.
FAQ
I understand that you might have some specific questions about growing Jerusalem artichokes. Here are answers to some of the most frequently asked questions:
What is the best soil for growing Jerusalem artichoke vegetable?
Loamy, well-draining soil with plenty of organic matter is ideal. Jerusalem artichokes thrive in soil that is rich in nutrients and retains moisture without becoming waterlogged.
How do I plant Jerusalem artichoke tubers?
Plant the tubers 4-6 inches deep and 12-18 inches apart in rows. Ensure the “eyes” or buds are facing upward for optimal growth.
When is the best time to plant Jerusalem artichokes?
The best time to plant Jerusalem artichokes depends on your climate. In colder climates, spring planting is recommended, while fall planting can be beneficial in warmer climates.
How do I prevent pests from damaging my Jerusalem artichokes?
Handpicking slugs and snails, using insecticidal soap for aphids, and practicing crop rotation can help prevent pest damage.
Can I grow Jerusalem artichokes in containers?
Yes, you can grow Jerusalem artichokes in large containers. Ensure the containers have adequate drainage and use a well-draining potting mix.
How to grow Jerusalem artichoke vegetable and store them for winter?
Harvest the tubers in late fall or early winter after the first frost. Store them in a cool, dark, and well-ventilated location, such as a root cellar or refrigerator.
How to grow Jerusalem artichoke vegetable for culinary and health benefits?
Grow them in rich soil, harvest when mature, and enjoy their nutty flavor. They are a good source of inulin, a prebiotic fiber.
How to grow Jerusalem artichoke vegetable without chemical fertilizers?
Use compost, aged manure, and other organic soil amendments to nourish your plants.
How to grow Jerusalem artichoke vegetable and prevent common pests?
Maintain healthy soil, use row covers, and employ natural pest control methods.
How to grow Jerusalem artichoke vegetable in cold climate regions?
Plant in spring, mulch heavily in fall, and harvest after the first frost.
How to grow Jerusalem artichoke vegetable organically in home gardens?
Use organic soil amendments, natural pest control, and avoid synthetic chemicals.
How to grow Jerusalem artichoke vegetable from tubers in spring?
Prepare the soil, plant tubers 4-6 inches deep, and water regularly.
How to grow Jerusalem artichoke vegetable for high tuber yield?
Provide rich soil, adequate sunlight, regular watering, and proper spacing.
I hope this FAQ section addresses some of your common questions about growing Jerusalem artichokes. If you have any further questions, please don’t hesitate to ask.
Conclusion

Growing Jerusalem artichokes can be a rewarding experience for gardeners of all levels. By following the tips and techniques outlined in this guide, you can cultivate a healthy and productive crop of these unique and delicious tubers. Remember to start with healthy tubers, prepare the soil properly, and provide adequate care throughout the growing season. With a little patience and attention, you’ll be enjoying the fruits of your labor in no time.
Key Takeaways:
- Select healthy tubers: Choose firm, plump tubers with visible “eyes” and no signs of rot or damage.
- Prepare the soil: Ensure the soil is well-draining, rich in organic matter, and has the appropriate pH.
- Plant properly: Plant tubers at the correct depth and spacing, with the “eyes” facing upward.
- Provide adequate care: Water regularly, mulch to retain moisture, and consider fertilizing for optimal growth.
- Harvest at the right time: Harvest tubers in late fall or early winter after the first frost.
- Store properly: Store harvested tubers in a cool, dark, and well-ventilated location.
- Address common challenges: Be prepared to address potential pest and disease issues.
By following these guidelines, you can successfully grow Jerusalem artichokes in your own garden and enjoy the unique flavor and nutritional benefits of these versatile tubers.
I hope this comprehensive guide has been a valuable resource for your gardening endeavors. If you have any further questions or would like to explore other gardening topics, please feel free to reach out.
Additional Resources:


")