Have you ever planted vegetables, only to find they’re small, tasteless, or simply don’t grow at all? It’s frustrating, isn’t it? You invest time and effort, but the results just don’t match your expectations. You dream of harvesting plump, homegrown potatoes and sweet, crunchy carrots, but something always seems to go wrong. I understand that feeling. That’s why I’m here to show you how to truly master growing tuber vegetables. With the right knowledge and techniques, you can transform your garden into a bountiful source of delicious, healthy produce.
1. Choose the Right Tuber Vegetables for Your Climate and Soil

When you embark on your tuber vegetable gardening journey, the first crucial step is to carefully select the right varieties for your specific climate and soil conditions. Just like people have different preferences, tuber vegetables thrive in diverse environments. Some prefer the cool embrace of spring, while others bask in the warmth of summer. Understanding these preferences is key to a successful harvest.
Consider potatoes, for example. They’re a staple in many gardens, but not all potatoes are created equal. You’ll encounter early, mid-season, and late varieties, each with unique characteristics. Early potatoes, such as ‘Irish Cobbler,’ are known for their quick maturity. They’re perfect for cooler climates and impatient gardeners eager for a taste of homegrown goodness. Mid-season varieties, like the popular ‘Yukon Gold,’ offer a balance of flavor and versatility. They adapt well to various climates and are a reliable choice for many home gardeners. Late potatoes, such as the classic ‘Russet Burbank,’ require a longer growing season and are ideal for areas with mild summers. They’re prized for their large size and excellent baking qualities.
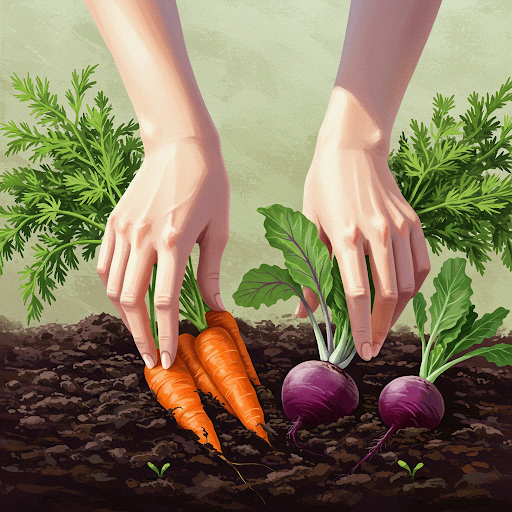
Carrots, another beloved tuber vegetable, also exhibit a range of preferences. ‘Nantes’ carrots are renowned for their sweet flavor and adaptability. They thrive in a variety of soil conditions, making them a forgiving choice for beginner gardeners. However, if you’re looking for those extra-long, uniformly shaped carrots, you might want to consider ‘Imperator’ carrots. These beauties prefer loose, sandy soil and require a bit more attention to detail.
Beets, with their vibrant colors and earthy sweetness, add a delightful touch to any garden. ‘Detroit Dark Red’ beets are a reliable choice for many gardeners. They’re known for their consistent performance and produce uniform, deep red roots. However, if you have limited space, consider ‘Bull’s Blood’ beets, which are smaller but just as flavorful.
Sweet potatoes, with their warm, tropical origins, require a longer growing season and plenty of sunshine. ‘Beauregard’ is a popular variety known for its high yields and sweet flavor. It’s a great choice for areas with warm climates and long summers.
Radishes, on the other hand, are quick growers and perfect for impatient gardeners. ‘Cherry Belle’ radishes are a classic choice, producing small, crisp roots in just a few weeks. They’re a great way to introduce children to the joys of gardening and enjoy a quick harvest.
And let’s not forget about Jerusalem artichokes! These unique tubers are remarkably easy to grow. I’ve found them to be quite forgiving, thriving in a wide range of soil conditions. They’re also quite hardy, tolerating both frost and drought. If you’re new to tuber vegetable gardening, Jerusalem artichokes are an excellent choice to start with.
To help you visualize the ideal growing conditions for some common tuber vegetables, I’ve created a table below:
Tuber Vegetable Growing Conditions
| Vegetable | Ideal Climate | Soil Type | Sunlight |
| Potatoes | Cool to moderate | Well-drained, loose | Full sun |
| Carrots | Cool to moderate | Loose, sandy | Full sun |
| Beets | Cool | Well-drained, fertile | Full sun |
| Sweet Potatoes | Warm | Sandy loam | Full sun |
| Radishes | Cool | Well-drained, loose | Full sun |
| Jerusalem Artichokes | Moderate | Any | Full sun |
By carefully considering your climate, soil type, and the specific needs of each tuber vegetable, you can make informed choices that set the stage for a successful growing season. Remember, the key to a thriving tuber vegetable garden lies in selecting the right varieties for your unique environment.
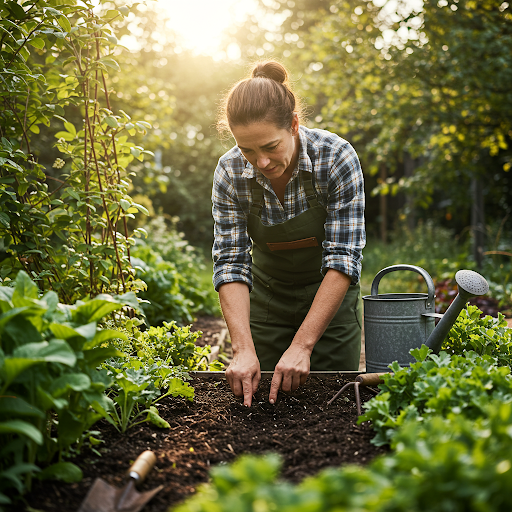
2. How to Prepare the Soil for Optimal Tuber Growth

Just as a skilled chef prepares the perfect canvas for their culinary creations, so too must you prepare your soil to nurture thriving tuber vegetables. The foundation of a successful harvest lies in healthy, well-prepared soil. It’s the lifeblood of your garden, providing essential nutrients and support for your plants.
One of the most critical aspects of soil preparation is ensuring proper drainage. Tuber vegetables, with their fleshy roots growing underground, are particularly susceptible to waterlogged conditions. Excess moisture can lead to root rot and other diseases, stunting growth and potentially ruining your harvest. To improve drainage, you can amend heavy clay soils with organic matter like compost or well-rotted manure. These materials not only improve drainage but also enhance soil structure and aeration.
In addition to drainage, soil structure is crucial. Ideally, you’re aiming for a loose, friable soil that allows for easy root penetration. Compacted soil restricts root growth, hindering the plant’s ability to access water and nutrients. To improve soil structure, you can incorporate organic matter such as compost, cover crops, or even shredded leaves. These materials not only add organic matter but also help to break up compacted soil and improve its overall tilth.
Before planting, it’s essential to assess your soil’s pH. Most tuber vegetables prefer a slightly acidic to neutral pH range, typically between 6.0 and 7.0. You can easily test your soil’s pH using a home soil test kit available at most garden centers. If your soil is too acidic, you can raise the pH by adding lime. Conversely, if your soil is too alkaline, you can lower the pH by adding sulfur or organic matter like peat moss.
Incorporating organic matter into your soil is a cornerstone of healthy tuber vegetable gardening. Compost is an excellent choice, as it’s rich in nutrients and improves soil structure. You can also use well-rotted manure, cover crops like legumes, or even grass clippings (in moderation). These organic additions not only provide nutrients but also support a thriving soil ecosystem, teeming with beneficial microorganisms that enhance plant growth.
By carefully preparing your soil, you’re creating an ideal environment for your tuber vegetables to thrive. Remember, healthy soil equals healthy plants, and healthy plants yield abundant harvests. So take the time to nurture your soil, and reap the rewards of a bountiful tuber vegetable garden.
3. How to Plant Tuber Vegetables for Maximum Yield

Now that you’ve prepared your soil, it’s time to embark on the exciting process of planting your tuber vegetables. Whether you’re starting with seeds or planting seed potatoes, proper planting techniques are essential for maximizing your yield.
Planting from Seed:
Some tuber vegetables, like carrots and beets, can be directly sown into the garden. This method is generally easier and requires less effort than starting seeds indoors. However, it does require warmer soil temperatures, typically around 60°F (15°C).
To direct sow seeds, start by preparing the soil as described in the previous section. Create shallow furrows in the soil with the back of a rake or your fingers. Sow the seeds according to the recommended spacing on the seed packet. Gently cover the seeds with a thin layer of soil, and water them in gently.
Planting Seed Potatoes:
Potatoes are typically planted as “seed potatoes,” which are small pieces of potato that contain “eyes” or buds. These eyes will sprout and develop into new potato plants.
To prepare seed potatoes, cut them into pieces, ensuring each piece has at least one or two eyes. Allow the cut pieces to dry for a few hours to prevent rot.
Once your seed potatoes are ready, plant them in rows, spacing them about 12 inches apart. The depth of planting depends on the size of the seed potato and the climate. In general, plant them about 4-6 inches deep.
Planting Other Tuber Vegetables:
Other tuber vegetables, such as sweet potatoes and Jerusalem artichokes, may require specific planting methods. Sweet potatoes are typically planted as “slips,” which are rooted cuttings. Jerusalem artichokes are planted from tubers, similar to potatoes.
Tips for Successful Planting:
- Spacing: Follow the recommended spacing guidelines for each variety. Overcrowding can lead to competition for resources and smaller yields.
- Depth: Plant seeds or tubers at the appropriate depth to ensure proper root development.
- Watering: Water gently after planting to settle the soil around the seeds or tubers.
- Mulching: Apply a layer of mulch around the plants to conserve moisture and suppress weeds.
By following these planting guidelines and paying attention to the specific needs of each tuber vegetable, you’ll set the stage for a bountiful harvest. Remember, careful planning and preparation are key to success in any garden, and this is especially true when it comes to cultivating these underground treasures.
4. How to Water and Mulch Tuber Vegetables Effectively

Just as you carefully choose the right varieties and prepare the soil, understanding the watering needs of your tuber vegetables is crucial for a successful harvest. Consistent moisture is essential for healthy root development, but overwatering can lead to serious problems like root rot.
When it comes to watering, the key is to maintain a consistent moisture level in the soil. Avoid letting the soil dry out completely between waterings, especially during periods of hot, dry weather. However, be cautious of overwatering, as excessive moisture can suffocate the roots and create an environment conducive to fungal diseases.
The best way to determine if your plants need water is to check the soil moisture. Stick your finger about an inch deep into the soil. If the soil feels dry, it’s time to water. Water deeply and thoroughly, ensuring that the water reaches the root zone.
Mulching is a valuable technique for conserving moisture and suppressing weeds. A layer of organic mulch, such as straw, wood chips, or grass clippings, can help to retain soil moisture, reduce evaporation, and keep the soil cool during hot weather. Mulch also helps to suppress weed growth, reducing competition for water and nutrients.
When applying mulch, be sure to leave a small space around the base of the plants to avoid contact with the stems, which can increase the risk of disease. Reapply mulch as needed throughout the growing season to maintain a consistent layer.
By following these watering and mulching techniques, you can create an optimal environment for your tuber vegetables to thrive. Remember, consistent moisture is essential, but avoid overwatering. Mulching is a valuable tool for conserving moisture and suppressing weeds, making it an essential practice for any successful tuber vegetable garden.
5. How to Fertilize Tuber Vegetables Naturally
Just as humans need a balanced diet, so do plants. Fertilizing your tuber vegetables provides them with the essential nutrients they need to thrive. While commercial fertilizers can be effective, I prefer to nourish my plants with natural methods that are both beneficial for the soil and the environment.
One of the best ways to fertilize tuber vegetables is by incorporating organic matter into the soil. Compost is a fantastic choice, as it’s rich in nutrients and improves soil structure. You can also use well-rotted manure, cover crops like legumes, or even grass clippings (in moderation). These organic additions not only provide nutrients but also support a thriving soil ecosystem, teeming with beneficial microorganisms that enhance plant growth.
Another effective natural fertilizer is compost tea. This nutrient-rich liquid can be easily made at home by steeping compost in water. Compost tea is a great way to provide a concentrated dose of nutrients to your plants.
When fertilizing tuber vegetables, it’s important to avoid over-fertilizing. Too much fertilizer can lead to excessive foliage growth at the expense of tuber development. A good rule of thumb is to fertilize lightly and consistently throughout the growing season.
Here are some tips for fertilizing tuber vegetables naturally:
- Incorporate compost or other organic matter into the soil before planting. This will provide a slow and steady release of nutrients throughout the growing season.
- Side-dress with compost tea or other liquid fertilizers mid-season. This will provide a boost of nutrients when the plants are actively growing.
- Avoid over-fertilizing. Too much fertilizer can harm your plants and lead to reduced yields.
- Water deeply after fertilizing. This helps to ensure that the nutrients are evenly distributed throughout the root zone.
By nourishing your tuber vegetables with natural fertilizers, you can promote healthy growth and maximize your harvest. Remember, a healthy soil ecosystem is the foundation for a successful garden.
6. How to Protect Tuber Vegetables from Pests and Diseases

Just as you would protect your own health, you need to take steps to protect your tuber vegetables from pests and diseases. These unwanted visitors can significantly impact your harvest, reducing yields and compromising the quality of your produce.
One of the most common and devastating diseases affecting potatoes is potato blight. This fungal disease can quickly spread, causing significant damage to the foliage and tubers. Early blight typically appears as brown spots on the leaves, while late blight causes a more rapid and severe infection, often with a white, fluffy growth on the underside of the leaves.
Carrots are susceptible to pests like the carrot fly, which can lay eggs on the foliage. The larvae burrow into the roots, causing them to become deformed and unmarketable.
Other common pests and diseases include:
- Root Knot Nematodes: These microscopic roundworms attack the roots of various plants, including potatoes and tomatoes.
- Slugs and Snails: These slimy creatures can devour young seedlings and leaves.
- Powdery Mildew: This fungal disease can affect various plants, including potatoes and beets, causing a white powdery coating on the leaves.
Fortunately, there are several effective strategies for protecting your tuber vegetables from pests and diseases:
- Crop Rotation: Rotating your crops each year helps to break the cycle of pests and diseases. Avoid planting tuber vegetables in the same location year after year.
- Disease-Resistant Varieties: Choose varieties that are known to be resistant to common diseases in your area.
- Pest Control:
- Handpicking: Regularly inspect your plants for pests and handpick them off as needed.
- Row Covers: Use row covers to protect young seedlings from pests like flea beetles and cabbage worms.
- Beneficial Insects: Encourage beneficial insects, such as ladybugs and lacewings, to your garden to help control pests.
- Disease Prevention:
- Proper Watering: Avoid overhead watering, which can spread fungal diseases. Water deeply and at the base of the plants.
- Good Garden Hygiene: Remove and destroy any infected plants to prevent the spread of disease.
- Clean Tools: Disinfect your gardening tools between uses to prevent the spread of diseases.
By implementing these preventive measures, you can significantly reduce the risk of pest and disease problems in your tuber vegetable garden. Remember, a healthy garden starts with a healthy ecosystem, so prioritize practices that support both your plants and the beneficial organisms that inhabit your garden.
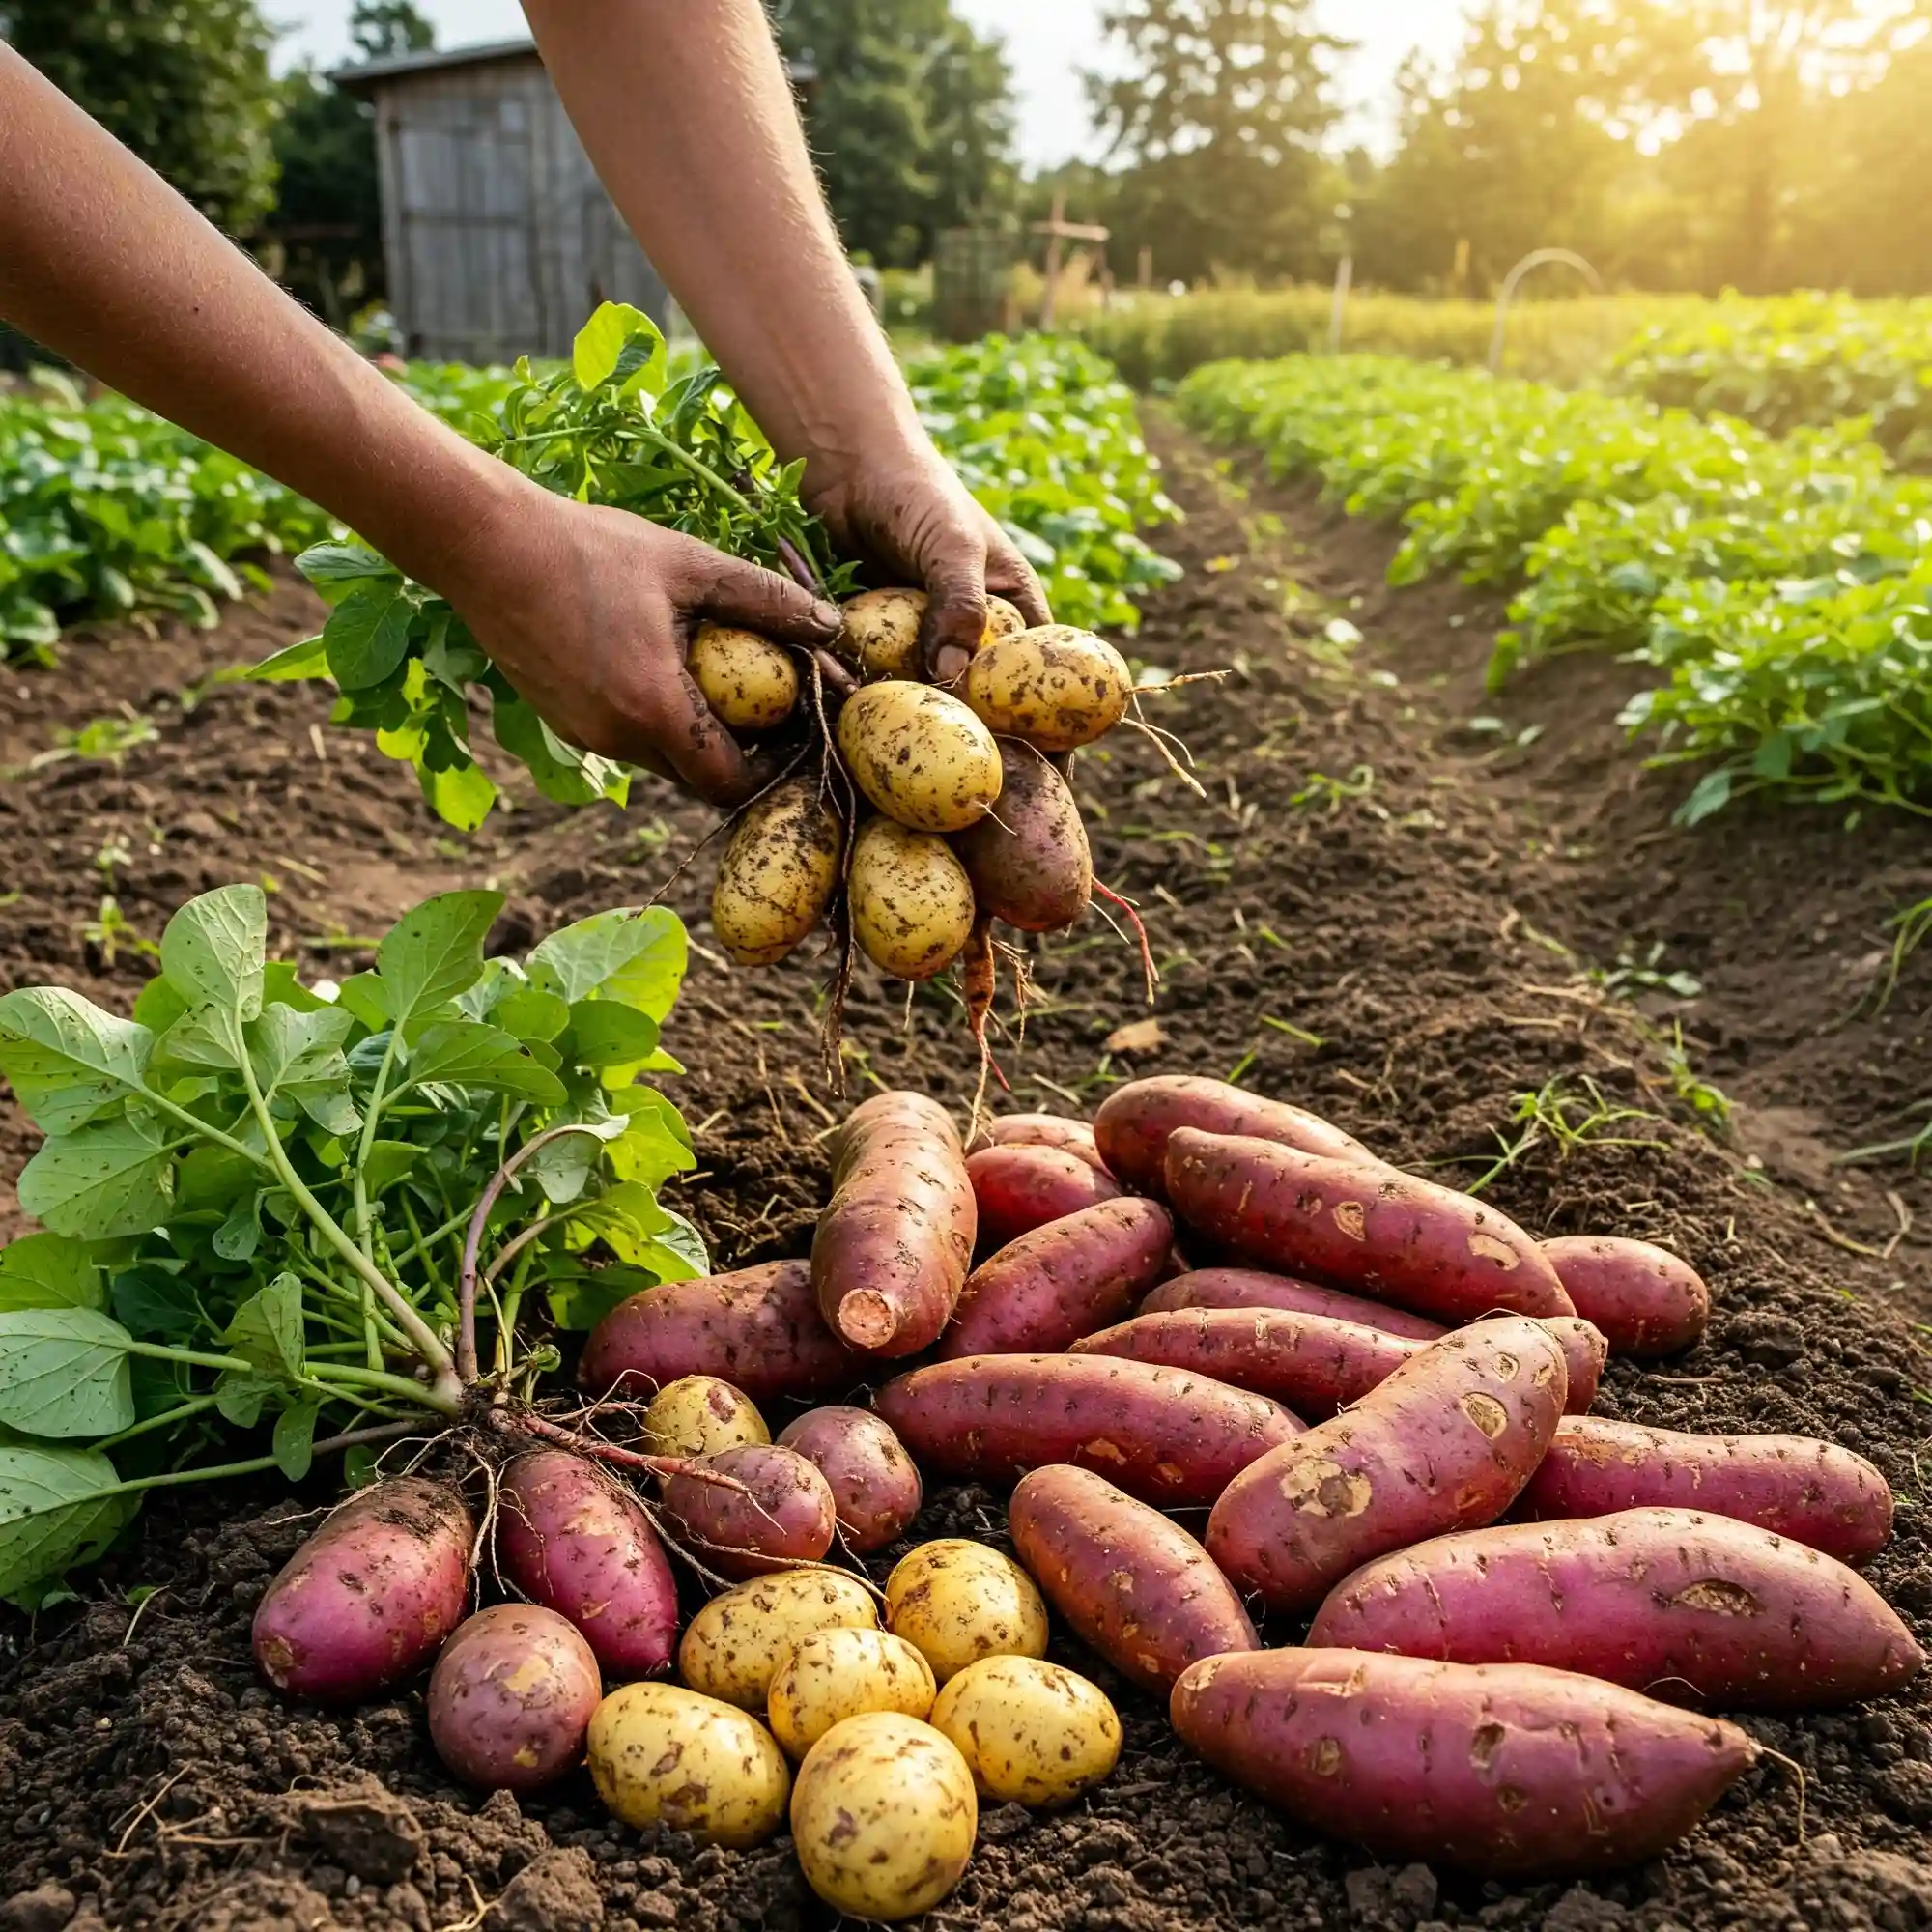
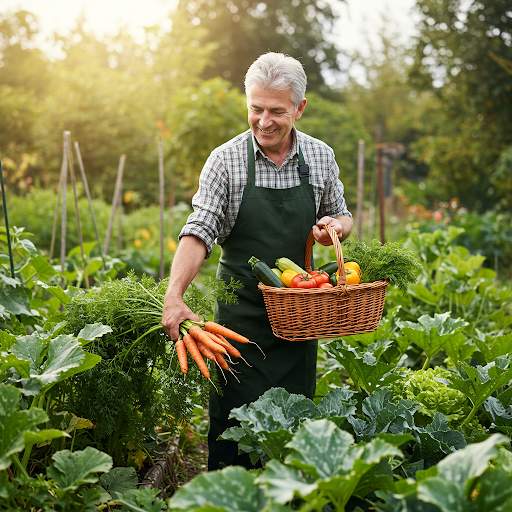
7. How to Harvest and Store Tuber Vegetables for Long-Term Use
After months of careful cultivation, the moment of truth has arrived: harvest time! Harvesting your tuber vegetables is a rewarding experience, but it’s important to do it correctly to ensure you get the most out of your hard work.
- Timing is Everything: Harvesting at the right time is crucial for maximizing flavor and yield. Different tuber vegetables have different harvest windows. Potatoes, for example, are typically ready for harvest 80-120 days after planting. You can gently dig around the base of the plant to check for tuber development. Carrots and beets are ready for harvest when they reach the desired size. You can gently pull on the tops of the plants to see if they come out easily.
- Harvesting Techniques: When harvesting, it’s important to handle the tubers gently to avoid damage. Use a garden fork or trowel to carefully lift the vegetables from the soil. Avoid pulling on the tops of the plants, as this can break the roots and damage the tubers.
- Curing: After harvesting, allow the tubers to cure in a cool, dry, and well-ventilated area for a few days. This process helps to dry the skin and prevent rot.
- Storage: Proper storage is essential for preserving your tuber vegetables for the long term. Store them in a cool, dark, and dry place. Ideally, the temperature should be between 32°F and 40°F (0°C and 4°C). Avoid storing them in plastic bags, as this can promote moisture buildup and lead to rot.
Tips for Storing Different Tuber Vegetables:
- Potatoes: Store potatoes in a cool, dark, and well-ventilated area, such as a root cellar or a cool pantry. Avoid storing them near onions, as the ethylene gas released by onions can cause the potatoes to sprout.
- Carrots: Store carrots in a plastic bag filled with slightly moist sand or vermiculite. This will help to keep them crisp and prevent them from drying out.
- Beets: Store beets in a cool, moist environment, such as a plastic bag in the refrigerator. The tops can be trimmed off, but leave about an inch of stem attached.
- Sweet Potatoes: Store sweet potatoes in a cool, dry place, such as a basket or a mesh bag. Avoid storing them in the refrigerator, as this can cause them to become sweet.
By following these harvesting and storage tips, you can enjoy your homegrown tuber vegetables throughout the winter months. Remember, proper handling and storage are essential for preserving their quality and flavor.
8. Companion Planting for Enhanced Tuber Vegetable Growth

Just as humans often benefit from positive relationships, so too can plants. Companion planting is a gardening technique that involves growing different plants together to enhance their growth and1 deter pests. This practice can be particularly beneficial for tuber vegetables.
Benefits of Companion Planting for Tuber Vegetables:
- Improved Pollination: Some plants, such as flowering herbs like borage and nasturtiums, attract beneficial pollinators like bees and butterflies, which can improve pollination for nearby plants.
- Pest Control: Certain plants can repel or trap pests that may harm your tuber vegetables. For example, planting onions or garlic near carrots can help to deter carrot flies.
- Nutrient Cycling: Some plants can help to improve soil fertility and provide additional nutrients to their companions. For example, legumes like beans and peas fix nitrogen in the soil, which can benefit nearby plants.
- Weed Suppression: Some plants, such as ground covers like nasturtiums or creeping thyme, can help to suppress weeds, reducing competition for resources.
Examples of Good Companion Plants for Tuber Vegetables:
- Potatoes: Plant potatoes with companion plants like beans (which provide nitrogen), corn (for support), and nasturtiums (to deter pests).
- Carrots: Plant carrots with onions or chives, which can help to deter carrot flies.
- Beets: Plant beets with lettuce or spinach, which can provide shade and reduce moisture loss.
- Radishes: Plant radishes with cucumbers or melons, as they can help to deter certain pests.
Tips for Successful Companion Planting:
- Research Plant Compatibility: Not all plants are compatible with each other. Research the specific needs of your tuber vegetables and choose companion plants that will benefit them.
- Spacing: Plant your companion plants at appropriate distances to ensure they don’t compete with your tuber vegetables for space or resources.
- Consider Plant Height: Taller plants can provide shade for shorter plants, while shorter plants can help to suppress weeds around taller plants.
- Monitor Your Garden: Keep a close eye on your garden and make adjustments as needed. If you notice any negative interactions between plants, you may need to make changes to your planting plan.
By incorporating companion planting into your tuber vegetable garden, you can create a more diverse and resilient ecosystem. Remember, careful planning and observation are key to achieving successful results.
FAQ
I understand that you may have some specific questions about growing tuber vegetables. Here are some frequently asked questions and their answers:
Q: How do I choose the best location for growing tuber vegetables?
A: Select a location with full sun (at least 6 hours daily) and well-drained soil. Tuber vegetables thrive in sunny conditions and require good drainage to prevent root rot.
Q: What are the signs of over-watering tuber vegetables?
A: Signs of over-watering include yellowing leaves, soft and mushy tubers, and potential root rot. If you notice these symptoms, reduce the frequency of watering and improve drainage.
Q: How often should I fertilize my tuber vegetables?
A: Fertilize at planting time and again mid-season, using a balanced organic fertilizer. This will provide your plants with the nutrients they need to grow and produce a bountiful harvest.
Q: Can I grow tuber vegetables in containers?
A: Yes, you can grow many tuber vegetables in containers, especially those with smaller root systems like radishes and potatoes. Choose large containers with plenty of drainage holes and use a well-draining potting mix.
Q: How to grow organic tuber vegetables in raised garden beds?
A: Raised beds provide excellent drainage and can be easily amended with organic matter. Use compost, well-rotted manure, or other organic materials to enrich the soil. Avoid using chemical fertilizers and pesticides.
Q: How to grow large potatoes and carrots in clay soil?
A: Amend clay soil with compost and sand to improve drainage and loosen the soil structure. This will allow the roots to grow more easily and produce larger tubers.
Q: How to grow tuber vegetables from seed to harvest indoors?
A: Start seeds indoors in seed trays, transplant seedlings when they are strong, and provide adequate light and warmth. This method is suitable for some tuber vegetables like radishes and beets.
Q: How to grow tuber vegetables without chemical fertilizers or pesticides?
A: Use organic compost, natural fertilizers, and practice companion planting to naturally deter pests. Avoid using chemical fertilizers and pesticides, as they can harm beneficial insects and pollinator populations.
Q: How to grow and store tuber vegetables for winter food supply?
A: Harvest mature tubers, cure them in a dry place, and store them in a cool, dark location. This will help to preserve their freshness and extend their shelf life.
Q: How to grow specific tuber vegetables like Jerusalem artichokes easily?
A: Jerusalem artichokes are easy to grow and can thrive in a variety of conditions. Plant them in well-drained soil, provide full sun, and harvest after the first frost.
Q: How to grow tuber vegetables for beginners in small backyard gardens?
A: Choose easy-to-grow varieties like radishes and potatoes, use raised beds, and focus on soil preparation. Start with a small plot and gradually expand your garden as you gain experience.
Q: How to grow various tuber vegetables with companion planting methods?
A: Plant compatible vegetables together to enhance growth and deter pests. For example, plant carrots with onions or chives, or potatoes with beans.
Q: How to grow healthy tuber vegetables in containers on a balcony?
A: Use large containers, well-draining potting mix, and provide adequate sunlight and consistent watering. Choose compact varieties and consider using vertical gardening techniques to maximize space.
Q: How to grow and prevent diseases in common tuber vegetables?
A: Practice crop rotation, use disease-resistant varieties, and maintain good garden hygiene to prevent diseases. Avoid overhead watering, which can spread fungal diseases.
I hope this FAQ section addresses some of your common questions about growing tuber vegetables. If you have any further questions, feel free to reach out to me.
Conclusion
In conclusion, growing your own tuber vegetables can be a deeply rewarding experience. From the moment you prepare the soil to the joy of harvesting your bounty, each step of the process connects you with nature and provides a sense of accomplishment. By following the tips and techniques outlined in this guide, you can increase your chances of success and enjoy a bountiful harvest of delicious, homegrown produce.
Remember, patience and observation are key. Every garden is unique, and each growing season presents its own set of challenges and opportunities. Embrace the learning process, experiment with different techniques, and don’t be afraid to ask for advice from experienced gardeners.
Most importantly, enjoy the journey! Find joy in the process of nurturing your plants, watching them grow and flourish. The satisfaction of harvesting your own food is truly priceless.
I hope this guide has inspired you to embark on your own tuber vegetable gardening adventure. Happy gardening!


")