
Brown rot has no cure once it infects a fruit. A peach that looks sound at breakfast can carry a brown spot by dinner, and a ripe cherry can rot clean through within 2 days of infection. The 10 strategies below save the crop around the infected fruit, starting with the triage call that tells you whether spraying is worth it this season.
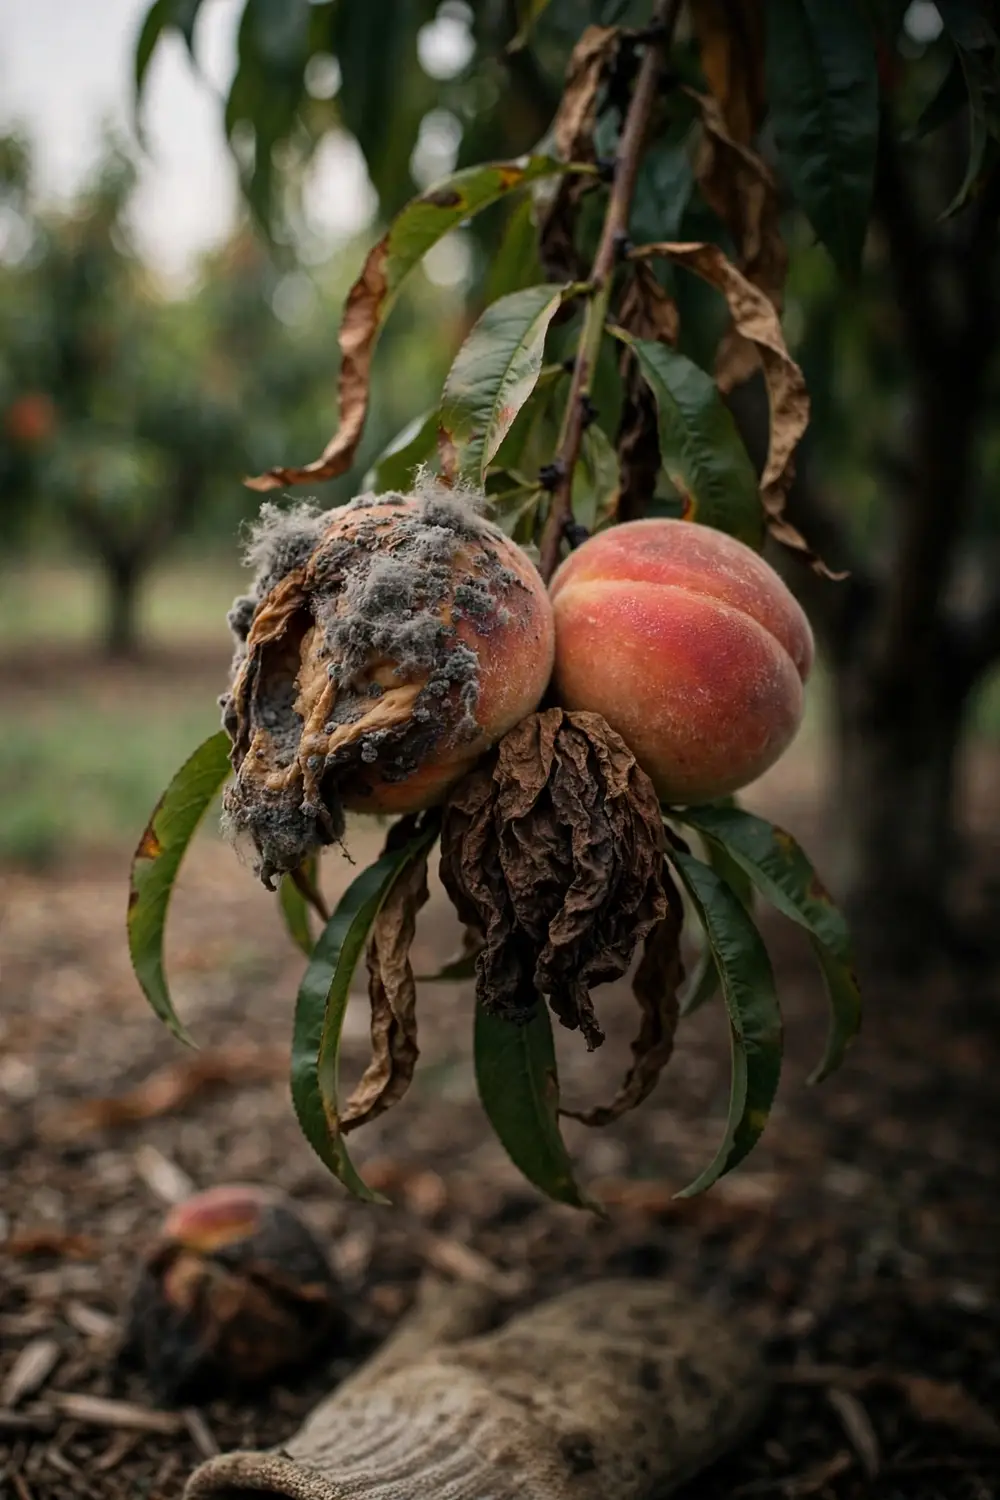
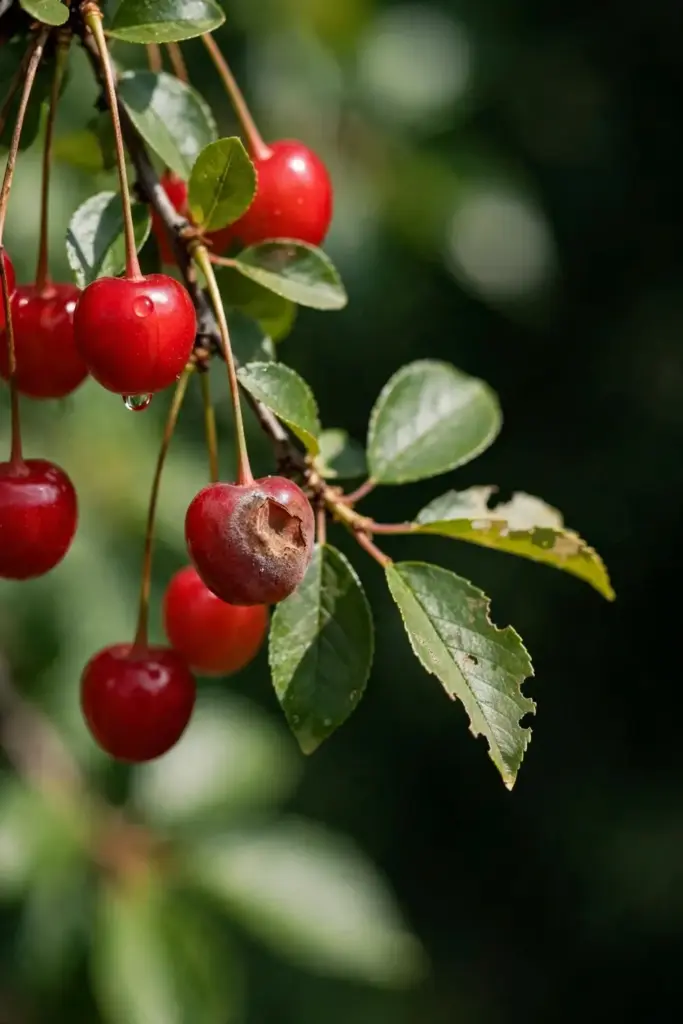
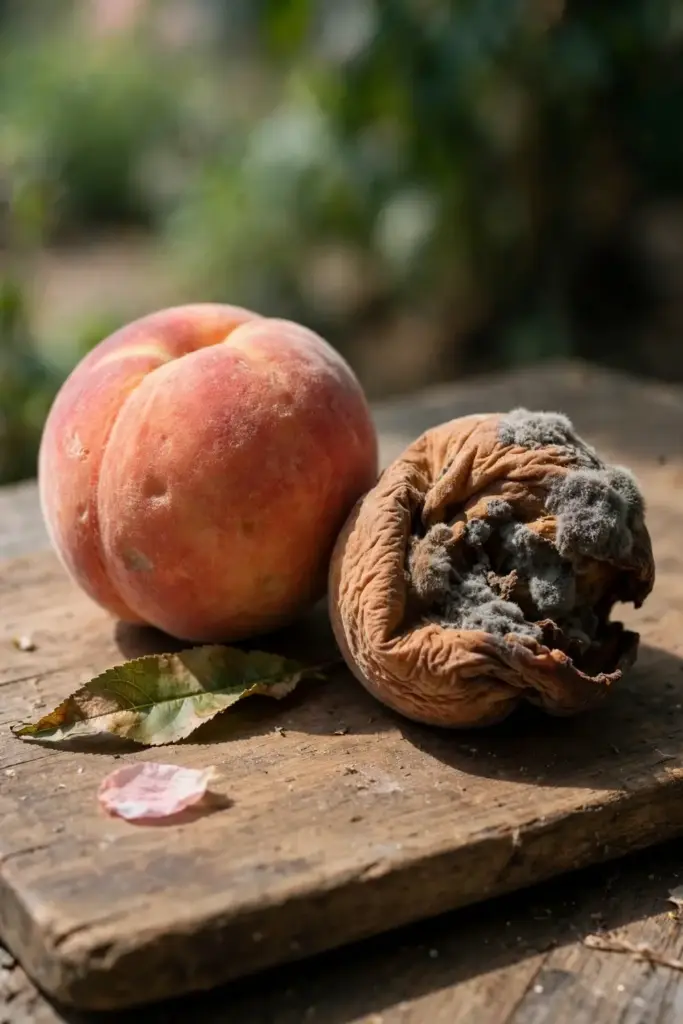
The signature is a small brown spot that spreads fast. The spot softens, grows tan to gray tufts of spores, and the whole fruit collapses. Rotted fruit dries into a hard mummy that clings to the branch or drops to the ground, and that mummy seeds next spring.
The rest of this page is 10 moves, from the spray-or-skip decision to the sanitation routine that breaks the cycle next spring. I have learned that a stone fruit tree rewards the gardener who picks up every mummy more than the gardener who buys another spray.
What Brown Rot Actually Is
Brown rot is a fungal disease of stone fruit. The pathogen is Monilinia fructicola in North America, with Monilinia laxa and Monilinia fructigena occurring elsewhere. The fungus attacks blossoms, twigs, and fruit of peach, nectarine, plum, cherry, and apricot. Brown rot overwinters in mummies and cankered twigs, then releases spores at bloom.
The fungus runs the same cycle every year. Spores from mummies and cankers reach open blossoms on wind and rain, infected blossoms feed twig infections, twig cankers feed fruit infections, and fruit infections make new mummies. Break one link and the whole cycle weakens.
Two other diseases share the name. Potato brown rot is a bacterial quarantine disease, a different disease with the same words, and wood rot, the brown decay of timber, is a different decay process in a different lane. This article covers stone fruit brown rot only.
Pome fruit gets one line too: apple and pear can carry brown rot in some cases, but the stone fruit disease owns this article. Peach, nectarine, plum, cherry, and apricot carry the damage that matters to a home gardener.
How to Identify Brown Rot on Blossoms and Twigs
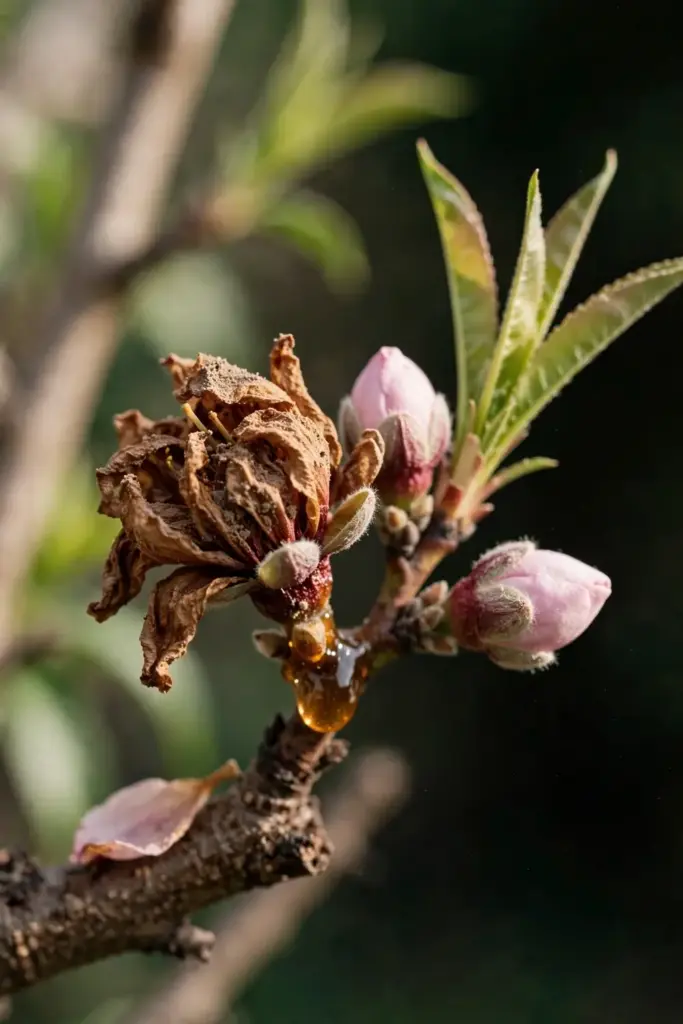
Brown rot strikes blossoms first. Infected blossoms wilt and turn brown while still on the branch. Dead blossoms cling to the twig with a sticky gum droplet at the base. That clinging blossom separates brown rot from frost damage, because blossoms killed by frost fall to the ground.
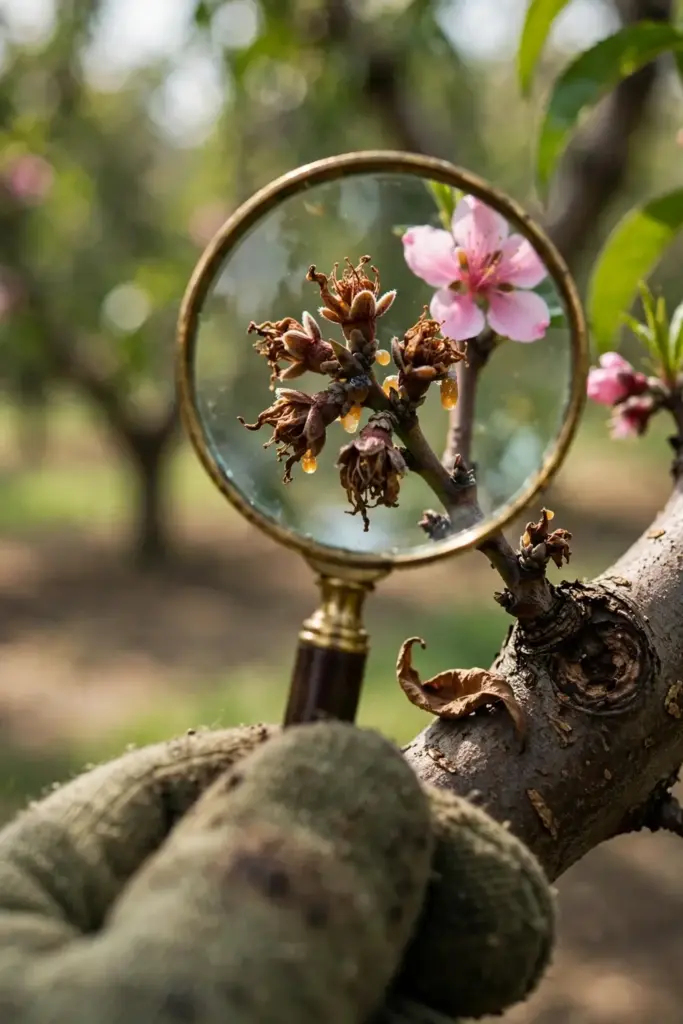
The infection moves from the blossom into the twig. The fungus girdles the twig and forms a canker, a sunken patch of discolored bark. Gum oozes where diseased tissue meets healthy tissue. Leaves beyond a girdled twig brown and wilt, and they stay attached to the branch.
Apricot carries the worst twig blight. The University of Minnesota Extension calls twig blight very common in apricot trees, and apricot the most likely stone fruit to show it. Check apricot spurs first in a wet spring. Cut below any canker you find, into clean wood, and remove the cut twig from the tree.
Blossom blight feeds the fruit rot that follows. Every infected blossom is a spore factory aimed at the coming crop. Catch blossom blight early and the fruit season gets easier. Miss it and the fruit pays.
How to Identify Brown Rot on Fruit
Brown rot on fruit starts as a small firm brown spot. The spot grows fast on ripening fruit and covers large portions of the fruit within days. Tan to gray powdery tufts of spores rise from the rotting surface in wet weather. Penn State Extension describes the end point plainly: mature fruit can completely decay in 2 days from the time of infection under favorable weather.
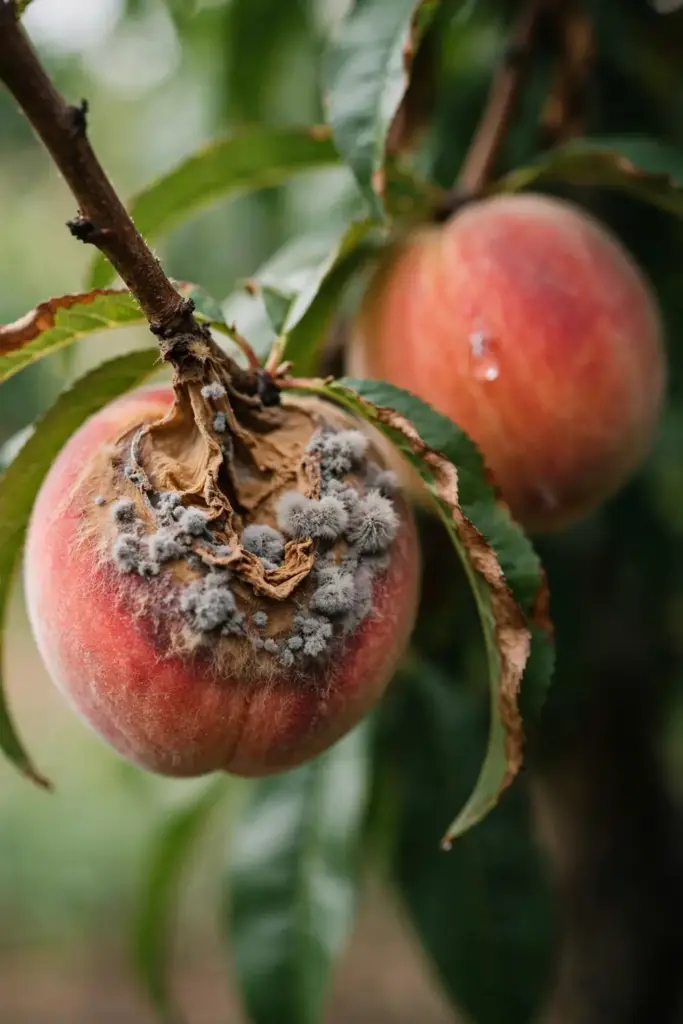
Fruit touching fruit rots fastest. One infected cherry in a tight cluster spreads spores to its neighbors by contact and splash. The whole cluster follows. Thin fruit so neighbors never touch, and a single infection stays single.
Wounds open the door. Insect feeding, bird pecks, hail dents, and harvest bruises all break the skin. The fungus enters through the break and needs no other invitation. Fruit with any wound deserves picking and eating first, never storage.
Rotted fruit becomes a mummy. The fruit dries, shrivels, and hardens. Mummies cling to the branch or drop to the ground. A mummy on the tree in winter is next spring’s first spore source, so every mummy you remove now is an infection you prevent later.
Which Stone Fruit Gets Hit Hardest by Brown Rot
Sweet cherries sit at the top of the risk list. West Virginia University Extension names sweet cherries the most susceptible stone fruit. A sweet cherry crop ripens into the warm wet window the fungus loves, and the fruit clusters tight enough for rot to travel by touch.
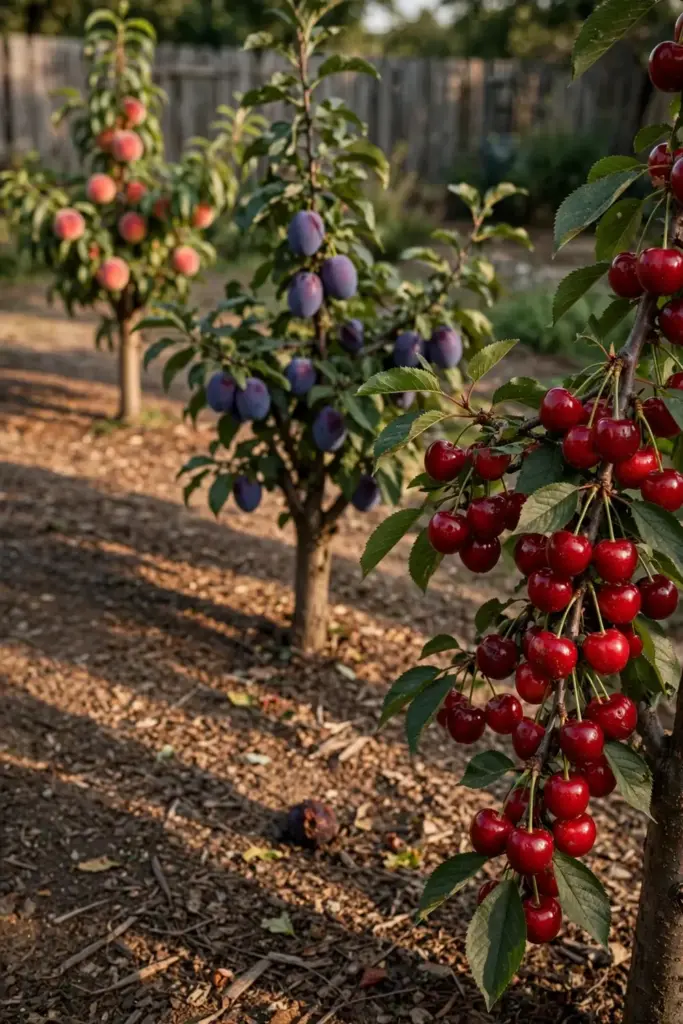
Plums, tart cherries, and apricots follow close behind. The University of Minnesota Extension calls brown rot the most serious disease in plums, tart cherries, and apricots in Minnesota. Plum mummies cling hard to the branch. Apricot adds twig blight to the fruit damage.
Peaches and nectarines take the heaviest fruit losses in warm climates, because peach skin bruises at a touch and nectarines ripen fast in summer heat. The nectarine growing guide covers chill hours and disease pressure for the tree as a whole. Brown rot is the disease pressure that decides the nectarine harvest in a wet year.
Ripeness sets the rank within any tree. Fruit grows more susceptible as it colors up, and the Connecticut Agricultural Experiment Station puts peak susceptibility 2 to 3 weeks before harvest. Green fruit resists. Coloring fruit invites. Fully ripe fruit surrenders. Pick on time and the fungus loses its best window.
Brown Rot vs Bitter Rot
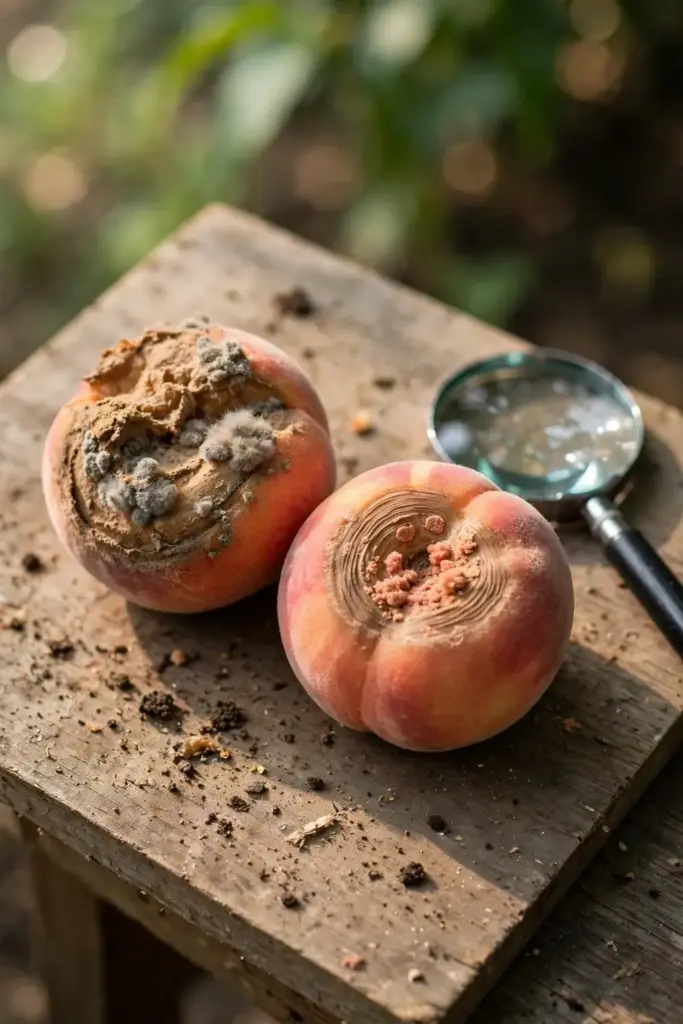
The field check is the lesion. Brown rot lesions stay tan-brown, soft, and fast, with powdery gray spore masses and mummies that cling to the tree. Bitter rot lesions turn sunken with concentric rings. Cut the comparison down to one habit. Pick up the fruit, look at the lesion shape, and read the table.
| Clue | Brown Rot | Bitter Rot |
|---|---|---|
| Pathogen | Monilinia fructicola in North America, M. laxa and M. fructigena elsewhere | Colletotrichum species |
| First sign on fruit | Small firm brown spot that spreads fast | Small spot that sinks as it grows |
| Lesion shape | Soft, tan-brown, spreading | Sunken, often with concentric rings |
| Spore masses | Powdery tan to gray tufts | Often pinkish-orange masses in rings |
| Mummies | Common, hard, cling to the branch | Less characteristic, fruit often drops |
| Blossom and twig | Blossom wilt, twig cankers, gum | Twig cankers occur, blossom blight less central |
| Hosts | Stone fruit: peach, nectarine, plum, cherry, apricot | Wide fruit range, including apple and stone fruit |
| Overwintering | Mummies on tree and ground, cankered twigs | Mummies, cankers, and infected debris |
| Best defense | Mummy sanitation plus preventive sprays at bloom and pre-harvest | Sanitation plus preventive sprays, same discipline |
No published head-to-head table exists for this pair. This table compiles the brown rot side from Extension pages and the bitter rot side from the live bitter rot guide. The two diseases share sanitation and spray timing, so a mistaken identification still points at the same first moves.
Gray mold gets one line. Gray mold, caused by Botrytis, lays fuzzy gray mold over fruit without the mummy pattern that marks brown rot.
Why Brown Rot Spreads So Fast in Wet Weather
Brown rot spreads fast because wetness plus warmth equals infection in hours. Spores need a film of water on the blossom or fruit to germinate. The University of Minnesota Extension puts numbers on the blossom window: at 70 degrees Fahrenheit, a blossom needs only 3 hours of wetness for infection, and at 45 degrees Fahrenheit the same blossom needs at least 6 hours. Warm rain is the worst weather for stone fruit.
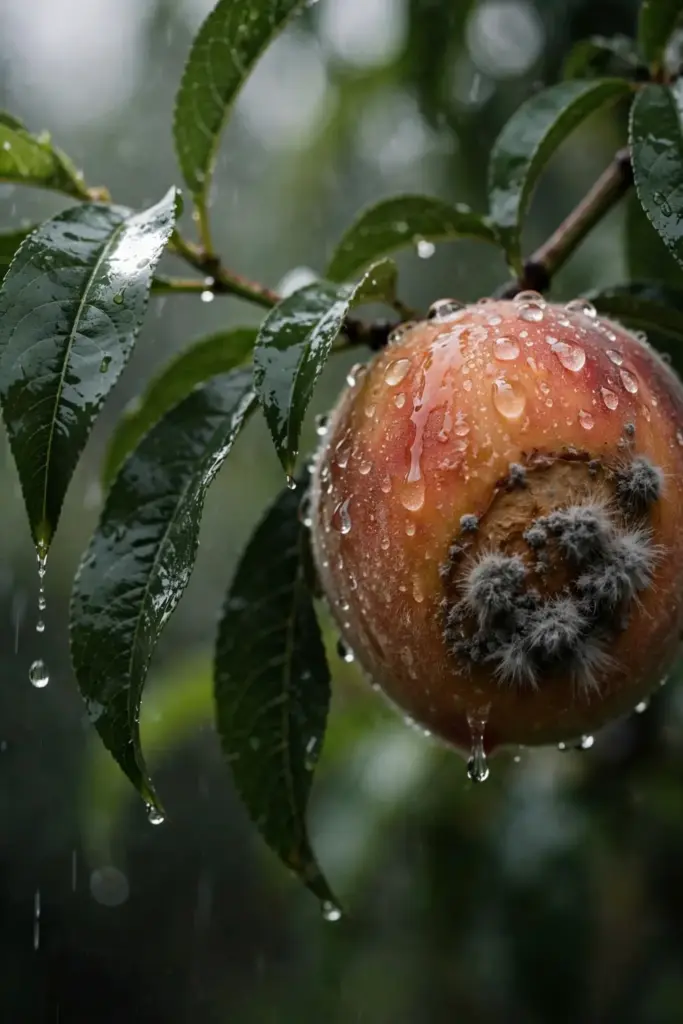
The spore supply never runs out in a bad year. One mummy produces spores all spring. One canker produces secondary spores through much of the summer. One rotted fruit in a cluster infects its neighbors. The cycle feeds itself as long as wet weather lasts.
Infection speed rises with ripeness. Green fruit resists infection unless wounded. Coloring fruit accepts infection readily. Ripe fruit rots within days, and rotted fruit makes spores within the same wet spell. The fungus compresses its whole cycle into the harvest window.
Wind and splash carry the spores short distances: rain splash lifts spores from ground mummies onto low fruit, wind carries spores from tree mummies onto open blossoms, and insects carry spores to wound sites on ripening fruit. Every wet day moves the fungus one step closer to the next fruit.
What Makes Brown Rot Worse in a Home Garden
Wet springs set the first risk. Rain at bloom wets blossoms for hours and lets spores germinate. A dry bloom dodges blossom blight even with mummies in the tree. A wet bloom with mummies in the tree guarantees it.
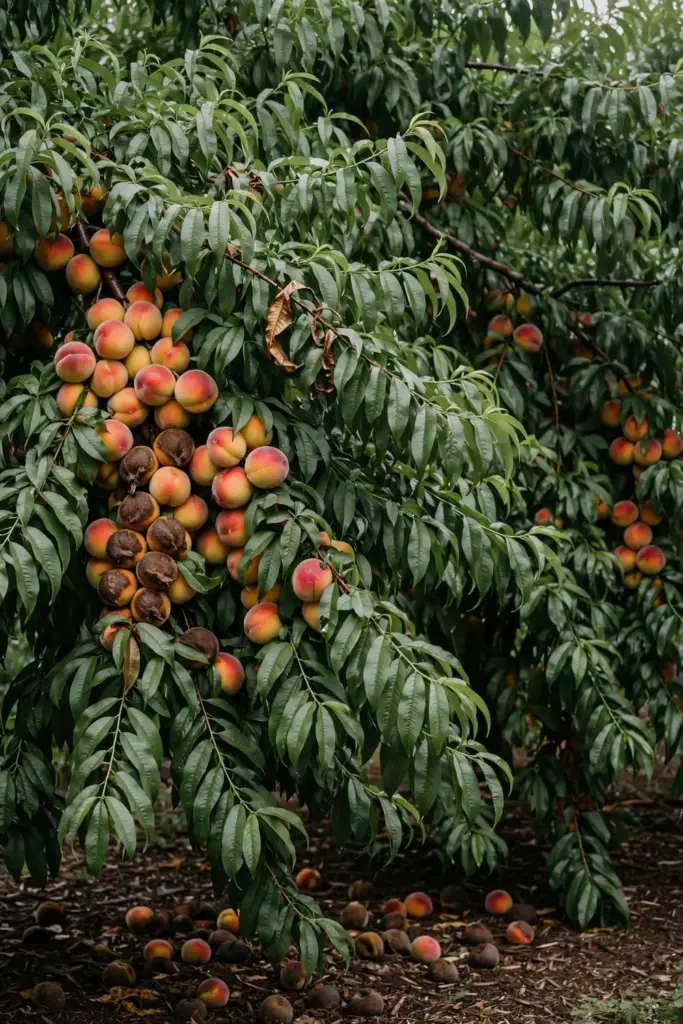
Tight canopies set the second risk. Dense branches hold moisture after rain and block airflow. Fruit inside a thick canopy stays wet for hours longer than fruit on an open branch. Pruning for airflow is disease work, not decoration.
Touching fruit sets the third risk. Clusters that press together trap moisture and pass spores by contact. Unthinned trees carry clusters that rot as a unit. Thinned trees carry fruit that dries fast and rots alone.
Wounds set the fourth risk. Insect feeding, bird pecks, hail, and rough picking break the skin. Wounded fruit invites infection that sound fruit would resist. Insect control is brown rot control in the weeks before harvest.
Left mummies set the fifth risk. Each mummy on the tree or on the ground is a spore source waiting for spring. A tree that kept its mummies all winter starts the season infected. A tree stripped clean starts the season with a fighting chance.
Step 1: Decide Whether Spraying Is Worth It This Season
Count mummies before you buy spray. Walk each tree in late winter and count the mummies still hanging. A tree with zero mummies and no cankers needs sanitation and watching, not a spray program. A tree with mummies everywhere and cankers on the twigs needs the full program.
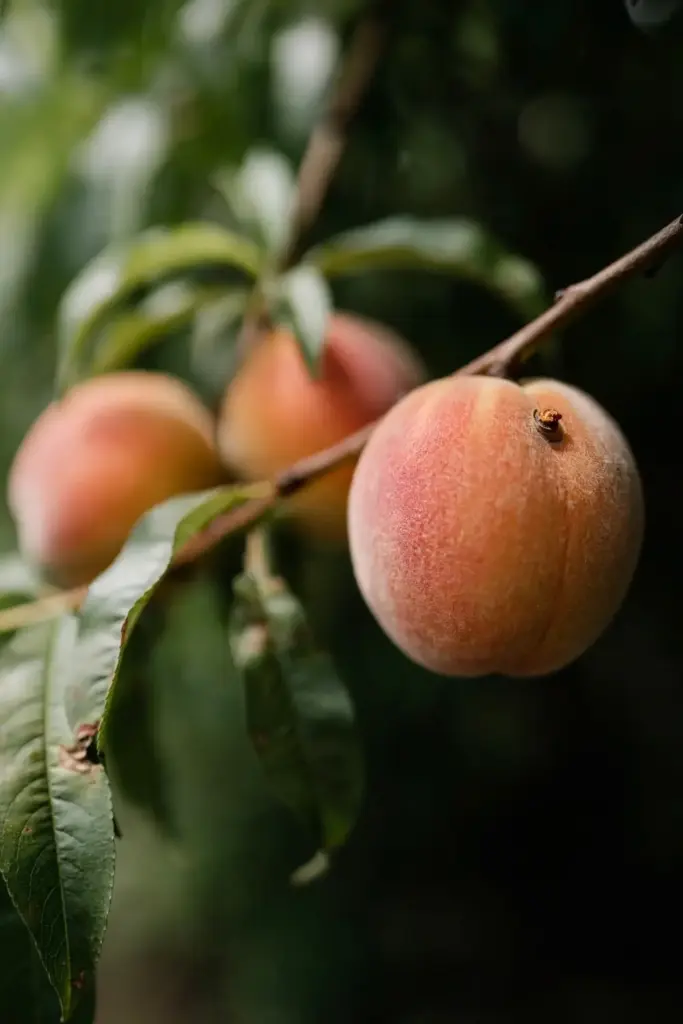
No spray cures infected fruit. Fungicides protect sound blossoms and sound fruit. They never reverse rot that already started. A fruit with a brown spot is lost whether you spray or not. Pick it, bag it, and protect the fruit still standing.
Spraying pays when three conditions line up: the tree held brown rot last year, mummies or cankers survived the winter, and rain is forecast at bloom or near harvest. All three together mean the fungus has inoculum, opportunity, and a wet window. That is the season to spray.
Skip the spray when the tree stayed clean last year and the winter strip removed every mummy. Sanitation alone carries a clean tree through a dry spring. Spend the spray money on pruning shears and paper bags instead. The tree will thank you with sound fruit.
Step 2: Strip Every Mummy From the Tree and the Ground
Strip mummies in late winter, before bud break, walking every branch and pulling every shriveled fruit still hanging. The University of Minnesota Extension puts this job before bud break in early spring. Mummies removed before bloom never release a spring spore.
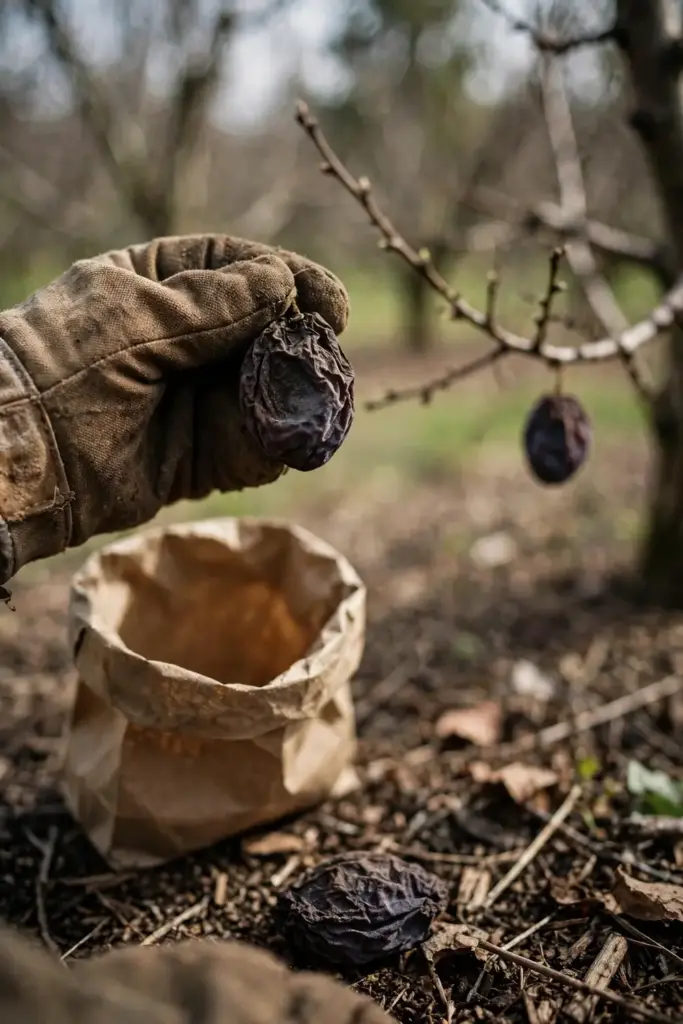
Pick up fallen fruit through the whole summer. Fallen rotted fruit on the ground sporulates in wet weather and splashes spores onto low fruit. A weekly ground pickup during ripening keeps the floor clean. The job takes minutes on a home tree.
Bag mummies for municipal waste. Tie the bag shut and put it in the trash. The University of Minnesota Extension also allows burying infected fruit deep in a compost pile, but a cold or unfinished pile will not kill the fungus. Trash is the safe default for a home garden.
Never knock mummies to the ground and leave them. Ground mummies still sporulate. The job is removal, not relocation. Every mummy in the bag is a spring infection that never happens.
Step 3: Prune Cankered Twigs and Open the Canopy
Prune cankered wood in February or March. The University of Minnesota Extension sets that window for cutting out cankered branches and twigs killed by brown rot. Cut below each canker into clean wood. Carry the cuttings out of the tree and bag them with the mummies.
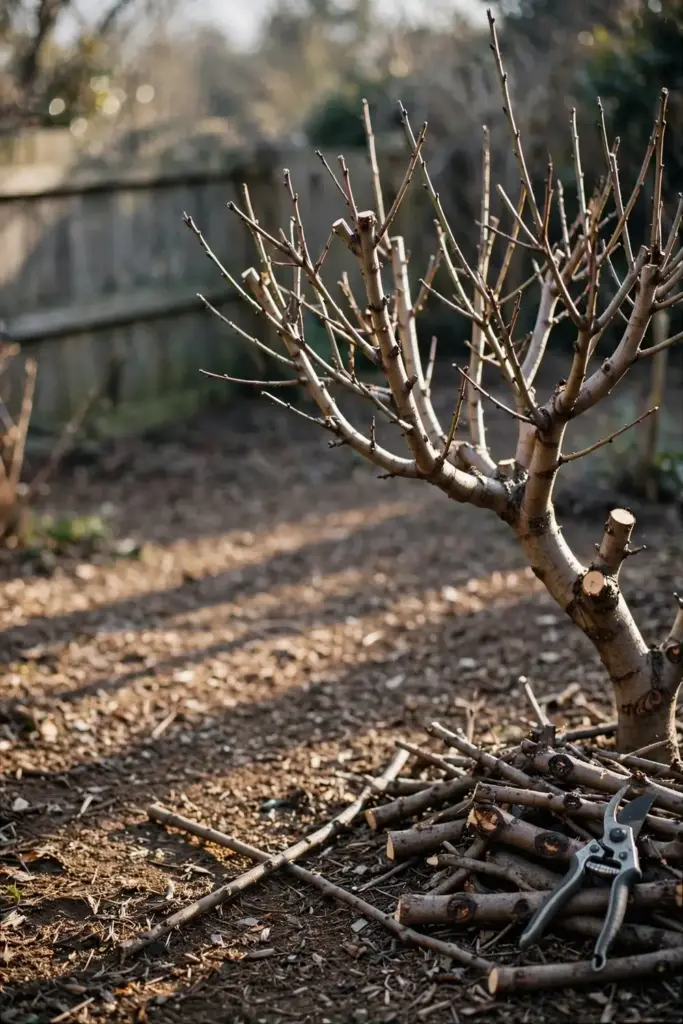
Open the canopy while you prune. Thin crowded branches so air moves through the crown and fruit dries fast after rain. A tree that dries in an hour beats a tree that stays wet until noon. The spring pruning techniques guide covers the cuts in full detail.
Prune for light as well as air. Fruit that sees sun dries faster and ripens evenly. Shaded interior fruit stays wet, ripens late, and rots first. Every branch you remove is a wet pocket gone.
Disinfect the shears between trees. Wipe the blades with diluted household bleach, then rinse. Dirty shears carry spores from a sick tree to a clean one. Clean shears break that chain.
Step 4: Thin Fruit So Neighbors Never Touch
Thin early, when fruit is still small. Pull the smallest fruit in each cluster and leave space between the rest. Thinned fruit grows larger, ripens evenly, and dries fast after rain. Unthinned fruit crowds, traps moisture, and rots as a cluster.
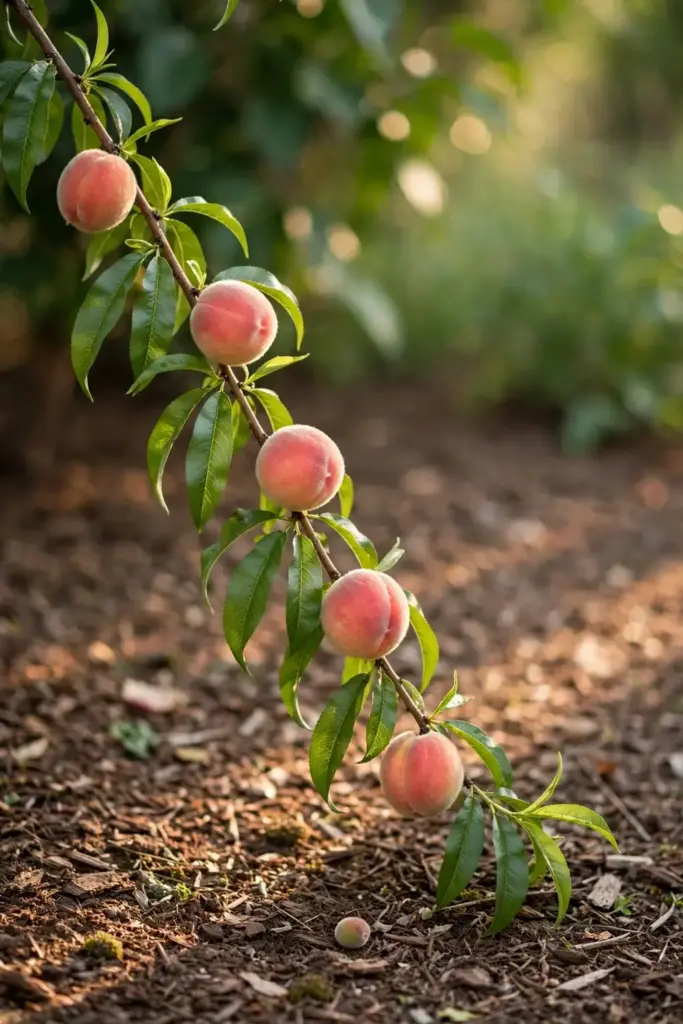
Leave a finger width between fruit. That gap stops contact spread cold. One infected fruit in a thinned tree rots alone. One infected fruit in a crowded cluster rots the whole cluster. The gap is the whole strategy.
Remove thinned fruit from the ground. Thinned fruit left on the orchard floor can carry the fungus and feed spores during ripening. The University of California IPM program lists heavily thinned fruit on the ground as an inoculum source. Bag it or bury it deep. Never leave it under the tree.
Thin again after the natural June drop. Trees shed excess fruit in early summer, and the survivors still crowd in places. A second pass catches the clusters the first pass missed. Two thinning passes beat one heroic pass.
Step 5: Time Preventive Sprays to Bloom and Pre-Harvest
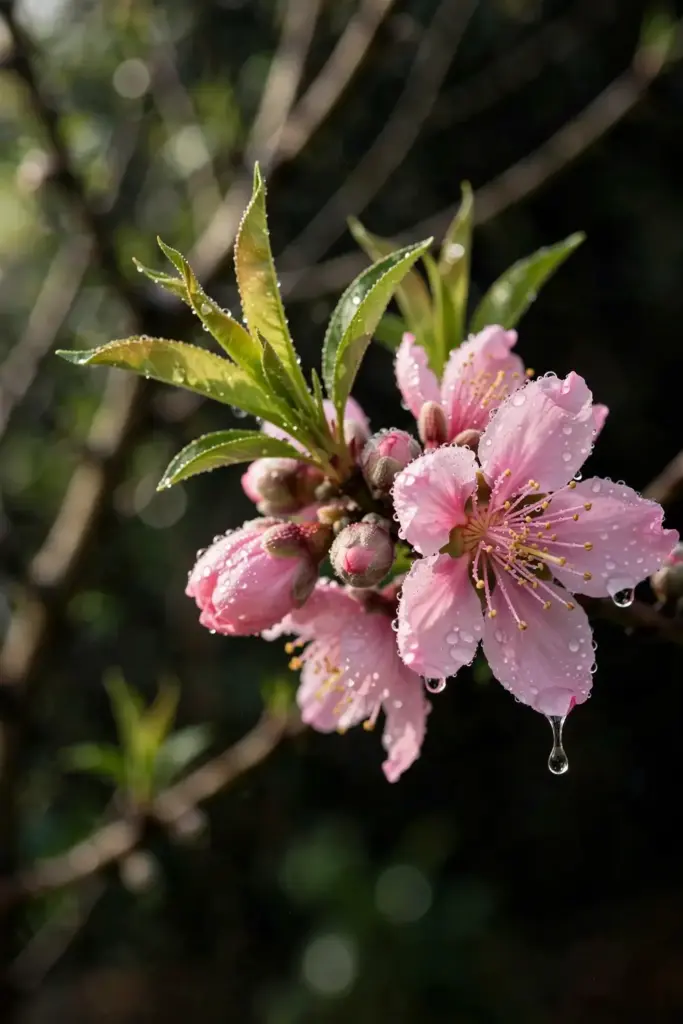
Spray at bloom to protect blossoms. The University of Minnesota Extension starts blossom protection when blossoms first begin to open and repeats sprays per label directions until petal fall. Bloom sprays cut the blossom blight that feeds the whole season. A clean bloom means a cleaner harvest.
Spray again 2 to 3 weeks before harvest. The University of Minnesota Extension starts fruit-rot protection in that window and repeats per label directions until harvest. Fruit grows more susceptible as it colors, so the pre-harvest window is the second critical spray period. Green fruit needs no spray.
Pick products by the label, not by habit. The University of Minnesota Extension lists myclobutanil, propiconazole, captan, chlorothalonil, and sulfur for brown rot, with chlorothalonil for blossom blight only. The University of California IPM program adds copper at pink bud and warns never to apply copper compounds after bloom. Read the label for your crop, your state, and your pre-harvest interval. The label is the law.
Rotate chemistries by mode of action. The fungus builds resistance when one chemistry carries every spray. Alternate products with different mode-of-action group numbers across the season. Resistance management keeps every product working for years instead of one.
Step 6: Guard Every Wound Against Insects, Birds, and Hail
Control insects in the weeks before harvest. Oriental fruit moth, Japanese beetle, and green June beetle all wound fruit, and wounded fruit invites brown rot. Penn State Extension notes that insects carry spores to injury sites during ripening. Insect control in that window is brown rot control.
Net the tree against birds. A bird peck is a wound with a beak. Netting over a small home tree stops pecks and drops wound infections to near zero. Drape the net so it clears the fruit, and remove it at harvest.
Thin hail-damaged fruit fast. Hail dents break skin across the whole tree at once. A hailstorm in the last weeks before harvest is a brown rot emergency. Pick damaged fruit the same day. Spray the remaining sound fruit per label if rain follows.
Pick with care. Fingers bruise ripe stone fruit. A bruise is a wound, and a wound is an infection site. Lift each fruit by the stem, never squeeze the flesh. Set picked fruit in a shallow layer, never a deep pile.
Step 7: Harvest Early, Handle Gently, and Cool Fruit Fast
Harvest at first ripe color, not dead ripe. Fruit left on the tree past ripe color is the most susceptible fruit in the garden. Pick fruit as it colors and let it finish indoors. The tree stops being the storage room the day you pick.
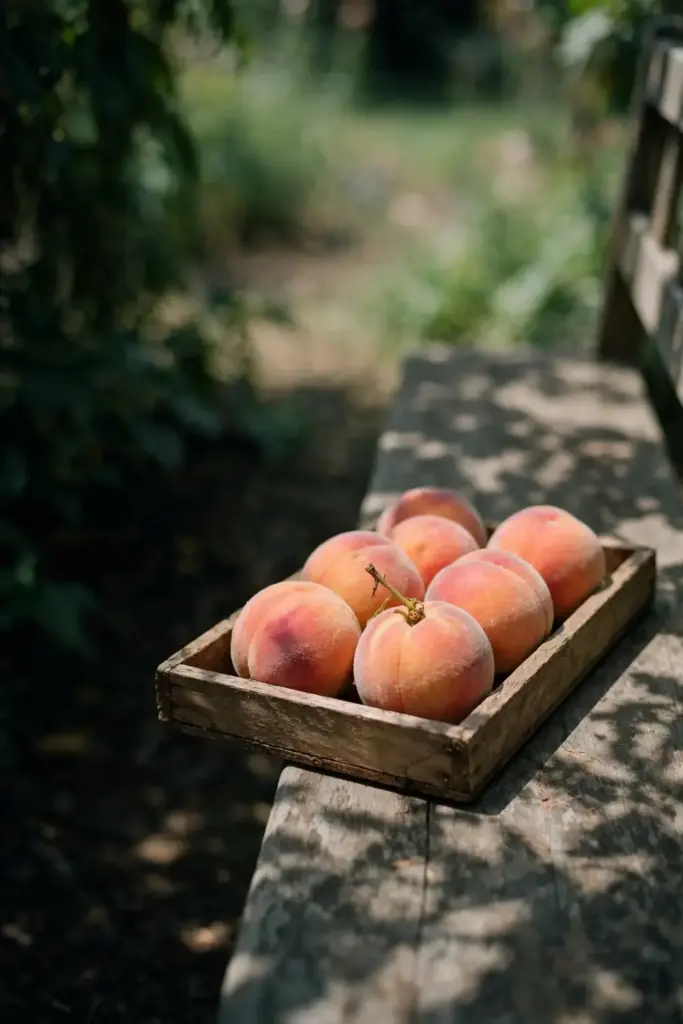
Harvest in dry weather when possible. Wet fruit carries spores on its skin into the kitchen. Morning dew counts as wet. Wait until the fruit dries, then pick. Dry picking keeps spores off the harvest.
Cool picked fruit fast, because field heat speeds rot. Move picked fruit into shade at once, then into cool storage, since fruit that cools within an hour keeps days longer than fruit that bakes in the sun. Shade is the first cold room.
Inspect every fruit before it enters storage. A fruit with a brown spot never goes into the box with sound fruit. One rotting fruit in a box rots the box. Sort hard at the picking bucket, not at the fridge.
Step 8: Protect Stored Fruit From the Rot That Follows Harvest
Sort again before storage. Infections picked up in the last days on the tree stay invisible for days, then appear in storage. Check stored fruit every day for the first week. Pull any fruit that softens or spots at once.
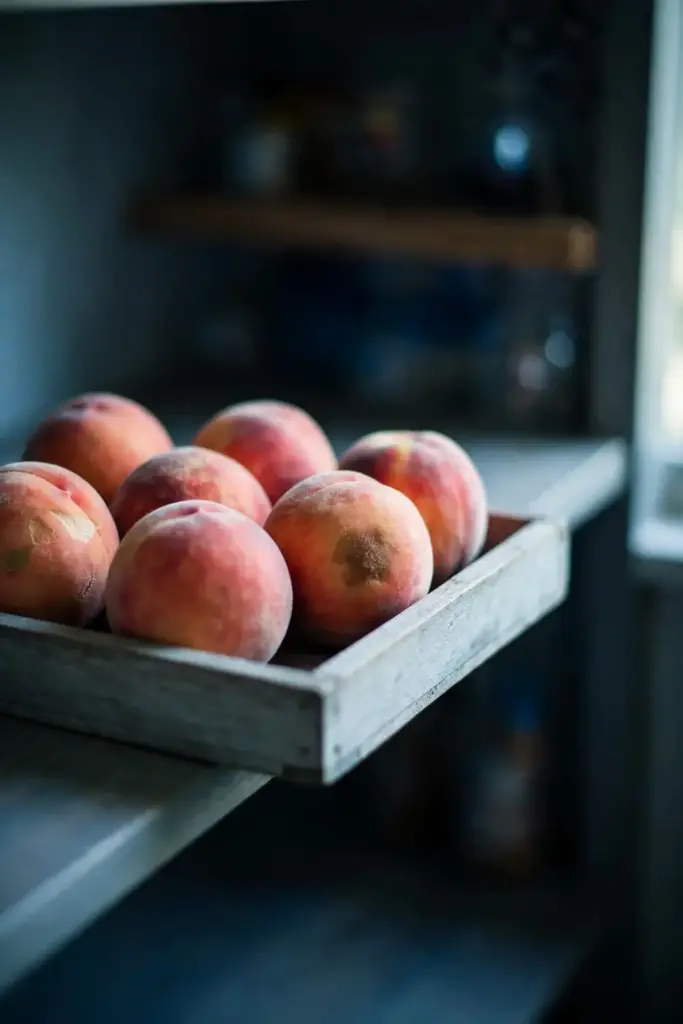
Store fruit cool, dry, and in a single layer. Stacked fruit traps moisture and passes rot by touch. A single layer in a shallow tray dries fast and lets you see every fruit. Crowded storage repeats the crowded cluster mistake indoors.
Field management protects storage too. Penn State Extension research notes that managing disease in the field helps control latent infections after harvest, and Rutgers research found pre-harvest sprays at 18, 9, and 1 days before harvest gave more than 95 percent control of brown rot under heavy disease pressure. Penn State adapted that schedule to 3-day windows: 21 to 18, 11 to 9, and 3 to 1 days before harvest. The spray you apply this week is the storage rot you prevent next week.
Step 9: Plant the Least Susceptible Varieties Next Time
Choose varieties with the lowest susceptibility when you plant. The University of California IPM program advises planting varieties that are least susceptible and checking with a local nursery. Local nurseries know which varieties dodge brown rot in your climate. Ask them before you buy.
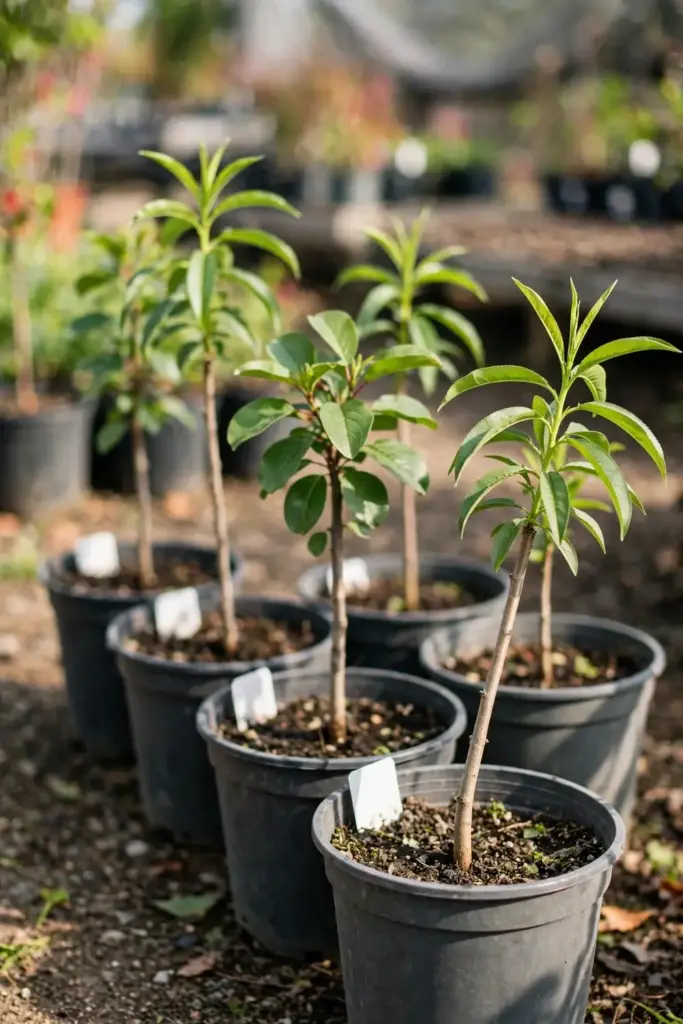
Match the variety to your climate. A variety that ripens into your rainy season will fight brown rot every year. A variety that ripens in your dry window dodges it. Ripening date is disease management, and the catalog lists it plainly.
Replace a tree that loses every crop. A tree that rots its whole crop year after year, despite sanitation and sprays, is a bad match for the site. Removing it frees the space for a variety that fits. A hard cut beats a decade of lost harvests.
Buy certified disease-free stock. Nursery stock with cankers or mummies on the bench brings brown rot home on day one. Inspect every tree before it leaves the nursery. A clean start is worth more than a bargain tree.
Step 10: Keep the Same Sanitation Routine Next Spring
Repeat the strip in late winter. Mummies form every year, even in a clean year, because a few infections always slip through. The late-winter strip is a permanent job, not a one-season fix. Put it on the calendar next to pruning.
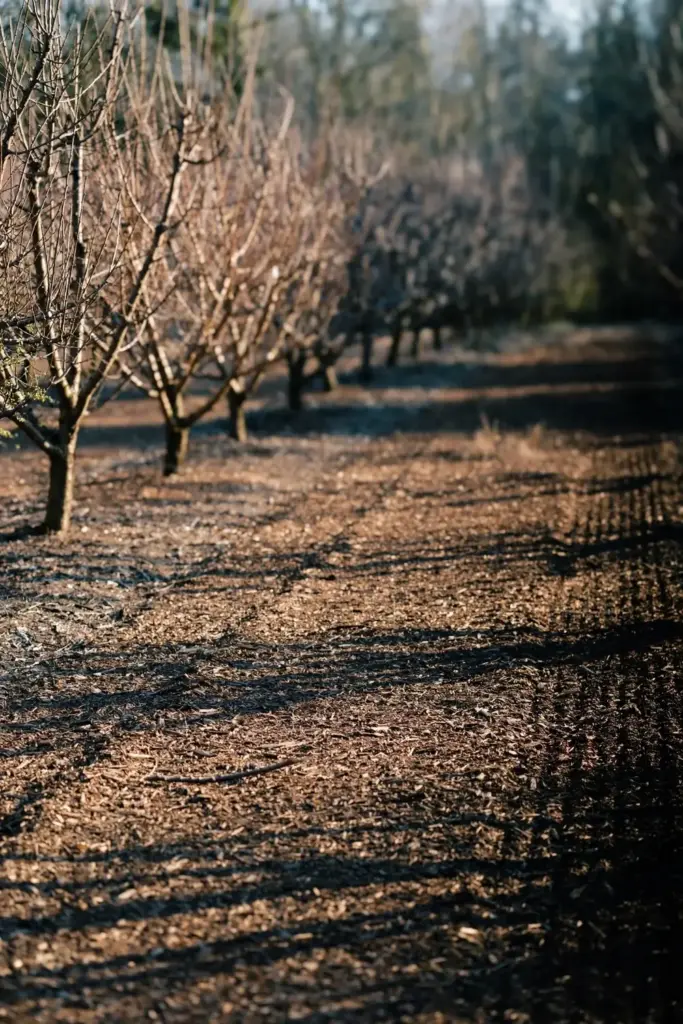
Repeat the ground pickup through summer. Fallen fruit appears every week of the ripening season, and the weekly pickup takes minutes and pays back in sound fruit. Skip a month and the floor rebuilds the spore supply.
Repeat the pruning every February or March. Cankers form every year on a tree that held brown rot. The dormant prune removes them before bloom. The routine compounds: each clean year starts the next year cleaner.
Keep a notebook. Write down which tree held brown rot, when bloom fell, when rain hit, and what you sprayed. Memory fades. The notebook tells you next spring which tree needs the full program and which tree needs watching only.
Living With Brown Rot in a Tree You Already Own
A tree with brown rot is not a dead tree. It is a managed tree. Strip mummies every winter. Prune cankers every February or March. Thin fruit every spring. Spray at bloom and pre-harvest when the season demands it.
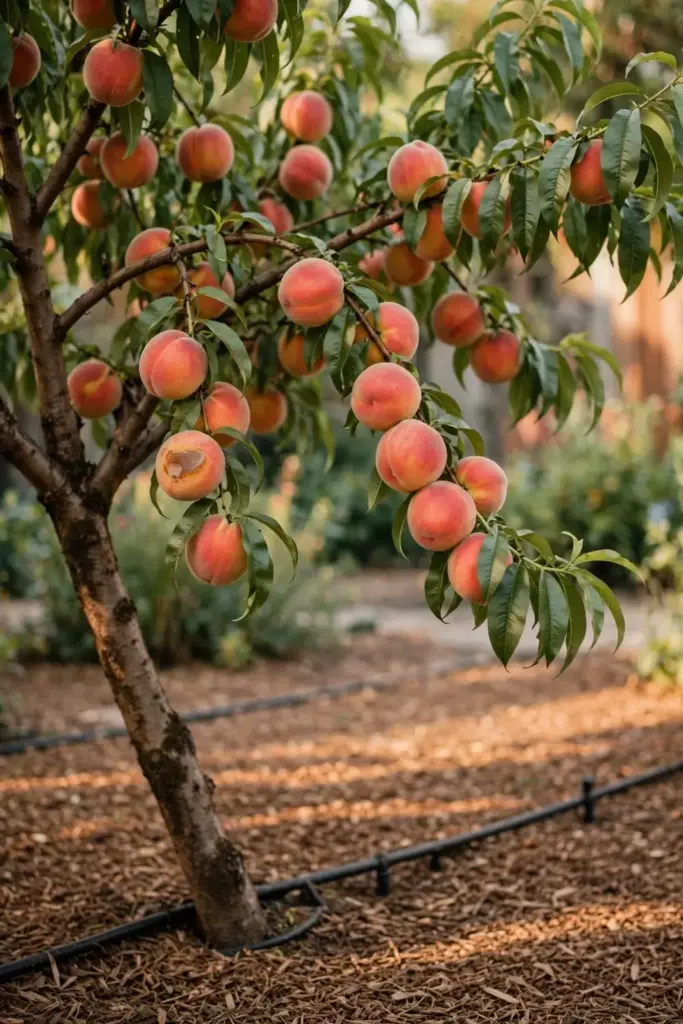
Stop three habits. Do not leave mummies on the tree. Do not leave fallen fruit on the ground. Do not stack picked fruit in deep piles. Keep the sanitation, thinning, and harvest discipline every season, because the fungus overwinters longer than any gardener’s memory.
If the decay sits in wood rather than fruit, Wood Rot is a different problem with a different fix. If the rot hits potatoes, that is the bacterial quarantine disease, not this fungus. Name the enemy right and the fix follows.
Frequently Asked Questions
No. No spray reverses rot in a fruit that already shows a brown spot. Fungicides protect sound blossoms and sound fruit only. They never cure infected tissue. Pick infected fruit, bag it, and protect the fruit still standing. This plan skips rescue sprays entirely because rescue sprays do not exist.
Yes, unless sanitation breaks the cycle. The fungus overwinters in mummies and cankered twigs, then releases spores at bloom. A tree that keeps its mummies all winter starts the next season infected. Strip every mummy before bud break, prune cankers in late winter, and the cycle weakens year by year.
Spray preventive fungicides at bloom and again 2 to 3 weeks before harvest, per label directions. The University of Minnesota Extension lists myclobutanil, propiconazole, captan, and sulfur among the options, with chlorothalonil for blossom blight only. Read the label for your crop and pre-harvest interval. Sanitation always comes first, since sprays work best on a clean tree.
No. Brown rot is a plant disease, not a human one. Do not eat rotted fruit, since the tissue is decayed and may carry secondary mold. Sound fruit from a tree with brown rot is safe to eat after washing. The real loss is the harvest, not your health. Discard mummies and rotted fruit, and keep the sound fruit.
Bag mummies for municipal waste as the safe default. The University of Minnesota Extension also allows burying infected fruit deep in a compost pile, but a cold or unfinished pile will not kill the fungus. Never leave mummies on the ground or toss them loosely on a pile. Trash is the choice that never backfires.
Not at once. Give sanitation plus timed sprays two full seasons first. Strip mummies, prune cankers, thin fruit, and spray at bloom and pre-harvest. If the tree still loses its whole crop after two disciplined seasons, replace it with a variety that ripens in your dry window. A bad match for the site costs more harvests than a new tree.
Where to Go From Here
Brown rot rewards fast sanitation and honest timing. Strip the mummies. Prune the cankers. Thin the fruit. Spray at bloom and pre-harvest when the season demands it. Then harvest on time, handle gently, and cool fast.
Next season, start clean. A late-winter strip, a February prune, and a dry bloom will prevent more brown rot than any product treats. The blossom blight guide is a useful companion read if you are building a broader disease-identification habit, since it trains the same look-closely-at-symptoms approach.