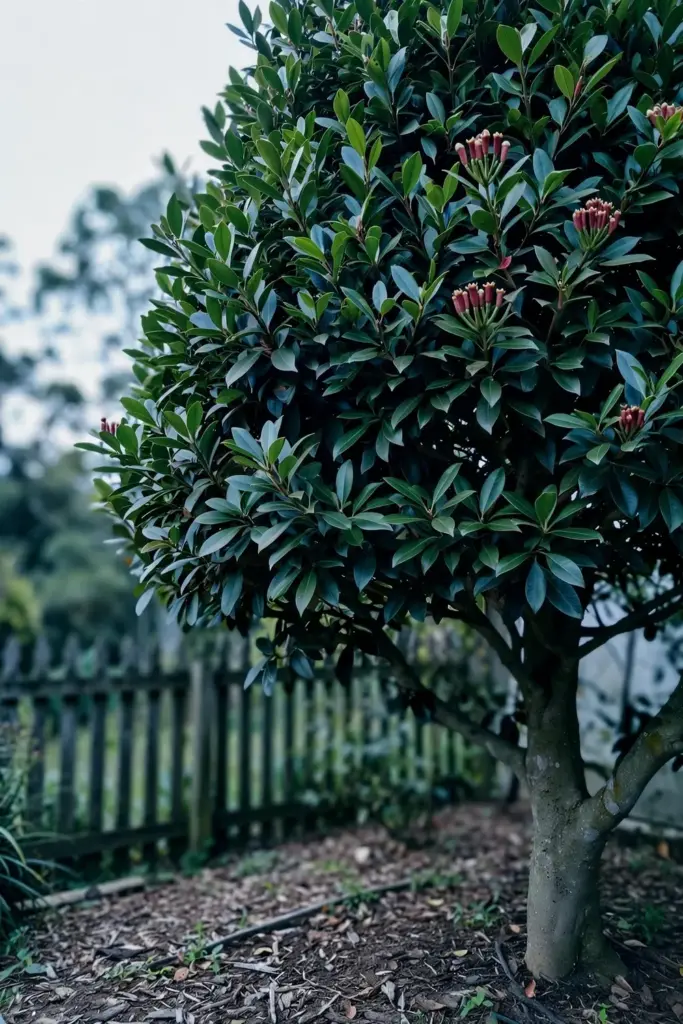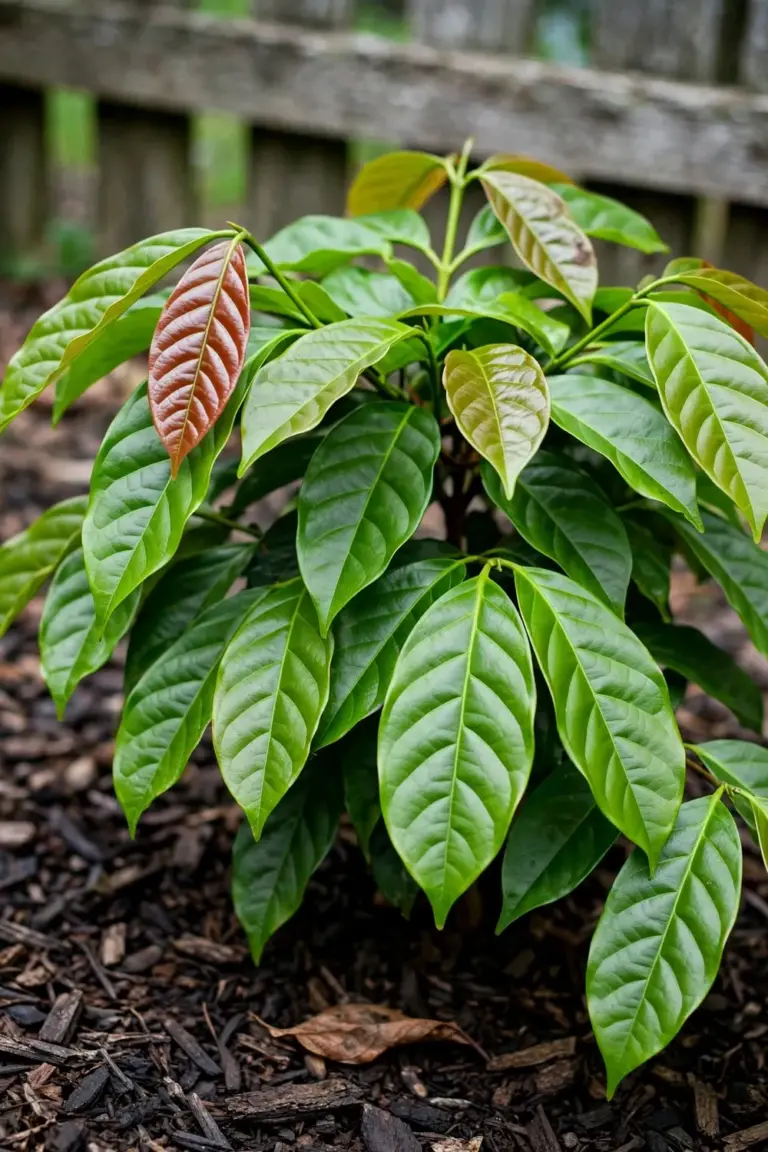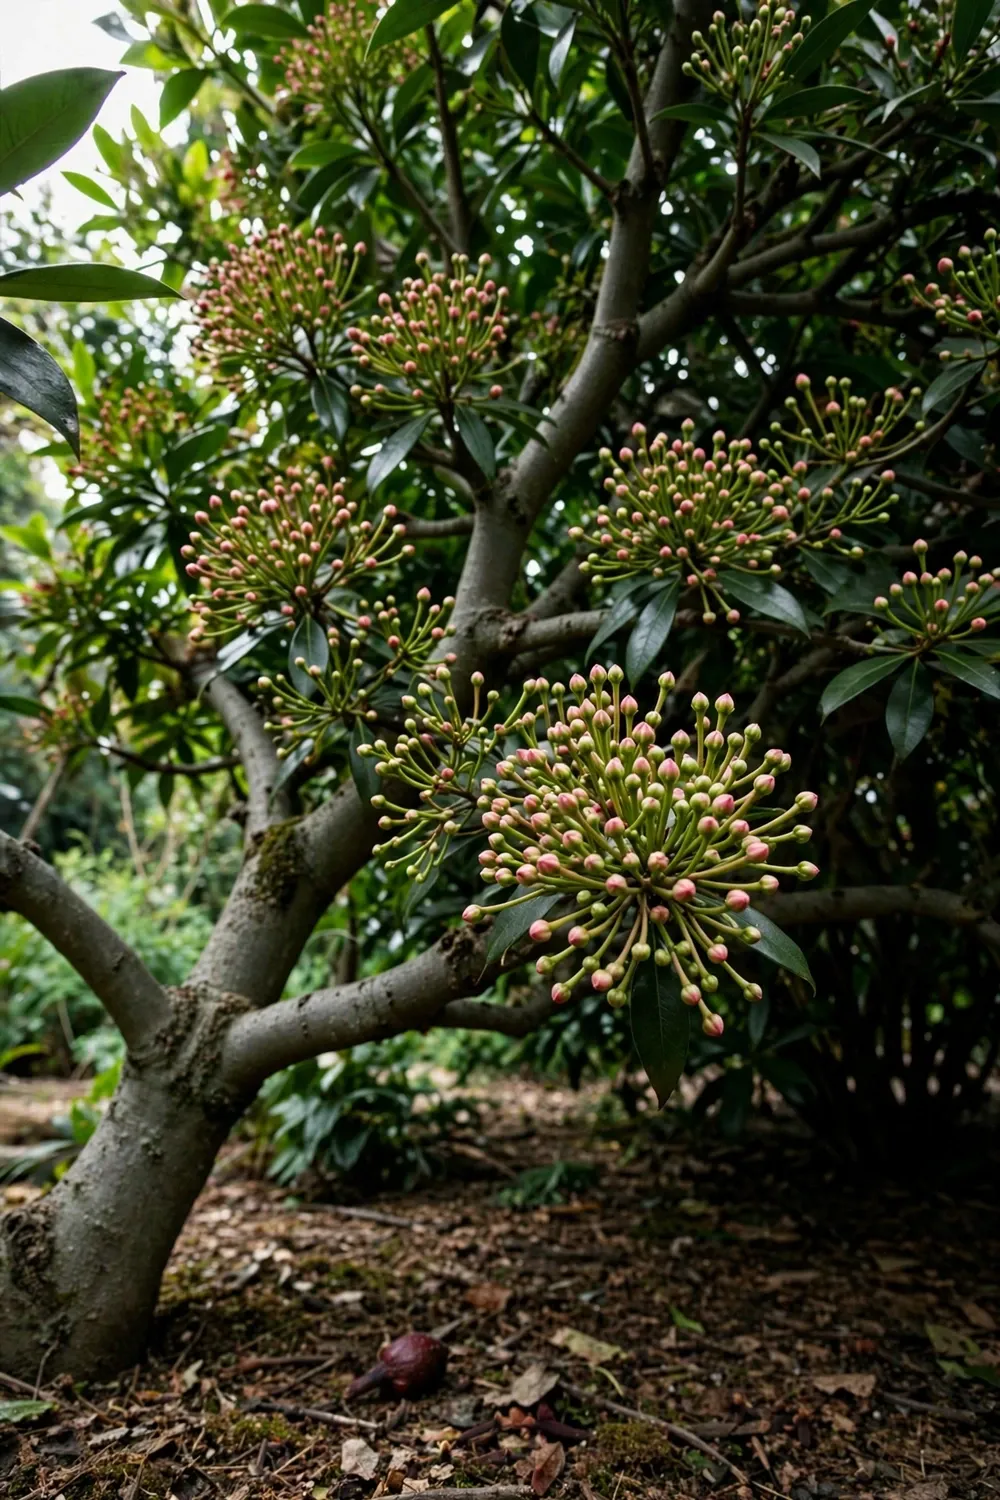

A clove tree (Syzygium aromaticum) needs a frost-free tropical climate, fresh seed, and a 6-to-10-year wait before its first flower buds. Learning how to grow clove trees at home starts with accepting that timeline, because every shortcut in the process shows up later in a weak harvest.
I have learned to treat the wait as the real crop, since a clove tree that finally flowers rewards every patient year.
The tree is an evergreen in the myrtle family, native to the Maluku Islands of eastern Indonesia, and Indonesia still grows more cloves than any other country. The spice trade that once sailed out of those islands ran on the dried buds of this one species, Syzygium aromaticum, and the buds in your kitchen jar carry that same origin.
The dried buds you cook with are unopened flower buds, never seeds, so the whole project begins with fresh seed from ripe fruit. If you already grow other tropical trees, the rhythm will feel familiar: slow early growth, then decades of production, much like growing mango from seed or grafted stock.
Clove Tree Quick Specs
| Spec | Value |
|---|---|
| Botanical name | Syzygium aromaticum |
| Family | Myrtaceae (myrtle) |
| Plant type | Broadleaf evergreen tree |
| Mature size | 15 to 30 feet tall, 10 to 20 feet wide in gardens |
| USDA hardiness zones | 11 to 12 |
| Cold limit | Bring indoors below 40°F |
| Ideal temperature | 70 to 85°F |
| Sun | Full sun to partial shade; shade for young trees |
| Soil | Rich, loamy, neutral to acidic, well drained |
| Rainfall need | 50 to 70 inches per year |
| First buds | 6 to 10 years after planting |
| Full maturity | 15 to 20 years |
1. Confirm Your Climate Matches Zones 11 to 12 Before You Start
Your clove tree survives outdoors year-round only in USDA zones 11 to 12, the warmest mainland zones in the United States. Constant temperatures above 50°F are essential, and the tree grows best between 70 and 85°F, according to The Spruce’s clove tree care guide.
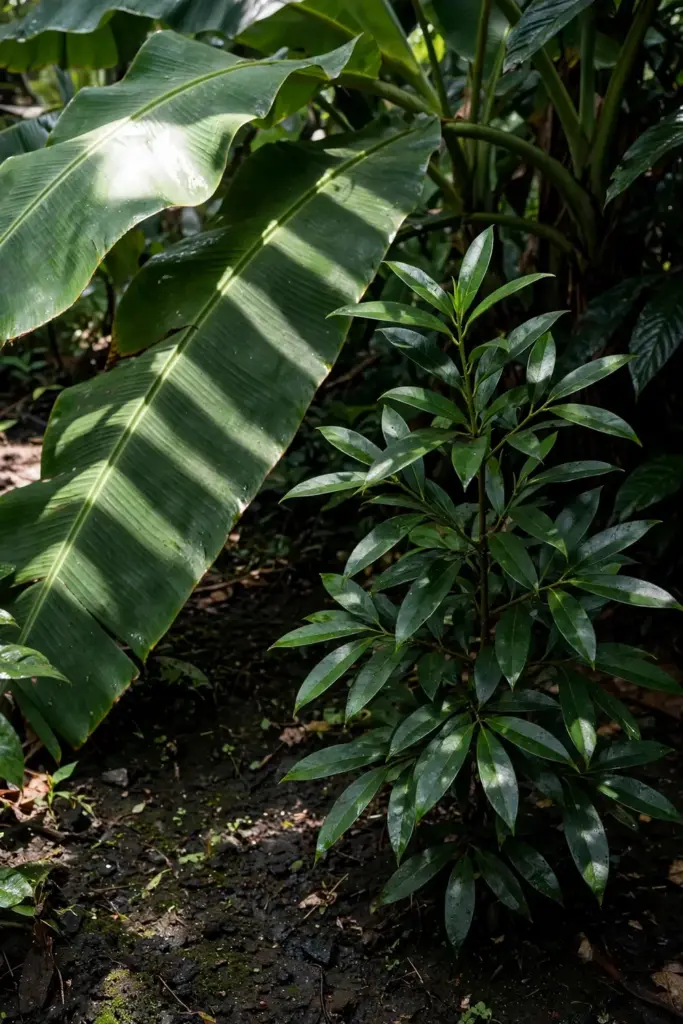
That narrow band rules out most gardens. Florida south of Lake Okeechobee, the southernmost tip of Texas, Hawaii, and Puerto Rico qualify. Everywhere else, the tree lives as a container plant that moves indoors for winter.
Cold damage is not gradual. One night below 40°F can injure young growth, which is why Gardening Know How advises bringing potted trees indoors whenever temperatures threaten to dip below 40°F, in their container clove guide. Set a frost watch reminder for your phone before you plant. The thermometer decides more than any fertilizer.
Map your own microclimate before trusting the zone map. Low spots collect cold air and run several degrees cooler than a slope or a wall with southern exposure. In a borderline zone 10b garden, planting the tree on the warm side of the house and under the light canopy of a banana plant buys real degrees of protection, the same trick The Spruce recommends for young clove trees. Walls, patios, and water barrels all radiate stored heat on cold nights.
Humidity matters as much as heat. Clove trees come from the wet tropics, so dry heated air in winter is a second enemy. A humidity tray, a room humidifier, or grouping plants together keeps indoor air above the dry threshold that crisps leaf edges.
2. Source Fresh Seeds, Never Dried Cloves
The spice jars sell dried, unopened flower buds. Those buds will never sprout. Real seed comes only from ripe clove fruit, the fleshy dark-red drupe that follows flowering.
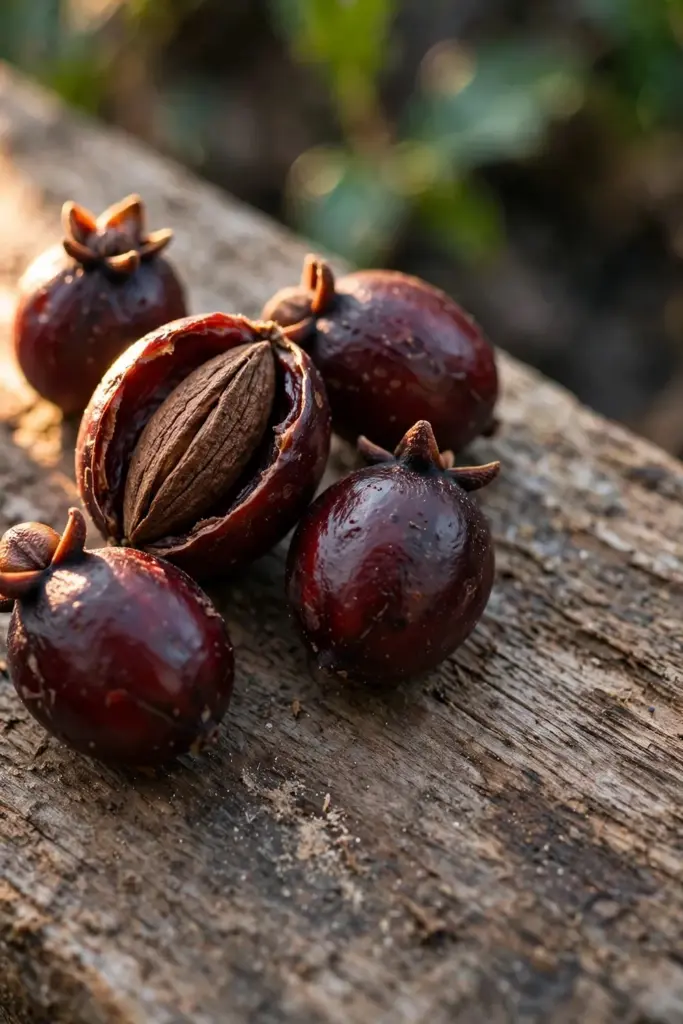
Order seed from a tropical nursery that harvests to order, or collect fruit from a mature tree if you know a grower. Ask when the seed was harvested. Anything older than a few weeks is suspect.
Vet the seller before you pay. A reputable source names the species as Syzygium aromaticum, gives a harvest date, and ships seed packed in moist material rather than a dry paper envelope. Marketplace listings that promise “clove seeds” with no harvest date and no species name usually ship dead stock. One clarifying question about freshness filters out most bad sellers, and a seller who cannot answer it has answered anyway.
Do not buy culinary cloves and hope. This is the single most common failure in how to grow clove from seed, and it wastes months of careful watering on dead material. Fresh seed, correct species, recent harvest. Check all three before you spend a cent on soil.
3. Use Fresh Seed Within Days of Harvest
Clove seed loses viability fast once it dries out. Seeds should be planted immediately after harvesting the fruit, as The Spruce’s propagation section explains. The fruit falls when ripe, and the window between that drop and a dead seed is short.
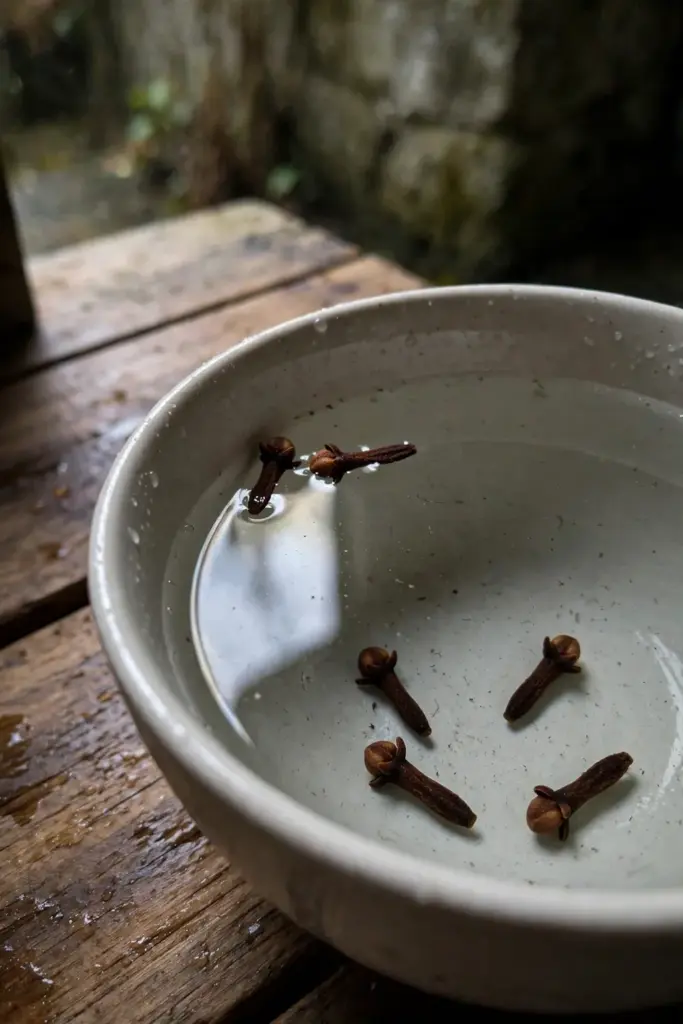
If planting must wait, store the seeds in moist soil, not in a drawer. Moist storage slows the drying that kills the embryo. The same rule applies across tropical trees with recalcitrant seed; growers growing pawpaw from seed follow the same plant-it-fresh discipline.
Sort before sowing. Float the seeds in water for a few hours and discard floaters. Heavy, sunken seed holds a live embryo. This five-minute test saves tray space for seeds that can actually grow.
4. Surface-Sow Seeds for the 6-Week Germination Window
Do not bury clove seeds. They need light to germinate, so press them onto the surface of moist seed-starting mix and leave them uncovered, The Spruce recommends. Soaking the seeds overnight in water before sowing speeds up the process.
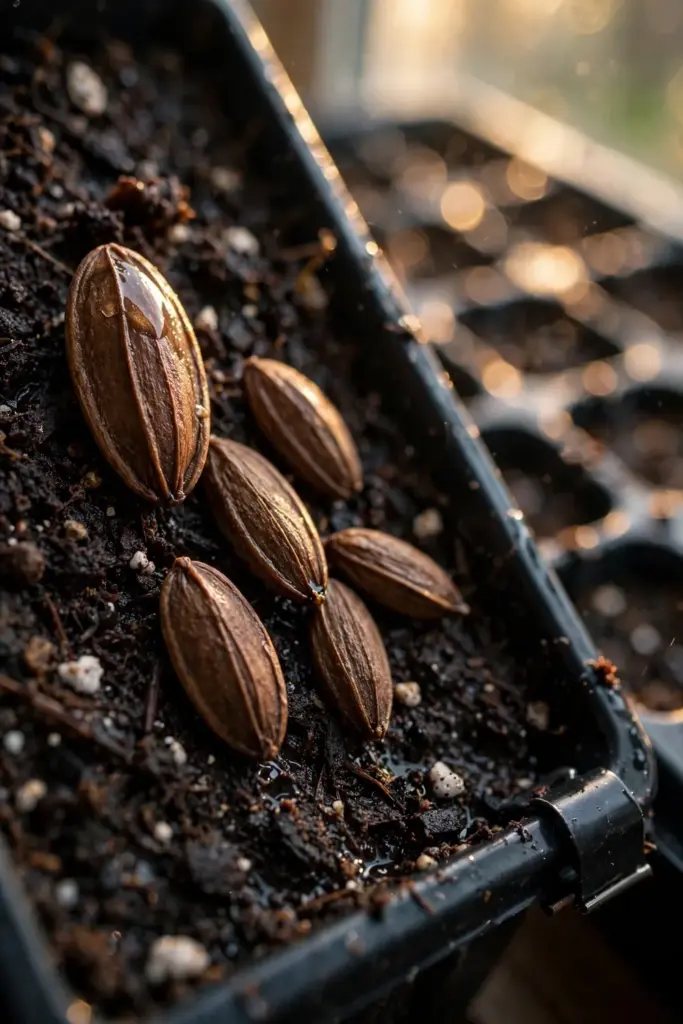
Some guides tell you to cover the seed with a thin layer of mix. The surface-sow approach wins here. A buried clove seed sits in dark, wet mix for weeks with no light cue to trigger germination, and by the time you dig it up to check, rot has usually beaten sprouting. When two sources conflict, follow the one that names the mechanism: light reaches the seed coat, the seed coat cracks, the root follows.
Germination takes about 6 weeks at warm temperatures. That is longer than most gardeners expect, and the tray will look like nothing is happening for the first month. Patience is part of the method.
| Step | Action | Time |
|---|---|---|
| 1 | Soak fresh seeds overnight in room-temperature water | 12 hours |
| 2 | Fill a tray with moist, loose seed-starting mix | Same day |
| 3 | Press seeds onto the surface; do not cover with soil | Same day |
| 4 | Cover the tray with clear plastic to hold humidity | Same day |
| 5 | Keep at 70 to 85°F in bright, indirect light | 6 weeks |
| 6 | Remove the plastic cover when seedlings emerge | Day of emergence |
Lift the plastic daily to wipe condensation and let air in. Stagnant air invites fungal damping off, and clove seedlings are slow enough that mold wins the race if you ignore it.
5. Raise Seedlings at 65 to 80°F Under Indirect Light
Young clove trees prefer indirect light over full sun. Place the tray in a bright spot out of direct rays, in a room that stays between 65 and 80°F. A north-facing windowsill or a spot under a shade cloth works.
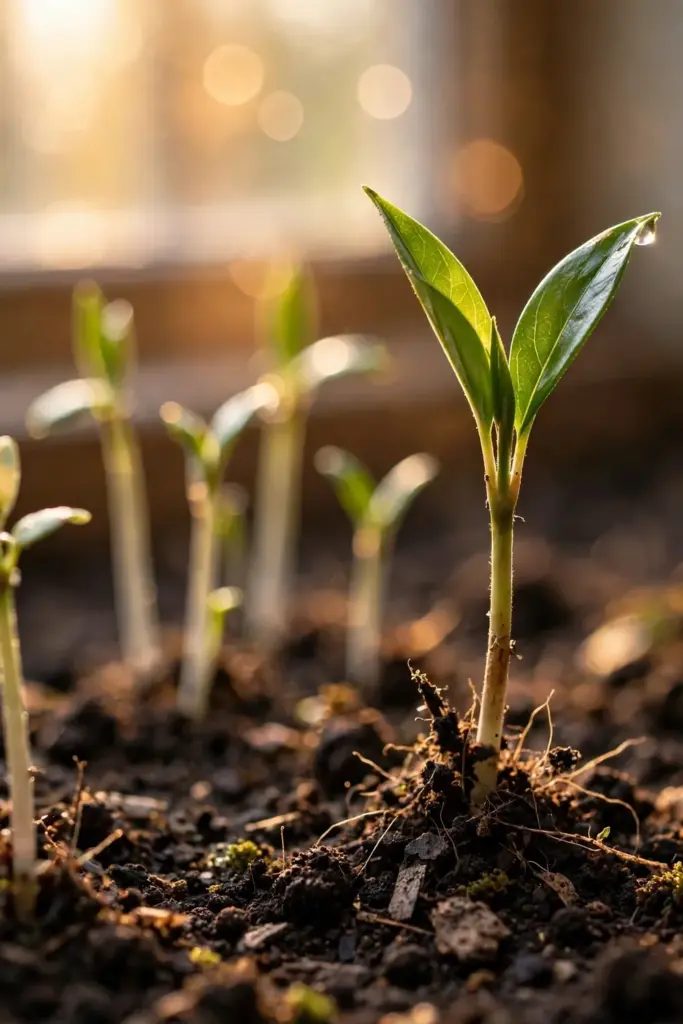
Keep the mix evenly moist, never soggy. Clove seedlings want constant moisture but rot fast in waterlogged soil. Water from the bottom when the surface dries, and empty the saucer after 15 minutes.
Feed nothing for the first two months. Seedlings run on the seed’s own reserves, and fertilizer salts burn young roots. When the third set of true leaves appears, start a quarter-strength balanced liquid fertilizer every two weeks.
6. Transplant Seedlings Without Disturbing the Roots
Move seedlings into individual 4-inch pots once they have three to four true leaves and roots reach the drainage holes. Clove seedlings resent root disturbance, so water the tray an hour before and lift each seedling with a spoonful of surrounding mix.
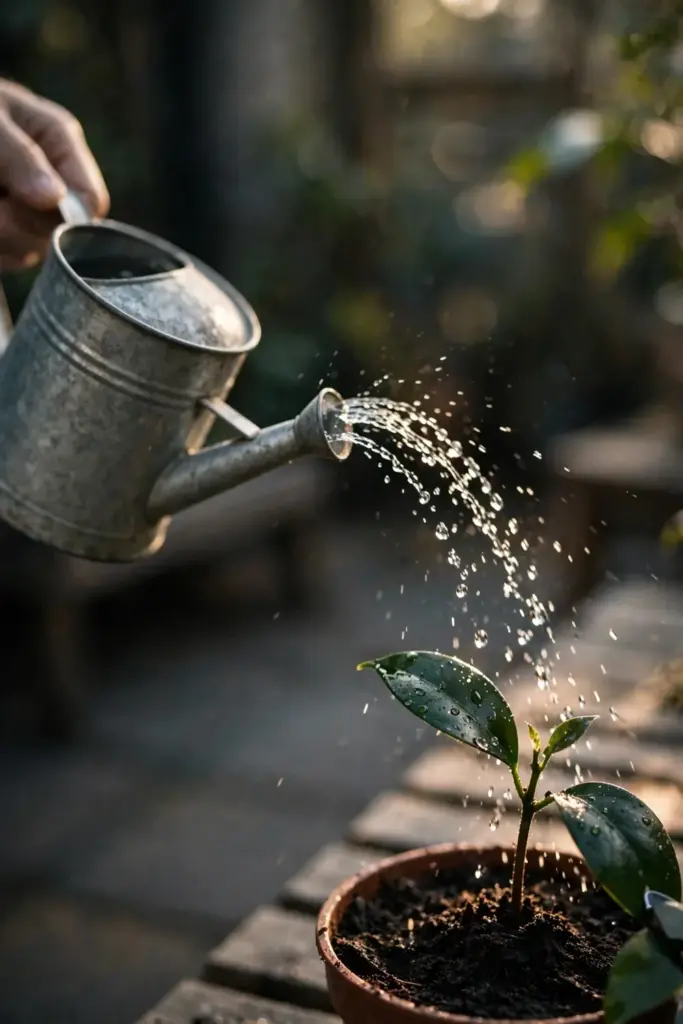
Use a loose, rich mix: equal parts quality potting soil, compost, and coarse sand or perlite. The young tree needs the same conditions it will meet in the ground, which means drainage that never puddles.
Time the move for a warm, overcast morning. Roots exposed to hot sun and dry wind lose moisture in minutes, and a midday transplant doubles the shock. Water the new pot first so the seedling lands in damp mix, then shade the pot for three days. New white root tips within two weeks tell you the tree accepted the move. No new growth after a month means the roots were damaged, and a second, gentler attempt with a fresh seedling beats nursing a stalled one.
Harden transplants off gradually. After weeks in a humid tray, seedlings scorch in direct sun. Give them a week of morning sun and afternoon shade before any longer exposure. A sunburned seedling stalls for months, and with this tree every month counts.
7. Compare Seedling vs Grafted Stock for the 6-to-10-Year Timeline
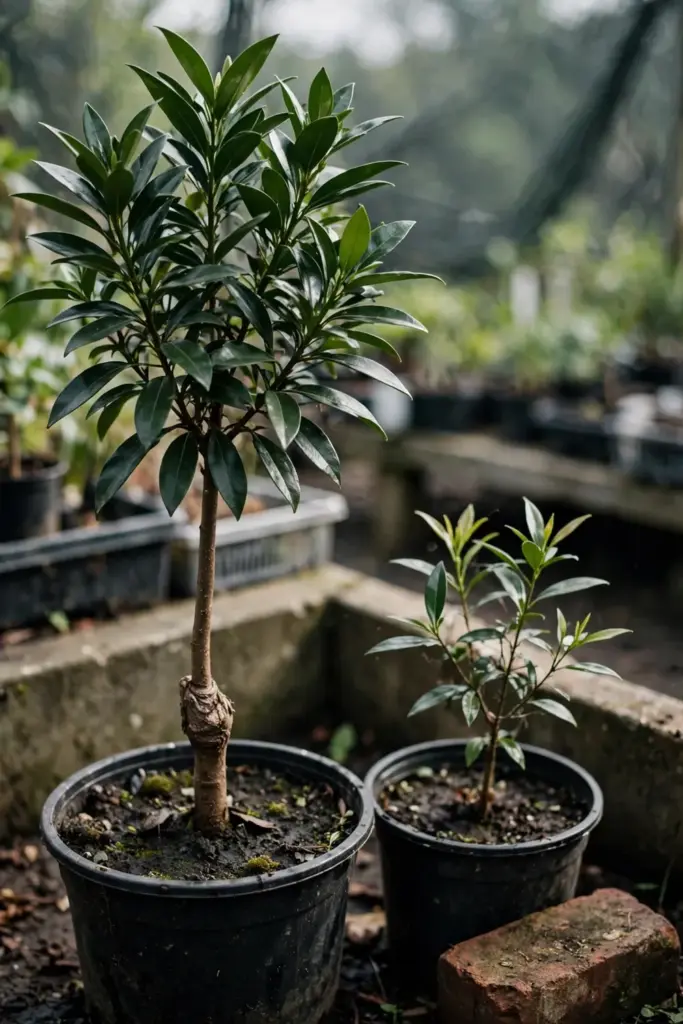
A seedling clove tree begins blossoming 6 to 10 years after planting and reaches full maturity at 15 to 20 years, according to The Spruce. A grafted tree from a known mother tree cuts years off that wait and guarantees the bud quality of the parent.
| Option | Years to first buds | Cost |
|---|---|---|
| Seedling from fresh seed | 6 to 10 | Low, the cost of seed and mix |
| Grafted tree from a nursery | 3 to 5 | Higher, plus shipping from a tropical nursery |
Seedlings vary. One seedling may produce abundant buds, another sparse ones, because seed mixes the genetics. Grafts clone the mother tree exactly, so a grafted tree is true to type from day one.
Most home growers start with seed because grafted clove trees are hard to find outside the tropics. When you do find one at a reputable tropical nursery, the premium pays for years of waiting. This logic applies to other slow tropical trees too; mangosteen, which takes many years to bear, rewards exactly the same long view.
8. Feed Young Trees on the 20:18:50 NPK Schedule
Kerala Agricultural University’s clove agrotechnology prescribes NPK at 20:18:50 grams per plant in the first year and 40:36:100 grams per plant in the second year, on their clove crop page. A full-grown tree takes 300:250:750 grams per year. Add 15 kilograms of compost or cattle manure per tree per year.
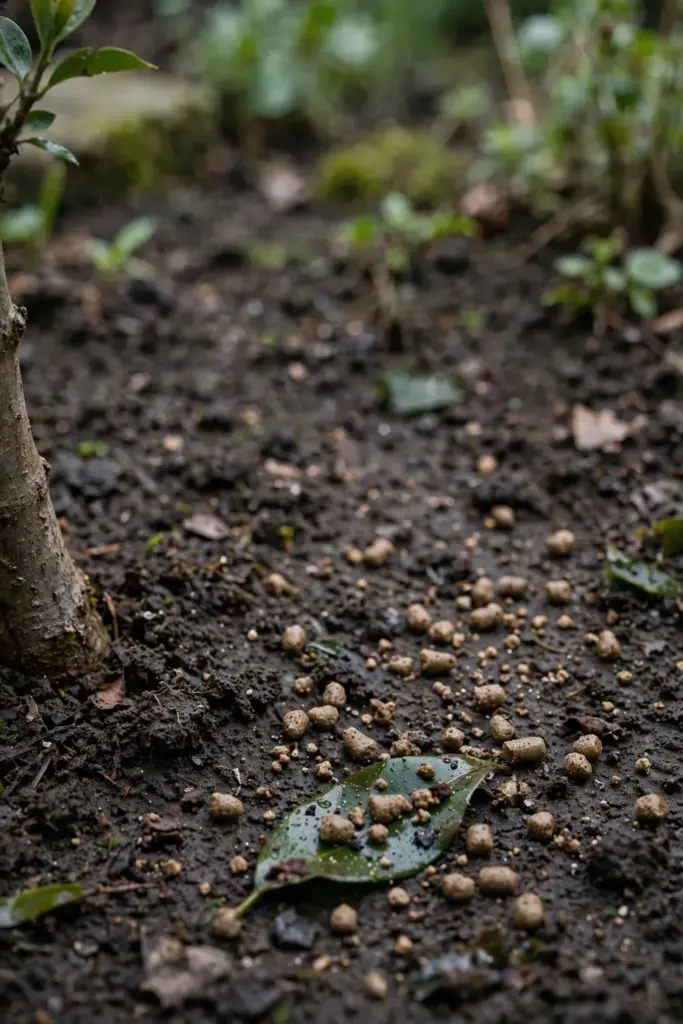
Split the yearly dose into two or three applications. Heavy single doses wash past the roots in tropical rains or burn roots in pots. Shallow trenches around the drip line hold granular fertilizer where roots feed.
| Task | Frequency | Notes |
|---|---|---|
| NPK 20:18:50 g/plant | First year, split into 2 to 3 doses | Keep fertilizer off the stem |
| NPK 40:36:100 g/plant | Second year, split into 2 to 3 doses | Increase as canopy widens |
| NPK 300:250:750 g/plant | Full-grown tree, yearly | Dig shallow trenches at the drip line |
| Compost or cattle manure | 15 kg per tree per year | Apply before the rainy season |
Young container trees need less. Halve the schedule for a tree in a pot and watch the leaf color. Pale new leaves mean hunger; dark green with burnt edges mean you overshot.
9. Water for 50 to 70 Inches of Annual Rainfall
Wild clove trees receive 50 to 70 inches of rain a year, Gardening Know How reports. Recreate that in the garden with deep watering that soaks the root zone, and water most often in the first 3 to 4 years of the tree’s life.
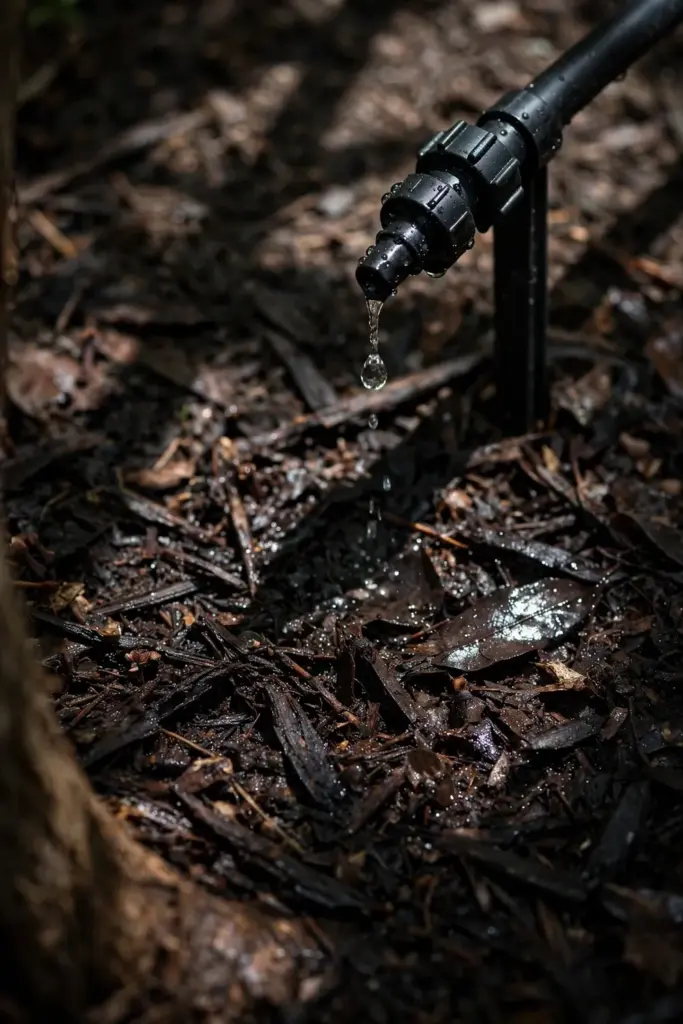
Constant moisture is the target, sogginess the failure. Rich loam drains while holding water; clay suffocates. If your soil stays wet a day after rain, plant on a raised mound 12 inches high to keep the crown above standing water.
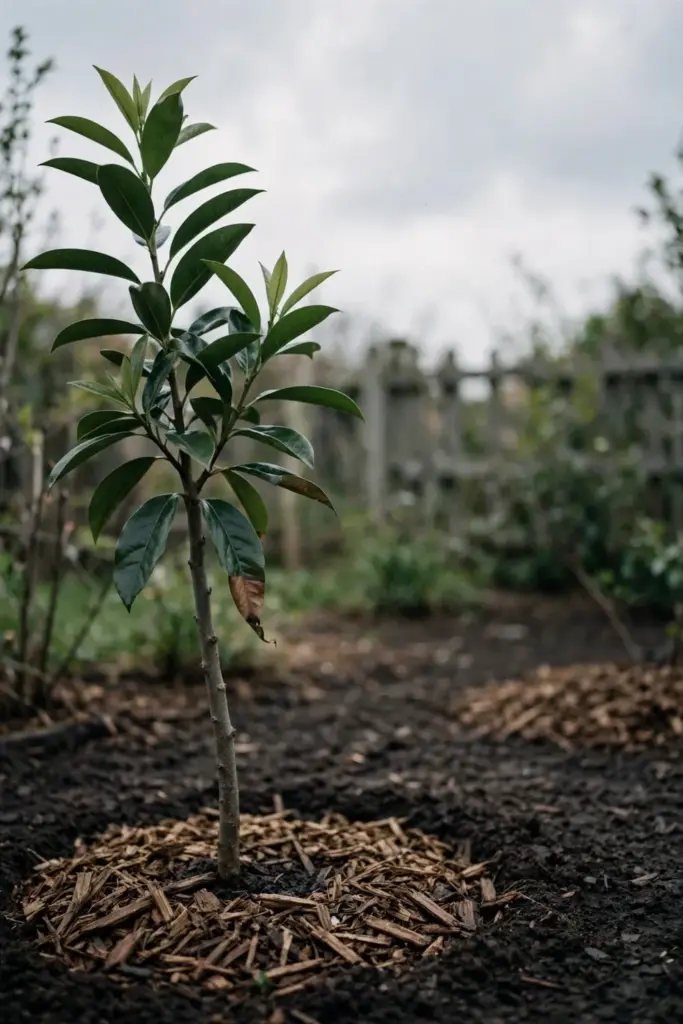
Mulch helps enormously. A 3-inch layer of wood chips or shredded leaves, kept 4 inches from the trunk, cuts evaporation and steadies soil temperature. Top it up twice a year. Container trees dry out faster than in-ground ones, so check pots daily in summer heat.
Drip irrigation beats hand watering for a tree that never wants dry roots. Run a drip line with two to four emitters around the drip line, and soak the root zone to 12 inches deep twice a week in the dry season instead of daily sprinkling. Shallow daily watering builds shallow roots, and shallow roots fail in the first real dry spell. The tree’s jungle origin means it expects deep, soaking rains followed by drainage, and a drip schedule imitates that pattern better than a hose.
10. Prune Damaged Wood After Each Harvest
Clove trees need no formal pruning program. Cut branches back to your preferred height after harvest, and remove dead or damaged wood at any time, The Spruce advises.
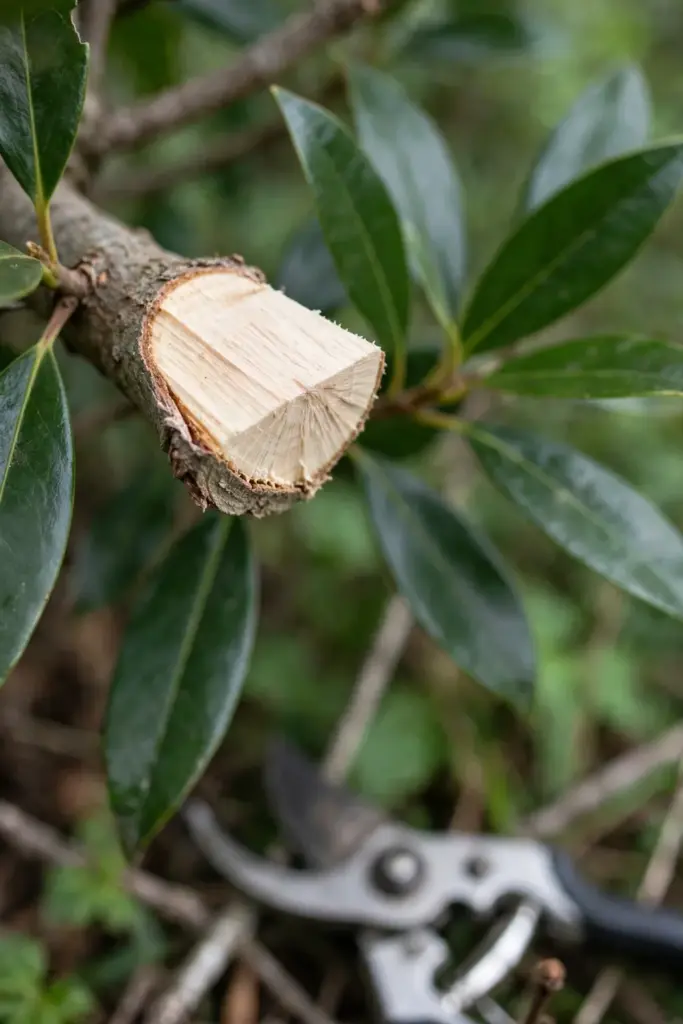
Harvest season is the main pruning window because pickers climb and pull branches down. Bent branches snap and open wounds, so cut cleanly with sharp pruners instead of tearing. Every wound is a doorway for fungal canker.
Keep the center open. A vase shape lets air and light reach the inner canopy, which dries leaves faster after rain and cuts disease pressure. Remove crossing branches in the first years so the adult tree holds its shape without heavy correction later.
Train the leader early. A clove tree with one strong central trunk resists wind damage and carries the harvest clusters at reachable heights. When a young tree forks low into competing leaders, choose the straightest one and remove the rival before the crotch thickens. A weak fork that splits at age twelve costs a season of production; a five-minute cut in year two prevents it.
11. Stop Sumatra Disease, Canker, and Scale Bugs Early
Sumatra disease is the most serious threat: a bacterial infection that kills the tree from the top down, spread by insects in the Hindola species. There is no cure, though antibiotic injections of oxytetracycline can slow its progress, The Spruce notes.
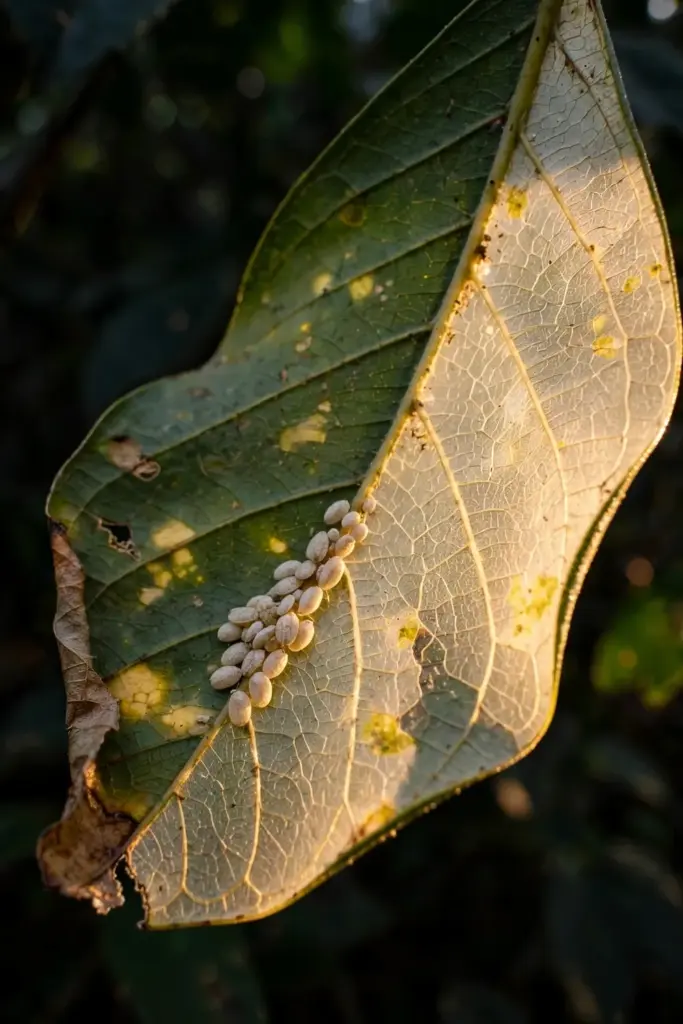
Eucalyptus canker enters through wounds, so prevention means clean cuts and no mower damage. Treat any bark puncture with an antifungal paste immediately.
Watch the leaf undersides. Coconut scale bugs cause pale yellow spots that spread into whole-leaf yellowing and early drop; treat with horticultural oil. Oriental fruit fly needs fruit bagging, and nematodes respond to soil solarization. The Kerala Agricultural University crop page also lists shoot borer, leaf spot, twig blight, and flower bud shedding as field problems, with recommended controls.
Quarantine new plants for two weeks before placing them near your tree. A scale insect hitchhiking on a nursery purchase can colonize a whole collection.
12. Pot Indoors in an 18-Inch Pot Below 40°F
A container clove tree needs the largest pot you can manage, with a minimum diameter of 18 inches, Gardening Know How states. Drainage holes are nonnegotiable, and a wheeled plant caddy saves your back on moving days.
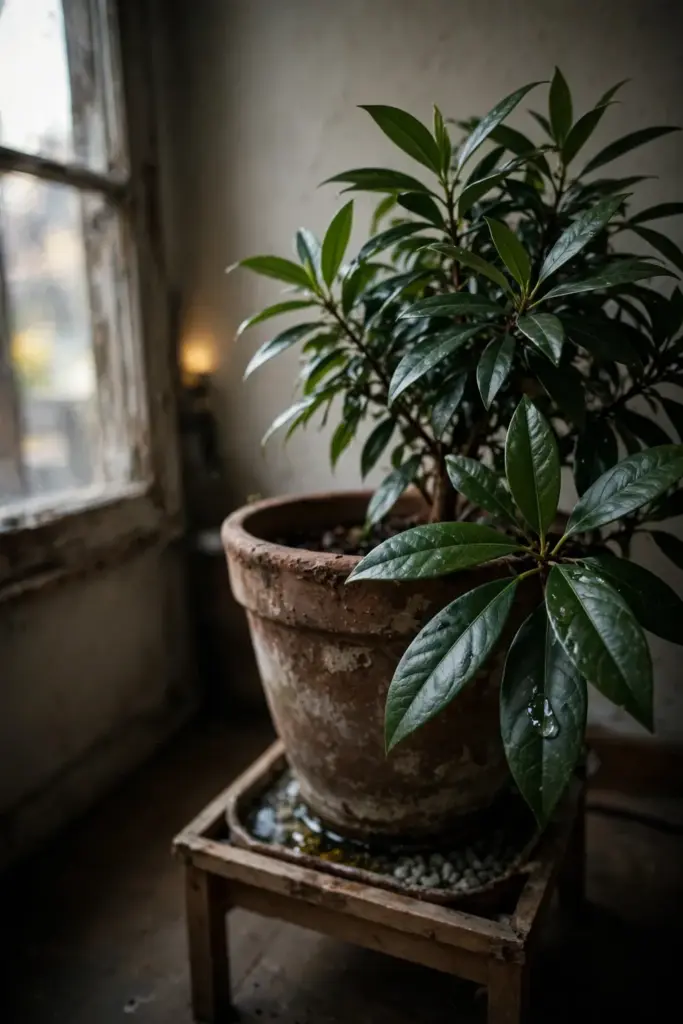
Fill the pot two-thirds full with moist, well-draining mix and place seeds or seedlings near the surface, following the same surface-sow rule as tray germination. Keep the pot in bright indirect light at 65 to 80°F.
Move the tree indoors before the first night that threatens 40°F, not the morning after. One cold night injures new growth that took a season to build. Indoors, keep it away from heating vents and give it a humidity tray, because dry winter air crisps the leaf margins.
Repot every 2 to 3 years into the next size up. Root-bound trees stall, and clove trees are already slow. Each repot is also the moment to refresh the mix and check the root ball for circling roots.
13. Pick Flower Buds at the Green-to-Pink Shift
Cloves are the unopened flower buds, harvested just before the flower opens. The picking window opens when buds reach full size, about 2 centimeters, and the color shifts from green to slightly pink, The Spruce describes. Buds that open into flowers lose their spice value.
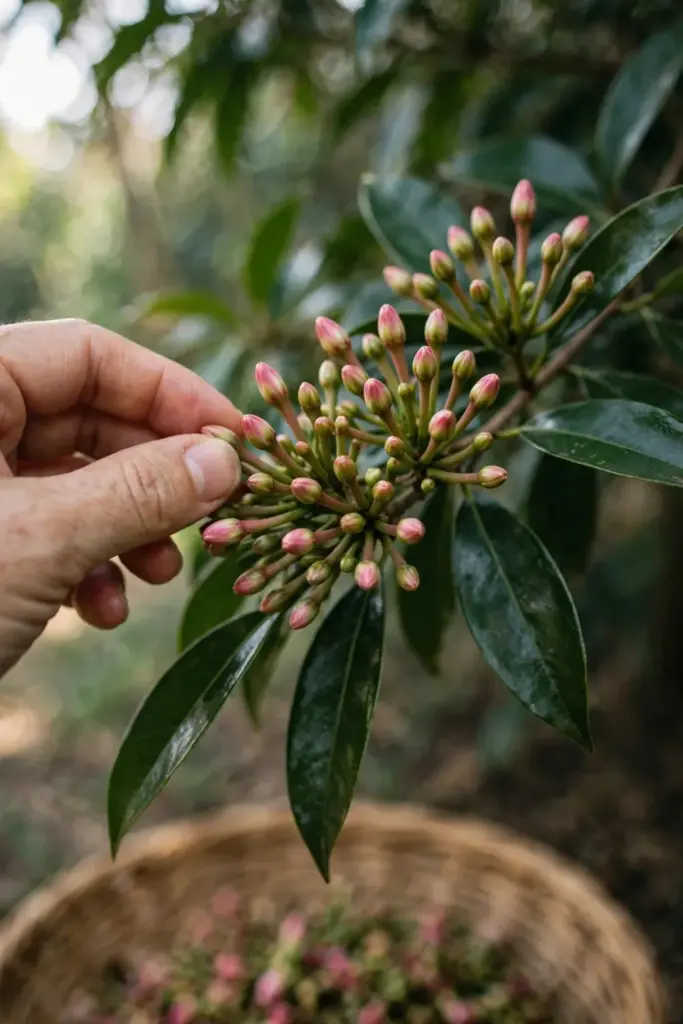
Timing runs long. From bud formation to harvest takes 4 to 6 months, so a tree that sets buds in early spring may not be ready until autumn. Watch individual clusters weekly once they reach full size.
Pick by hand, cluster by cluster, without bending branches. The harvest is delicate because broken branches destroy the next season’s wood, The Spruce warns. A picking ladder and a shallow basket beat a step stool and a bucket. Kerala Agricultural University adds that hand-picked buds should be spread thinly on mats and stirred frequently for even drying, per their harvest notes.
Check the outer clusters first. Buds on the sunny side of the canopy mature earlier, and a tree can hold buds at three different stages at once. Pick only the clusters showing the pink shift and leave the green ones for the next round. Two or three picking passes across the season beat one aggressive harvest that strips immature buds and overripe flowers together. Learning the rhythm of how to grow clove trees is really learning this patience: the tree sets its own calendar, and the harvester follows it.
14. Sun-Dry Buds on Mats Until They Turn Brown
Spread fresh buds thinly on clean mats in full sun and stir them frequently. Even drying prevents mold, and mold ruins a harvest faster than any pest. Bring the mats under cover at night or when rain threatens.
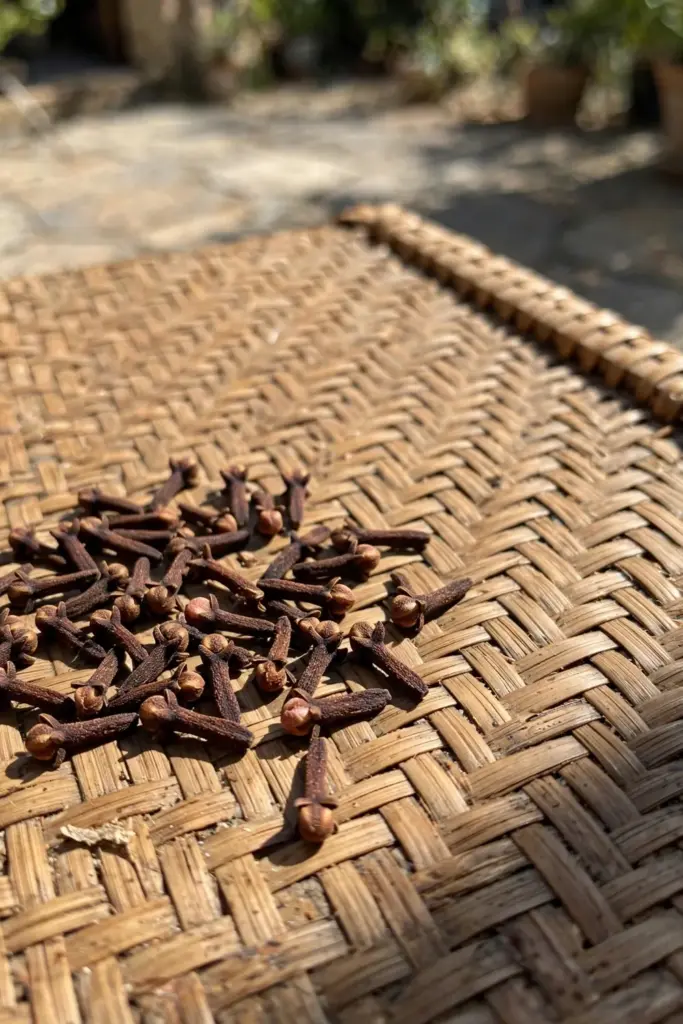
The color change tells the story. Fresh buds are pinkish; dried cloves are dark brown. Drying usually takes 4 to 6 days of strong sun, longer in humid weather. Test by snapping one: a finished clove snaps cleanly and exudes oil when pressed with a fingernail.
Grade the harvest before storing. Whole buds with intact heads carry the best aroma; broken stems and pale underdeveloped buds go into the cooking pile rather than the gift jars. Sorting takes ten minutes for a home harvest and doubles the perceived quality when you share them. Kept whole in airtight jars away from light, dried cloves hold their potency for a year or more, though grinding small batches fresh keeps the flavor brightest at the table.
Store in airtight jars away from light. Ground cloves lose aroma within months, so keep your harvest whole and grind small batches as you cook. Home-dried cloves carry a brighter aroma than store stock, much like growing ginger at home gives fresher rhizomes than the supermarket bin.
15. Fix 6 Failures That Kill Young Clove Trees
Seeds never sprout. The seed was old, dried out, or a dried culinary bud. Buy fresh seed from ripe fruit and sow it within days of harvest.
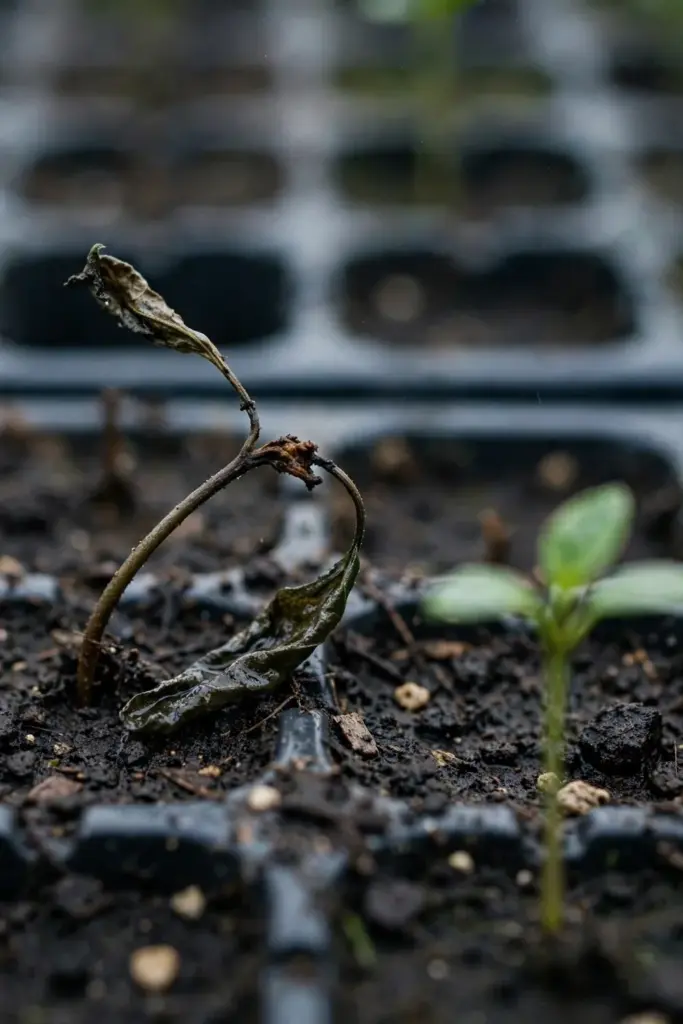
Seedlings damp off. The cover stayed on too long and air went stagnant. Vent the tray daily, water from below, and thin crowded seedlings for airflow.
Leaves yellow in a pot. Overwatering, poor drainage, or fertilizer salt buildup. Check that water flows freely from the drainage holes and flush the pot monthly.
Growth stalls for a season. Cold nights, root-bound pots, or deep shade. Move indoors below 40°F, repot on schedule, and give bright indirect light.
Buds open before harvest. You checked too late. Start weekly cluster checks as soon as buds reach 2 centimeters and pick at the first pink blush.
Dieback from the top. This may be Sumatra disease, which has no cure. Confirm with a local extension office, remove affected wood with sterilized tools, and manage the insect vectors.
Frequently Asked Questions
No. Store-bought cloves are dried, unopened flower buds, and dried buds are dead tissue with no embryo inside. They will never germinate no matter how carefully you plant them. Real seed comes only from fresh, ripe clove fruit. Order seed from a tropical nursery that harvests to order, sow it within days, and keep it moist until it sprouts.
A seedling clove tree begins blossoming 6 to 10 years after planting and reaches full maturity at 15 to 20 years, according to The Spruce. A grafted tree from a nursery shortens the wait to 3 to 5 years. The tree lives for decades once established, so the harvest window is long even though the first wait is punishing.
Clove trees are hardy in USDA zones 11 to 12 only. They need constant temperatures above 50°F and grow best between 70 and 85°F. Temperatures below 40°F damage the tree, so gardeners outside the warmest zones grow clove trees in containers and move them indoors for winter. Humidity matters too; dry indoor air needs a humidity tray.
Hand-pick the unopened flower buds when they reach about 2 centimeters and turn from green to slightly pink, just before the flower opens. This takes 4 to 6 months from bud formation. Spread the buds thinly on mats in full sun, stir them frequently, and bring them in at night. The dried buds turn dark brown and snap cleanly when ready.
Yes, with commitment. Use a pot at least 18 inches in diameter with strong drainage, a rich well-draining mix, and bright indirect light at 65 to 80°F. Potted trees dry out fast, so water often and add a humidity tray in dry homes. Move the pot indoors before temperatures threaten 40°F. Flowering still takes years, so grow it as a beautiful evergreen first.
Your First Harvest Starts With Fresh Seed
Everything in this project traces back to one decision: fresh seed from ripe fruit, sown within days, never buried, kept warm and moist. Get that right and the slow years become a background process while the tree grows into the ornamental evergreen your garden gets to enjoy long before the first spice harvest. Indonesia built a global spice trade on this tree’s patience. Your backyard can borrow some of it.