
Three days, one jar, and a bag of mung beans stand between you and a crisp harvest of homegrown sprouts. Soak the beans 8 to 12 hours, rinse and drain them 2 to 3 times a day, and harvest on day 3 when the tails reach 1 to 2 inches. That is the whole method for how to grow mung bean sprouts. The honest part nobody on page one says out loud: the same warm, damp conditions that sprout your beans also grow bacteria like Salmonella, so this guide pairs every step with the food-safety rules that keep your batch safe.
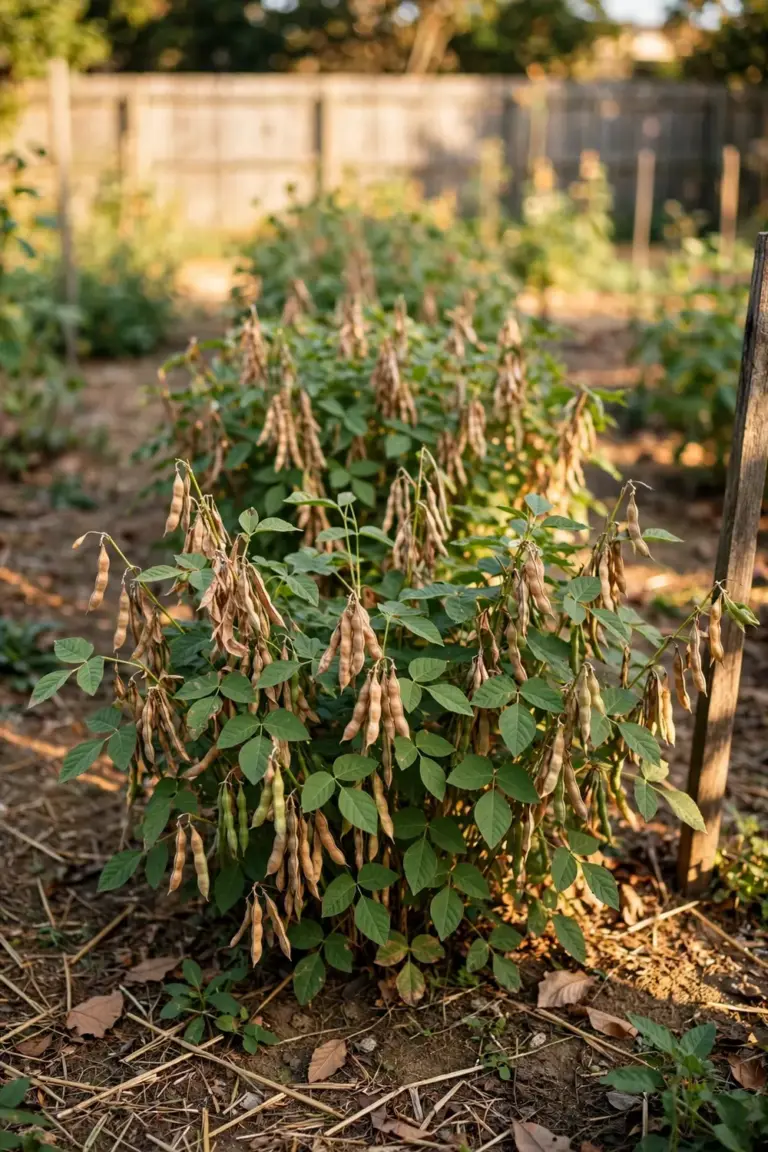
Mung beans are the seeds of Vigna radiata, also sold as moong. A sprout is the seed’s first growth, eaten whole before it becomes a plant. That is different from microgreens, which grow in soil or a medium and are cut at the leaf stage, and different again from growing mung bean plants in a garden for dry beans. This article covers jar sprouting only: beans, water, darkness, and three days on your counter.
If you want the garden version instead, growing the actual plant outdoors for a dry-bean harvest, our companion article How to Grow Mung Beans in the Garden walks through soil, spacing, and threshing. This guide stays in the kitchen.
Buy Food-Grade Mung Beans, Not Just Any Dry Beans
Start with beans meant for eating, not planting. Food-grade mung beans from a grocery store or bulk bin are the right raw material, and whole dry beans labeled for sprouting are better still. Seeds sold in planting packets may carry fungicide or other seed treatments you do not want to eat, so read the packet before you sprout anything labeled for sowing.
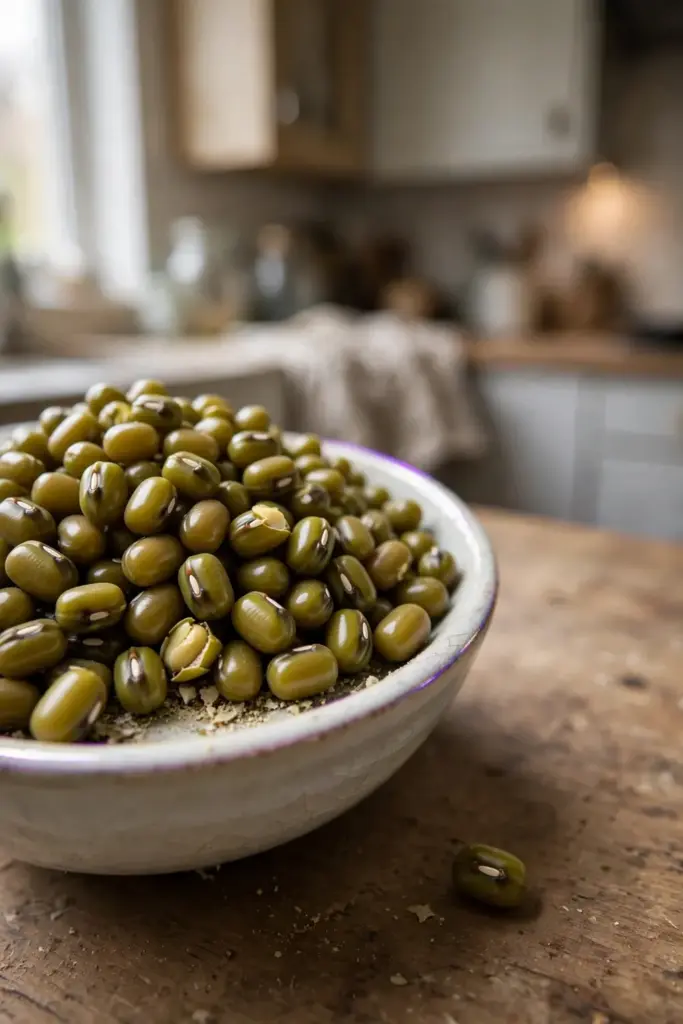
Buy from a reputable source and check the bag’s date. Old beans sprout unevenly or not at all, and a batch that starts weak stays weak. Virginia Tech Extension’s sprout safety guidance recommends using only seeds purchased from a reputable commercial source, which matters because the seed itself is the most common source of contamination in sprout outbreaks.
Two tablespoons of dry mung beans is the right amount for a quart jar. That small scoop expands dramatically, filling the jar with 2 to 3 cups of finished sprouts. Resist the urge to double it on your first batch. Crowded beans trap water, and trapped water is where batches turn sour.
Sanitize the Jar, the Mesh, and Your Hands First
Clean everything before a single bean touches it. Wash the quart jar, the mesh lid or cheesecloth, and the bowl you will rest the jar in with hot soapy water, then rinse away every trace of soap. Soap residue stalls sprouting, and a dirty jar hands bacteria a head start.
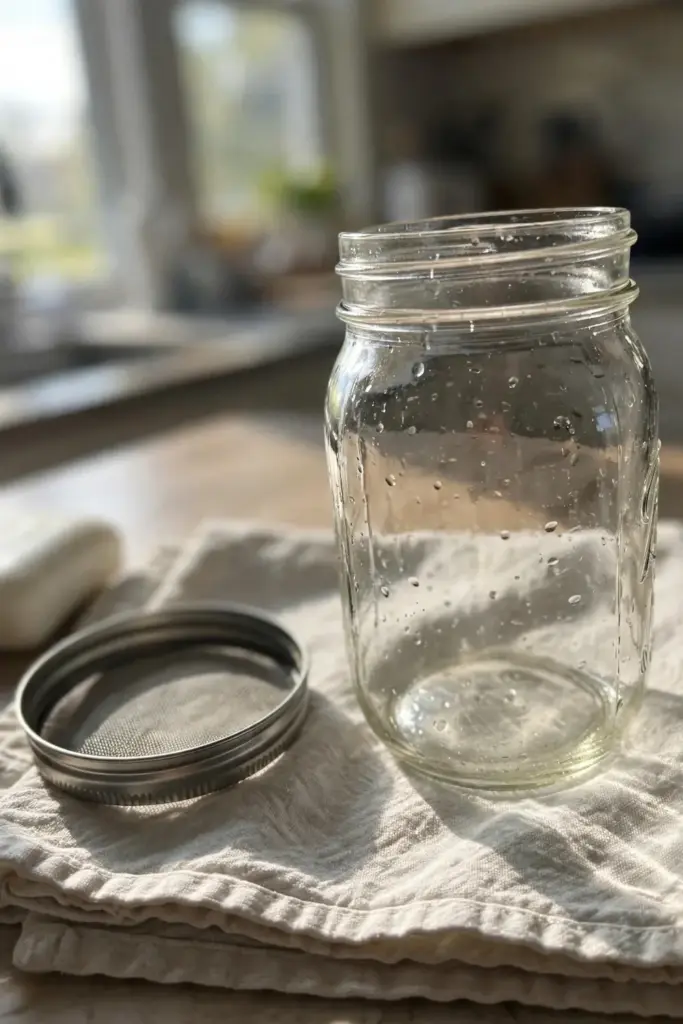
Your hands count as equipment. Wash them before and after handling raw sprouts, every time, the same way you would before handling raw chicken. This is not garnish work. You are managing a warm, wet environment for three days, and hand hygiene is the cheapest insurance in the whole process.
Use only clean, potable water for soaking and rinsing. If your tap water is questionable, use filtered water. Virginia Tech Extension lists potable water as a core sprout handling practice, and the same guidance recommends pretested seed from a reputable commercial source. Cheap steps, done first, prevent most failures later.
Soak 8 to 12 Hours: Wake the Beans Up
Put 2 tablespoons of mung beans in the jar, cover with 3 inches of cool water, and leave them 8 to 12 hours. Overnight on the counter is the classic move. The soak wakes the seed’s enzymes and softens the coat so the root can break through.
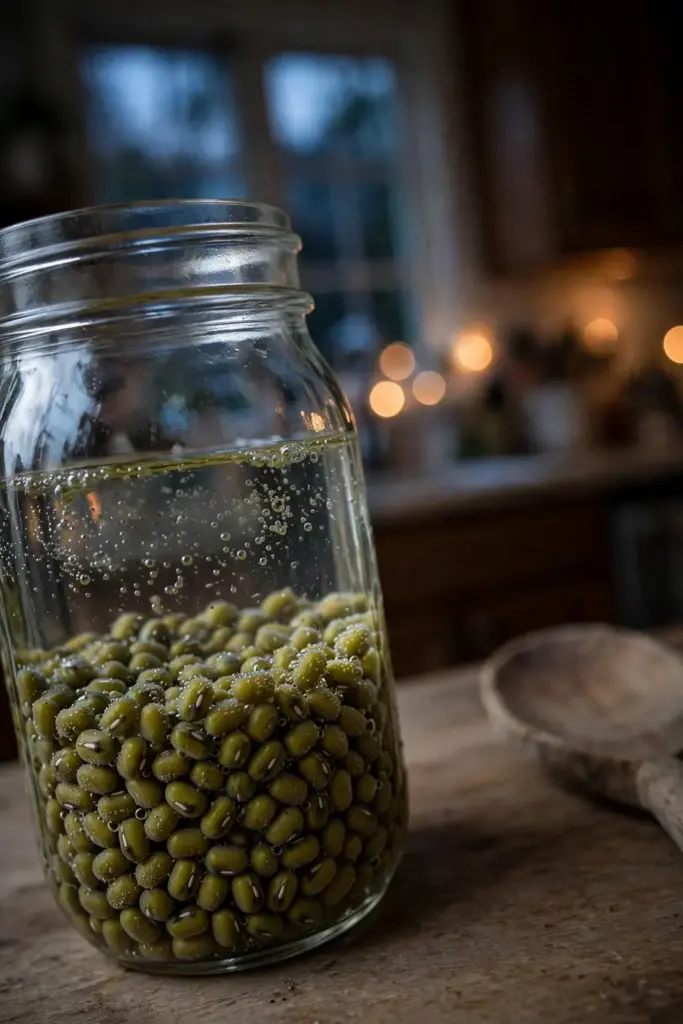
Do not soak longer than 12 hours. Beans that sit in water too long start fermenting in the jar, and fermented beans smell sour before they ever sprout. Set a timer or tie the soak to your routine: start after dinner, drain at breakfast.
After soaking, drain every drop through the mesh lid. The beans should be damp, never swimming. Standing water is the single most common cause of failed batches, so tilt the jar and shake it gently until no more drips fall. This drain-first habit sets the tone for the next three days.
Drain, Tilt, and Park the Jar in the Dark
Store the drained jar on its side, tilted mouth-down in a bowl, in a dark spot with good airflow. A kitchen cabinet or a box over the jar on the counter both work. Darkness matters for mung beans: light turns the sprouts green and bitter, and the scout’s research notes that mung beans specifically need darkness plus pressure to grow thick the way store-bought sprouts look.
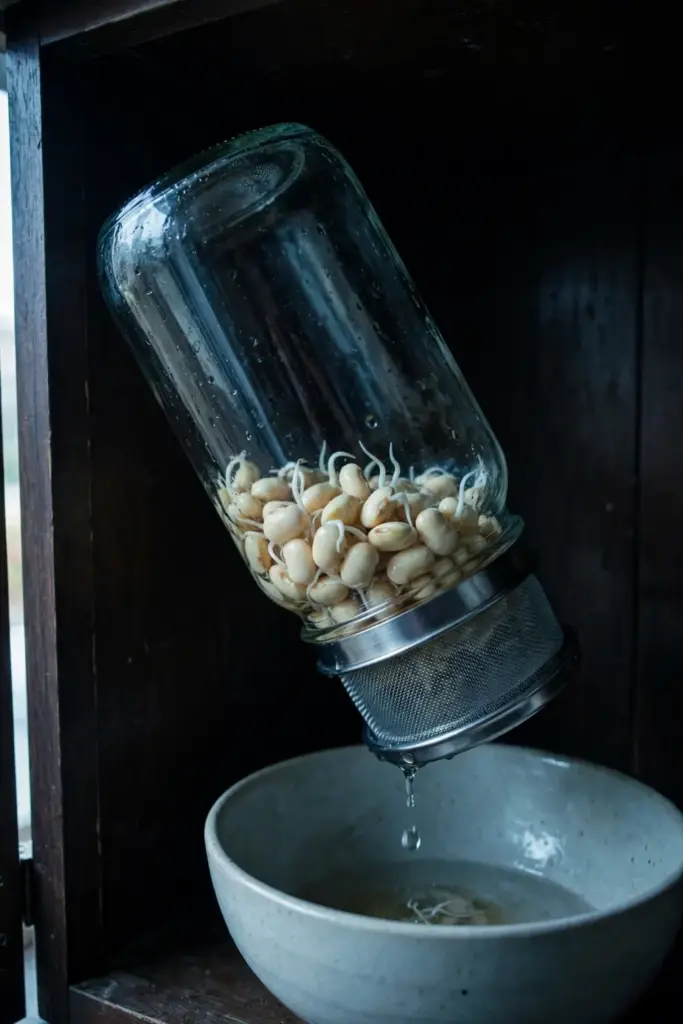
Angle the jar so air circulates and excess water escapes through the mesh. The beans need to stay damp, not wet. If the jar sits flat on its base with water pooling at the bottom, the batch will sour by day 2. Check the tilt each time you handle the jar, because jars migrate.
Keep the jar away from cold drafts and hot, humid breezes. A stable room temperature of 70 degrees Fahrenheit is the sweet spot, the same temperature the NOW sprouting instructions recommend for keeping seeds damp but not soaked. Steady warmth plus steady drainage is the whole formula.
Rinse 2 to 3 Times a Day for 3 Days
Rinse on a schedule: morning, evening, and once midday if your kitchen runs warm. Each rinse means filling the jar with cool water, swirling gently, and draining completely through the mesh, then returning the jar to its tilted dark spot. The rinse washes away the starchy water bacteria feed on.
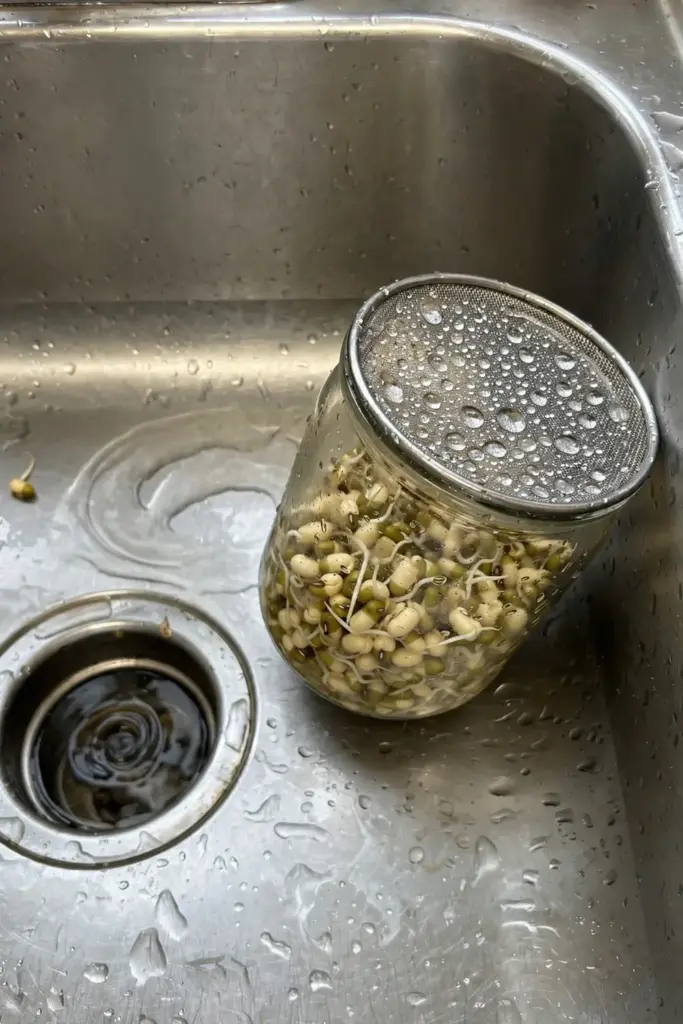
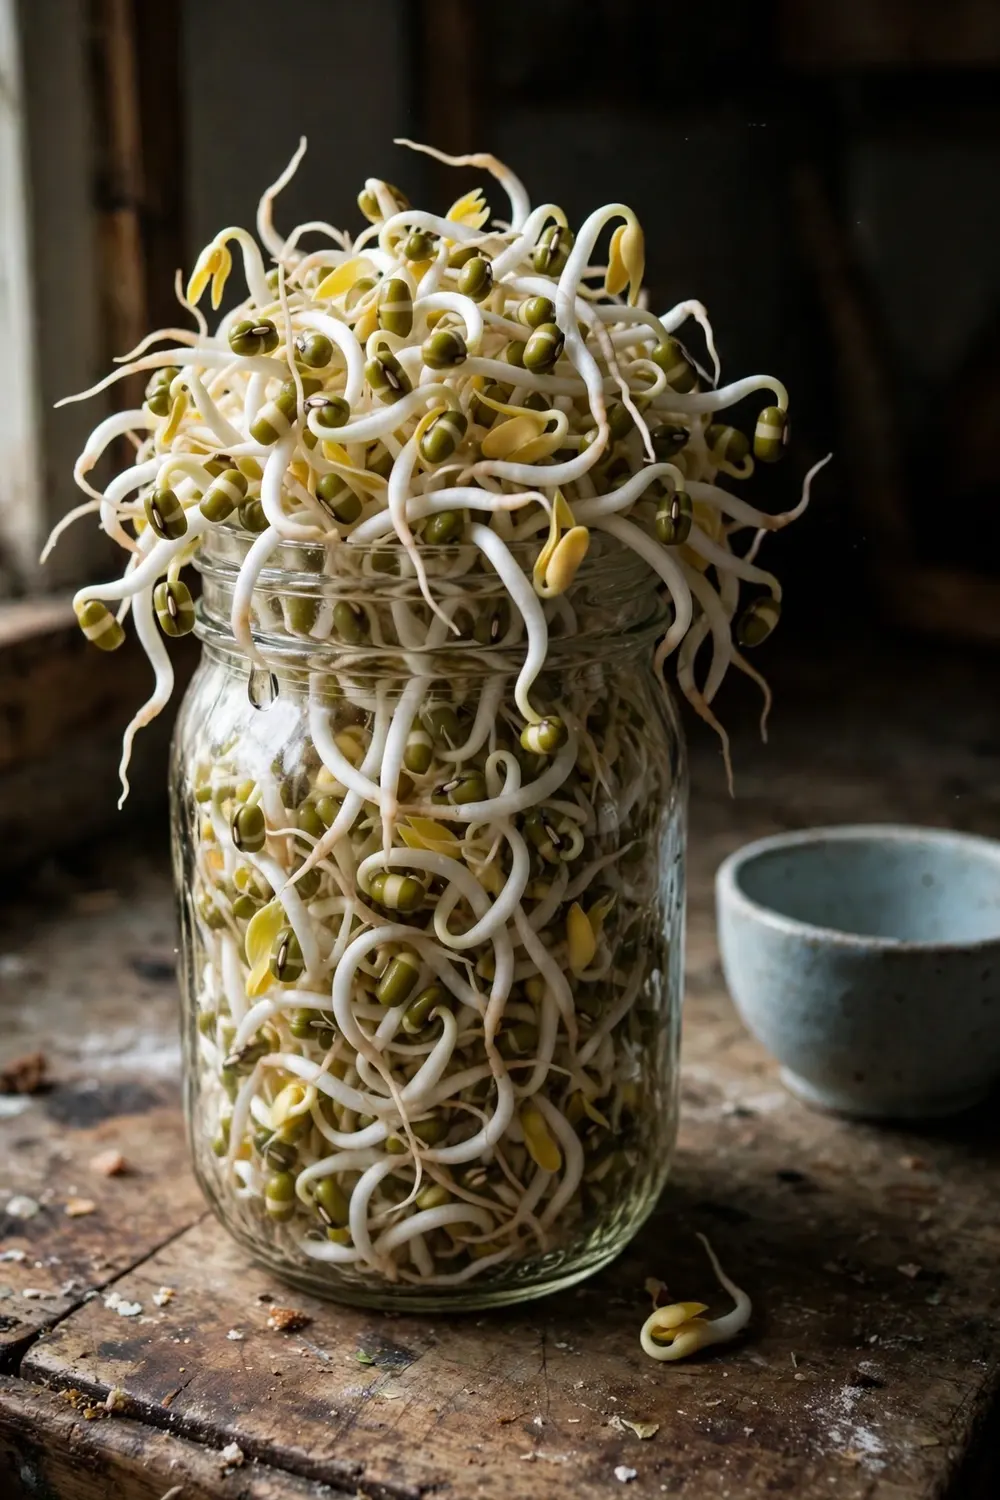
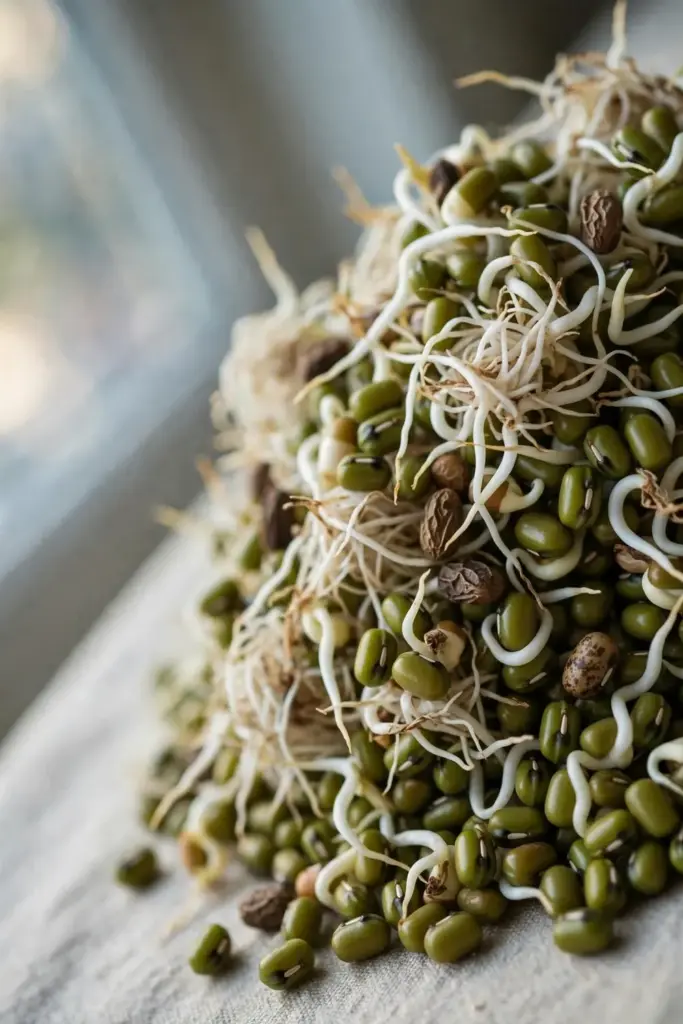
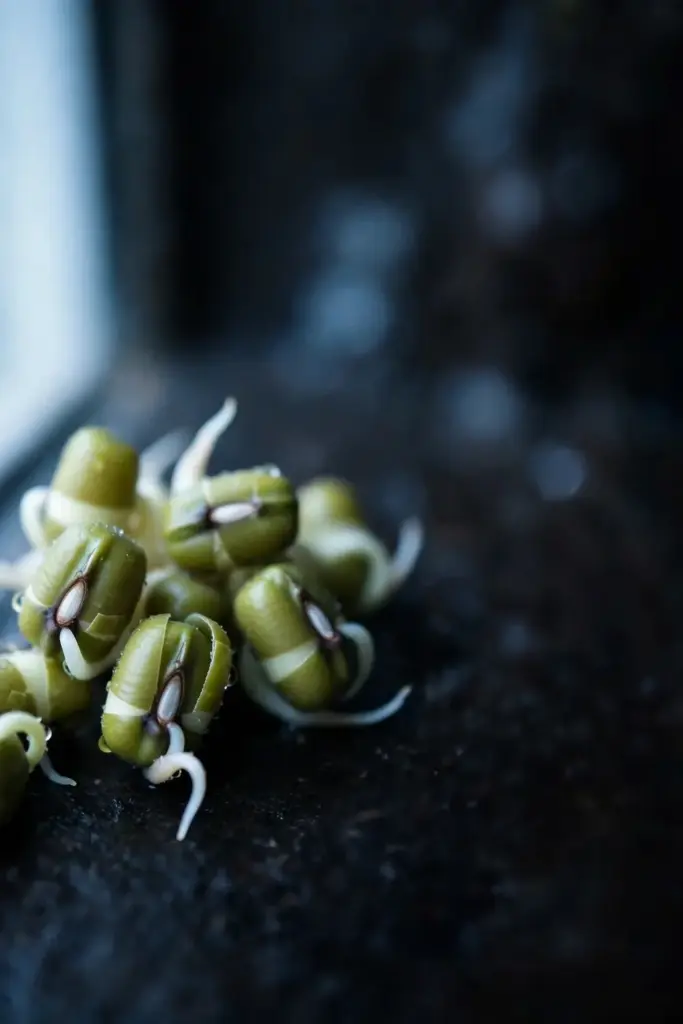
Day 1 shows tiny white tails breaking through the bean coats. Day 2 brings real growth, with sprouts doubling and the hulls loosening. Day 3 is harvest day for most kitchens, with tails 1 to 2 inches long, plump and white. The basic sprouts guide runs the same cadence: rinse 3 times a day and harvest in 2 to 3 days, giving the jar room for beans to expand to about 8 times their dry size.
In warm kitchens above 75 degrees, add a fourth rinse. Virginia Tech Extension recommends rinsing every 6 hours in warm ambient temperatures when sprouts will be eaten raw. Heat speeds both sprouting and bacterial growth, so match it with more rinsing.
Use the Pressure Trick for Thick Restaurant-Style Sprouts
Homegrown sprouts often come out thinner than store-bought ones. The fix is gentle pressure. Once the sprouts fill a third of the jar, they press against each other and the glass, and that resistance makes them grow thicker instead of longer and stringy. Do not pack them in yourself. Just let the batch grow crowded enough to push.
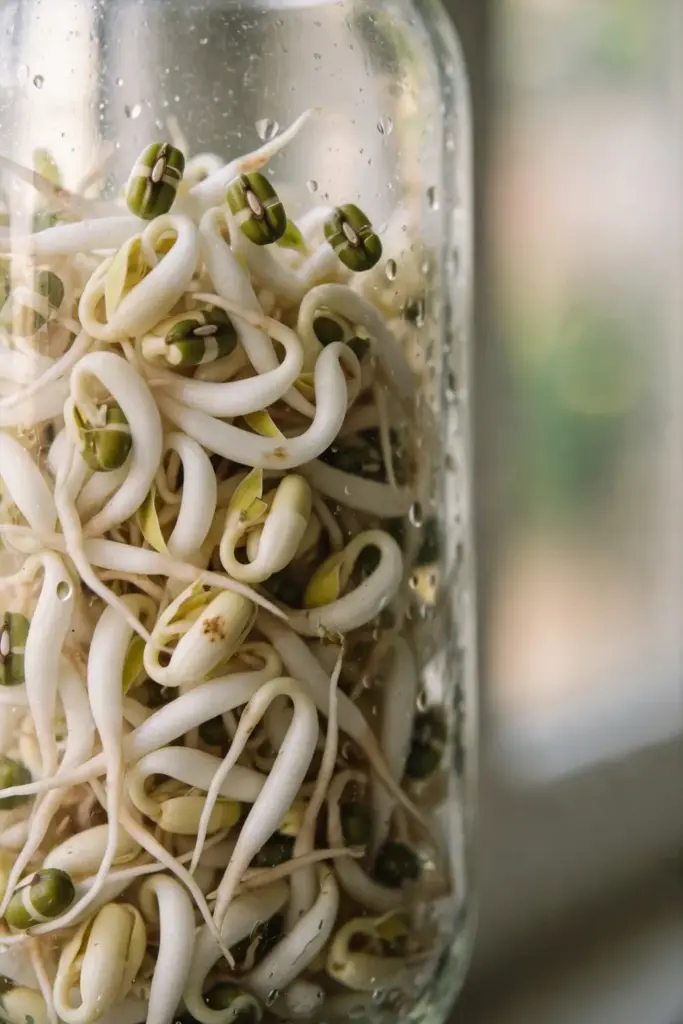
Some growers rest a small weight on top of a cloth-covered tray batch for the same effect. In a jar, the simpler version works: keep the jar tilted so the mass settles, and harvest a half day later than you otherwise would. Thicker sprouts also snap instead of wilting, which is the texture test that matters.
The takeout-container trick from theartofdoingstuff works on the same principle for tray growers: a lidded container with drainage holes keeps sprouts dark, humid, and gently pressed. Either way, pressure plus darkness is what separates restaurant-crisp sprouts from pale stringy ones. One thing pressure cannot fix is timing. A batch harvested on day 5 will be long and leafy no matter how much weight sat on it, so pair the pressure habit with the day 3 harvest window and you get the thick white sprouts most people picture.
Compare the 3 Sprouting Methods in One Table
The jar is the easiest start, but it is not the only way. Pick the method that fits your kitchen.
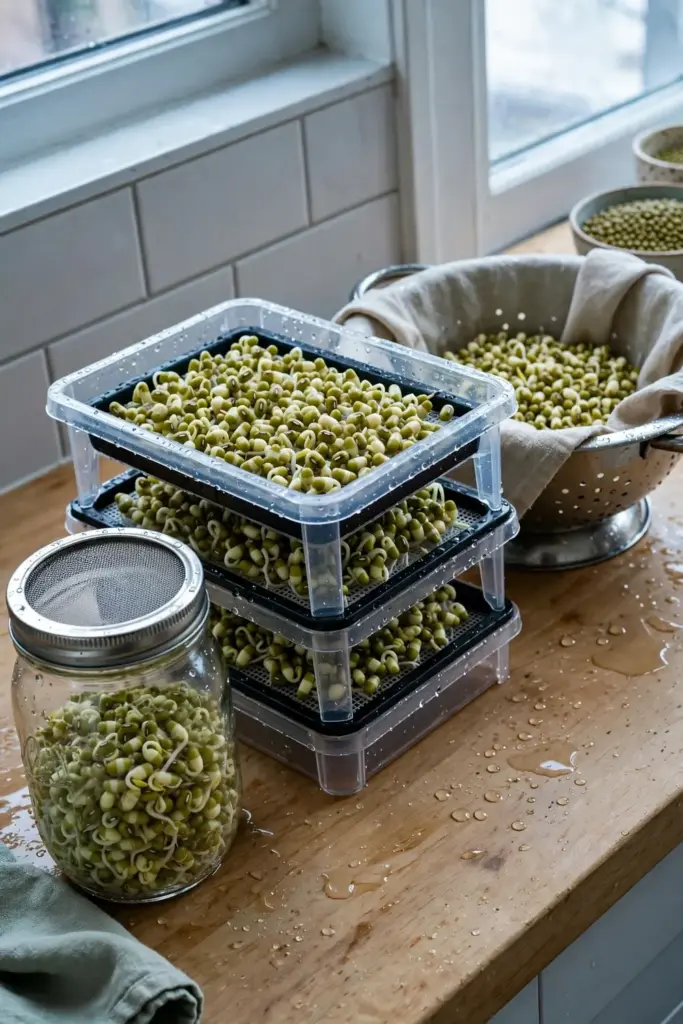
| Method | What You Need | Rinse Cadence | Best For |
|---|---|---|---|
| Mason jar with mesh lid | Quart jar, mesh lid or cheesecloth, bowl | 2 to 3 times a day | Beginners, small batches, 3-day harvests |
| Stackable sprouter tray | Tiered sprouter with drainage holes | 2 times a day | Larger batches, staggered harvests |
| Towel or colander | Colander, damp paper towels or cloth | Keep towels damp, rinse once a day | No special gear, travel or small kitchens |
The jar wins on simplicity and cleanup. Trays win on volume, because you can start a new tier every day and harvest continuously. The towel method wins on zero equipment, but it needs more attention to keep the towels evenly damp without waterlogging.
Whichever method you pick for how to grow mung bean sprouts, the safety rules do not change. Rinse on schedule, drain completely, and keep everything clean. The method is a container choice. The food safety is a habit choice.
Try the Towel Method When the Jar Is Busy
Line a colander with damp paper towels or a clean cloth, spread the soaked beans in a single layer, and cover with another damp towel. Set the colander over a bowl so air flows underneath, and keep it in the dark like the jar. Mist or re-dampen the towels when they start drying out.
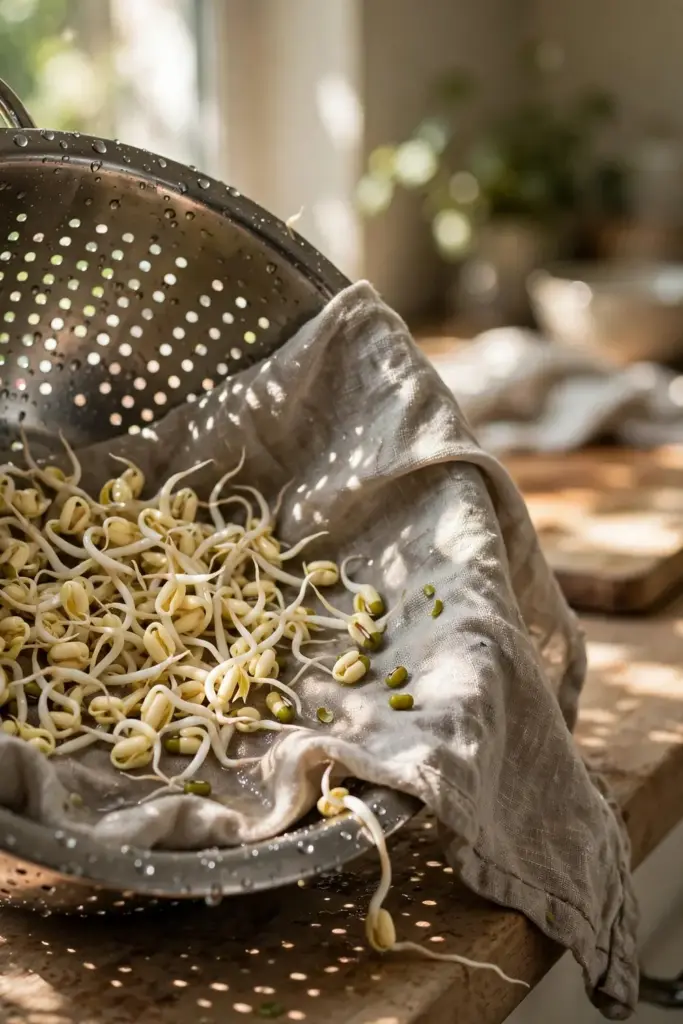
The towel method suits travelers and tiny kitchens because it needs nothing special. It also makes the pressure trick easy: lay a plate on top of the covering towel for gentle weight. Check daily for dry spots, because uneven moisture gives uneven sprouts.
Rinse the batch once a day by lifting the whole towel bundle under the tap, letting water run through, and draining well. The towel holds more moisture than a jar, so drainage matters even more here. If the towels stay soggy, swap them for fresh ones mid-batch.
Harvest on Day 3 With the Float-and-Skim Hull Trick
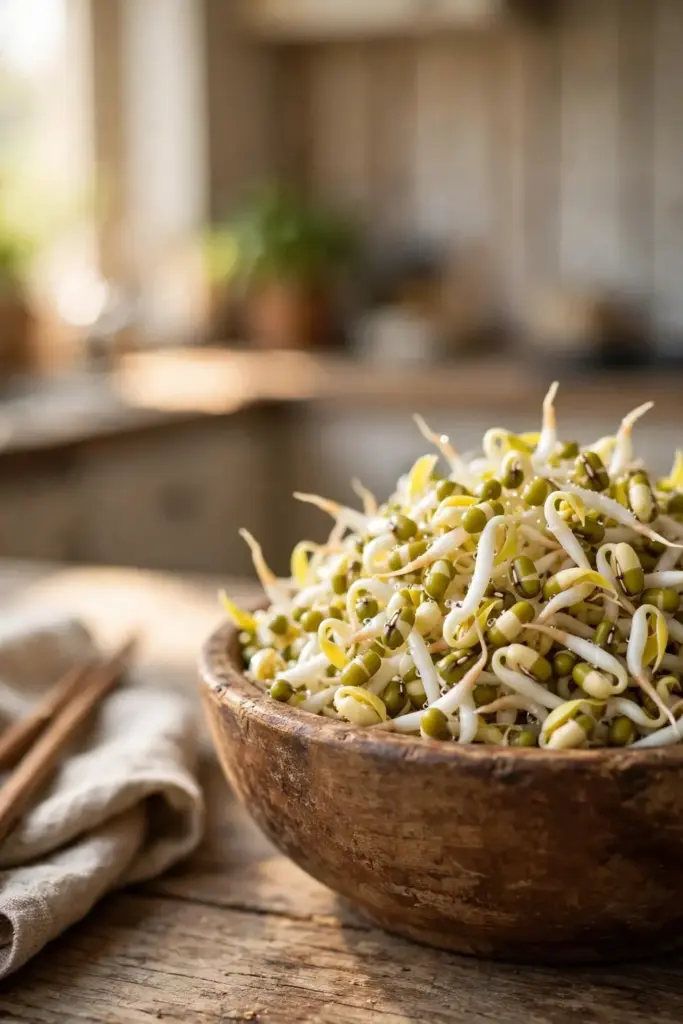
Harvest when the tails reach 1 to 2 inches and the sprouts look plump and white. Longer is not better. Past day 4 the sprouts grow leaves, turn bitter, and the texture goes stringy. Taste one on day 3 morning and decide.
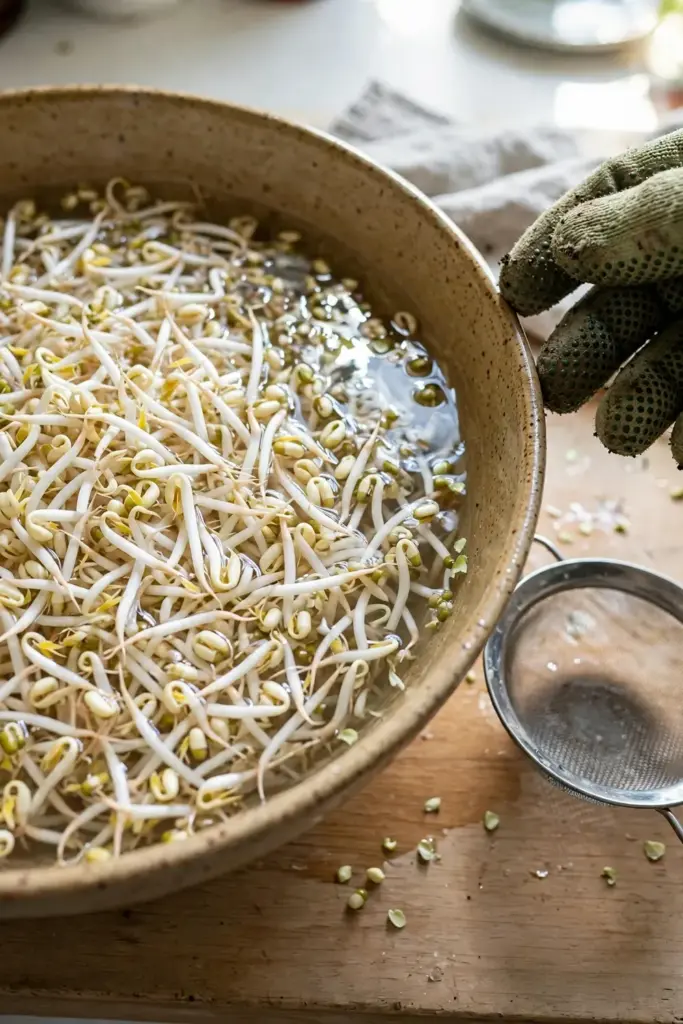
Dump the harvest into a big bowl of cool water. The loose hulls float to the top, and you skim them off with your hand or a small strainer. Most hulls detach on their own by day 3, and the float trick removes the rest in under a minute. Hulls are edible but papery, so removing them improves every bite.
Give the skimmed sprouts one final rinse and drain them well. Spread them on a clean towel for 15 to 30 minutes to air-dry before storage. Expect the yield to surprise you the first time: those 2 tablespoons of dry beans turn into 2 to 3 cups of finished sprouts, enough for several stir-fries or a week of sandwiches. That multiplication is exactly why starting small matters, and why experienced sprouters run staggered jars instead of bigger ones. Surface moisture in the storage container shortens shelf life, so this drying step is worth the wait.
Store Sprouts Crisp for 5 to 7 Days
Pack the dried sprouts loosely in a clean airtight container or jar and refrigerate immediately. Cold storage at or below 40 degrees Fahrenheit slows both wilting and bacterial growth. Eat them within 5 to 7 days for the best crunch, the same window the sprouting guides recommend.
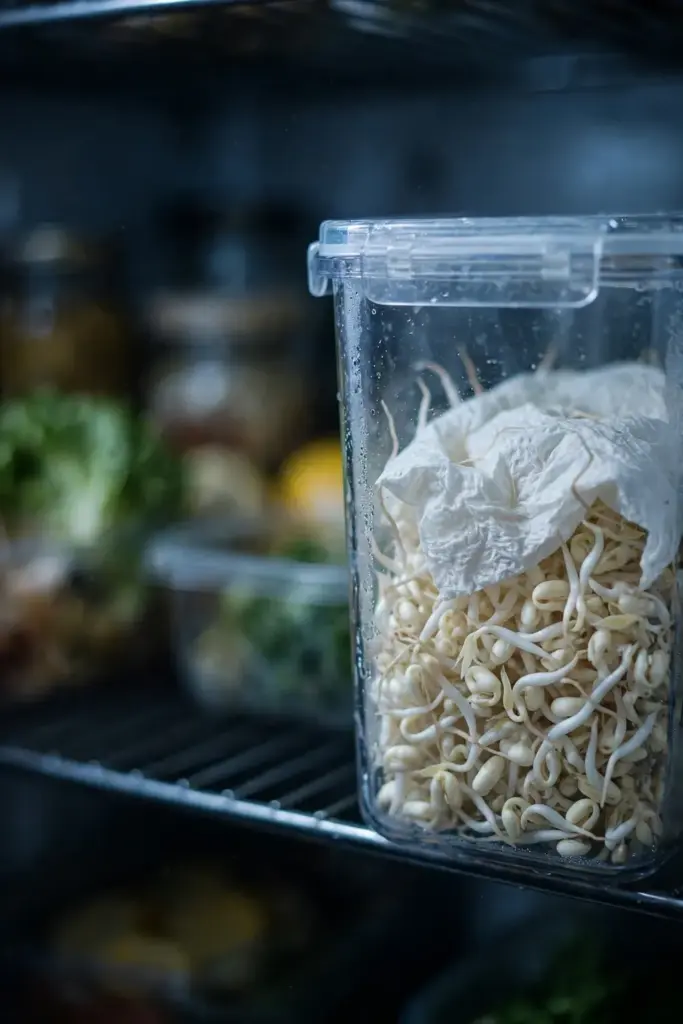
Do not wash sprouts again before storing them. Extra water in the container is the enemy. If you see condensation forming inside the lid, lay a dry paper towel over the sprouts to absorb it and replace the towel when it dampens. Keep the container toward the back of the fridge where the temperature stays steadiest, not in the door where every opening swings the temperature. Sprouts stored cold and dry stay crisp for the full week, while a warm damp container turns them limp in two days.
Check the batch each time you open the container. Fresh sprouts smell clean and slightly sweet, and they snap when bent. Any sour smell or slimy film means the batch is done, no matter what day it is. When in doubt, throw it out. A two-dollar batch of beans is never worth a foodborne illness.
Read the 5 Failure Signs and Trash the Batch
Learn the failure signs before you need them, because a bad batch announces itself clearly. Sour or rotten smell is the first and most reliable sign. Slimy texture on the sprouts or the jar walls is the second. Pink or brown discoloration is the third. Beans that never sprouted after 3 days of proper rinsing are the fourth. Visible mold fuzz is the fifth.
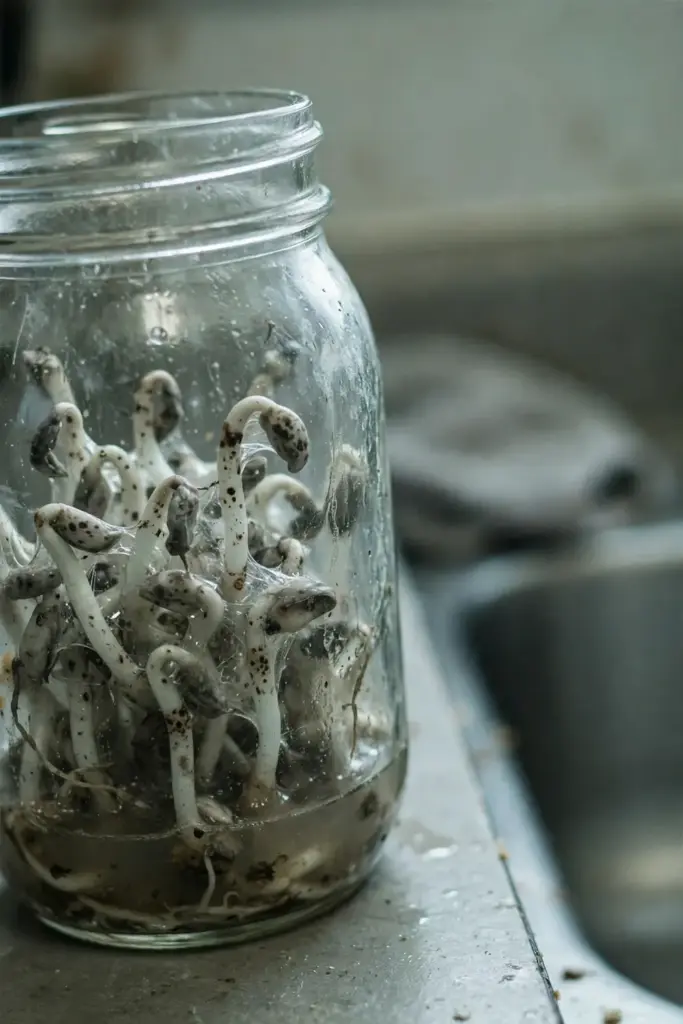
Any one of these means the whole batch goes in the trash, not the compost, not the stockpot. Do not try to rinse away slime or cook a sour batch back to safety. The contamination grows from inside the seed into the sprout, so surface fixes do not work.
The most common cause is standing water from incomplete draining. The second is too-warm storage with too-few rinses. The third is old or low-quality beans. Fix the cause before starting the next batch, or the next batch fails the same way.
Follow the 6 Food Safety Rules Page 1 Skips
Here is the trust moat the scout identified: almost nobody ranking for this keyword talks about safety seriously. These six rules come from Virginia Tech Extension’s sprout handling guidance and the FDA’s standing advice.
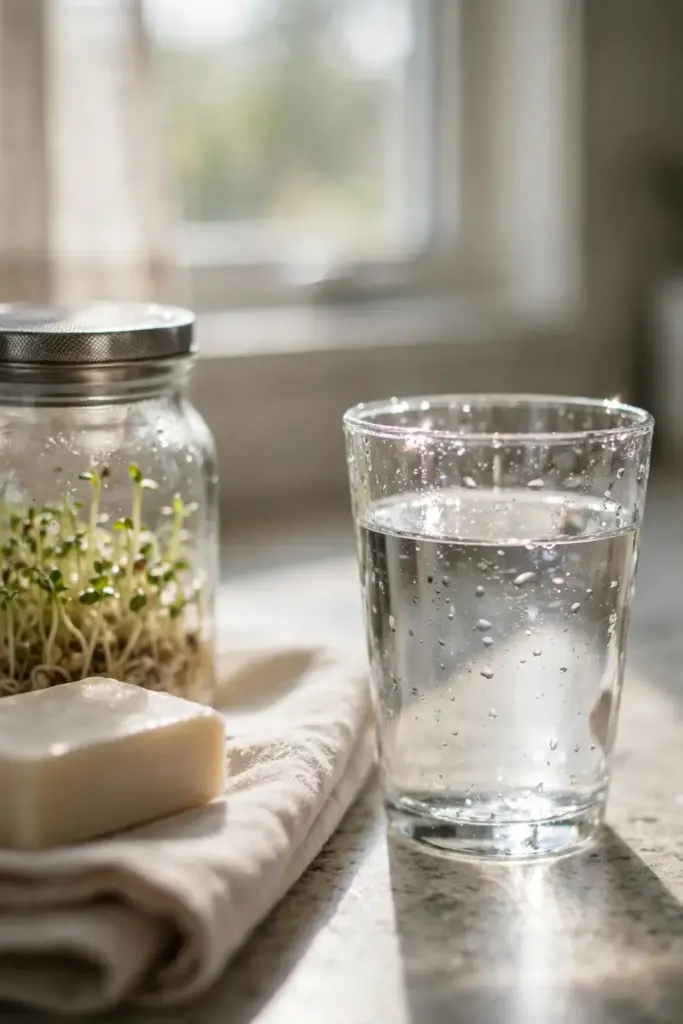
Buy seeds from a reputable source first, because contaminated seed is the primary source of sprout outbreaks. Virginia Tech Extension lists pretested seed from a reputable commercial source as its first handling practice. Sanitize all jars, lids, and surfaces before starting, then use clean potable water for every soak and rinse.
Fourth, rinse on schedule and never let the batch sit in standing water. Fifth, refrigerate the harvest promptly and eat it within a week. Sixth, cook sprouts for anyone in a high-risk group: the FDA advises that children, older adults, pregnant people, and anyone with a weakened immune system avoid raw sprouts entirely.
One more hard truth from the reporting: homegrown sprouts carry the same risk as commercial ones. As the University of Minnesota’s CIDRAP reports, the FDA has warned specifically about mung bean sprouts, noting that homegrown sprouts present a health risk if eaten raw because bacteria on seeds can multiply quickly during sprouting even under clean conditions. Clean technique reduces risk. It does not erase it.
Know Who Should Eat Sprouts Cooked, Not Raw
Cooking is the only step that reliably kills the pathogens that worry food-safety experts. A quick stir-fry, a 30-second blanch in boiling water, or steaming until hot all the way through makes sprouts safe for everyone. The crunch softens slightly, and the safety margin jumps.
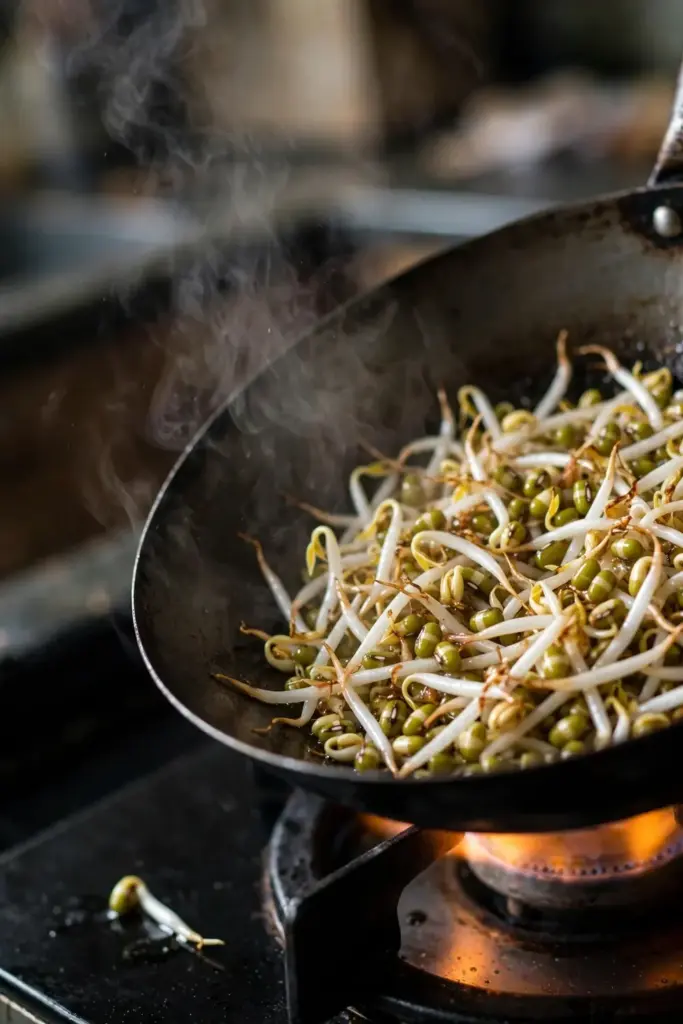
Children under 5, adults over 65, pregnant people, and anyone with a weakened immune system should eat sprouts cooked, not raw. That is the consistent advice from the FDA, the CDC, and every extension guide. Frame it as a household rule, not a scare: the same household probably already cooks eggs and poultry for the same reason.
For healthy adults eating raw homegrown sprouts, the risk is lower but real. Rinse well, store cold, eat fresh, and discard anything questionable. If someone in the house is in a high-risk group, cook the whole batch. One pan, one rule, zero arguments.
Dodge the 7 Mistakes That Sour Every Batch
Mistake 1: Soaking past 12 hours. Fix: set a timer. Drain at the 8 to 12 hour mark without exceptions.
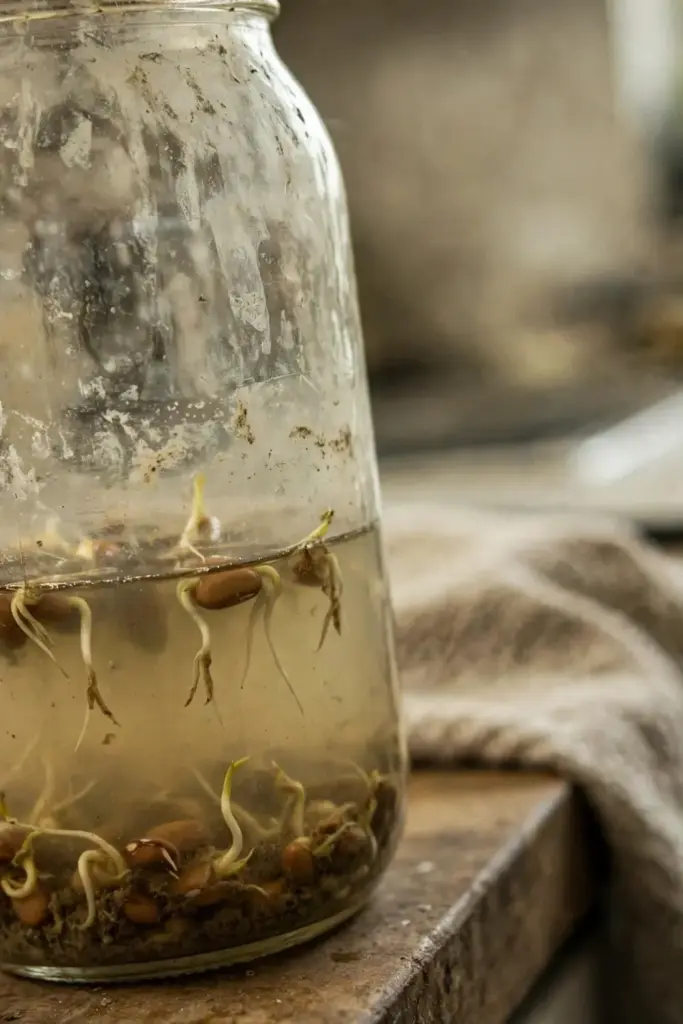
Mistake 2: Leaving standing water in the jar. Fix: drain completely after every rinse, then tilt the jar mouth-down in a bowl.
Mistake 3: Too many beans in the jar. Fix: 2 tablespoons of dry beans per quart jar. The beans expand to roughly 8 times their dry volume, so the jar fills itself.
Mistake 4: Skipping rinses on a warm day. Fix: rinse every 6 hours when the kitchen runs warm, per the extension guidance for raw-eaten sprouts.
Mistake 5: Growing in the light. Fix: keep the jar dark. Light makes mung sprouts green and bitter.
Mistake 6: Storing wet sprouts. Fix: air-dry 15 to 30 minutes on a clean towel before refrigerating.
Mistake 7: Eating a questionable batch. Fix: sour smell or slime means the trash. No tasting to decide.
Fix Smell, Sliminess, and Stalled Sprouts
Why does my batch smell sour on day 2? Standing water or too-warm storage with too-few rinses. Drain completely, move the jar somewhere cooler, and add a midday rinse. If the smell persists after a full rinse cycle, discard the batch and start over with sanitized gear.
Why are my sprouts slimy? Bacterial growth on the surface, fed by starch and trapped water. Sliminess never rinses away safely. Discard the batch. Next time, use fewer beans, drain harder, and rinse more often.
Why did only half the beans sprout? Old beans or an uneven soak. Beans from an old bag germinate at different rates. Buy fresher beans and make sure every bean stays submerged during the soak, with no dry pockets.
Why are my sprouts thin and stringy? Too little pressure and too much time. Harvest on day 3 instead of day 4, and let the batch grow crowded enough to press against itself. Darkness plus pressure makes thick sprouts.
Why are the sprouts bitter? Light exposure or overgrowth past day 4. Keep the jar dark from day 1, and harvest when the tails hit 1 to 2 inches, before leaves develop.
Can I save a batch that smells slightly off? No. Cooking does not make a spoiled batch safe to judge by taste, and the off smell means bacterial loads are already high. Discard it. The beans cost almost nothing, and the next batch takes three days.
Frequently Asked Questions
Home sprouting carries real but manageable risk. The warm, damp conditions that grow sprouts also grow bacteria, and contaminated seed is the usual source. Reduce the risk with reputable seed, sanitized gear, scheduled rinsing, and prompt refrigeration. Cook sprouts for children, older adults, pregnant people, and anyone immunocompromised.
Yes. Soak 2 tablespoons of beans in cool water for 8 to 12 hours to soften the seed coat and wake germination. Drain completely afterward, because the sprouting phase needs damp beans, not submerged ones. Soaking longer than 12 hours risks fermentation, so set a timer and drain on schedule.
Sour smell means bacterial growth, usually from standing water, too-warm storage, or skipped rinses. Drain the jar completely, move it somewhere cooler, and add a midday rinse. If the smell survives a full rinse cycle, discard the batch, and never taste-test a sour batch to decide.
Yes, if they are whole dry beans meant for eating. Food-grade mung beans from a grocery store or bulk bin sprout well. Avoid beans from planting packets, which may carry seed treatments. Check the date, since old beans sprout unevenly, and buy from a reputable source.
Five to 7 days when stored properly. Air-dry the harvest 15 to 30 minutes, pack loosely in a clean airtight container, and refrigerate at or below 40 degrees Fahrenheit. Check each time you open the container: clean smell and a crisp snap mean fresh, while sour odor or slime means discard.
Sprouts grow in water and darkness and are eaten whole, seed and root included, usually within 3 to 4 days. Microgreens grow in soil or a medium under light and are cut at the leaf stage after 1 to 3 weeks. Our companion guide to sprouting seeds and microgreens covers the soil-grown side in detail.
Where to Go From Here
You now know how to grow mung bean sprouts: 2 tablespoons of beans, an 8 to 12 hour soak, 3 days of rinsing, and a harvest that beats anything in a plastic clamshell. Start one jar this week and taste the difference on day 3. If the batch thrives, start a second jar two days later and you will never run out.
Keep the safety habits every batch: reputable seed, sanitized gear, scheduled rinses, cold storage, and cooked sprouts for high-risk eaters. For the general art of sprouting beyond mung beans, the bean sprouts easy guide covers more varieties. Three days from now, you will be eating proof.