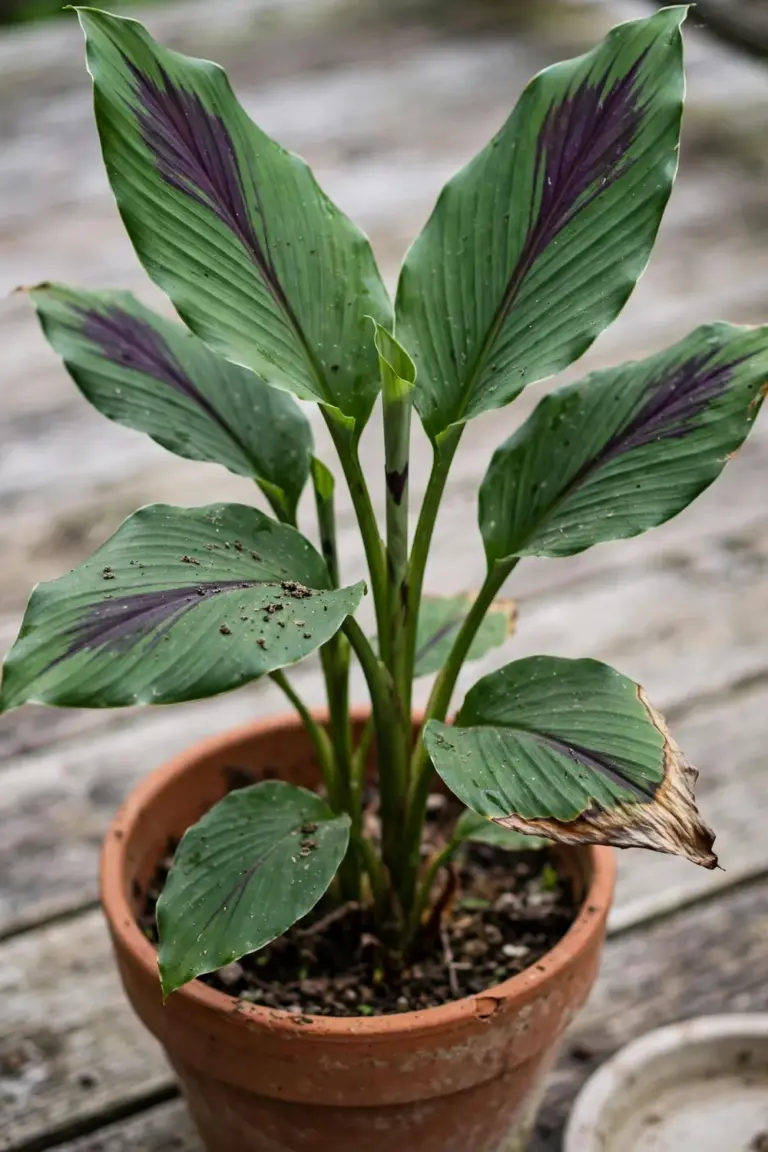

Plant 100 adzuki bean seeds in May and you will shell your first dry pods around September. That is the honest math of this crop: 90 to 120 days from seed to dry bean, no shortcuts, no dwarf miracle variety. Adzuki beans are Vigna angularis, the small red bean behind Japanese anko and Chinese red bean soup, and they grow like the bush beans you already know, with one important difference. They resent having their roots disturbed, so the whole game is direct sow, right depth, right spacing, and then patience while the pods fill and dry on the plant.
This guide walks through how to grow adzuki beans at home in 9 numbered steps, from variety choice to the drying rack. Along the way you get the container method for patios, the disambiguation table that keeps adzuki separate from mung beans and kidney beans, and the drying-for-storage chain that turns a summer planting into winter pantry jars. If you want the quick-start general version of this crop, our azuki bean growing guide covers the same plant under its alternate spelling in 7 steps. This article is the long-season specialist: direct-sow protocol, the real 90 to 120 day timeline, pots, and dry-bean harvest done properly.
What Adzuki Beans Actually Are
Adzuki beans, also spelled azuki, are the seeds of Vigna angularis, a warm-season legume domesticated in East Asia thousands of years ago. The beans are small, about 5 millimeters long, deep red-brown, with a thin skin and a sweet, nutty flavor that survives cooking. That sweetness is why East Asian cuisines treat adzuki as a dessert ingredient first and a savory bean second. Red bean paste, dorayaki filling, zongzi, and red bean soup all start here.
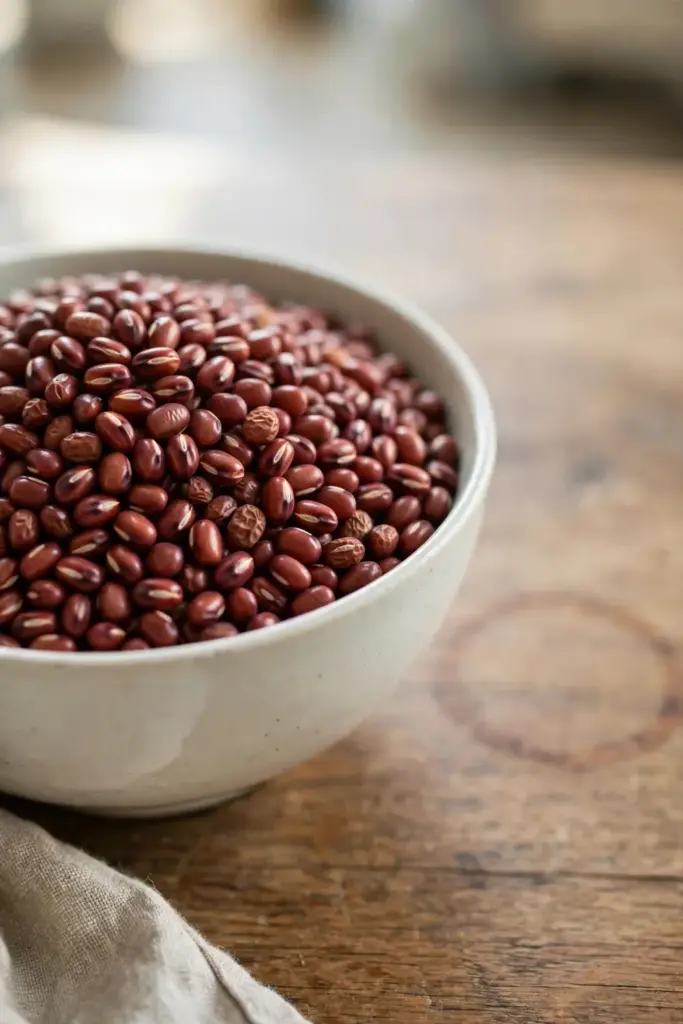
The confusion worth clearing up early: shoppers and search results mix up three different beans, adzuki, mung bean, and red kidney bean. They are three distinct species. Only one of them is the sweet red bean behind anko, and growing the wrong one is the most common disappointment in this crop. All three get mixed up in grocery aisles and in search results, so here is the separation that matters for a grower.
| Trait | Adzuki Bean | Mung Bean | Red Kidney Bean |
|---|---|---|---|
| Latin name | Vigna angularis | Vigna radiata | Phaseolus vulgaris |
| Seed size | Small, about 5 mm | Small, about 4 mm, green | Large, about 12 to 15 mm |
| Seed color | Deep red-brown | Green (or black/yellow types) | Dark red |
| Growth habit | Bush, mostly 12 to 24 in | Bush, 18 to 36 in | Bush or pole, variety dependent |
| Days to dry bean | 90 to 120 | 90 to 120 | 90 to 110 |
| Main kitchen use | Sweet paste, desserts, soup | Sprouts, dal, soups | Chili, stews, salads |
| Sprouting fame | Moderate | Very high (the classic sprout) | Low (raw kidney beans are toxic) |
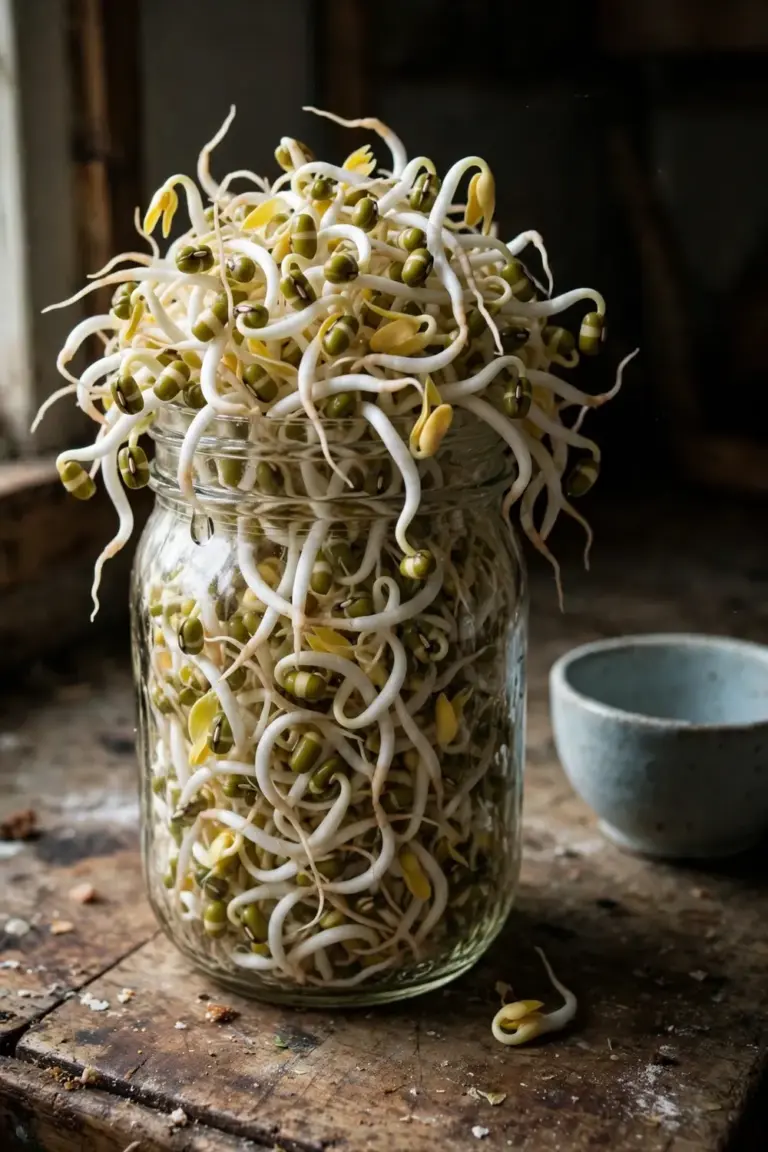
Two practical consequences fall out of this table. First, if your goal is jar sprouts on the kitchen counter, mung beans outperform adzuki and a dedicated sprouting guide is the better starting point. Second, kidney bean growing advice transfers only partly: both are warm-season legumes, but adzuki belongs to the Vigna genus and its season runs longer than most bush snap beans.
The Honest 90 to 120 Day Season
Everything about planning this crop flows from one number. Adzuki beans need 90 to 120 days from sowing to dry, harvest-ready pods. That is longer than snap beans (50 to 60 days) and roughly on par with dry kidney beans. In a short-summer climate this decides your variety and your sowing date before you buy a single seed packet.
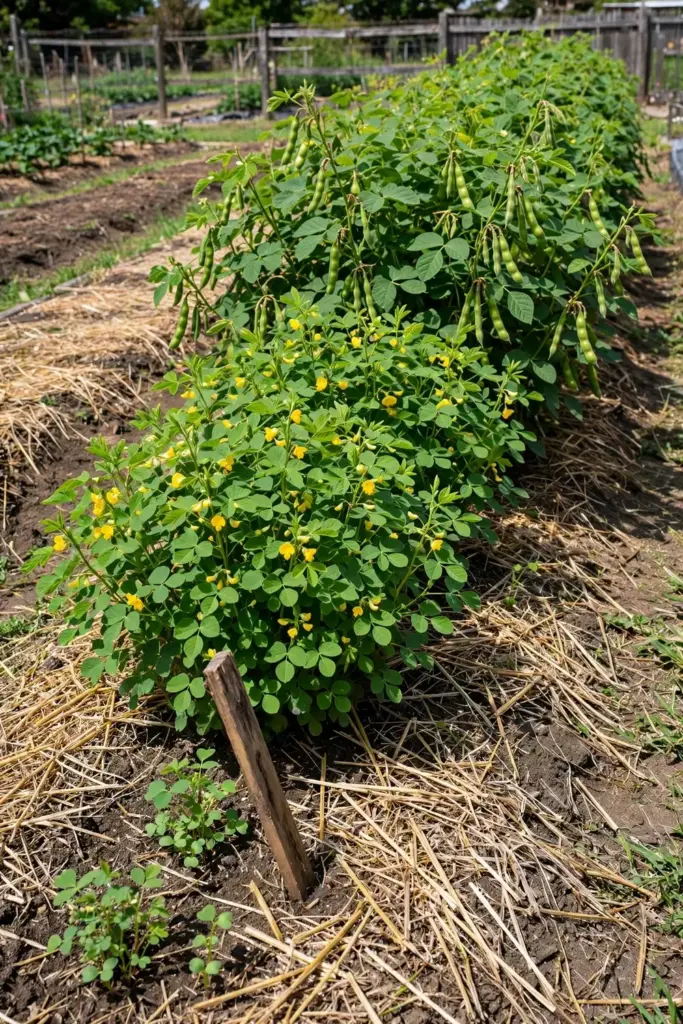
| Stage | Days After Sowing | What You See |
|---|---|---|
| Germination | 7 to 10 | Seedlings break the surface |
| First true leaves | 14 to 21 | Trifoliate leaves unfold |
| Flowering | 45 to 60 | Small yellow flowers appear |
| Pod fill | 60 to 90 | Pods swell, seeds fill inside |
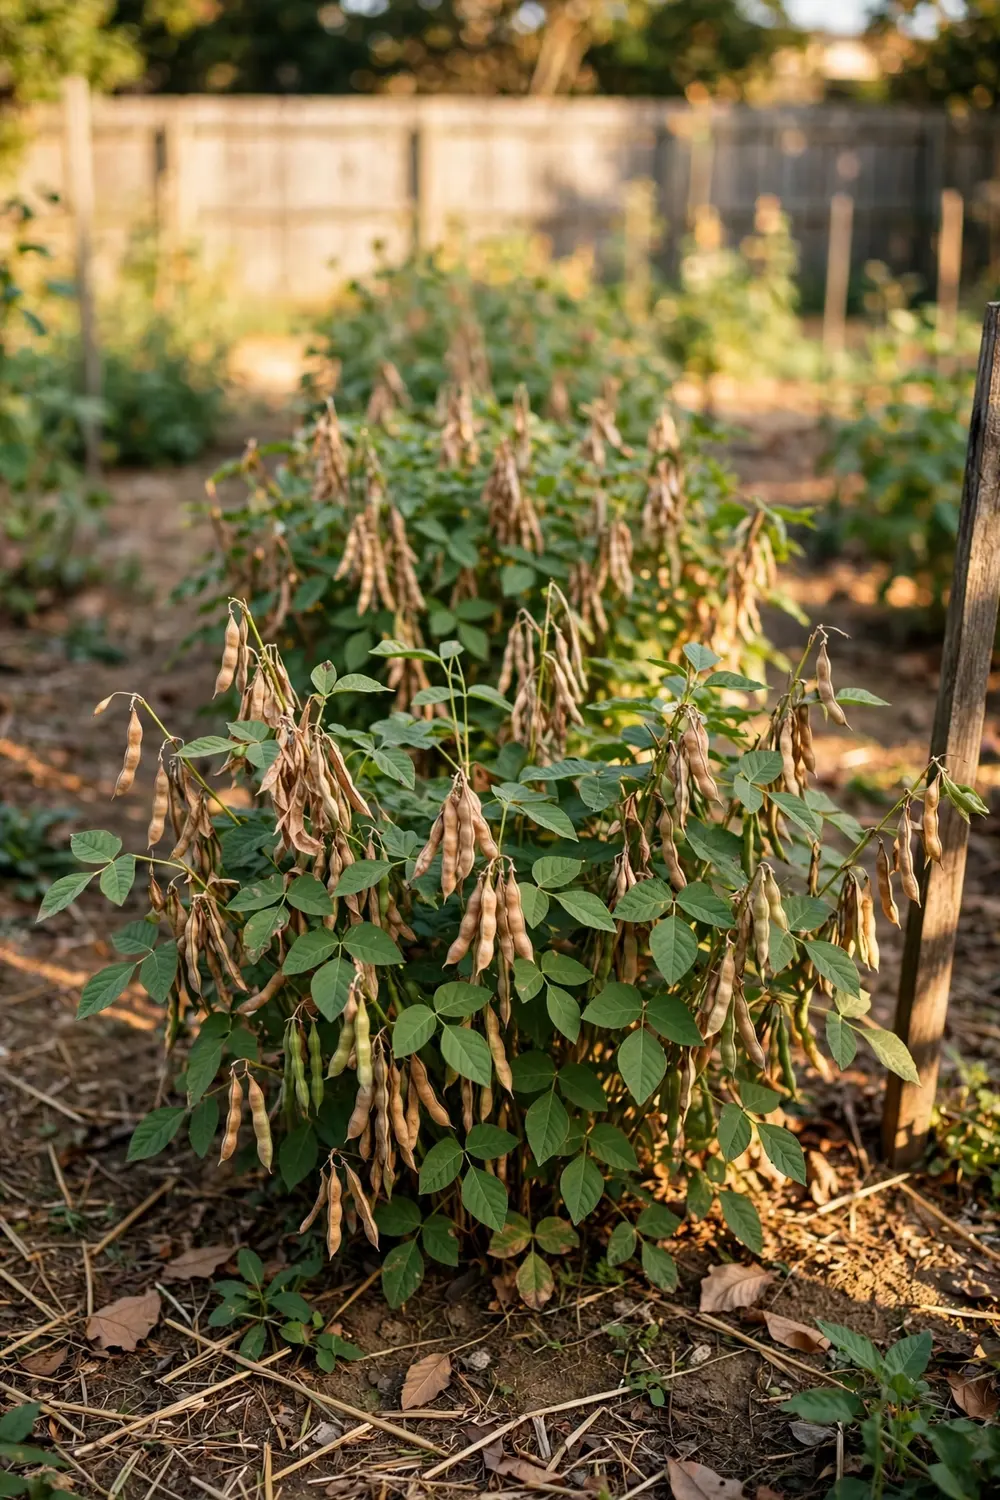
| Pod dry-down | 90 to 120 | Pods turn tan and rattle |
Work backward from your first expected fall frost. If frost lands October 15, count back 120 days to mid-June as your last safe sowing date, and then sow earlier anyway, because a cool September slows the dry-down. Anyone learning how to grow adzuki beans should do this calendar math before buying seed, because the season length is the one variable you cannot negotiate. Gardeners with seasons shorter than 100 frost-free days should pick the earliest-maturing varieties and start them in compostable pots indoors, which the steps below cover.
Climate and Location: Where Adzuki Beans Grow
Adzuki beans are a warm-season crop in the same league as soybeans and cowpeas. They germinate best when soil reaches 60 to 70°F and they sulk below 50°F, rotting in cold wet ground instead of sprouting. Air temperatures between 70 and 85°F keep them growing steadily. They tolerate heat well once established, which is why they do fine in humid continental summers.
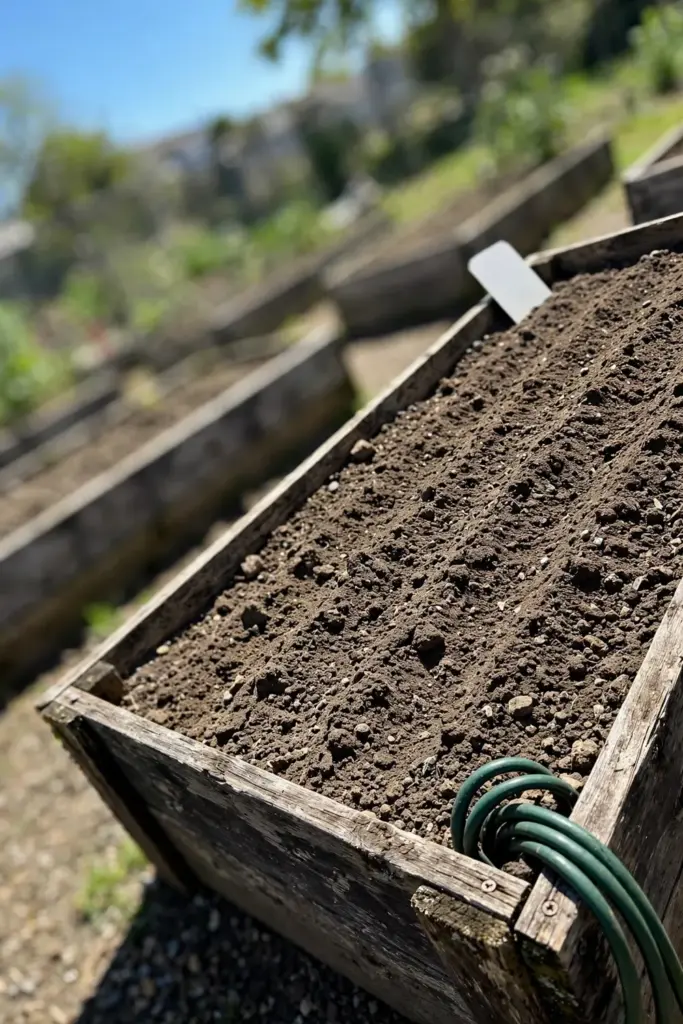
Site selection is simple. Give them full sun, meaning 6 to 8 hours of direct light daily, in soil that drains freely. A gentle slope or a raised bed beats a low spot where water sits after rain. Beans fix their own nitrogen through rhizobia bacteria on their roots, so the site does not need rich soil. It needs loose, uncompacted soil where roots can run. If your ground is heavy clay, the container method in Step 7 sidesteps the whole problem.
Tools and Materials
You need less gear for adzuki than for almost any other seed you will sow this year.
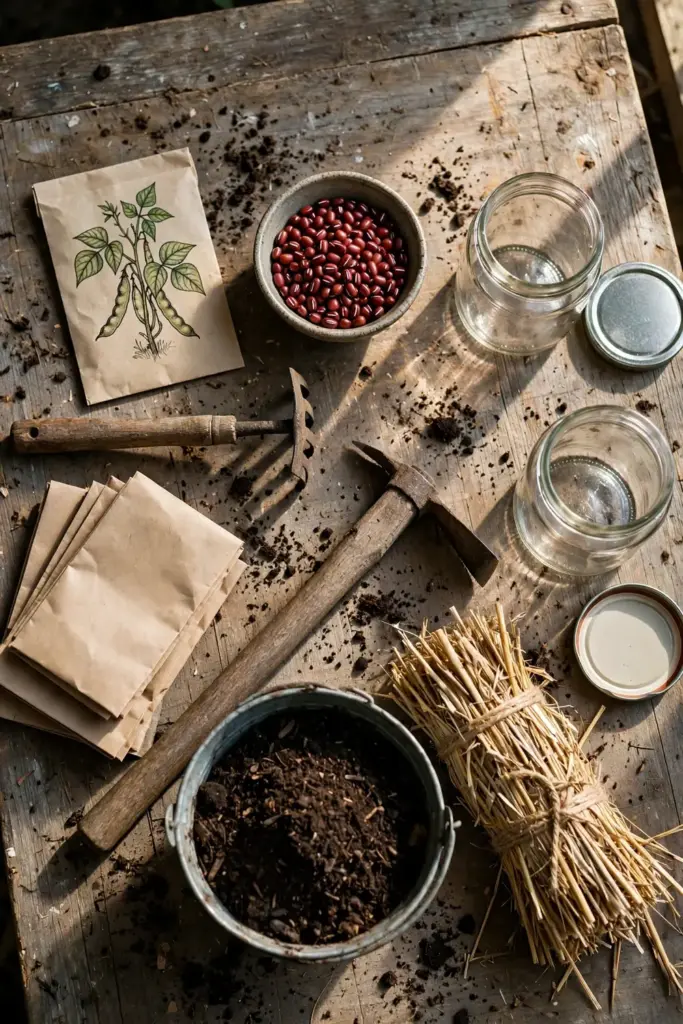
- Adzuki bean seeds, one packet sown at the spacing below covers a 10-foot row
- A garden rake and a hoe
- Compost, one wheelbarrow per 10-foot row
- Straw or shredded-leaf mulch
- A rain gauge or a simple moisture check routine
- For containers: pots 8 to 10 inches deep with drainage holes, and bagged potting mix
- Paper bags or mesh sacks for drying pods
- Glass jars with lids for storage
No trellis, no cages, no grow lights. Bush-type adzuki varieties stand on their own. The one optional purchase is inoculant powder (rhizobia for beans), useful only if your soil has never grown legumes before.
Step 1: Pick a Variety That Fits Your Season
Variety choice is the most important decision in this crop because the 90 to 120 day window is fixed and your frost date is fixed. Match the two. In regions with 120 or more frost-free days, any standard adzuki variety works. In regions with 90 to 110 frost-free days, look for early-maturing types and words like “short season” or “northern” on the packet.
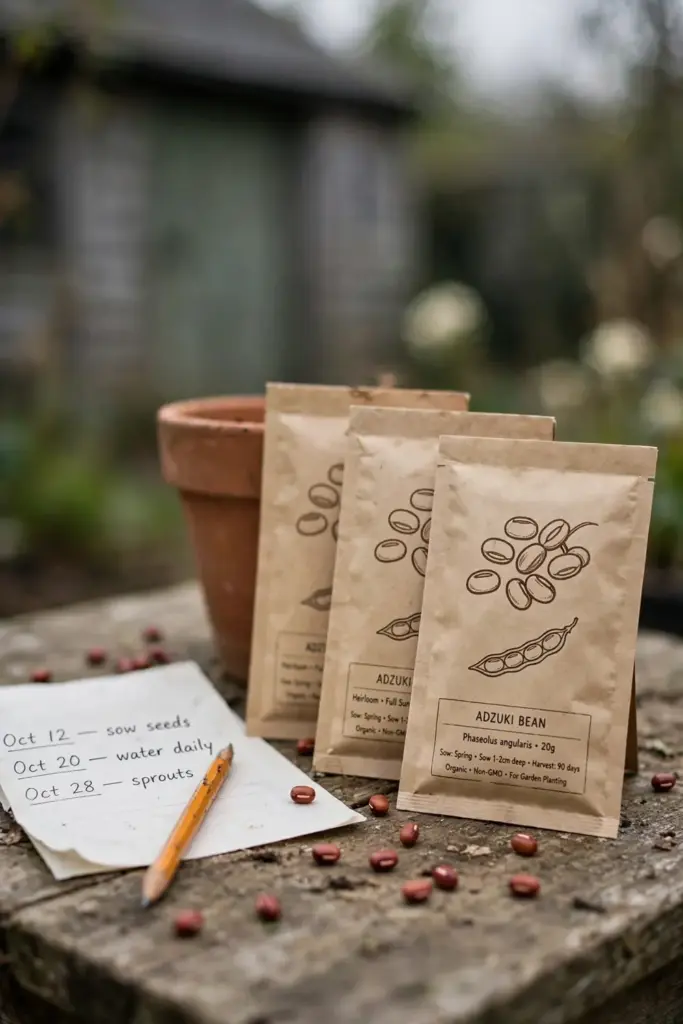
Buy seed sold for planting, not beans from the grocery bulk bin. Food-grade beans are often heat-treated or past their prime, and germination drops fast after the first year. Fresh seed, dated for the current year, germinates reliably when soil is warm. One packet is plenty for a first attempt. A 10-foot row of thinned plants yields roughly 1 to 2 pounds of dry beans, enough for several batches of red bean soup.
Step 2: Time Your Sowing After the Last Frost
Sow directly outdoors after all frost danger has passed and the soil has warmed to at least 60°F. For most temperate gardeners that means 1 to 2 weeks after the last expected frost date. A soil thermometer is the honest tool here. Fingers lie. If the soil reads below 55°F at 2 inches deep in the morning, wait a week.
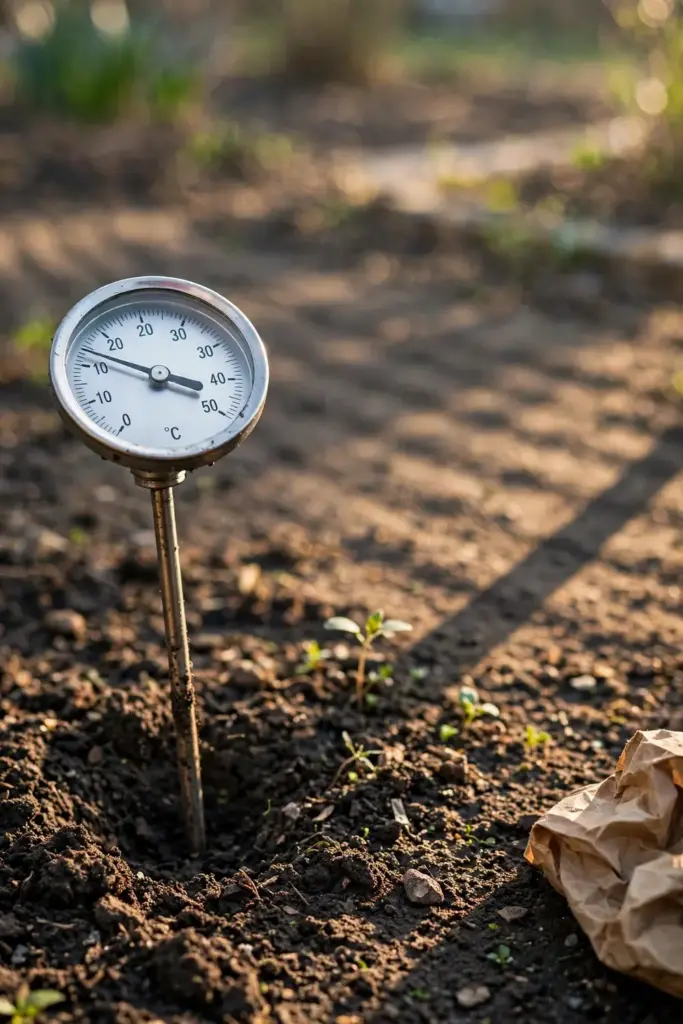
Cold-climate gardeners with short seasons can start seeds indoors 3 to 4 weeks before the last frost, but only in compostable pots: peat, coir, or newspaper. Adzuki roots hate disturbance, and transplanting bare-root seedlings sets the plants back by weeks, erasing the head start. Sow 1 inch deep in the pots, keep them at 70°F or warmer, and plant the whole pot in the ground after frost. Our seed starting routine covers the indoor setup in detail.
Step 3: Prepare the Bed
Beans want a clean, loose seedbed and nothing fancy. Clear weeds from the planting area, then loosen the top 8 to 10 inches of soil with a fork or hoe. Work in 1 to 2 inches of finished compost. That is the entire fertility program for most soils. Skip fresh manure and skip high-nitrogen fertilizer. Excess nitrogen grows leafy vines and few pods, the classic bean mistake.
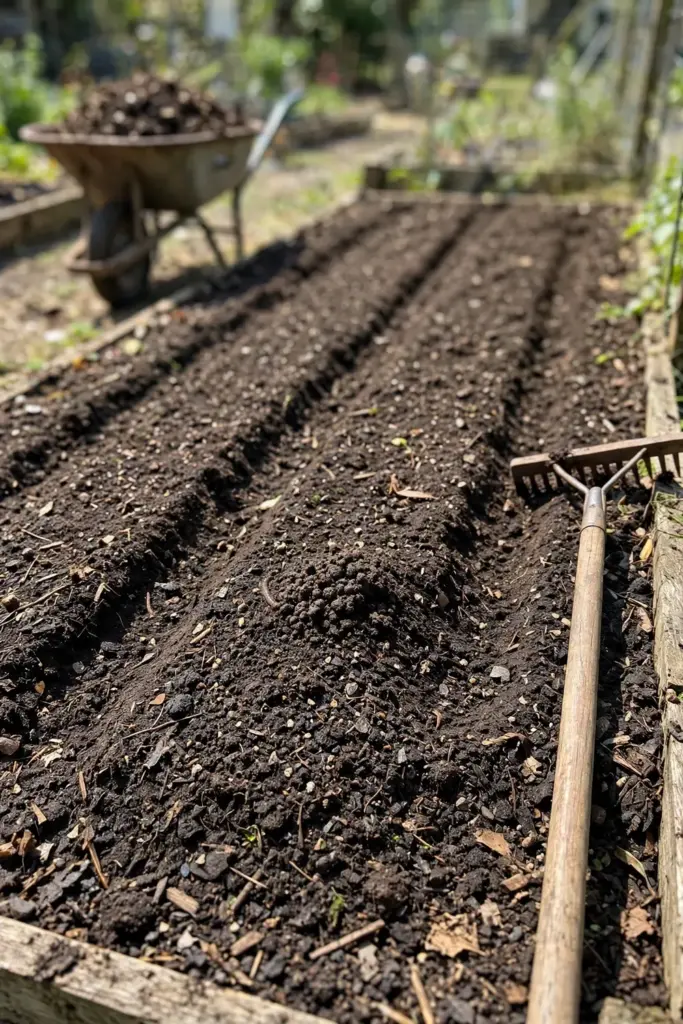
Check drainage with a simple test. Dig a 6-inch hole, fill it with water, and watch. If it drains within an hour, adzuki will be happy. If water still sits after several hours, build a raised bed 6 to 8 inches tall or switch to containers.
Step 4: Direct Sow 1 Inch Deep and 4 Inches Apart
This is the step the whole crop hinges on, so give it your full attention. Push each seed 1 inch deep into moist soil, spacing seeds 4 inches apart in rows 18 to 24 inches apart. Cover, firm gently, and water. One inch is the depth that keeps the seed in the moisture zone without burying it beyond the seedling’s strength. Deeper than 2 inches and emergence turns spotty.
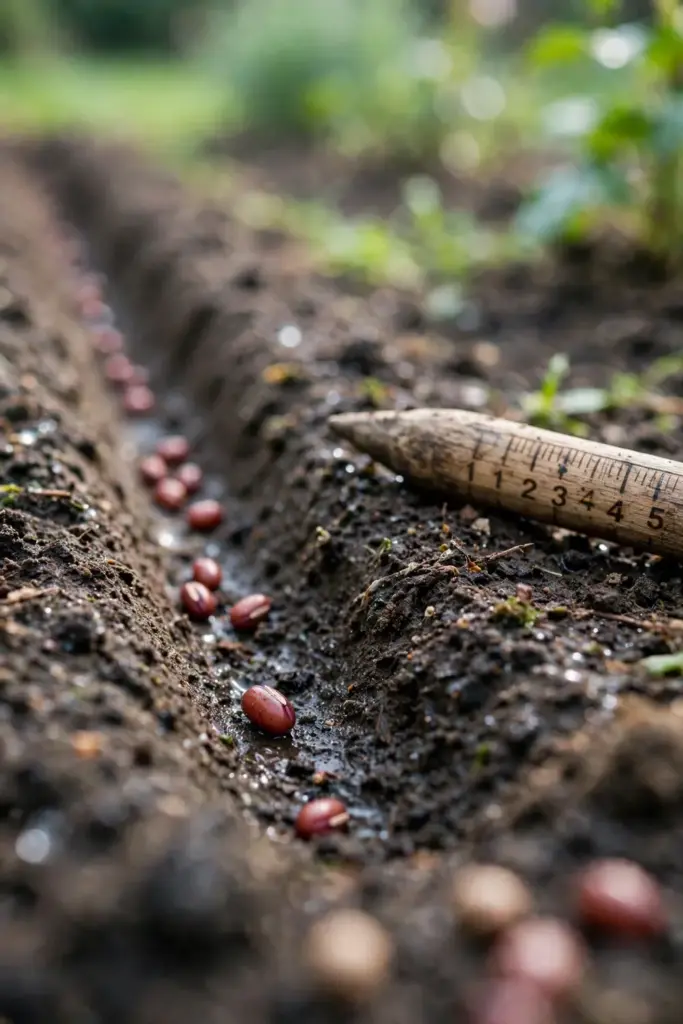
Resist the urge to pre-soak the seeds. Unlike peas, adzuki seeds crack and rot when soaked. Dry seed into moist soil is the reliable method. If the soil surface crusts before emergence, a light watering breaks the crust. Expect seedlings in 7 to 10 days at 65 to 70°F soil temperature. Cold soil stretches this to two weeks or more, which is why Step 2 matters.
Step 5: Thin to a Final Spacing of 18 Inches
When seedlings reach 3 to 4 inches tall, thin them to one plant every 18 inches in the row. This feels brutal the first time. Do it anyway. Crowded adzuki plants compete for light and airflow, and the result is disease pressure and small pods. A properly spaced stand dries faster after rain, which matters enormously at harvest time when you need pods to dry down on the plant.
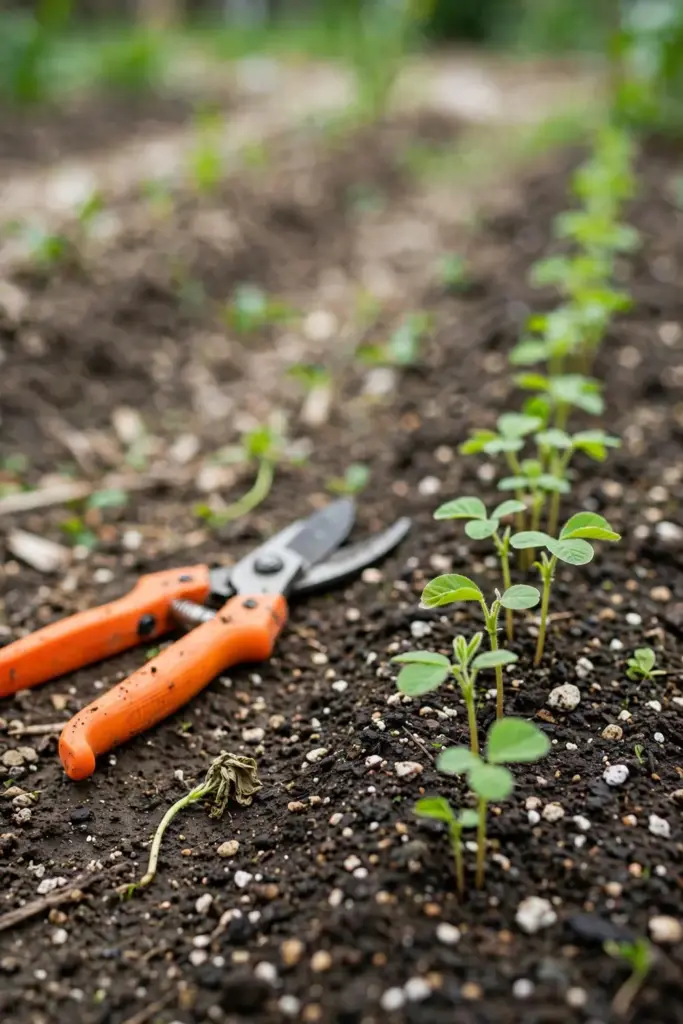
Thin by snipping the extras at soil level with scissors rather than pulling them. Pulling disturbs the roots of the keepers, and you already know how adzuki feels about root disturbance. The thinnings are edible as microgreens if that softens the blow.
Step 6: Water for Germination, Then Back Off
Keep the seedbed evenly moist until seedlings are up and growing. After that, adzuki beans prefer a deep drink once a week over daily sprinkles. Aim for about 1 inch of water per week from rain or irrigation, applied at the base of the plants in the morning. Wet foliage in the evening invites the fungal diseases that trouble all beans.
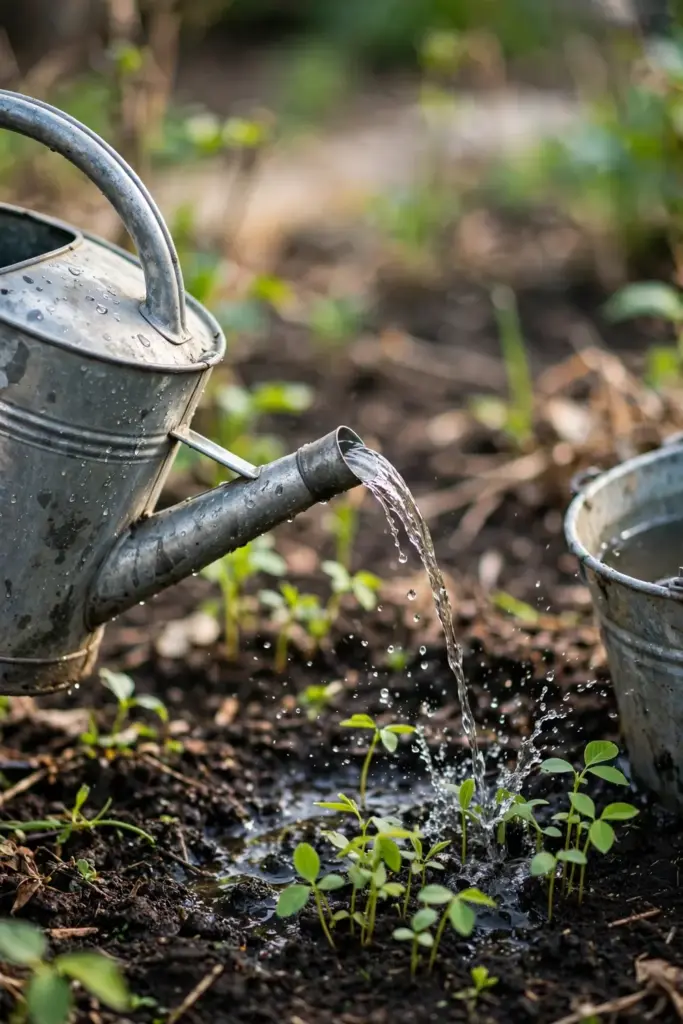
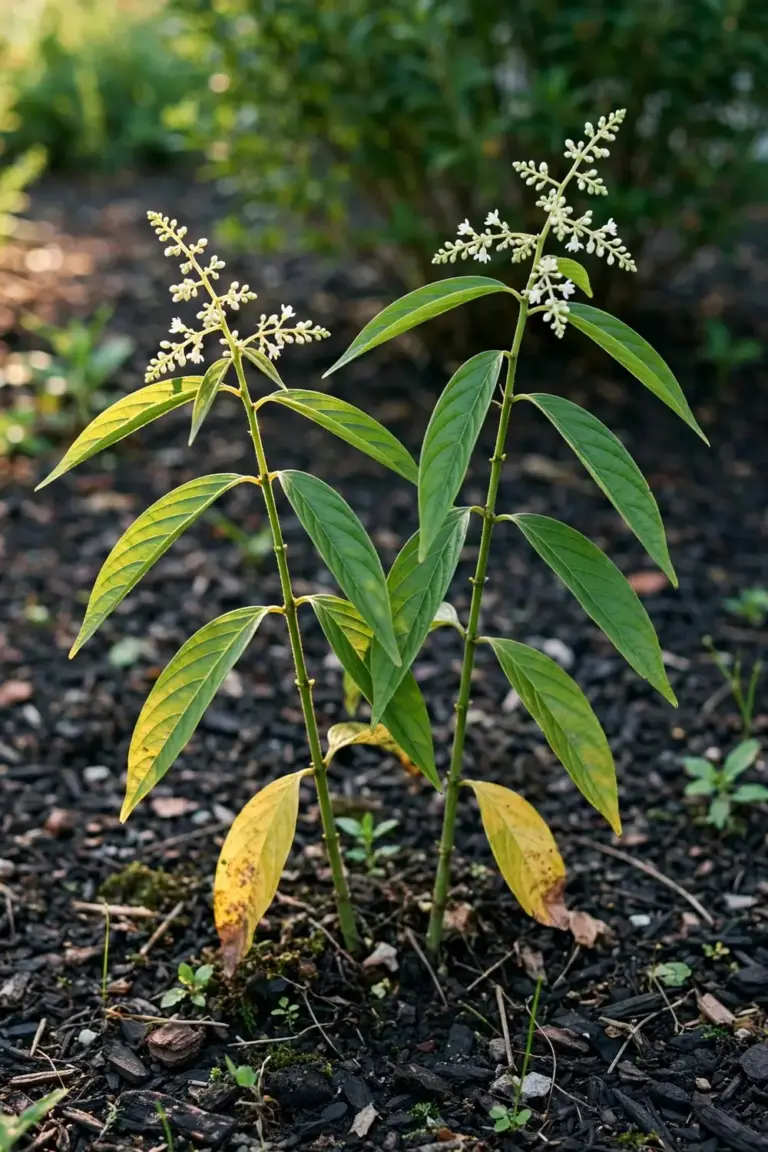
The critical watering window is flowering and pod fill, roughly days 45 to 90. Drought stress during pod fill produces flat, empty pods. Once pods start turning tan and drying, stop watering entirely. You want the plants to senesce and the pods to dry. Watering during dry-down restarts vegetative growth and ruins the harvest.
Step 7: Grow Adzuki Beans in Containers
No garden bed? A patio works. Adzuki beans adapt well to containers because of their compact bush habit, and container growing solves the two hardest parts of this crop: cold spring soil and heavy clay.
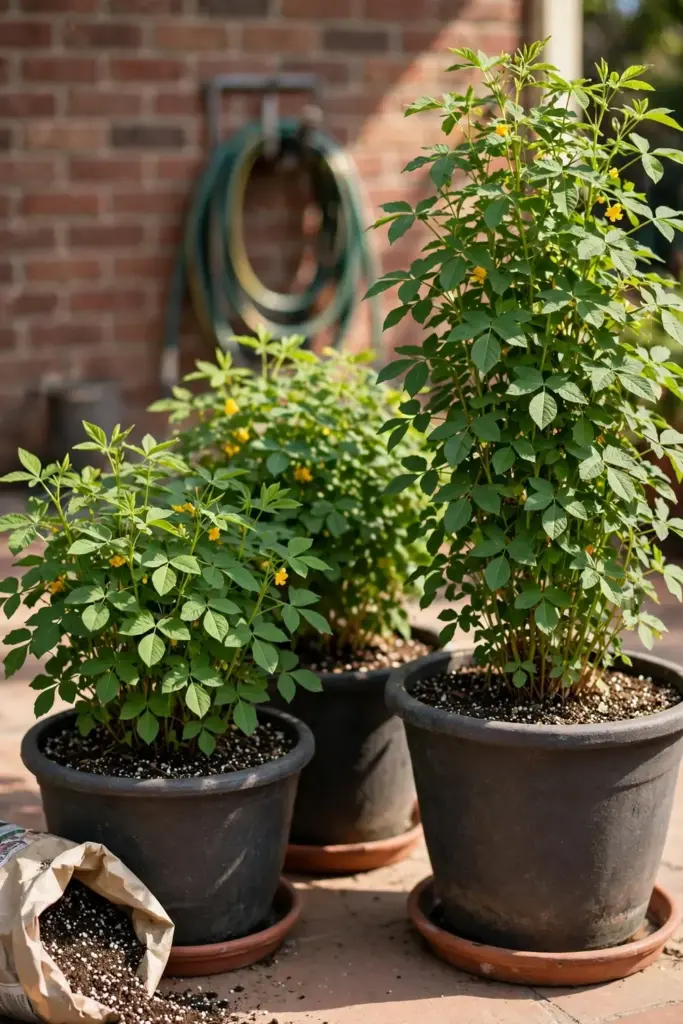
Use pots 8 to 10 inches deep and at least 12 inches wide, with drainage holes. One plant per 12-inch pot, or three plants in a 5-gallon bucket. Fill with bagged potting mix, not garden soil, which compacts in pots. Sow 1 inch deep exactly as in the bed method. Place the pots where they get 6 to 8 hours of sun.
Container beans dry out faster than bed beans, so check moisture daily in hot weather and water when the top inch of mix is dry. Feed once, at flowering, with a low-nitrogen liquid fertilizer such as a 5-10-10 at half strength. Skip high-nitrogen feeds.
Step 8: Mulch and Weed Without Disturbing Roots
Once plants are 6 inches tall, spread 2 to 3 inches of straw or shredded leaves around them, keeping mulch a couple of inches away from the stems. Mulch suppresses weeds, holds soil moisture, and keeps developing pods clean. Weed by hand or with a shallow hoe. Never cultivate deeply near bean plants. Their root systems are shallow and wide, and a deep hoeing severs the very roots feeding the pods.
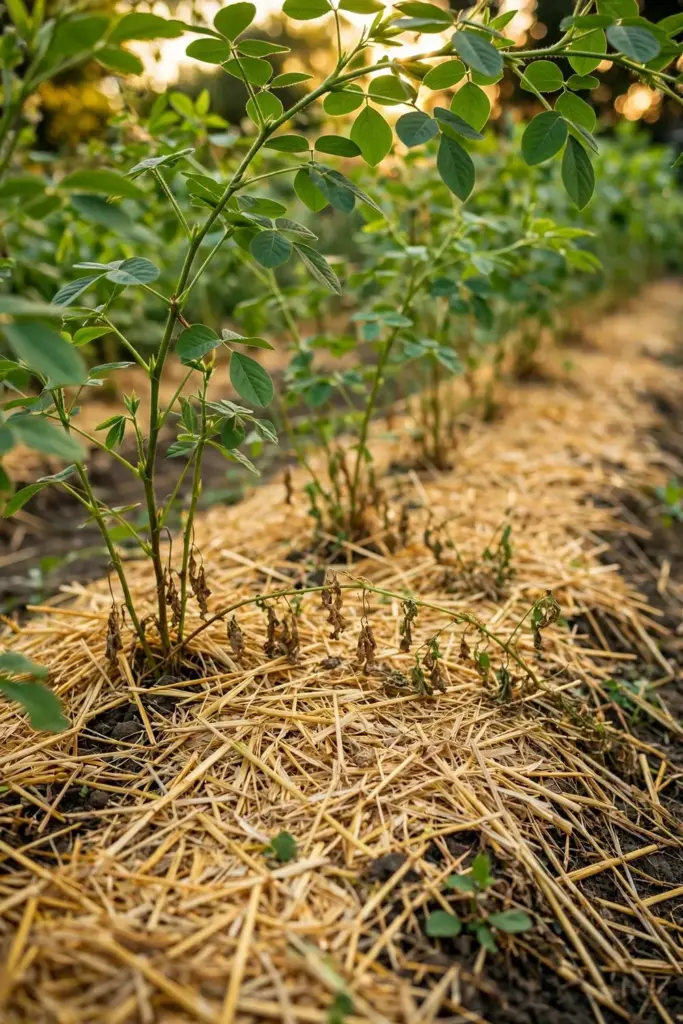
This is also the moment to stop feeding. If you mulched with compost at planting, the plants have everything they need. Beans partnered with rhizobia manufacture their own nitrogen. Additional fertilizer, especially nitrogen-heavy types, pushes leafy growth at the expense of pods.
Watering Through the Season
Adzuki watering follows three phases. Phase one, germination through early growth: consistent moisture, never soggy. Phase two, flowering and pod fill: the thirsty phase, about 1 to 1.5 inches per week, delivered deeply. Phase three, pod dry-down: zero irrigation. Let the plants yellow and the pods rattle.
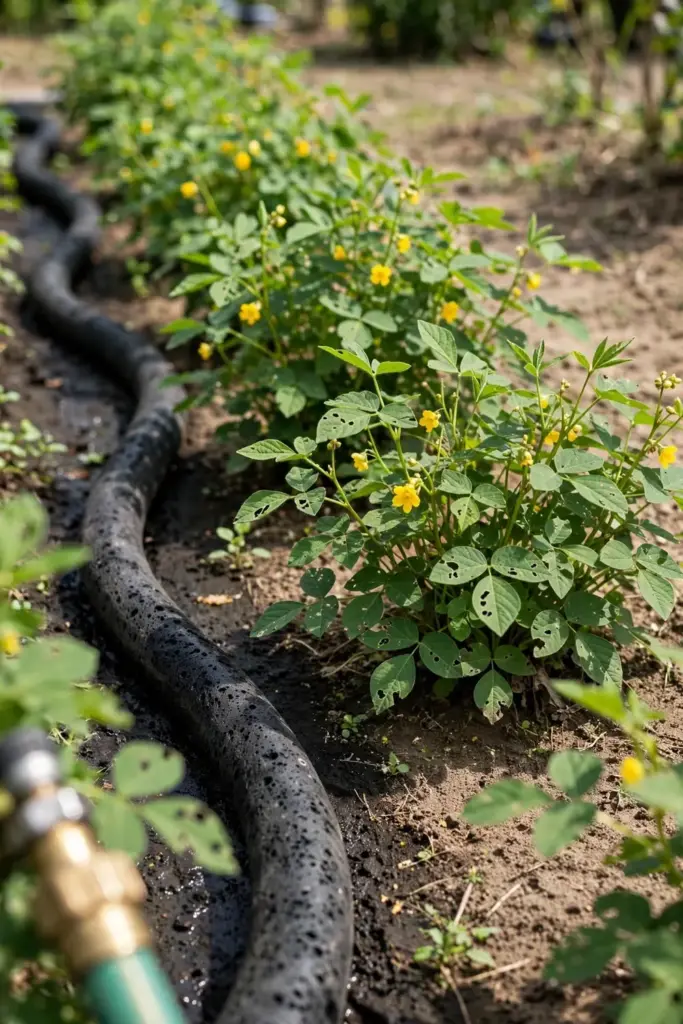
Drip irrigation or a soaker hose beats overhead watering in every phase. Dry foliage means fewer fungal problems, and beans are magnets for rust and bacterial blight when leaves stay wet. If you must use a sprinkler, run it early morning so leaves dry by midday.
Feeding: Let the Nitrogen Fixers Do the Work
Soil that has grown beans, peas, or clover before already hosts the right rhizobia, and your adzuki plants will nodulate on their own. Dig up one plant mid-season and check: pinkish nodules on the roots mean fixation is working. White or green nodules mean it is not, and a bean-specific inoculant at sowing time fixes that next year.
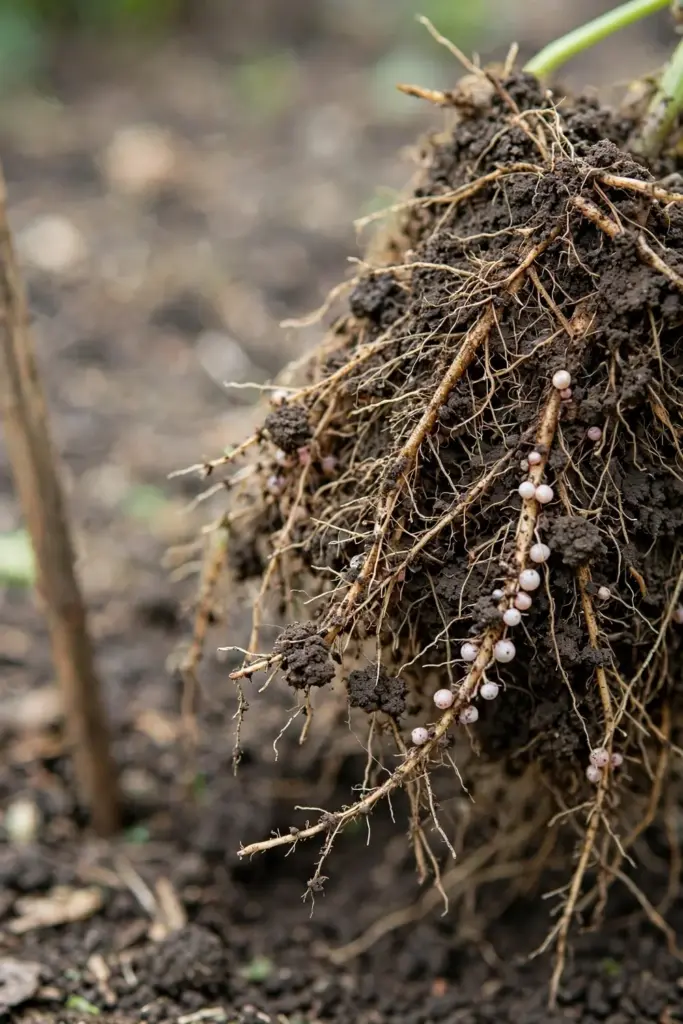
The one nutrient worth attention is phosphorus, which drives flowering and pod set. A soil test showing low phosphorus justifies a single application of bone meal or rock phosphate at planting. Potassium matters for drought tolerance. Nitrogen, again, is the nutrient to withhold. Compost at planting plus mulch is the complete feeding program for most home gardens. The soil health guide explains the biology behind this in more depth.
Pests and Diseases
Adzuki beans share the pest roster of all garden beans, and none of them are exotic. Mexican bean beetles skeletonize leaves. Aphids cluster on new growth and transmit viruses. Japanese beetles chew flowers and foliage in midsummer. Hand-pick beetles into soapy water, blast aphids off with a hose, and accept minor leaf damage. Beans outgrow moderate chewing.
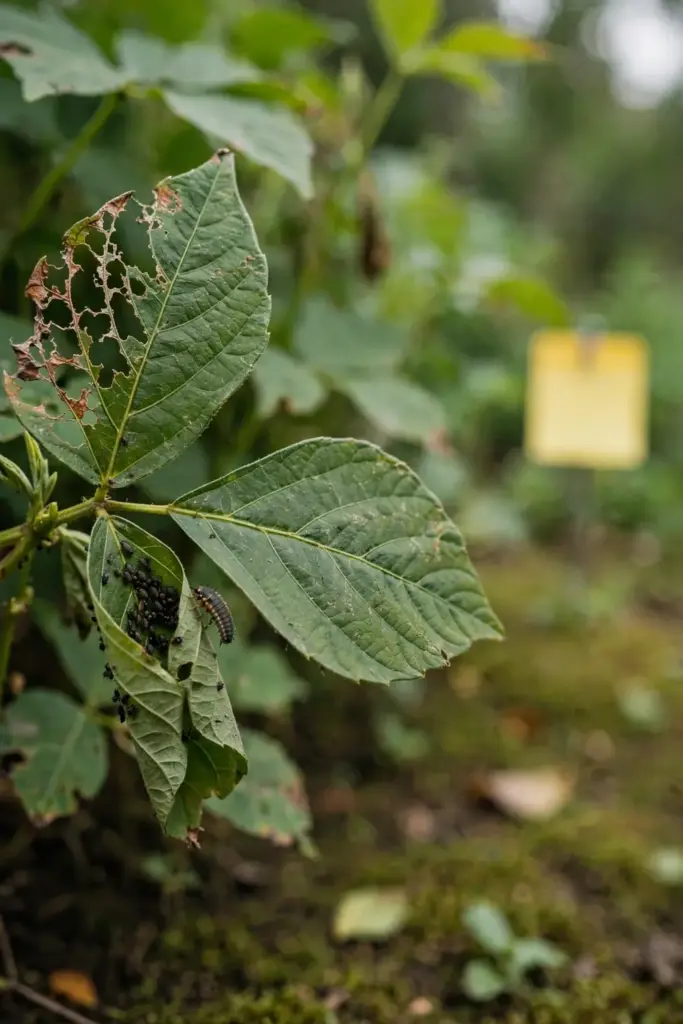
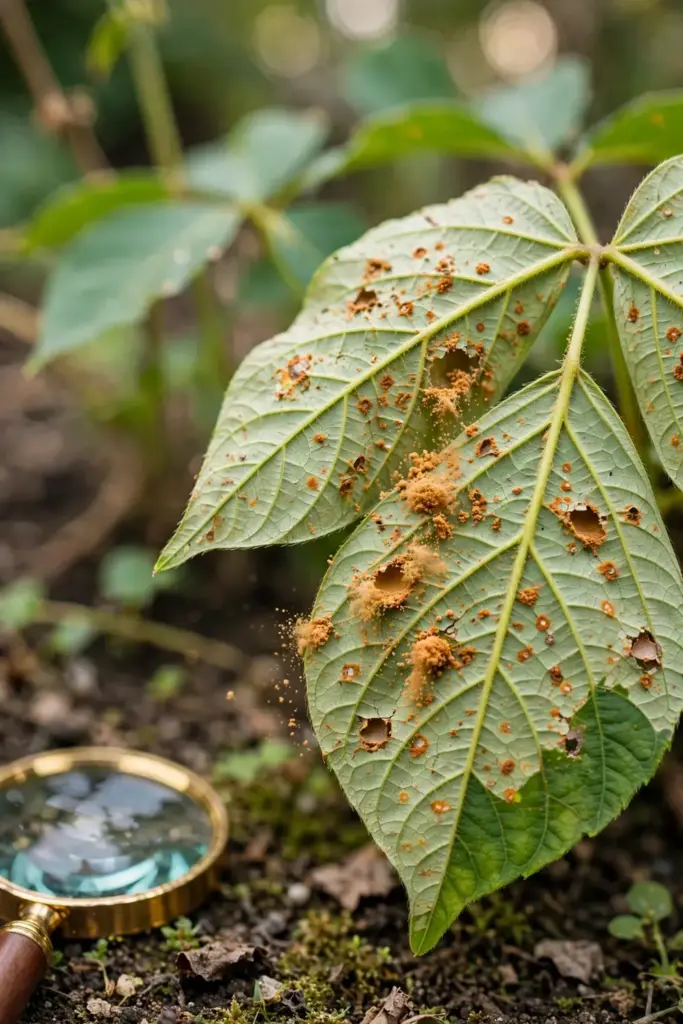
Diseases follow moisture. Bacterial blight shows as water-soaked spots with yellow halos. Rust appears as orange-brown pustules on leaf undersides. Root rot strikes in waterlogged soil. Prevention beats cure for all three: space plants for airflow, water at the base, rotate beans to a new spot each year, and never work among wet plants. Remove and discard badly infected plants rather than composting them. University extension bean guides, such as the Minnesota Extension bean guide and the Michigan dry bean resource, document these problems with photos for identification.
Step 9: Harvest When the Pods Are Dry and Tan
This is the real harvest, and it looks nothing like picking snap beans. Wait until the pods turn tan, feel papery, and rattle when you shake the plant. The seeds inside should be hard enough that a fingernail cannot dent them. Most plants ripen unevenly, so harvest in two or three passes, taking the dry pods and leaving the green ones.
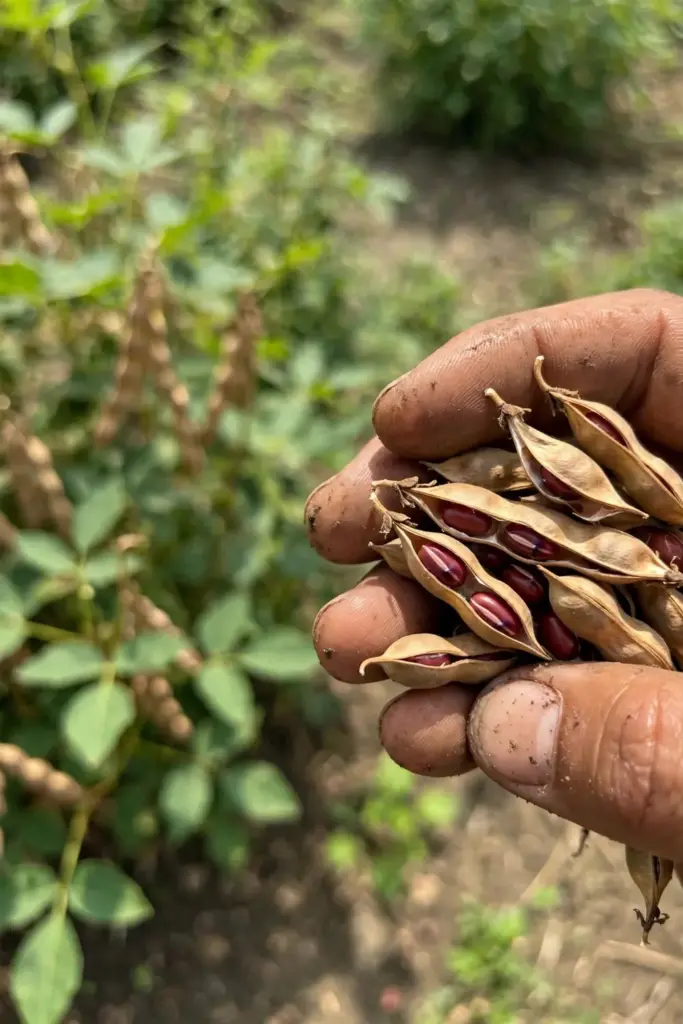
Pull whole plants when most pods on a plant are dry, roots and all, and hang them upside down in a dry, airy spot for a week. This final cure evens out moisture and finishes pods that were borderline. Do not rush this. Beans stored even slightly damp grow mold in the jar, and moldy beans are compost, not food.
Drying, Threshing, and Storing for Winter
Shell the dry pods by hand over a bucket or thresh them by beating the bagged plants gently with a stick. Winnow away the chaff by pouring the beans between two buckets in front of a fan. The light debris blows off and the dense beans fall through.
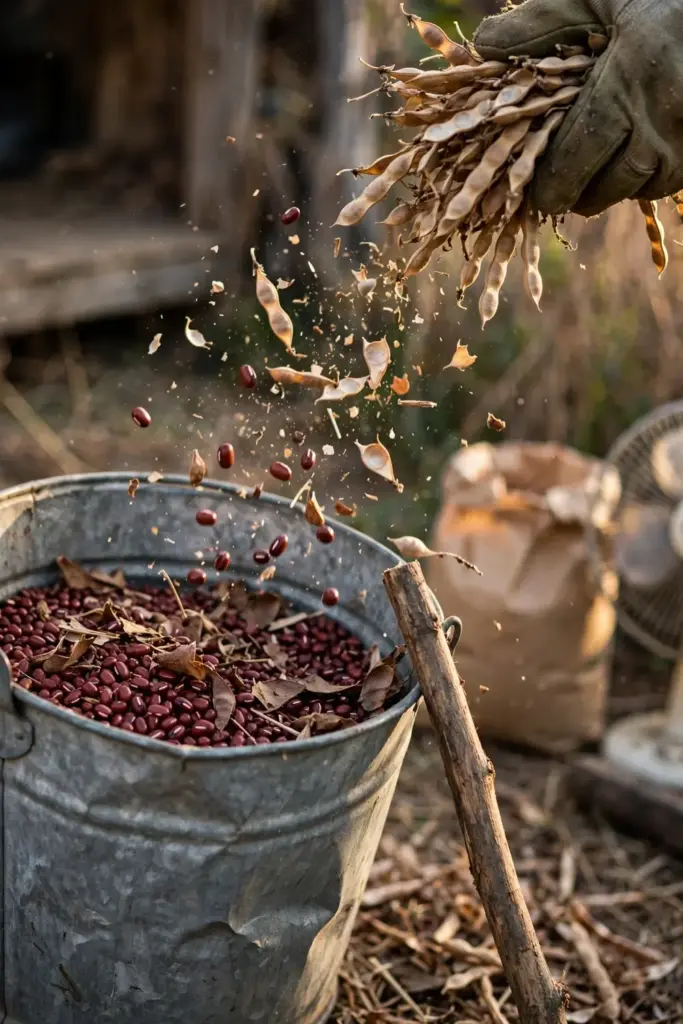
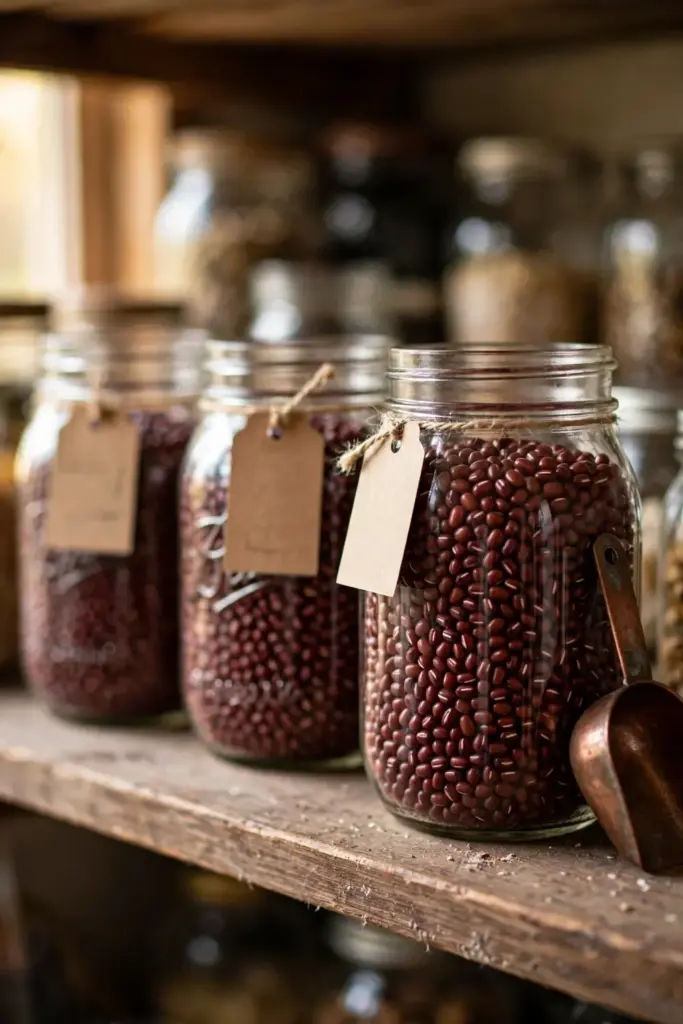
Dry the shelled beans one final week spread thin on trays in a dry room. The snap test decides readiness: a bean that cracks cleanly when bitten is dry enough. A bean that dents is not. Then freeze the harvest for 72 hours to kill any bean weevils hiding inside, and store in airtight glass jars in a cool, dark place. Properly dried adzuki beans keep 1 to 2 years. Label the jars with the variety and year. Future you will thank present you.
Common Mistakes and How to Fix Them
Sowing into cold soil. Seeds rot instead of sprouting below 55°F. Fix: wait for 60°F soil, verified with a thermometer, not a calendar.
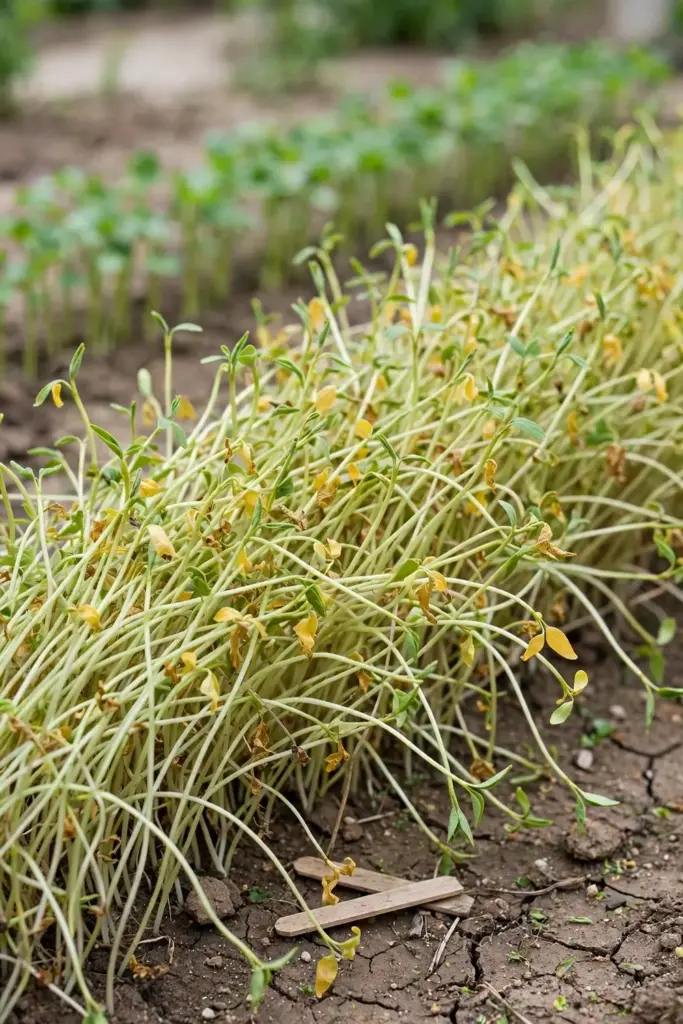
Sowing too deep. Seeds buried 2 inches or more emerge weakly or not at all. Fix: 1 inch deep, every time.
Skipping the thinning. Crowded plants mean disease and tiny pods. Fix: snip to 18-inch spacing at 3 to 4 inches tall.
Feeding nitrogen. Leafy vines, empty pods. Fix: compost at planting, then nothing nitrogen-heavy.
Harvesting pods green. Immature beans shrivel in storage, so wait for tan, papery, rattling pods before you pick.
Storing damp beans. Mold ruins the jar, which is why the snap test comes first: bite a bean, and only jar the batch when it cracks cleanly. Follow with 72 hours in the freezer, then airtight jars.
Transplanting bare-root seedlings. Root shock stalls plants for weeks. Fix: direct sow, or compostable pots only.
Troubleshooting Adzuki Bean Problems
Seedlings never emerged. The usual suspects are cold soil, old seed, or seeds buried too deep. Verify soil temperature with a thermometer, buy fresh dated seed, and hold the sowing depth at 1 inch.
Plants are tall and floppy with few flowers. Suspect excess nitrogen or weak light. Cut all fertilizer, confirm the bed gets 6 to 8 hours of direct sun, and thin the stand so air moves through it.
Flowers drop without forming pods. When daytime heat tops 95°F during bloom, or the plants go thirsty at flowering time, blossoms abort. A thick mulch layer cools the root zone, deep watering carries the plants through the bloom window, and even a bad heat wave costs only one flush of pods rather than the season.
Pods are flat and empty. This traces back to drought during pod fill, the day 60 to 90 window when seeds swell inside the pods. Beans self-pollinate, so water stress is the usual cause. Irrigate steadily through that window and the pods fill.
Leaves show orange pustules. That is bean rust. Strip the affected leaves, switch to watering at the base only, and move next year’s beans to a fresh spot in the rotation.
Stored beans have tiny holes. Bean weevils got in before jarring. Freeze every new harvest for 72 hours before it goes into jars, and discard infested jars instead of trying to salvage them.
Frequently Asked Questions
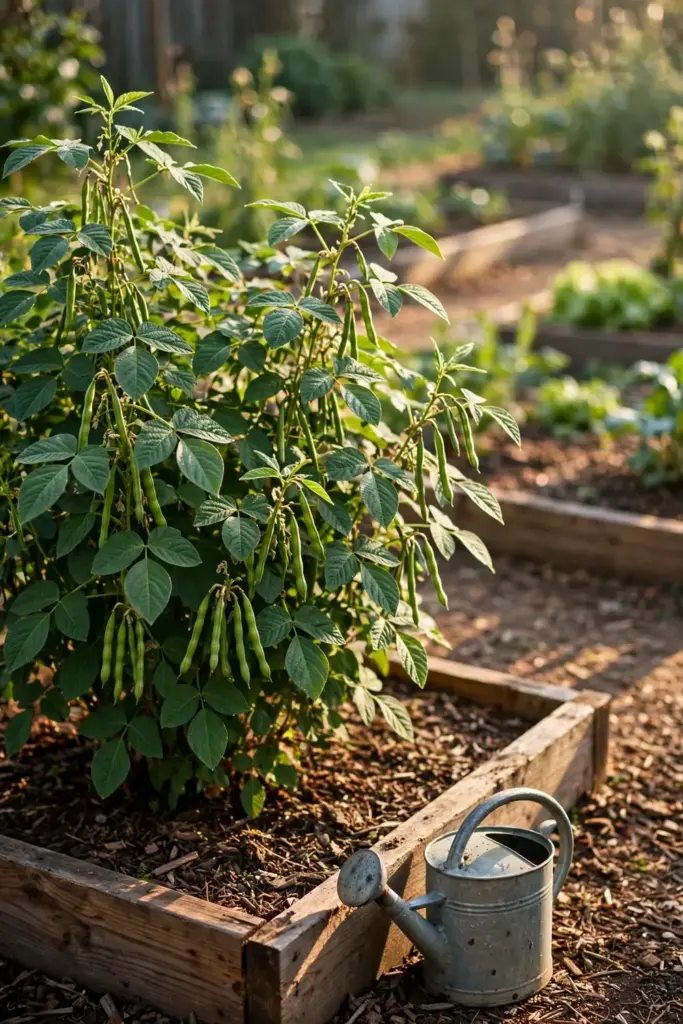
Yes. Adzuki beans grow as a warm-season annual anywhere with 90 to 120 frost-free days and summer temperatures between 70 and 85°F. They perform like dry bush beans, need full sun and well-drained soil, and suit USDA zones 4 through 10 given the right sowing date. Short-season gardeners should choose early varieties and sow as early as warm soil allows.
No. Adzuki beans are Vigna angularis, a distinct species from red kidney beans (Phaseolus vulgaris). They are smaller, sweeter, and cook faster than kidney beans, and the two are not interchangeable in recipes built around adzuki’s flavor. Grocery labels sometimes blur this, so check the Latin name on seed packets.
A 10-foot row thinned to 18-inch spacing holds about 7 plants and yields roughly 1 to 2 pounds of dry beans. For a household that cooks red bean soup monthly, two such rows provide a comfortable yearly supply. Container growers should plan on one plant per 12-inch pot and expect a few ounces per pot.
Most varieties do not. Adzuki beans grow as self-supporting bushes 12 to 24 inches tall. Some older or vining types sprawl and benefit from a low support, but this is variety dependent, not a crop requirement. Check your seed packet description and skip the trellis unless the variety asks for one.
You can eat the young pods, but they are not the point of this crop. Adzuki pods turn fibrous quickly, and the variety is bred for dry seed, not fresh pods. Grow bush snap beans for fresh eating and let adzuki do what it does best: dry beans for the pantry.
Adzuki roots resent disturbance, and bare-root transplanting shocks them badly enough to stall or kill seedlings. This is why direct sowing is the standard method. If you must start indoors for a short season, use compostable pots and plant the whole pot so the roots never know they moved.
Where to Go From Here
Start with one 10-foot row this season and the drying rack in the fall. That single row teaches the whole chain: direct sow, the 90 to 120 day wait, the rattle test, threshing, and the freezer step that protects the jars. Once you know how to grow adzuki beans start to finish, scaling up is just repetition. Next year, scale to the supply your kitchen actually uses. If beans have hooked you, the mung bean guide covers the Vigna sibling best suited to sprouting. Adzuki rewards the patient grower with the sweetest dry bean in the pantry, harvested from plants you sowed yourself.