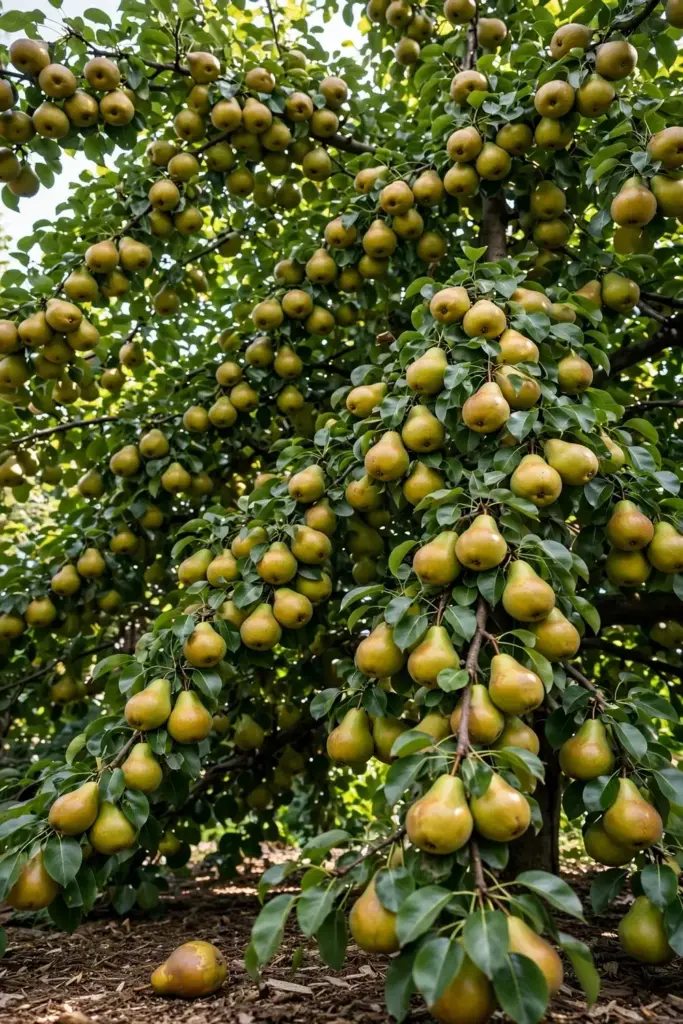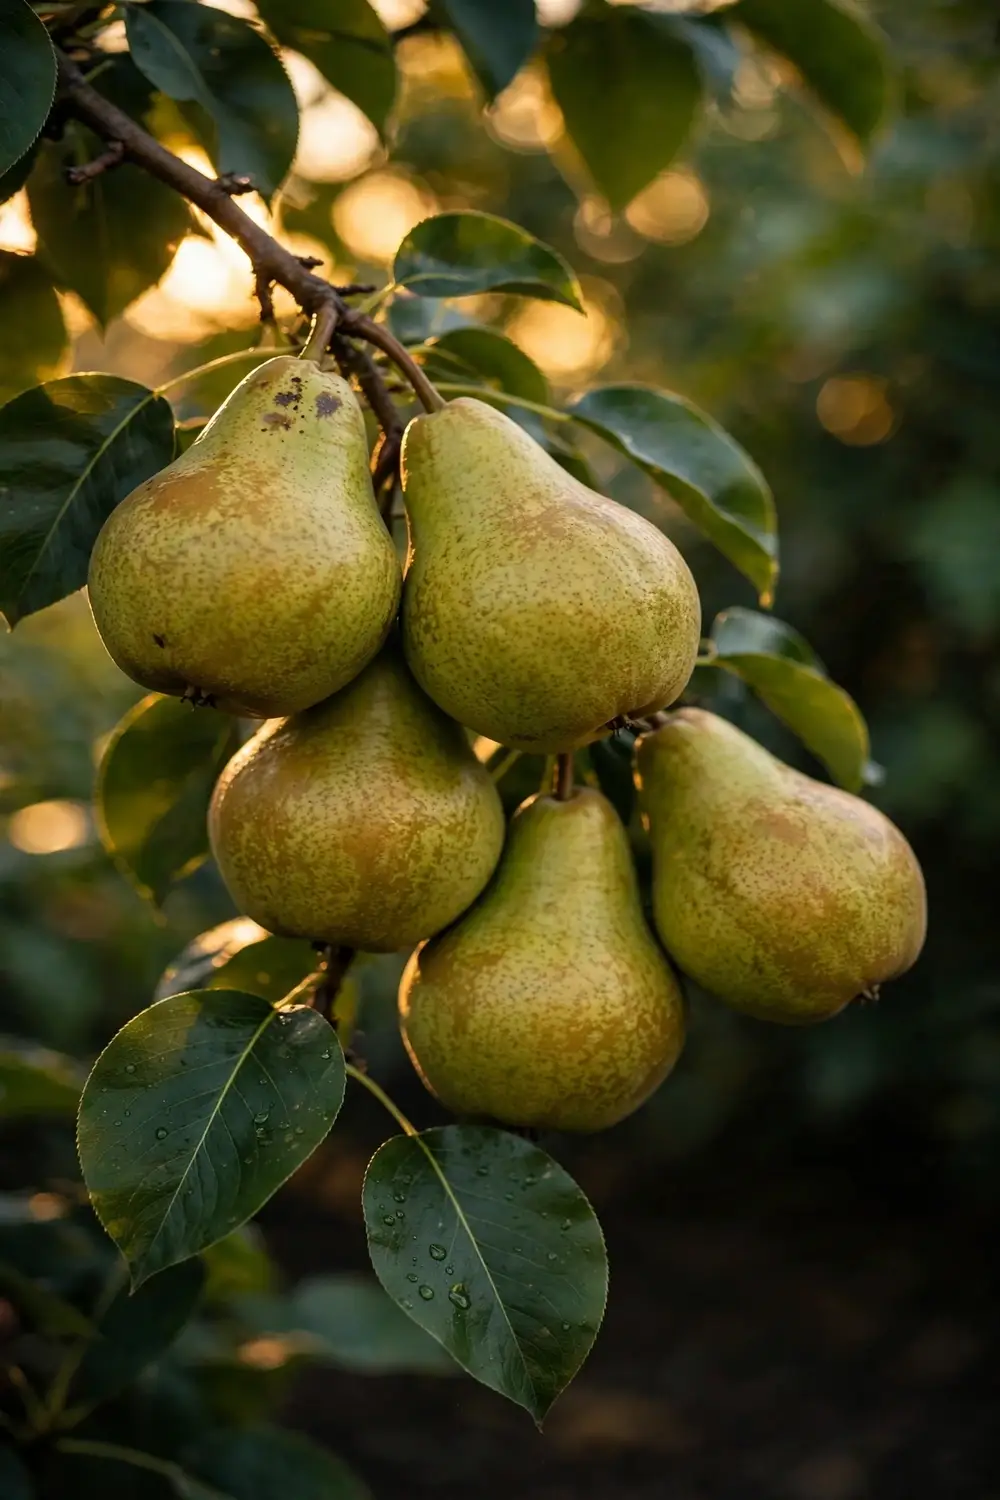

You can grow a pear tree from a seed pulled out of a ripe pear. Clean the seeds, cold stratify them for 60 to 90 days in a damp paper towel in the fridge, then sow them 1 inch deep in pots. The part nobody tells you at the start is that the seedling will not produce the pear it came from. Pears are grown as named varieties grafted onto seedling rootstocks, so the smart play is to raise your seedling as a rootstock and graft a variety you actually want onto it in year two or three. I have learned that the seedling year is really just a long, patient first step toward a grafted tree, and framing it that way from the start changes the whole project. The sequence below is the honest one for raising pears from seed all the way to a grafted, fruiting tree.
Growing a plum tree from a fresh pit follows the same cold-treatment logic, if you want to compare notes.
Pear at a Glance
| Feature | Detail |
|---|---|
| Botanical name | Pyrus communis (European pear), Pyrus pyrifolia (Asian pear) |
| Family | Rosaceae |
| Hardiness | Zones 4 to 9; variety choice sets the real limit |
| Chill hours | 600 to 900 for European types, 300 to 600 for Asian types |
| Sun | Full sun, 6 or more hours |
| Soil pH | 6.0 to 7.5 |
| Seed stratification | 60 to 90 days cold in a damp paper towel, 35 to 45 degrees F |
| Years to fruit | 3 to 10 for a grafted tree; 6 or more from an ungrafted seedling |
| Pollination | Most varieties need a second compatible variety nearby |
| Graft union | 2 to 3 inches above the soil line |
1. Peel, Extract, and Soak the Seeds From a Ripe Pear
Cut a ripe pear open and pick the seeds out of the core with a knife, keeping them intact. Seeds from ripe, healthy fruit are the best candidates, and pears from a variety that grows well in your climate give your seedlings the best head start. Drop the seeds into a bowl of water and throw away any that float, since floaters rarely germinate. Rinse off the pulp under running water, because leftover fruit residue encourages mold during the months of cold treatment ahead. Soak the clean seeds in water overnight before stratification, which hydrates the seed coat and makes the dormancy-breaking process more reliable.
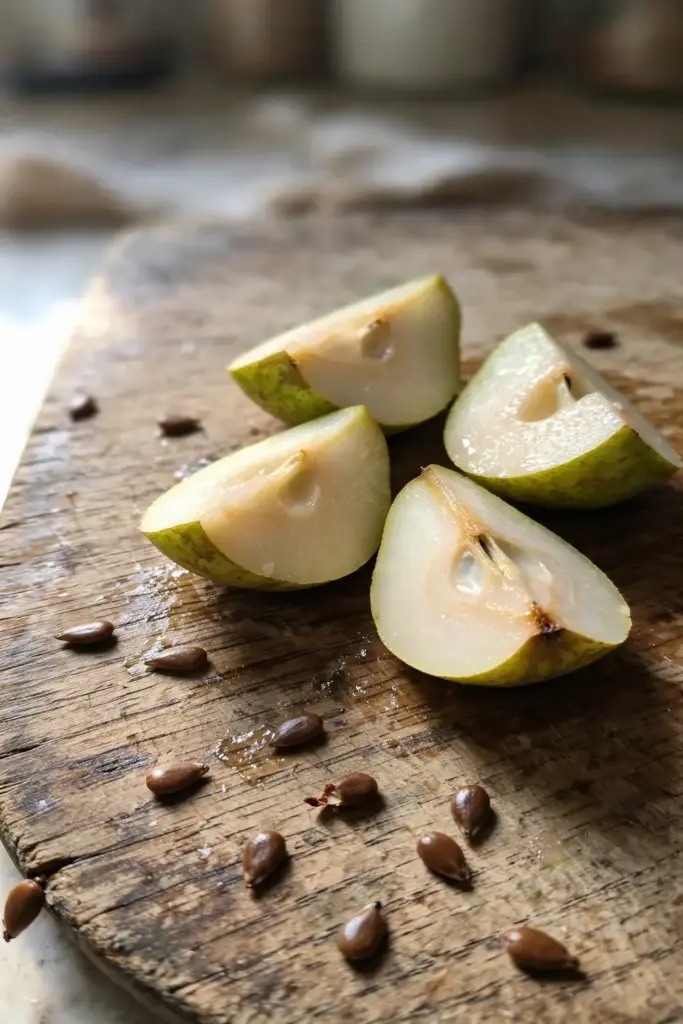
Do not bother saving seeds from just any pear in the fruit bowl if you are unsure of the variety. A seedling grows into a genetic mix of both its parents, so the fruit it eventually bears will taste different from the pear you ate. That is not a failure. It is how pears reproduce, and it is exactly why nurseries graft. Save ten to twenty seeds to start with, because germination is never one hundred percent and selecting the strongest seedlings later improves your odds.
2. Cold Stratify the Seeds for 60 to 90 Days in a Damp Paper Towel
Pear seeds need a cold, moist period before they will germinate. In nature this is winter. In your kitchen it is the fridge. Fold the clean seeds into a damp paper towel, slide the towel into a resealable plastic bag, and store the bag in the refrigerator crisper drawer at 35 to 45 degrees F. The towel should feel damp, like a wrung-out sponge, but never dripping. Excess moisture is the main way seeds rot instead of stratify.
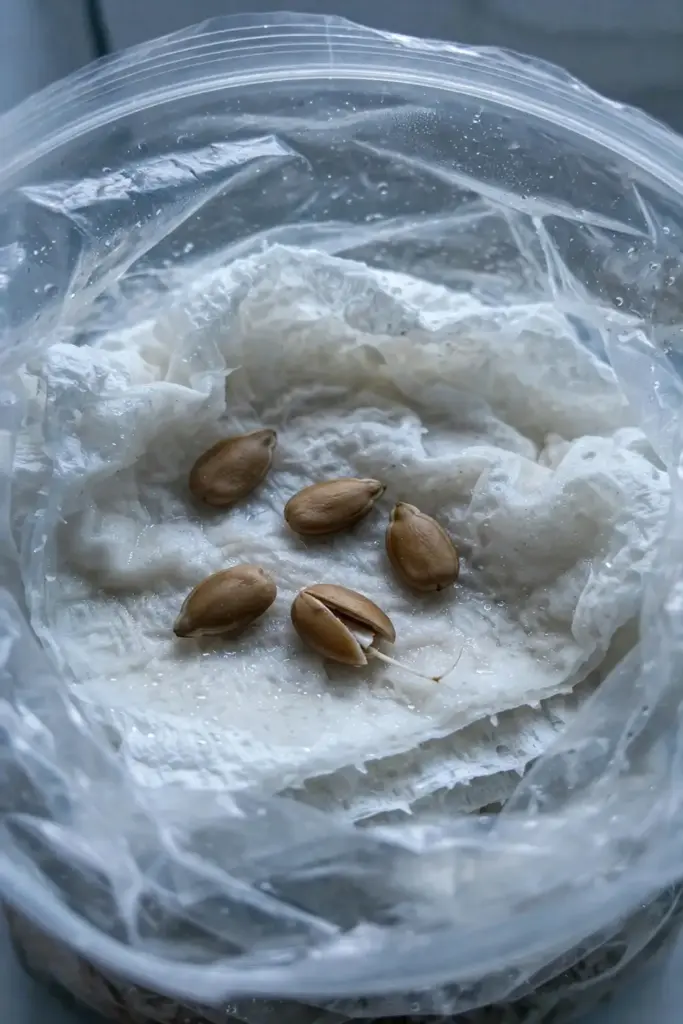
Keep the seeds in the fridge for 60 to 90 days, and check the towel every two weeks. Add a few drops of water if the towel dries out, and remove any seeds that turn mushy or grow heavy mold so the problem does not spread. Some seeds will crack and push out tiny white roots while still in the fridge. That is the signal that stratification has worked, and those seeds are ready to plant immediately. Do not let sprouted seeds sit in the bag for weeks, because the fragile roots can tangle in the towel or dry out.
| Stratification Step | What to Do | Time |
|---|---|---|
| Extract and rinse | Pick seeds from ripe fruit, rinse off pulp | Day 1 |
| Float test and soak | Discard floaters, soak sinkers overnight | Day 1 to 2 |
| Bag in damp towel | Fold into damp paper towel, seal in a bag | Day 2 |
| Cold storage | Refrigerate at 35 to 45 degrees F | 60 to 90 days |
| Check moisture | Open every 2 weeks, rewet if needed | Every 2 weeks |
| Plant out | Sow when roots emerge or the cold period ends | Day 60 to 90 |
If you want the full mechanics of starting seeds indoors, the seed-starting guide covers trays, mixes, and light setups.
3. Sow the Stratified Seeds 1 Inch Deep in Pots
Fill 4-inch pots with a well-draining potting mix and water the mix before planting. Plant each seed about 1 inch deep, one per pot, so the seedlings never need to be separated later. Cover lightly with mix, firm it gently, and water again to settle the seed in place. Place the pots in a warm spot of 70 to 90 degrees F with bright indirect light, and keep the soil evenly moist but not soggy. Seedlings emerge in 2 to 3 weeks at warm room temperatures, though some take longer.
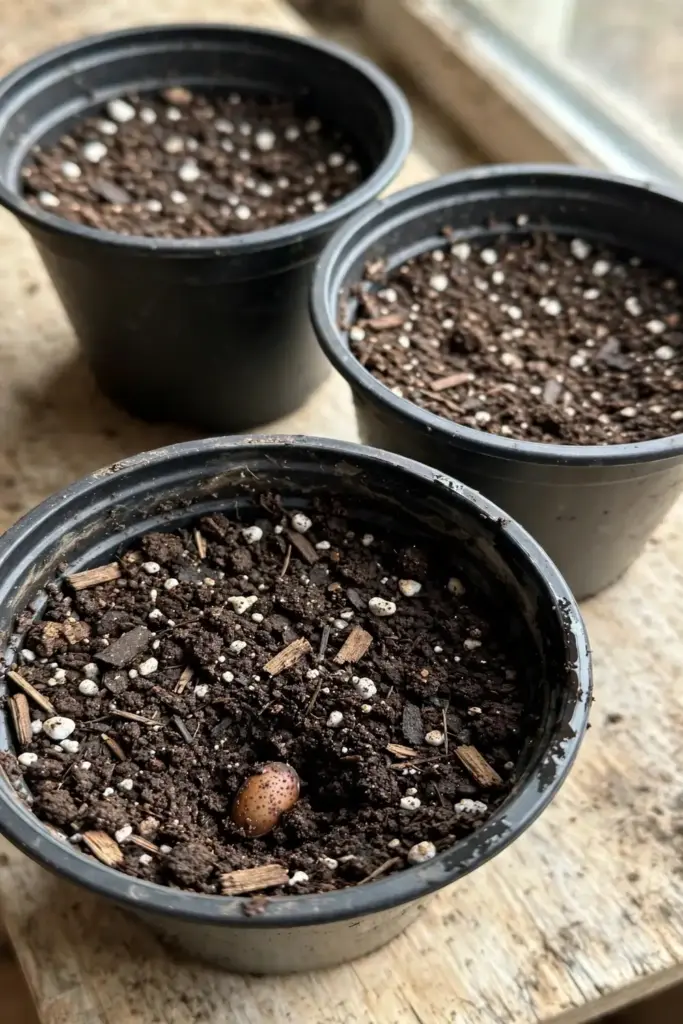
Resist the urge to bury the seeds deeper in search of stronger plants. One inch is deep enough for good seed-to-soil contact and shallow enough that the seedling can push through without exhausting its stored energy. Label every pot with the variety the seeds came from and the date stratification ended, because in six weeks you will not remember which pot held which. Strong, uniform emergence is the selection step most beginners skip: thin ruthlessly and keep only the stout, dark-green seedlings.
4. Grow the Seedlings Under 12 to 16 Hours of Light
Pear seedlings need 12 to 16 hours of bright light per day to grow stocky instead of leggy. A sunny windowsill works in spring, but a simple LED shop light hung a few inches above the pots gives more consistent results. Water when the top inch of mix dries, and let the pots drain freely, since standing water rots young pear roots fast. Once seedlings have four true leaves, feed them at half strength with a balanced liquid fertilizer every two weeks.
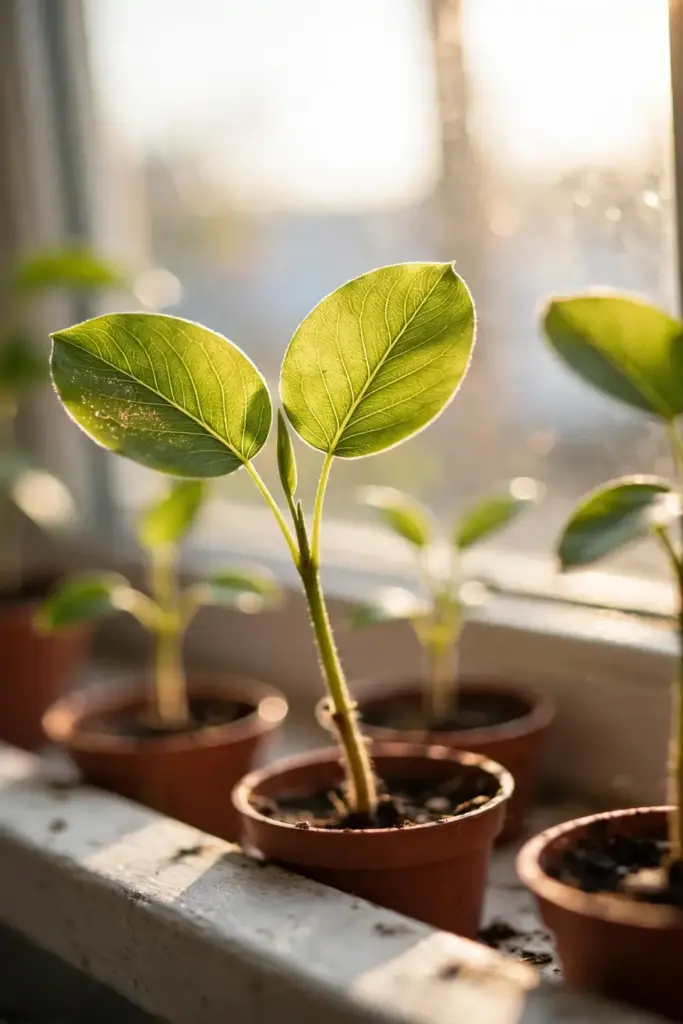
Harden the seedlings off over one to two weeks before any outdoor time: set them in shade for an hour on day one, add time and sun each day, and keep them in at night. When seedlings reach 6 to 8 inches tall with several leaves, move each into a 1-gallon pot so the taproot has room to develop. This is also the point to cull again. A seedling that is thin, pale, or lopsided at 8 inches rarely becomes a tree worth grafting onto. Keep the best third and compost the rest without regret.
5. Accept That Your Seedling Is a Rootstock, Not the Fruit
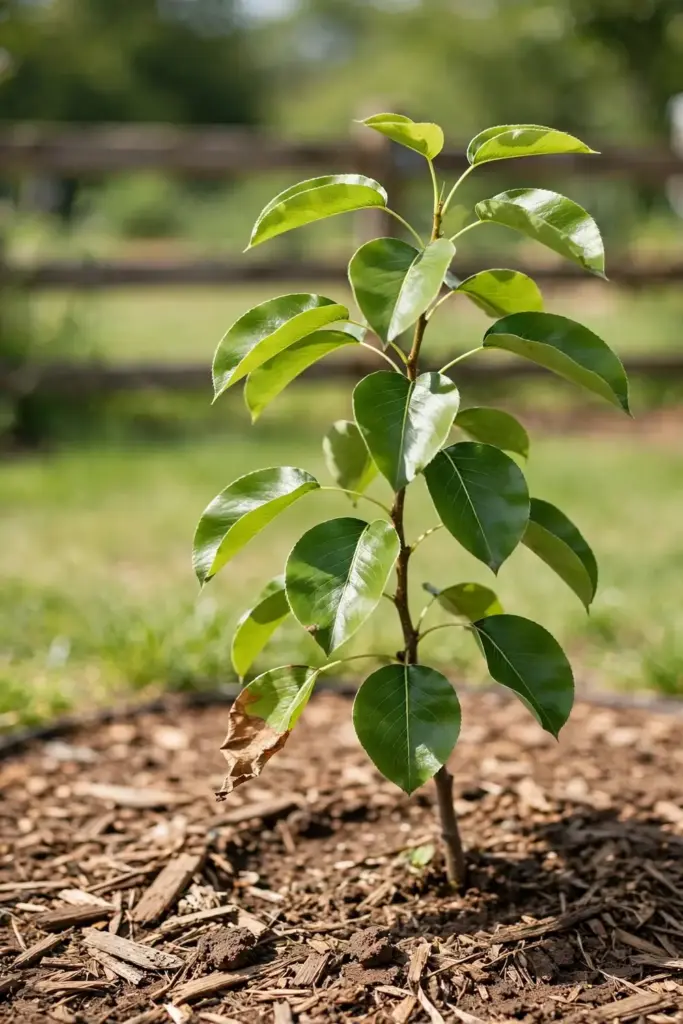
Here is the honest biology. Almost every pear sold in a nursery is a graft: a named variety like Bartlett or Hosui joined onto a rootstock, which is very often a seedling pear. The University of Minnesota Extension notes that most cold-hardy pear trees are grafted onto hardy seedling rootstocks, which produce standard-size trees reaching 25 to 40 feet tall. Your seed-grown plant is exactly what those nurseries are growing by the thousands: the rootstock half of the equation.
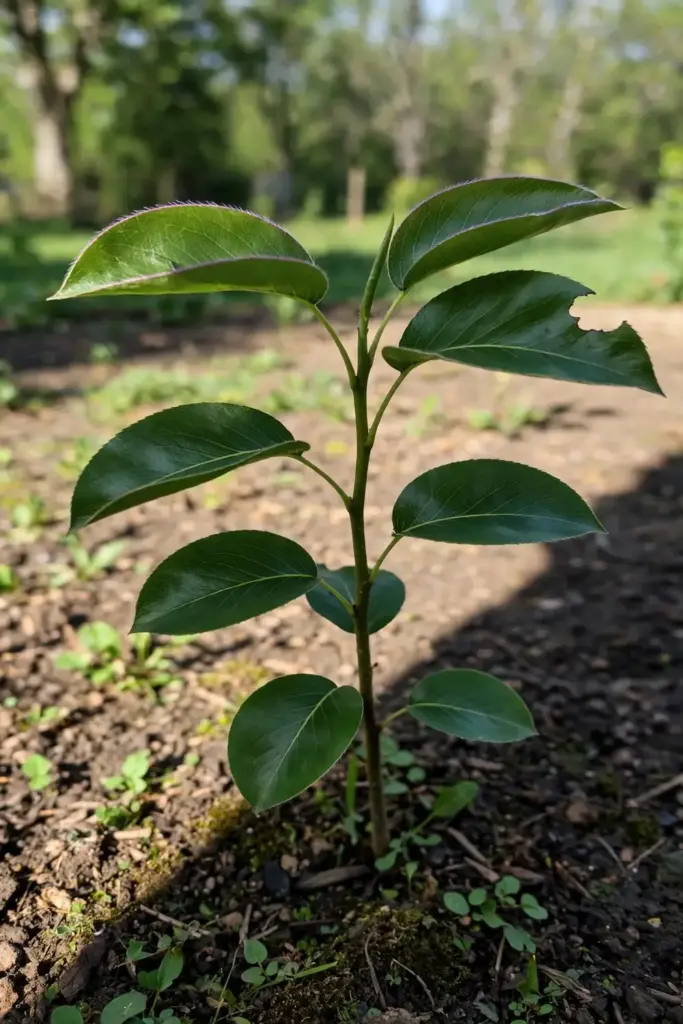
The fruit of a pear is produced on spurs that appear on shoots more than one year old, and a seedling takes many years to even begin flowering. Minnesota’s extension reports 3 to 10 years for trees to begin flowering and producing fruit, a figure that describes grafted trees. An ungrafted seedling sits at the slow end of that scale or beyond it, and when it finally fruits, the pears will be a genetic gamble: smaller, grittier, or bland. Grafting is how you lock in the fruit you actually want. Think of year one as growing your own rootstock for free, and the project becomes a good one instead of a disappointing one.
6. Graft a Named Variety Onto the Seedling in Late Winter
Graft when the seedling is dormant and about as thick as a pencil, usually in the second or third year. The two beginner-friendly methods are the whip-and-tongue graft, which joins rootstock and scion of matching thickness, and the cleft graft, which splits a slightly thicker rootstock and wedges in a scion. Scion wood is one-year-old dormant wood from a variety you want, cut in winter and stored in the fridge wrapped in damp plastic until grafting day. Choose a variety proven in your climate, and ask a local extension office or orchardist which varieties perform nearby.
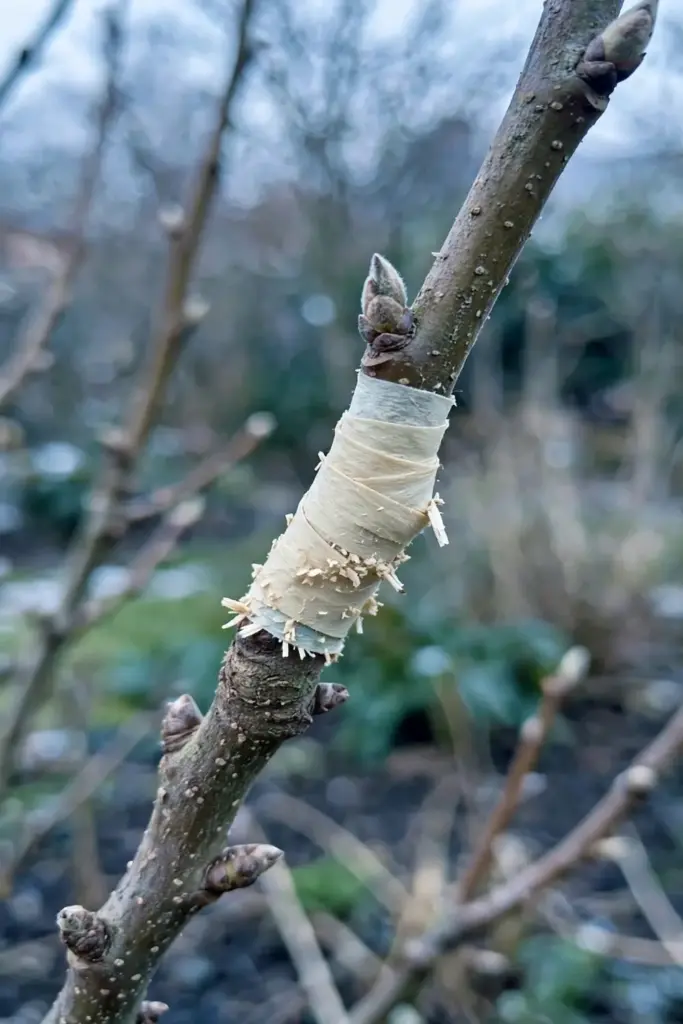
Set the graft union 2 to 3 inches above the soil line, wrap it tightly with grafting tape or parafilm, and seal all cut surfaces. Make your cuts with a sharp grafting knife, because a clean cambium-to-cambium match is what heals. Keep the grafted tree humid and shaded for the first two weeks while the union forms, then return it to full sun. Expect 60 to 80 percent of beginner grafts to take on the first try, so graft two seedlings if you only need one tree. The one that takes becomes your pear tree; the other becomes a gift or a backup.
7. Match the Climate and Variety to Your Chill Hours
Pears need a set number of chill hours, the hours below 45 degrees F each winter, to flower and fruit normally. European pears generally want 600 to 900 chill hours, while Asian pears get by on 300 to 600, which is why Asian types suit warmer regions. In zone 9, low-chill Asian varieties like Hosui and Shinseiki are the safe picks, while the warmest edges of zone 10 suit Keiffer and Flordahome. Hardiness overall runs zones 4 to 9 for most pears, with cold-hardy varieties bred for zone 3 in the Upper Midwest.
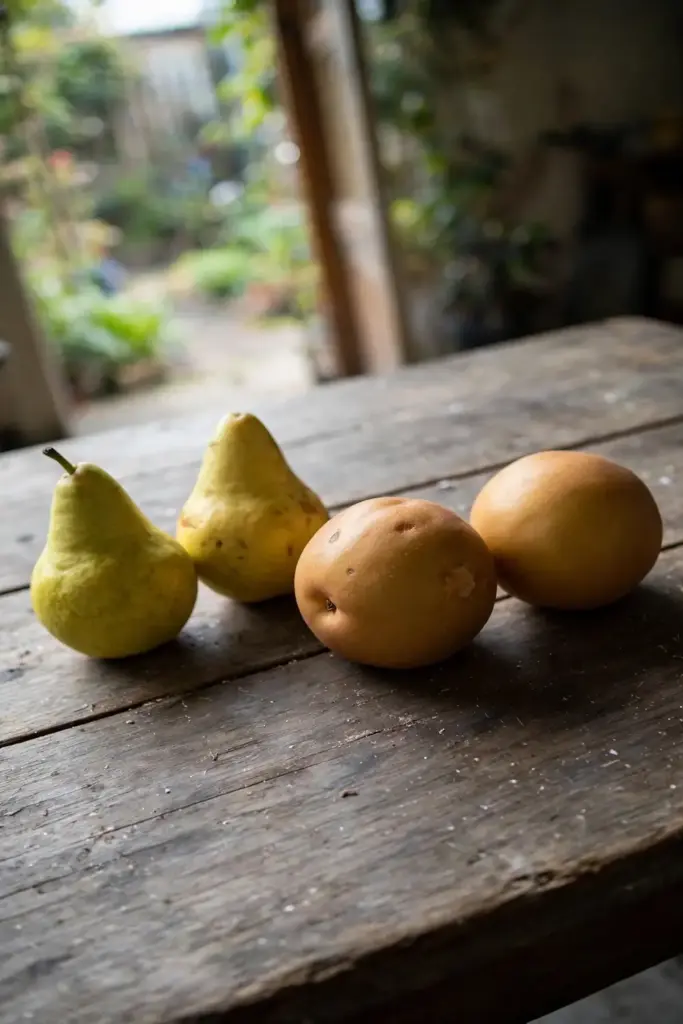
European and Asian pears also ask for different harvests, which changes the variety decision. European pears must be picked firm and ripened indoors, while Asian pears ripen on the tree like apples. If you live somewhere with late spring frosts, know that pears flower earlier than apples and are at greater risk of frost damage, so avoid planting in frost pockets and favor a sheltered spot.
| Trait | European Pears (Pyrus communis) | Asian Pears (Pyrus pyrifolia) |
|---|---|---|
| Chill hours | 600 to 900 | 300 to 600 |
| Hardiness | Zones 4 to 9 | Zones 5 to 9, some low-chill types to zone 9 heat |
| Fruit shape | Classic pear shape | Round, apple-like |
| Harvest | Pick firm, ripen indoors | Ripen on the tree |
| Examples | Bartlett, Bosc, Comice | Hosui, Shinseiki, Olympic |
8. Plant Two Compatible Varieties for Pollination
Most pear varieties are not self-fertile. Minnesota’s extension states it plainly: two varieties are generally needed for successful pollination and fruit set, and the compatible varieties should stand within 50 to 100 feet of each other so bees can do the work. A few varieties set some fruit alone, but fruiting is unreliable without a partner. Do not count on a neighbor’s ornamental pear, since ornamental types like Bradford bloom at the wrong time or carry poor pollen.
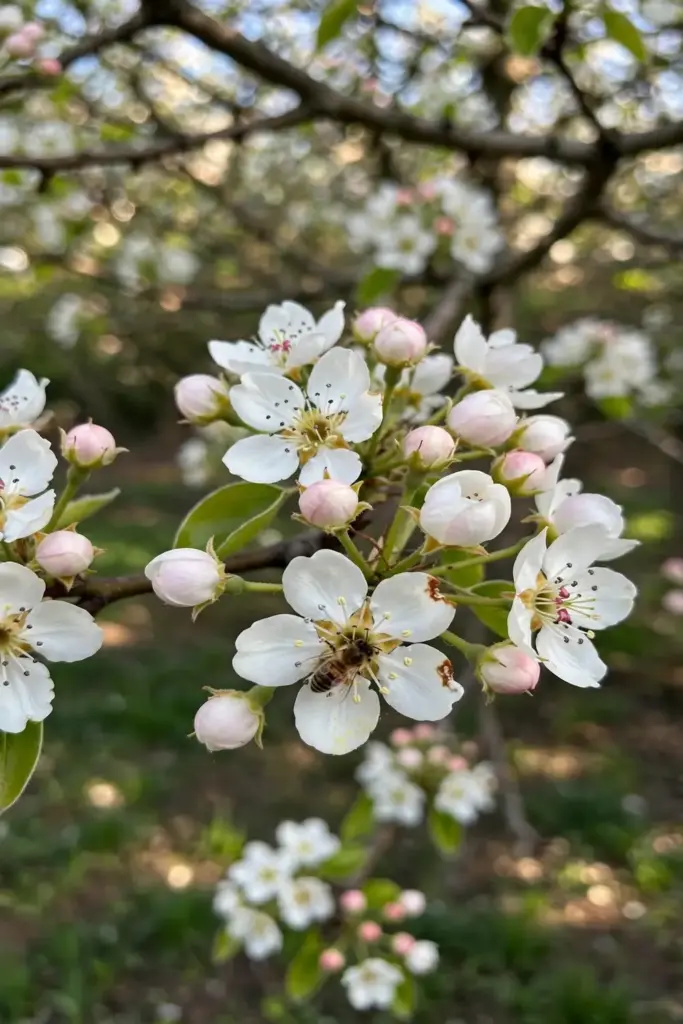
Check bloom overlap when you pick your pair. Two varieties that flower in the same window pollinate each other; two that flower a month apart do not. Classic compatible pairs include Bartlett with Bosc, and Hosui with Shinseiki on the Asian side. If space is tight, plant two trees 15 feet apart and let the canopies interlock slightly, which also improves bee traffic between the flowers. One grafted tree carrying two varieties is possible with advanced grafting, but two trees is the reliable beginner route.
9. Choose a Full-Sun Site With Well-Drained, Slightly Acidic Soil
Pear trees require full sun, 6 or more hours, to produce the most fruit. Pick a sheltered, open spot with good air drainage, because cold air pooling in a hollow invites frost damage on the early blossoms. The soil should be loamy, rich, slightly acidic, and well-drained but moisture-retentive, with a pH between 6.0 and 7.5. Pears tolerate heavier soil better than most fruit trees, but they will not thrive where water stands after rain.
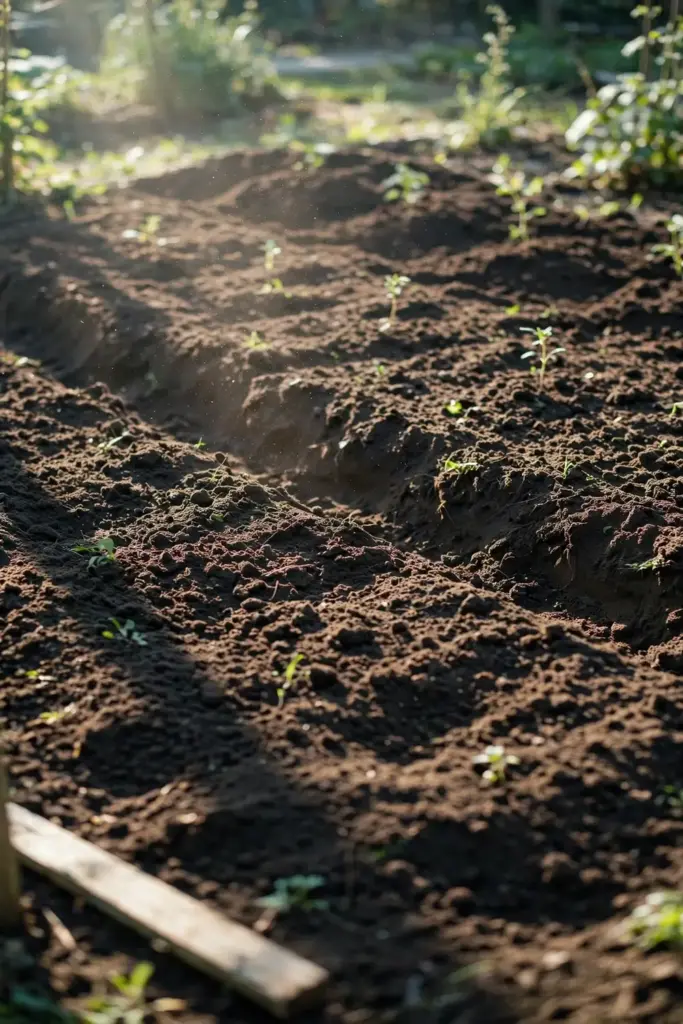
Test the soil pH the season before planting so you have time to adjust it with sulfur or lime. Work in 2 to 3 inches of compost when you prepare the area, but do not amend the planting hole itself with heavy fertilizer, since that can burn young roots. If your ground is thin over rock or stays soggy, build a raised berm 8 to 12 inches high and plant on top of it. Soil health is worth the season it costs to build, because a pear tree planted well can bear for decades.
10. Plant Bare-Root Trees as Soon as the Soil Can Be Worked
Plant dormant bare-root trees in late winter or early spring, as soon as the soil can be worked. Dig a hole wide enough to spread the roots naturally, about twice the width of the root spread, but no deeper than the roots. Set the tree so the graft union sits 2 to 3 inches above the finished soil line, backfill with the native soil, and firm it to remove air pockets. Water deeply right away to settle the soil around the roots.
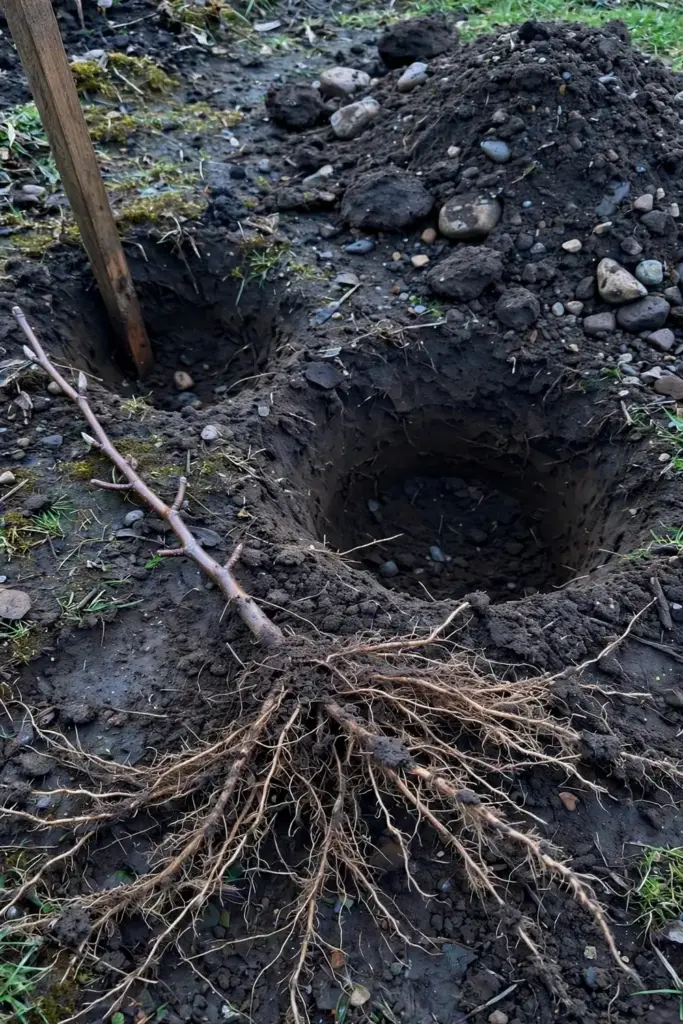
Space standard trees 20 to 25 feet apart, and dwarf trees on quince rootstock 12 to 15 feet apart. At planting, prune the whip back to 24 to 30 inches from the ground line, which forces strong scaffold branches at a workable height. Remove any limbs below 18 inches, keep four to six well-spaced scaffolds, and stake the tree for its first two years against wind rock. Mulch a 3-foot ring with 3 inches of wood chips, keeping the mulch a few inches away from the trunk.
11. Water Deeply Through the First Dry Season
Young pear trees need consistent moisture while their roots establish. Water deeply once a week during dry spells in the first season, soaking the root zone to 12 inches or so, then let the top few inches dry before watering again. Deep, infrequent watering trains roots downward, while daily sprinkles keep them shallow and weak. A 3-inch mulch ring conserves this moisture and keeps grass from competing with the tree.
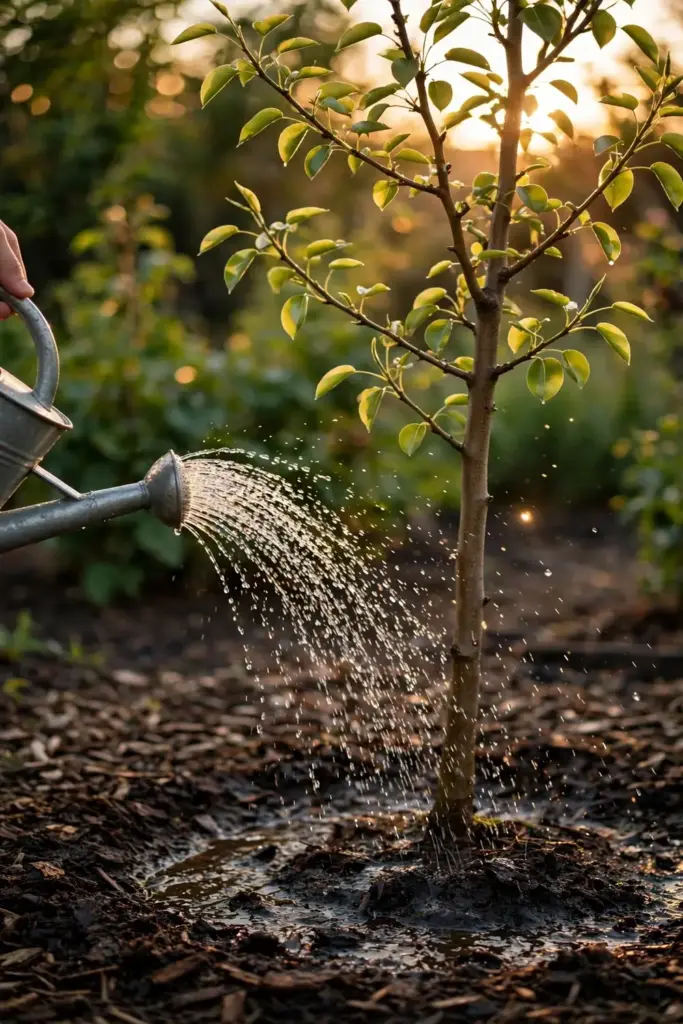
Once established, pears tolerate moderate drought, but fruit size suffers without water during the sizing period in early summer. Drip irrigation or a soaker hose beats overhead sprinklers, because wet foliage invites disease. In the dry western regions, morning watering lets any wet leaves dry before evening. Watch the leaves: dull, slightly cupped leaves in August mean the tree needs a deep drink now, not next week.
12. Fertilize Lightly in Early Spring, Never at Planting
New trees do not need fertilizer at planting time; they draw what they need from the soil while roots recover. From the second spring on, apply a light annual feeding in early spring before bud break, using a balanced fertilizer at half the label rate for fruit trees. Minnesota-grown guidance from Southern Living’s summary of extension advice is practical: if the tree grows 18 to 24 inches in one year, it needs no supplement, but if growth slows, add compost around the base or a balanced fertilizer.
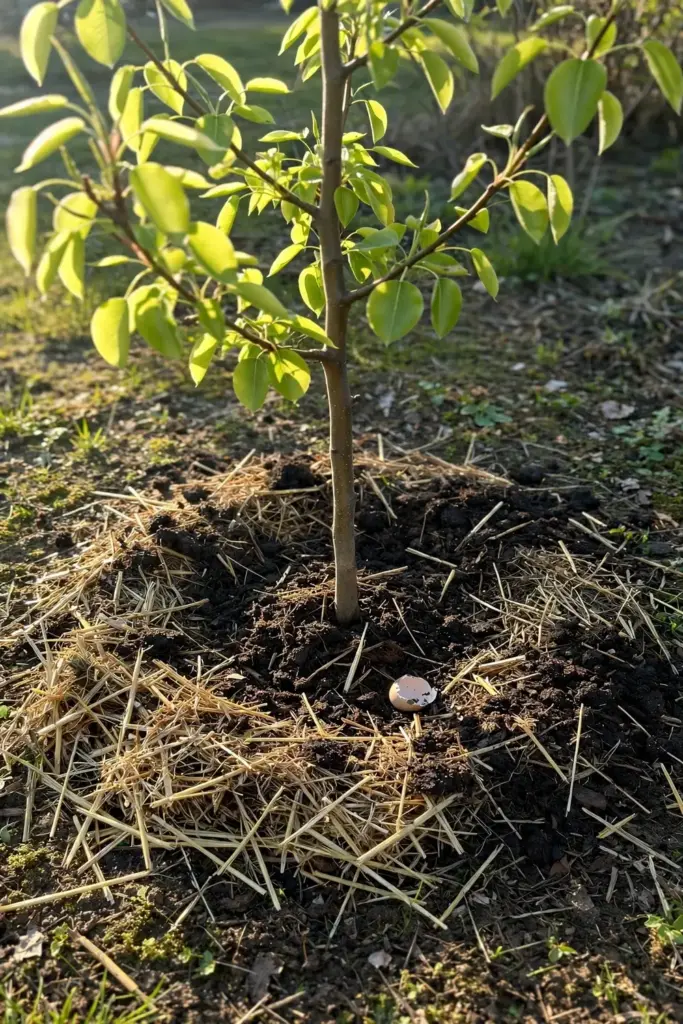
Avoid excess nitrogen. Heavy nitrogen pushes soft, leafy growth that fire blight loves and can cause fruit to drop, which is the opposite of what you want. A better first step than guessing is a soil test every two to three years, which tells you exactly which nutrient is missing. Top-dress with compost in spring as the default feeding, and save synthetic fertilizer for years when the soil test says the tree actually needs it.
The best fertilizer for fall vegetables covers organic feeding options that translate well to young fruit trees.
13. Prune Annually for a Central-Leader Frame That Fruits on Spurs
Prune in late winter while the tree is dormant, every year, without exception. Pears fruit on spurs, short knobby branches on wood more than one year old, so the pruning goal is a pyramid-shaped central-leader tree full of well-lit spurs. Keep the strongest upright shoot as the central leader, and train four to six scaffold branches outward in all directions, tying young scaffolds to a 45-degree angle to open the tree to light.
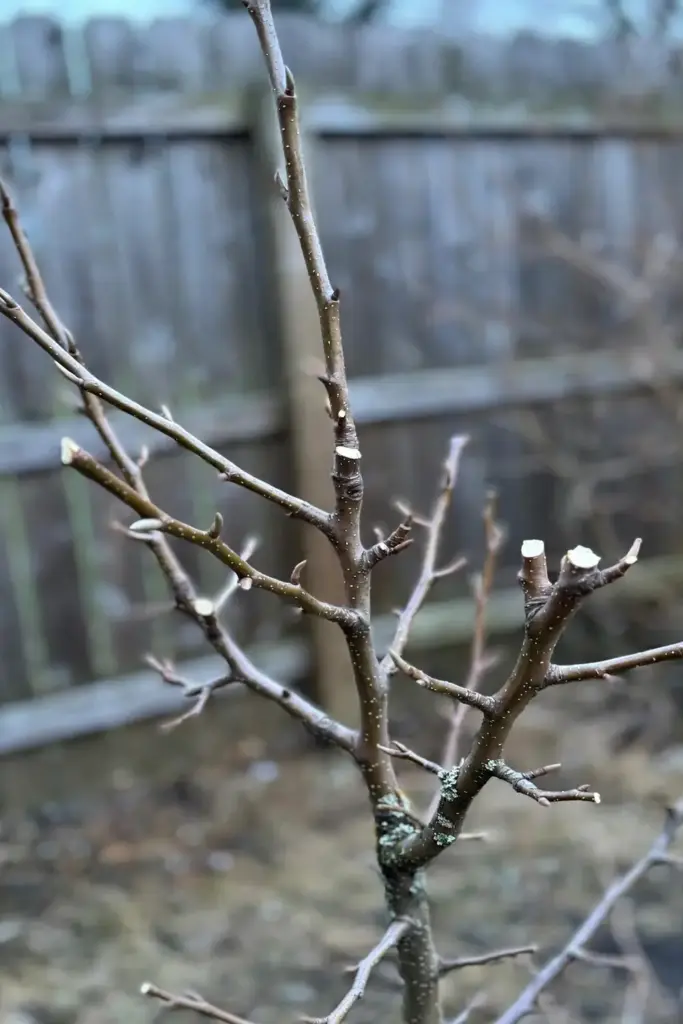
Remove dead, damaged, diseased, and crossing limbs first, then cut any competing upright shoots at the base. Pear wood grows strongly upright with narrow crotch angles, so do this structural work early while branches are thin. Head back the leader lightly each winter to keep the tree at a pickable height. A tree that is never pruned becomes a tall, shaded tower with all its fruit out of reach, so the annual session is what keeps the harvest coming.
For the finer points of timing and technique, the spring pruning techniques guide pairs well with this section.
14. Cut Out Fire Blight 6 Inches Below the Infection Line
Fire blight is the one serious disease of pears. Minnesota’s extension calls it the only disease that truly challenges pear trees, and the University of Georgia’s home-garden guide gives the treatment protocol: remove diseased branches as soon as they appear, cutting at least 6 inches below any visible infection. The shoot tips blacken and curl like a shepherd’s crook, and the infection can run down the branch fast in warm, wet weather.
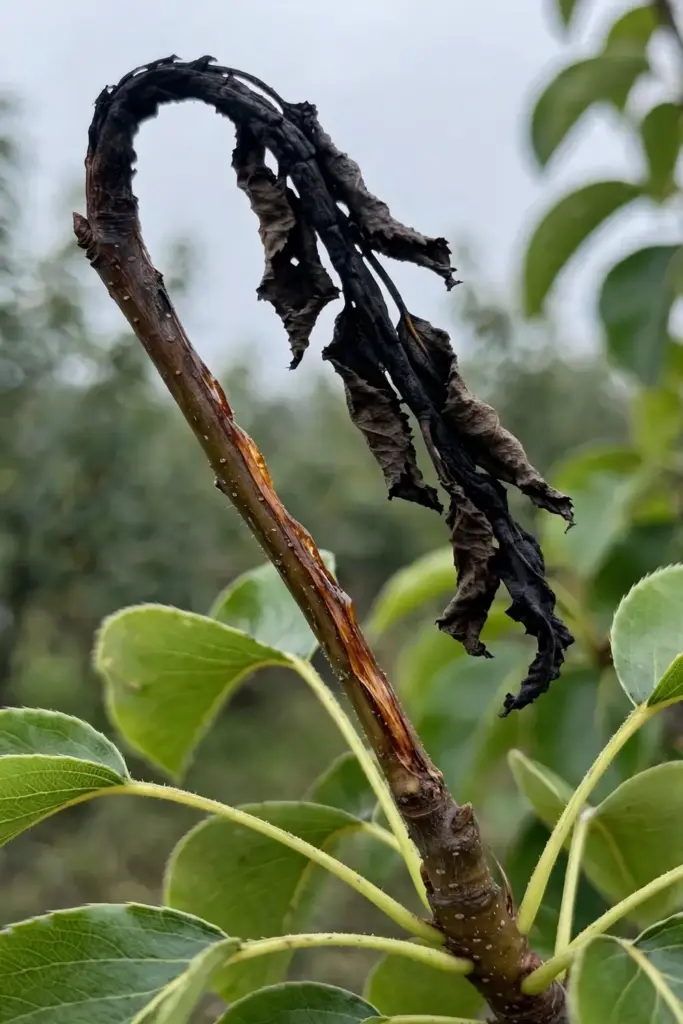
Disinfect your pruners after every cut by dipping them in rubbing alcohol or a 1 to 9 chlorine bleach and water mix, then burn the prunings or bag them for the trash. Never compost blighted wood. In the dry western regions, choose fire-blight-resistant varieties and rootstocks up front, since prevention beats surgery. Avoid heavy nitrogen feeding and overhead watering, both of which invite the soft growth the bacteria colonize. A tree caught early usually survives; a tree ignored can lose whole limbs in a single season.
15. Pick European Pears Firm and Asian Pears Ripe on the Tree
European pears ripen from the inside out, so a pear left on the tree until it looks ripe is often mushy and unpleasant inside. Pick them firm, when the fruit lifts off the spur with a gentle twist and shows a subtle color change in the skin. Then ripen them indoors at room temperature, checking daily for a slight softness near the stem. Early varieties need about a week; late varieties can take months in cool storage. Asian pears work the opposite way: they ripen on the tree like apples and should be picked when fully colored and crisp.
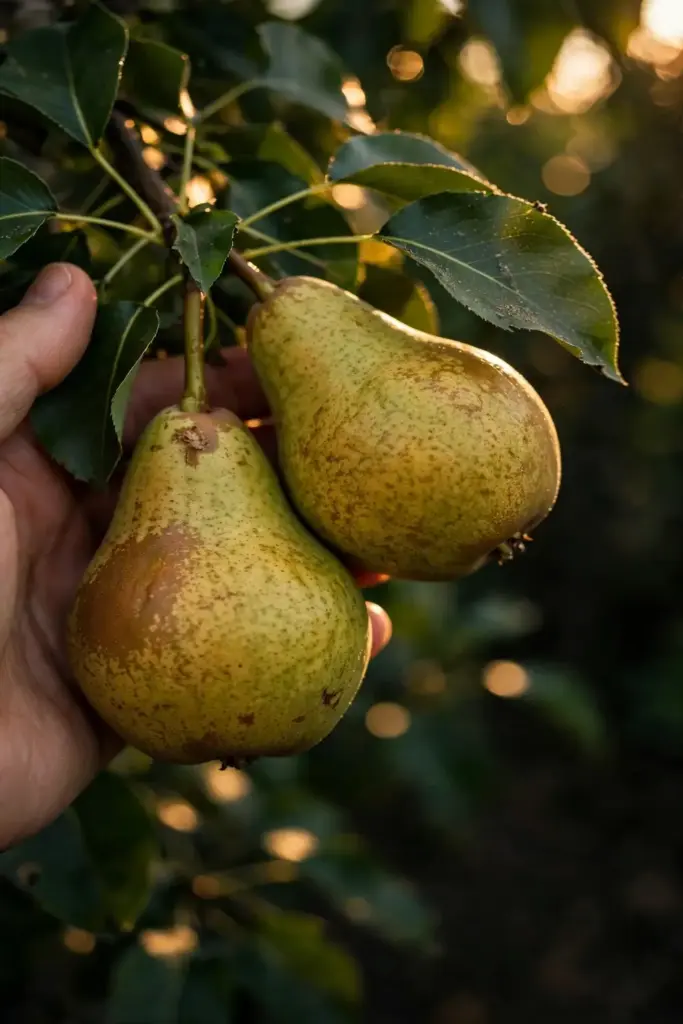
Test early European varieties by tasting one for sweetness before picking the rest. Store unripe pears in a cool, dark place on slatted trays with good air circulation, making sure the fruits do not touch. Check stored fruit regularly and eat or process each one at its peak, because the window between perfect and overripe is short. A long-handled fruit picker earns its keep on taller trees, and it is safer than a stepladder.
16. Dwarf the Tree on ‘Quince C’ or Grow It in a Container
Quince rootstocks shrink pear trees to garden scale. A tree on ‘Quince C’ stays near 10 feet and can fruit in as little as 3 years, while standard seedling rootstocks run 20 to 30 feet tall. If space is tight, ask the nursery for a dwarf or semi-dwarf tree on quince or the hardy OHxF series, and plant dwarf trees 12 to 15 feet apart. Stake dwarf trees permanently, because the smaller root system cannot anchor a full crop in wind.
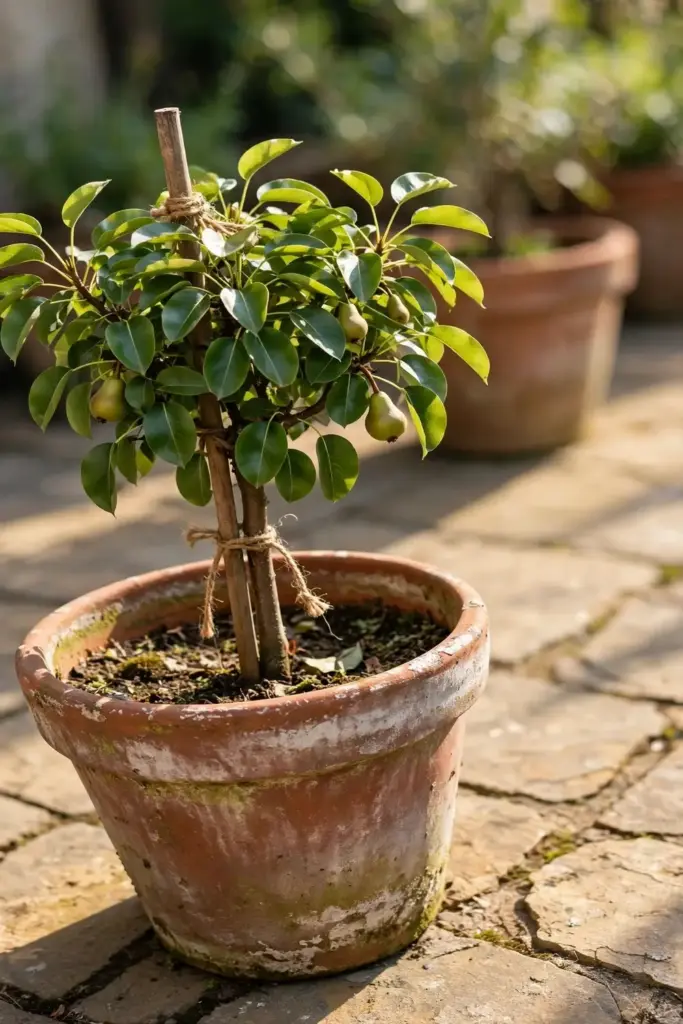
Containers work for dwarf pears with the same discipline. Use a pot at least 22 to 24 inches wide and a rich loam-based mix, then water daily in summer heat because a pot has no soil reserves to fall back on. Feed lightly through the season. Root-prune and repot every two to three years, a small chore that keeps the tree productive. Container fruit runs smaller than in-ground fruit, but for a patio harvest of a dozen perfect pears, the trade is worth it.
17. Troubleshoot Blank Seedlings, Slow Growth, and Fruit Drop
Seeds that never sprout usually failed at one of three steps: the towel dried out in the fridge, the seeds rotted in a soaking towel, or the seeds were immature when extracted. Start with more seeds than you need and keep the towel damp but not wet, and germination becomes reliable. Seedlings that stall after transplanting are almost always root-bound in too small a pot or planted in waterlogged soil; move them up one pot size and check the drainage.
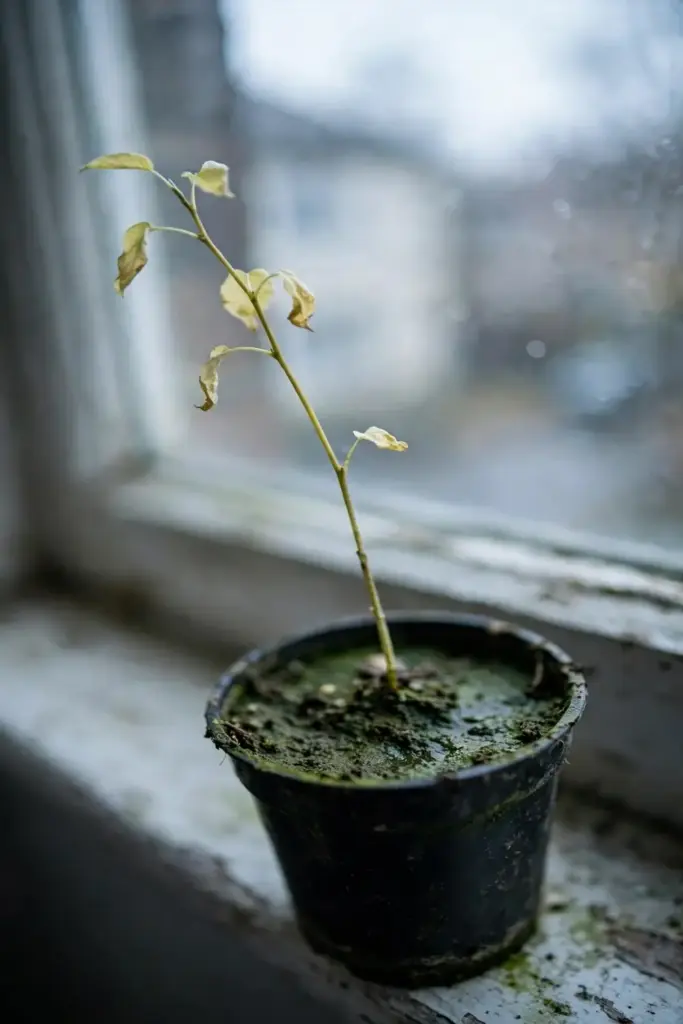
A grafted tree that grows leaves but never flowers is usually too young, under-chilled, or overfed with nitrogen. Give it time, verify your variety’s chill requirement against your winters, and cut the fertilizer. Fruit that drops in June is often natural June drop, the tree thinning its own crop; fruit that drops later usually signals drought during sizing or fire blight stress. Walk the tree monthly in the growing season, and most problems announce themselves early enough to fix.
Frequently Asked Questions
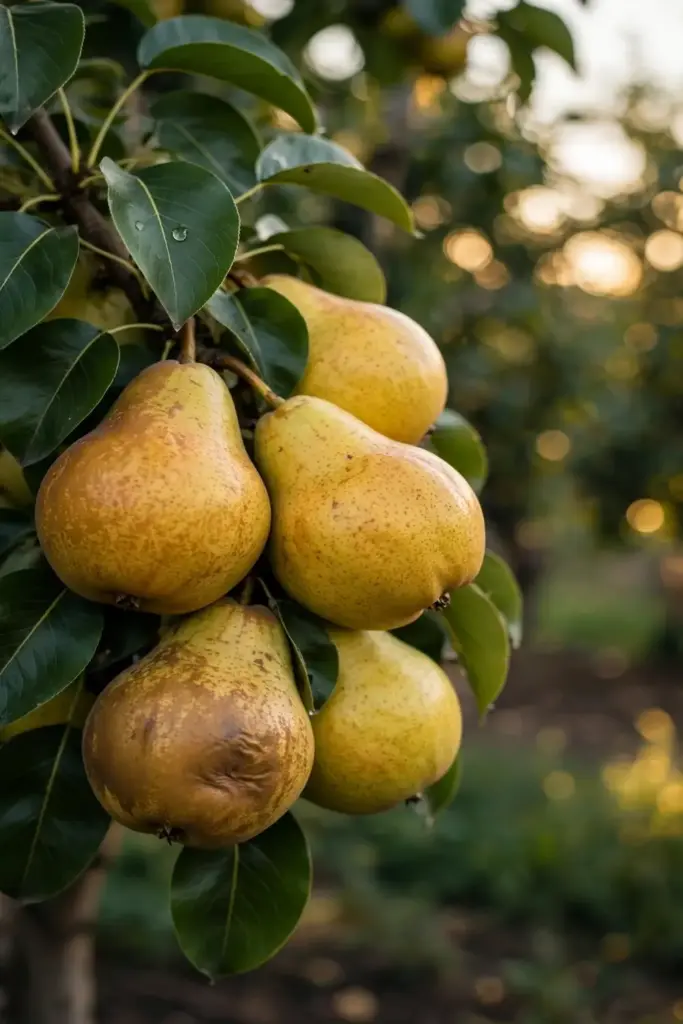
A grafted pear tree typically begins flowering and producing fruit in 3 to 10 years, depending on the variety, rootstock, and growing conditions. Dwarf trees on quince rootstock fruit earliest, often in 3 to 4 years. A tree grown from seed and never grafted sits at the slow end of the scale and can take 6 to 10 years or more to bear, with unpredictable fruit quality.
Yes. Extract the seeds from a ripe pear, soak them overnight, then cold stratify them in a damp paper towel in the fridge for 60 to 90 days. Sow the sprouted seeds 1 inch deep in pots. The seedling will not grow true to the parent pear, so plan to graft a named variety onto it in year two or three for reliable fruit.
Most pear varieties need a second compatible variety within 50 to 100 feet for reliable pollination and fruit set. A few varieties set some fruit alone, but the crop is unreliable. Choose two varieties with overlapping bloom times, such as Bartlett with Bosc or Hosui with Shinseiki, so bees can carry pollen between them.
Pick European pears firm and ripen them indoors at room temperature, checking daily for slight softness near the stem. Early varieties ripen in about a week, while late varieties can take months in cool storage. Store unripe pears in a cool, dark place with good air circulation. Asian pears ripen on the tree and should be picked fully colored and crisp.
The most common causes are youth, insufficient chill hours, missing pollination partner, and excess nitrogen pushing leaf growth instead of flowers. Verify your variety’s chill requirement against your winter, plant a compatible pollinator within 100 feet, and feed lightly. A tree that flowers but drops all its fruit may be self-thinning in June or stressed by drought during sizing.
Yes, dwarf pears on quince rootstock grow well in containers at least 22 to 24 inches wide. Use a rich loam-based mix, water daily in summer heat, and root-prune and repot every two to three years. Container fruit runs smaller than in-ground fruit, but a well-kept dwarf tree produces a reliable patio harvest of a dozen or more pears per season.
Start With the Seed, Finish With the Graft
Growing pears from seed is a two-act project, and both acts reward patience. The first year teaches stratification, germination, and seedling selection for the price of a paper towel and some fridge space. The grafting year turns that anonymous seedling into a named variety that fruits true, on a rootstock you raised yourself. Plant two compatible varieties in full sun, prune every winter, cut out fire blight early, and pick European pears firm. Do that, and the decade-long timeline the seed packet never mentions becomes a tree that feeds the neighborhood.