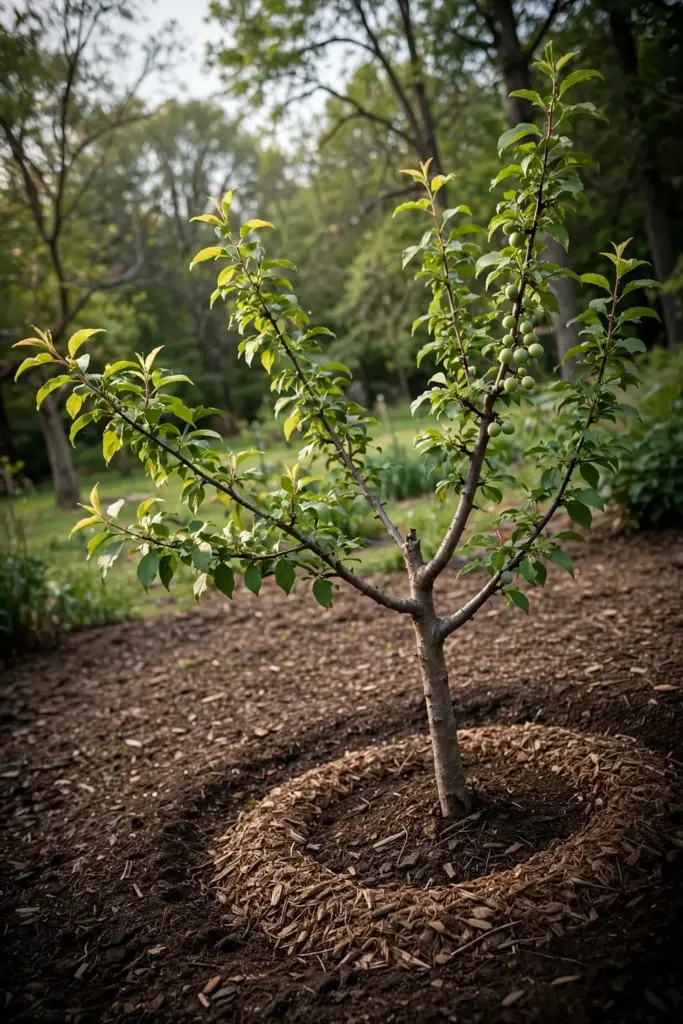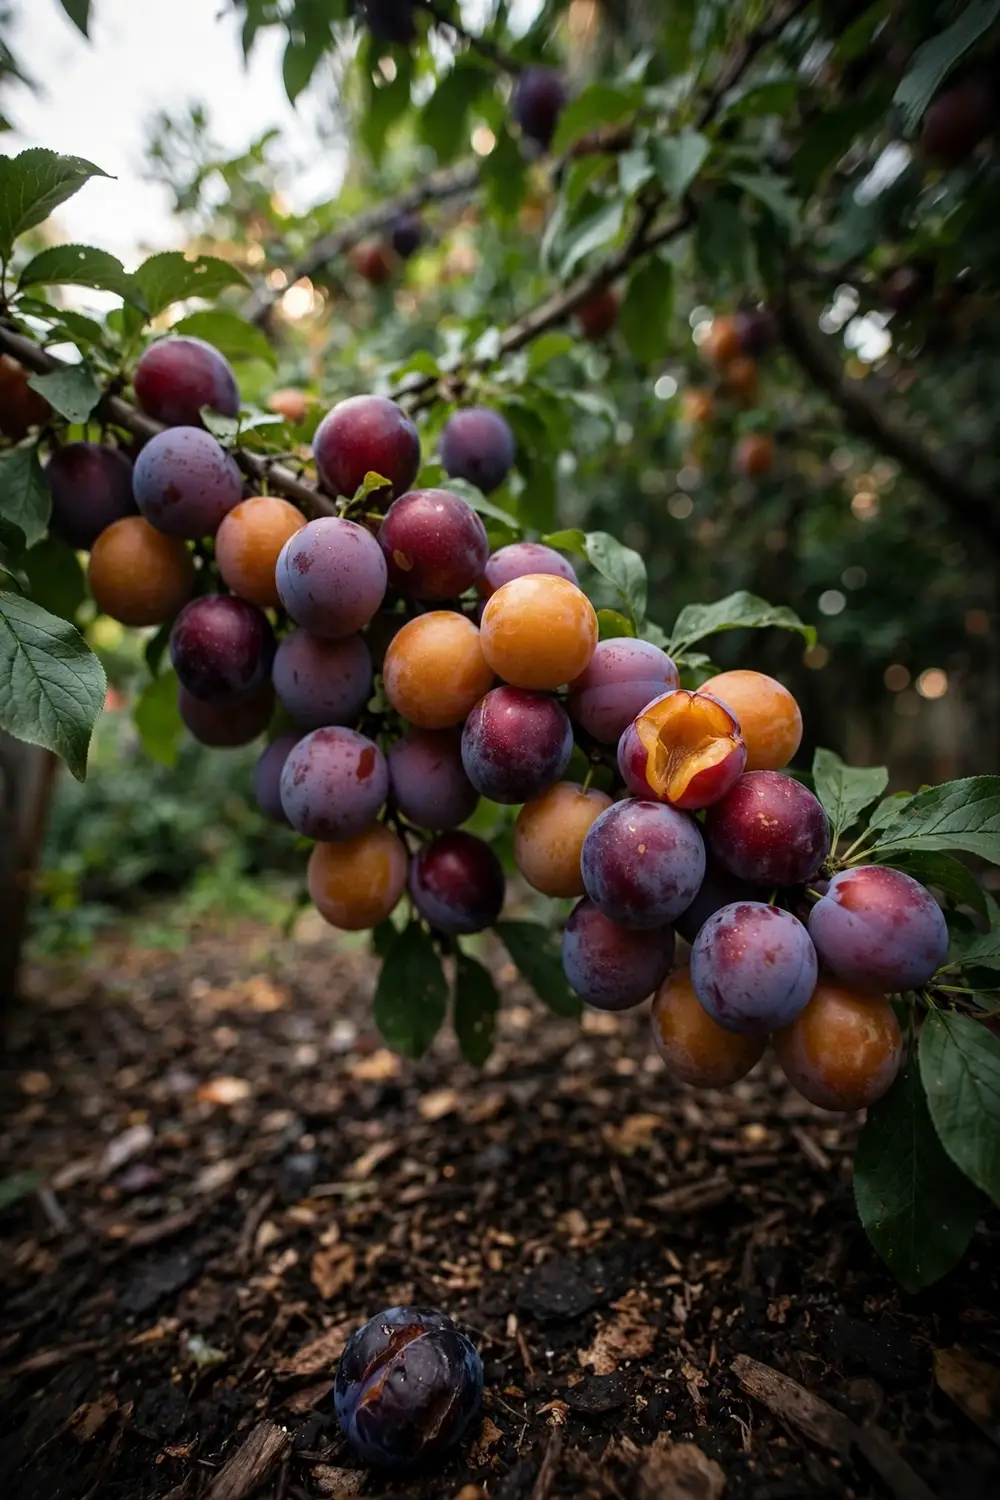

You can grow a plum tree from a pit in your kitchen. Crack the pit, stratify the seed in a damp towel in the fridge for 2 to 12 weeks, plant it 2 inches deep, and expect a fruiting tree in 4 to 8 years. That timeline is the honest part nobody selling plum trees wants to print. Another approach is growing a plum tree from a fresh seed without cracking, which a few patient growers prefer.
A pit is not a promise. It is a lottery ticket with good odds. Most seedlings never match the fruit they came from, because commercial plums are propagated by grafting, not seed. Only wild-plum pits reliably come true to seed, as Gardening Know How notes in its plum-seed guide. I have learned that the stratification wait feels long, but skipping it is the reason most pits never sprout. Here is the whole project: picking a type, cracking and chilling the pit, raising the seedling, and making the honest choice between your seedling and a nursery tree.
Plum at a Glance
| Item | Detail |
|---|---|
| Common types | European plum (Prunus domestica), Japanese plum (Prunus salicina) |
| Family | Rosaceae, stone fruit |
| Zones | European 4 to 8; Japanese 5 to 9 |
| Chill hours | 400 to 1,000, depending on variety |
| Sun | 6 to 8 hours daily |
| Soil | Loamy, near neutral, pH 6.0 to 7.0, well drained |
| Spacing | 20 to 25 ft standard; 10 to 15 ft dwarf |
| Pit to fruit | 4 to 8 years for seedlings; 3 to 5 years for grafted trees |
| Pollination | Most Japanese need a partner; many European are self-fertile |
1. Choose Your Plum Type: European or Japanese
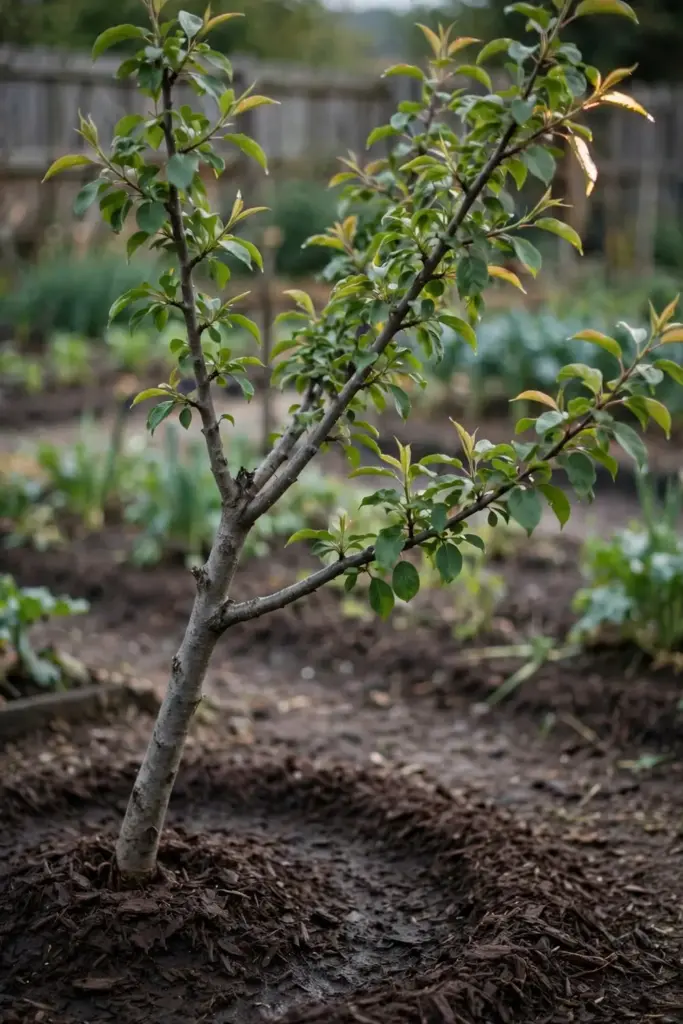
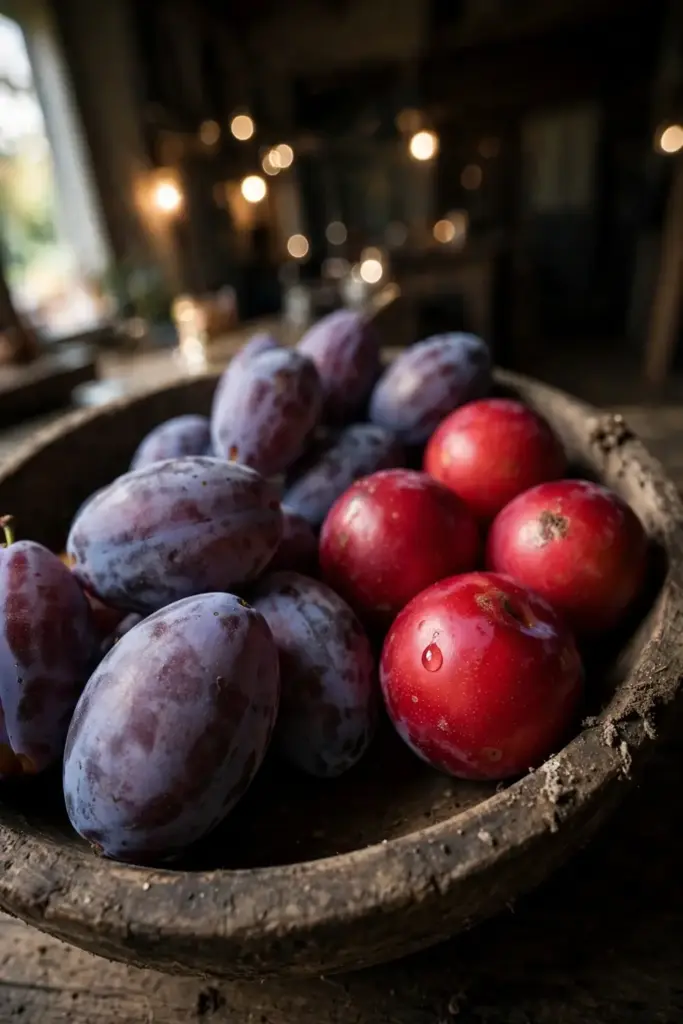
Start by choosing between the two commercial plum species, because they eat differently and pollinate differently. European plums are the hexaploid Prunus domestica, the oval fruit behind prunes and preserves, sweeter and softer when cooked. Japanese plums are the diploid Prunus salicina, the round, firm, juicy fruit bred for fresh eating, with origins in China and its famous development in Japan. Both Latin names are confirmed by Wikipedia’s plum overview and by a genotyping study in Horticulture Research.
Use this comparison to decide before you ever crack a pit.
| Trait | European (P. domestica) | Japanese (P. salicina) |
|---|---|---|
| Fruit shape | Oval, smaller | Round or heart-shaped, larger |
| Best use | Preserves, prunes, cooking | Fresh eating |
| Zones | 4 to 8 | 5 to 9 |
| Chill hours | 800 to 1,000 | 400 to 800 |
| Pollination | Many self-fertile | Usually needs a cross-pollinator |
| Pruning shape | Central trunk | Open center |
| Examples | Stanley, Damson | Santa Rosa, Satsuma |
Warm-climate growers get a third option. The Gulf series, including Gulfbeauty and Gulfgold, needs only 250 to 350 chill hours and fruits in Florida and the Gulf Coast where standard varieties fail. Match the variety to your winter first. Everything else here works for both types.
2. Match Your Climate: Chill Hours and the Gulf Series
Count your chill hours before choosing a pit source. Chill hours are hours below 45°F between November and February, and each plum variety needs its quota to break dormancy and bloom properly. A European plum rated for 800 chill hours planted in a 300-hour winter blooms erratically or not at all. Your local cooperative extension office publishes chill-hour maps, and they are worth more than any catalog description.
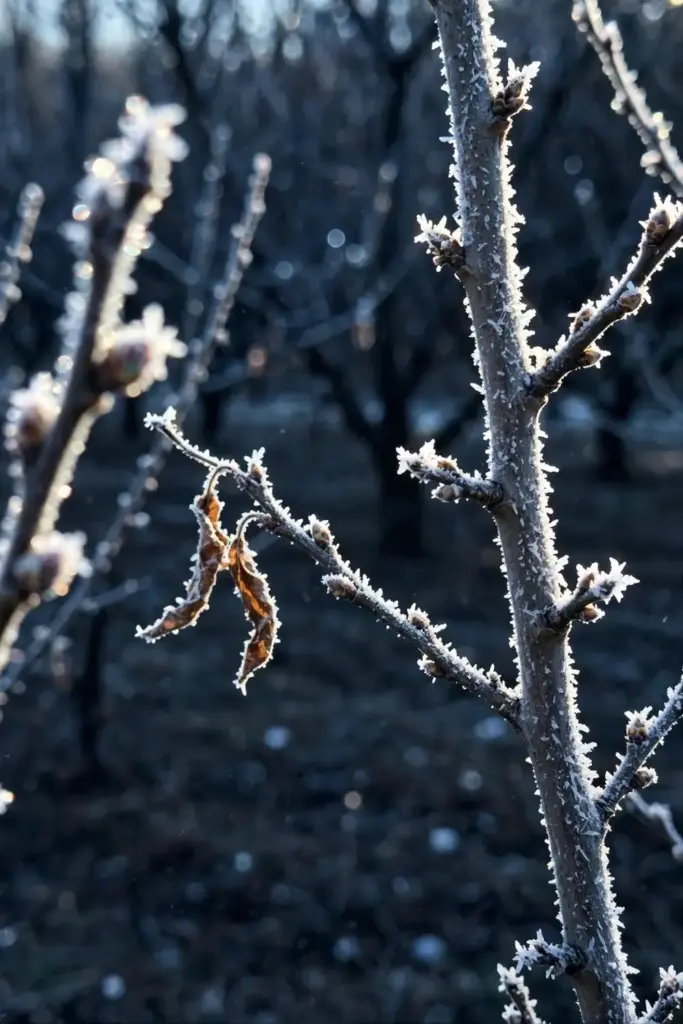
European plums want a true winter. Japanese plums tolerate warmer winters, and the Gulf series handles the subtropics. Heat is rarely the problem. Insufficient winter cold is. Growers in zones 9 and 10 should skip European types entirely and either plant Gulf-series Japanese plums or buy a low-chill variety on Pixy rootstock.
Altitude and microclimate count as much as the zone map. A south-facing slope against a wall can buy you half a zone. A frost pocket at the bottom of a yard can cost you one. Winter cold is the chief decider with plums, and spring frosts kill more plum crops than winter cold ever does. Site the tree where cold air drains away, not where it pools.
3. Source Pits Worth Stratifying
Pick pits from ripe, fully flavored fruit. The best pits come from plums you ate and loved, because seedling quality tracks the parent at least loosely, and eating the fruit first is the only taste test you get. Wild plums, damsons, and American hybrids produce the most reliable seedlings. Supermarket plums work too, but their seedlings vary wildly in fruit quality and tree vigor.
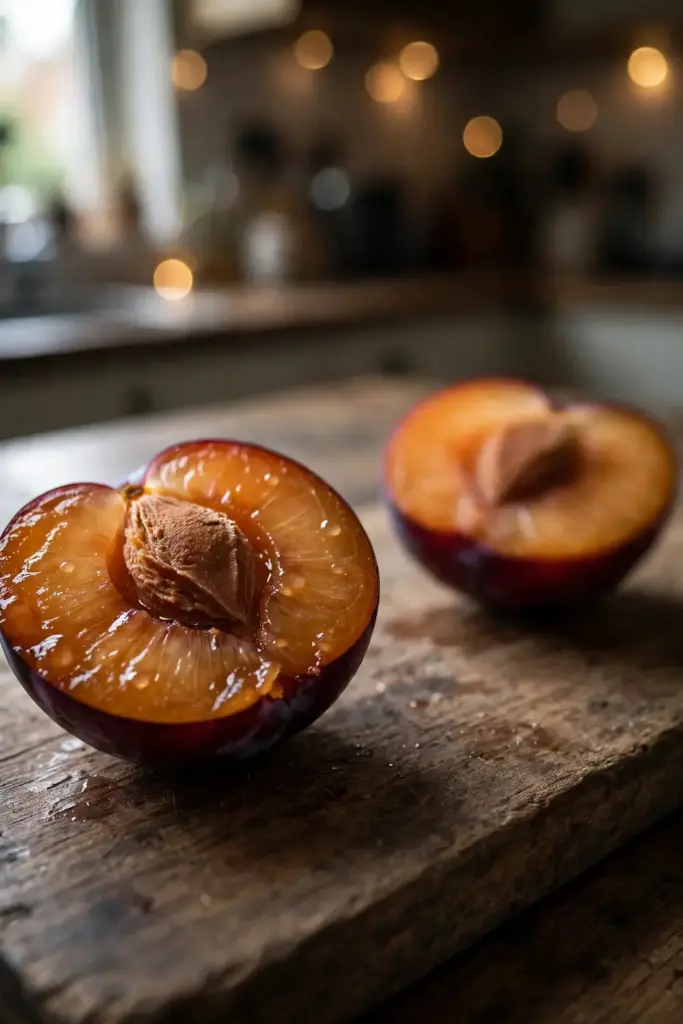
Save 3 to 5 pits, not one. Not every pit contains a viable seed, and not every seed germinates. Wash the flesh off completely under running water, because leftover fruit pulp invites mold in the fridge. Pat the pits dry. If you want to plant within the week, store them in a paper bag at room temperature. For anything longer, keep them in the fridge until stratification starts.
Timing matters. Plums ripen in summer. Stratification takes 2 to 12 weeks. That means a pit eaten in August finishes its cold treatment in October or November, ready to sow when soil is workable. Plan backward from your last frost date the way you would with any spring seed-starting project.
4. Crack and Stratify: The 2 to 12 Week Fridge Method
Crack the pit to wake the seed inside. The hard shell slows water uptake, and a gentle crack speeds germination by weeks. Hold the pit on its edge with pliers or a nutcracker and apply slow pressure until you hear a faint pop. Stop there. You want a split shell, not a crushed seed. The kernel inside should stay whole and pale. Discard any pit with a dark, shriveled, or foul-smelling kernel.
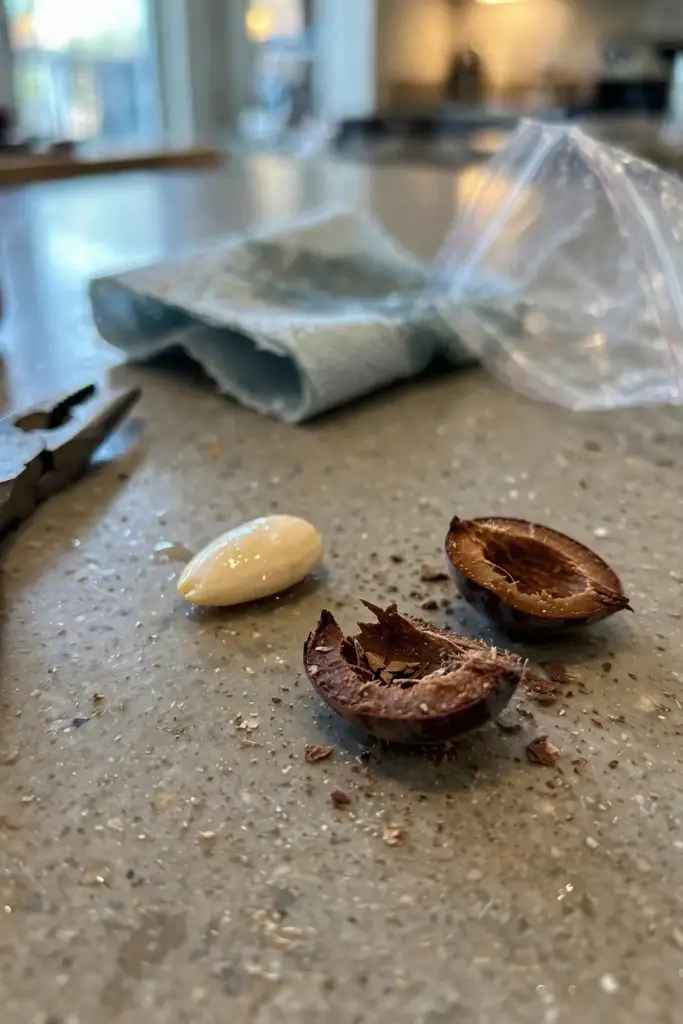
Prefer the slow route? Skip the crack. Whole pits germinate too, only later and less predictably, which suits growers who sow directly outdoors in autumn and let winter do the work.
Stratify the cracked seed in the fridge. Wrap each seed in a damp paper towel, not dripping, seal it in a labeled zip bag, and store it at 33 to 41°F for 2 to 12 weeks. Check weekly for mold. If a towel smells sour, rinse the seed, replace the towel, and continue. The damp-towel fridge method is described by wikiHow’s plum-seed guide, and the RHS plum growing guide confirms cold treatment as the standard way to break plum-seed dormancy.
European plum seeds tend to need the longer end of the range, 8 to 12 weeks. Japanese plum seeds often sprout after 4 to 8 weeks. American and hybrid types fall in between. When the seed shows a white root tip about half an inch long, it is ready to sow. Do not wait for leaves in the bag.
5. Sow the Sprouted Seed 2 Inches Deep
Plant the sprouted seed as soon as the root tip shows. Use a deep pot, at least 6 inches, because plum seedlings drive a strong taproot and hate transplanting. Fill it with loose, well-draining potting mix. Lay the seed flat with the root tip pointing down or sideways, and cover with 2 inches of mix.
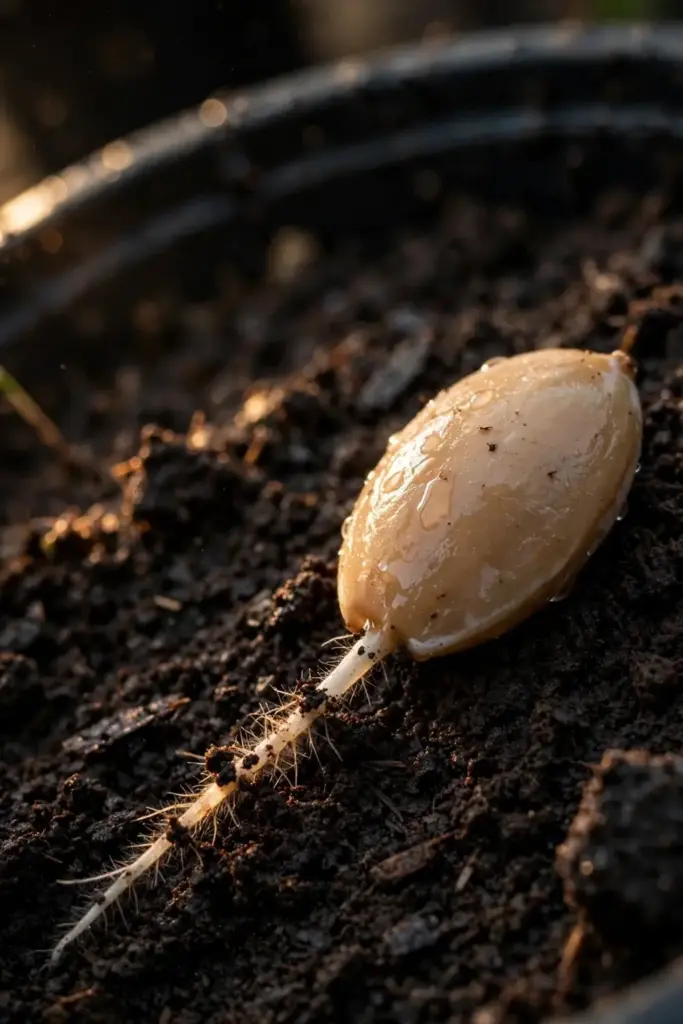
Water gently until it drains from the bottom, then keep the mix evenly moist, never soggy. Place the pot in a bright spot at 65 to 75°F. A south-facing windowsill or a simple grow light works. Germination above ground takes 1 to 3 weeks after the root tip appears.
One seed per pot. Plum seedlings compete hard underground, and separating tangled taproots later kills more seedlings than drought does. Label each pot with the variety and the sowing date. You will want that information two years from now.
6. Care for the Seedling in Pots
Give the seedling full light and steady water for its first growing season. Move it outdoors gradually after the last frost, hardening it off over 7 to 10 days of increasing sun and wind exposure. A seedling that goes from windowsill to full July sun in one afternoon scorches.
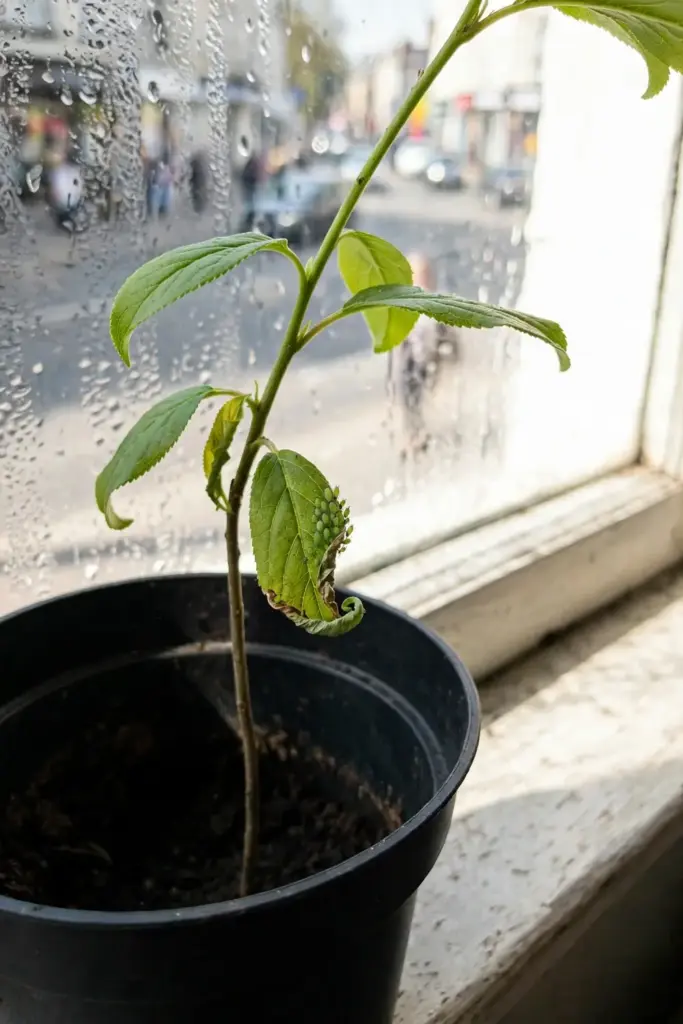
Feed lightly. A half-strength balanced liquid fertilizer every 3 to 4 weeks during active growth is plenty. Too much nitrogen pushes soft, leggy growth that winter kills. Pinch the growing tip once the seedling reaches 18 inches to encourage side branches. This one pinch shapes the future scaffold of the tree.
Watch for aphids on the tender new growth. A strong jet of water knocks them off, and ladybugs finish the job. Plum seedlings have few serious pest problems in their first year, which is one of the quiet advantages of starting from seed.
7. Harden Off Before Moving Outside
Never plant a seedling straight into the garden. The hardening process takes 10 to 14 days. Set the pot in shade for the first 3 days, then morning sun for 3 days, then full sun with wind exposure for the rest. Bring it inside if a hard freeze threatens.
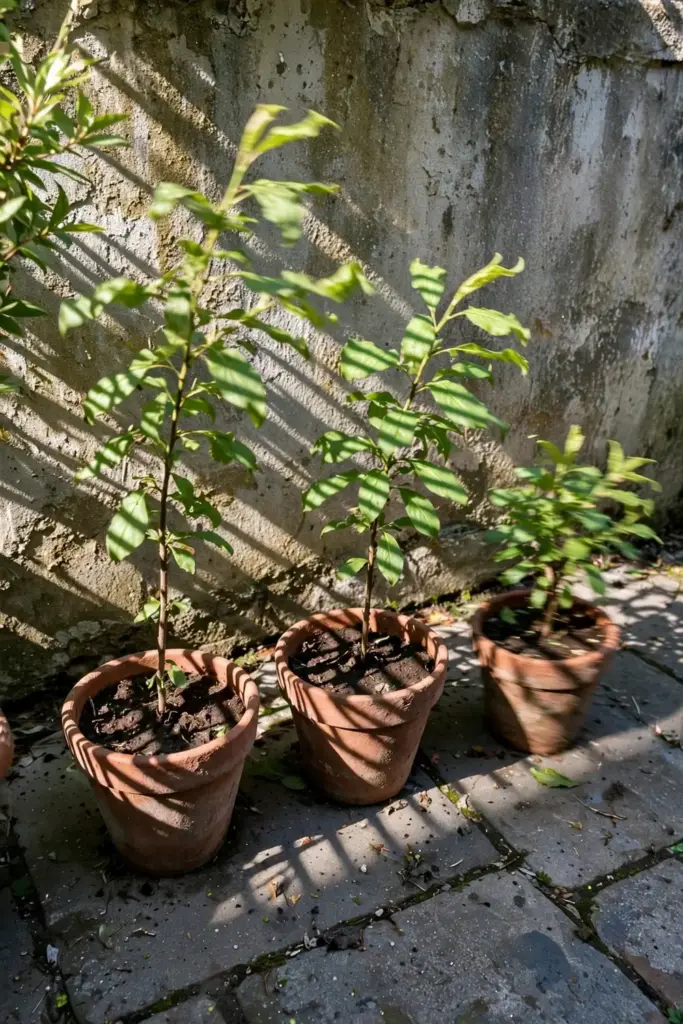
Timing beats speed. In most zones, the right moment to transplant is the following spring, when the seedling is one year old and the soil is workable. A one-year-old plum seedling in a deep pot has a far better survival rate than a 6-week-old seedling planted in September. Patience at this stage pays off for decades.
8. Understand the Honest Trade: Seedlings Won’t Come True
Face the genetics before you invest years. A seedling grown from a Santa Rosa pit is not a Santa Rosa tree. Commercial plums are grafted onto rootstock, and their seeds shuffle the genetic deck. The fruit from your seedling may be smaller, tarter, later, or different. Only wild-plum pits reliably come true to seed.
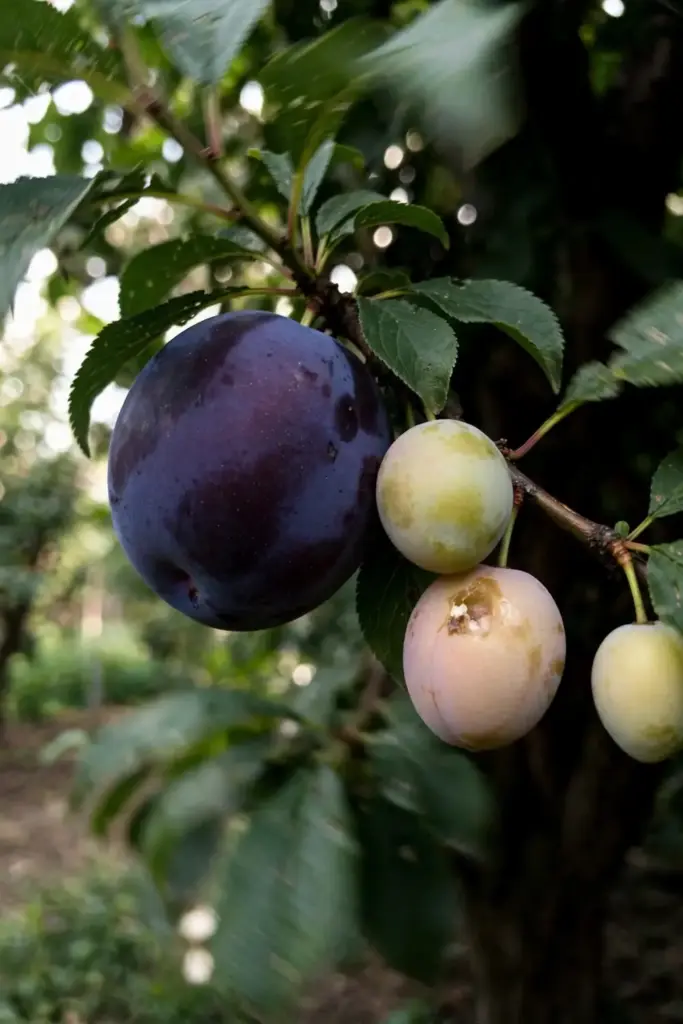
That does not make the project pointless. Seedlings make excellent rootstock for grafting, superb wildlife trees, and sometimes genuinely good fruit. They also adapt to your exact soil in a way grafted nursery trees do not. But if you want a guaranteed Santa Rosa, buy one.
Compare the two paths honestly.
| Factor | From Pit | Grafted Nursery Tree |
|---|---|---|
| Cost | Free | 30 to 60 dollars |
| Years to first fruit | 4 to 8 | 3 to 5 |
| Fruit matches parent | Rarely | Always |
| Cold hardiness | Often better, locally adapted | As rated |
| Disease resistance | Variable | Known |
| Pollination | Unknown until it blooms | Known variety |
Most serious growers do both. They raise seedlings for fun and plant one grafted tree for guaranteed fruit. There is no shame in the nursery tree. It is the rational choice for anyone who wants plums this decade.
9. Plant a Pollination Pair: The Compatibility Matrix
Check pollination before you plant. A lone Japanese plum flowers beautifully and fruits never, because most Japanese plums and American hybrids need a cross-pollinator blooming at the same time. Many European plums are self-fertile. They still crop better with a partner nearby.
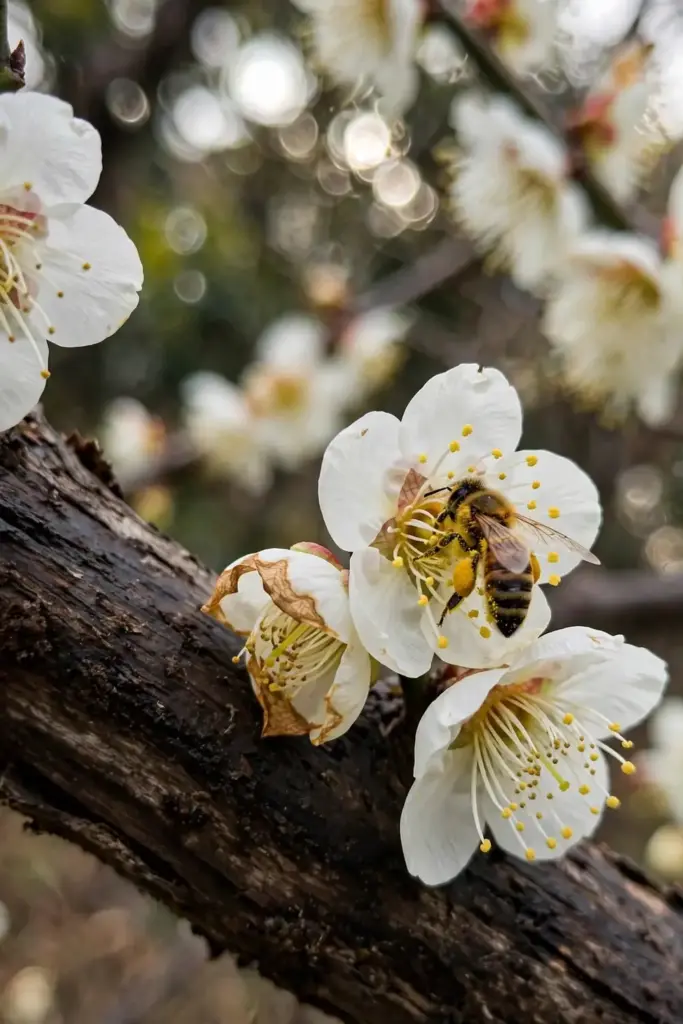
The rule from garden.org is direct. Japanese plums need to cross-pollinate with other Japanese or American hybrid plums. A Santa Rosa pollinates a Satsuma. A European Stanley pollinates itself but fruits heavier beside a Damson. The practical advice from r/BackyardOrchard growers is blunt: buy the tree of the type you want, then buy a second plum that can pollinate the first.
Plant pollinizers within 50 feet of each other. Bees do the work, and 50 feet is a comfortable foraging range. In a small yard, a single multi-graft tree carrying two or three varieties on one trunk solves the whole problem. Your soil health and pollination environment matters here too, because stressed trees set less fruit regardless of pollination.
| Type | Needs partner? | Good pollinizers |
|---|---|---|
| Japanese (Santa Rosa) | Yes | Satsuma, Burgundy, Beauty |
| Japanese (Satsuma) | Yes | Santa Rosa, Methley |
| European (Stanley) | No, better with | Damson, Italian Prune |
| European (Damson) | No, better with | Stanley, any European |
| American hybrid (Toka) | Yes | Pipestone, Superior |
Bloom timing decides everything. A pollinizer that flowers two weeks later is decoration, not a partner. Nursery catalogs list bloom periods. Read them before you buy.
10. Pick the Site and Spacing
Give the tree 6 to 8 hours of direct sun and air that drains. Plums tolerate many soils but demand drainage. Heavy, waterlogged soil rots their roots fast. A gentle slope beats a flat bottom every time.
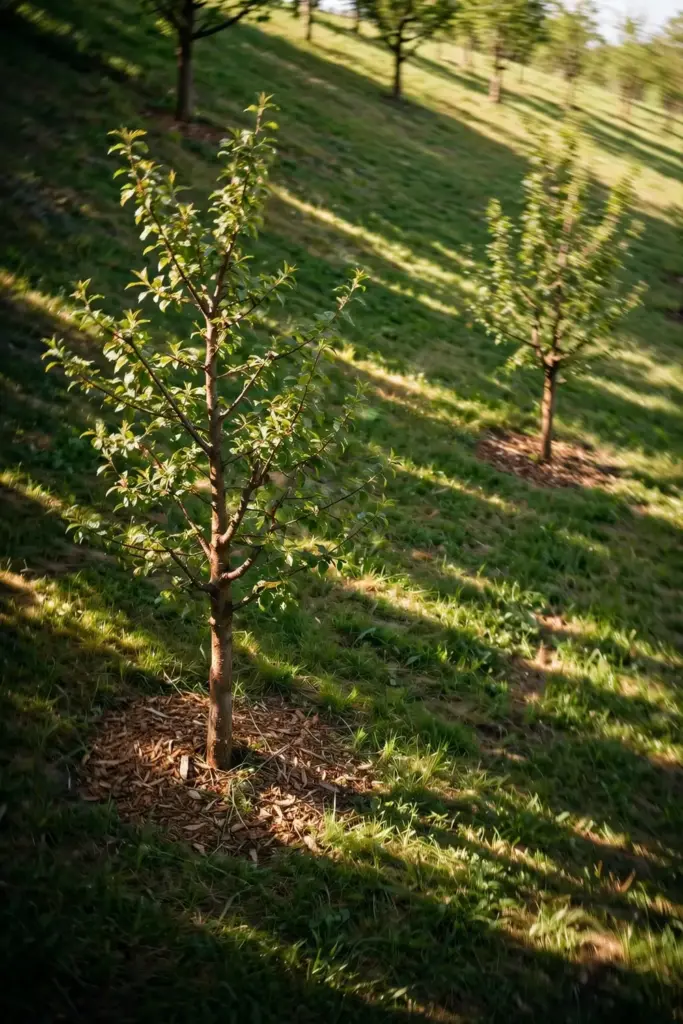
Space standard trees 20 to 25 feet apart. Dwarf trees on Pixy or similar rootstock fit at 10 to 15 feet. Underplanting with basil, nasturtium, or lavender repels some pests and feeds pollinators, and it looks good while doing it.
Avoid the frost pocket. Cold air sinks, so the lowest spot in the yard is the worst place for a plum. Blossoms open early in spring, and one hard freeze at bloom wipes out the whole crop. A north-facing slope delays bloom by a few critical days, which is sometimes the difference between fruit and nothing.
11. Plant in Early Spring in Native Soil
Plant bare-root or potted stock in early spring, as soon as the soil is workable. Dig the hole twice as wide as the root spread but no deeper than the roots. The graft union, the knobby scar where variety meets rootstock, sits 2 to 3 inches above the finished soil line. Bury it and the variety roots on its own, defeating the dwarfing rootstock.
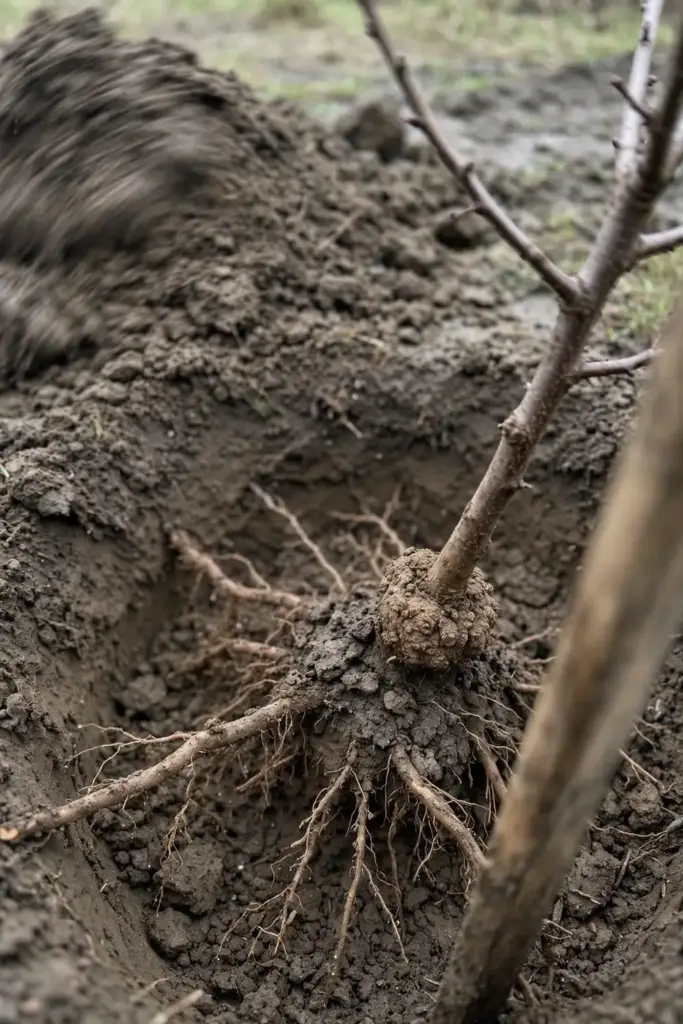
Backfill with native soil, not potting mix. A pocket of rich mix in poor native soil makes roots circle inside the pocket instead of exploring outward. Water deeply at planting to settle the soil and erase air pockets. Mulch 3 inches deep in a wide ring, keeping the mulch 4 inches from the trunk.
Staking helps only in windy sites. A single stake on the windward side, tied loosely with a figure-eight of soft material, steadies the tree for one season. Remove it after a year so the trunk learns to stand on its own.
12. Water Deep, Once a Week
Water to a depth of 12 to 18 inches, once a week during the growing season. Deep, infrequent watering builds deep roots. Daily sprinkling builds shallow ones that suffer in the first dry spell. Utah State University Extension recommends watering to a depth of 1 to 2 feet, which develops root depth better than watering daily, per the USU Extension plum guide.
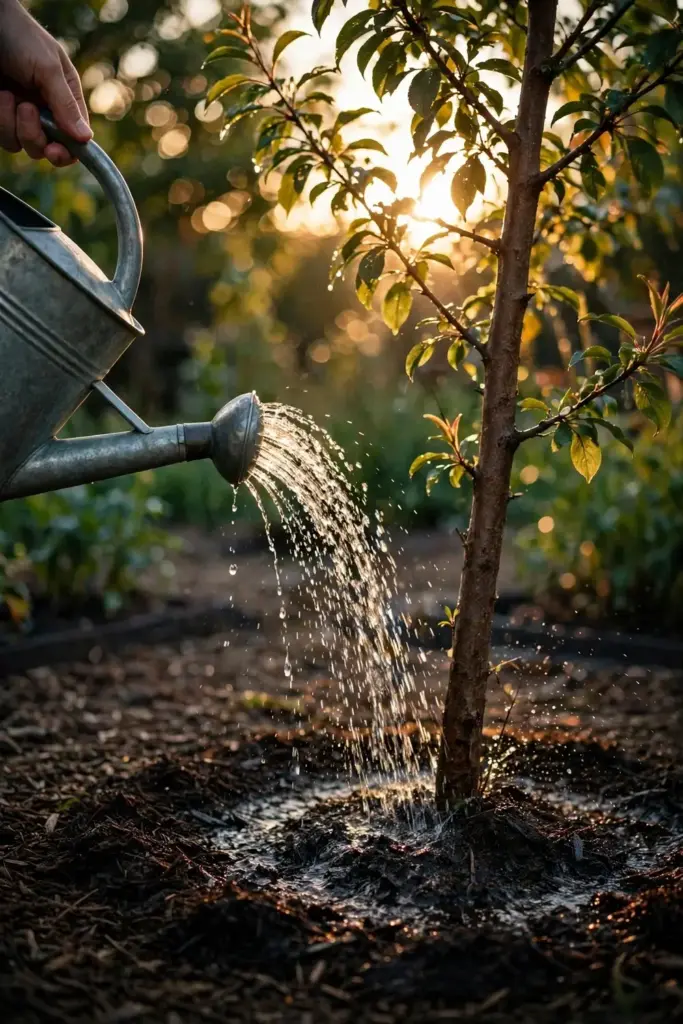
New trees need water twice a week through their first summer. Established trees need about 1 inch of water per week from rain or irrigation. Drought at fruit swell shrivels the crop. Drought at bloom does nothing, because there is no fruit yet.
Drip irrigation beats overhead watering. Wet foliage spreads brown rot and bacterial canker. A soaker hose or drip ring at the dripline keeps leaves dry and roots happy. In alkaline soils, watch for iron chlorosis, yellowing between the leaf veins, and water deeply but less often.
13. Feed After the First Crop
Hold the fertilizer until the tree fruits. Young plum trees need almost no feeding, and excess nitrogen pushes leafy growth at the expense of fruit buds. Once the tree bears its first crop, feed in early spring with a balanced 10-10-10 fertilizer at the rate on the package.
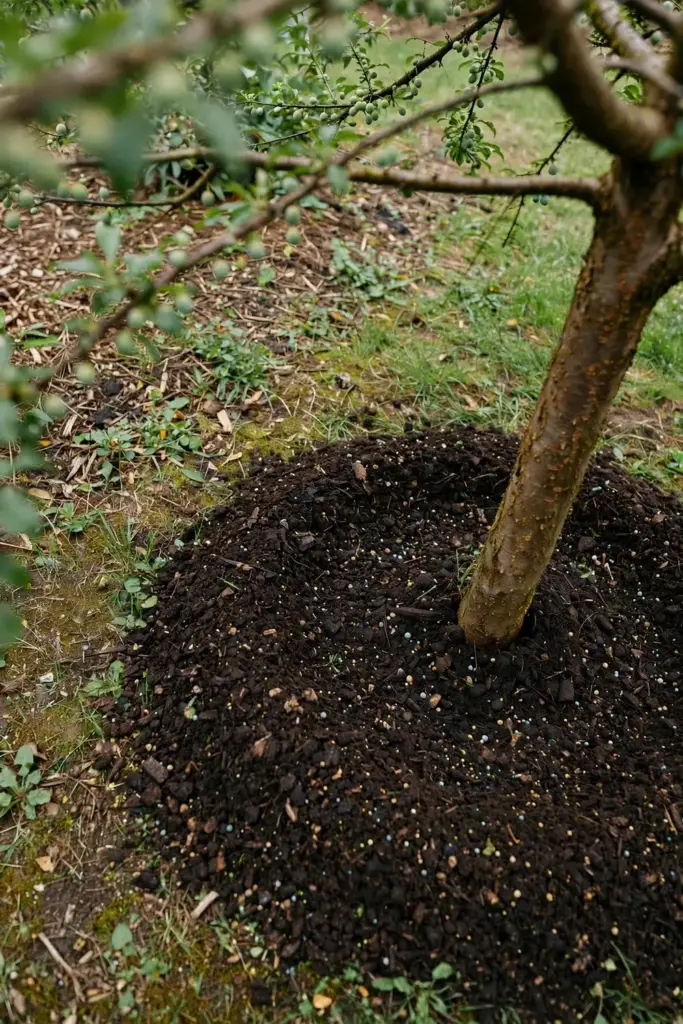
Mature trees take 1 to 2 cups of balanced fertilizer in early spring as new leaves emerge. Organic growers can side-dress with compost and aged manure instead. Either way, water thoroughly after fertilizing. Stop feeding by midsummer so new growth hardens before winter.
Never fertilize a stressed tree. A drought-stressed or disease-hit plum cannot use the nutrients, and the salts can make the stress worse. Fix the water or the disease first. For feeding schedules across the garden, see the best fertilizer timing for fruit trees.
14. Prune by Type: Open Center or Central Trunk
Prune Japanese plums to an open center and European plums to a central trunk. The open center, or vase shape, spreads three or four scaffold branches wide for light into a spreading Japanese tree. The central trunk keeps one strong leader for the more upright European habit.
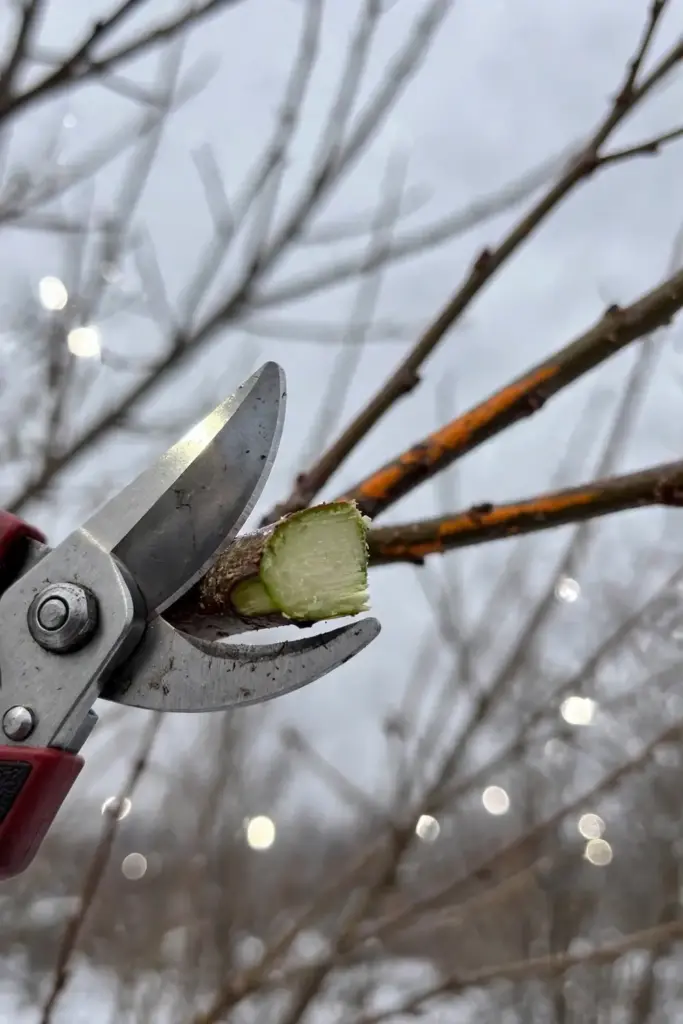
Prune in late winter while dormant, removing dead, crossing, and inward-growing wood first. Then shape. Summer pruning controls vigor on established trees, and it is the safer season in wet climates where silver leaf disease enters winter wounds. The RHS plum guide covers both pruning systems in detail with seasonal timing.
Keep the center open. Sunlight on the fruiting wood ripens better fruit with better color. Remove water sprouts, the vertical shoots that rocket up from branches, every summer. Three well-placed cuts beat thirty anxious ones.
15. Thin Fruit for Bigger Plums
Thin the fruit when it reaches three quarters of an inch across. Twist off the extras until clusters hold one plum every 4 to 6 inches along the branch. It feels brutal. It is the single highest-return task in plum growing.
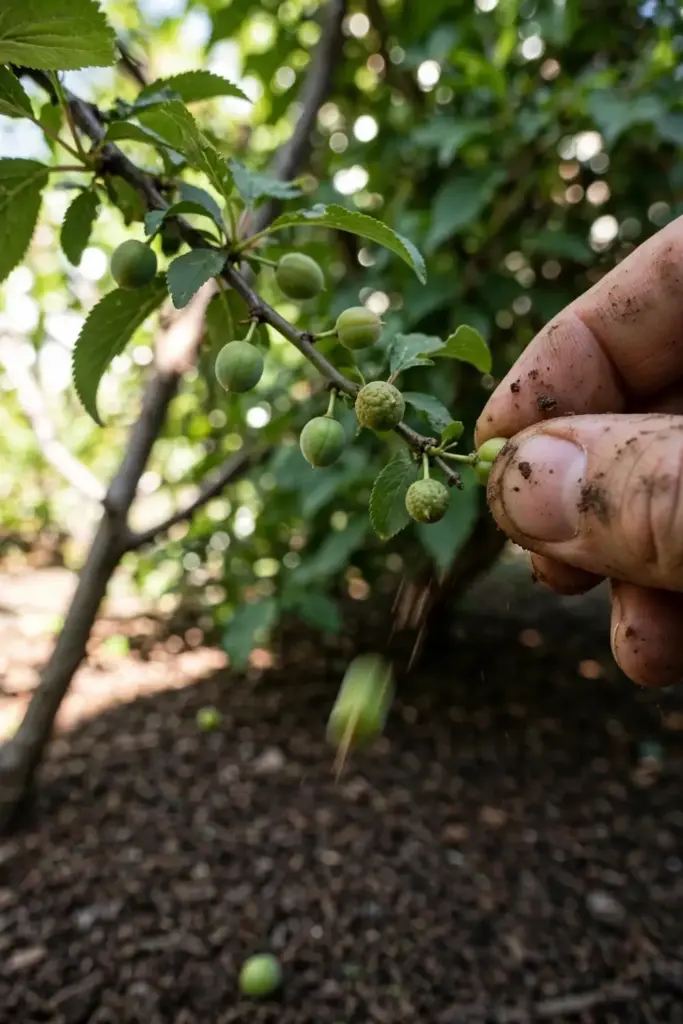
Unthinned branches break under the load, and the fruit stays small and bland. Thinned branches hold fruit that ripens evenly and tastes like the variety should. American and hybrid types need less thinning than Japanese varieties, which overset dramatically.
Thin after the natural June drop, when the tree sheds its weakest fruitlets on its own. What remains is what the tree can actually ripen. Your back will thank you at harvest when you are picking from branches that are still attached to the tree.
16. Guard Against Pests and Diseases
Plums have few serious enemies, but the few they have are persistent. Plum curculio scars young fruit with crescent-shaped bites. Brown rot turns ripe fruit into mummies on the branch. Black knot swells black, tarry growths on cherry and plum wood. Bacterial canker oozes amber gum from bark wounds.
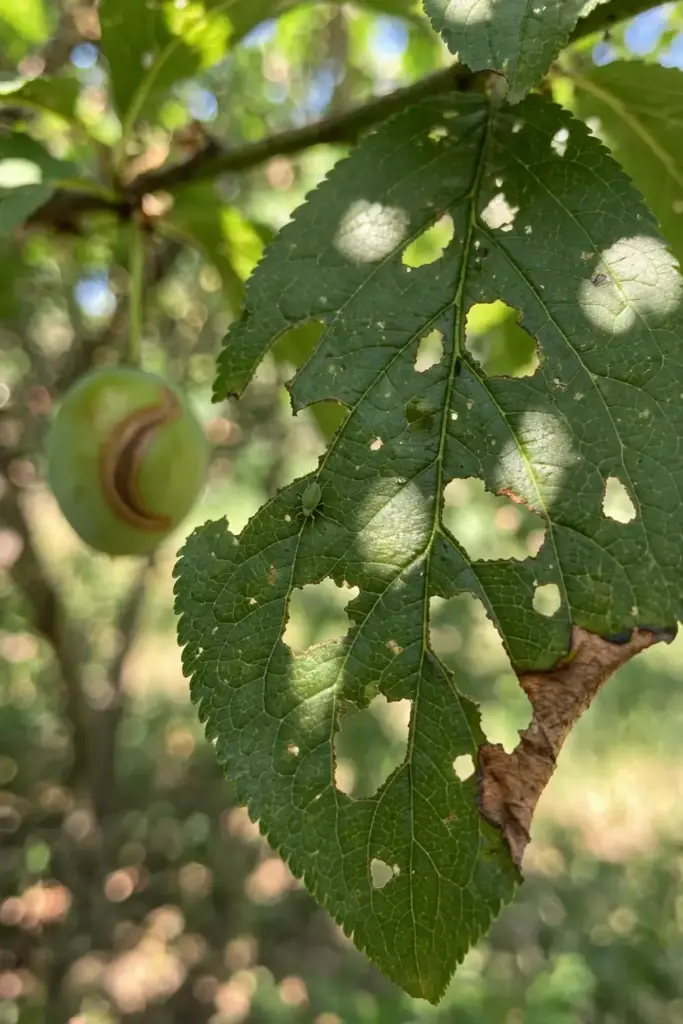
Sanitation beats spraying. Pick up fallen fruit weekly, prune out black knot 4 inches below the swelling, and burn or trash the debris. Dormant oil in late winter smothers overwintering scale and mite eggs. A copper spray at leaf fall helps against bacterial canker in wet climates.
Net the tree if birds find it. Birds take the ripest fruit first, which means they take the best fruit first. Drape bird netting over the whole canopy a week before harvest ripeness, and anchor it at the trunk so birds cannot sneak underneath. For dormant-season technique, the spring pruning guide covers the cuts that keep canopies open and disease pressure low.
17. Grow in a Pot on Dwarf Rootstock
Grow plums in pots on dwarfing rootstock. Pixy is the standard semi-dwarfing plum rootstock in the UK, keeping trees at 10 to 12 feet, and similar dwarfing stocks serve the same role elsewhere. A grafted dwarf in a 20-gallon pot fruits reliably on a patio.
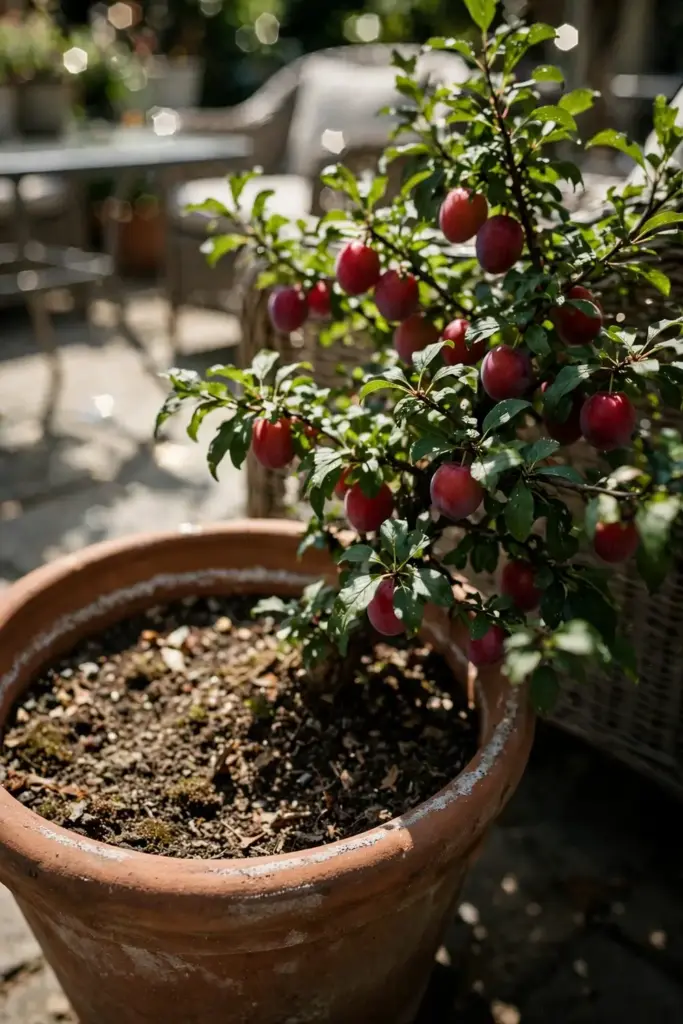
Use a large, heavy pot with drainage holes. Half-barrels work. Fill with a loam-based potting mix, not pure peat, because the tree lives in it for years. Water more often than in-ground trees, sometimes daily in summer heat, and feed monthly with balanced liquid fertilizer during the growing season.
Repot every 3 to 4 years, root-pruning lightly and refreshing the mix. Move the pot to a sheltered spot for winter in zones at the edge of hardiness. Container plums need a pollination partner too, unless the variety is self-fertile, so check the tag before you buy.
18. Harvest When the Fruit Gives
Pick plums when the skin colors fully and the flesh gives slightly to gentle pressure. Color alone lies, especially on red varieties that color weeks before ripening. The twist test tells the truth: a ripe plum separates from the branch with a gentle twist. Unripe fruit clings.
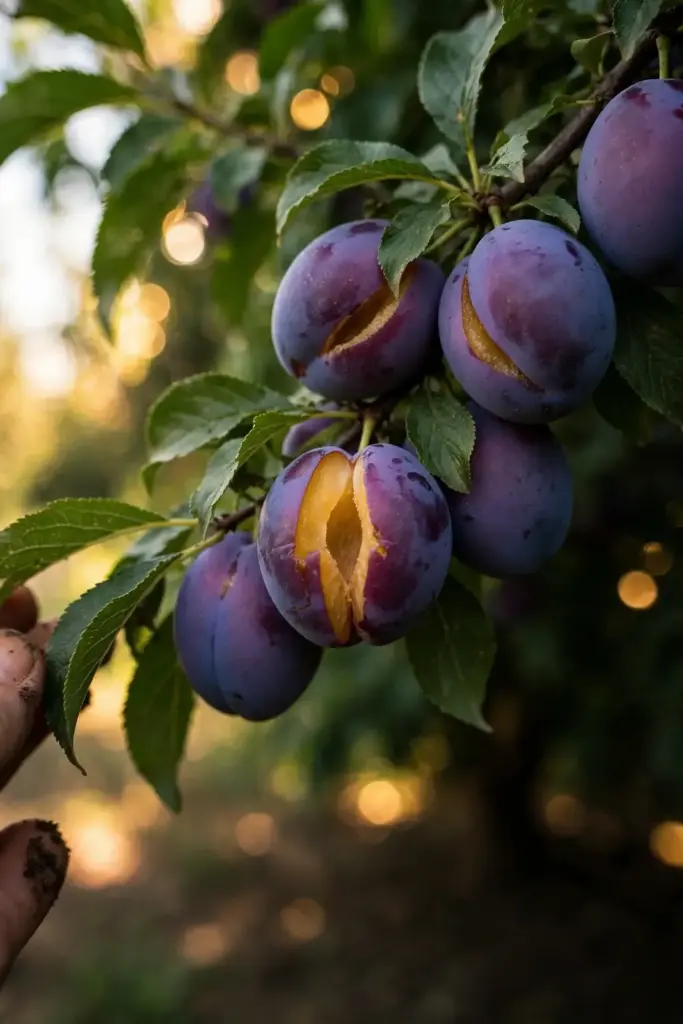
Harvest over several pickings. Early varieties ripen over weeks, with the sunniest fruit first. Later varieties often ripen all at once. Pick in the cool of the morning, handle gently, and expect ripe plums to keep 3 to 4 days in the fridge.
Taste before you pick the whole branch. One plum eaten in the garden tells you more than any calendar date. European types destined for prunes can hang until they wrinkle slightly, concentrating their sugars. Japanese types for fresh eating pick at firm-ripe and finish on the counter for two days.
19. Fix the Common Failures
No germination after 12 weeks of stratification means a dead seed. Crack another pit. Some seeds were never viable, and no technique revives them. Mold in the stratification bag means the towel was too wet or the seed had damaged flesh on it. Rinse, rewrap drier, and continue.
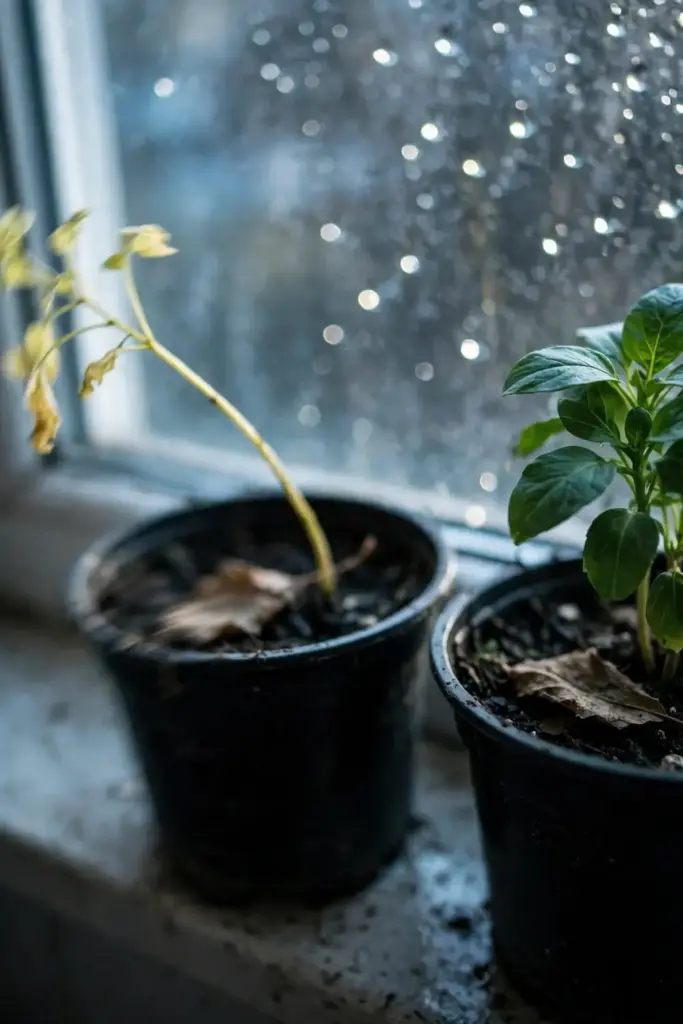
A seedling that stalls at 4 inches usually needs more light, not more fertilizer. Move it closer to the window or under a stronger light. Leggy, pale seedlings are light-starved. Short, stocky, deep-green seedlings are happy.
Flowers but no fruit means a pollination problem nine times out of ten. Check the compatibility table in section 9. A frost at bloom is the other usual suspect. If the tree blooms fully and sets nothing two years running, graft a pollinizer branch onto it or plant a partner within 50 feet.
Fruit drops in June are normal. The tree sheds what it cannot ripen. Fruit drops in August mean drought, and the fix is water, not fertilizer. Bark oozing amber gum signals canker or borer damage. Prune out the damaged wood and improve drainage around the base.
Frequently Asked Questions
Yes. Crack the pit gently, stratify the seed in a damp towel in the fridge for 2 to 12 weeks, then plant it 2 inches deep in a deep pot. Expect germination in 1 to 3 weeks after the root tip shows. The seedling will fruit in 4 to 8 years, though the fruit rarely matches the parent variety.
A seedling takes 4 to 8 years to bear its first real crop, depending on variety and care. Grafted nursery trees fruit in 3 to 5 years because they start with mature wood on established roots. If speed matters more than the experiment, buy a grafted tree and raise seedlings on the side.
Most Japanese plums and American hybrids need a compatible pollinator blooming at the same time, planted within 50 feet. Many European plums are self-fertile but crop better with a partner. When in doubt, plant two different varieties. A single multi-graft tree solves the problem in small yards.
Hold the pit on edge with pliers or a nutcracker and squeeze slowly until you hear a faint pop. Stop at the first split. The kernel inside should stay whole and pale. Discard dark or shriveled kernels. Whole pits sown outdoors in autumn also germinate, a few weeks behind.
Yes, on dwarfing rootstock like Pixy. Plant a grafted dwarf tree in a 20-gallon pot with loam-based mix, water daily in summer heat, and feed monthly through the growing season. Container plums still need chill hours and, unless self-fertile, a pollination partner nearby.
The most common cause is missing pollination, either no compatible partner within 50 feet or a partner blooming at the wrong time. The second most common cause is a spring frost killing the blossoms. Check the compatibility matrix, plant a partner, and site future trees where cold air drains away from the blooms.
Give the Pit Three Years Before You Judge It
A plum pit is the cheapest fruit tree you will ever plant, and the slowest to prove itself. Crack it, chill it, sow it, and then be patient in a way the nursery catalogs never ask you to be. Four to eight years sounds like forever until you are eating the first plum off a tree you started on your kitchen counter. Plant the pit this winter. Your future self will thank you at harvest.