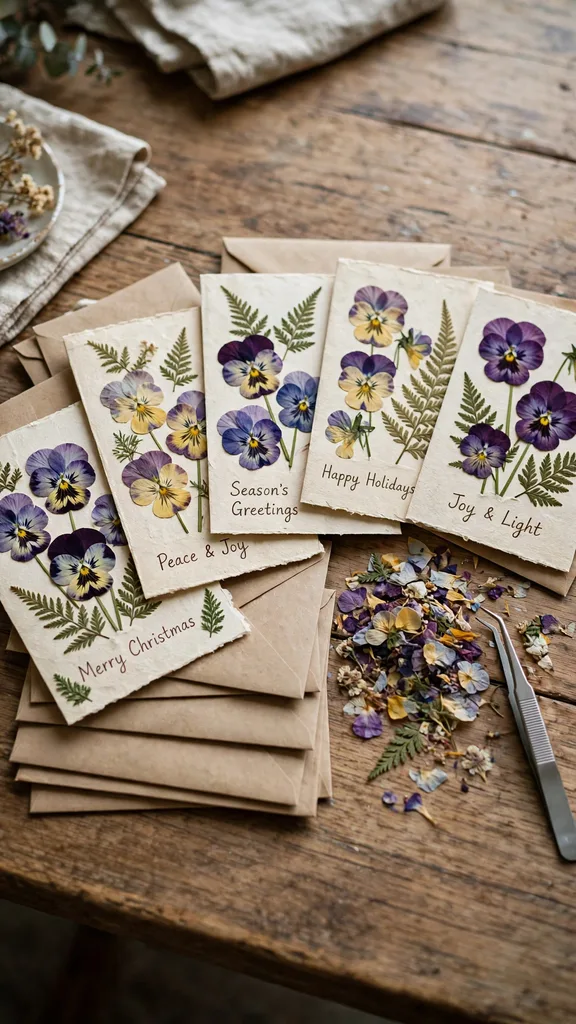
Pressed flower Christmas cards turn the summer garden into December post: a pansy pressed in July becomes the front of a card in December, flat, bright, and unmistakably from your own beds. The work splits into two seasons. Pressing happens through summer and autumn, a few flowers at a time as they peak, each batch taking about 3 weeks in the books, and the making happens in one or two December sittings with card blanks, glue, and tweezers. I press a shoebox worth of flowers every year and still run out by the second week of December. This guide covers the whole chain: which flowers press well, the slow book method and the fast microwave method, storage, layout, gluing, sealing, matching gift tags, and posting the finished cards so they arrive intact.
| Step | Time Needed | You Need |
|---|---|---|
| Book pressing | About 3 weeks per batch | Heavy books or a flower press, plain paper |
| Microwave pressing | Minutes per batch, plus cooling | Two ceramic tiles or a microwave press, plain paper |
| Card making | 10 to 15 minutes per card | Card blanks, white craft glue, tweezers, toothpicks |
| Gift tags | 5 minutes per tag | Tag blanks or cut card, hole punch, twine |
| Sealing | 5 minutes plus drying | Clear contact film or a thin coat of craft sealant |
Pick Flowers and Leaves That Press Flat and Keep Color
Thin, single flowers press best. Pansies and violas are the card maker’s first choice because they are naturally flat, come in strong colors, and hold those colors through pressing. Lavender sprigs, single daisies, cosmos, Queen Anne’s lace, hydrangea florets, and fern fronds all press cleanly and give you the shapes a card layout needs: rounds, sprays, and fine green lace. Autumn leaves in red and gold press well too and carry the Christmas palette straight from the garden.
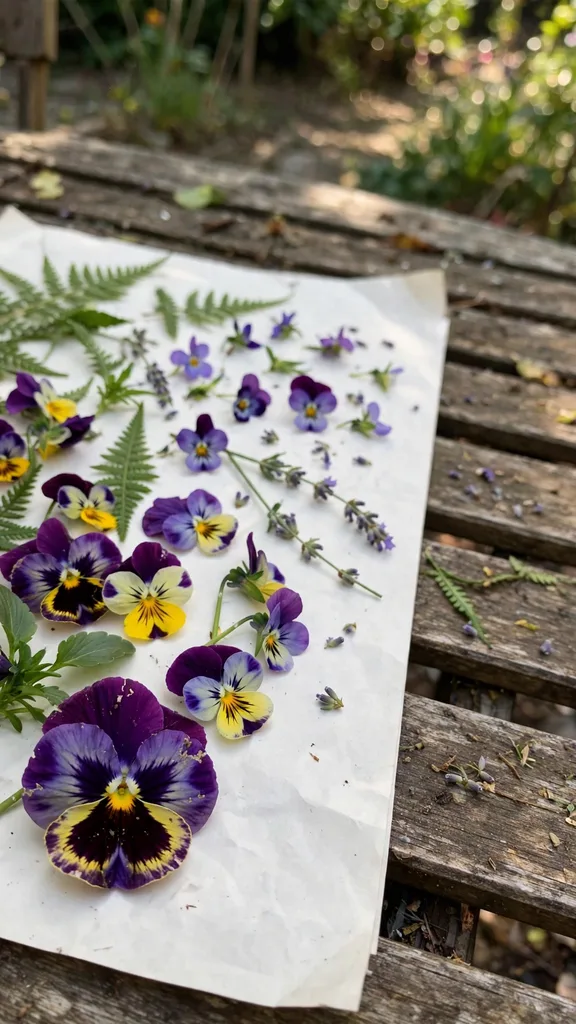
Thick, fleshy flowers fight the press. Whole roses, dahlias, and tulips hold too much water in the center, so they brown or mold before they dry; press their petals separately instead, and the petals behave like any thin flower. White flowers often dry cream or tan rather than white, so lean on them for texture and let the blues, purples, pinks, and yellows carry the color. Pick flowers for pressing at midday on a dry day, when the petals hold the least surface moisture, and press them the same day you pick them.
Press Between Book Pages the Slow Way
The book method costs nothing and produces the flattest results. Michigan State University Extension’s guide to pressing flowers sets out the classic method: flowers arranged between sheets of plain paper inside a heavy book, with more weight stacked on top. Use unprinted paper or coffee filters rather than glossy pages, which can stick, and arrange each flower face down or face up in its final shape, because a pressed flower keeps the pose it dried in. Petals that overlap dry with pale patches, so spread them apart with a toothpick before you close the book.

Purdue Extension’s guide to preserving plant materials gives pressing about three weeks to dry fully and lists small flowers, ferns, and autumn leaves among its best subjects. Leave your books at least that long, in a dry room, and resist the mid-press peek: opening early lets the half-dry flowers curl as they meet the air. Change the paper once at the one-week mark if your flowers were thick or the weather humid, then close the book and wait out the rest. A flower is done when it feels like tissue and rustles faintly; a cool, limp flower needs more time.
Press in a Microwave for Same-Day Cards
The microwave method presses and dries in minutes, which rescues December card making when the summer pressing never happened. Sandwich the flowers between two sheets of plain paper, place the paper between two ceramic tiles, and hold the stack together with rubber bands or set a heavy microwave-safe dish on top. Heat in bursts of 30 seconds, checking between bursts, until the petals feel papery; most thin flowers take one to three minutes of total heat. Let the stack cool fully before opening it, because warm petals tear.
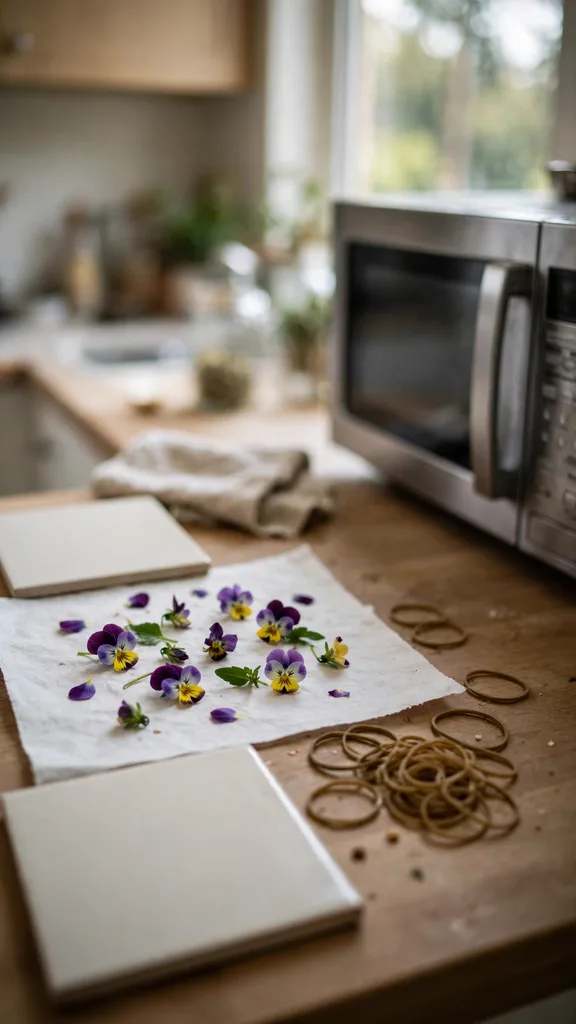
Microwave pressing keeps color bright, sometimes brighter than the book method, since the flower spends minutes drying instead of weeks. The trade-offs are size and scorch risk: tiles limit you to small batches, and one burst too long browns petal edges. Work through a December pressing session flower type by flower type, testing one bloom of each before committing the good ones. Evergreen tips and thick leaves do poorly in the microwave; press those in books or skip them and cut fresh greenery for the tags instead.
Store Pressed Flowers Flat, Dark and Dry Until December
Pressed flowers fade in light and soften in damp air, so storage decides how much of the summer’s color survives to December. Keep finished flowers flat between sheets of paper inside a closed box or a large envelope, stored in a dark drawer. A small silica gel packet in the box guards against a humid house. Sort by color as you store, in separate envelopes, and December layout work speeds up enormously when all the blues sit together.
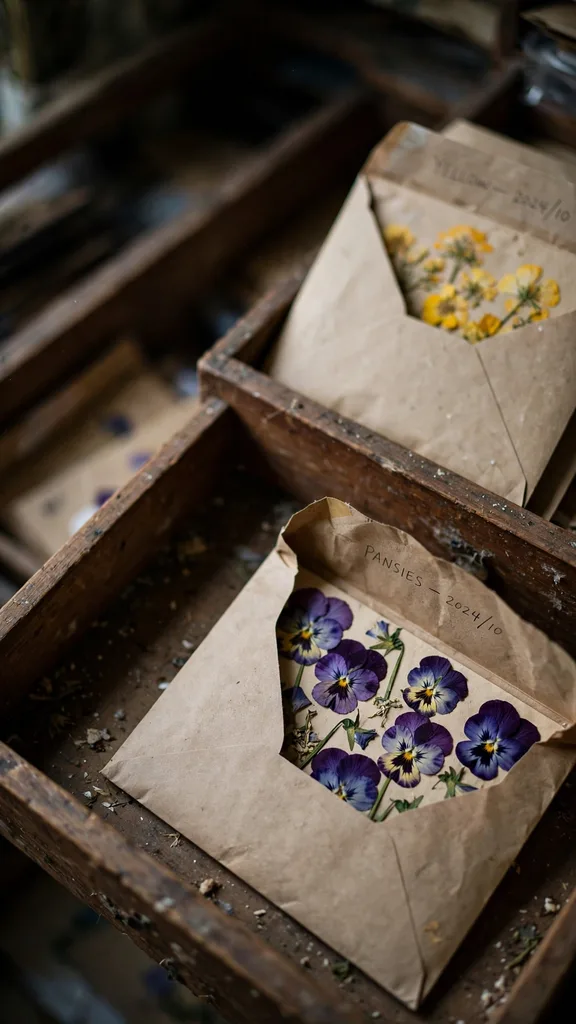
Handle stored flowers with tweezers or slide the paper out and tip them; fingertips crush petal edges and the oils mark pale petals. Check the box once in autumn for any flower that went in under-dried, since one damp flower molds and the mold spreads to its neighbors. Remove anything spotted and let the rest air for an hour before re-boxing. Properly dried and dark-stored flowers keep for years, so a good pressing summer carries two Christmases.
Lay Out a Card Design Before Any Glue Moves
Arrange first, glue second. Set the blank card on the table and build the design loose, moving flowers with tweezers until the composition settles. Simple structures read best at card size: a wreath ring of small florets around a greeting, a single stem rising from the bottom edge, a corner spray, or a small bouquet tied at the stems with drawn or real thread. Leave clear space around the design; pressed flowers are delicate in color, and crowding turns them to mush visually.
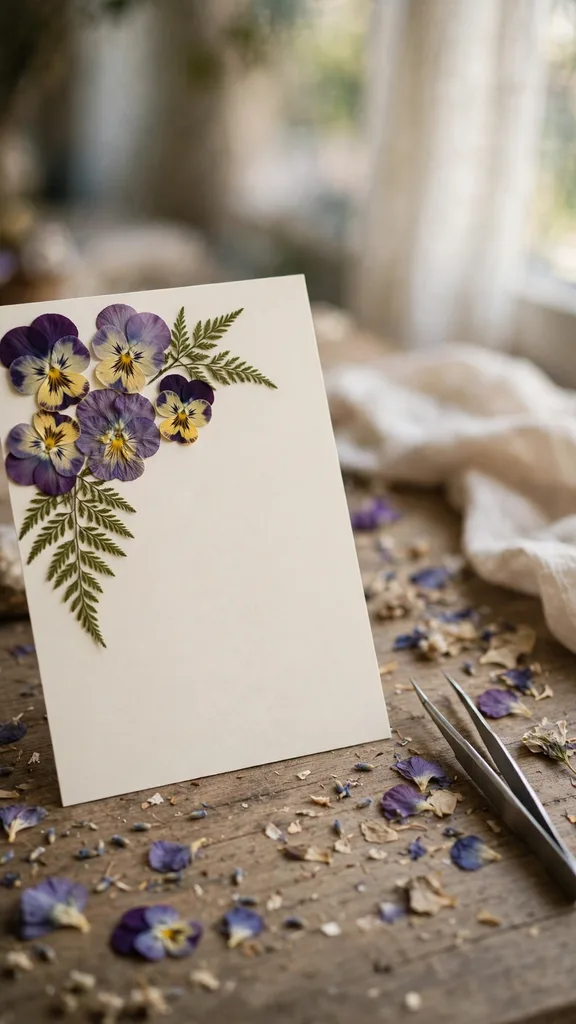
Work out the greeting before the flowers go down. Write or stamp the words first if they sit under or inside the design, because writing over glued flowers invites a slip of the pen through a petal. Odd numbers group well: three pansies read as a composition where two read as a pair and four as a pattern. Take a phone photo of the loose layout before you start gluing; when a glued flower lands slightly off, the photo tells you where it belonged.
Glue With a Toothpick Dot and Tweezers, Never a Brush Load
Pressed flowers need far less glue than instinct suggests. A dot of white craft glue applied with a toothpick to the flower’s center back is enough for most blooms; large flat flowers get three small dots. Excess glue soaks through petals, dries shiny, and stains them translucent in patches. Lift each flower with tweezers, dot the back, and set it down in one motion, pressing gently through a sheet of clean paper with a fingertip so the glue spreads without your skin touching the petals.
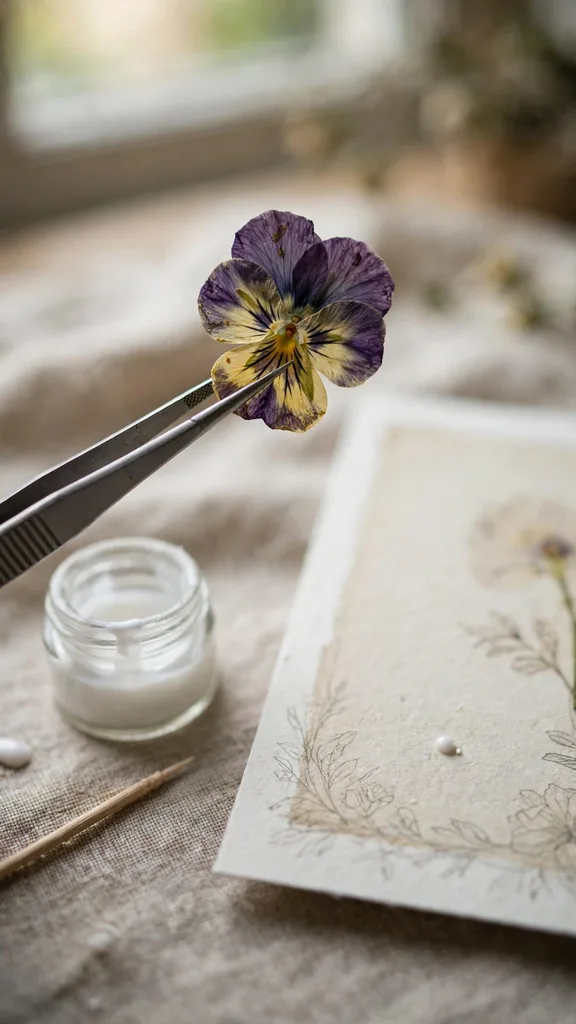
Glue the background pieces first (ferns and leaves), then the main flowers, then the small accents, and let each card dry flat for an hour before stacking or sealing. Work on a sheet of scrap paper and rotate the card rather than reaching across wet glue. A flower placed wrong lifts cleanly within the first minute with a careful tweezer pull and one dot of fresh glue; after five minutes, leave it, because removal tears petals and a slightly crooked pansy still charms.
Seal the Design So It Survives Handling and the Post
Unsealed pressed flowers shed petals in envelopes and fade on mantels, so a light seal is worth the five minutes. Clear self-adhesive contact film, cut to the card front and smoothed from the center outward, gives the toughest finish and a slight sheen. A thin coat of water-based craft sealant brushed on with a soft brush works too, applied in one direction with a barely loaded brush so petals stay put. Either way, seal a test flower on scrap card first; a few dark flowers deepen in color under sealant, which you want to know before the good cards.
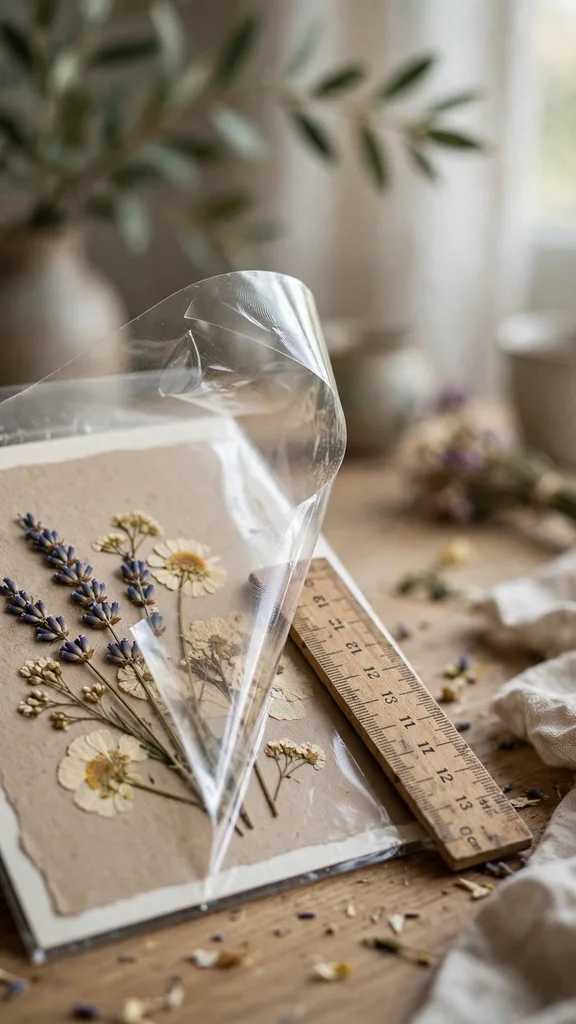
Wax paper and a warm iron (the lowest setting, a few seconds through the paper) can fix a design under a film of wax for a matte finish, an old herbarium trick, though it takes practice to avoid bubbles. Sealed cards keep their color far longer in daylight, which matters for cards that stay on display all season. Let sealed cards cure a full day before they go into envelopes so no tackiness glues card to envelope.
Turn the Same Flowers Into Gift Tags
Tags are the fast half of the project and use up the small and imperfect flowers the cards rejected. Cut tag shapes from the same card stock or buy tag blanks, punch a hole at the top, and glue one small flower or leaf on each, below the hole. A single lavender sprig, one fern frond, or a tiny pansy is enough; tags read at arm’s length on a parcel, so bold and simple beats detailed. Write the name before gluing if the flower sits near the writing line, and seal tags the same way as cards if they will hang on parcels that travel.
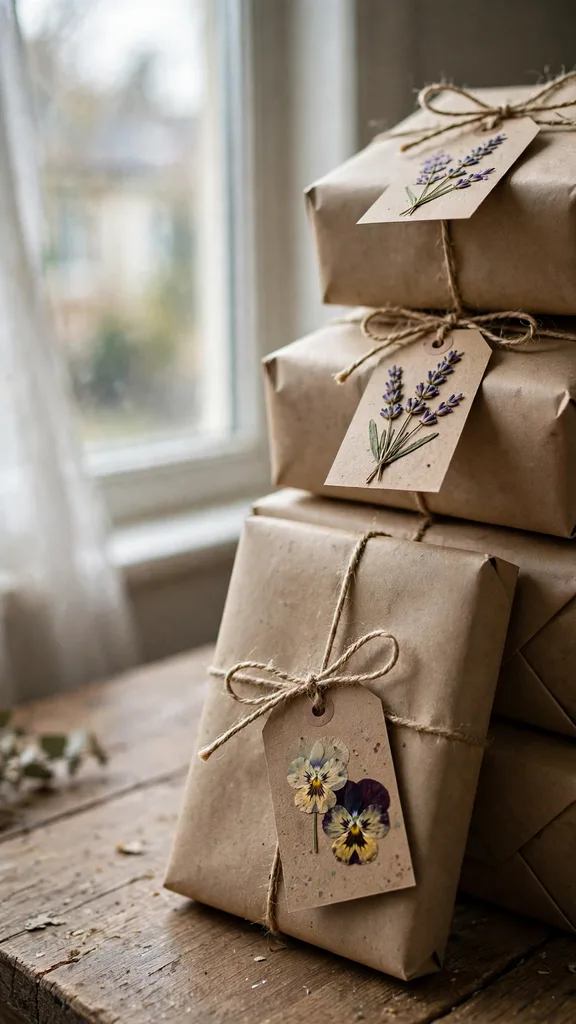
Thread the tags with garden twine, thin ribbon, or a strand of raffia, and tie them onto parcels wrapped in plain brown or white paper for the full garden look. The finished set, pressed flower tags on plain wrapped gifts, is the result the whole summer of pressing points at, and it takes an afternoon. Tags also rescue the card session’s leftovers, so make them last, after the cards, with whatever flowers remain. Keep a few blank sealed tags aside; a pressed flower tag turns a jar of jam or a bottle into a garden gift in ten seconds.
Write, Address and Post Pressed Cards Without Crushing Them
Pressed flower cards are sturdier than they look once sealed, but the mail still sorts them by machine. Slip each card into its envelope with a sheet of thin card over the design as a shield, and write the greeting inside before the flowers are glued if the design covers the front only. Mark the envelope for hand canceling at the post office counter; the small extra handling keeps the card out of the hardest rollers. Thick embellishments raise postage on some services, so weigh one finished card and envelope at the counter before mailing forty.
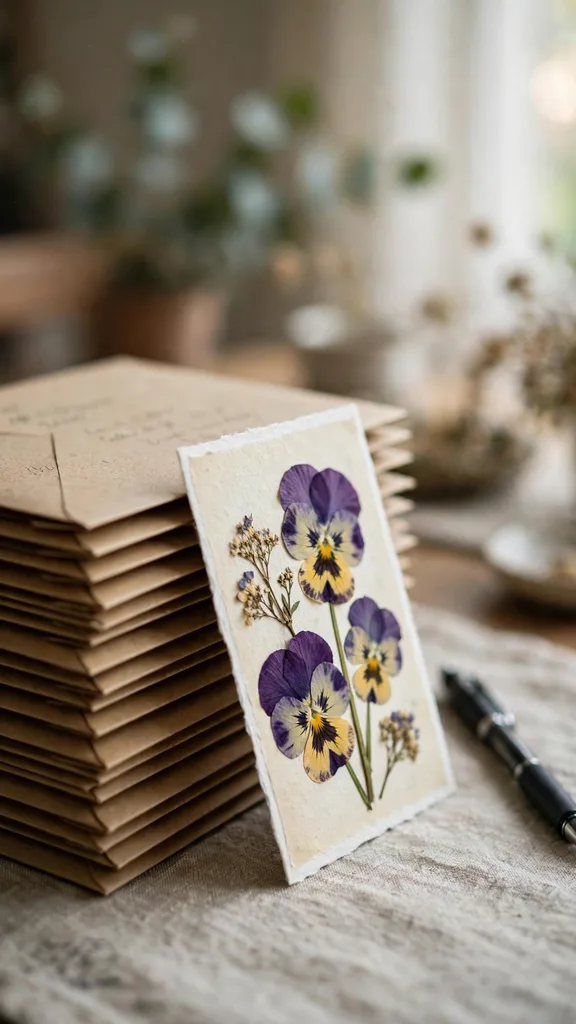
Post early in December rather than perfectly; a card that arrives on the tenth with a slightly crooked fern beats a flawless one that arrives on the twenty-seventh. Keep two or three spare finished cards for the forgotten names that surface mid-month, because they always do. For local cards, hand delivery removes the mail risk entirely and the garden tags on parcels travel safely in a basket in the car.
Fix Pale Colors, Mold Spots and Flowers That Shatter
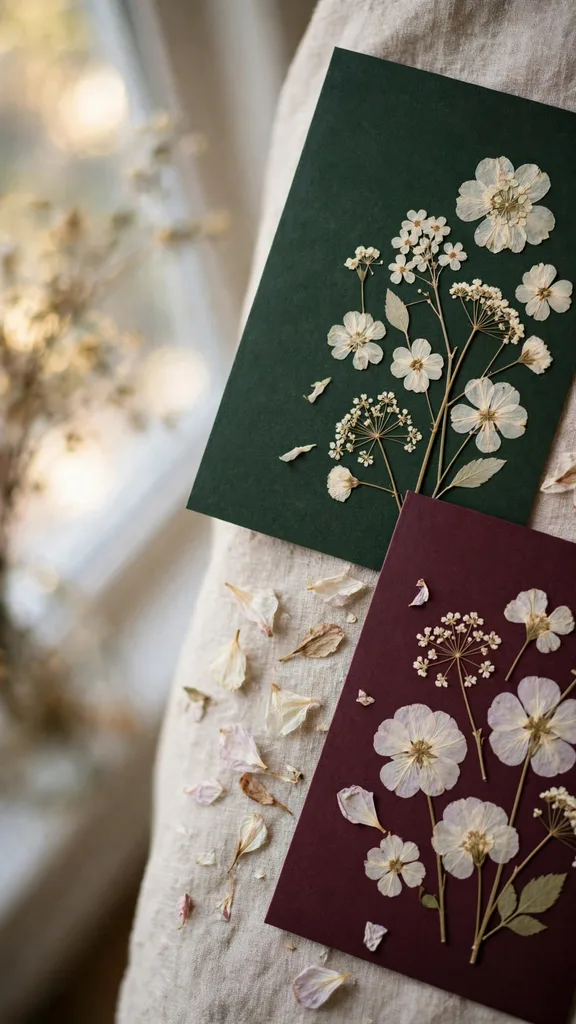
Pale colors usually trace back to light: flowers pressed from sun-faded blooms, or stored where light reached them. Press flowers at peak color, store them dark, and accept the gentle softening that pressing brings; the muted palette is part of the look. Blues and purples hold best, reds deepen, and yellows stay cheerful. A design that feels too pale gains depth from a dark card blank behind it, which is why deep green and burgundy card stock outsells white for pressed work in December.
Mold spots mean a flower went into storage damp. Brush a tiny spot off outdoors and use the flower on a tag rather than a card if the petal is sound, or discard it; never store a spotted flower back with the clean stock. Shattering flowers were over-dried or stored too dry and warm; handle them over the card so fragments land where they can be glued, and keep a small envelope of broken petals, which make excellent confetti accents around a design. Next summer, press more than you need: a third extra covers every failure mode on this page. For the full set of 100 ideas this craft comes from, the Christmas garden ideas pillar is the batch hub, and the live Christmas wreaths guide shows the same garden materials at door size.
Frequently Asked Questions
In a book or press, allow about three weeks for thin flowers and leaves to dry fully, longer for anything thick. The microwave method dries the same thin flowers in minutes of short bursts, plus cooling time. Either way, the test is feel: a finished flower is papery and rustles, while a cool or limp one needs more time.
Pansies and violas lead the list because they are flat, colorful, and hold color well. Lavender, cosmos, single daisies, Queen Anne’s lace, hydrangea florets, and ferns all press cleanly and give varied shapes. Whole roses, dahlias, and tulips are too thick and often brown in the center; press their petals separately instead.
Yes, with the microwave method. Press thin flowers such as violas, lavender, and fern tips between paper and ceramic tiles in 30-second bursts, let them cool, and make the cards the same day. Winter garden pickings are slim in cold zones, so dried flowers saved from autumn or a florist’s single stem can fill the gaps.
Seal the finished design with clear contact film or a thin coat of water-based craft sealant, and store made cards in a closed box until posting. Fading comes mostly from light, so cards displayed away from direct sun keep their color through the season and beyond. Pressing at peak color and dark storage before making help just as much.
Sealed cards travel well with one precaution: slip a sheet of thin card over the design inside the envelope as a shield, and ask for hand canceling at the counter. Keep designs flat rather than raised, weigh a finished card to check postage, and post in early December so the card spends its journey in the least rushed part of the season.